This easy to make pallet Christmas tree took me around 2 hours to make. It is a simple project that you can get the children to help you with and it is fun!
I found this on Pinterest here. And immediate decided it would be perfect hanging on our wall this Christmas.
Supplies needed:
Pallet
Hack saw
Paint (60ml)
Water
Nails (tacks)
Hammer
Christmas Lights (I used battery operated 24 LED string lights)
Christmas decorations
Tree log
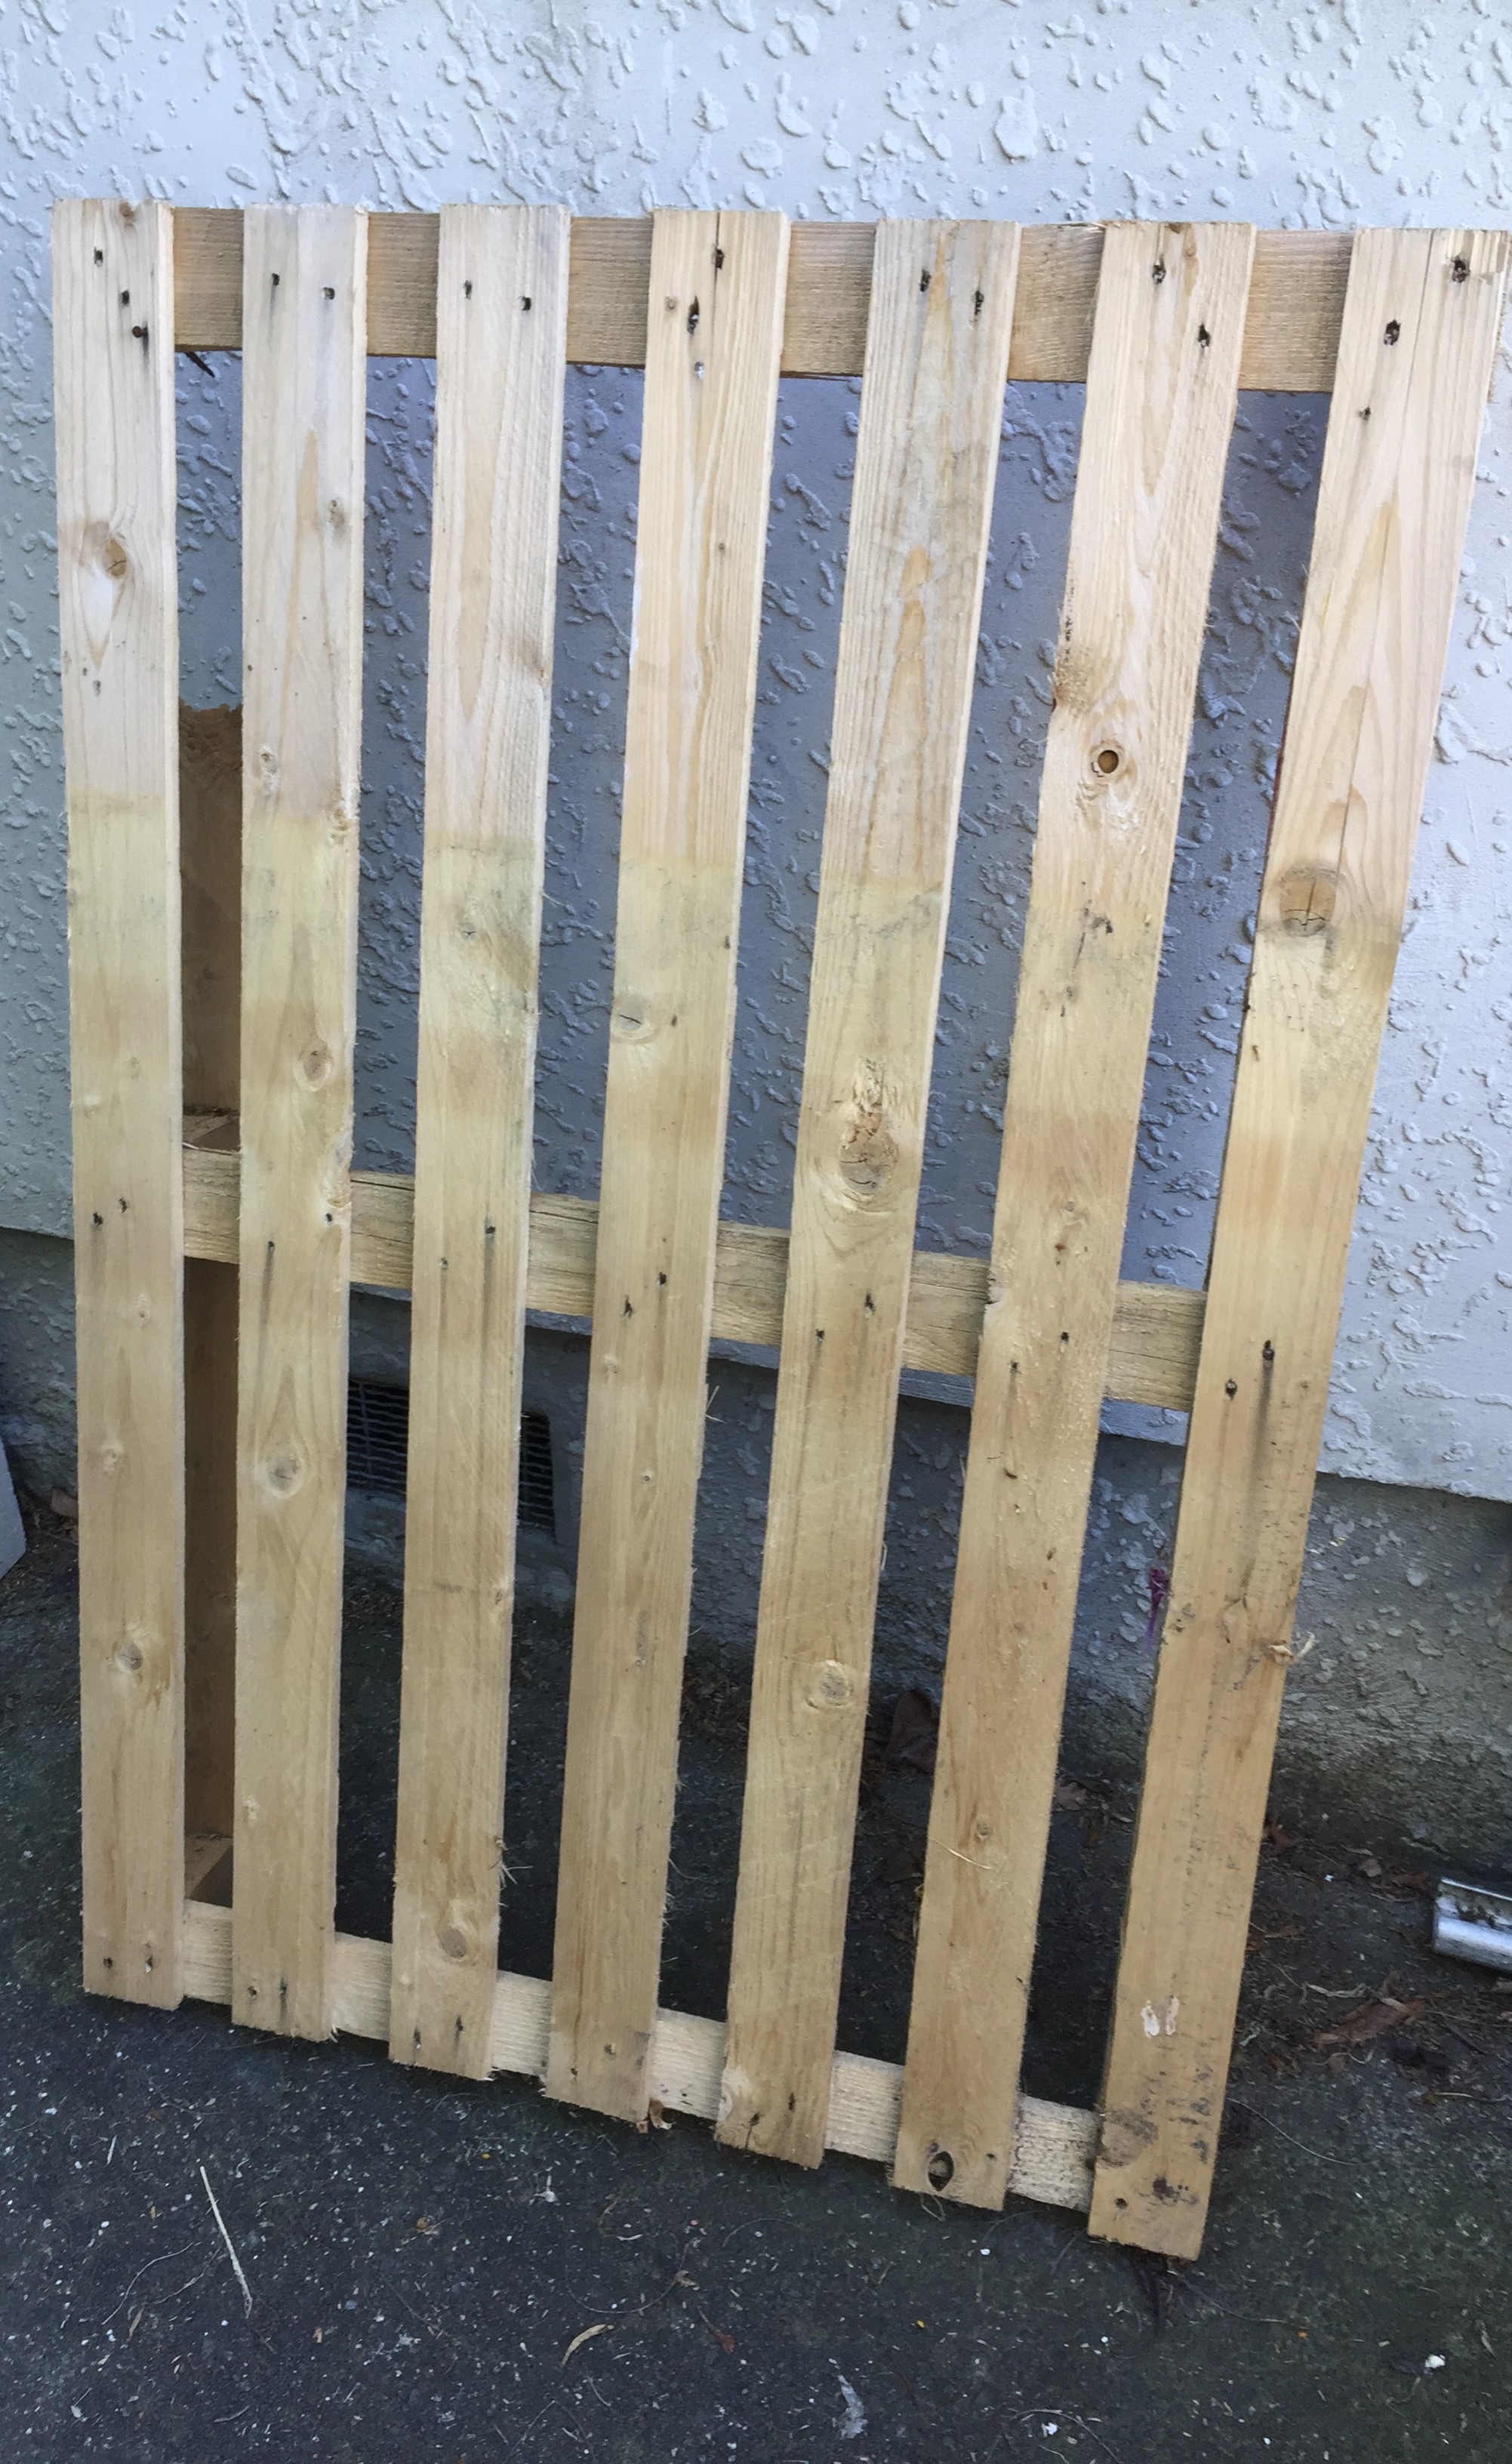
If you read my previous post on pallet coffee tables, here, you will know I have pallets stacked in the yard just waiting to be used.
The pallet I picked was easy to dismantle.
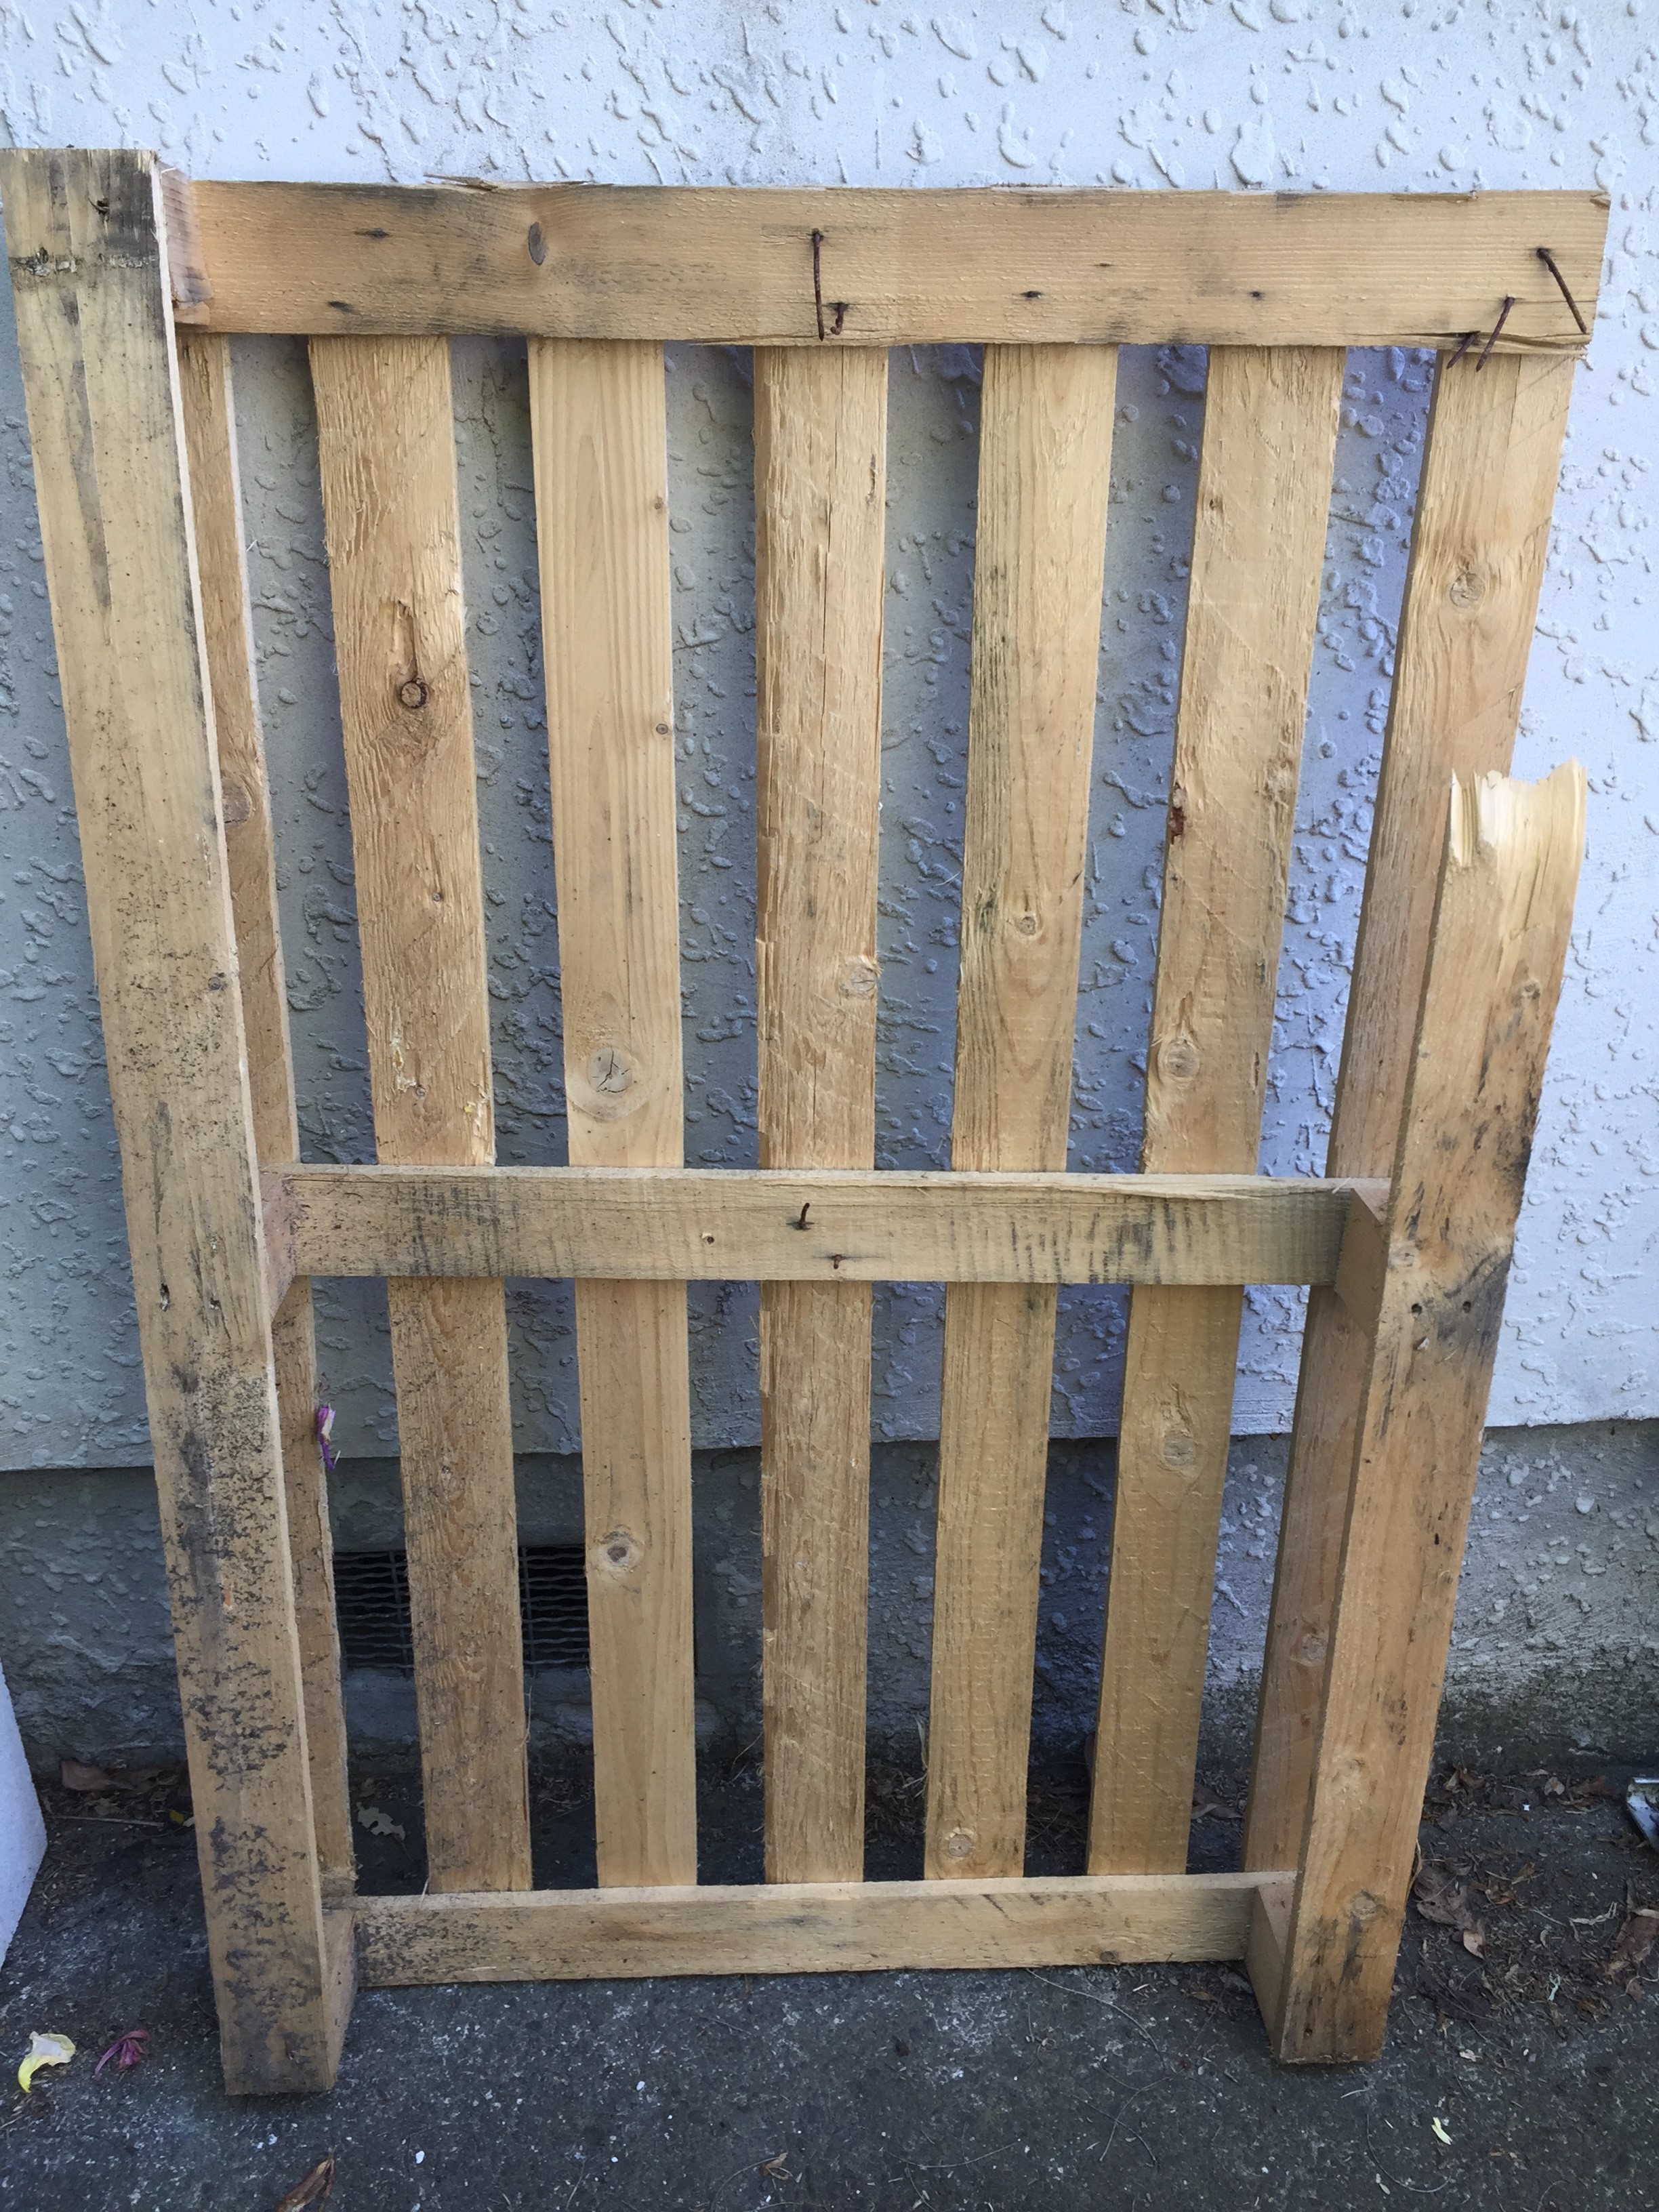
First, I used a hack saw to saw through the nails on the back of the pallet. Removing the two sections of wood. The nails that were sticking out I just sawed them off to tidy them up.
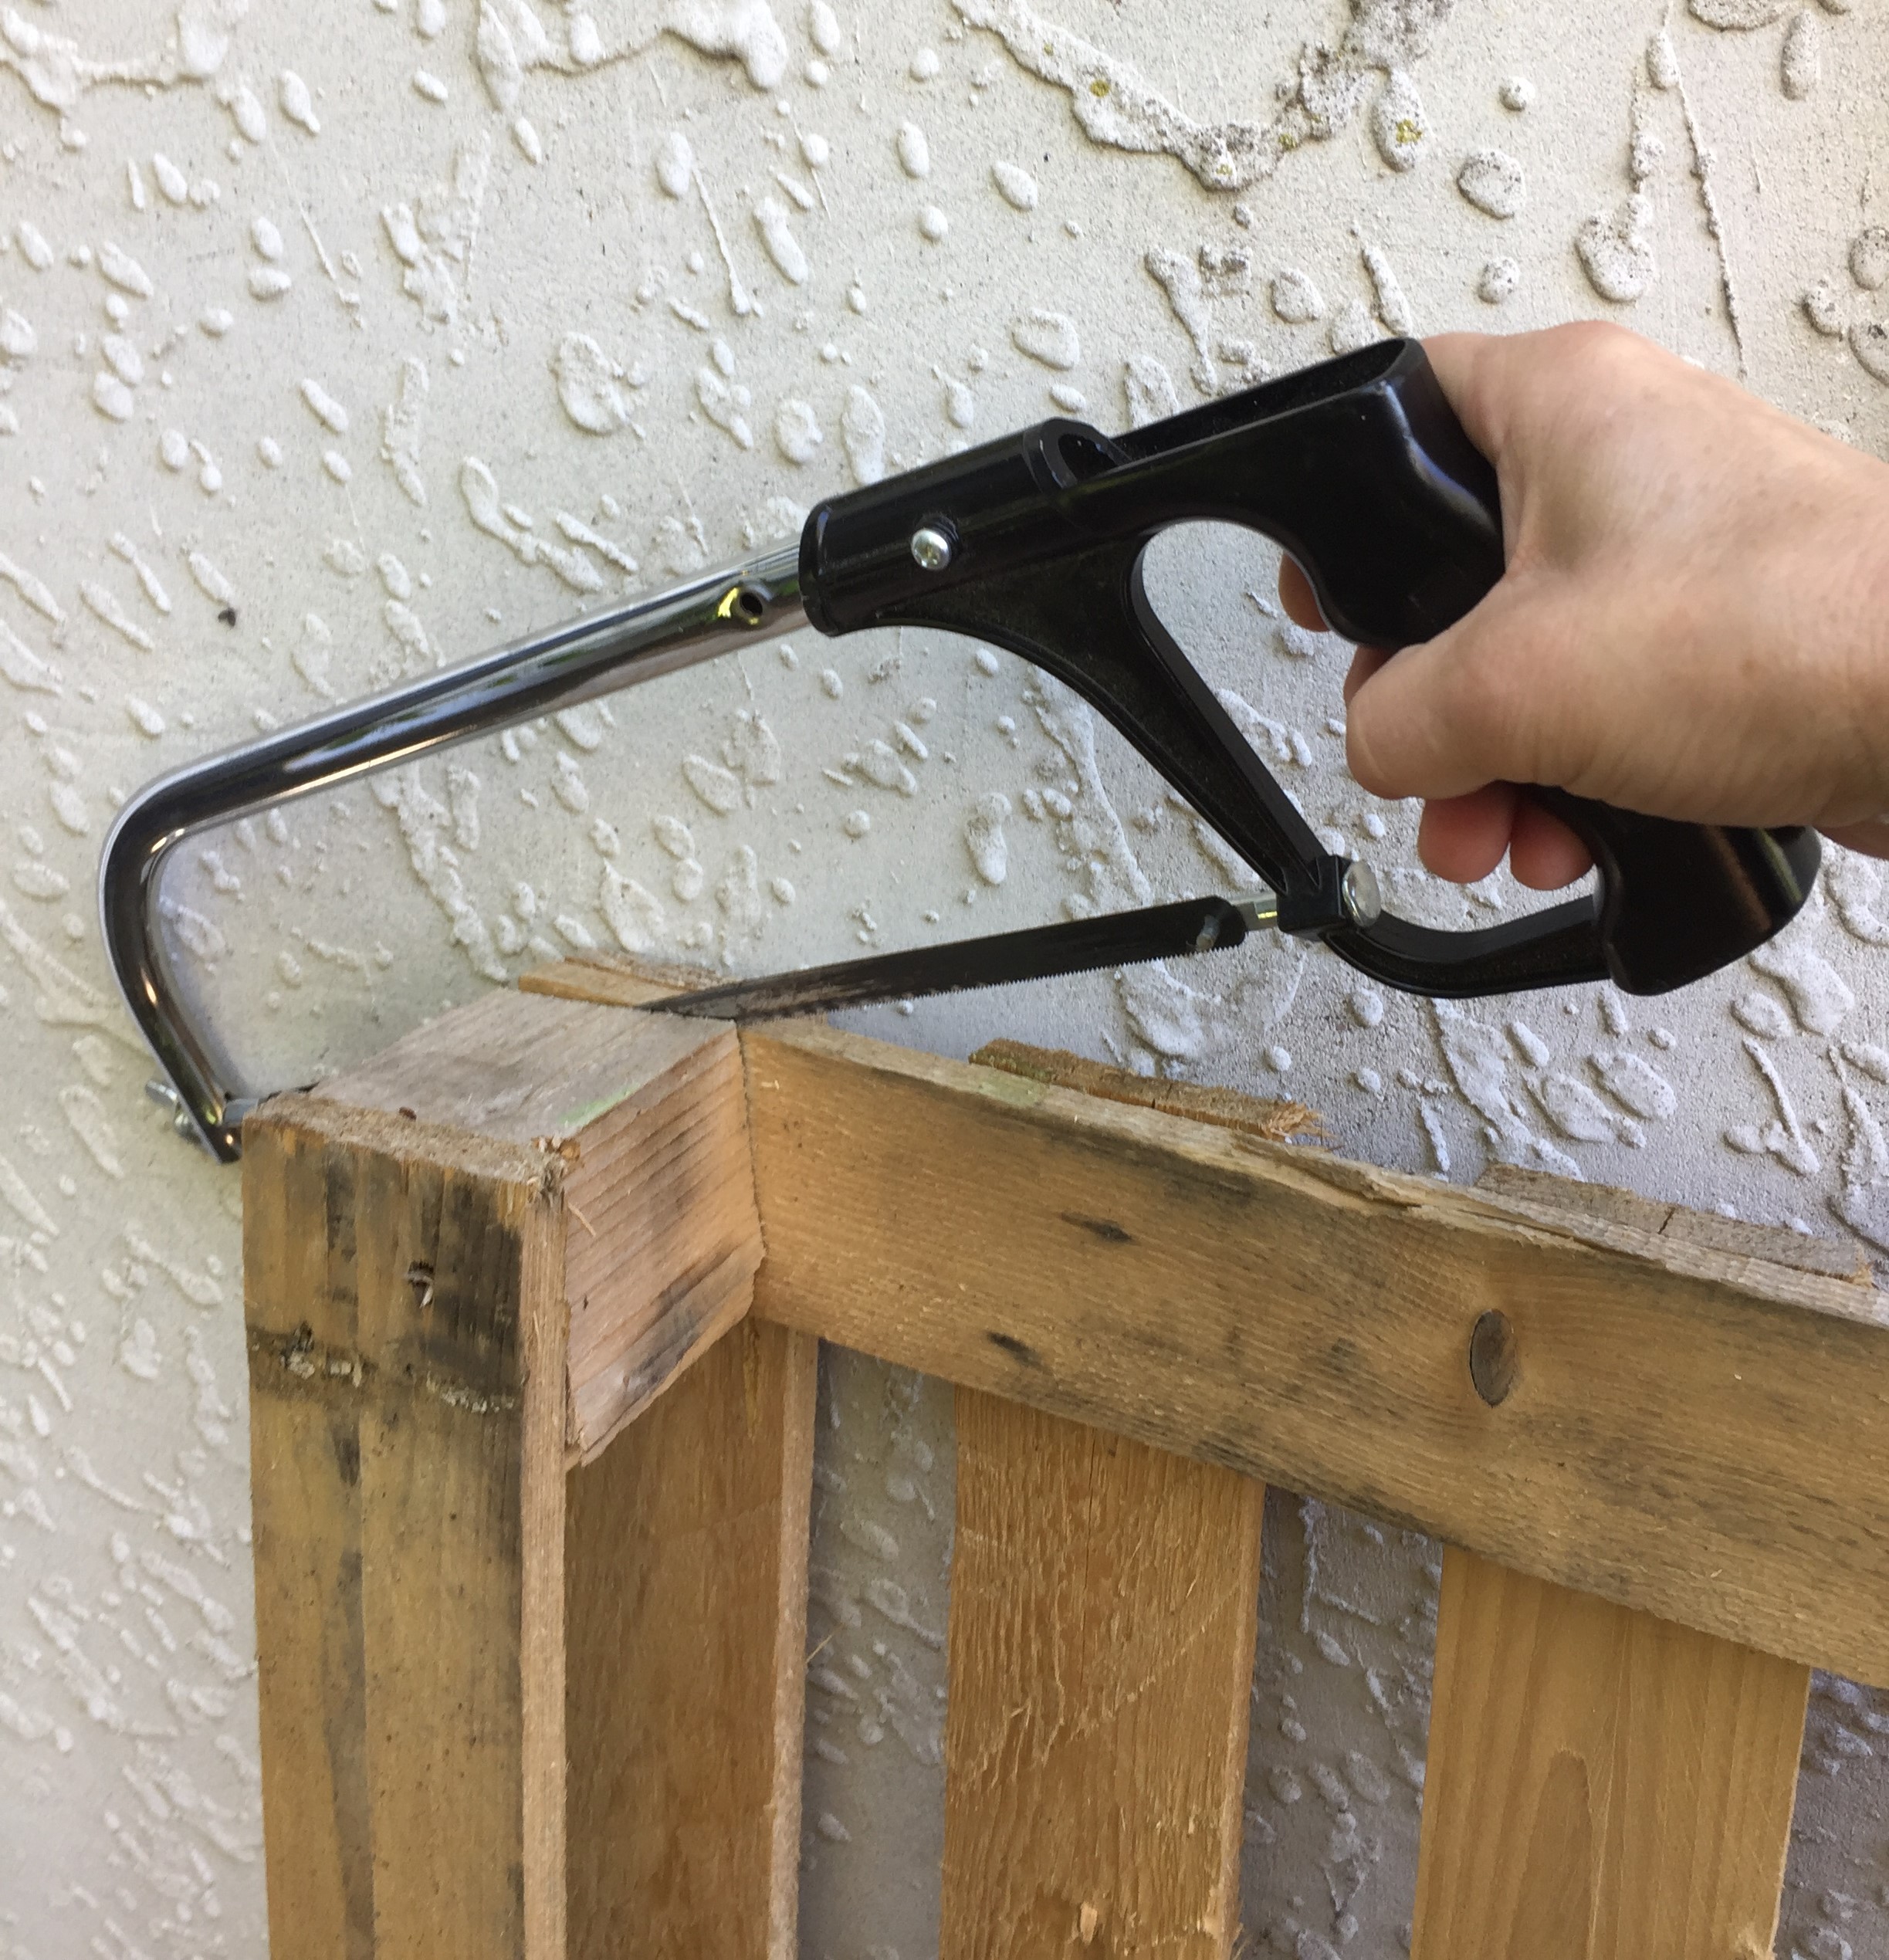
Hack saw

Next, I washed down the pallet with a hose, and started painting the front only. I used Resene paints, test pot colour Bianca (only because I already had this colour at home). I watered it down in the paint tray. Only a light cover was needed as I wanted the wood showing through to give it a rustic look.
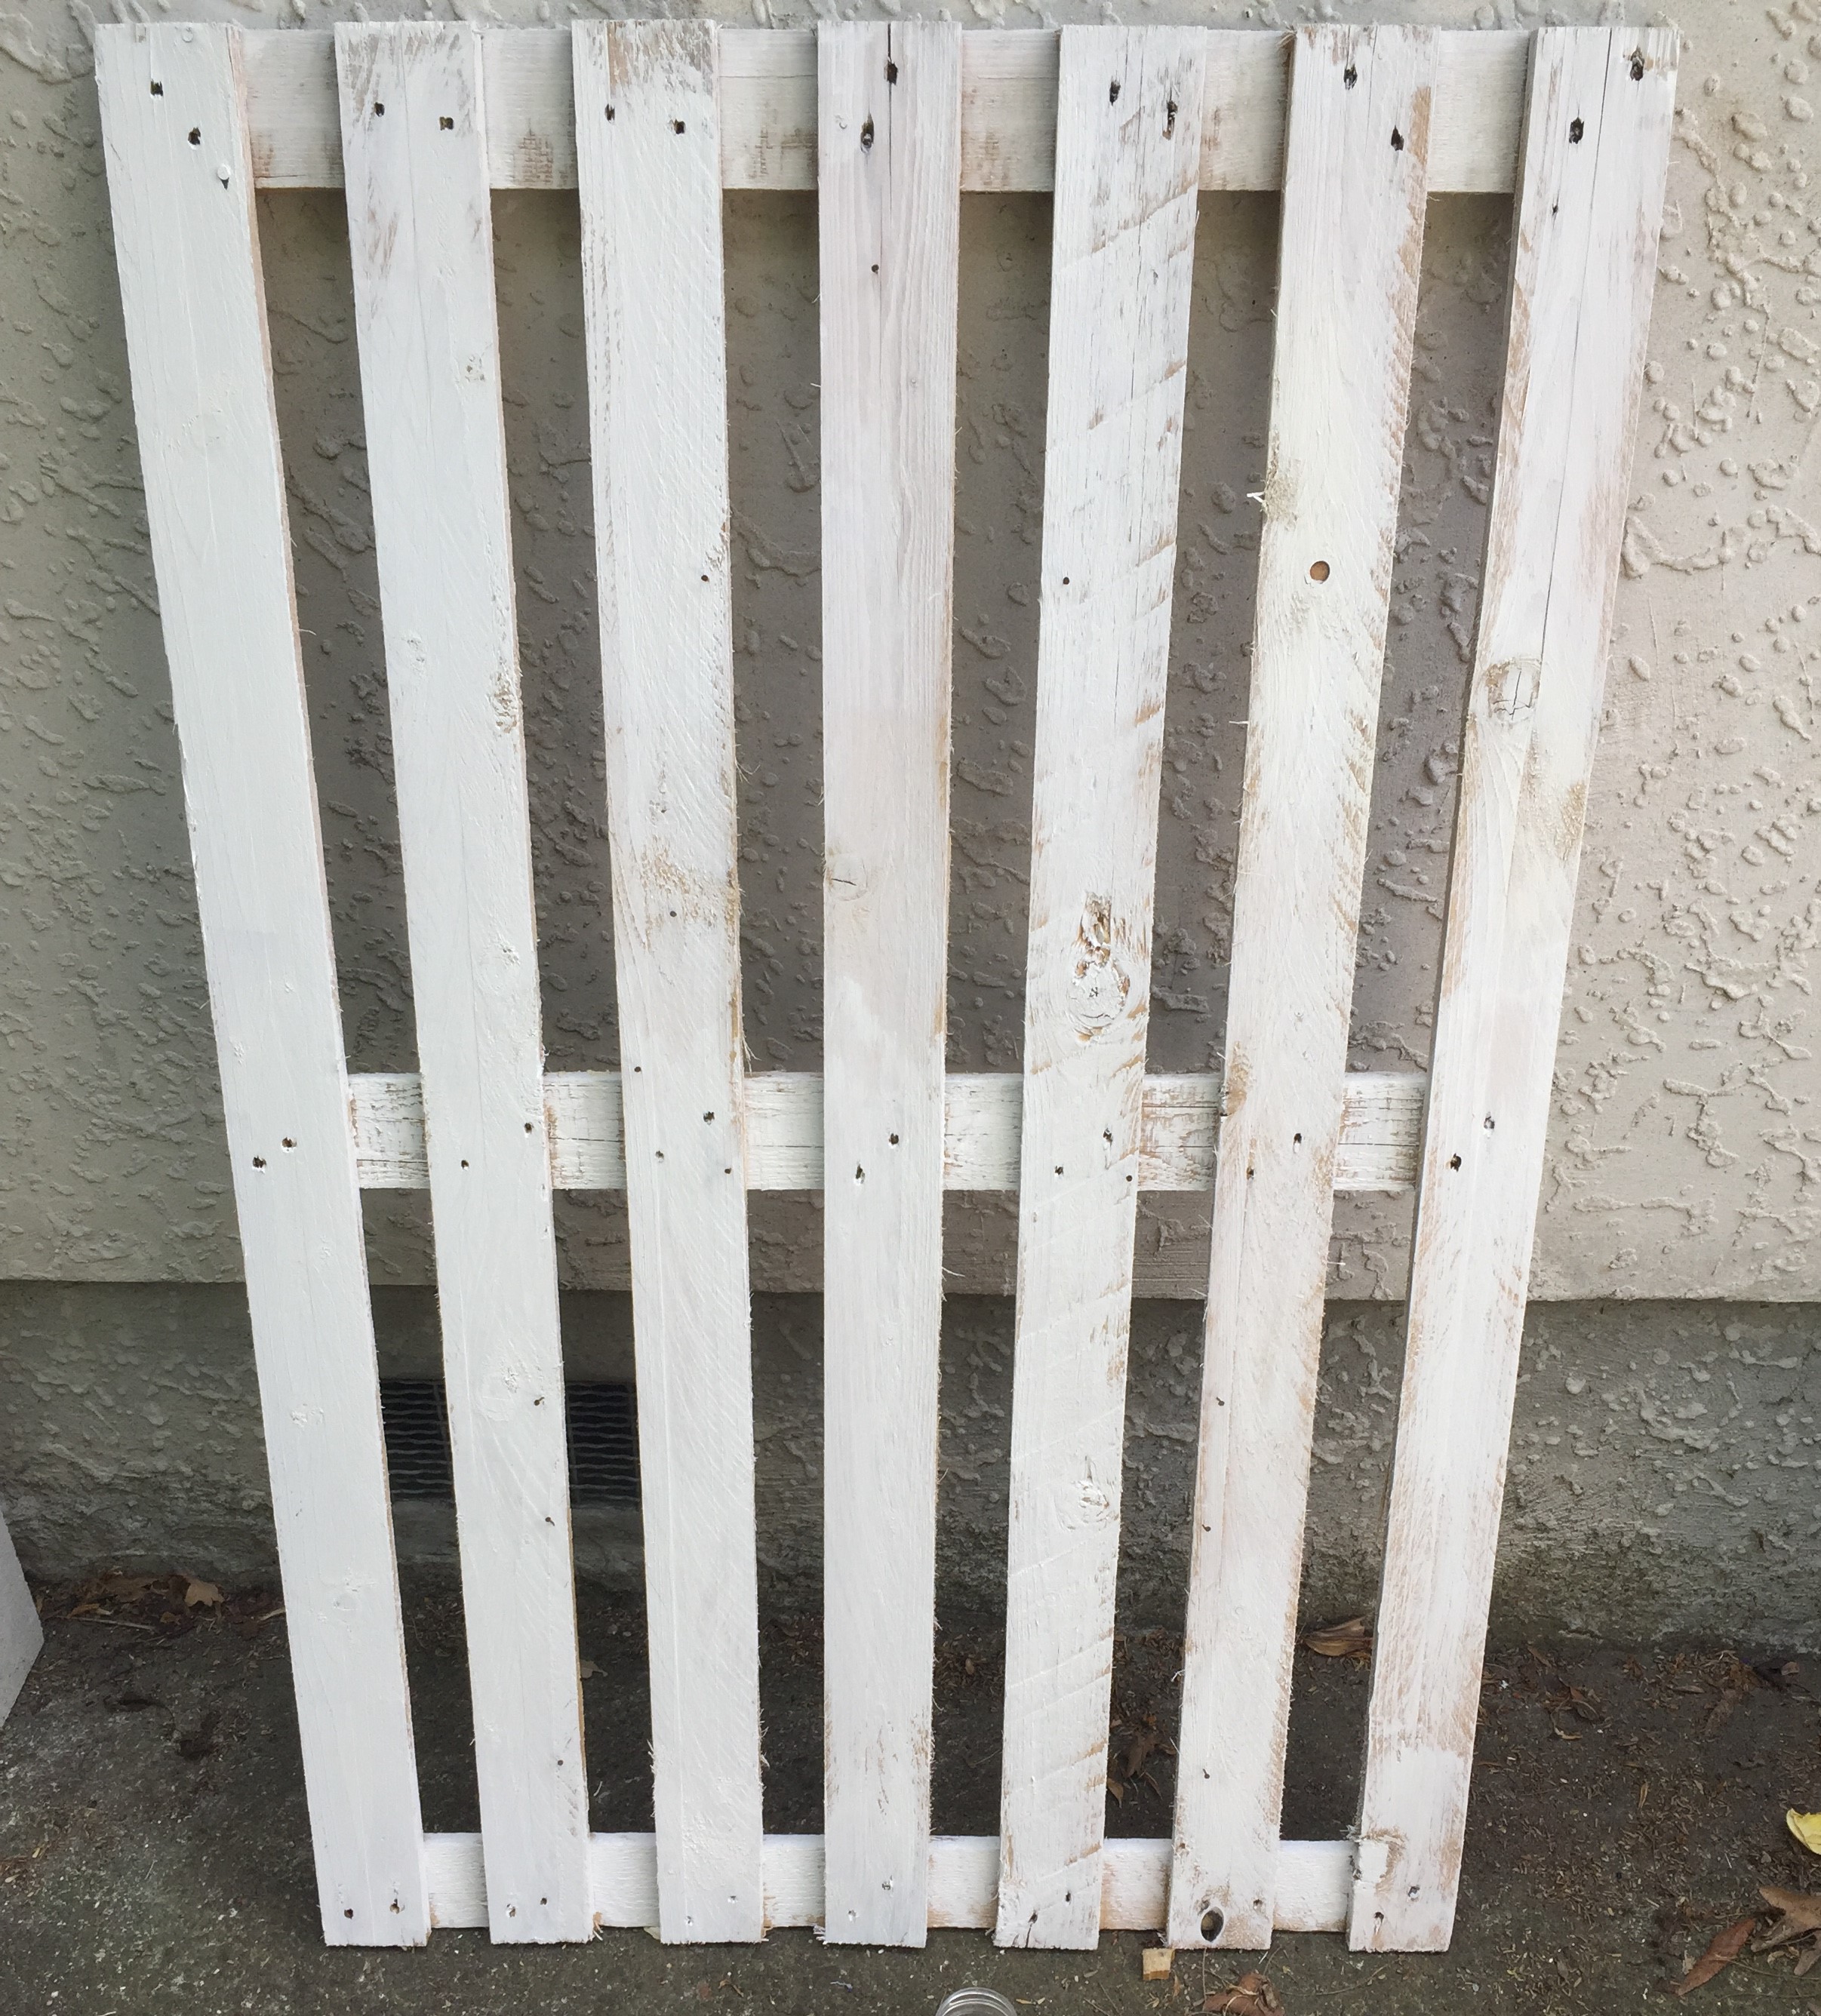
Painted pallet front
Once it was dry I placed the nails (tacks) in the wood. I made a zig zag pattern. Placing the nails out more each time to widen the tree.
Christmas decorations
There were some great decorations at Kmart, very cheap and cheerful! Some gold beading at a Thrift store and gold balls I already at home, which I brought at Kmart last year, but they are still available.

Kmart Christmas decorations
Attaching the gold beads I strung them around the nails. Doing this gives you a good idea how your tree design looks and whether you need to make any alterations. I attached the lights in the same pattern. The cookie cutter copper lights are so cute!
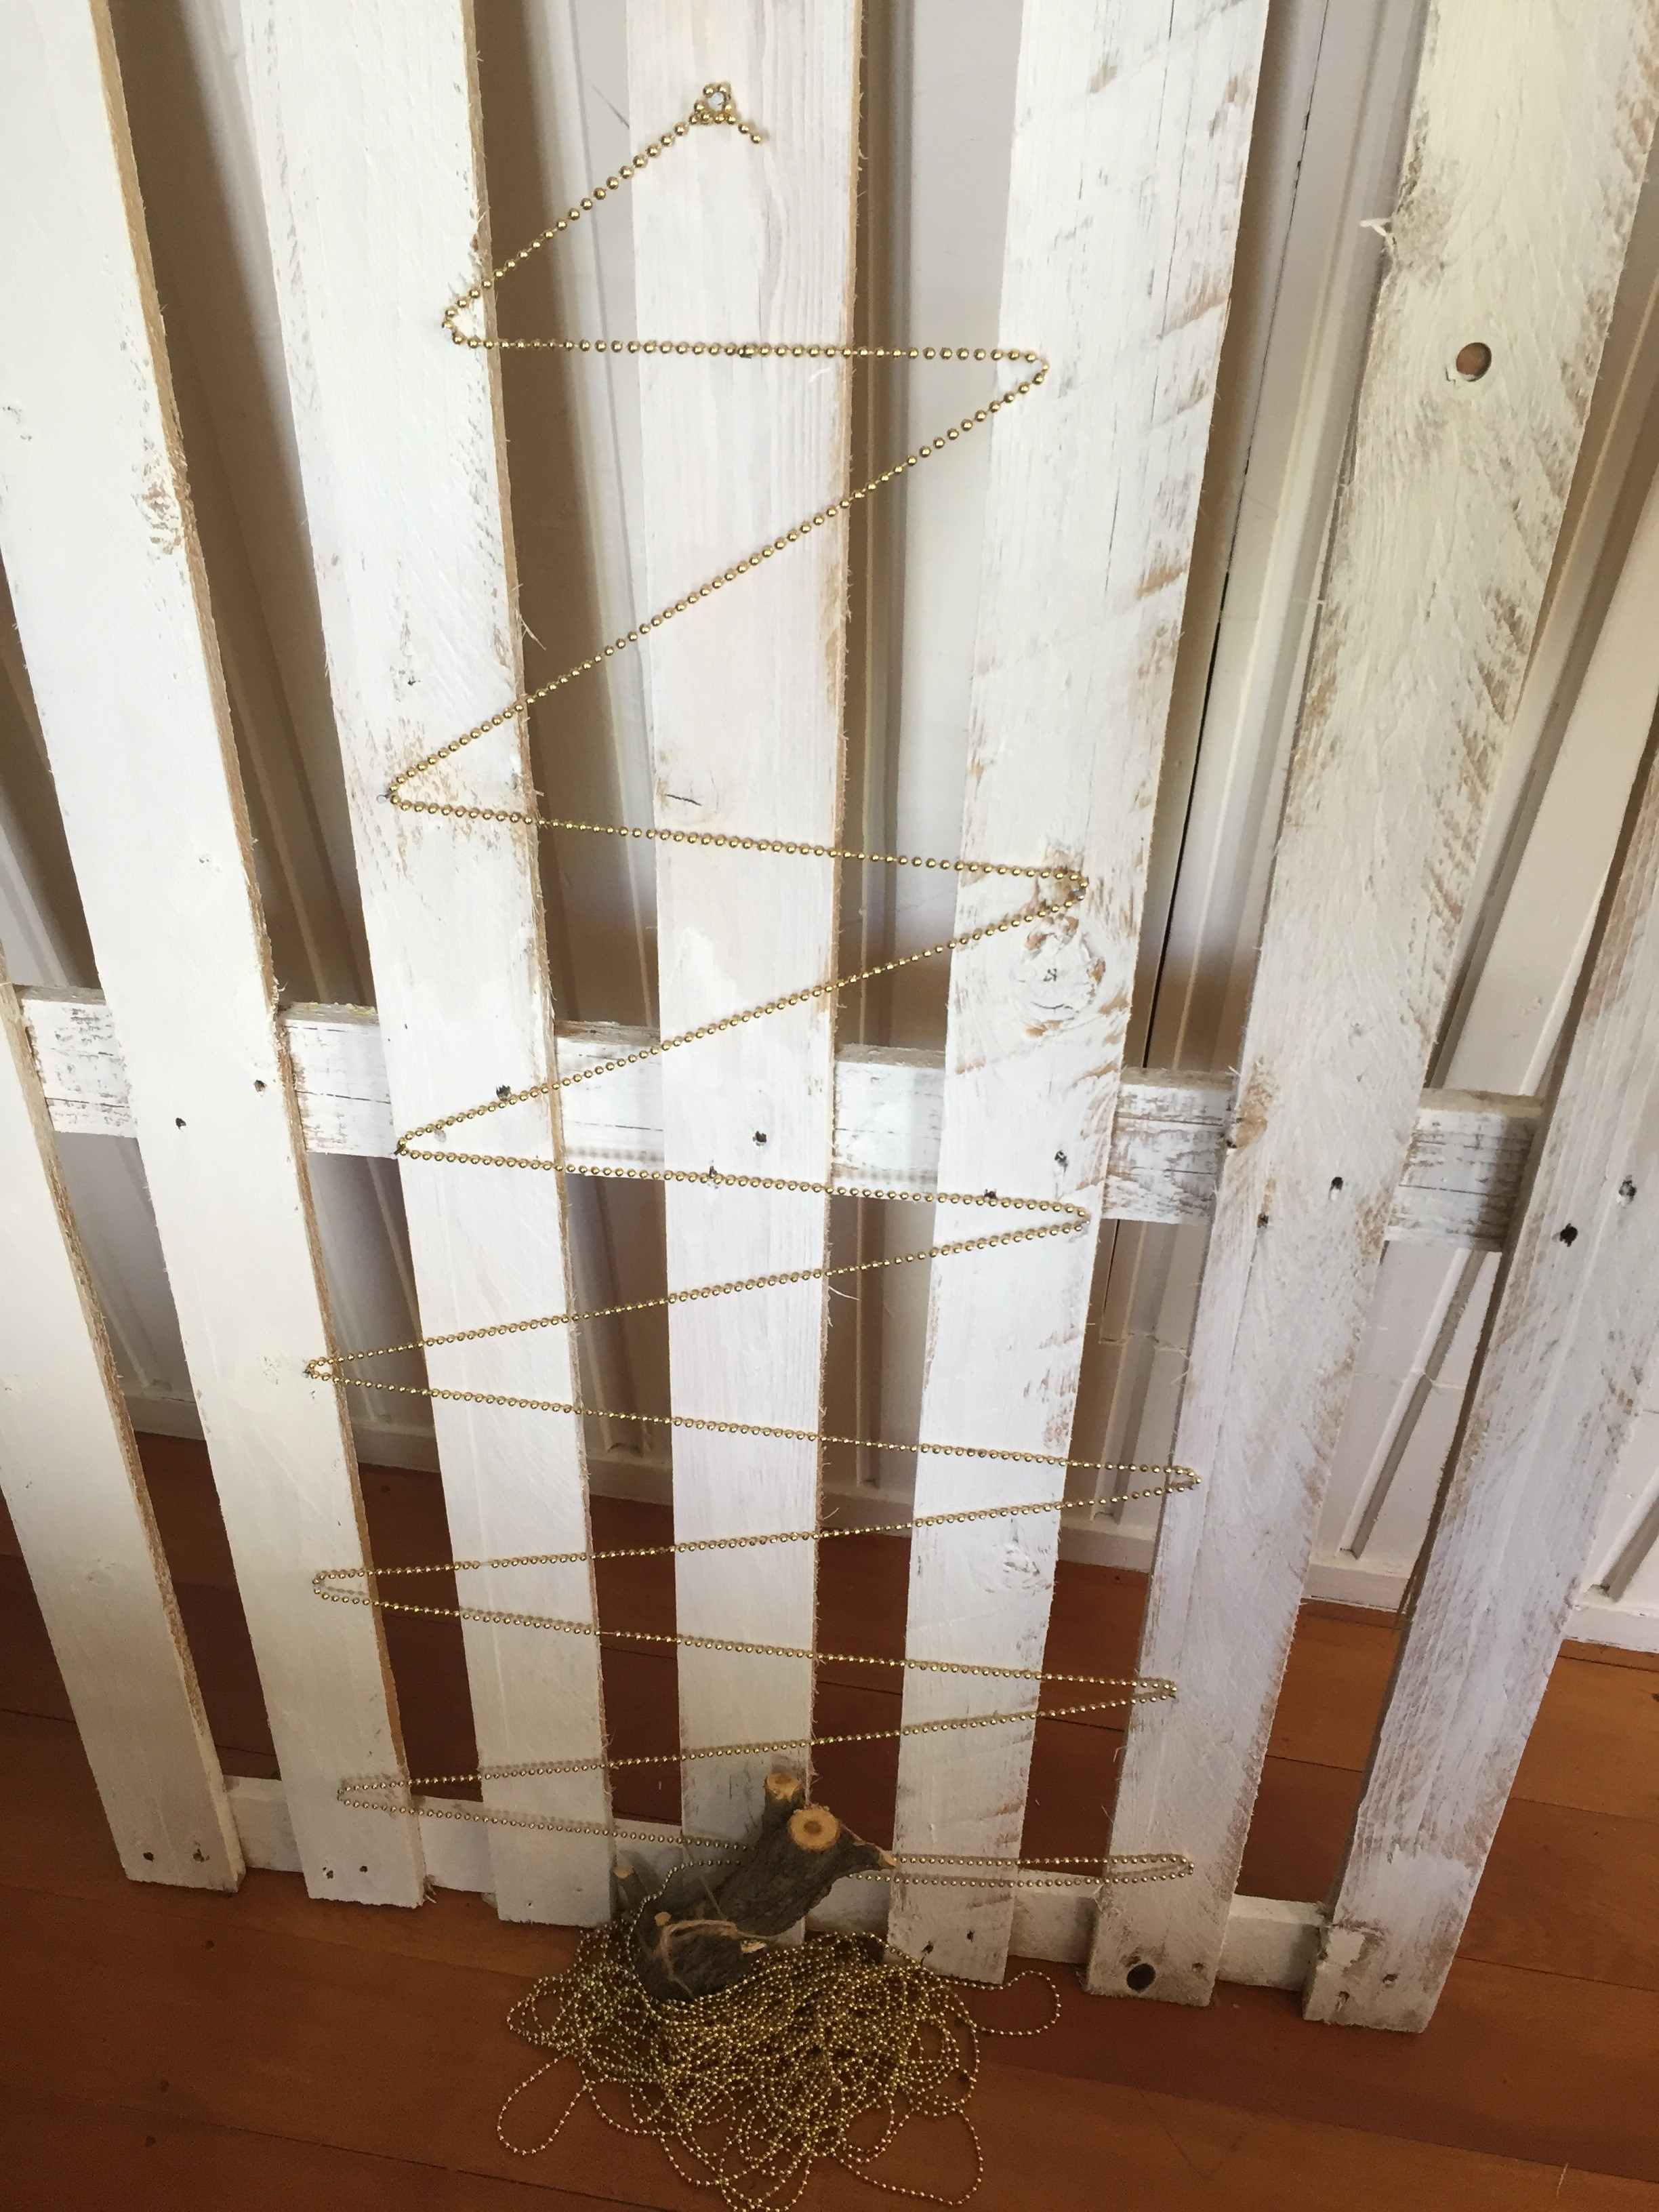
Beads put on in zig zag pattern
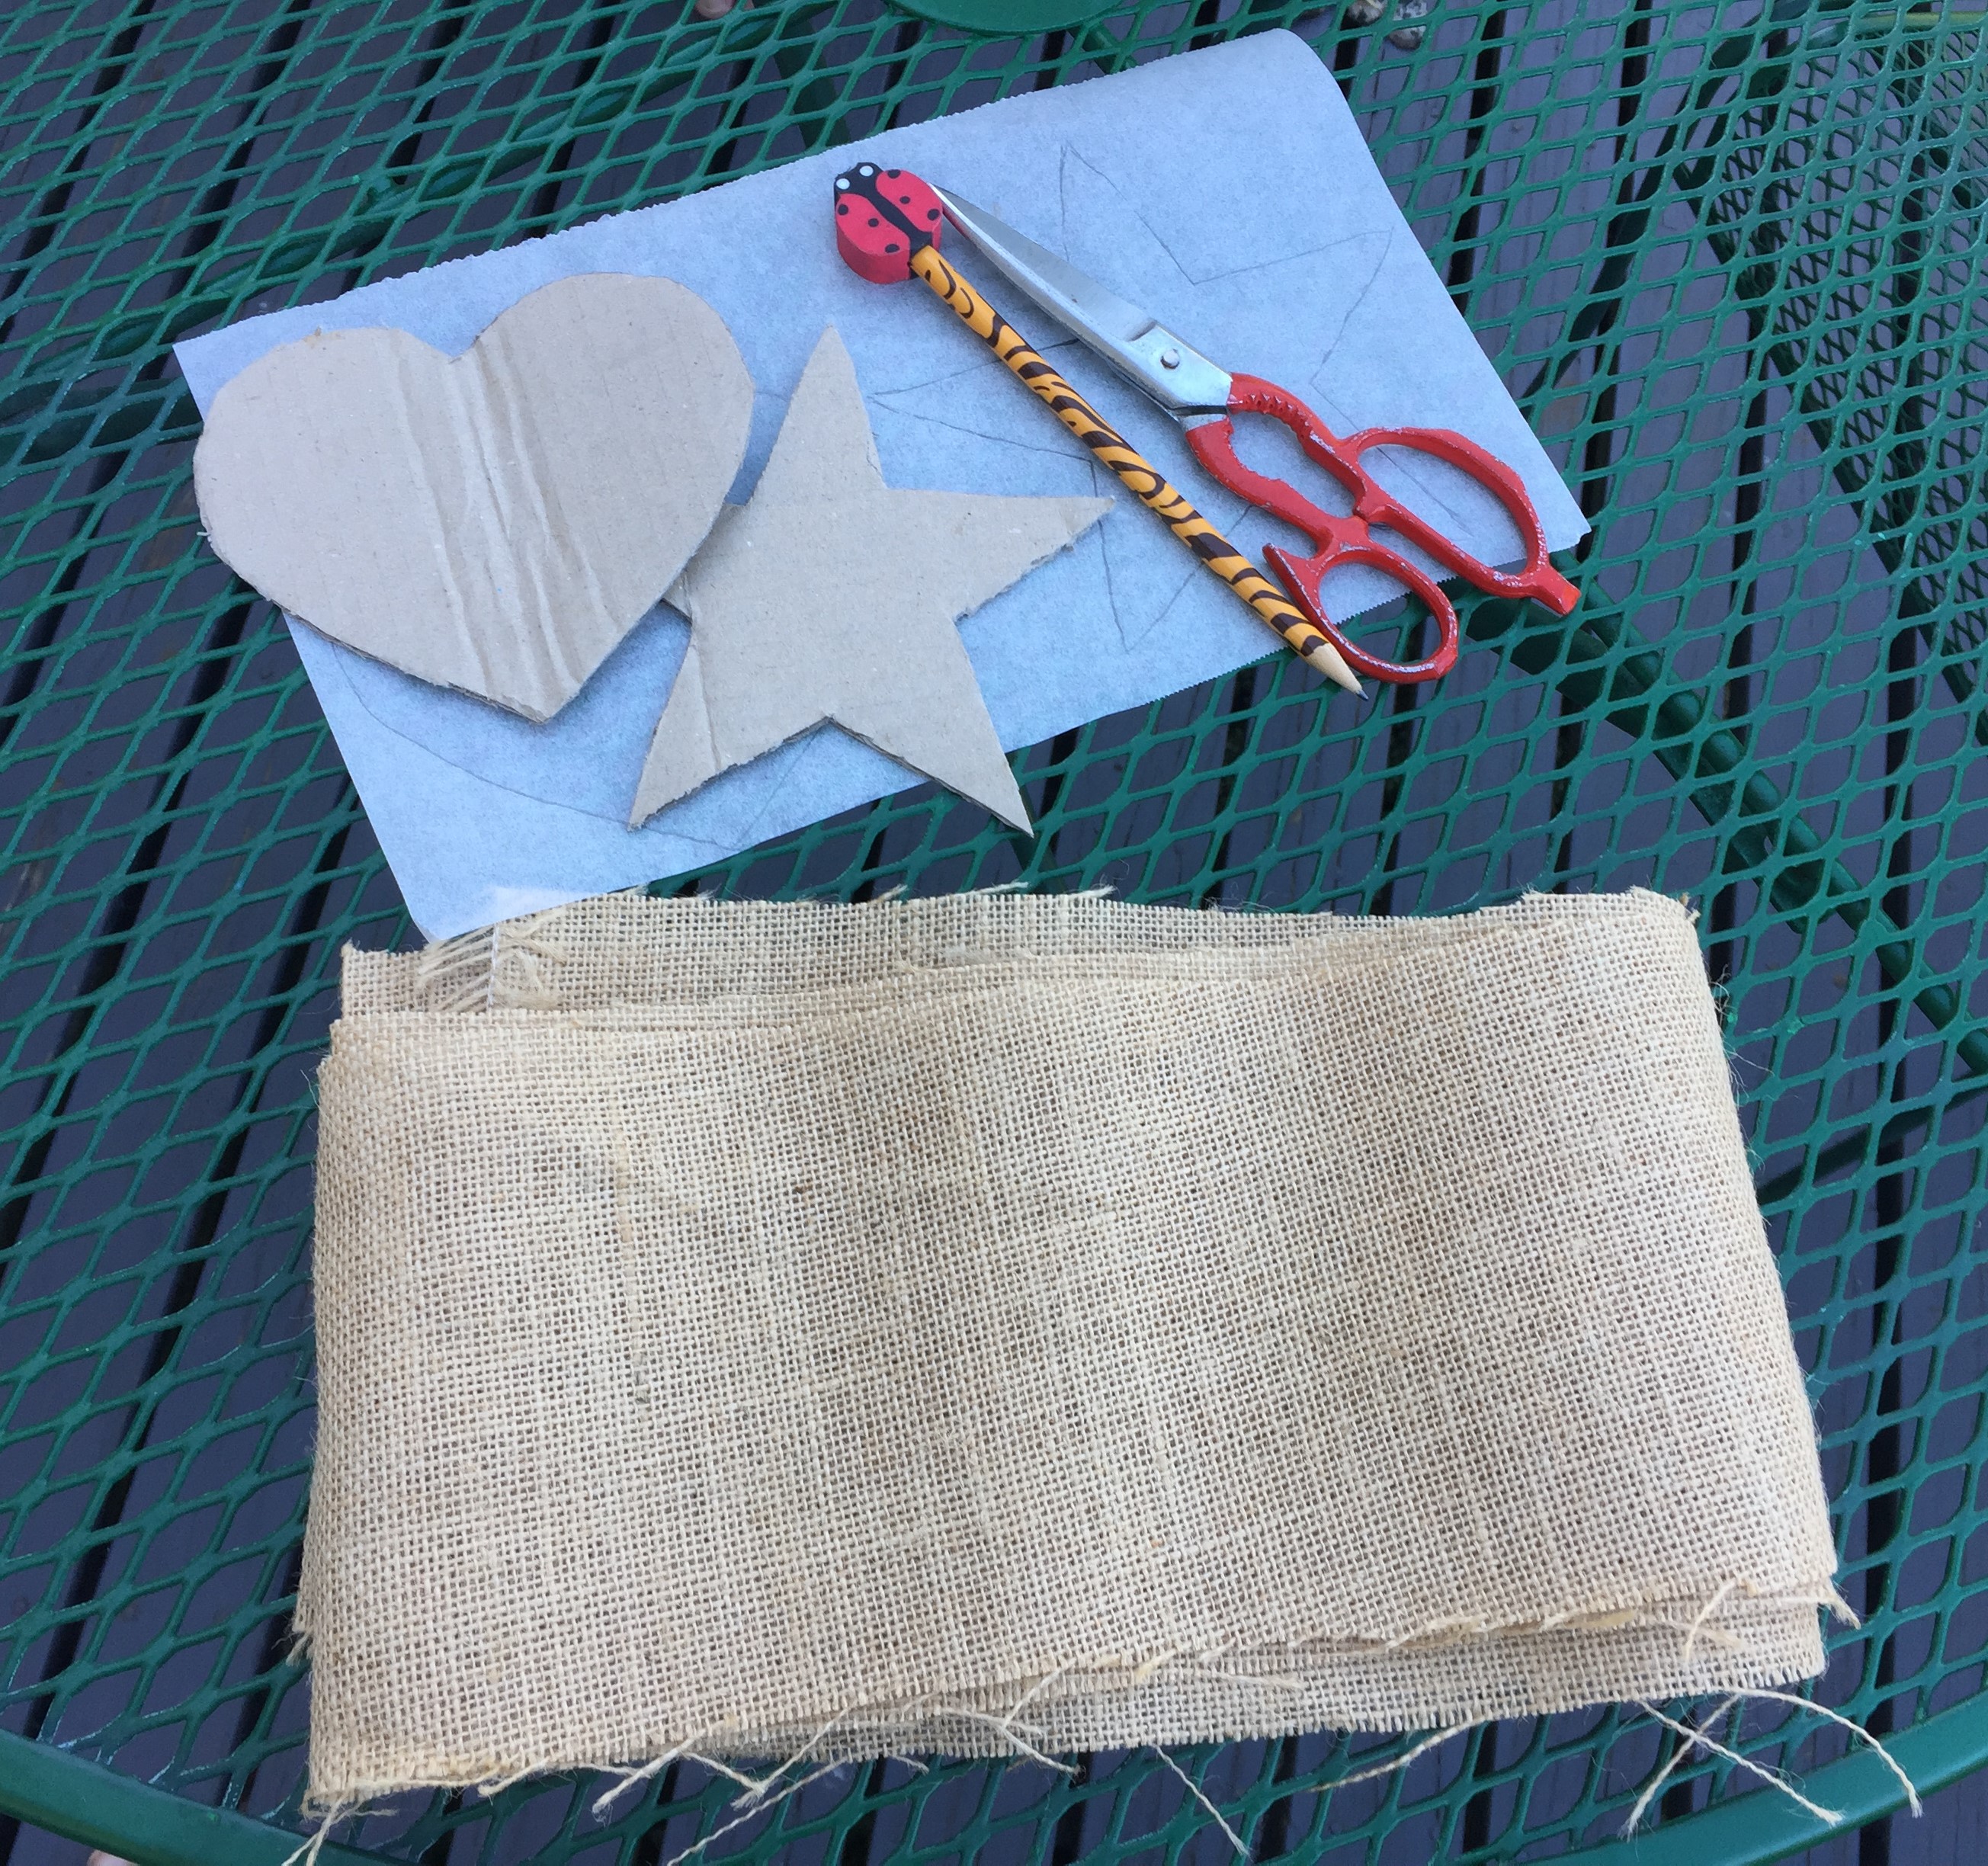
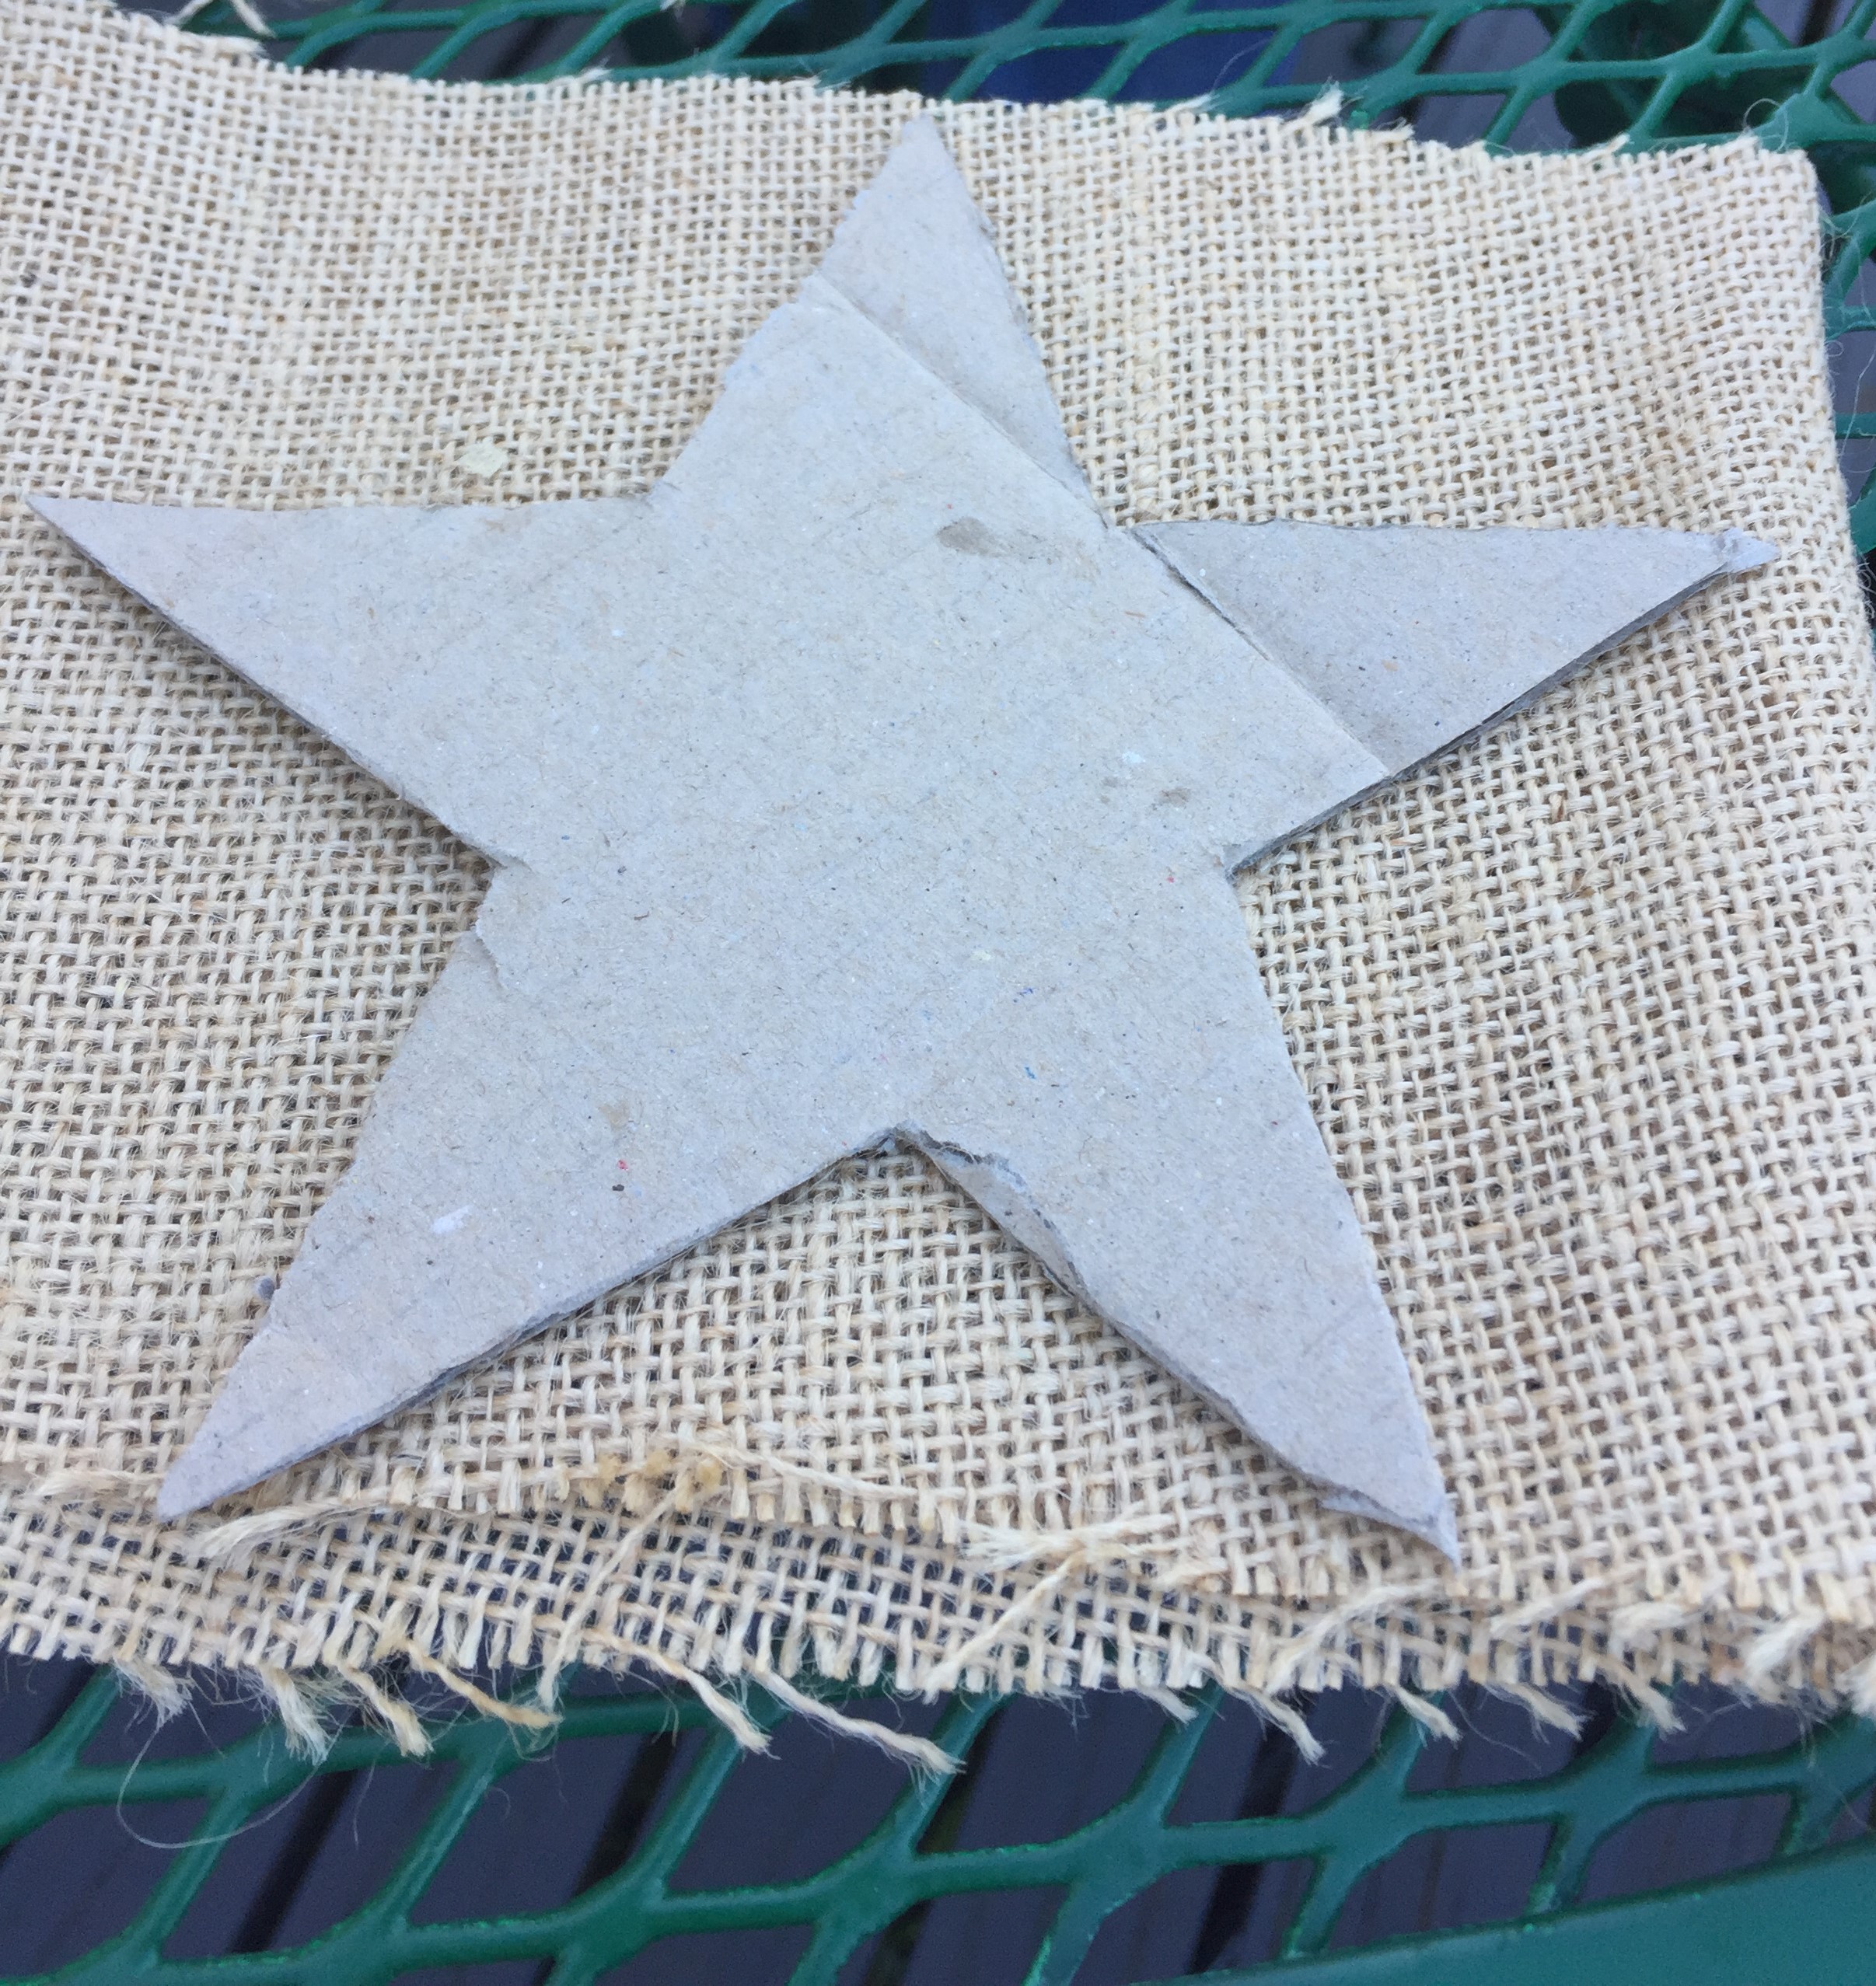
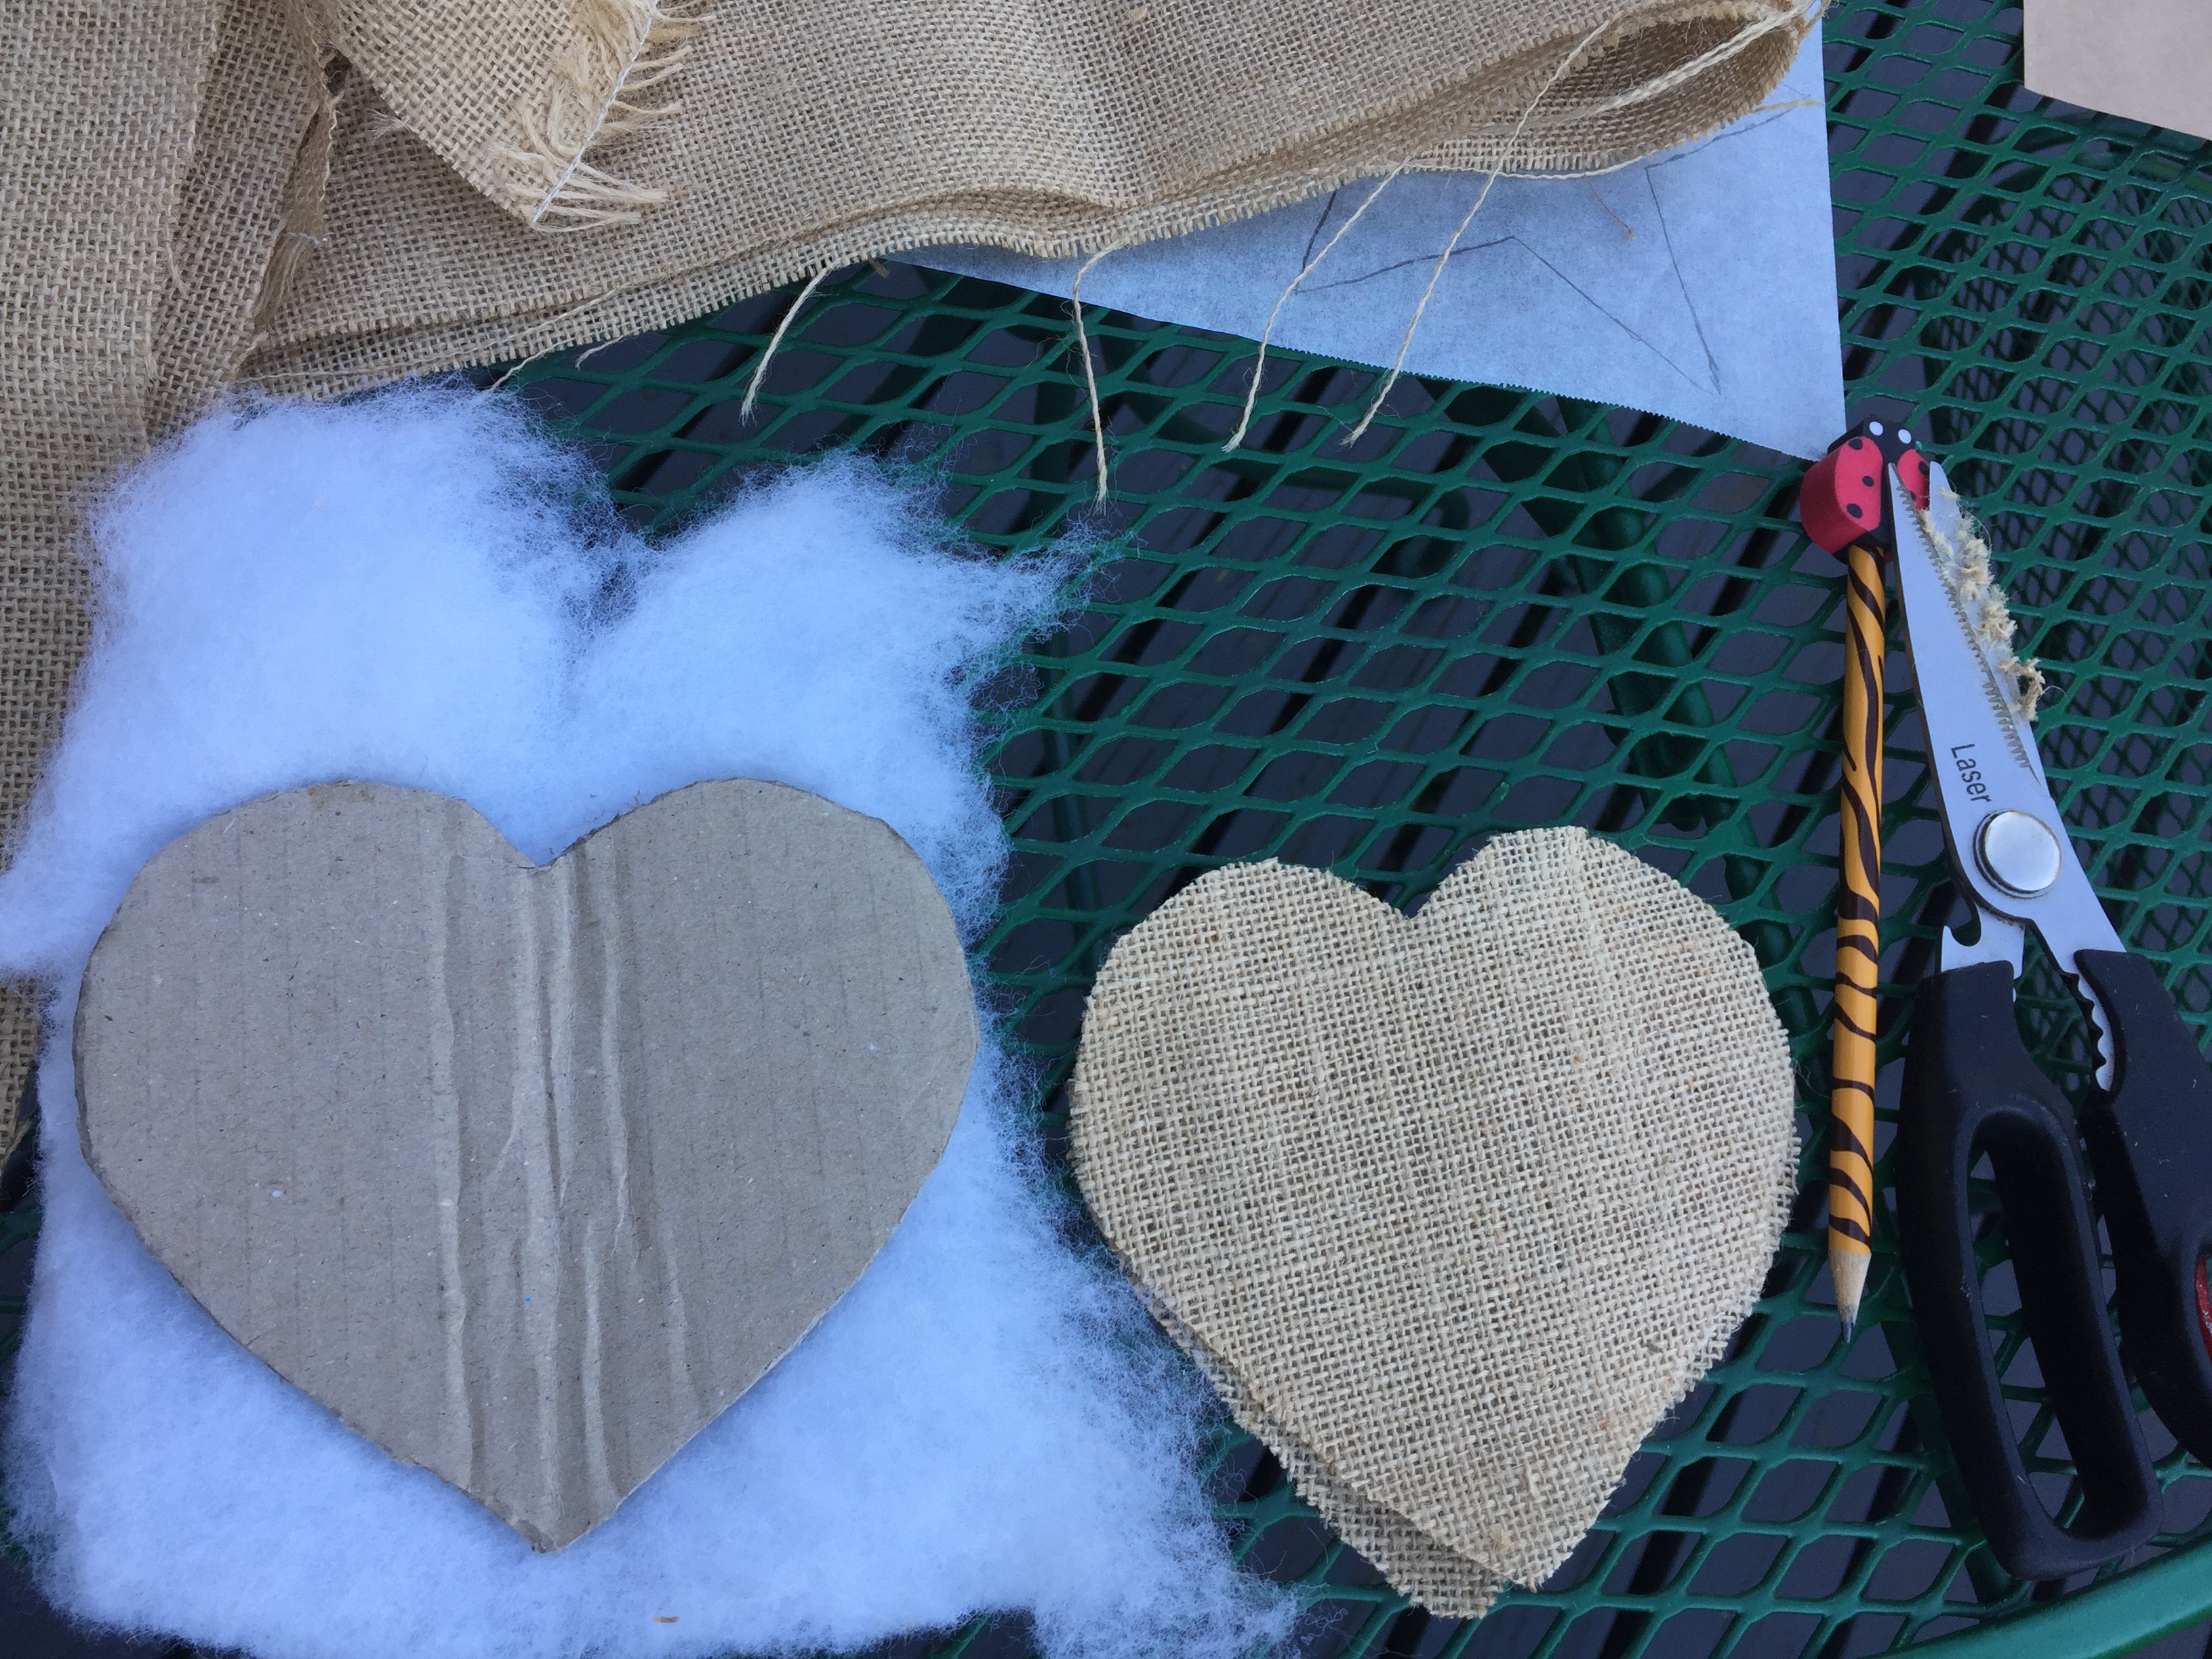
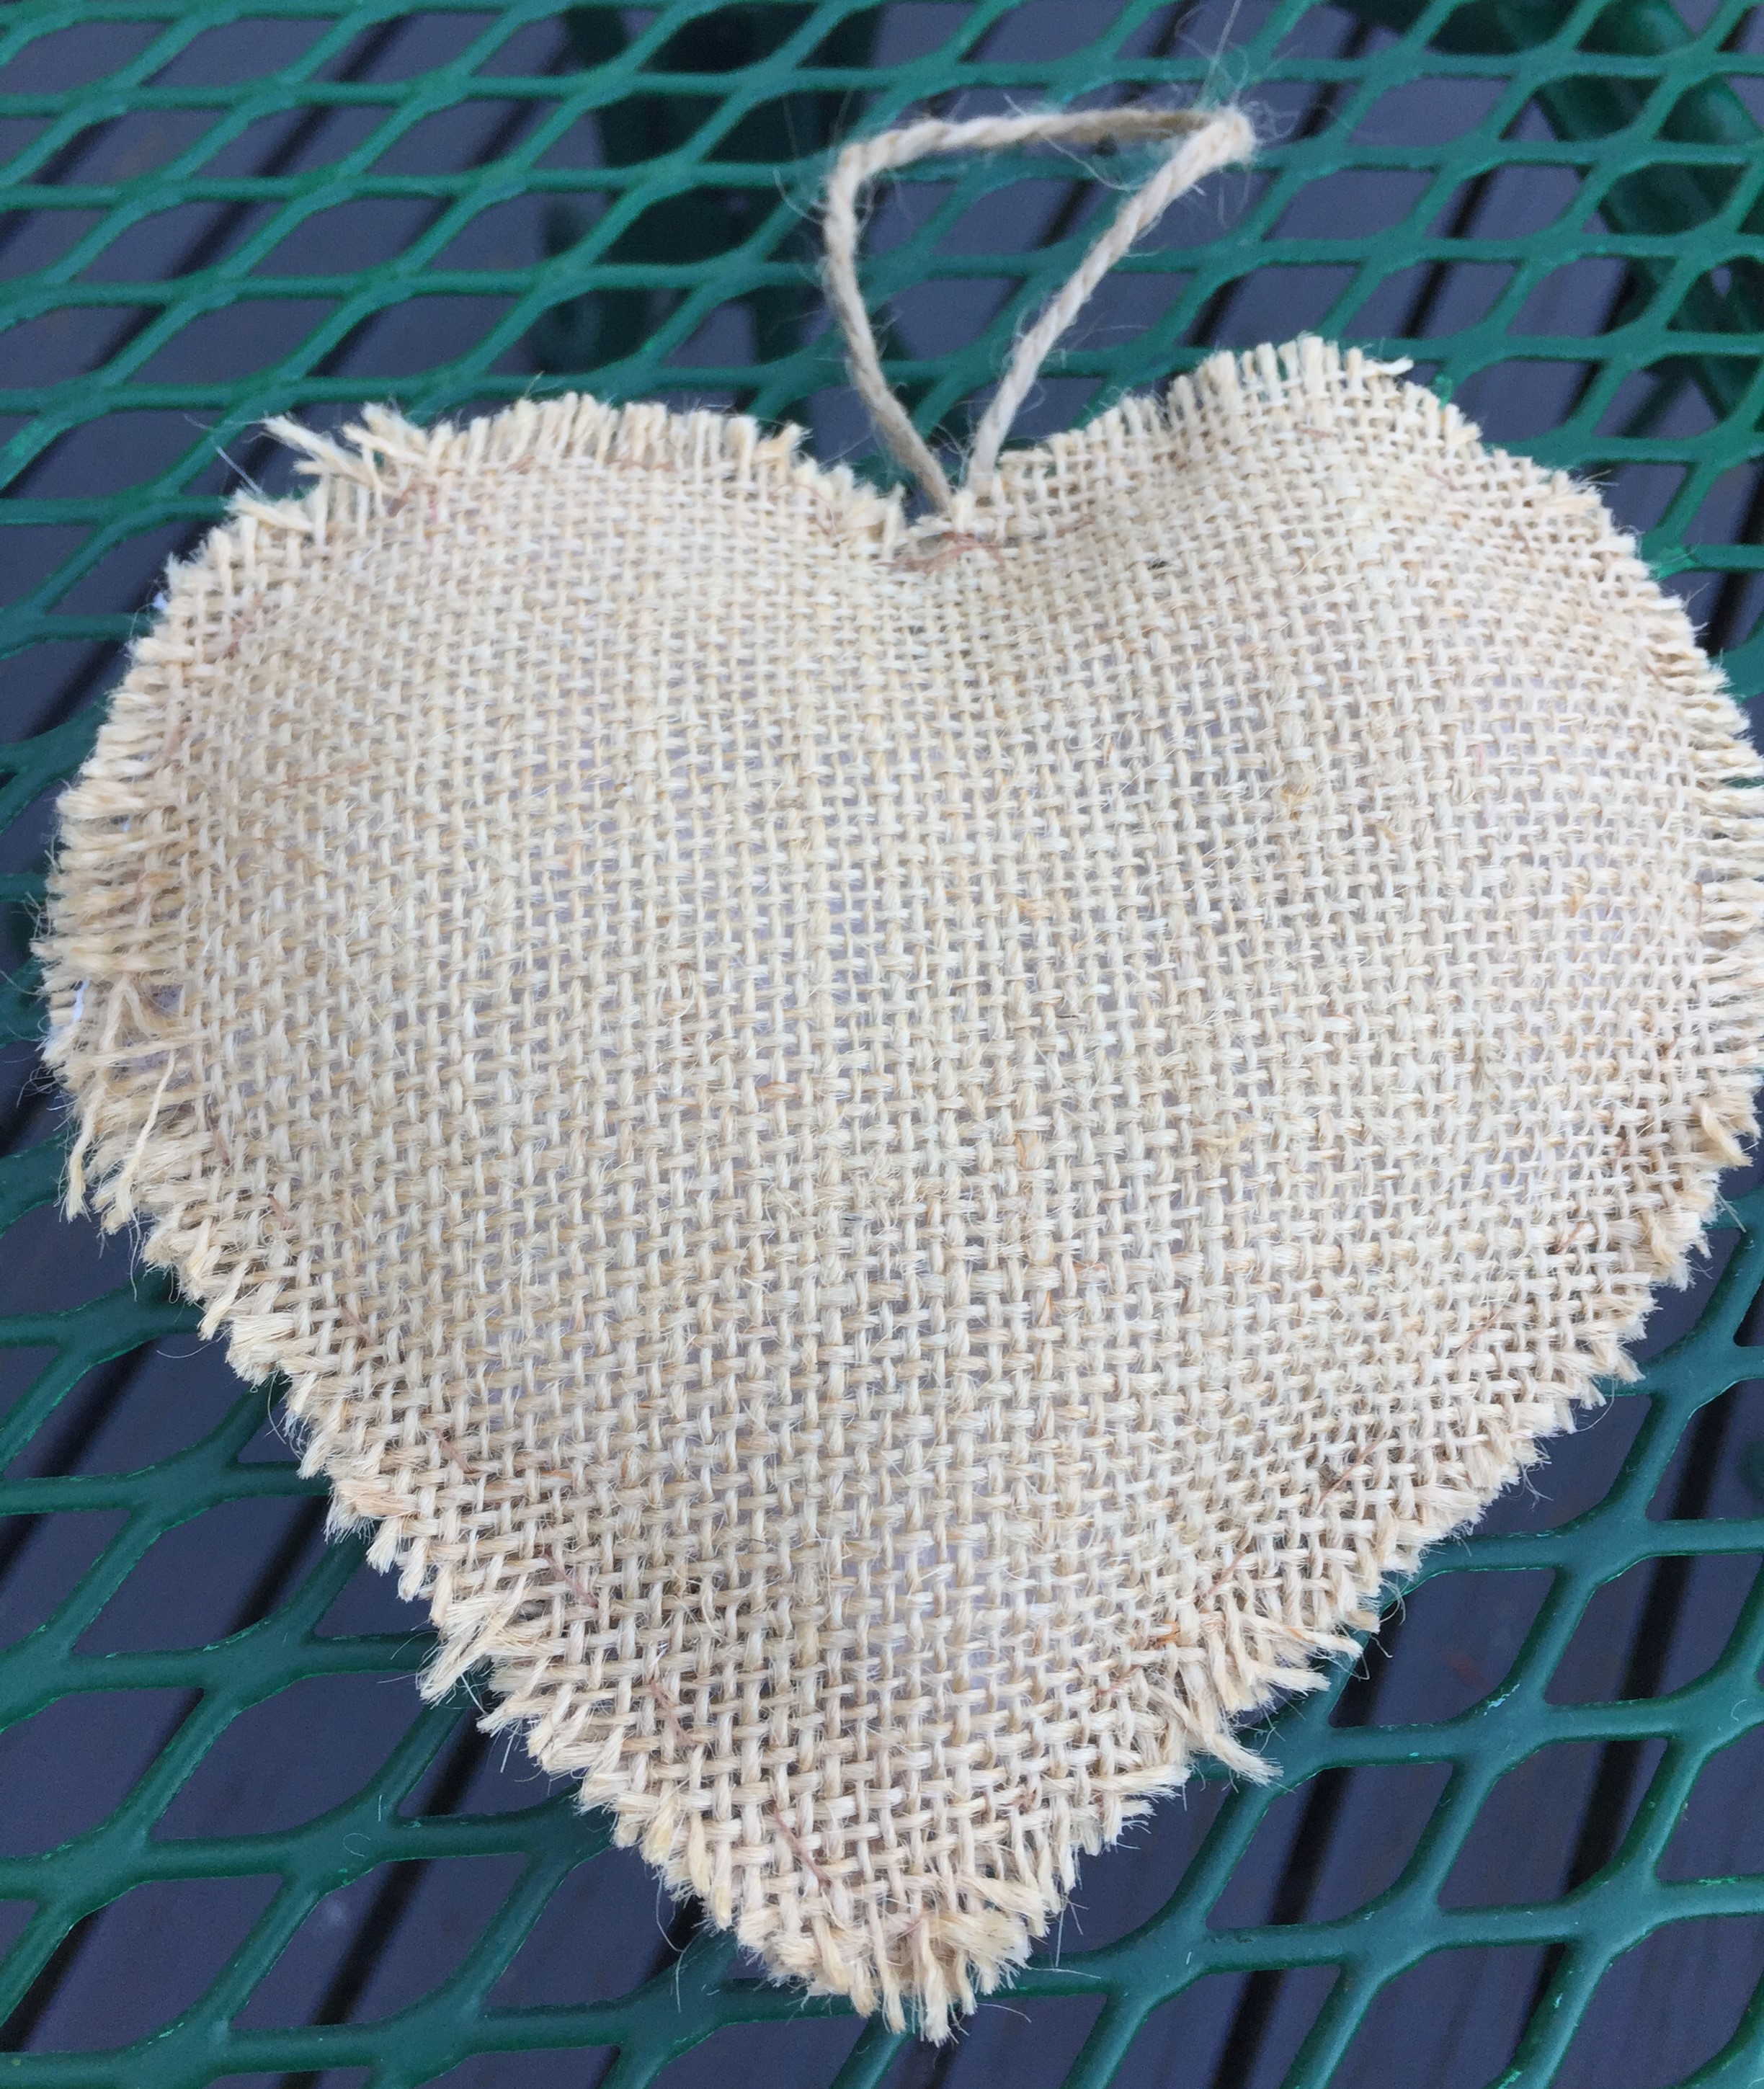
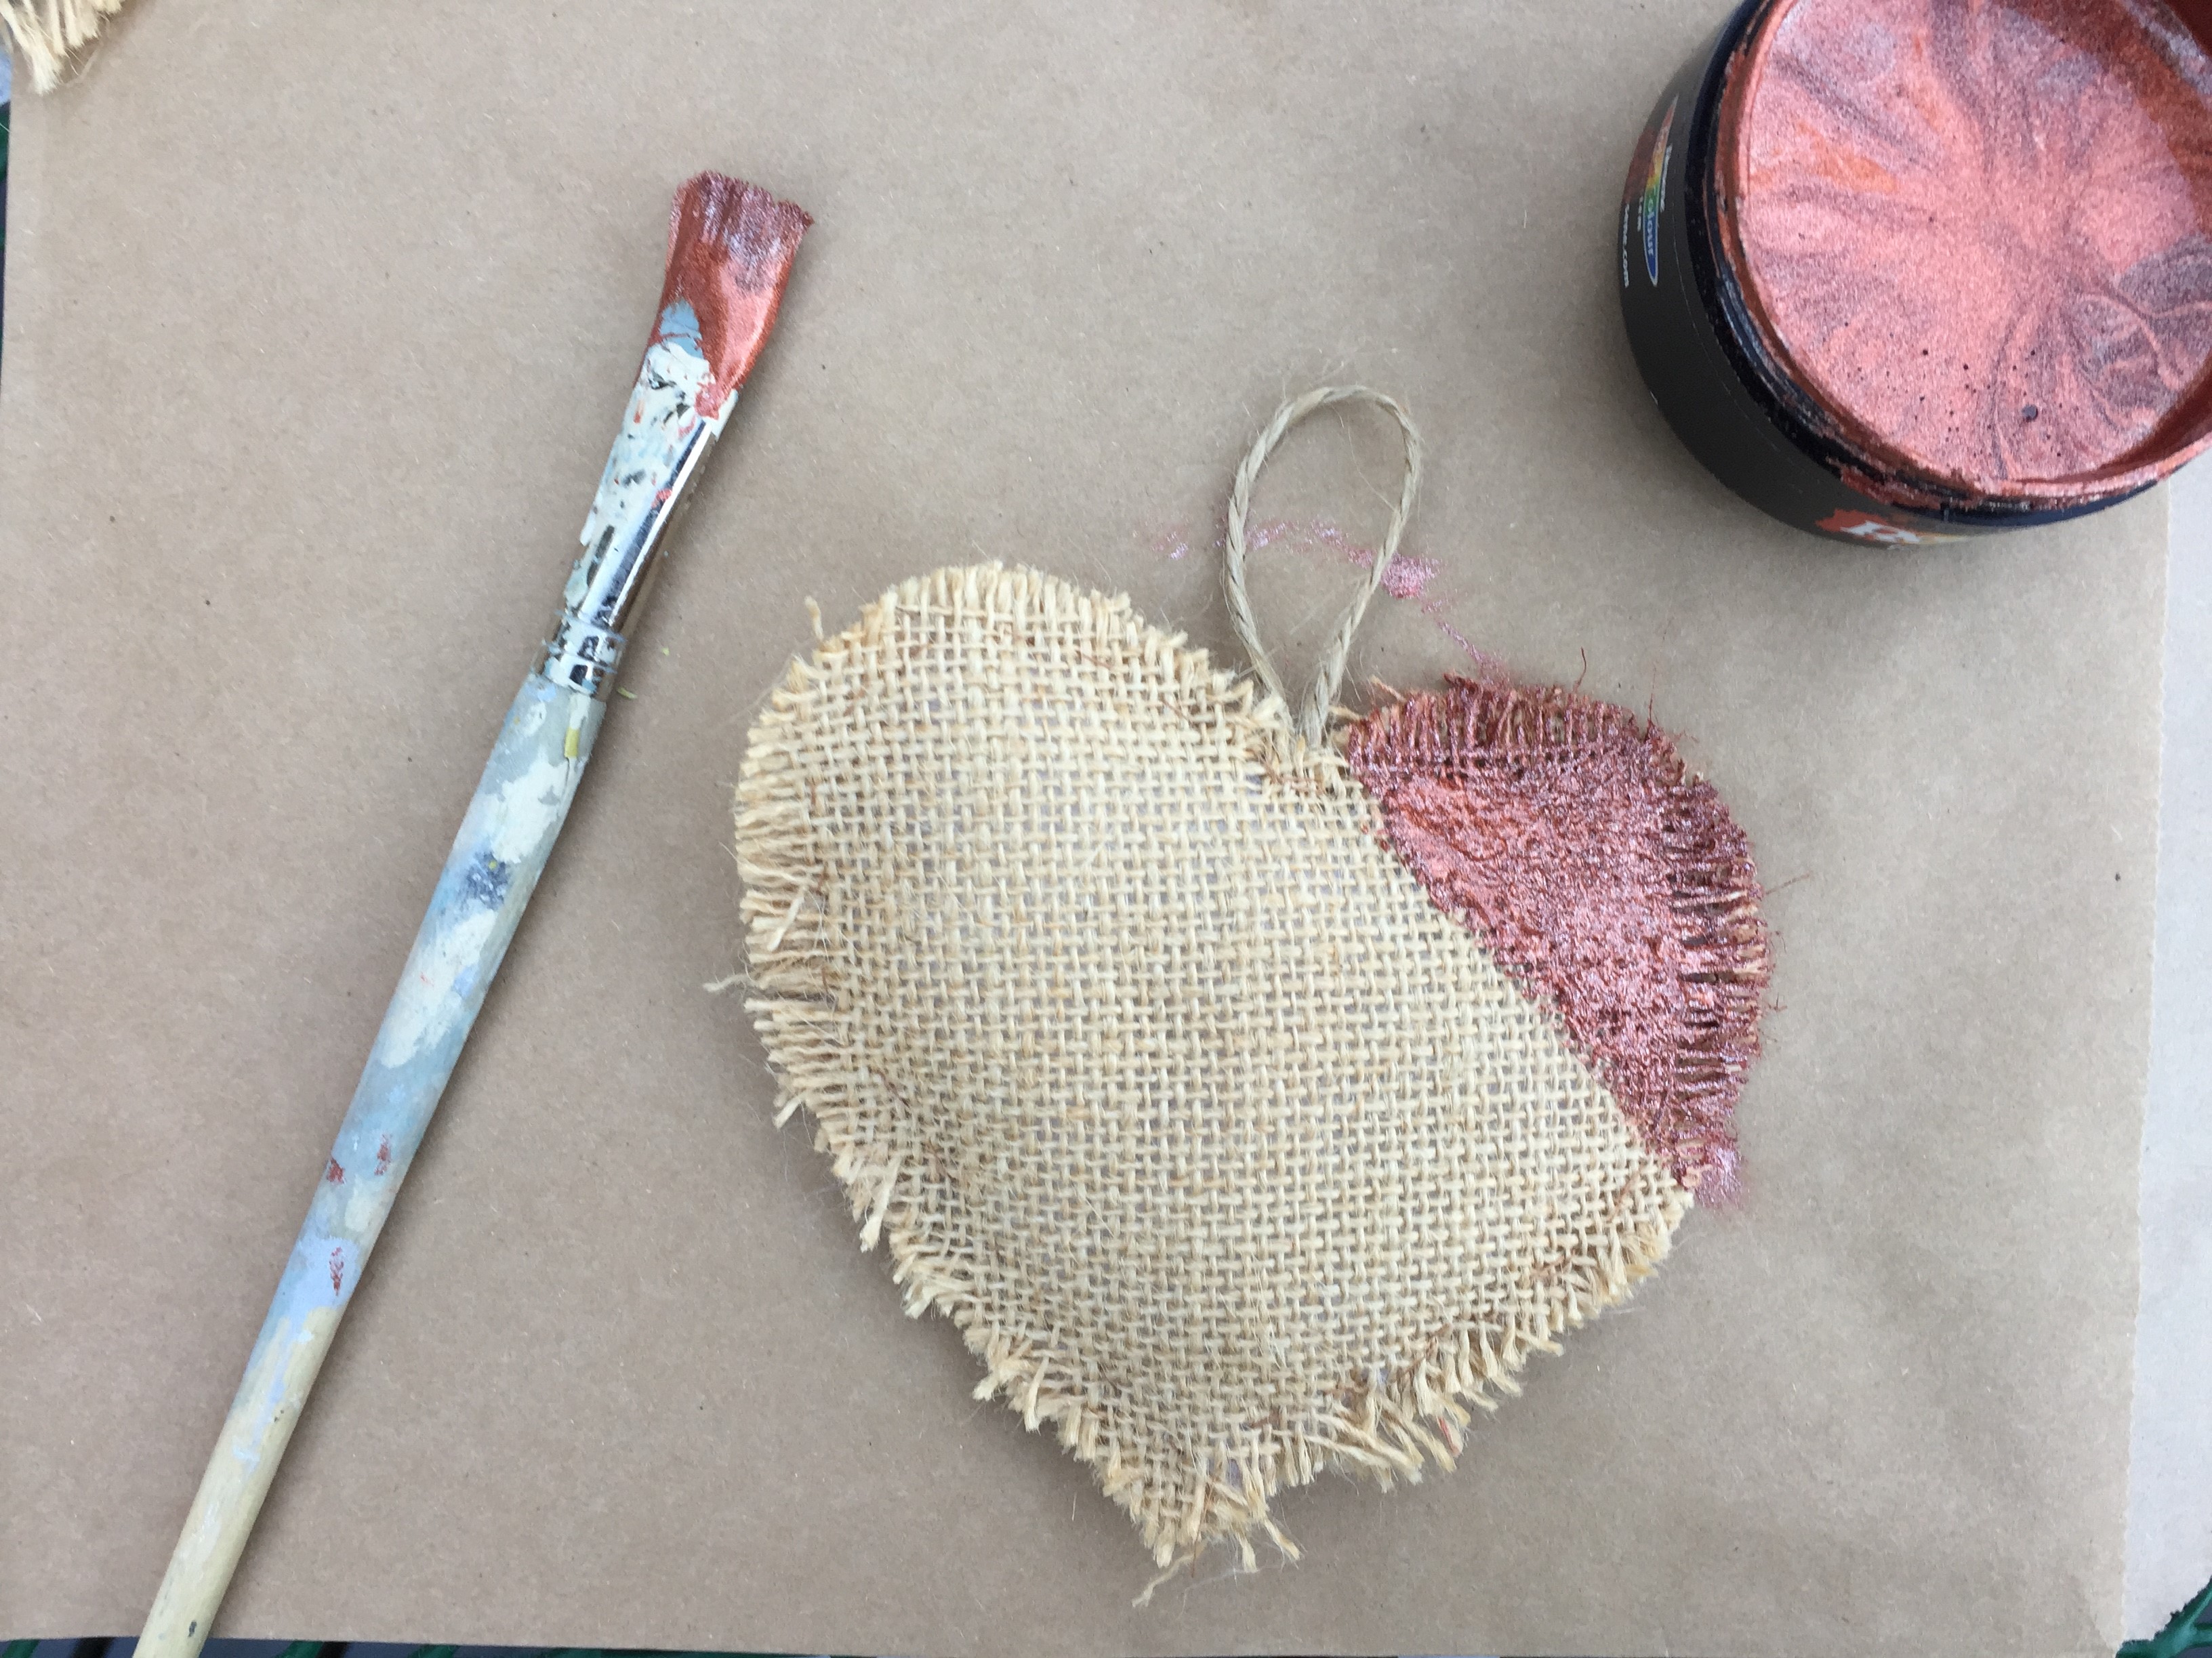
Check out the star and hearts I made of burlap, see my post on how to make these here. And, then all the decorations I wanted.
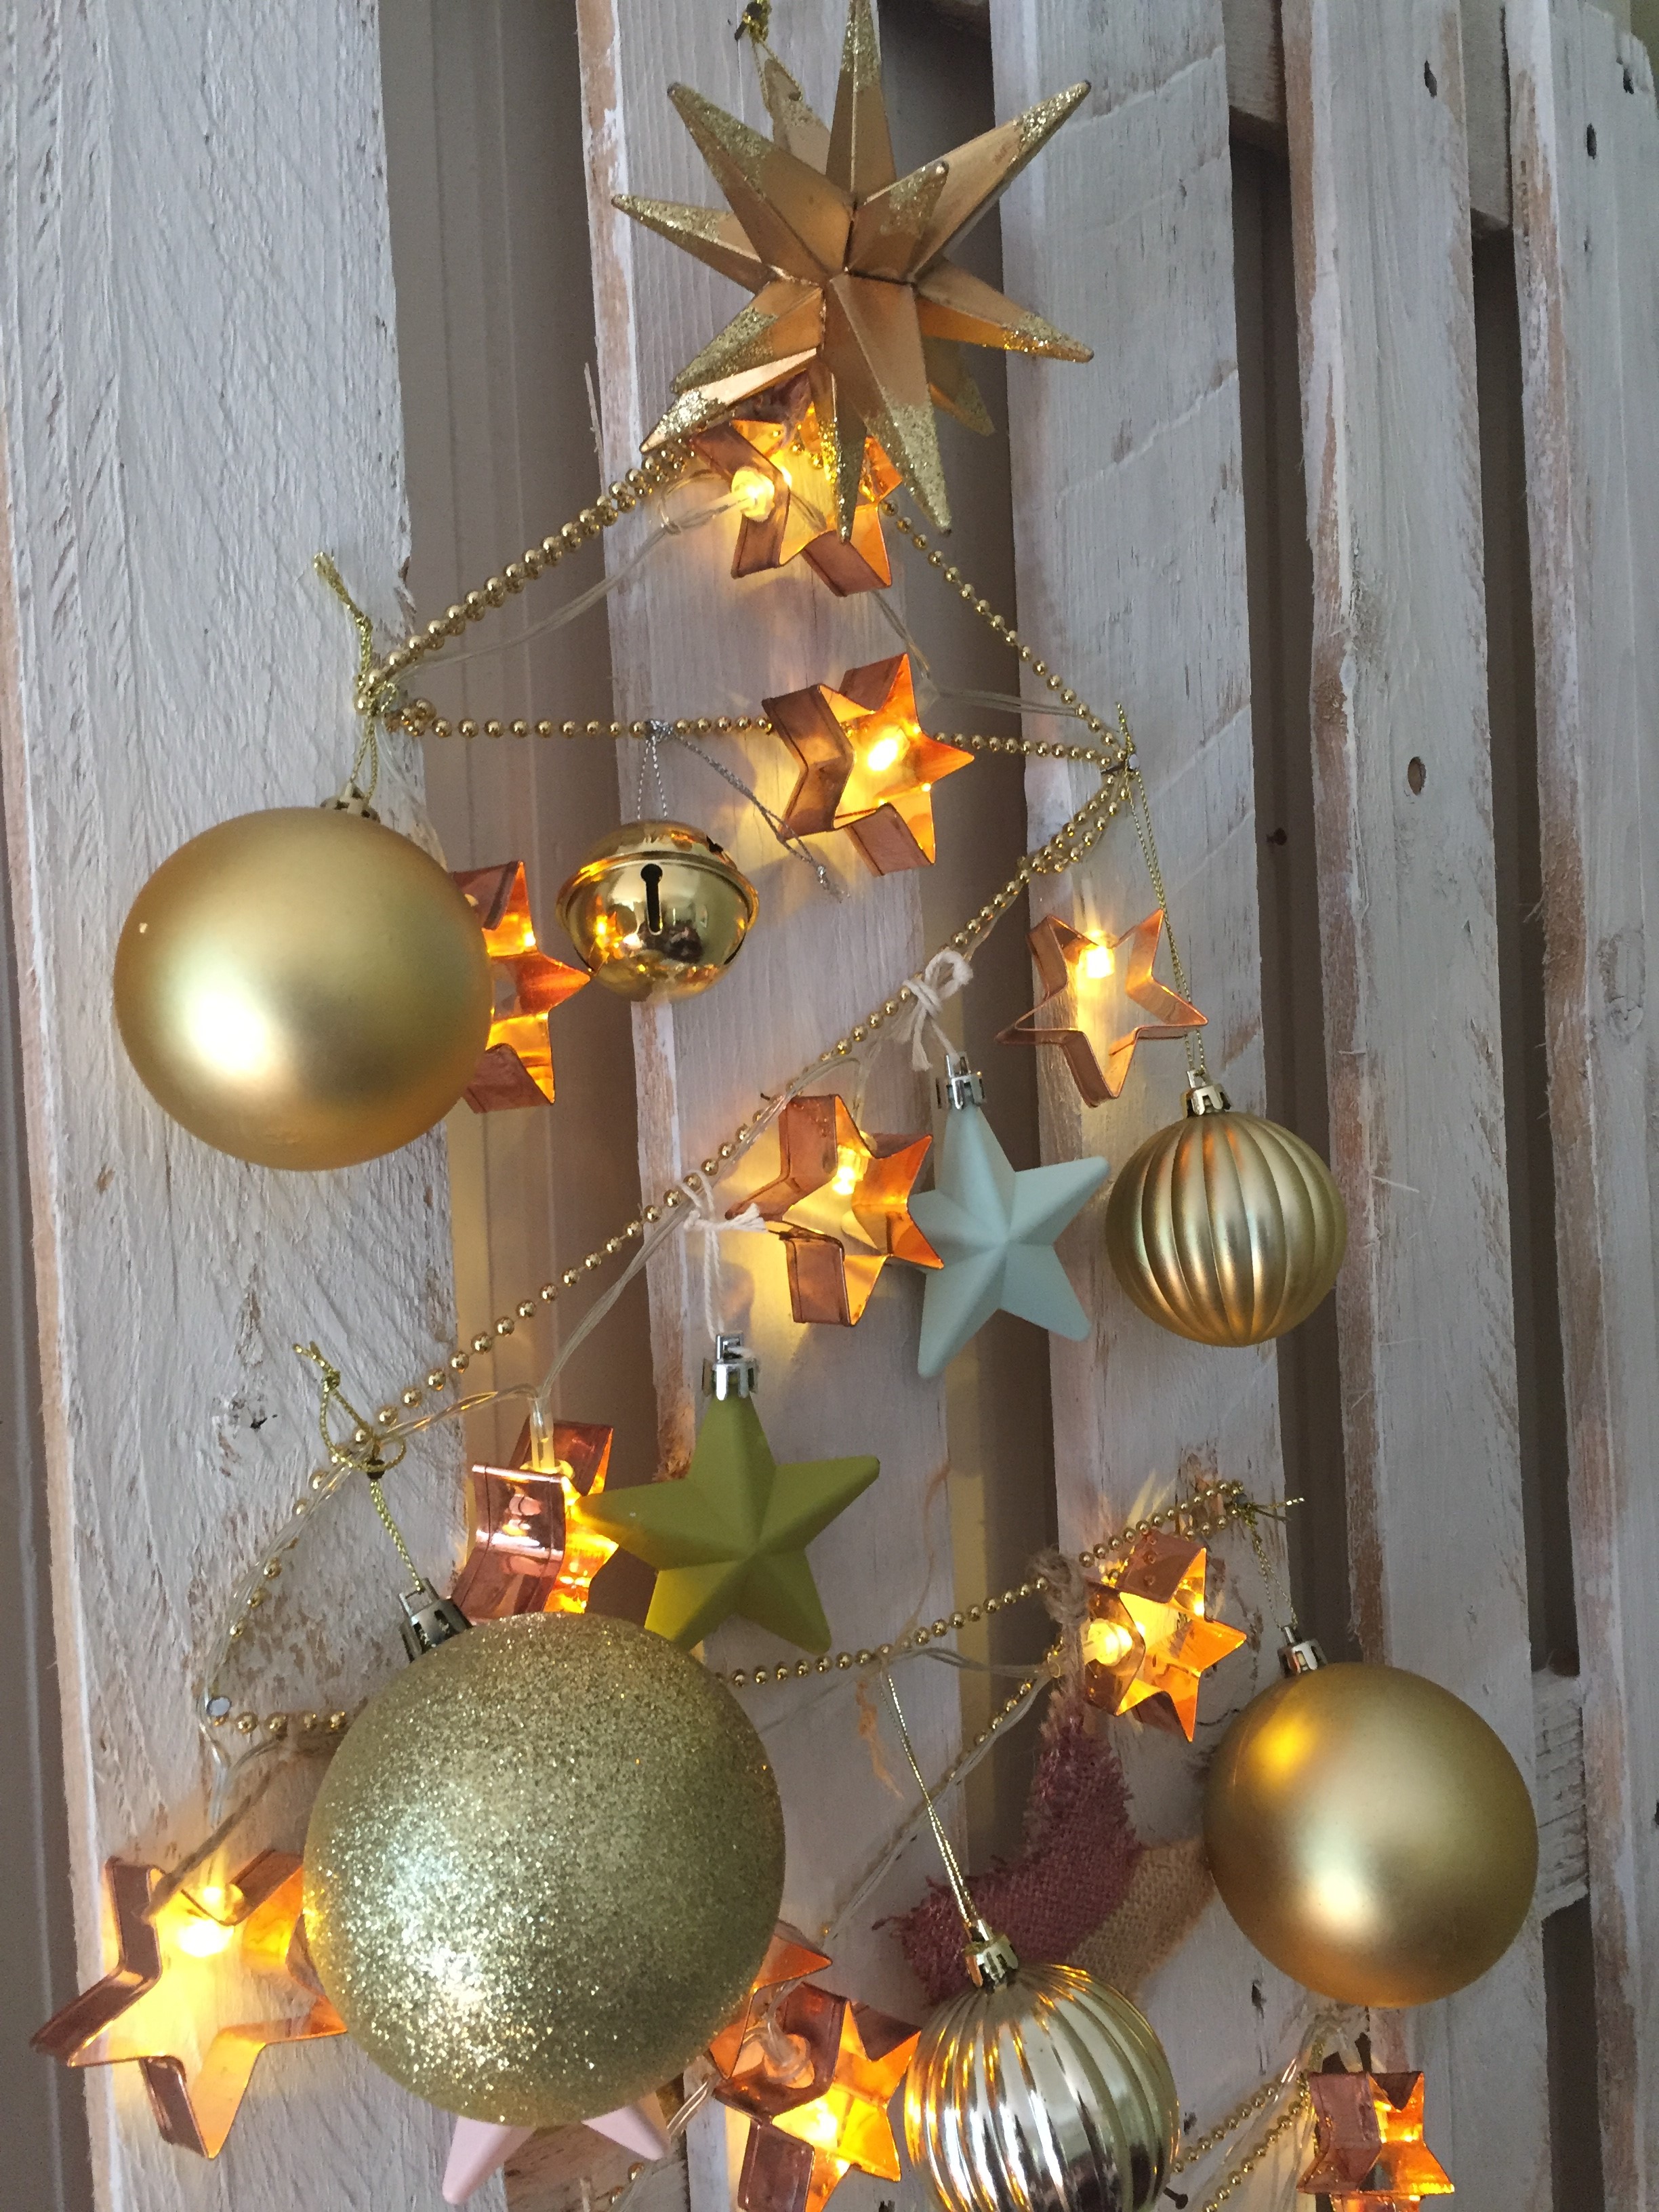
Christmas decorations on pallet

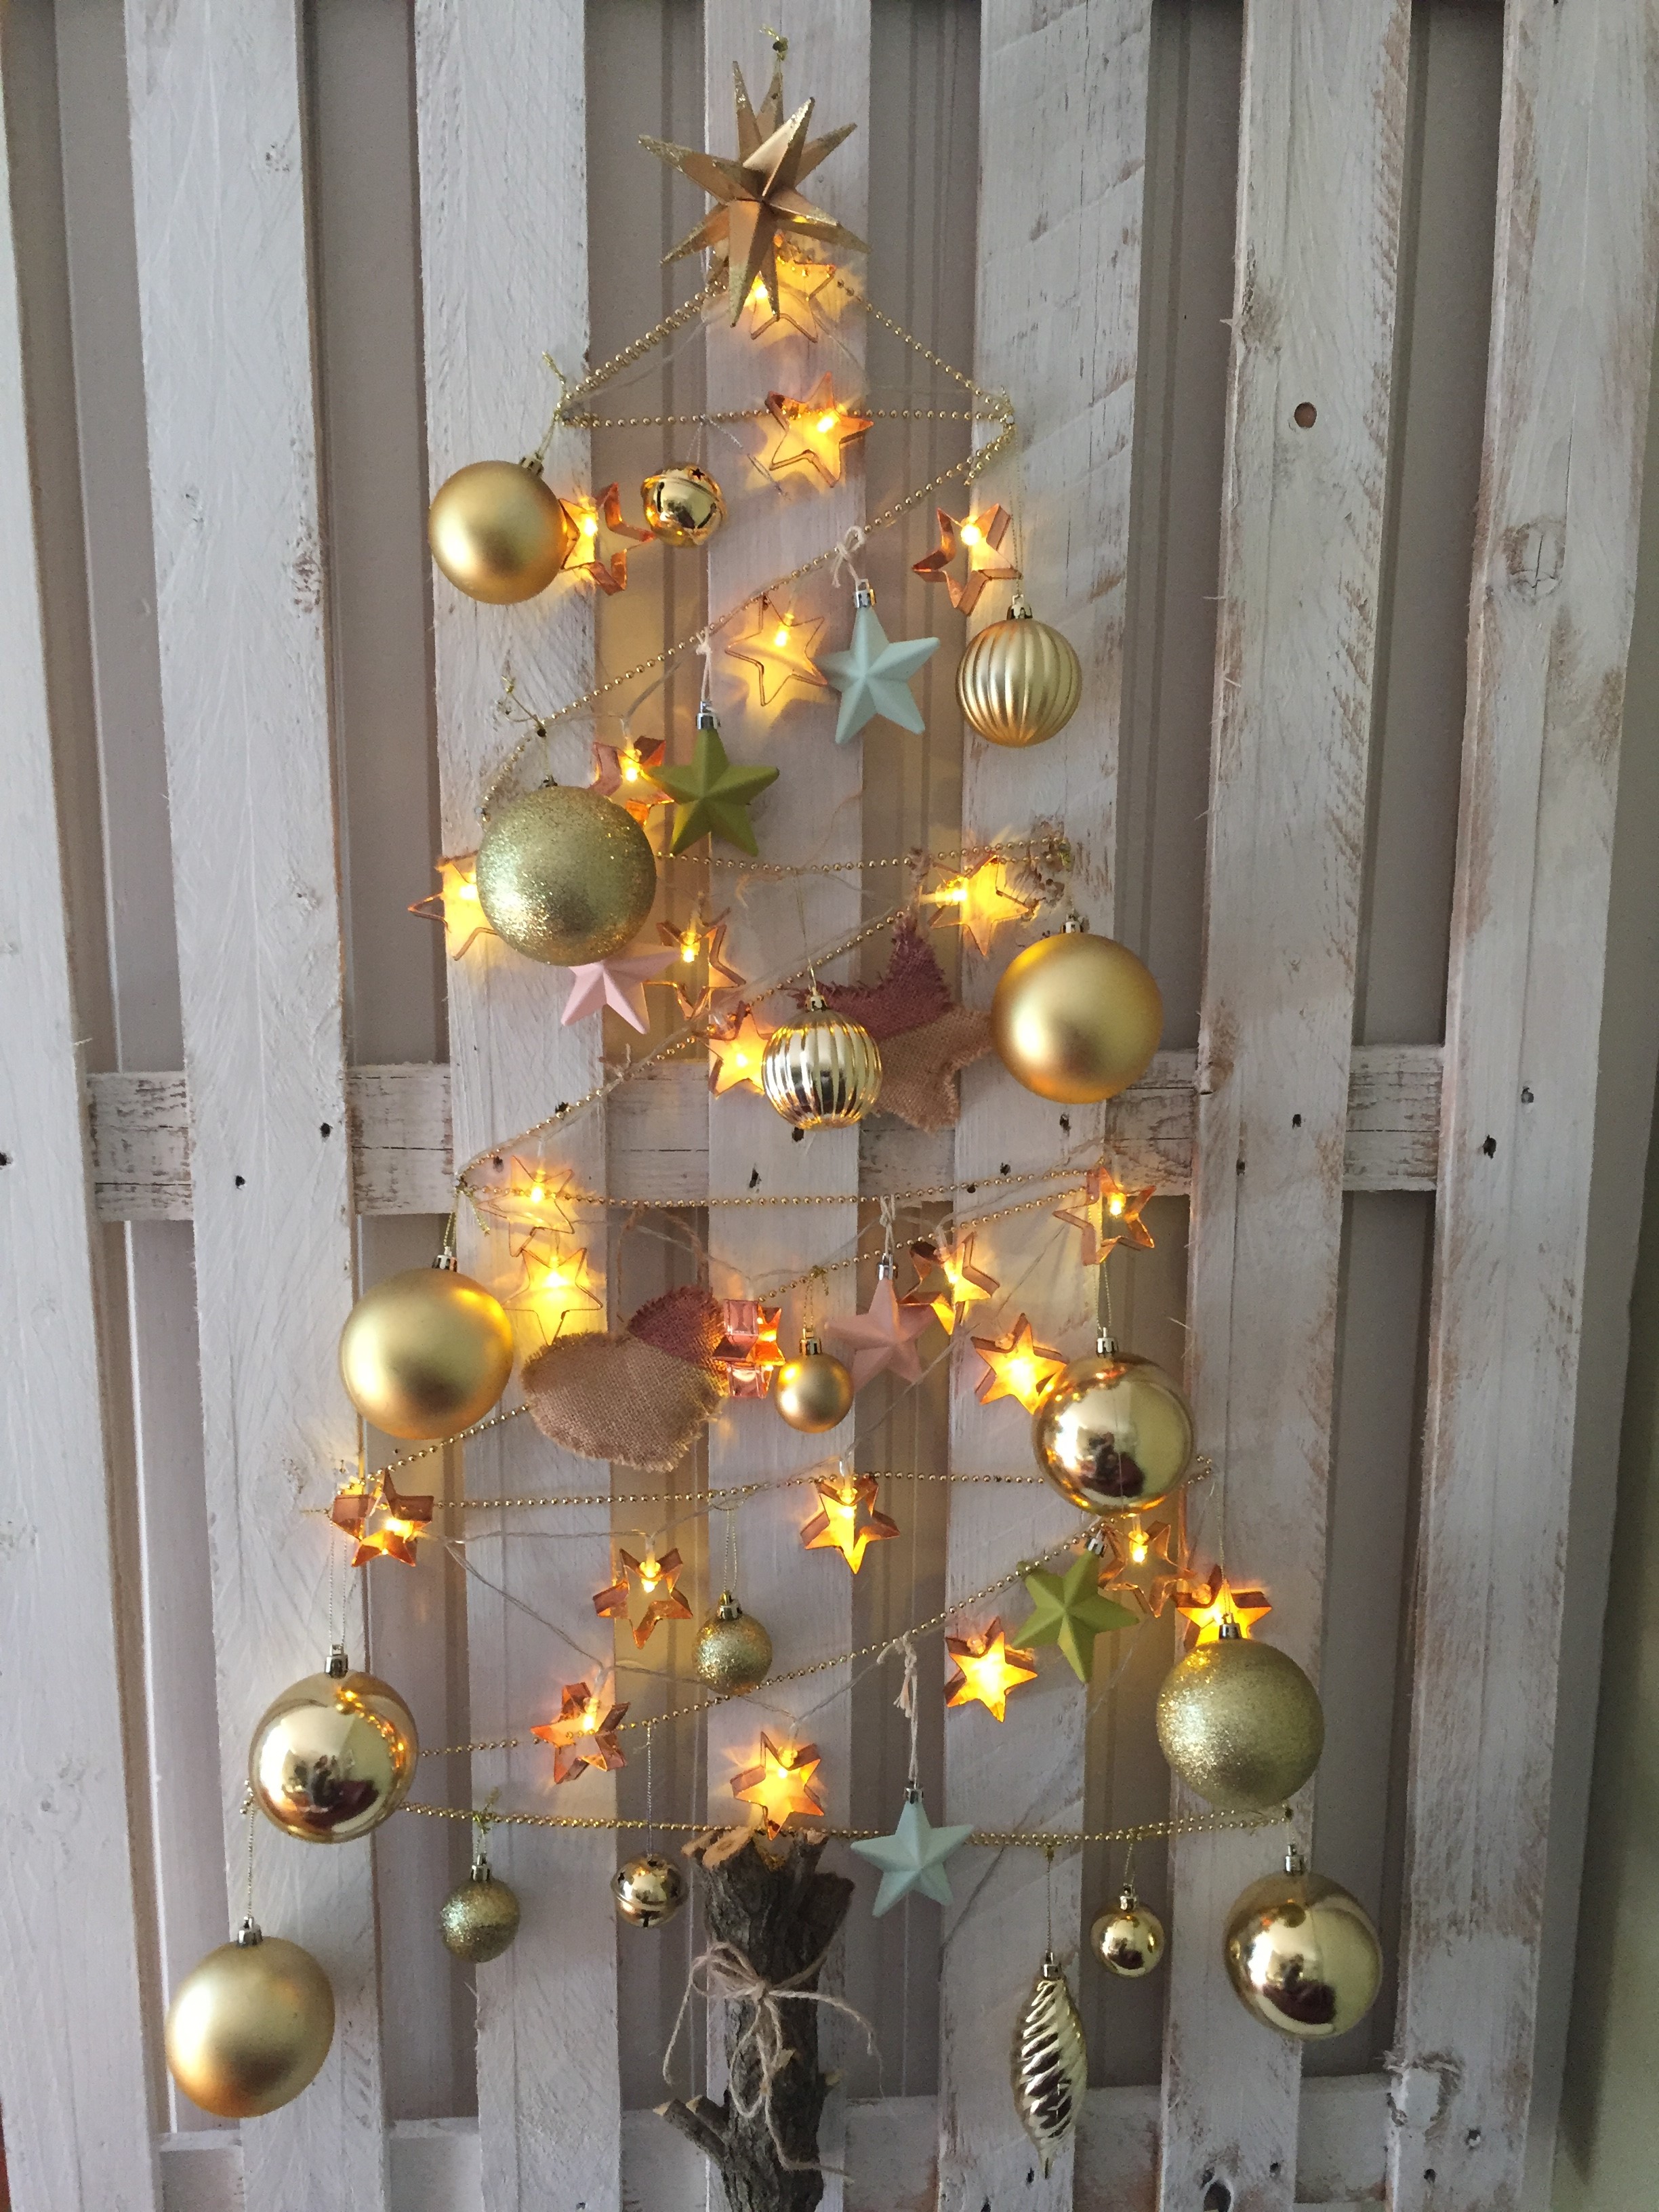
Finally, I attached with twine a piece of a tree log I grabbed from a wood pile.

Tree log
We hung this on a wall for the holiday season…the family love it!

Pallet Christmas Tree
Thanks for reading my post! Hope you get to make a pallet Christmas tree!
Andi