How to make a bay leaf wreath … last minute

img_4115-2

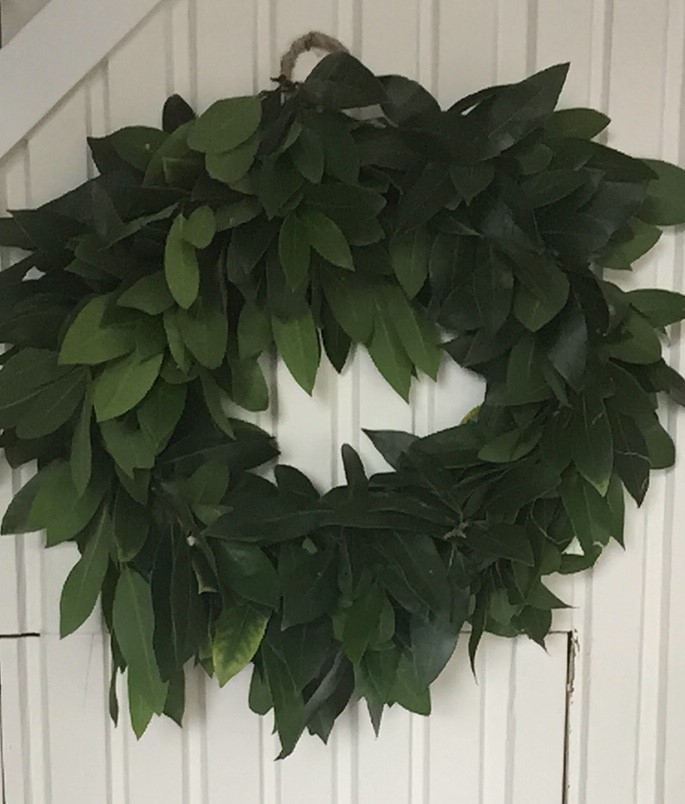
Bay leaf wreaths tend to quickly dry out in the summer heat, so I left it till the last minute to make one.

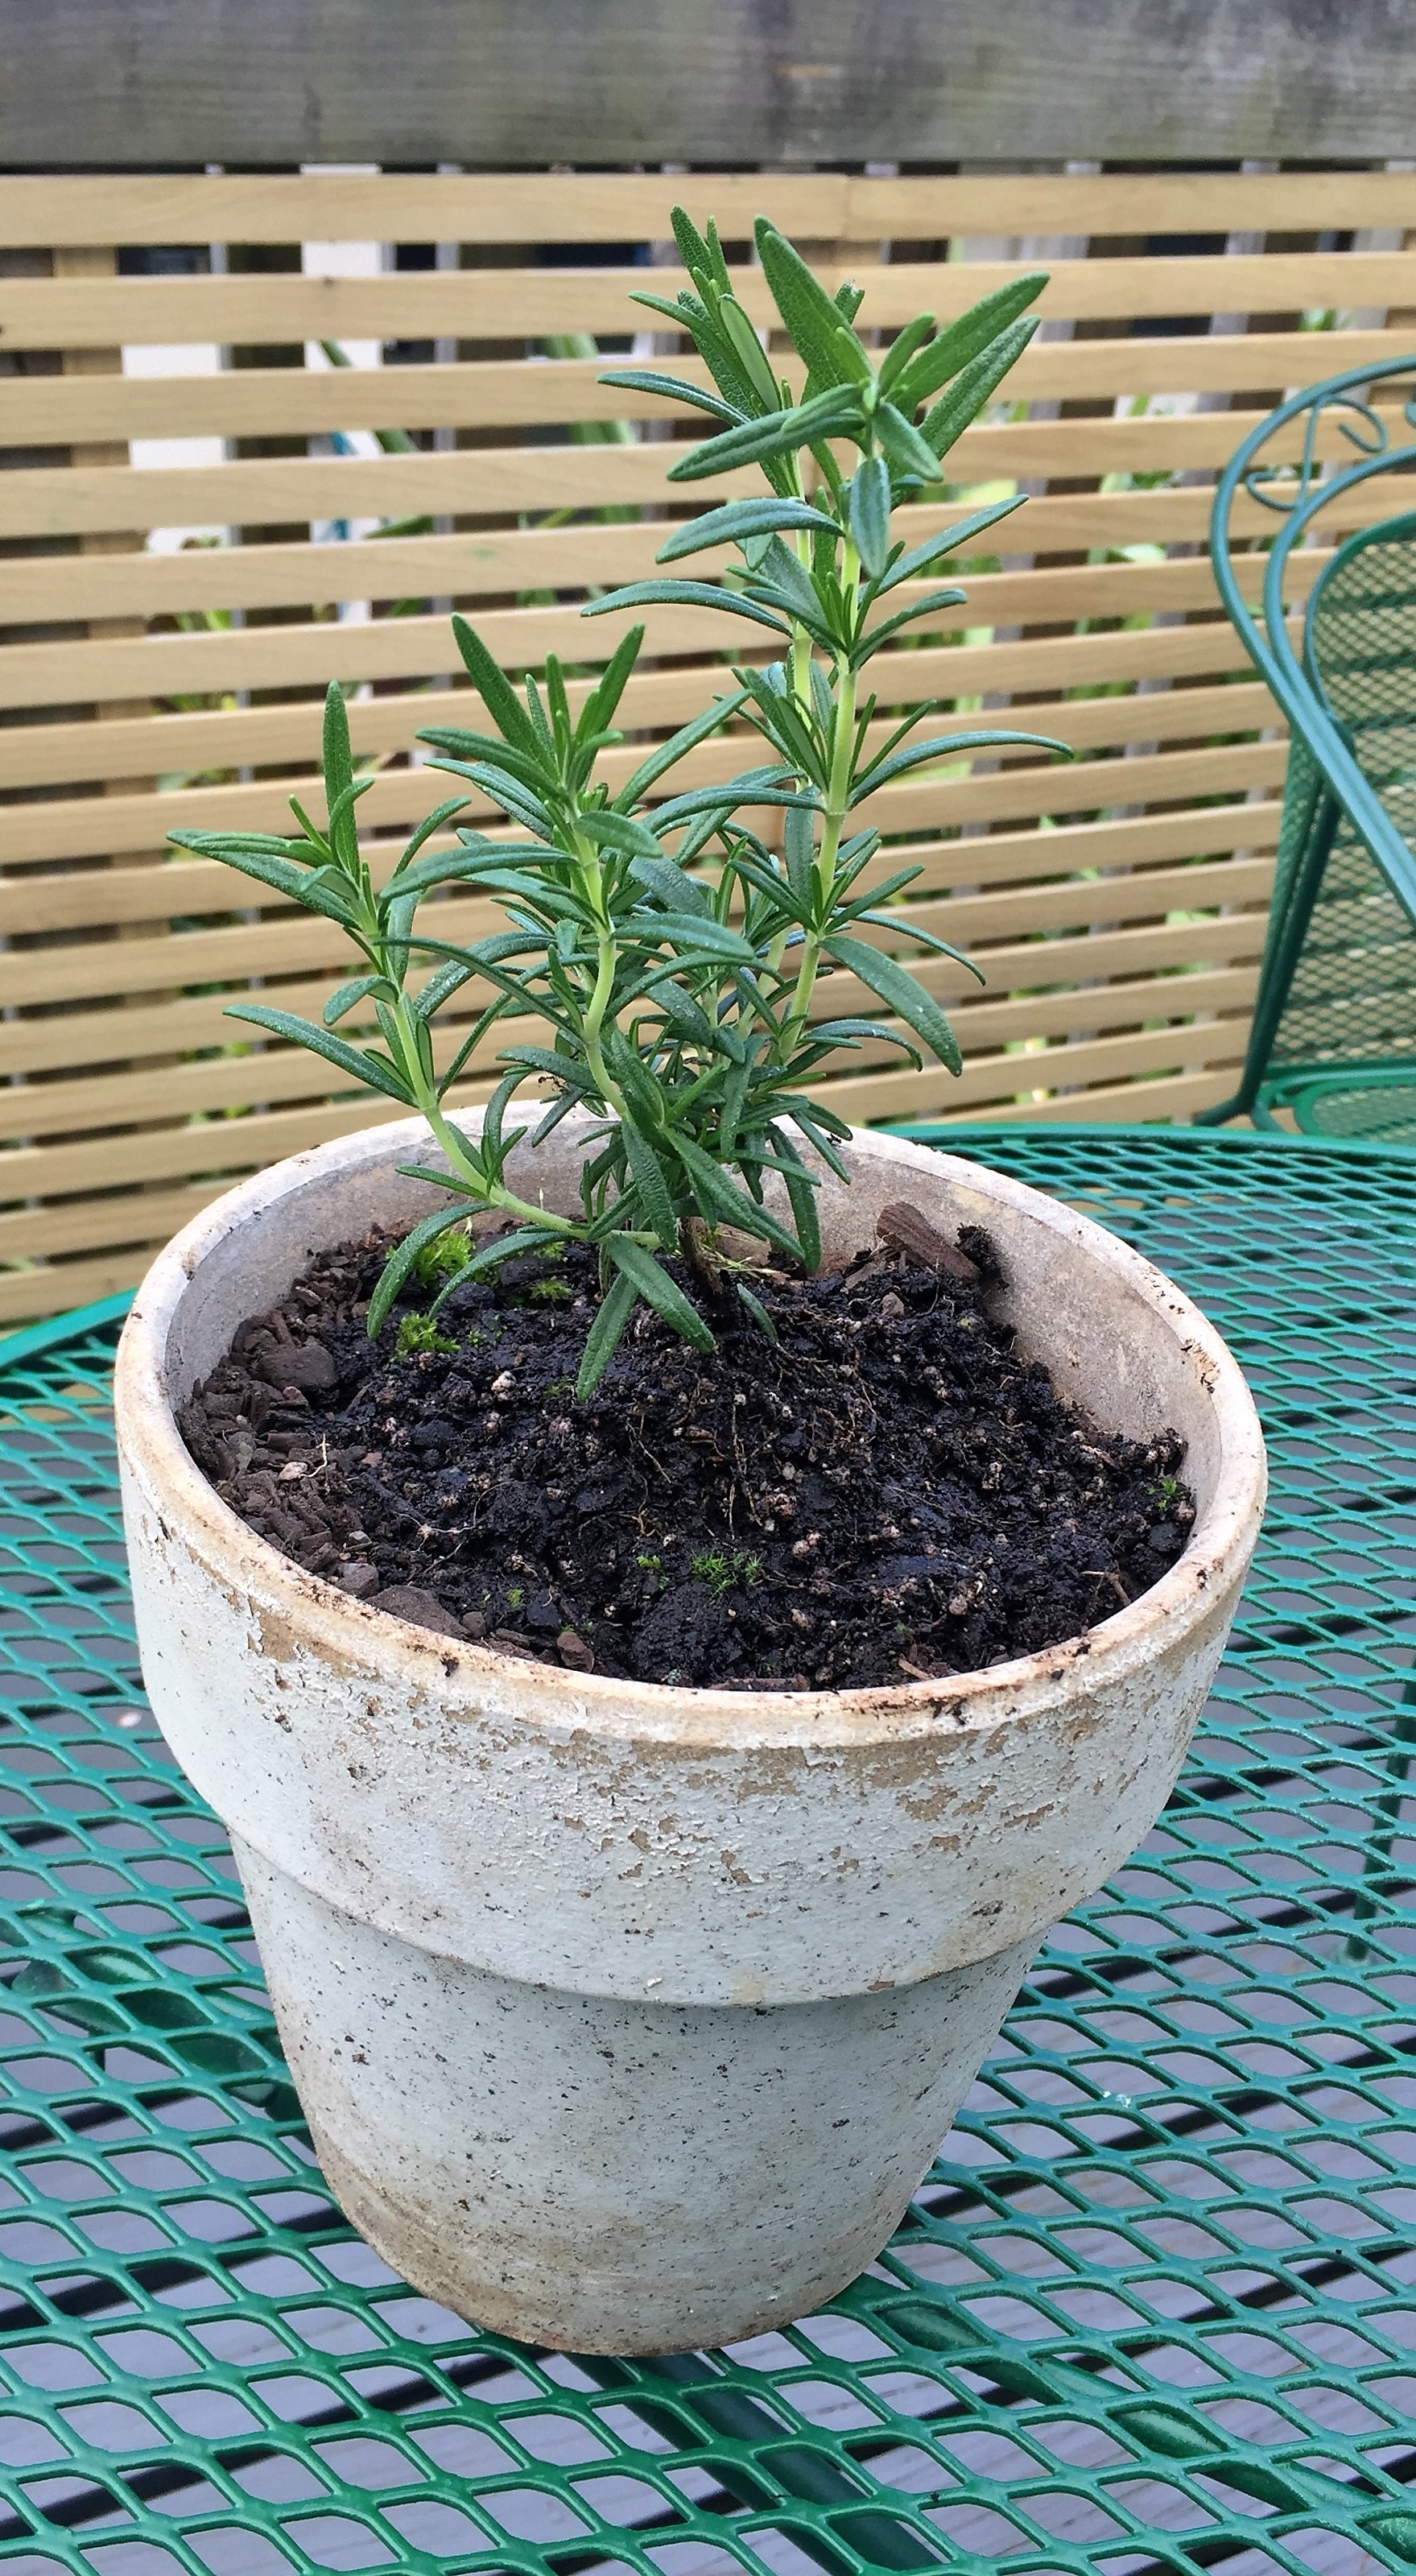
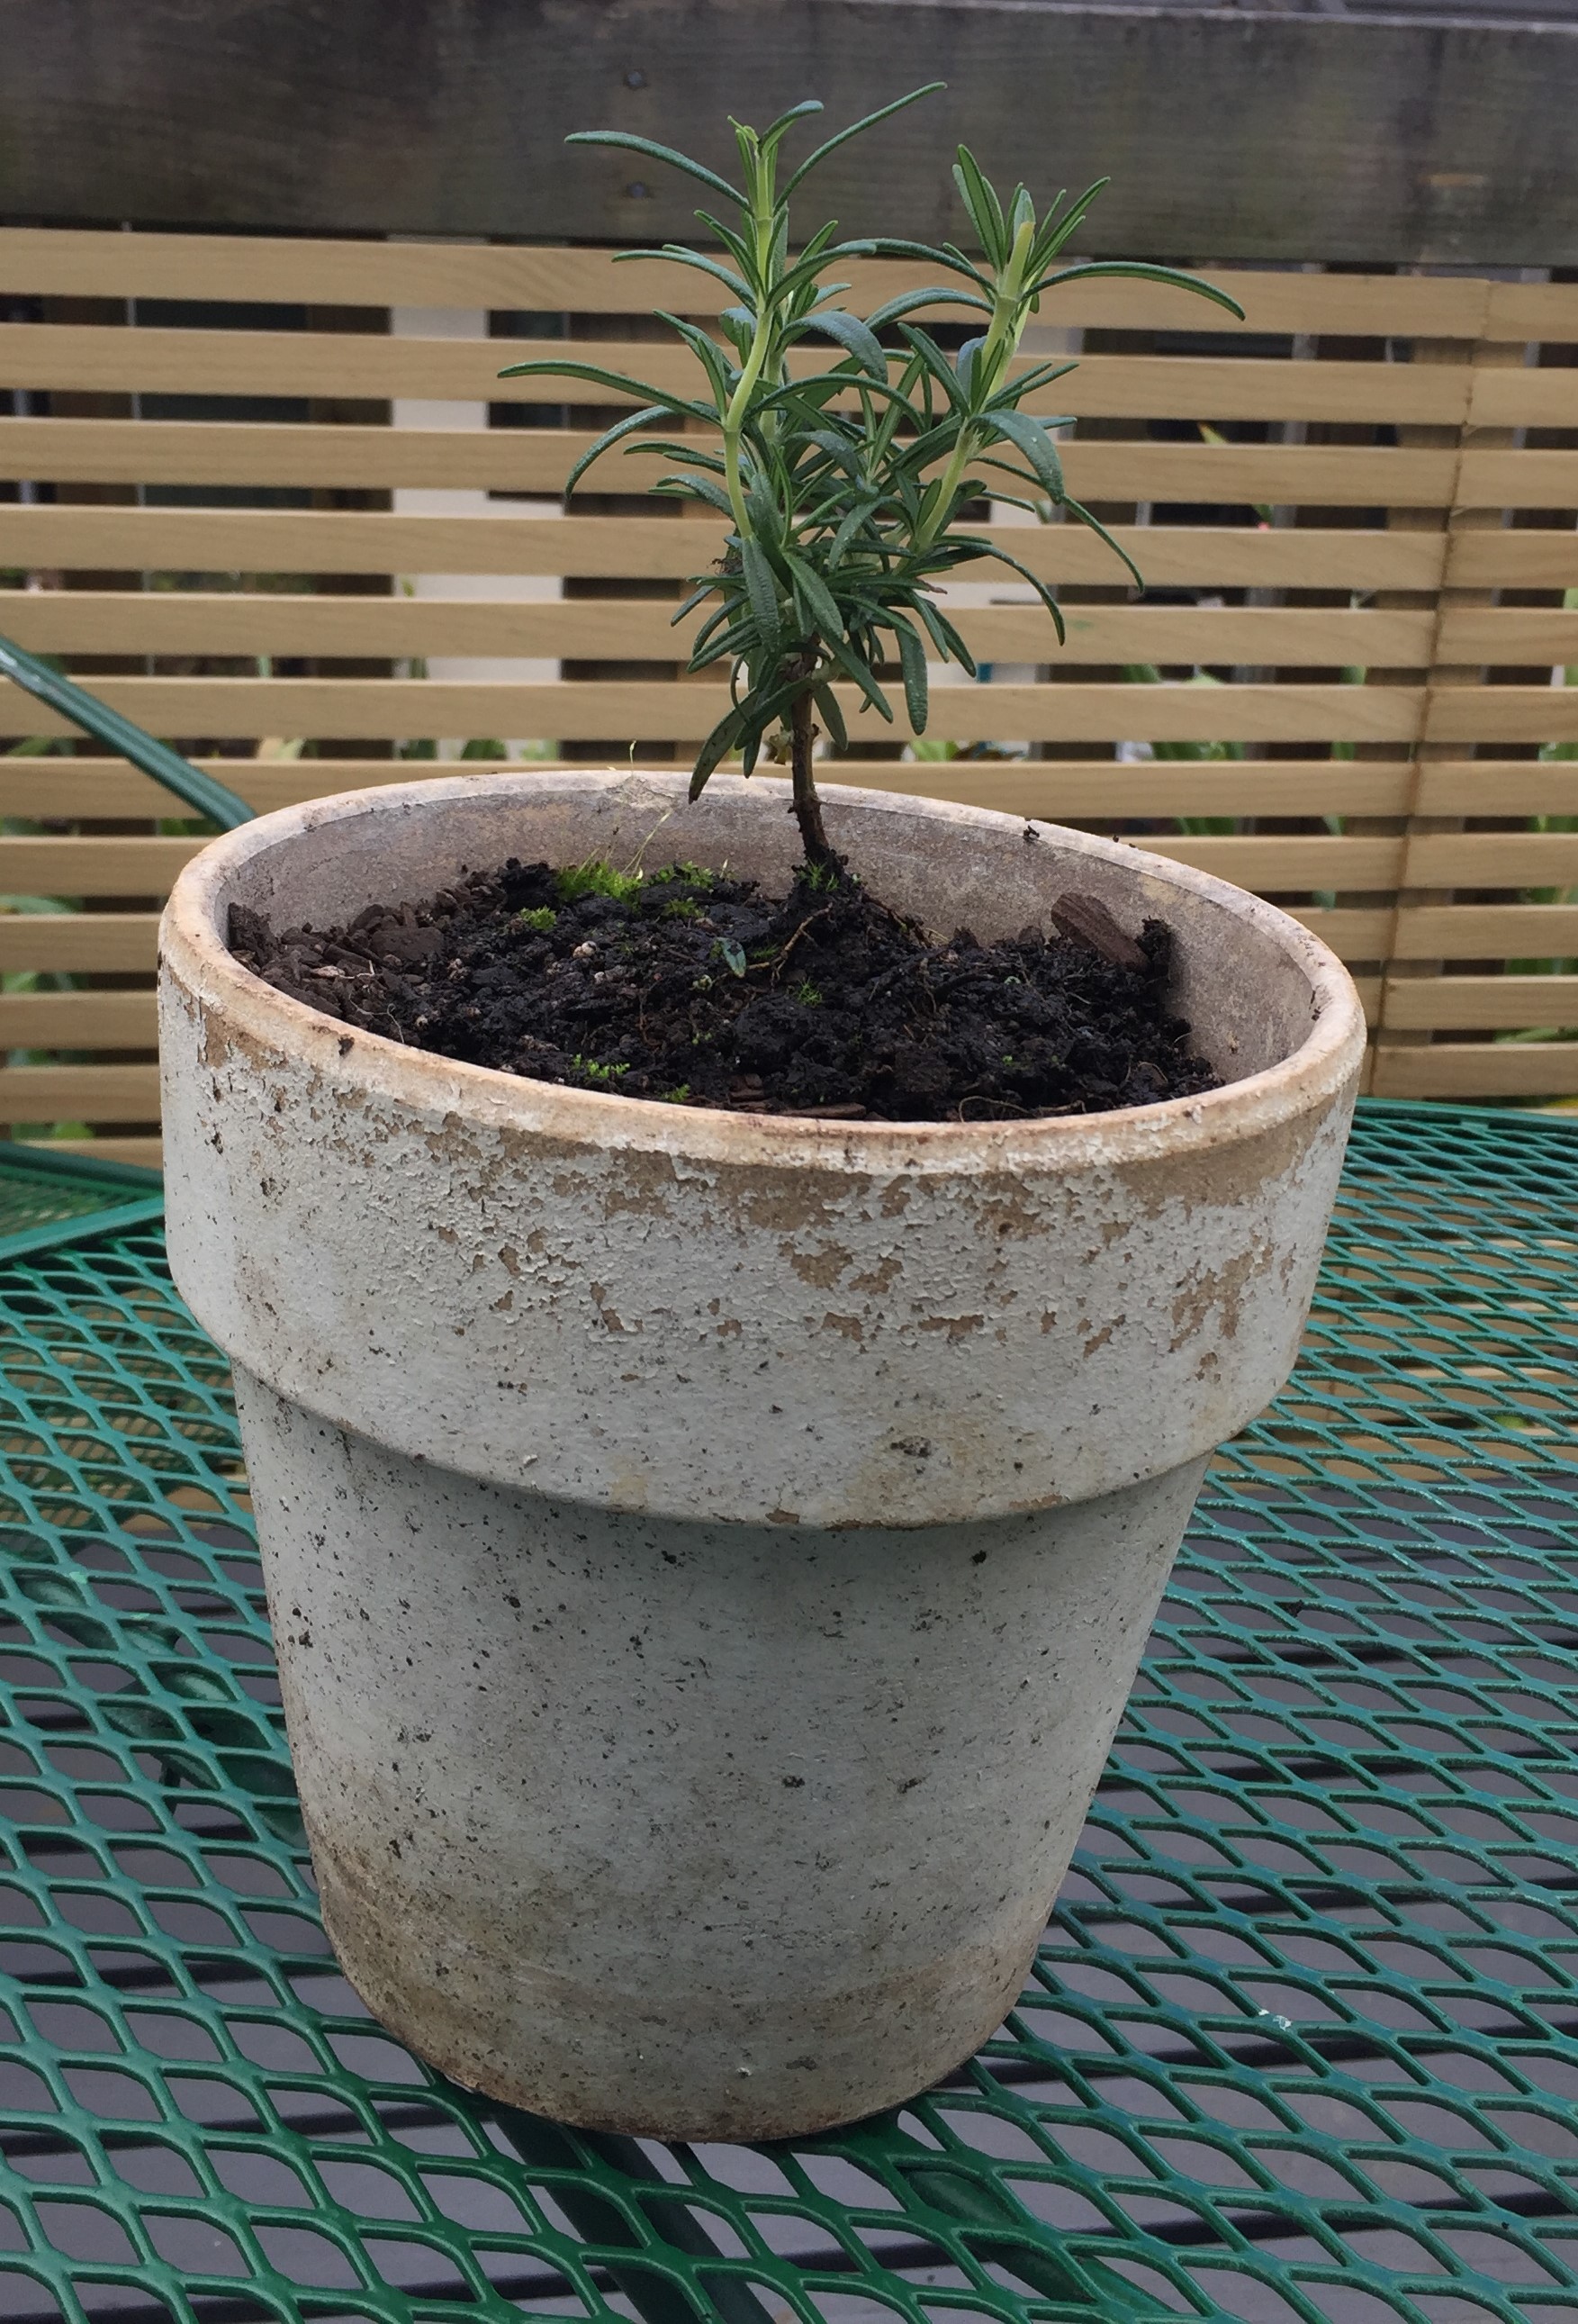
I picked some branches off our bay tree in the garden and used what supplies I had at home to keep things simple. At this point I am trying to avoid going to the shops and enjoying just being at home with the family.
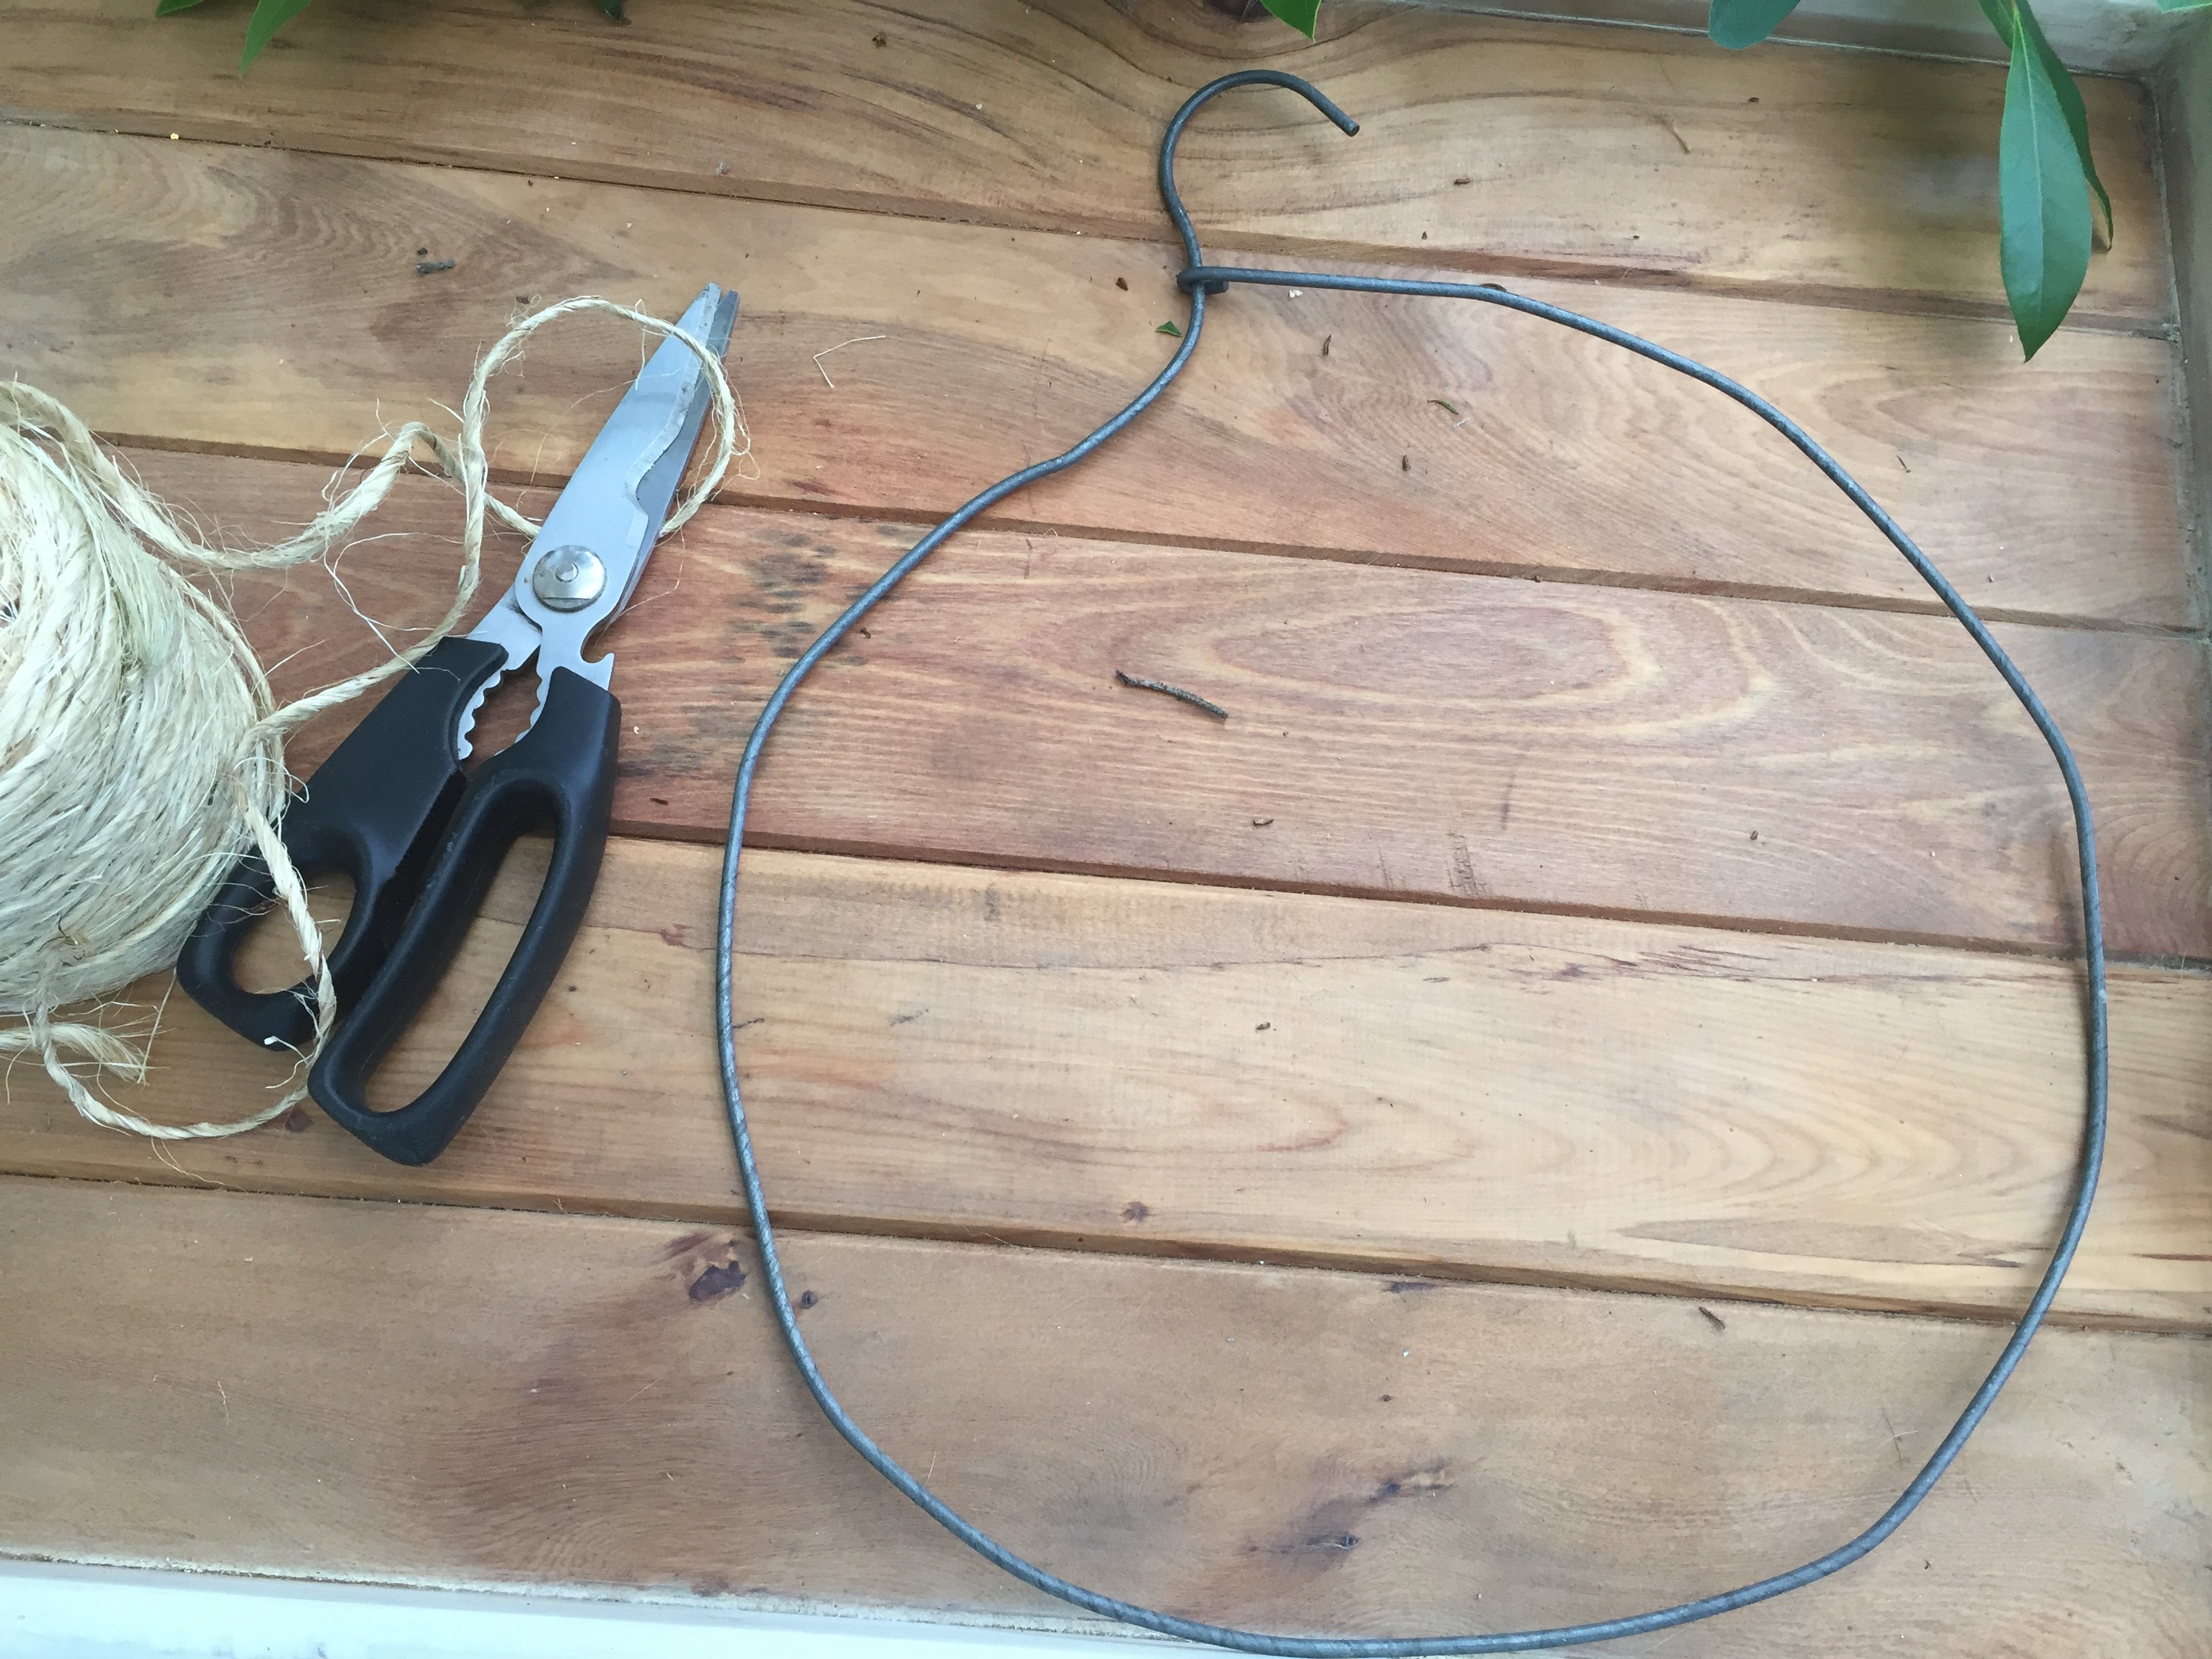
Supplies needed:

twine (you can also use florist wire)

wire coat hanger

scissors

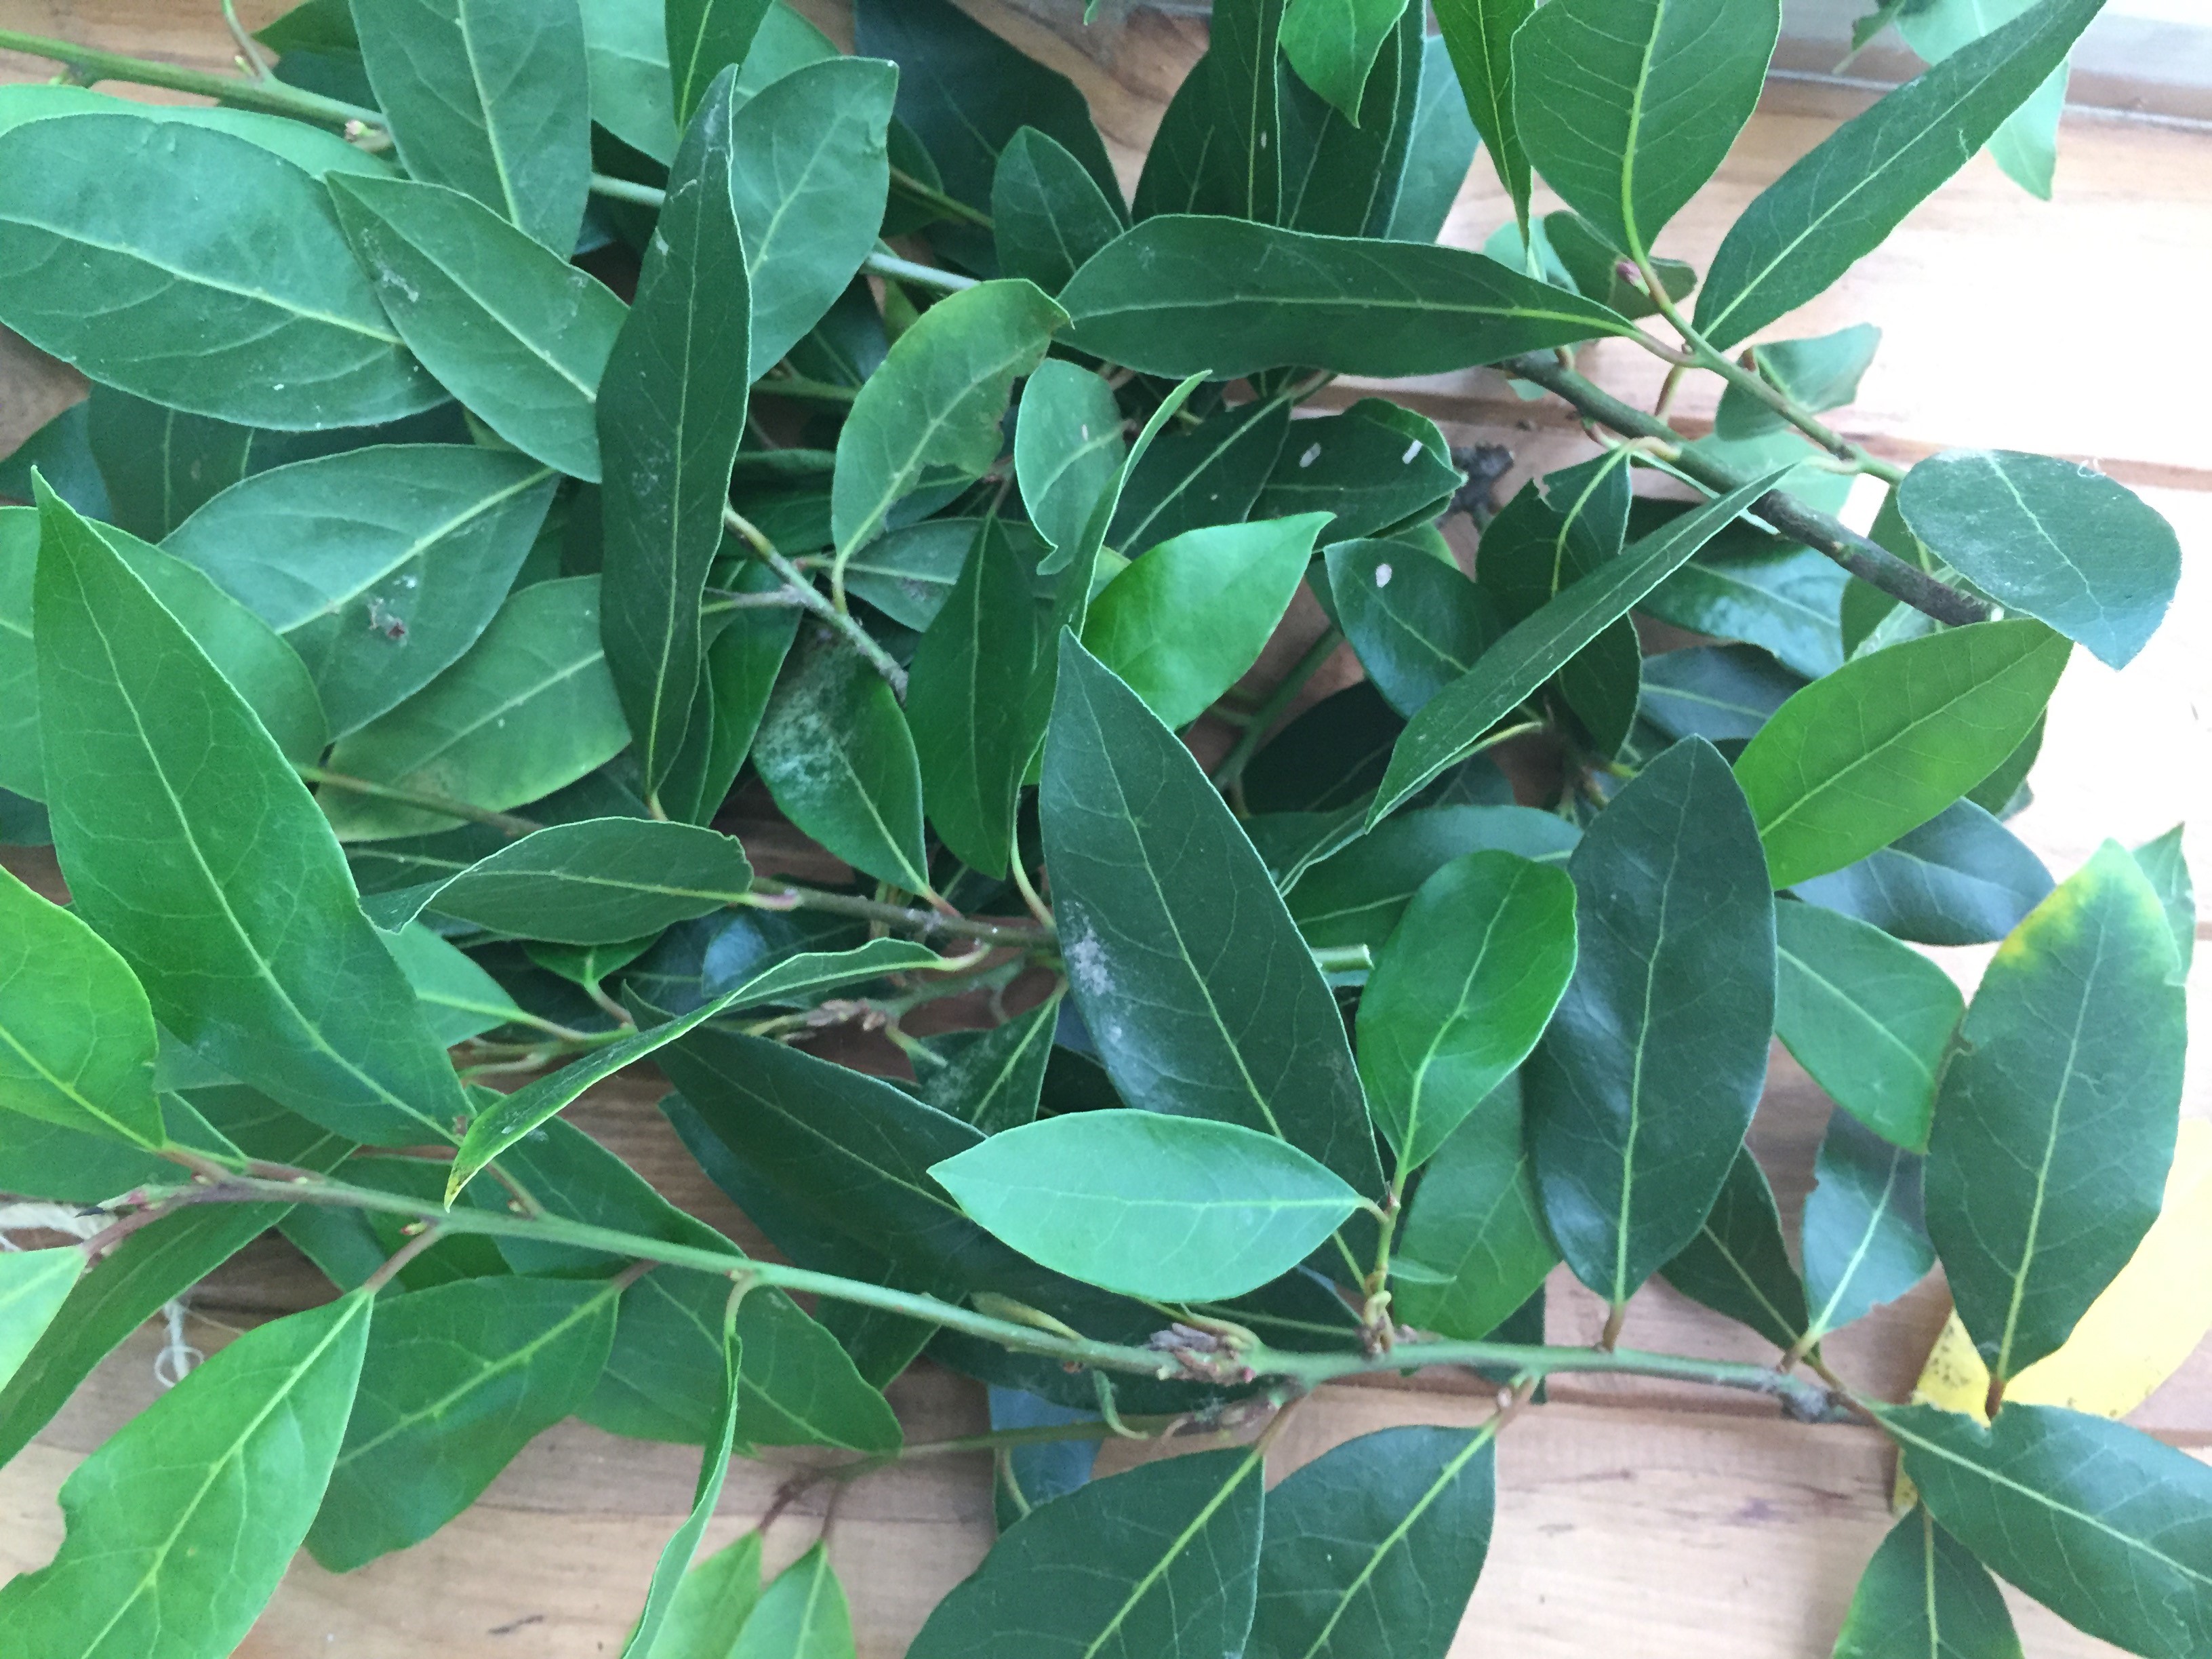
bay leaves (or any greenery you have should work well)

Instructions:

img_4077-2

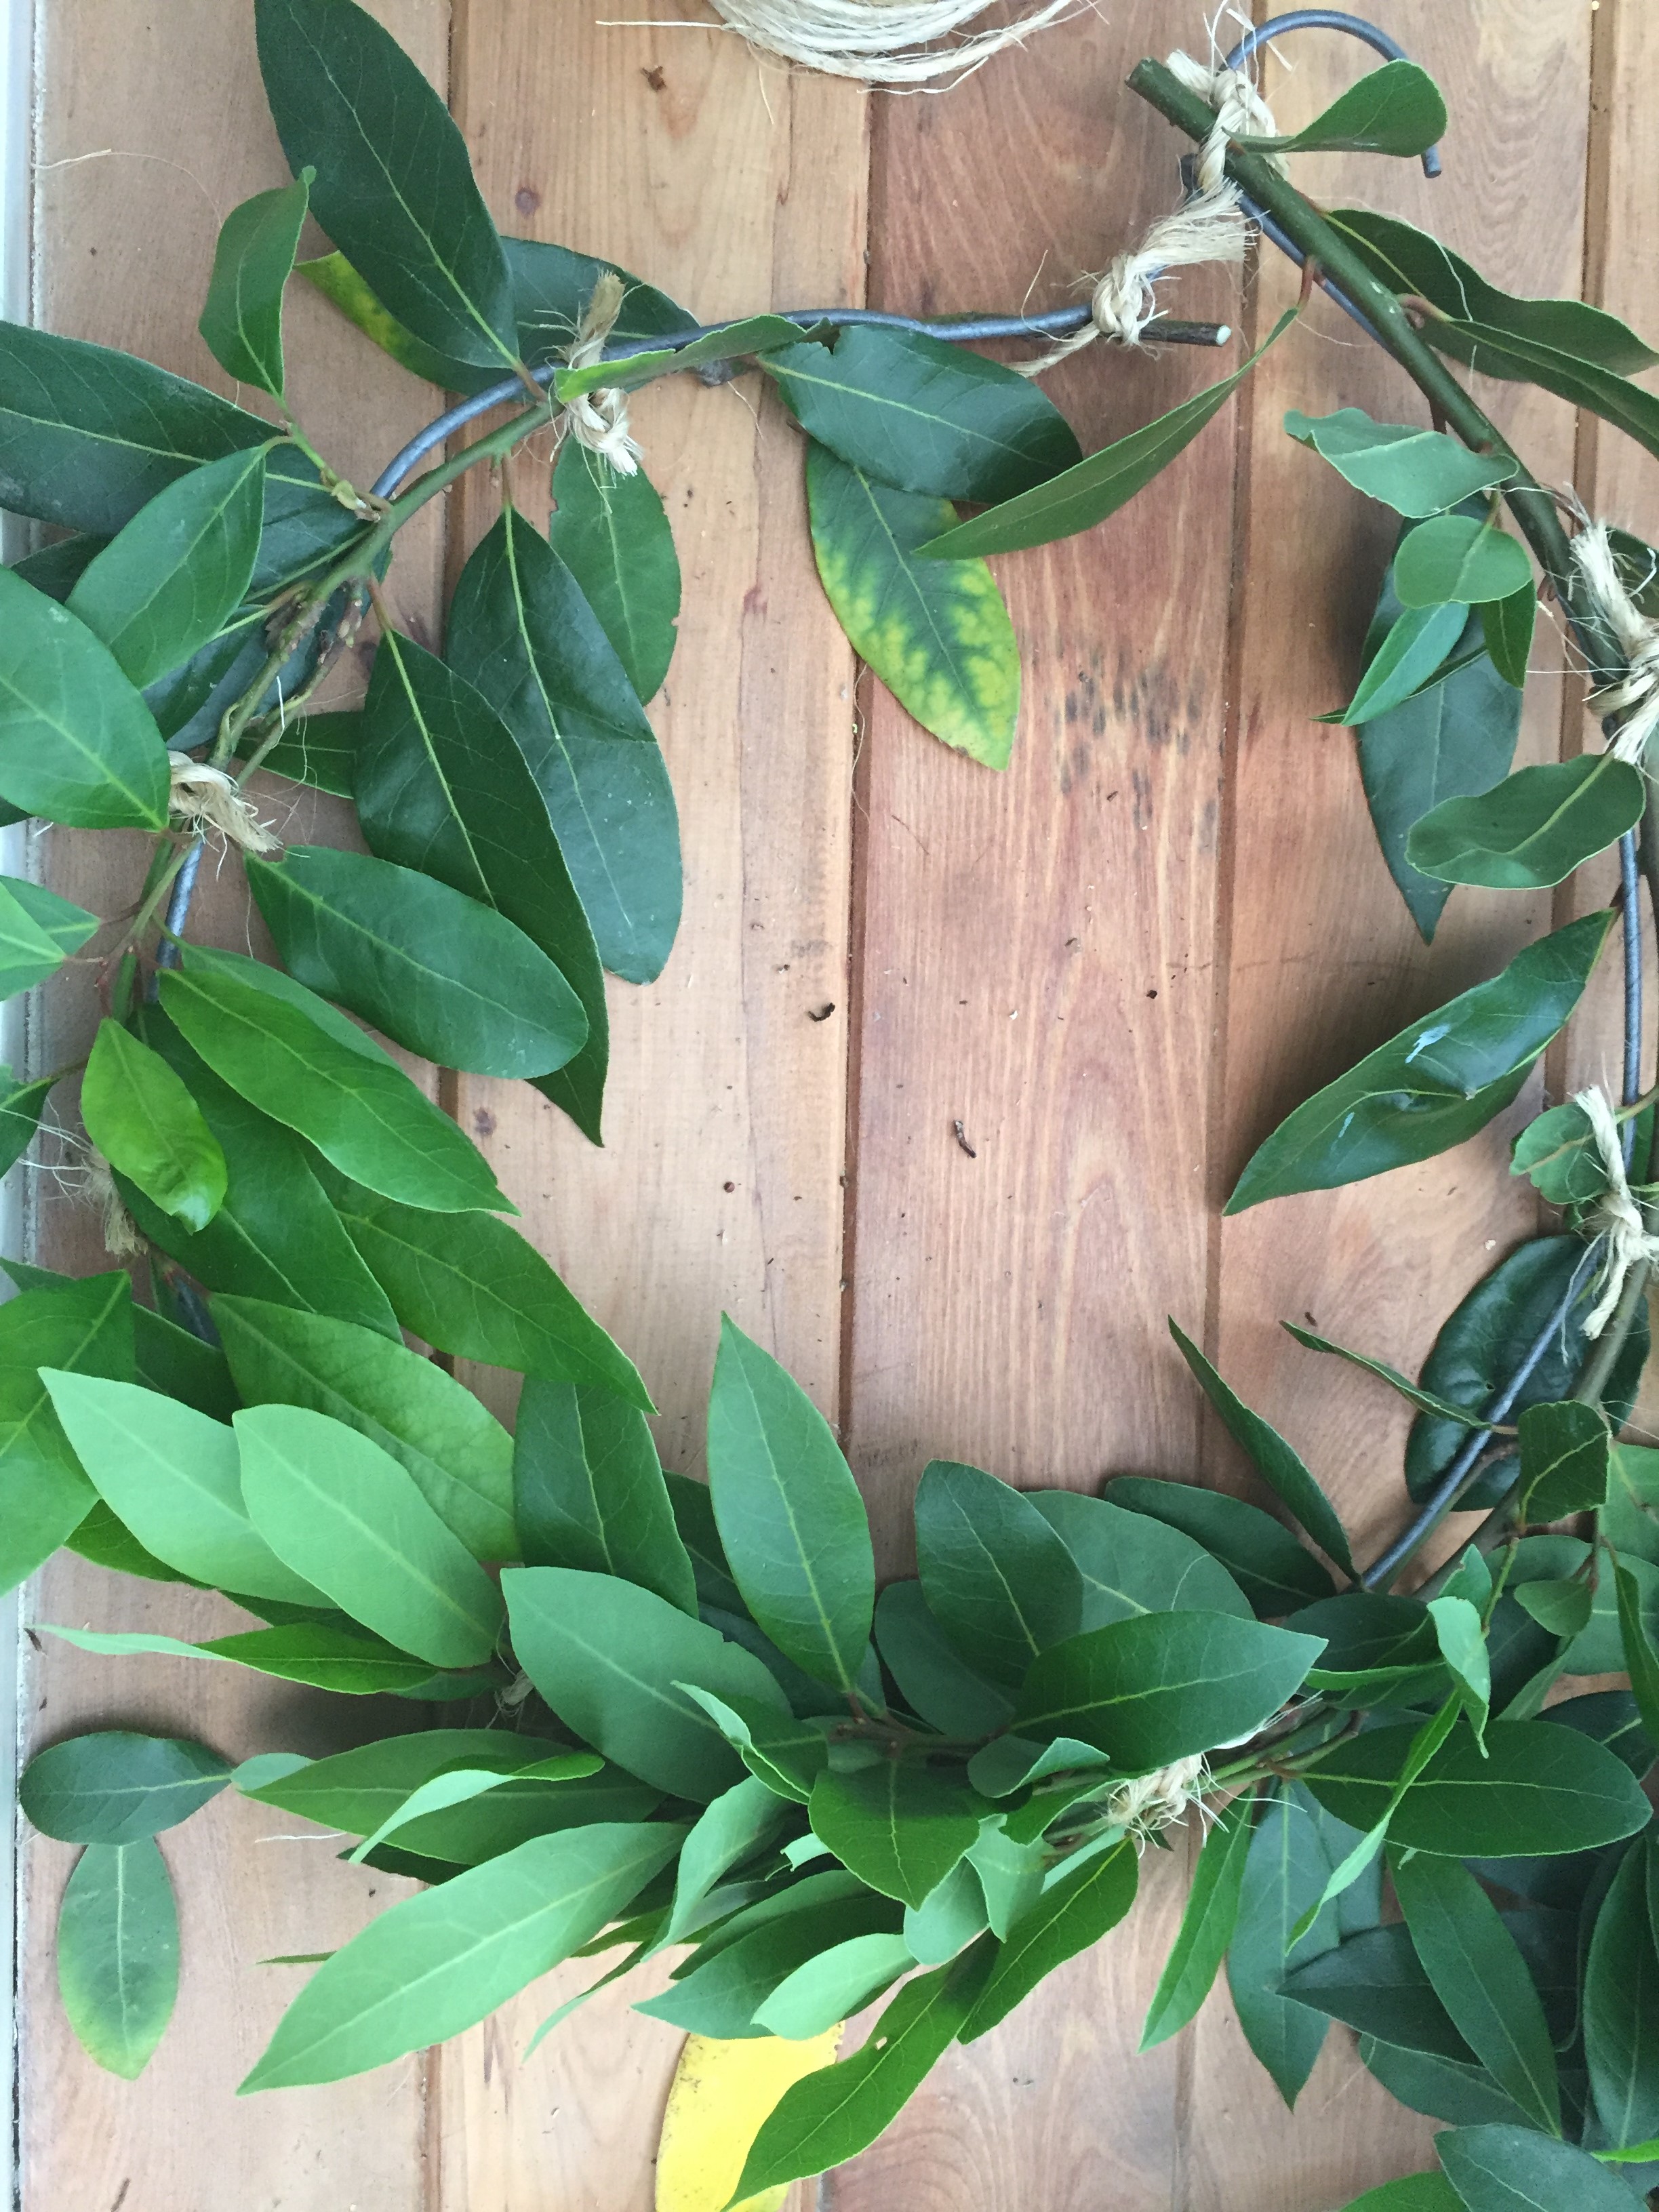
First take your coat hanger and make into a circle.

img_4081-2

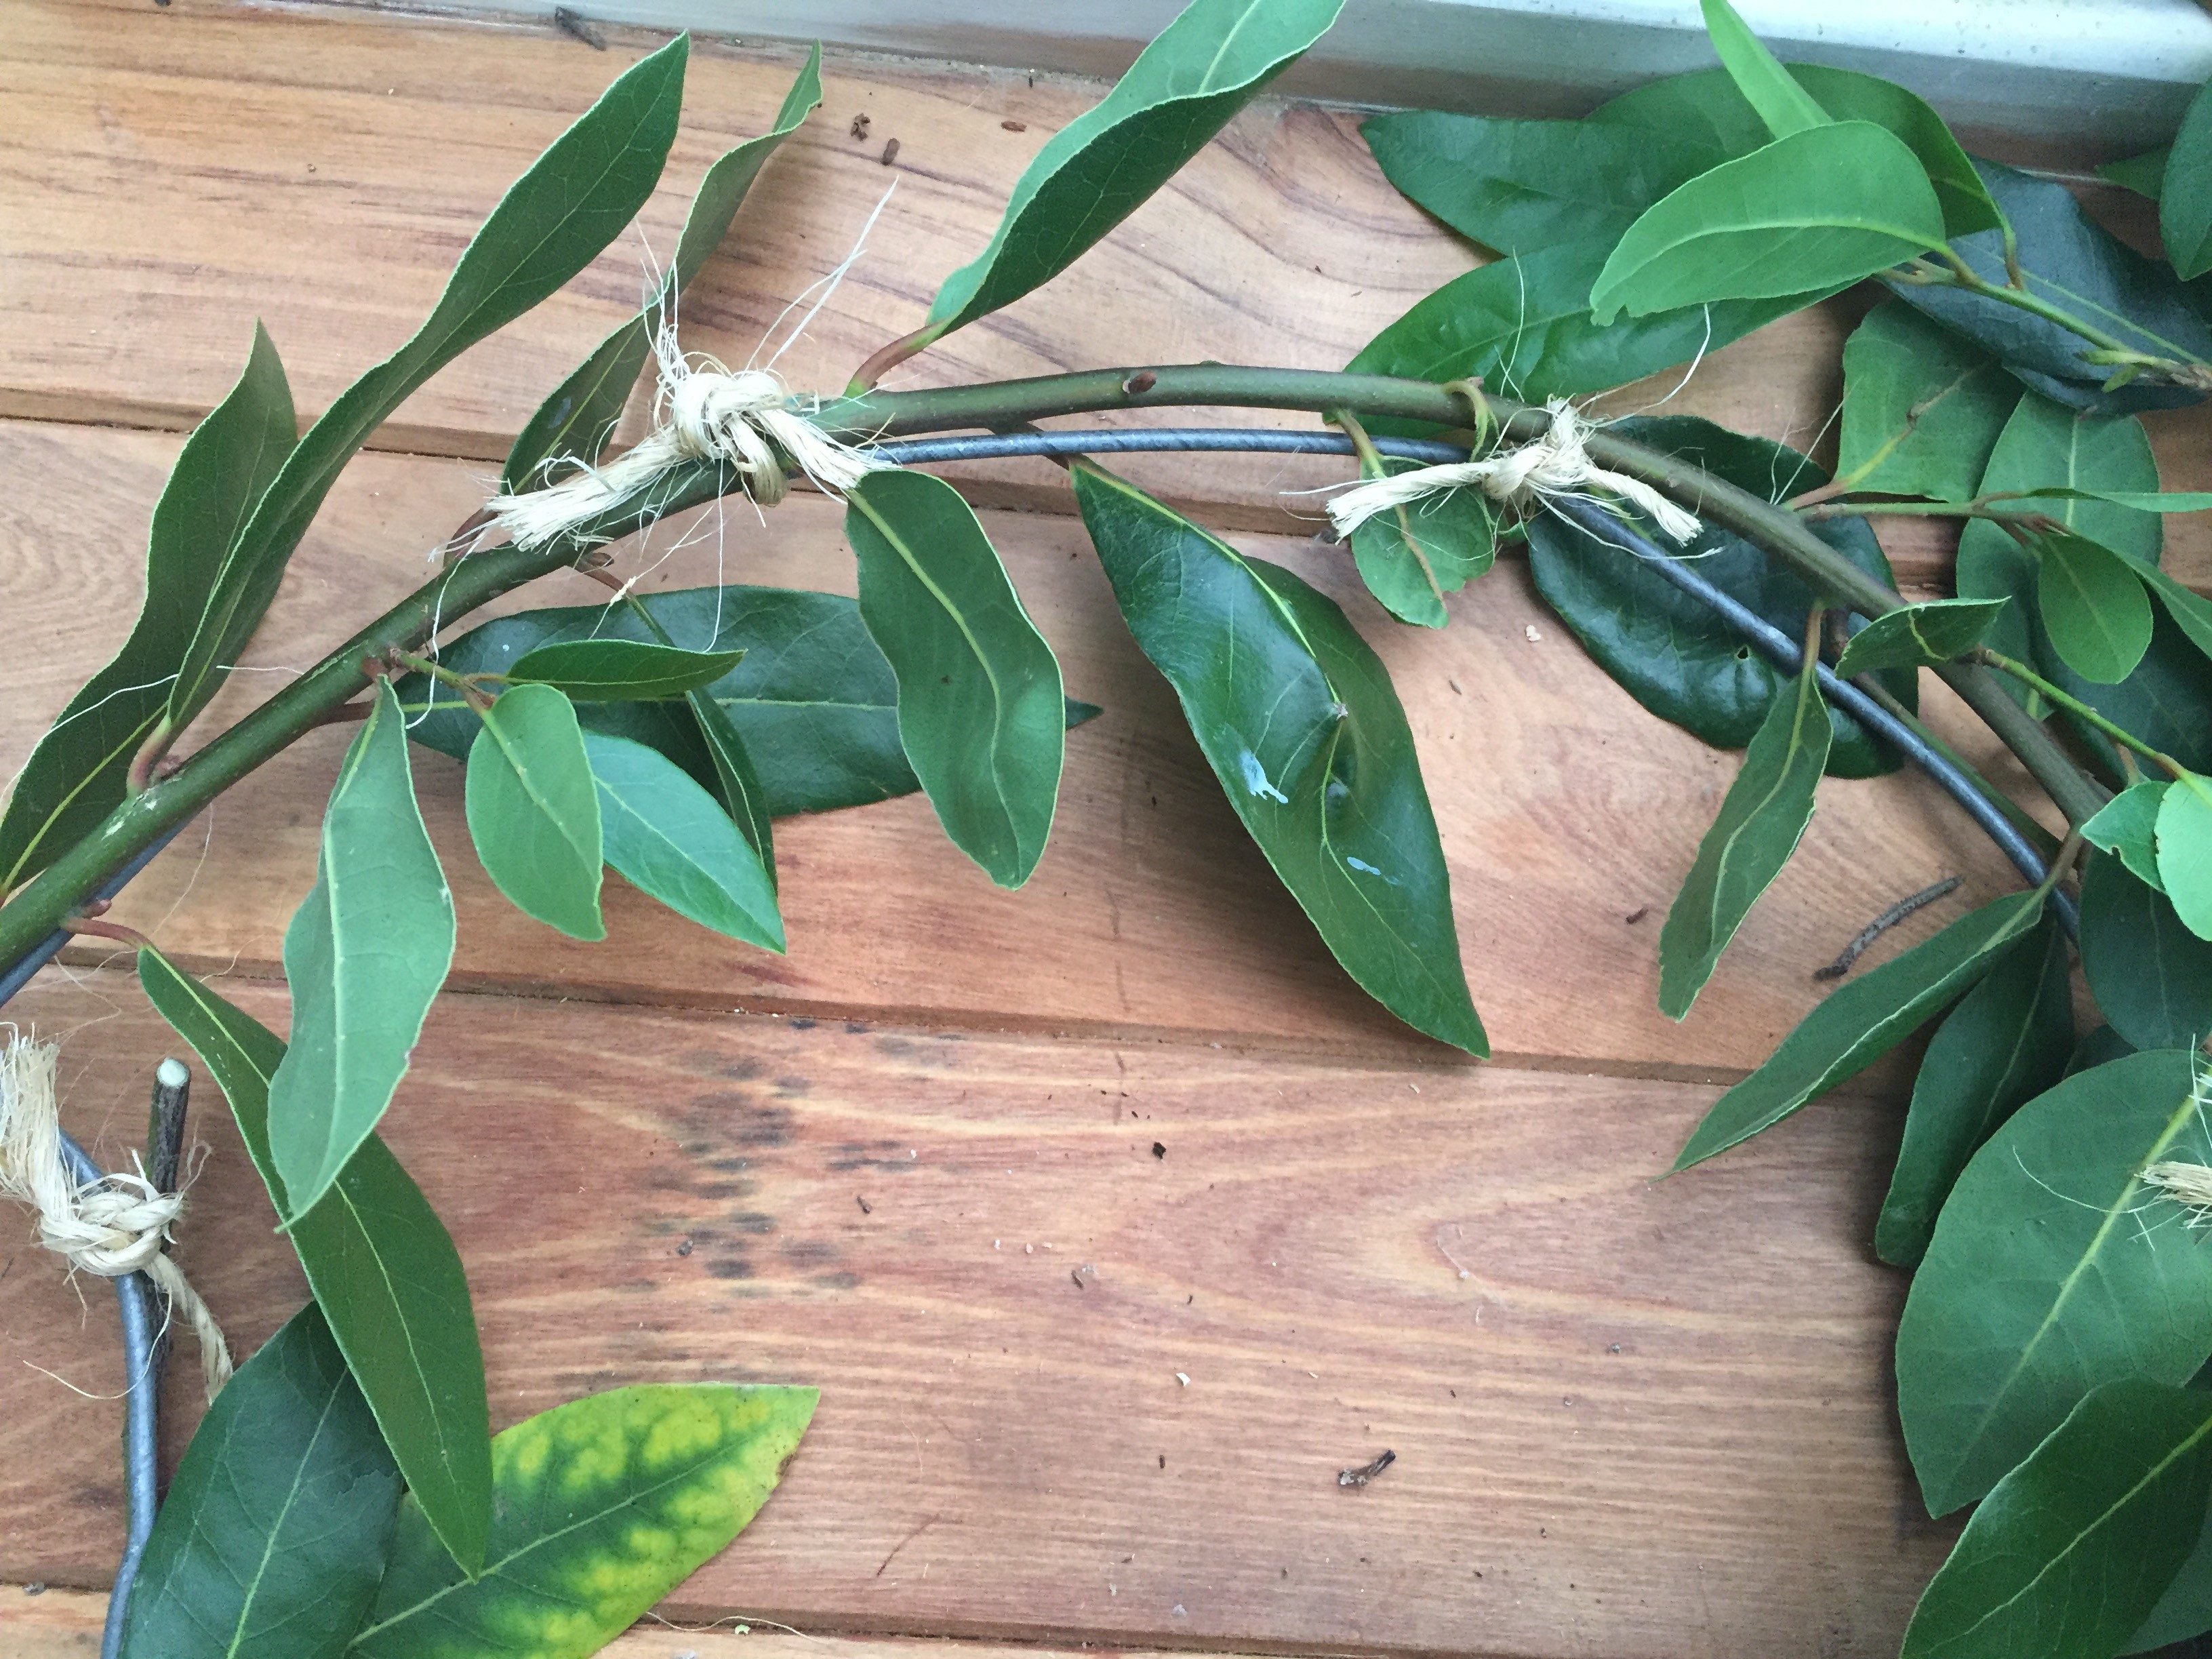
Next cut your bay leaf branches to the right length and place around the coat hanger.

img_4084-2

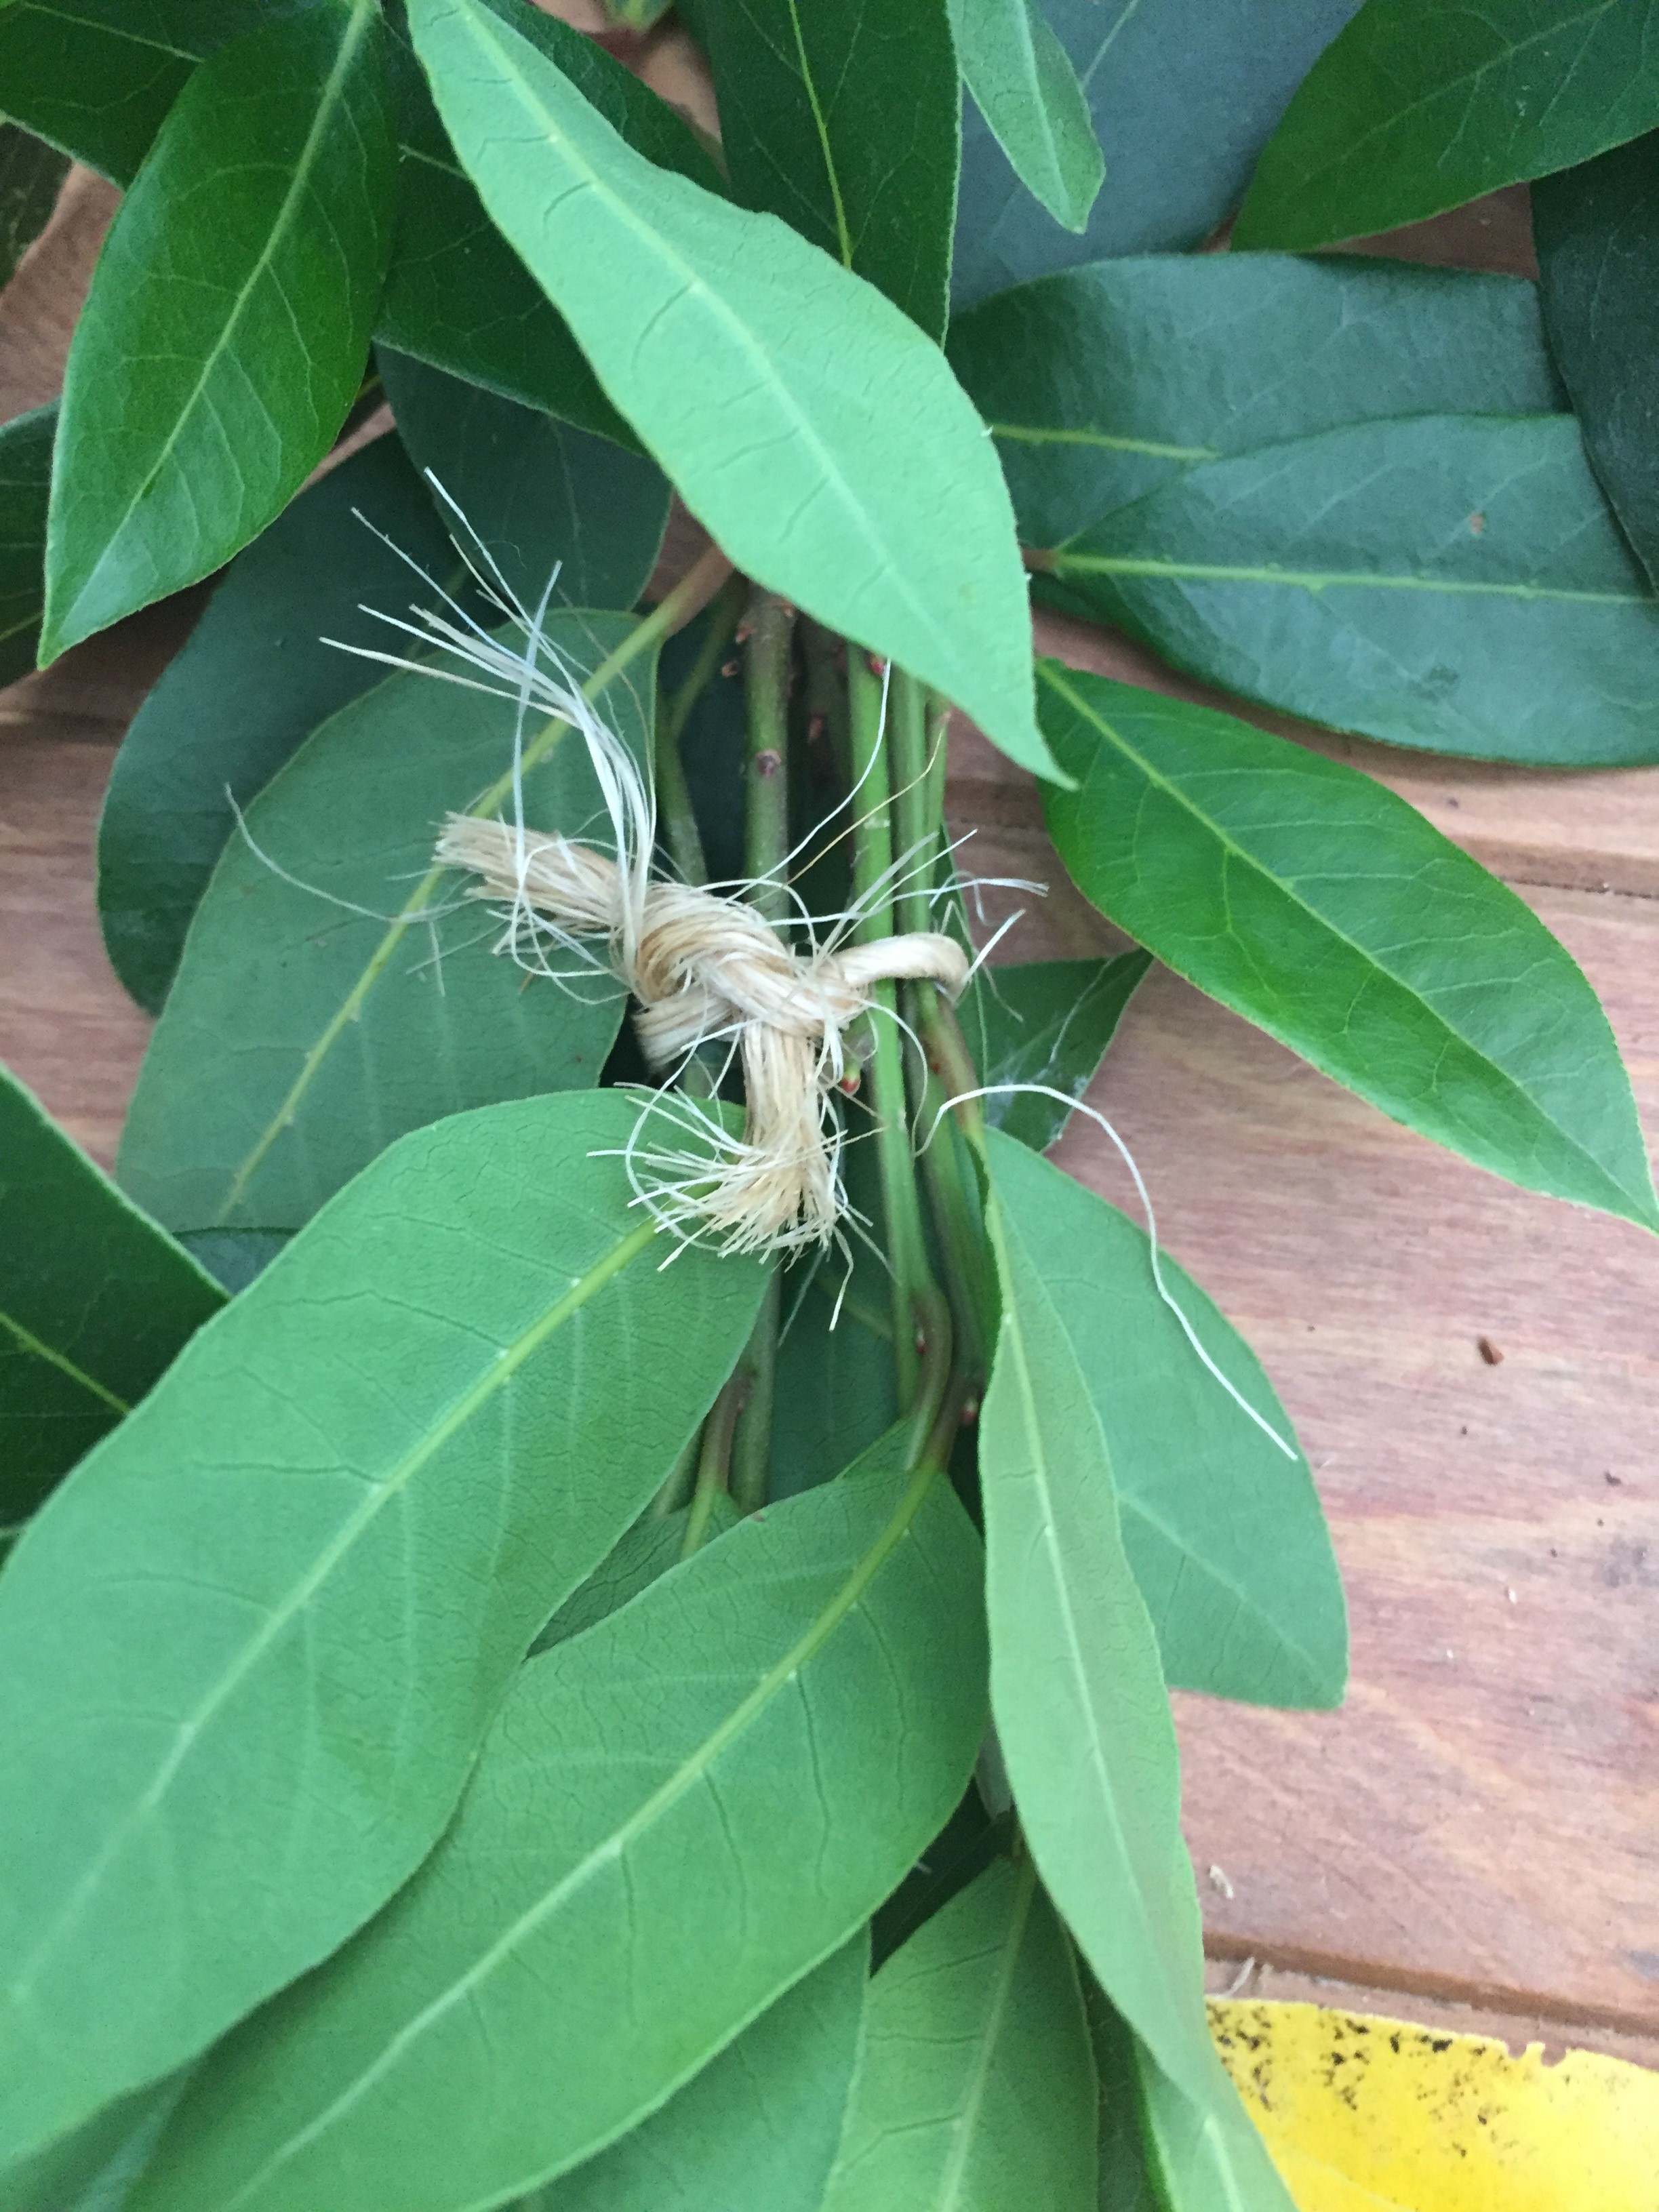
Tie the branches onto the wire.

img_4085-2

Continue add leaves until the wire is covered and you have the amount of leaves on the wreath you desire.

img_4089-2

img_4087-2

img_4098-3

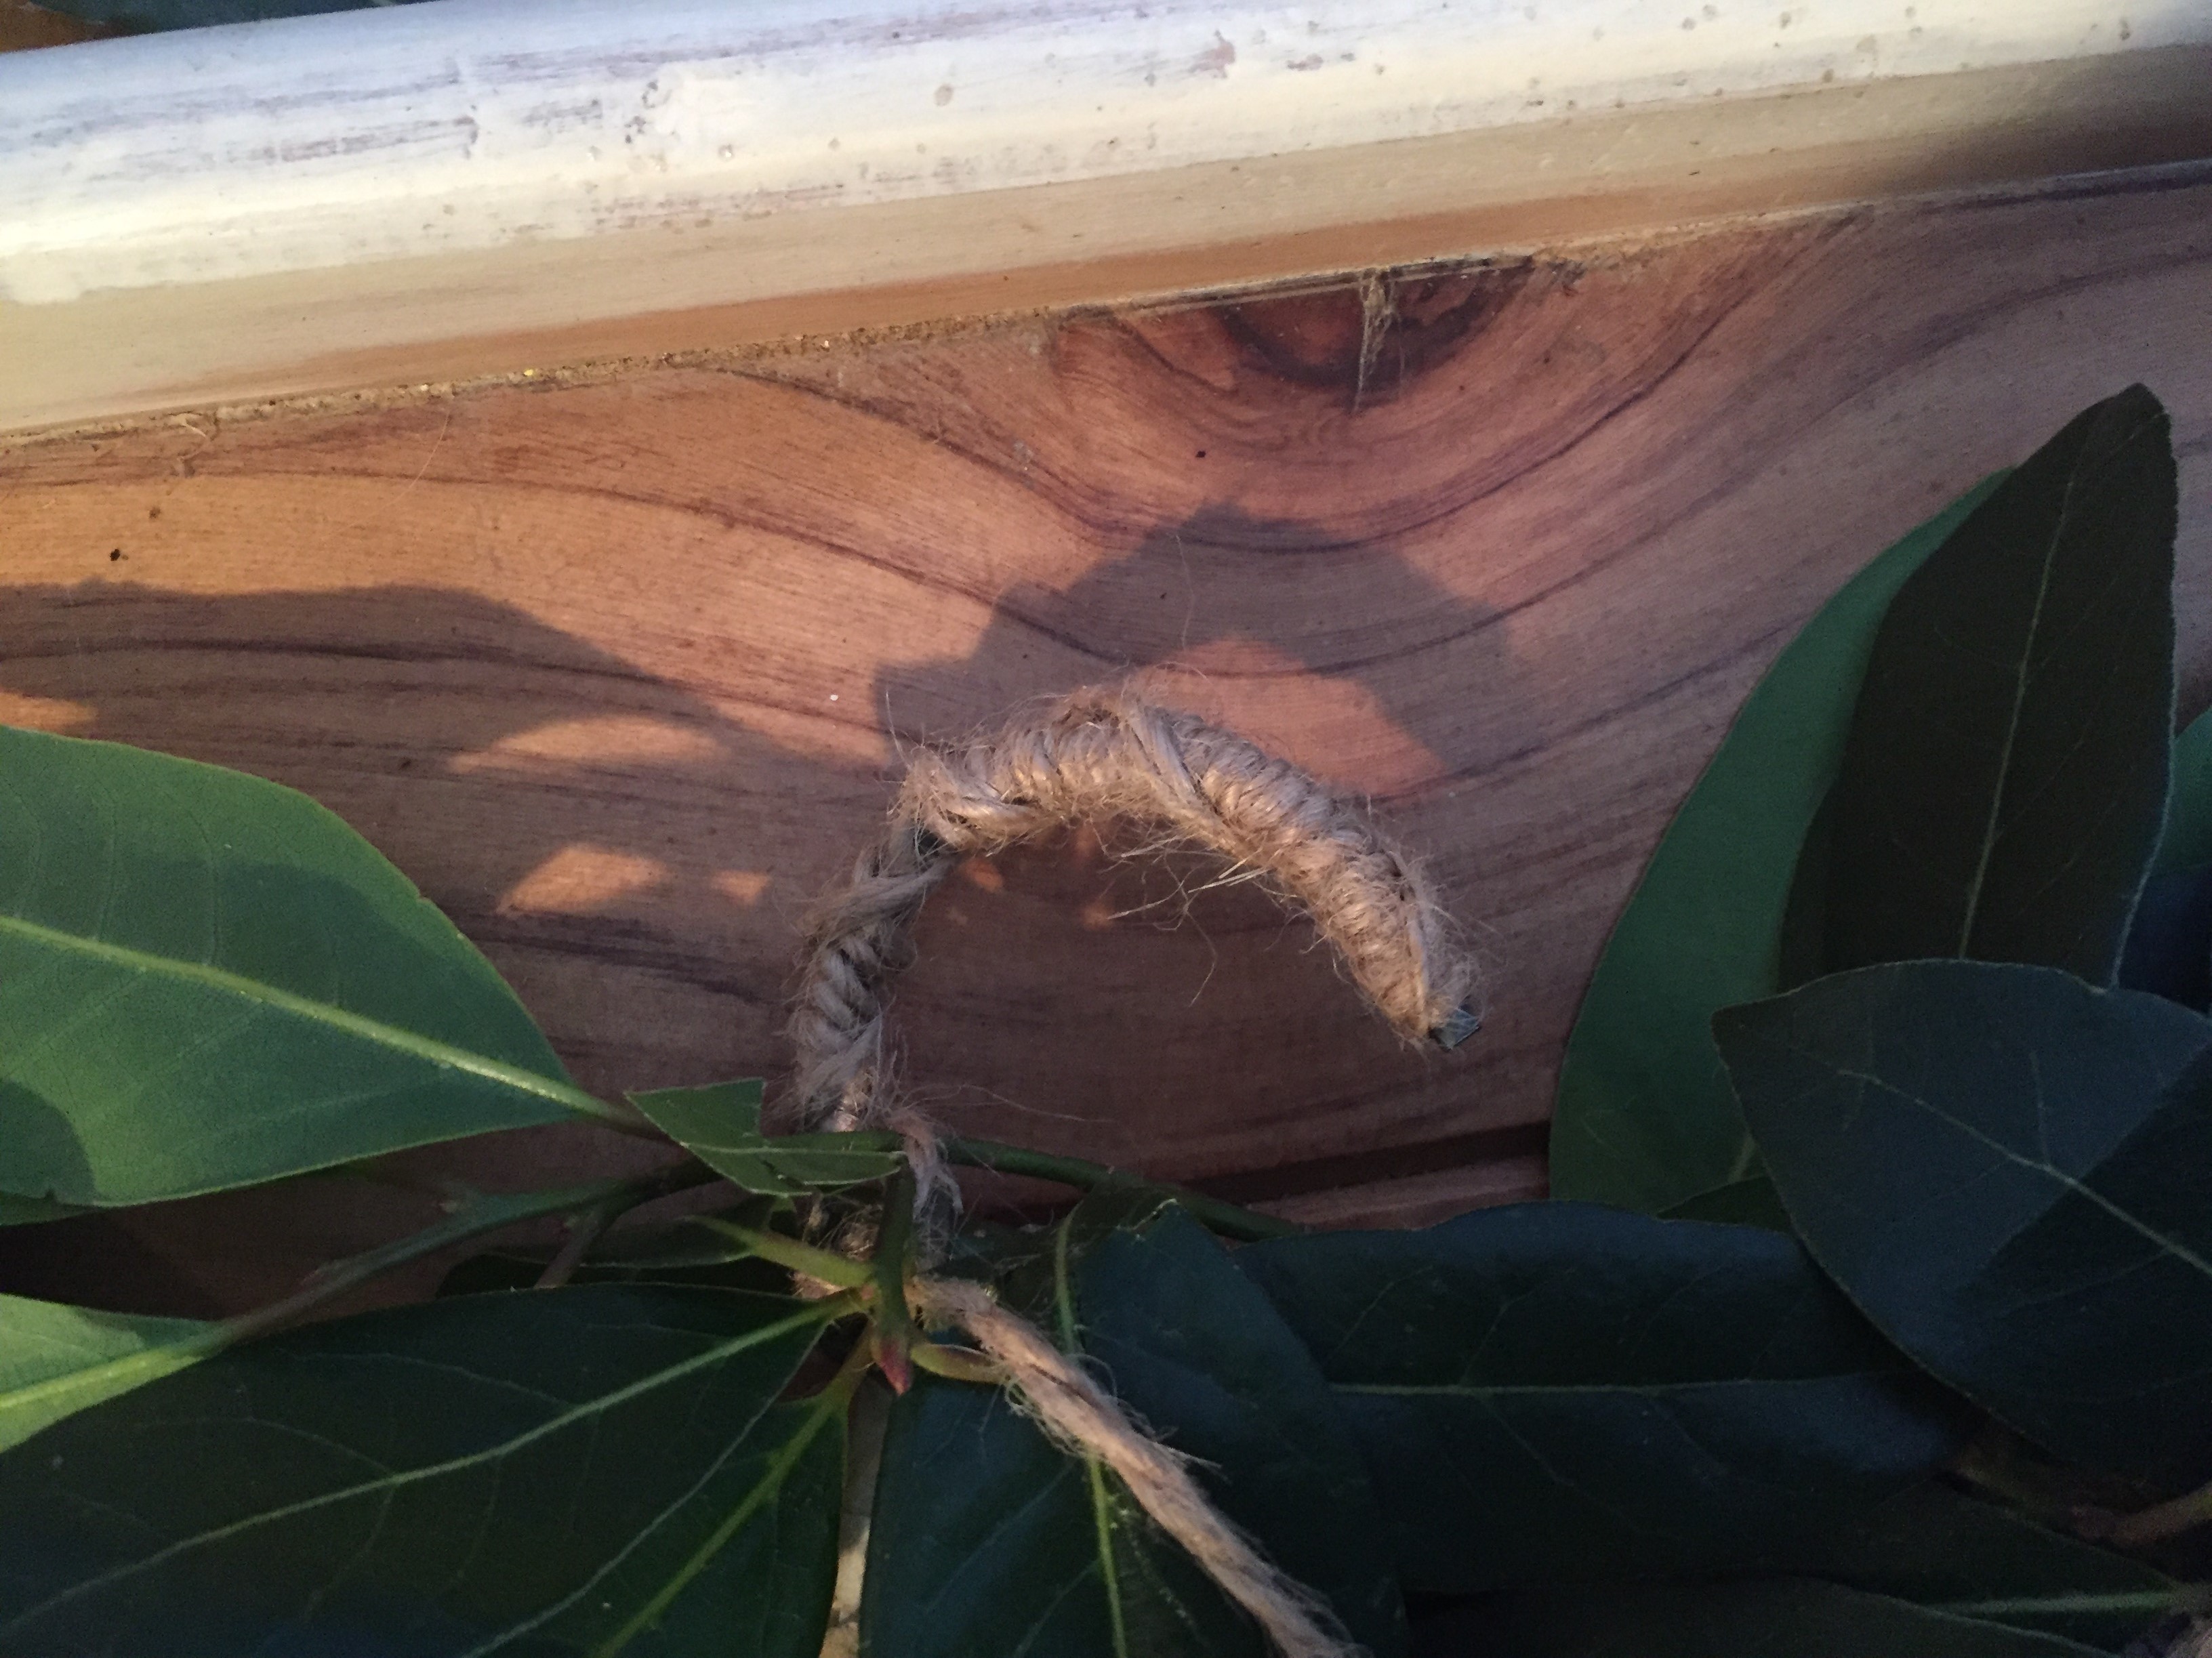
Finally, wrap the twine around the coat hanger wire hook at the top.

img_4094-2

img_4115-3

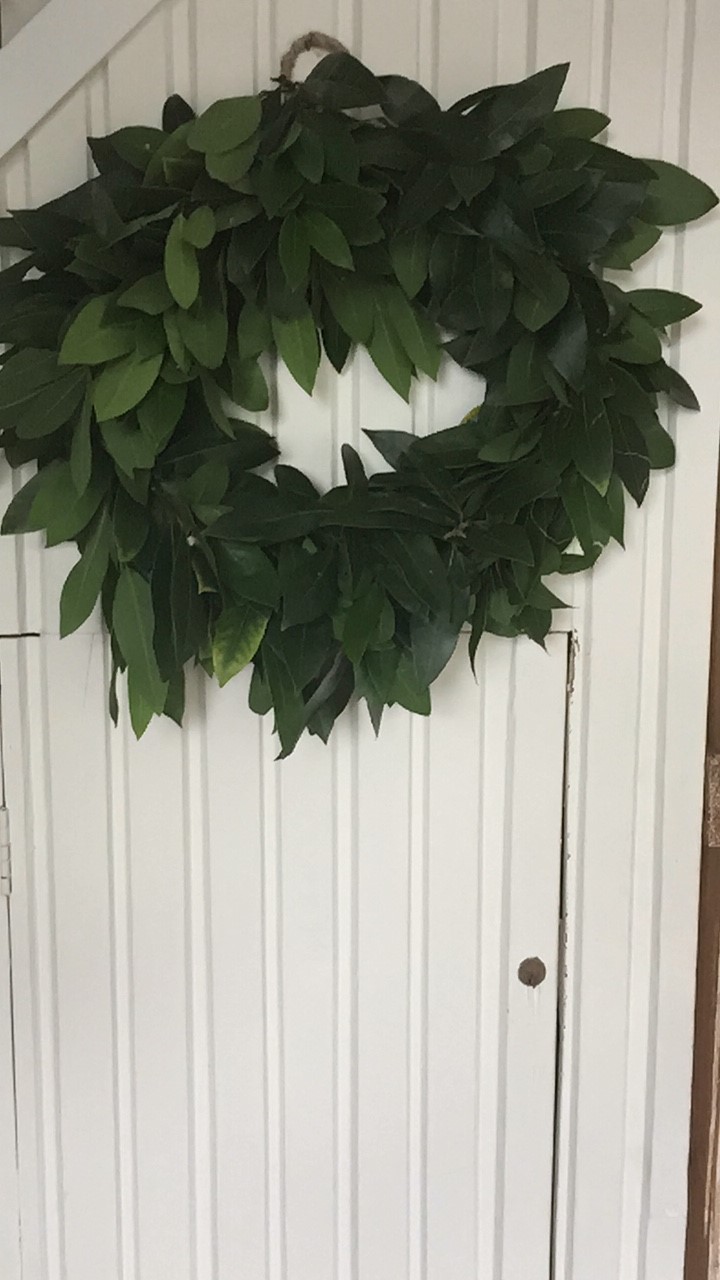
This was really quick to make and I am hoping it will last really well throughout the  Christmas holidays. It will also be great to have so many dried bay leaves for cooking now! This wreath would be easy to make with other greenery from the garden or neighbourhood, whatever you can find!

Thanks for reading my post.

Andi


Easy to make rustic christmas log project…New Zealand

No mantel and fireplace – make a rustic wooden log box…

We don’t have a mantel and fireplace so I decide to make a really quick rustic wooden log project to give that winter log, pine smell, Christmas feel to our living room…


Supplies needed:

Wooden crate

Logs

Juniper or some pine looking cuttings

Pine cones

Christmas white lights

Rustic wooden log project:

This project didn’t take long, but it really fun to do.

I had found a discarded wooden crate the other week and was saving it for a project. First I lightly painted it using Annie Sloan Chalk Paint Old Ochre. It probably didn’t need painting, but it had some writing on it from the liquor store I found it outside of, so to get rid of this I painted. I love painting as well, so any excuse. You could use any paint you have handy! The paint dried within an hour because I only did a very light coat and it was a hot day today.

unpainted wooden crate

unpainted wooden crate

Annie Sloan Chalk Paint Old Ochre

Annie Sloan Chalk Paint Old Ochre

img_3622-2

img_3625-2

Next I put the logs, which had been recently cut from a tree in our yard, into the crate.

img_3627-2

When I was out walking the dog this morning I came across some juniper in the neighbourhood. Fortunately, no one was looking as I trim off some of the tree! It was a large tree so I am sure no one would have minded. I arranged the juniper with pretty light blue berries around the outside of the logs on the crate.

img_3646-2

Then the lights, placing them down into the box and around the logs.

img_3635-2

Finally, I place the pine cones I collect earlier this week for my branch Christmas tree post, putting them onto of the juniper and lights.

Rustic Christmas log project

Rustic Christmas log project

It looks so cute can’t wait until it gets dark tonight to really see how wonderful it looks!

Thanks for reading my post! Hope you give my rustic wooden log box a try!

Andi


TIME’S A TICKING TO CHRISTMAS – SHOPPING AT KMART…

Time’s a ticking to Christmas – shopping at Kmart.

It was such a windy day here in Havelock North yesterday it looked like snow was falling. But really it was beautiful flower petals.

It looks like snow, but it is petals

I did a quick trip to our local Kmart in Hastings, only 10 minutes away and was excited to see such an amazing remodelling of their store.

The store was buzzing and usually I don’t want to think about Christmas this early, but I found 3 things I had to buy. And of course when I got home I had to try them out as you do.

The first thing was 3 Metal planters for only $17. One of these I was definitely using for my Rosemary topiary I am growing. See my post – growing rosemary topiaries in time for Christmas

3 Metal Planters

3 Metal Planters

Rosemary topiary in metal planter

My rosemary topiary I am growing in the metal planter

Next I purchased this adorable Ombre Rocking Reindeer for $7. I love this and it fits in perfectly with the colour scheme in my living room.

Rocky Reindeer

Rocky Reindeer

The last thing I got was a cute Reindeer bath mat for $12. I can see a Reindeer and duck egg blue theme in my home this Christmas.

Reindeer bath mat

Reindeer bath mat

Ok, so I didn’t buy much, but I was selective and I have got to say I was so impressed with wonderful array of items and very reasonable prices at Kmart.

Vintage silver trophy

One of the things I love using is the lovely silver trophy we got when I was a child. Our Siamese cat won this cup! I filled it with my lovely white bramble roses.

White bramble roses in vintage silver trophy cup

White bramble roses in vintage silver trophy cup

Old Mason jars

Another thing I love to use is old Mason Jars of my mums, here I painted the old ring with some Duck Egg Blue to add my theme colour.

Annie Sloan Duck Egg Blue Chalk Paint

Annie Sloan Duck Egg Blue Chalk Paint

Then I filled it with bay leaves from my garden and Bay blueberries grown locally in Hawke’s Bay. Filled it with water and a little tea-lite candle.

It makes the decorations special to use things from the house and garden. It also saves on the budget at Christmas!

Thanks for reading my post. More Christmas posts to come…

Andi

GROWING A ROSEMARY TOPIARY IN TIME FOR CHRISTMAS…..

Growing a Rosemary topiary in time for Christmas in Hawke’s Bay, New Zealand …

October is not too late start growing a rosemary topiary in time for Christmas! But if you read this post and it is after Christmas start a topiary anyway, because you will love it.

Rosemary

I love rosemary, I use it a lot in cooking, so I like to keep it inside in a jug of water. Something about the smell of it is really wonderful and fills the whole room.

Rosemary in a ironstone jug

Rosemary in an ironstone jug


In my garden I have lots of rosemary bushes growing, one of them is incredibly old with really gnarly roots.

Gnarly roots on rosemary

Gnarly roots on rosemary

img_1116-2

Since I have never grown a topiary before, I decided I would start one with the idea it should be looking good enough to bring into the house to decorate in time for Christmas. They look great with even a simple bow around as a decoration. Or they can make a great gift!

So I decided to try growing and pruning a couple of rosemary. One had been growing in a pot for some time and I just had to cut it back to the main vertical shoot. Then trimming off all the shoots and cutting the top off.

img_1072-2

The second one I brought from a nursery and transplanted it to a terracotta pot.

img_0834-2

img_0839-3

Then I proceeded to trim the shoots of the main shoot and cut back the top.

img_0842-2

Keep them watered, but not sitting in water. Turn them around to make sure they get plenty of sunlight.

White lavender

Today I  found in a friends garden white lavender with flecks of purple. I managed to get a cutting, so that went in a terracotta pot as well. I trimmed off the flowers and the stem and now we will see if it grows. I will let you know how I get on!

White Lavender

White Lavender

img_1075

White Lavender

White Lavender

Growing a rosemary topary

Growing toparies

Growing toparies

Thanks for reading about Rosemary. Please come back and find out how my toparies are getting on!

Andi


Pin It on Pinterest