Last Minute Gifts…Bird Seed Cakes

These bird seed cakes are a wonderful quick and easy last minute gifts…

I made these for a craft stall recently and quickly realised people loved them. They are great for little Christmas gifts, especially for teachers, friends and for those people you don’t know what to give them. Who doesn’t like to feed the birds?

They are very easy and economical to make. You do need at least three days for them to dry out once made and best stored in a container in a cool place. They can go mouldy if left out in the warm.

Supplies needed:

  • 3/4 cup flour
  • 1/2 cup water
  • 3 tbsp. golden syrup/corn syrup
  • 10g (1 tsp.) gelatin
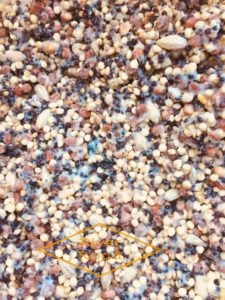
  • 4 cups wild bird seed mix
  • Molds (muffin tin, Cooke cutters, etc)
  • Oil or non stick stray
  • Drinking Straws
  • Wax Paper
  • Twine or ribbon

Method:

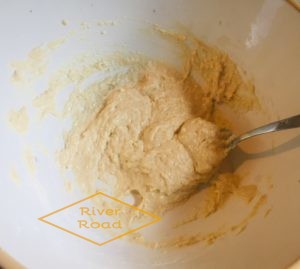
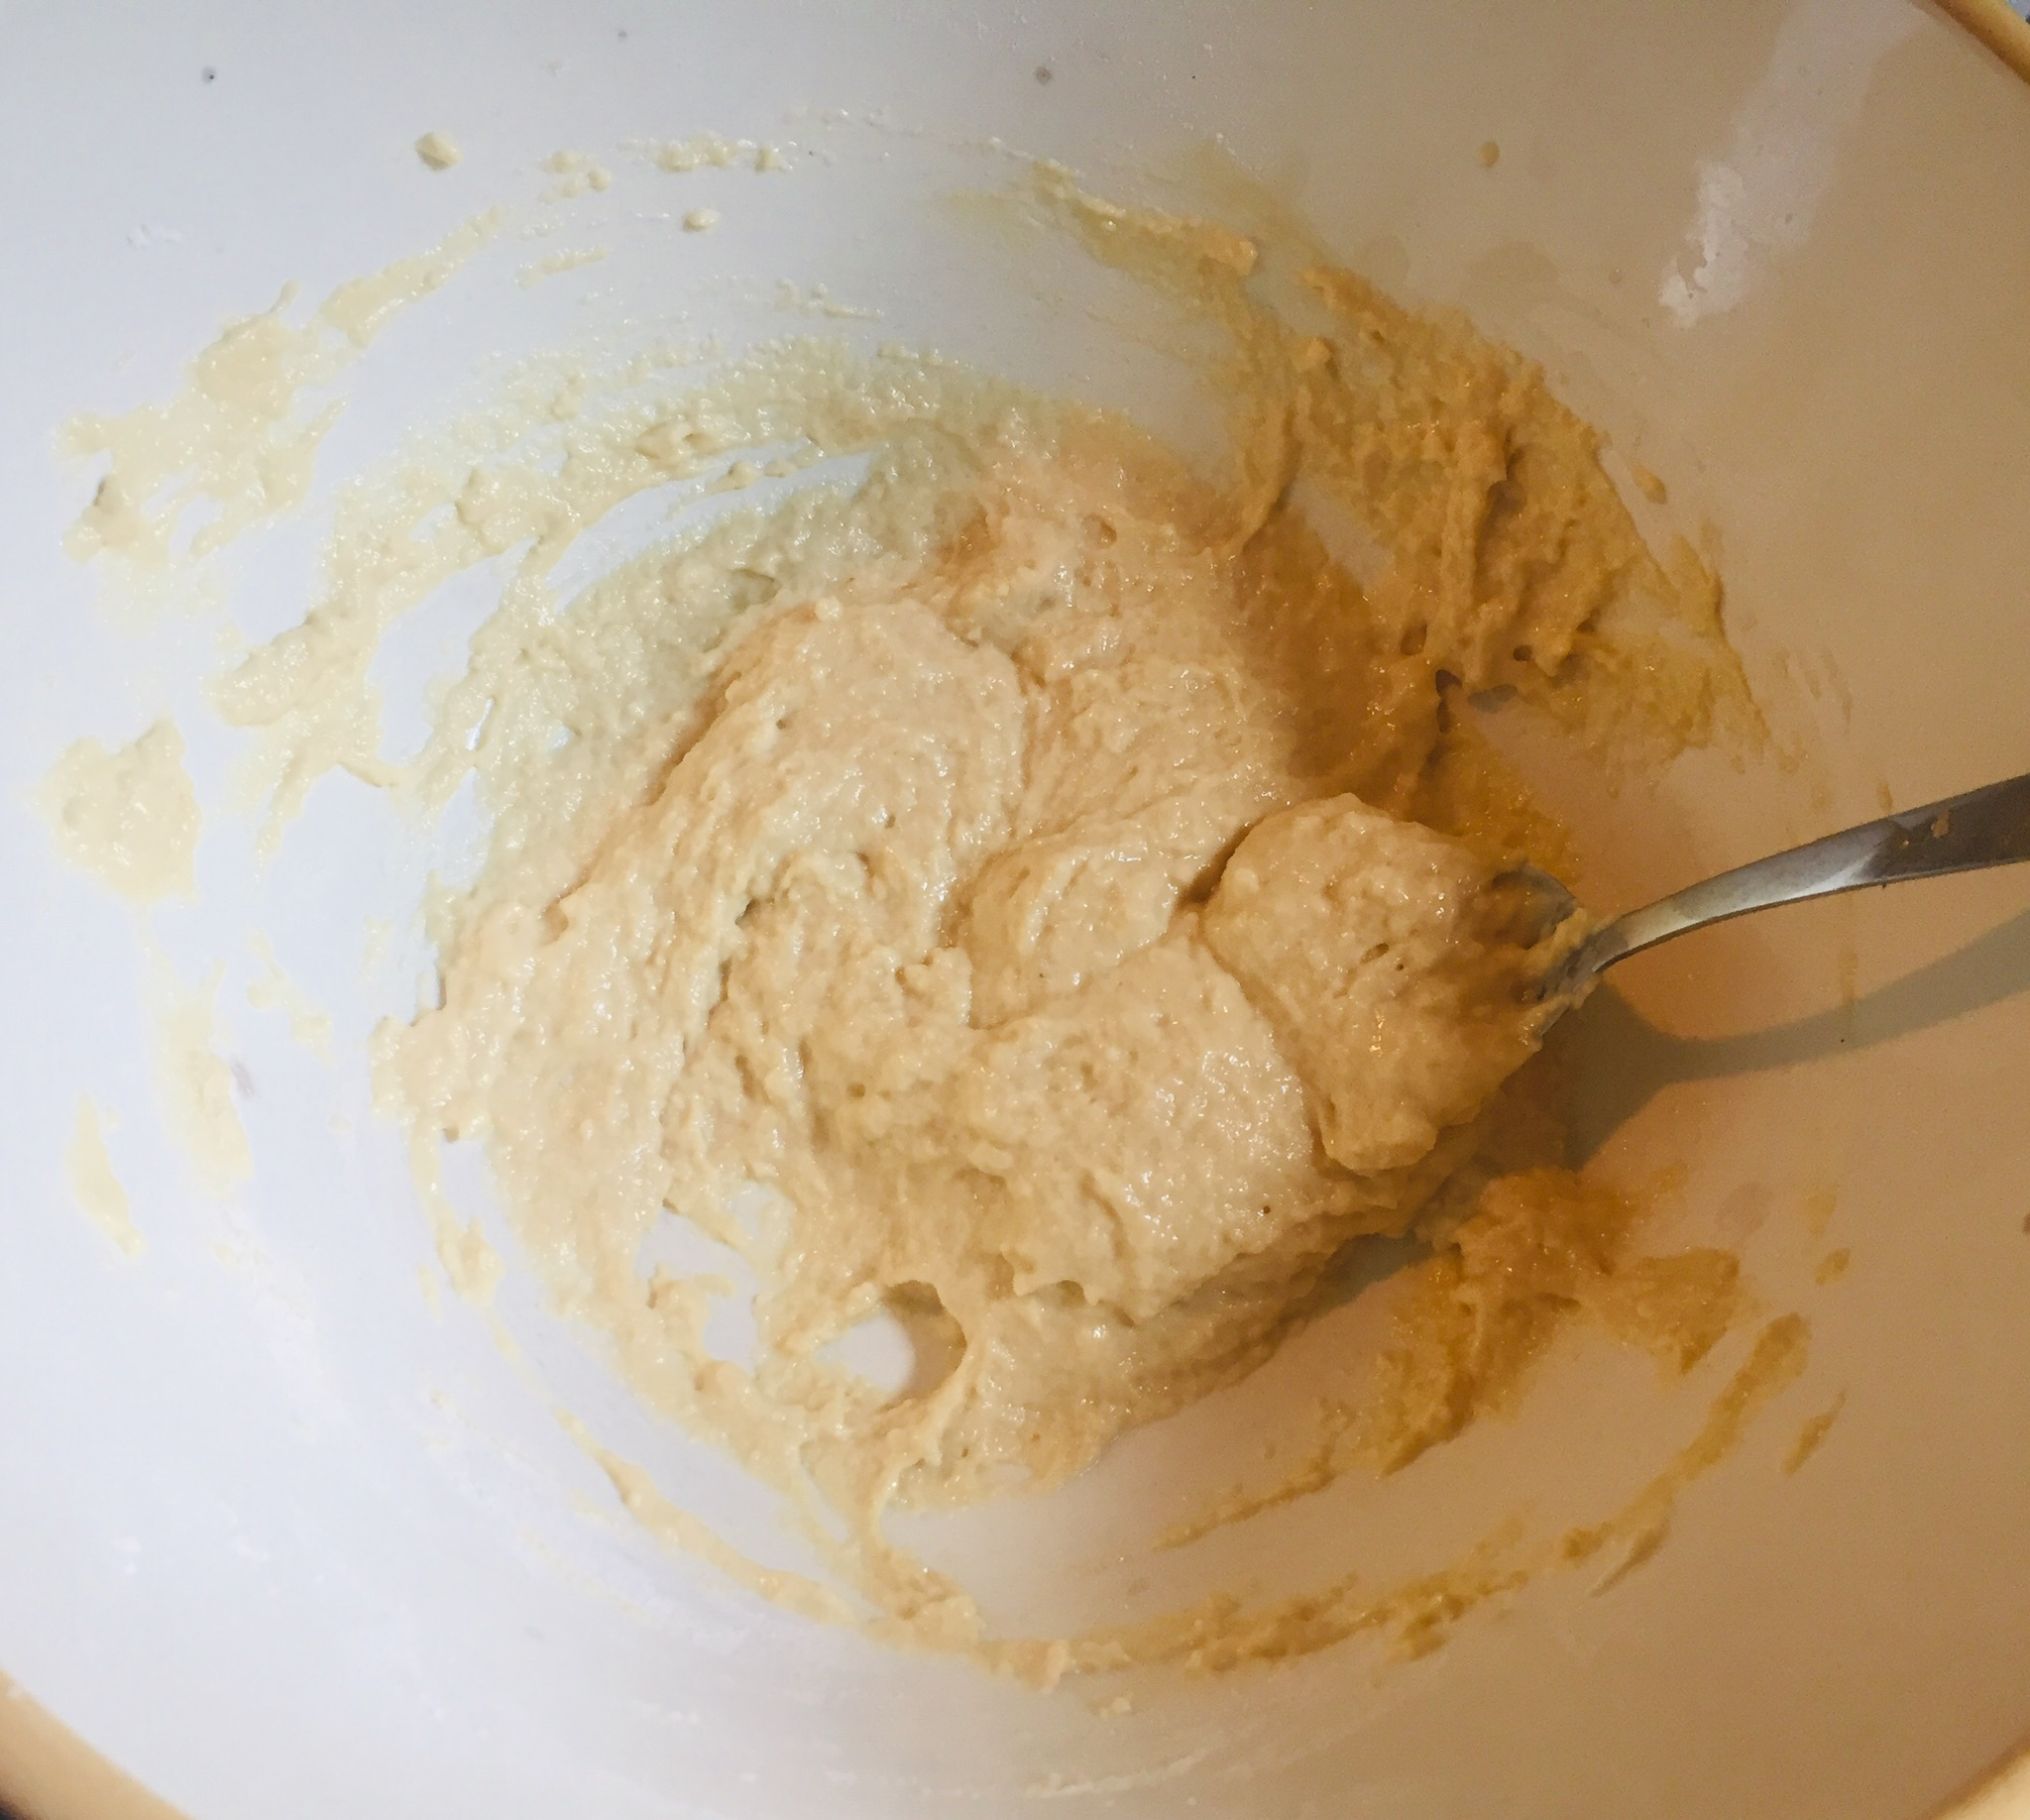
  1. Combine  the flour, water, gelatine and golden syrup in a large bowl. Stir until combined. 
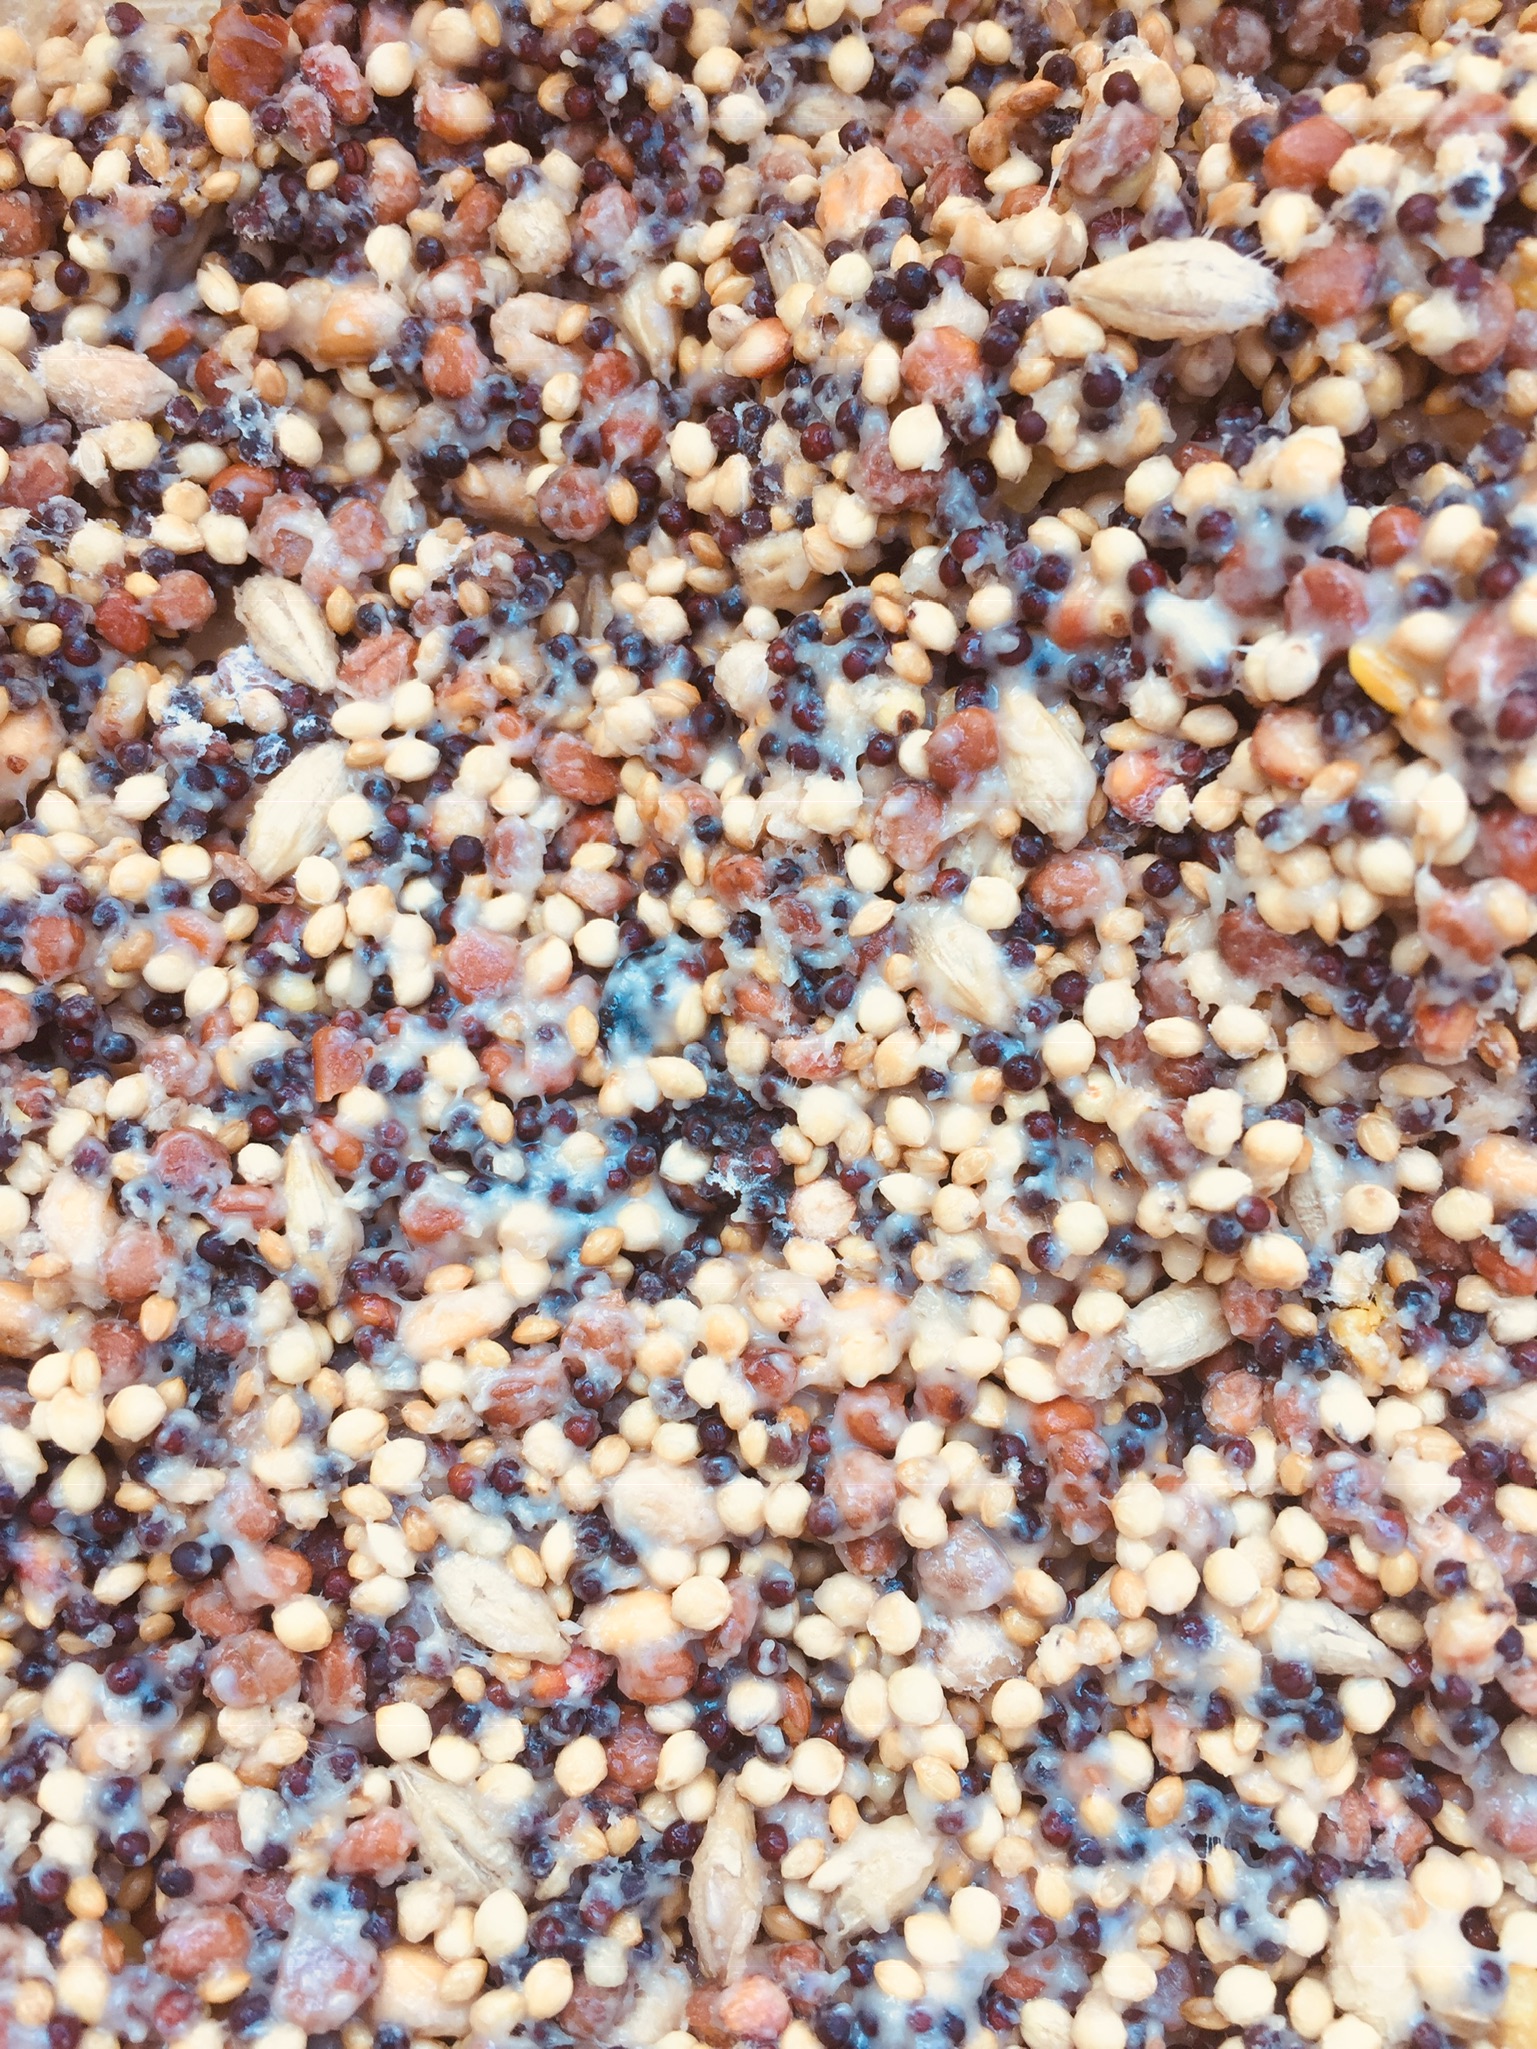
  2.  Add the wild bird seed to the mixture, stir until well coated. 
  3.  Oil or spray your molds, then spoon in the birdseed mixture. Press down and make the top smooth.
  4. Poke a hole through the top of each birdseed molds using a drinking straws. Make sure it goes through completely.
  5.  Leave the birdseed mixture and the straws in the molds for 2 to 3 hours then remove the straws.
  6.  Lay out the sheet of  wax paper. Gently removed the harden ornaments from the molds and placing on the paper.
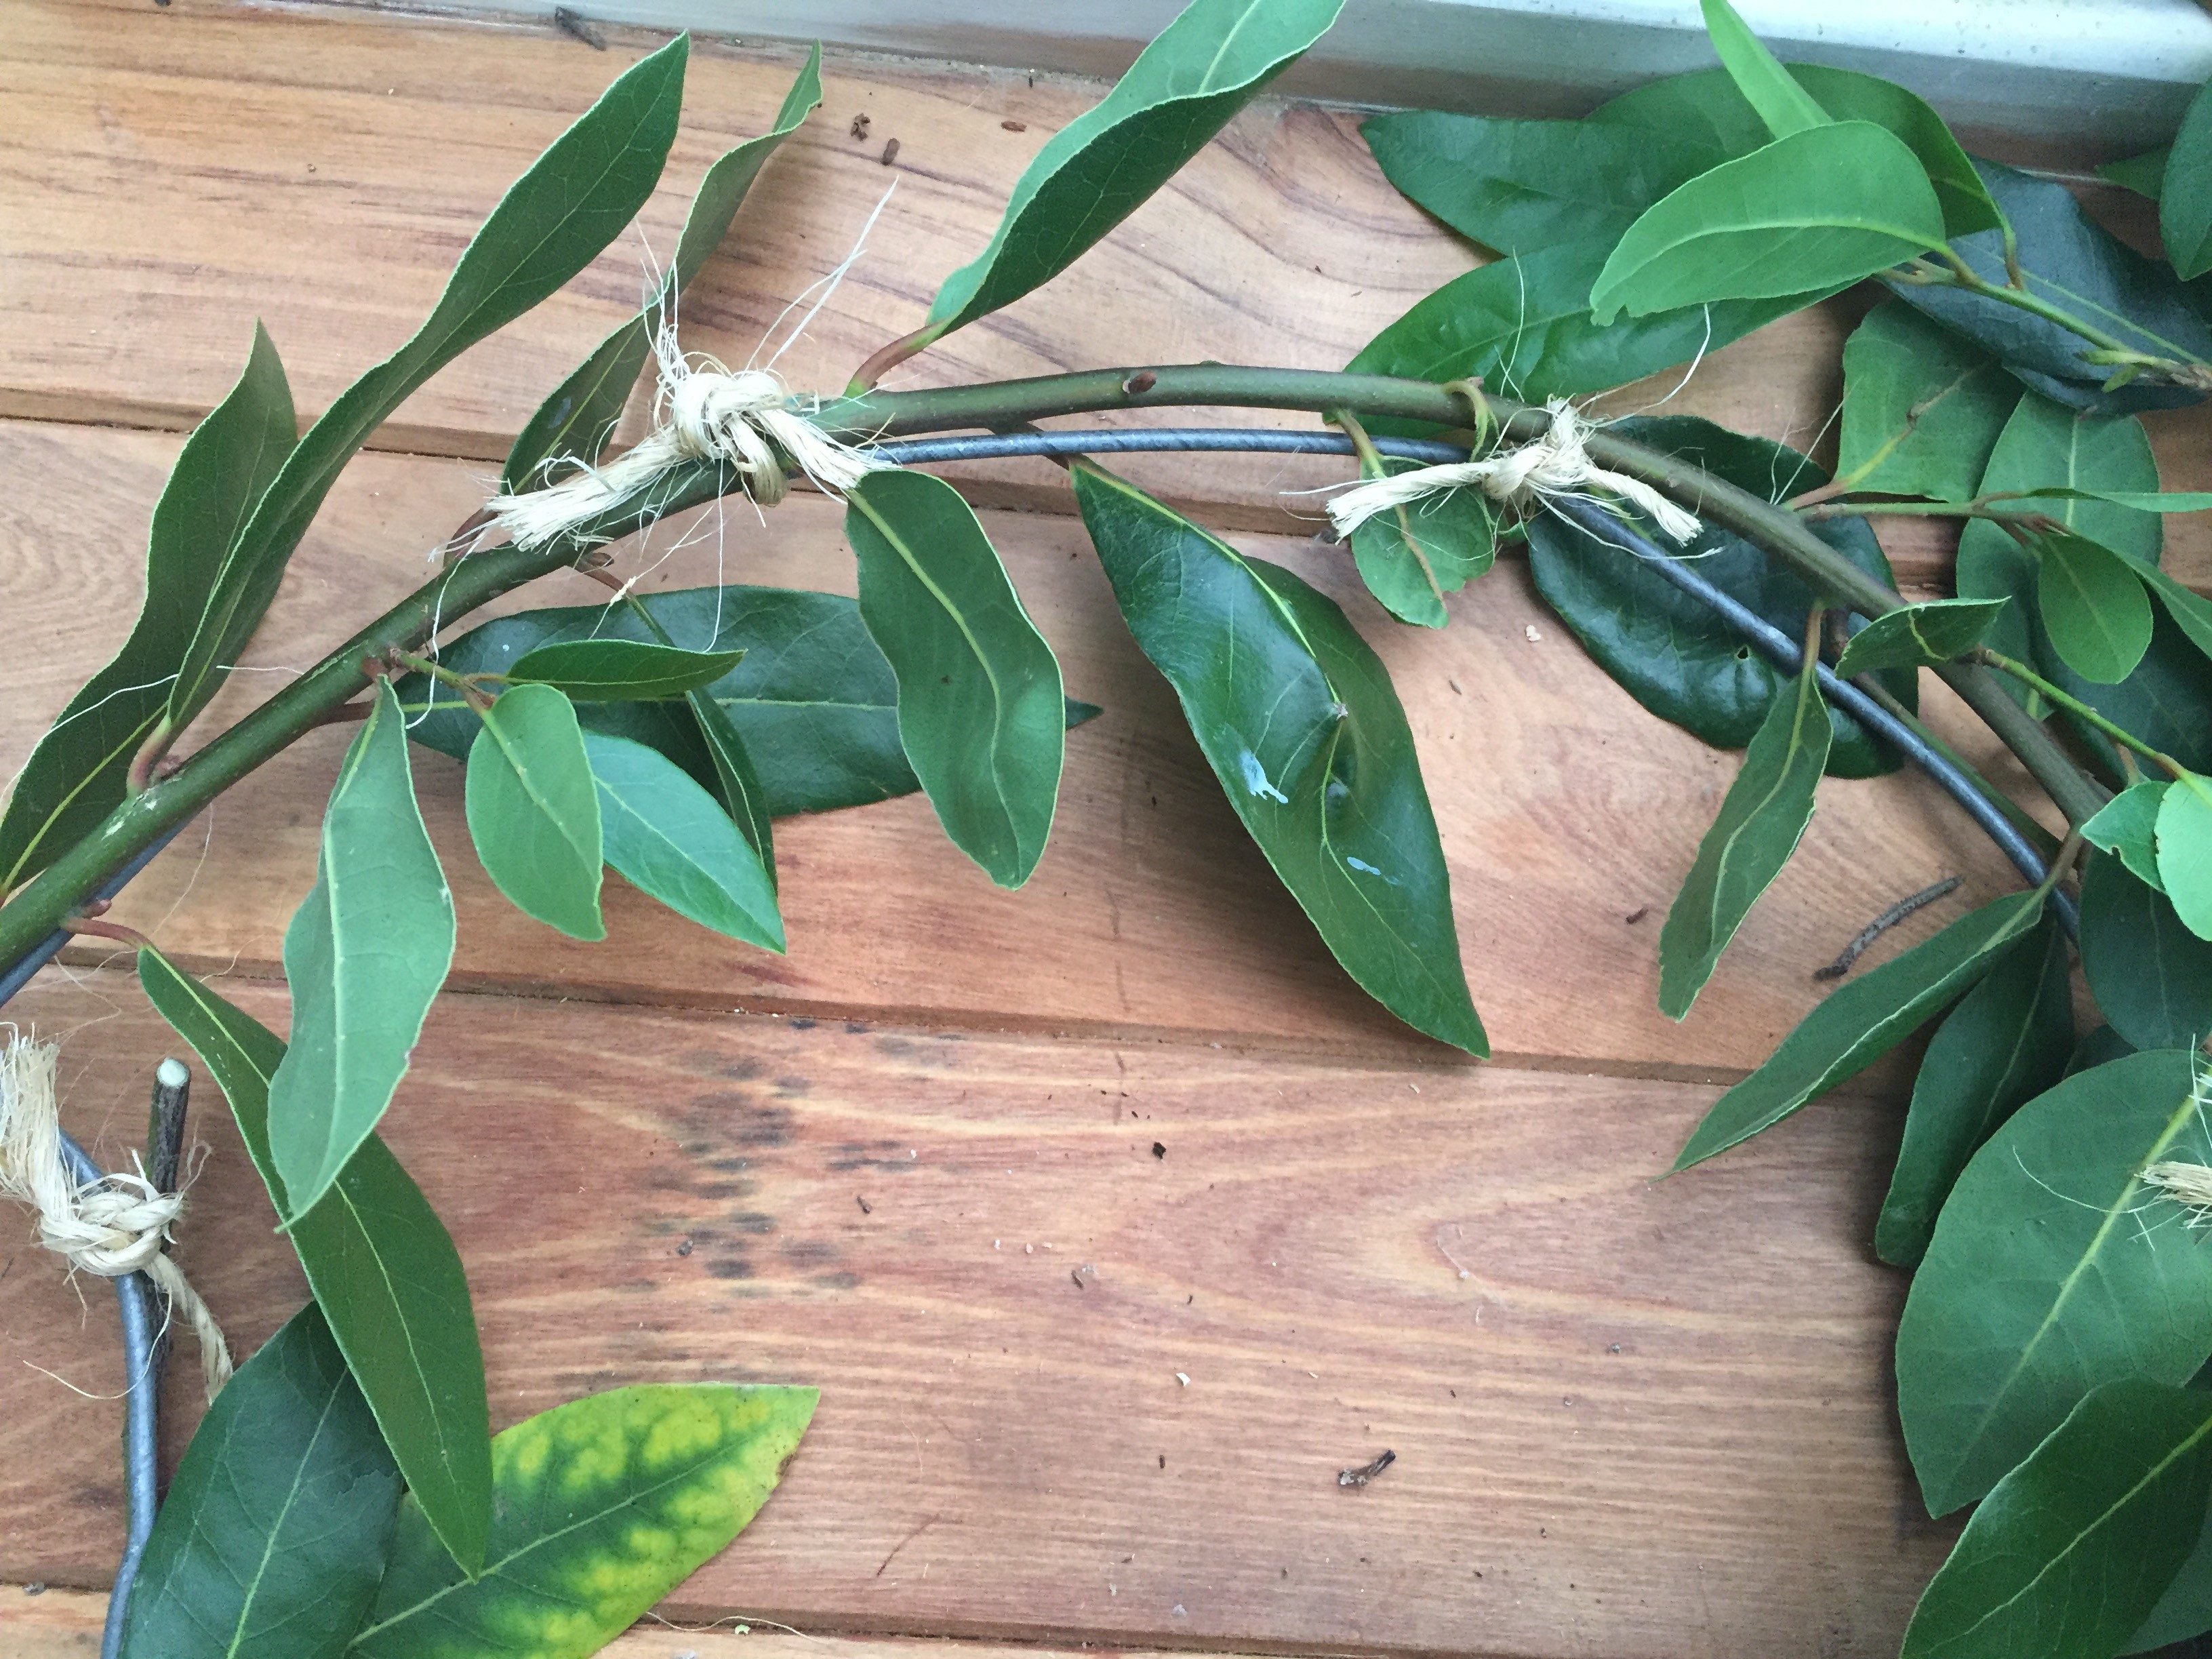
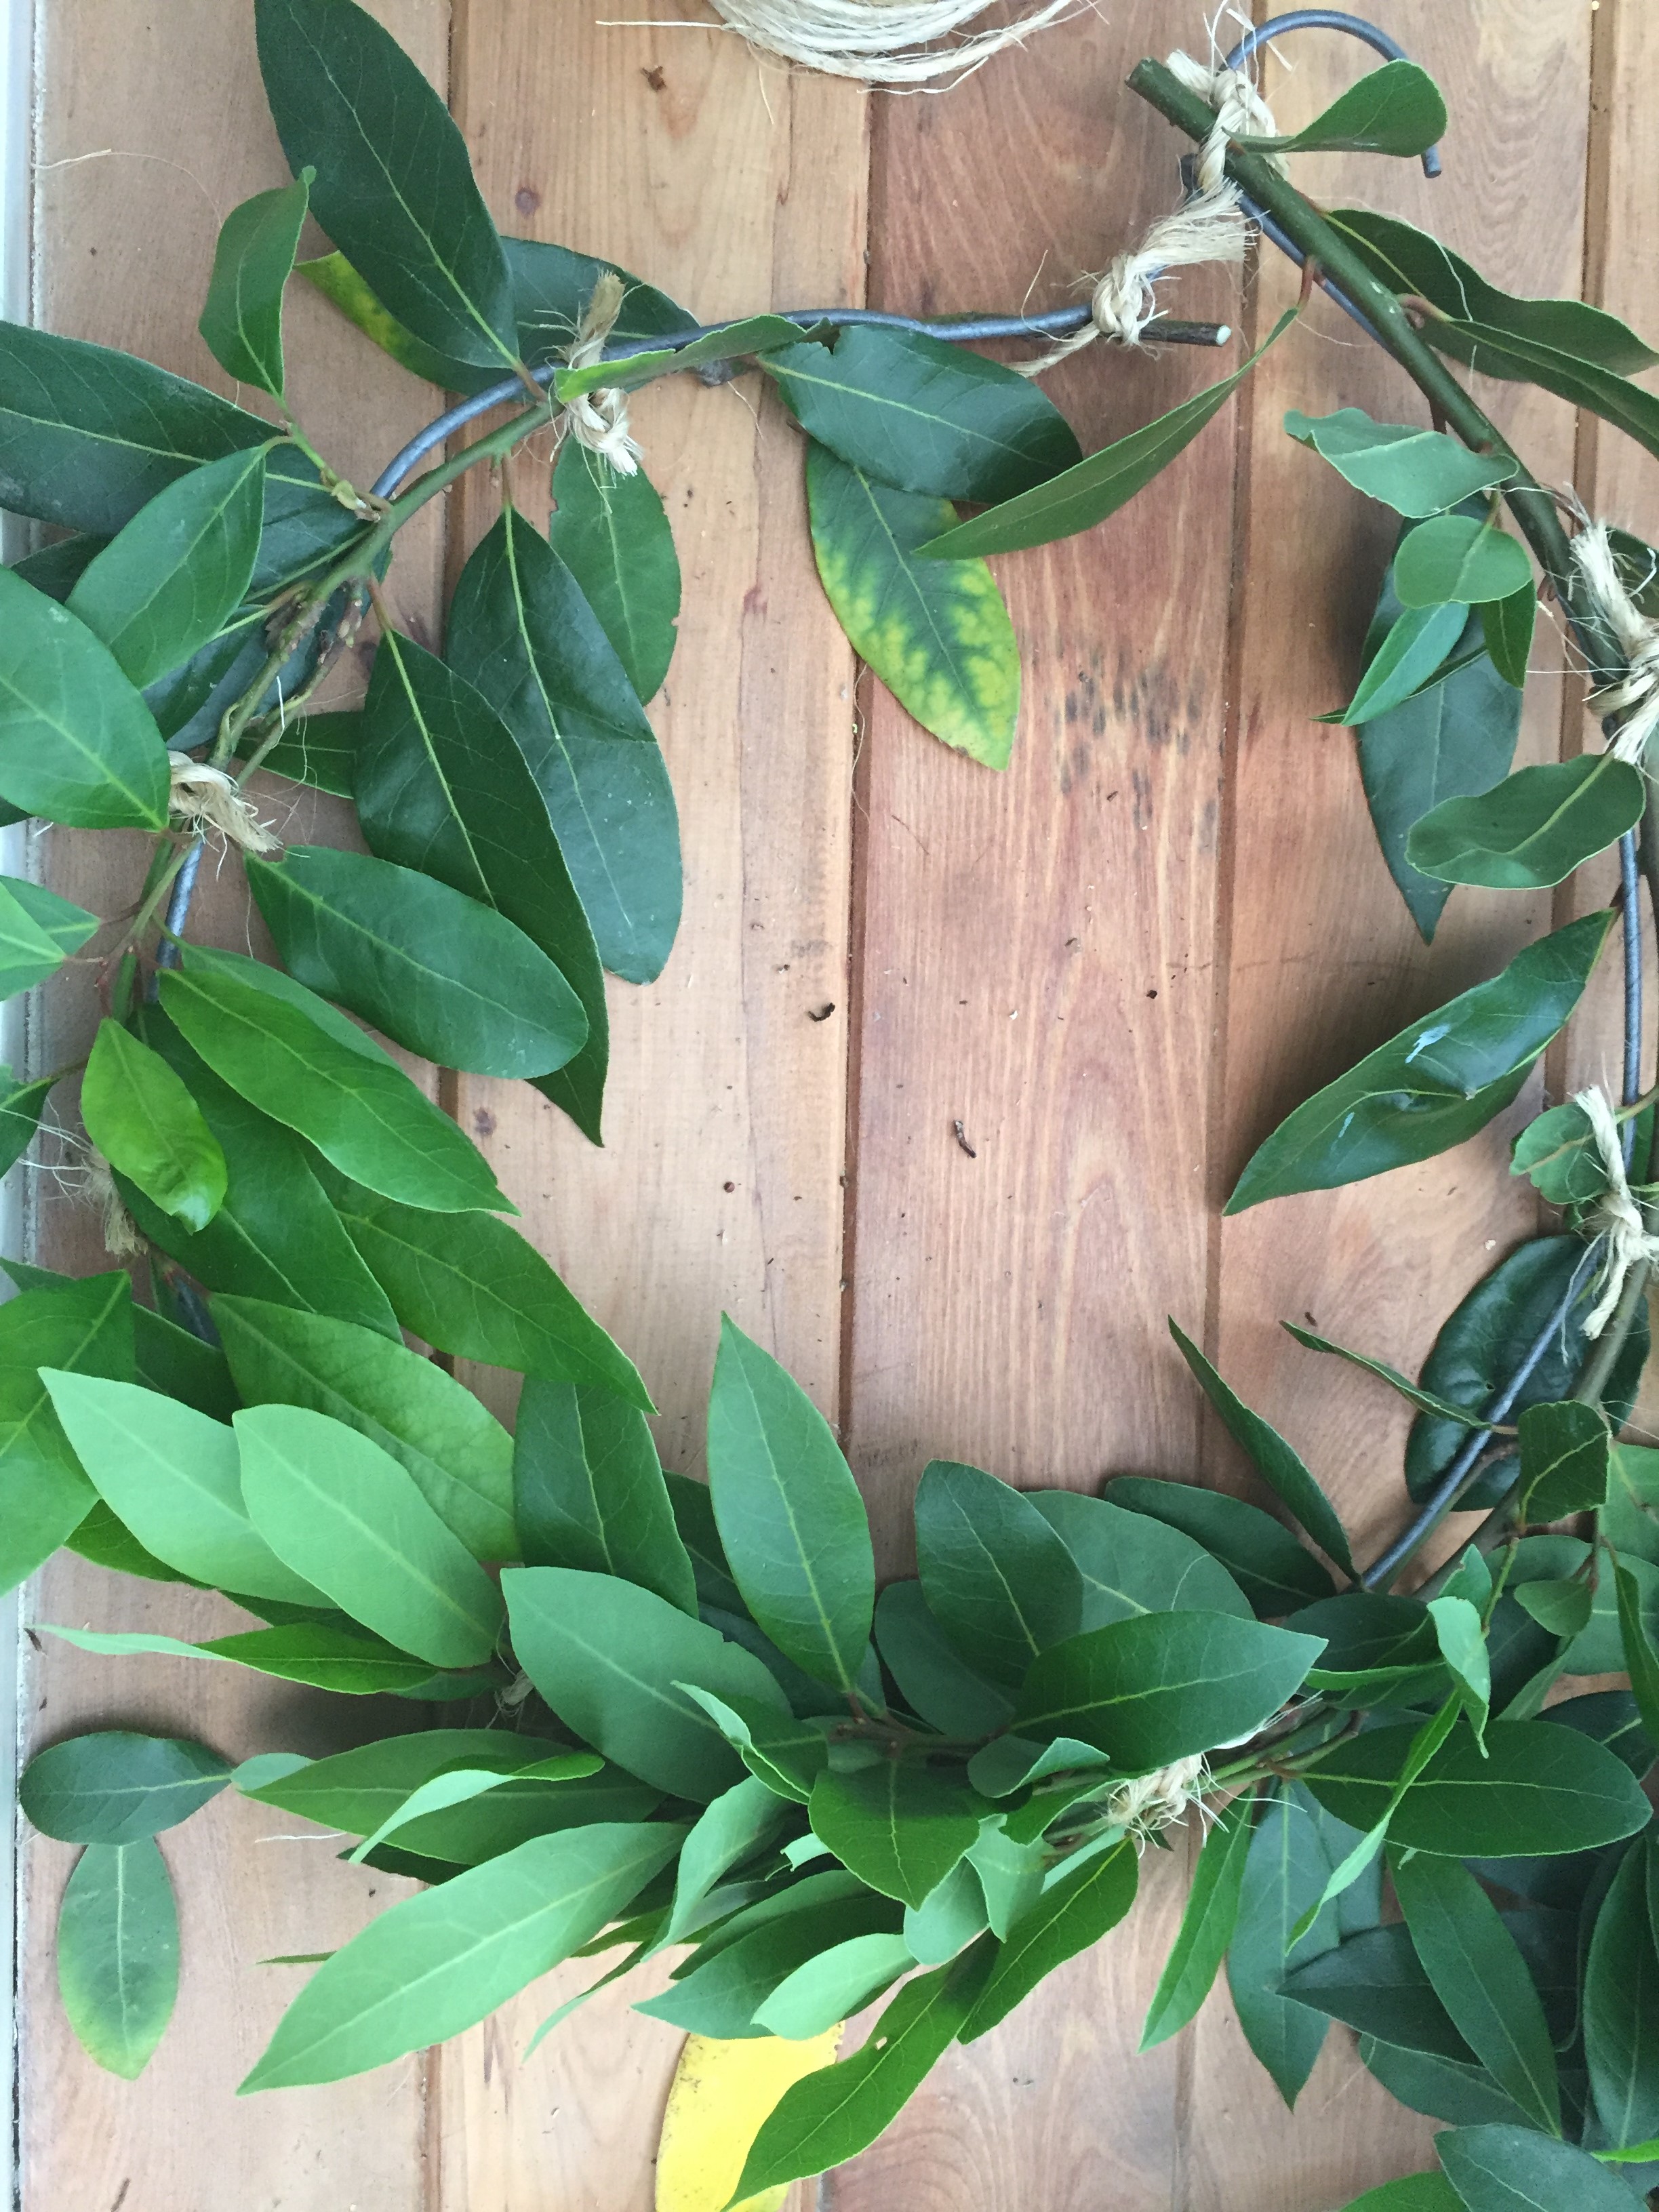
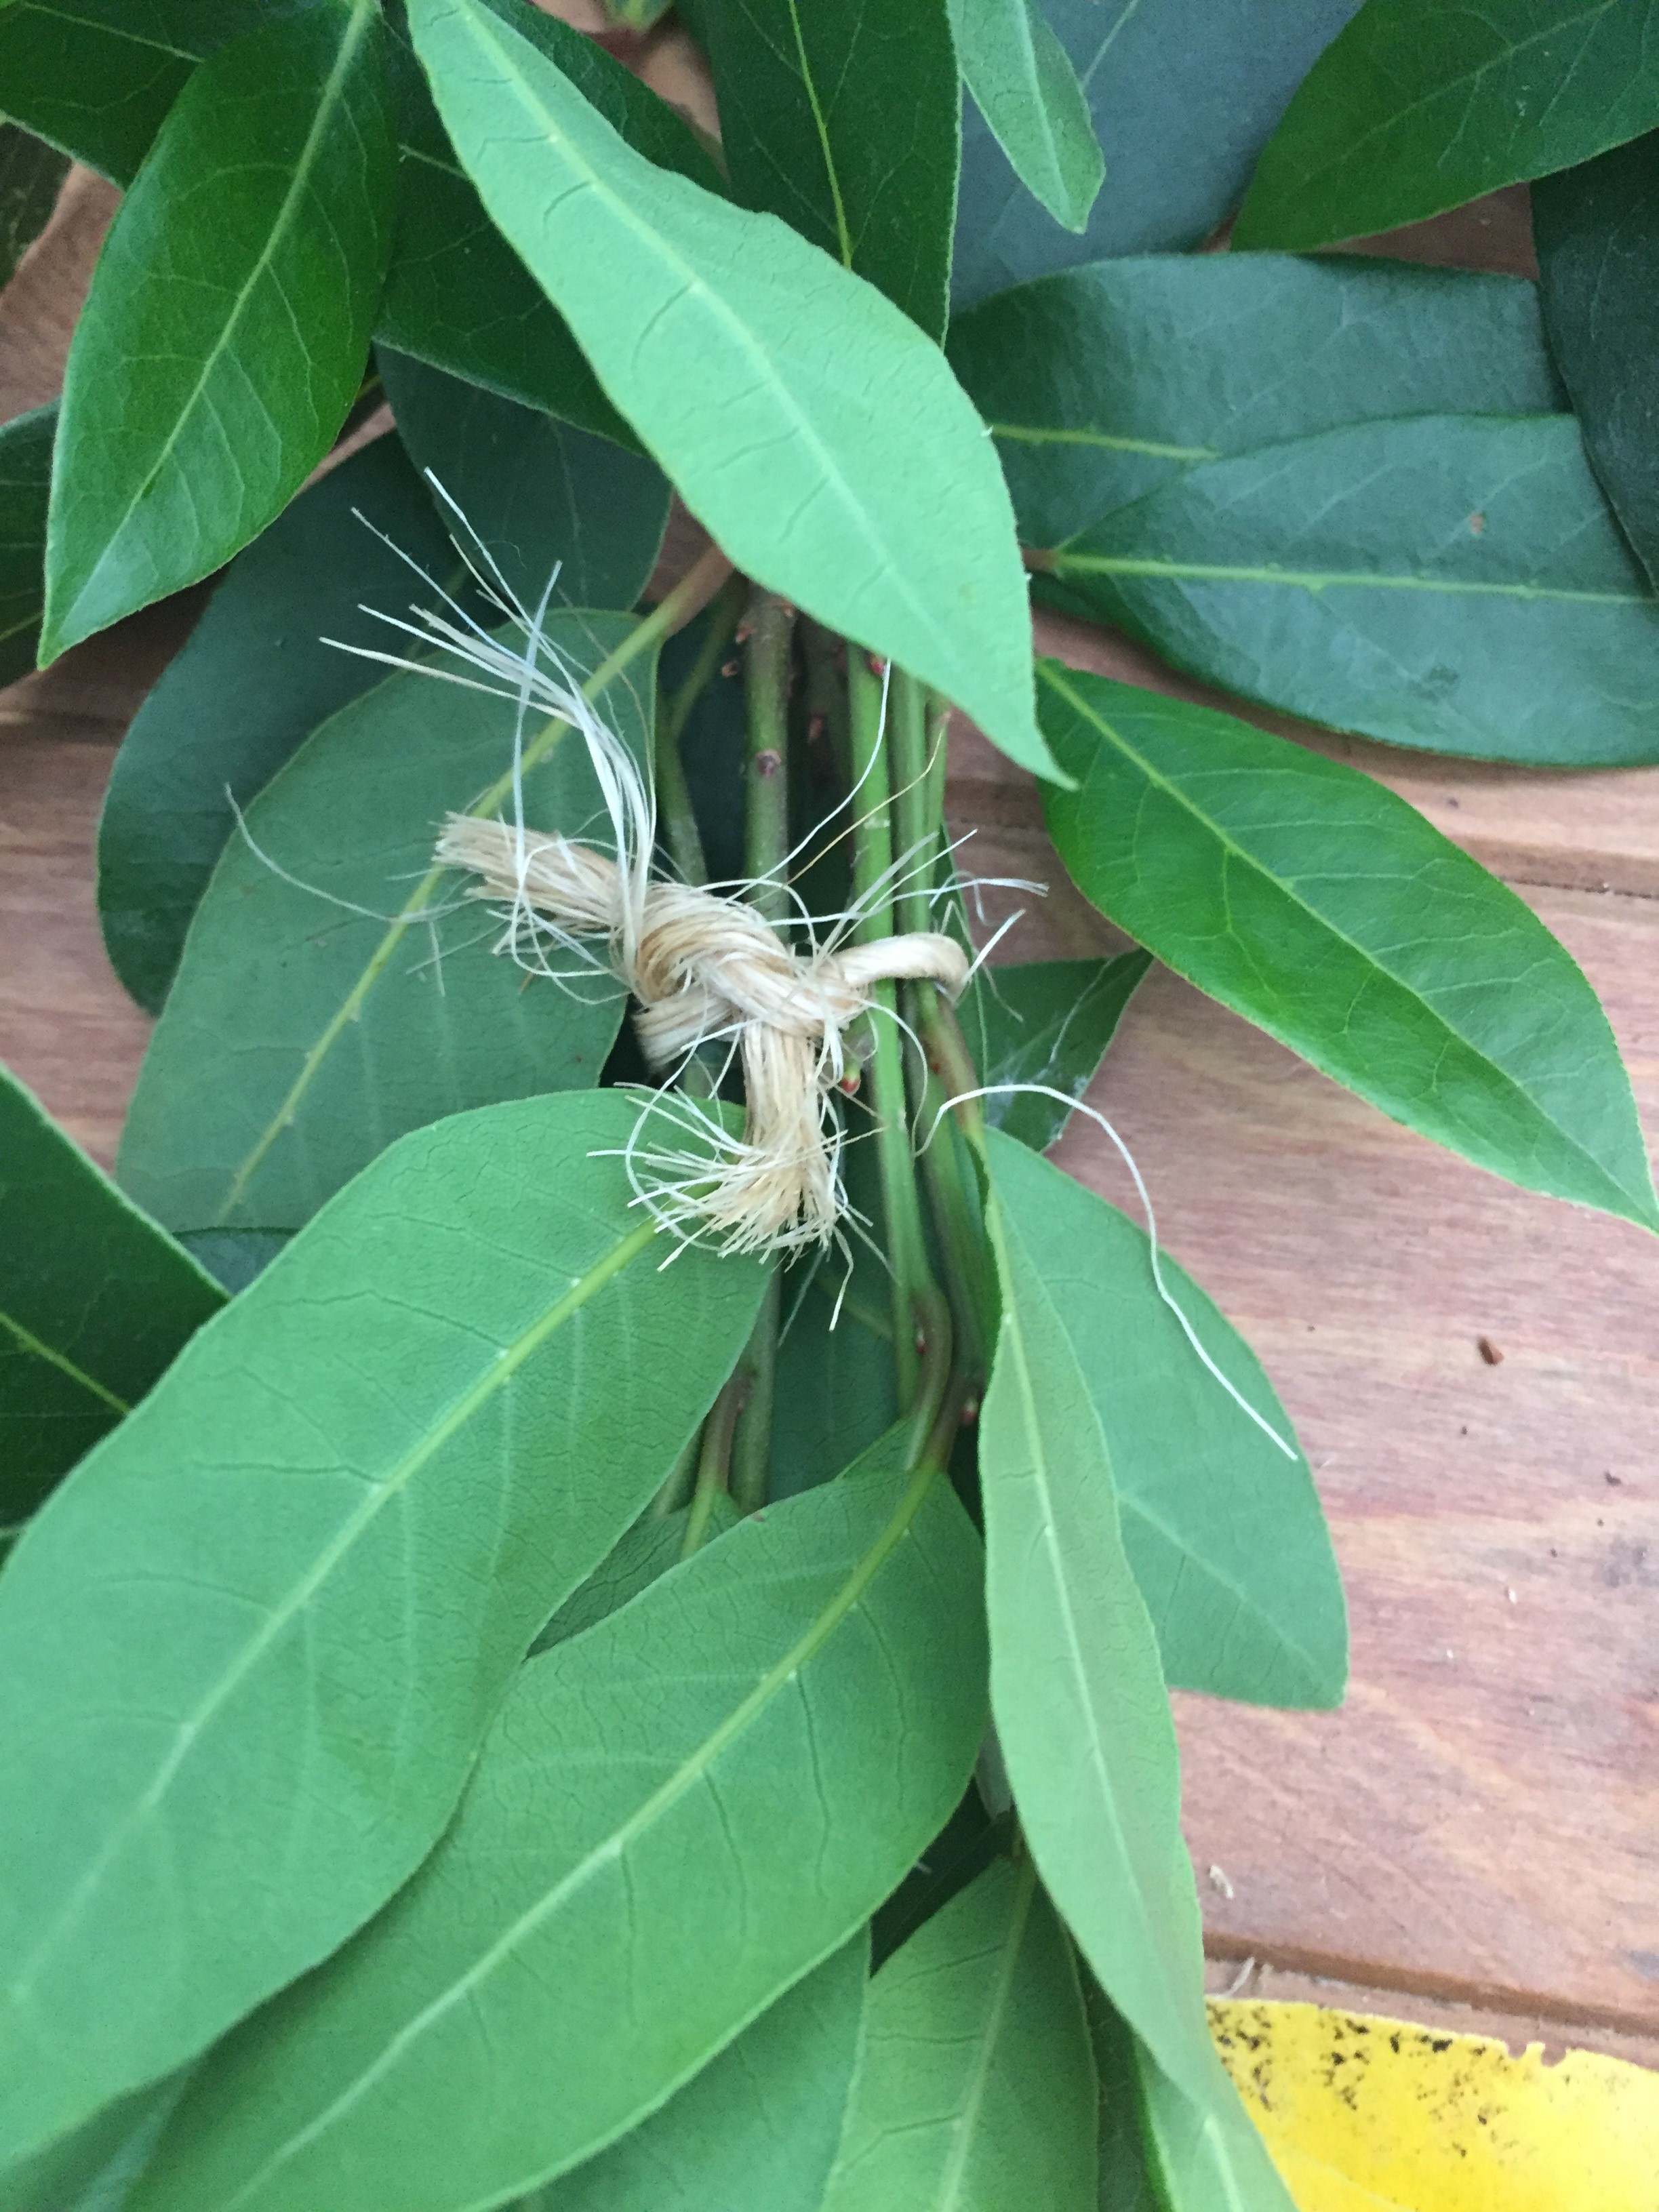
  7. Remove the straws and attach the twine or ribbon to hang the feeders up outside and enjoy.

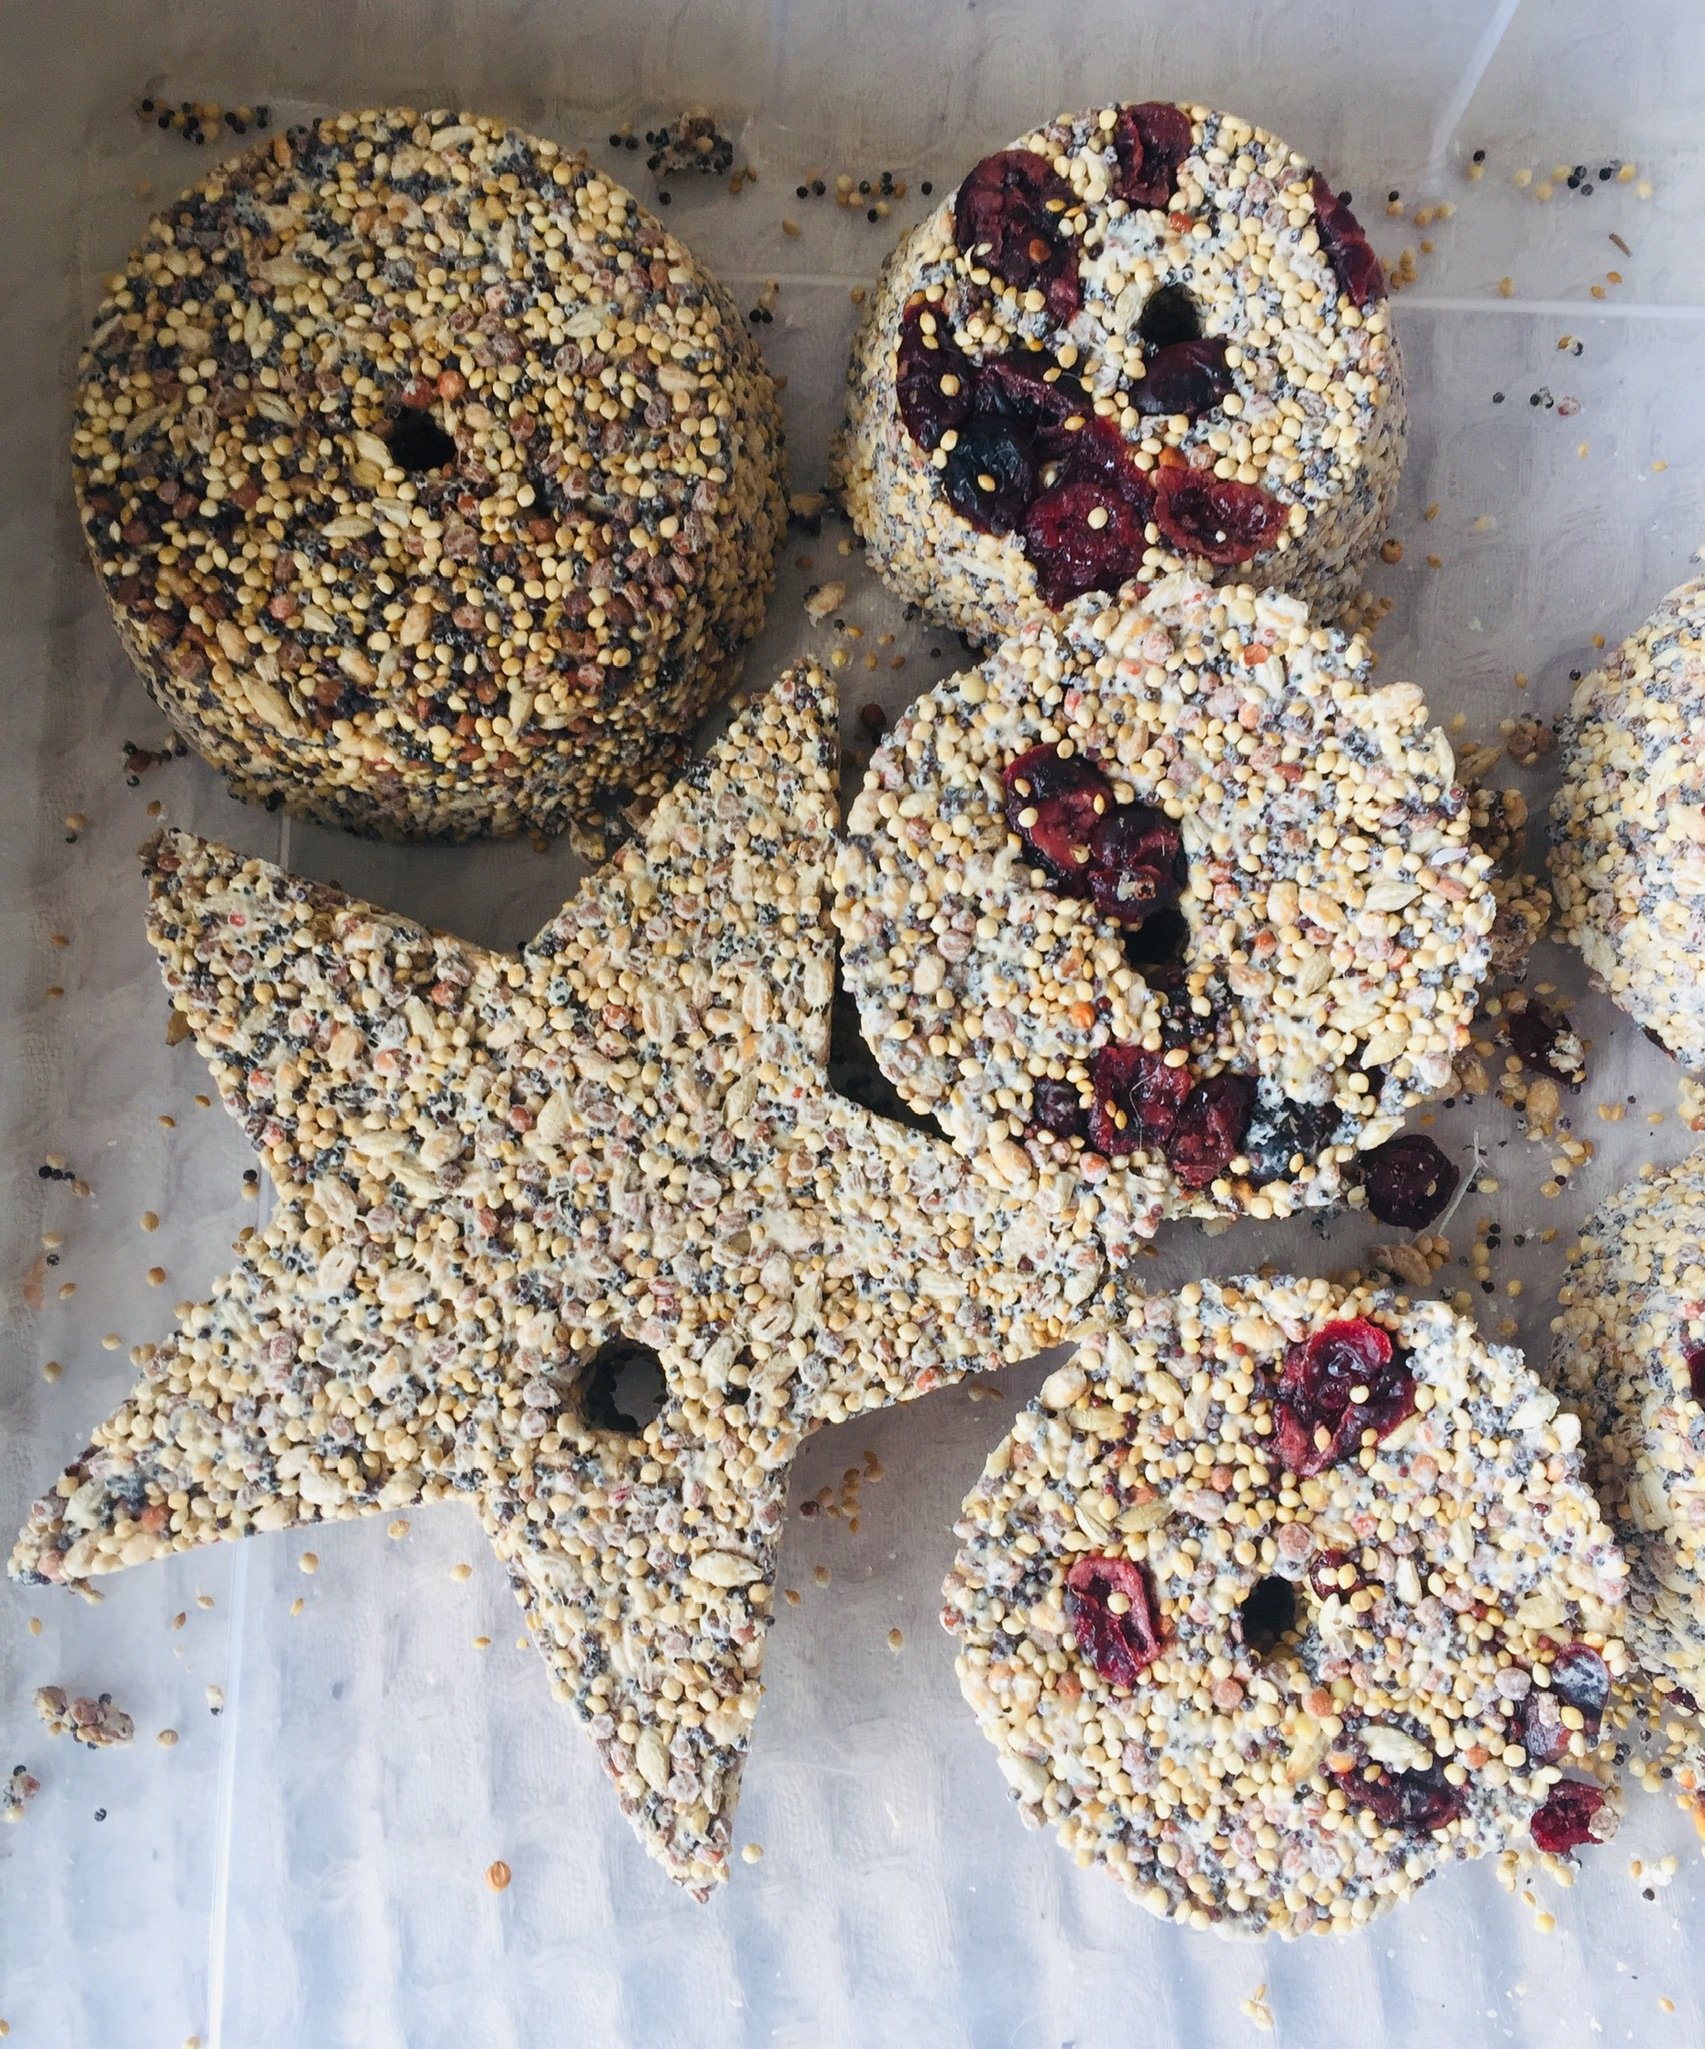
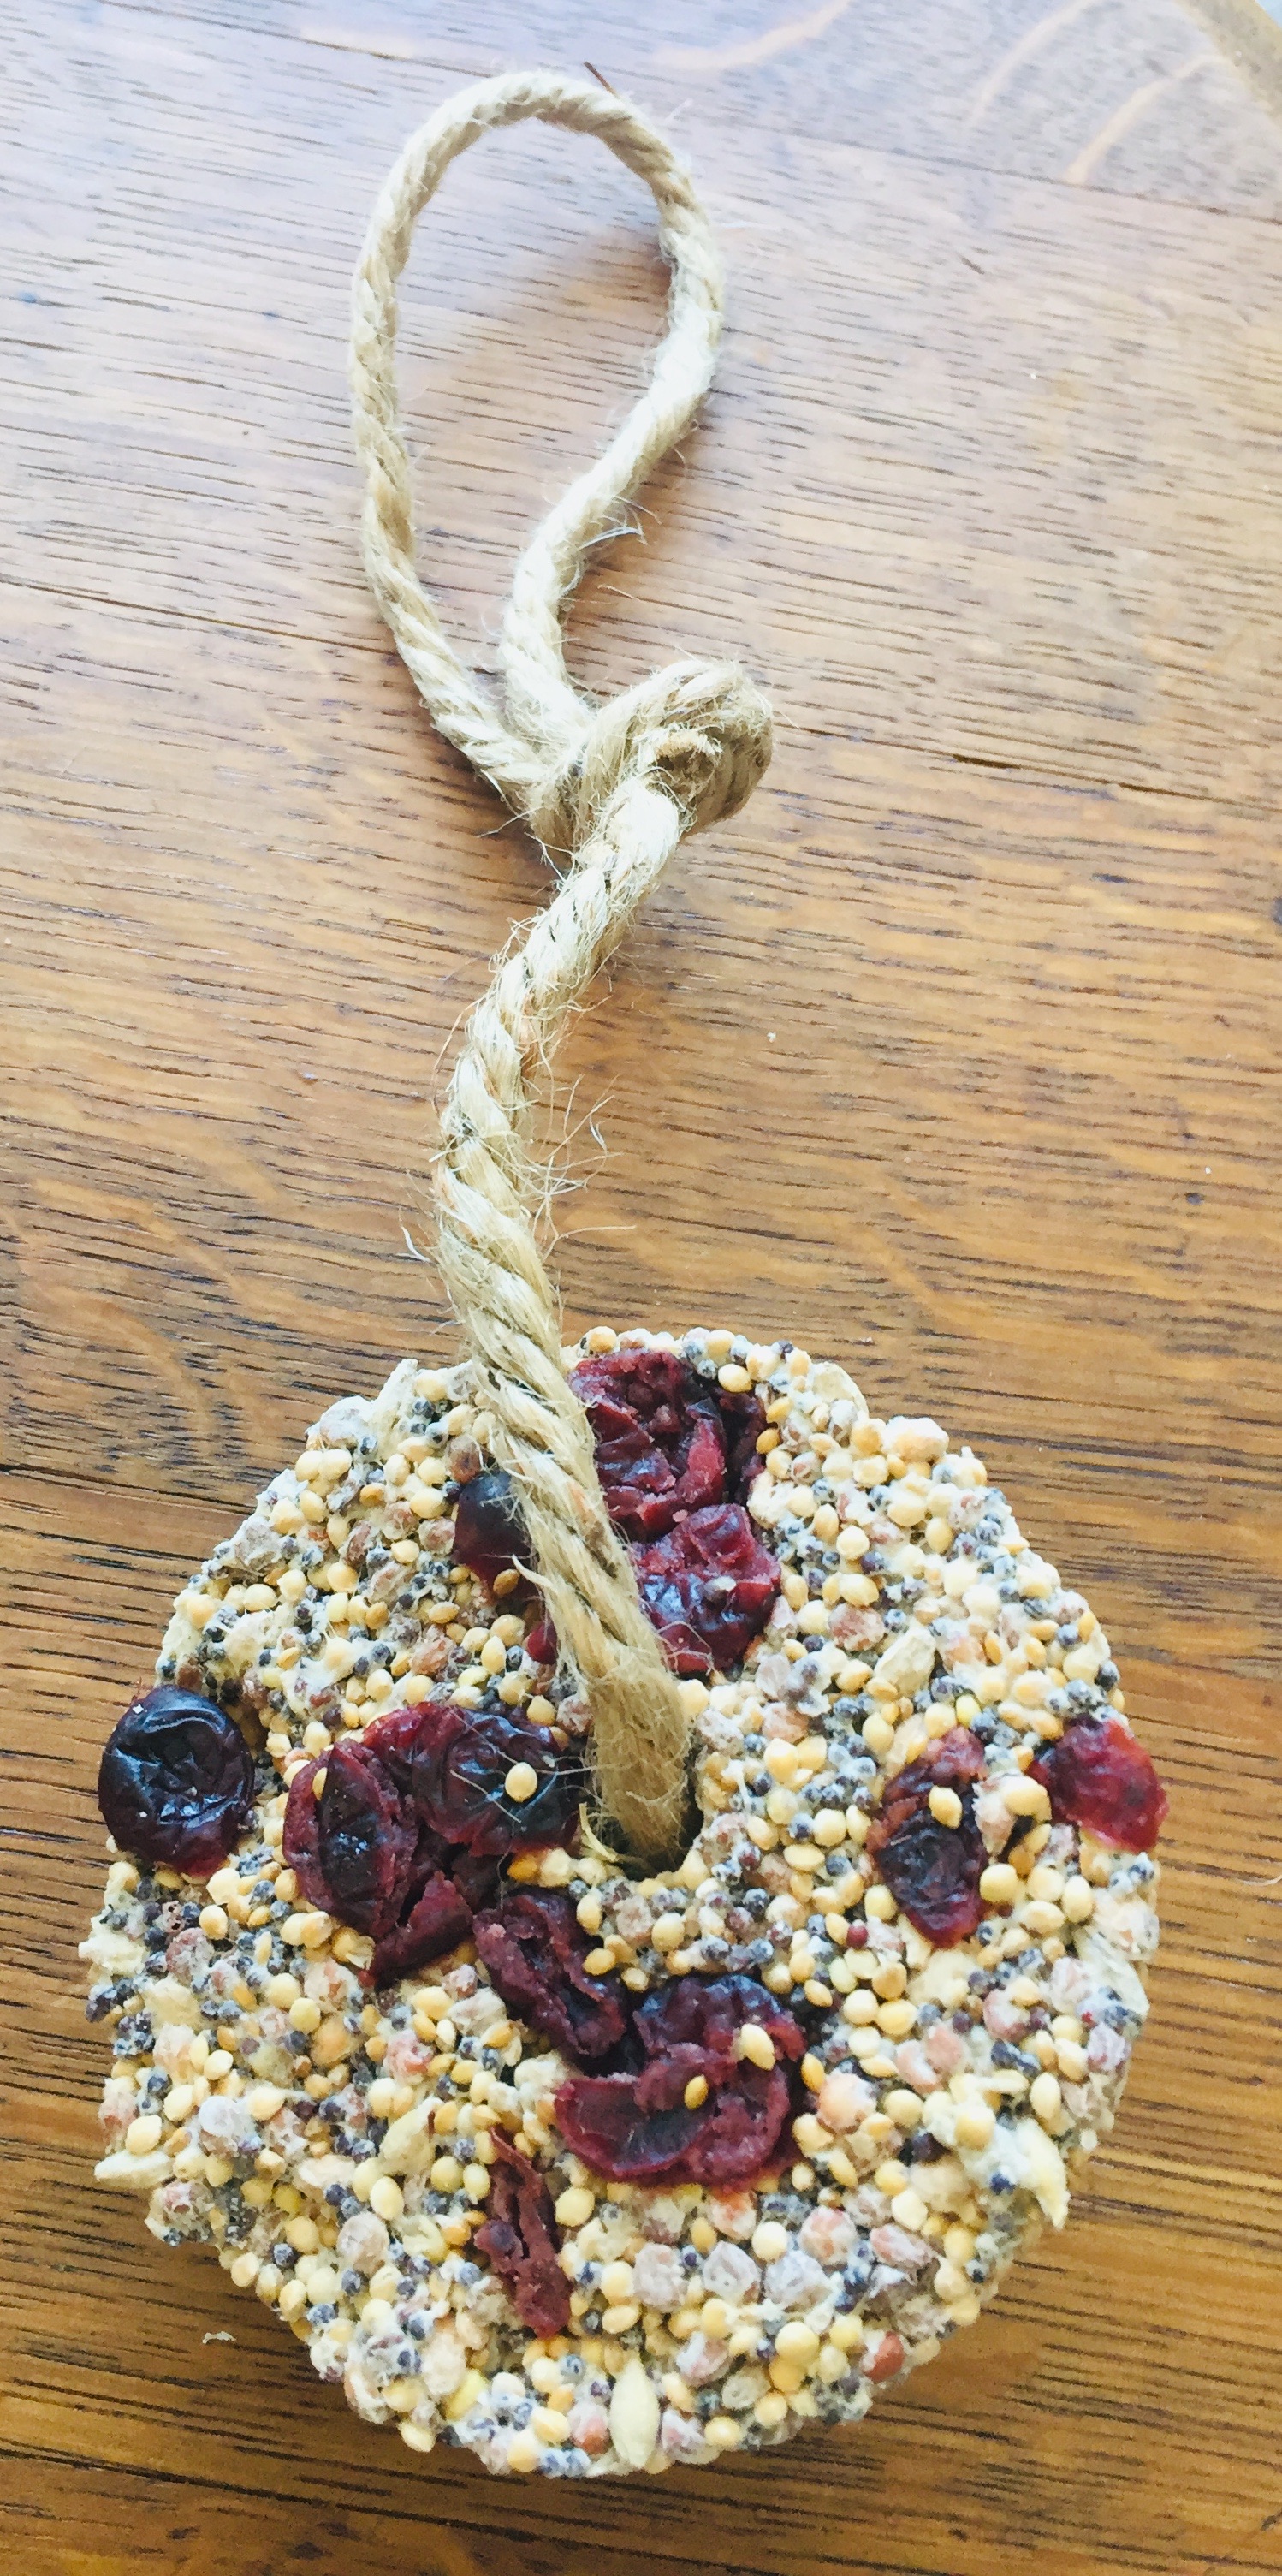
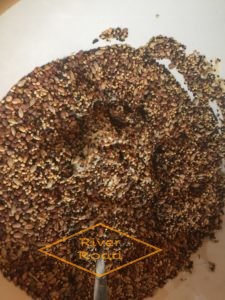
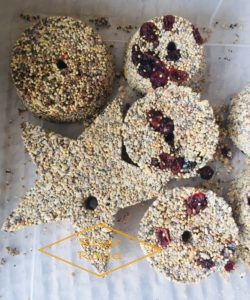
I added some cranberrys for extra special ones, the birds love the dried fruit.

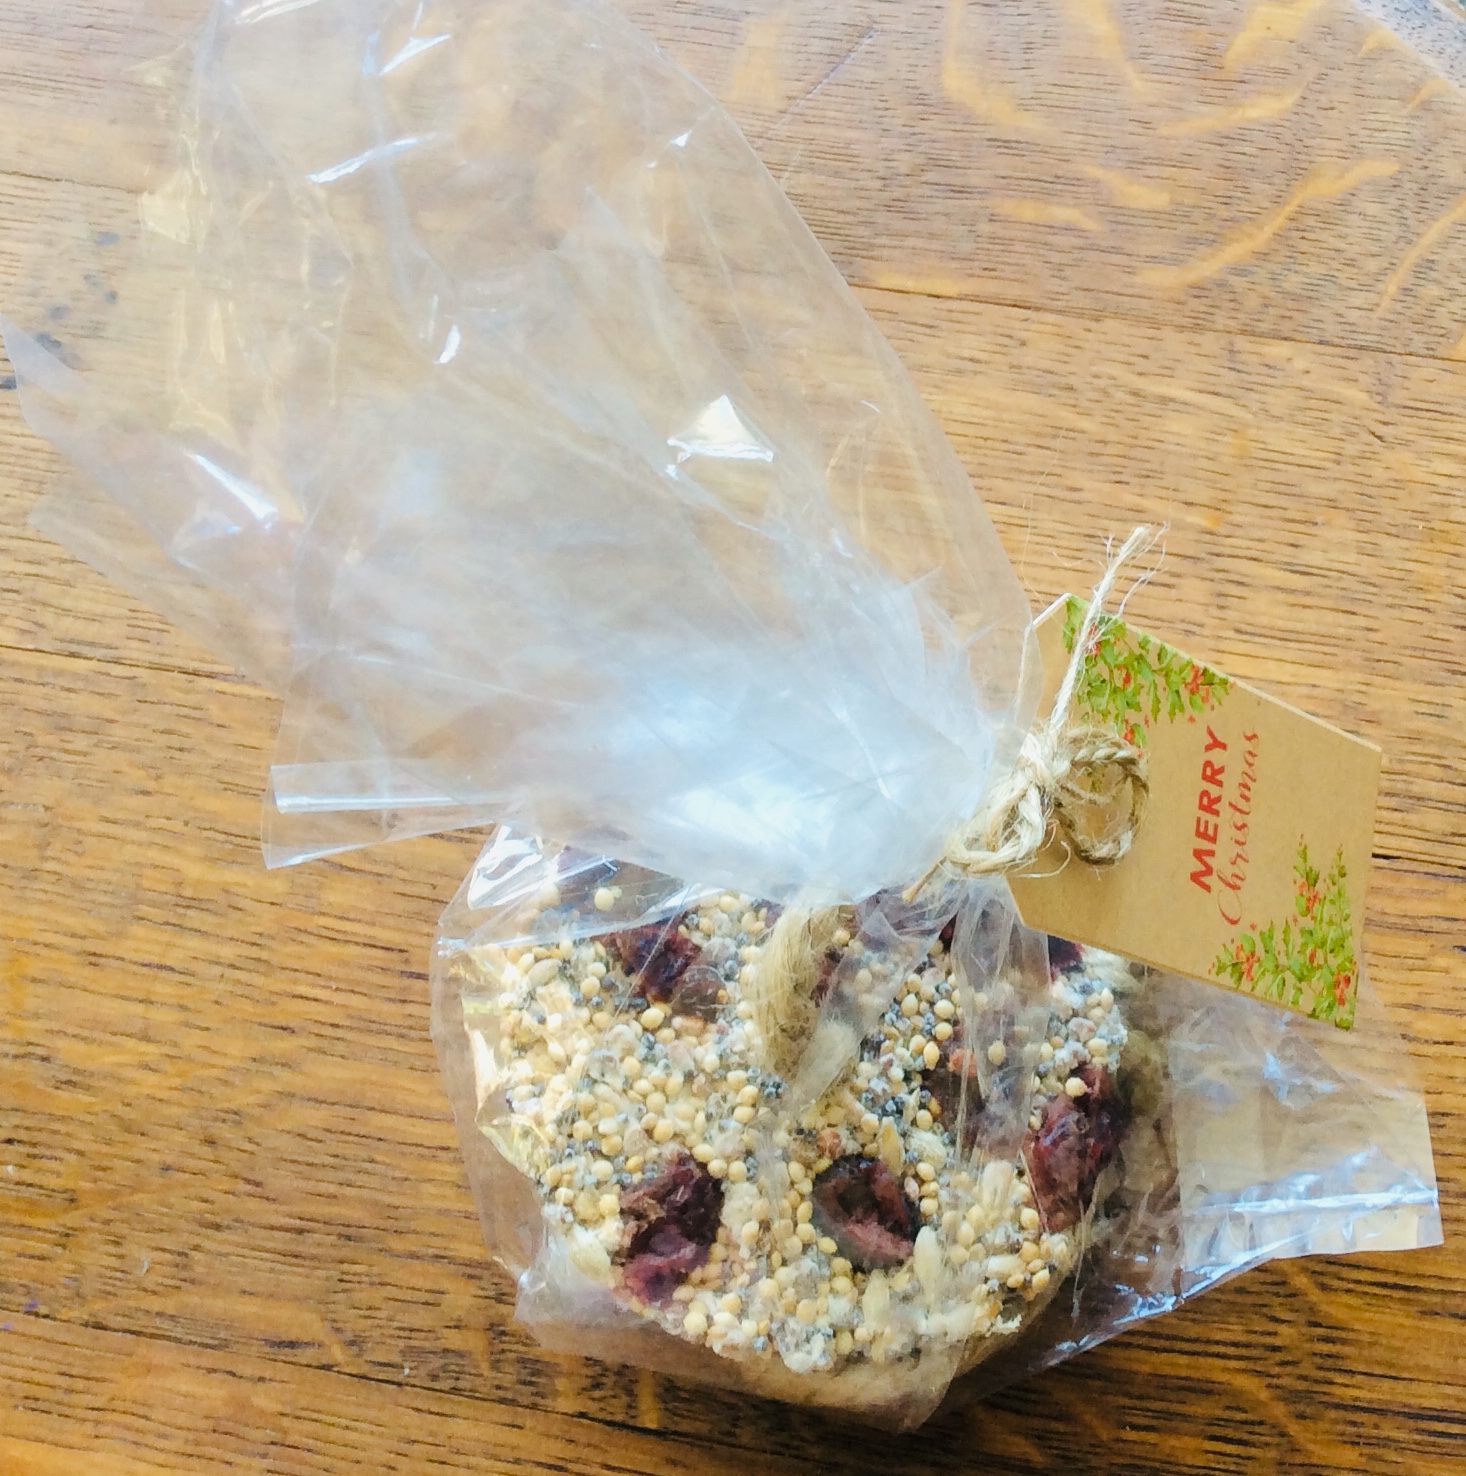
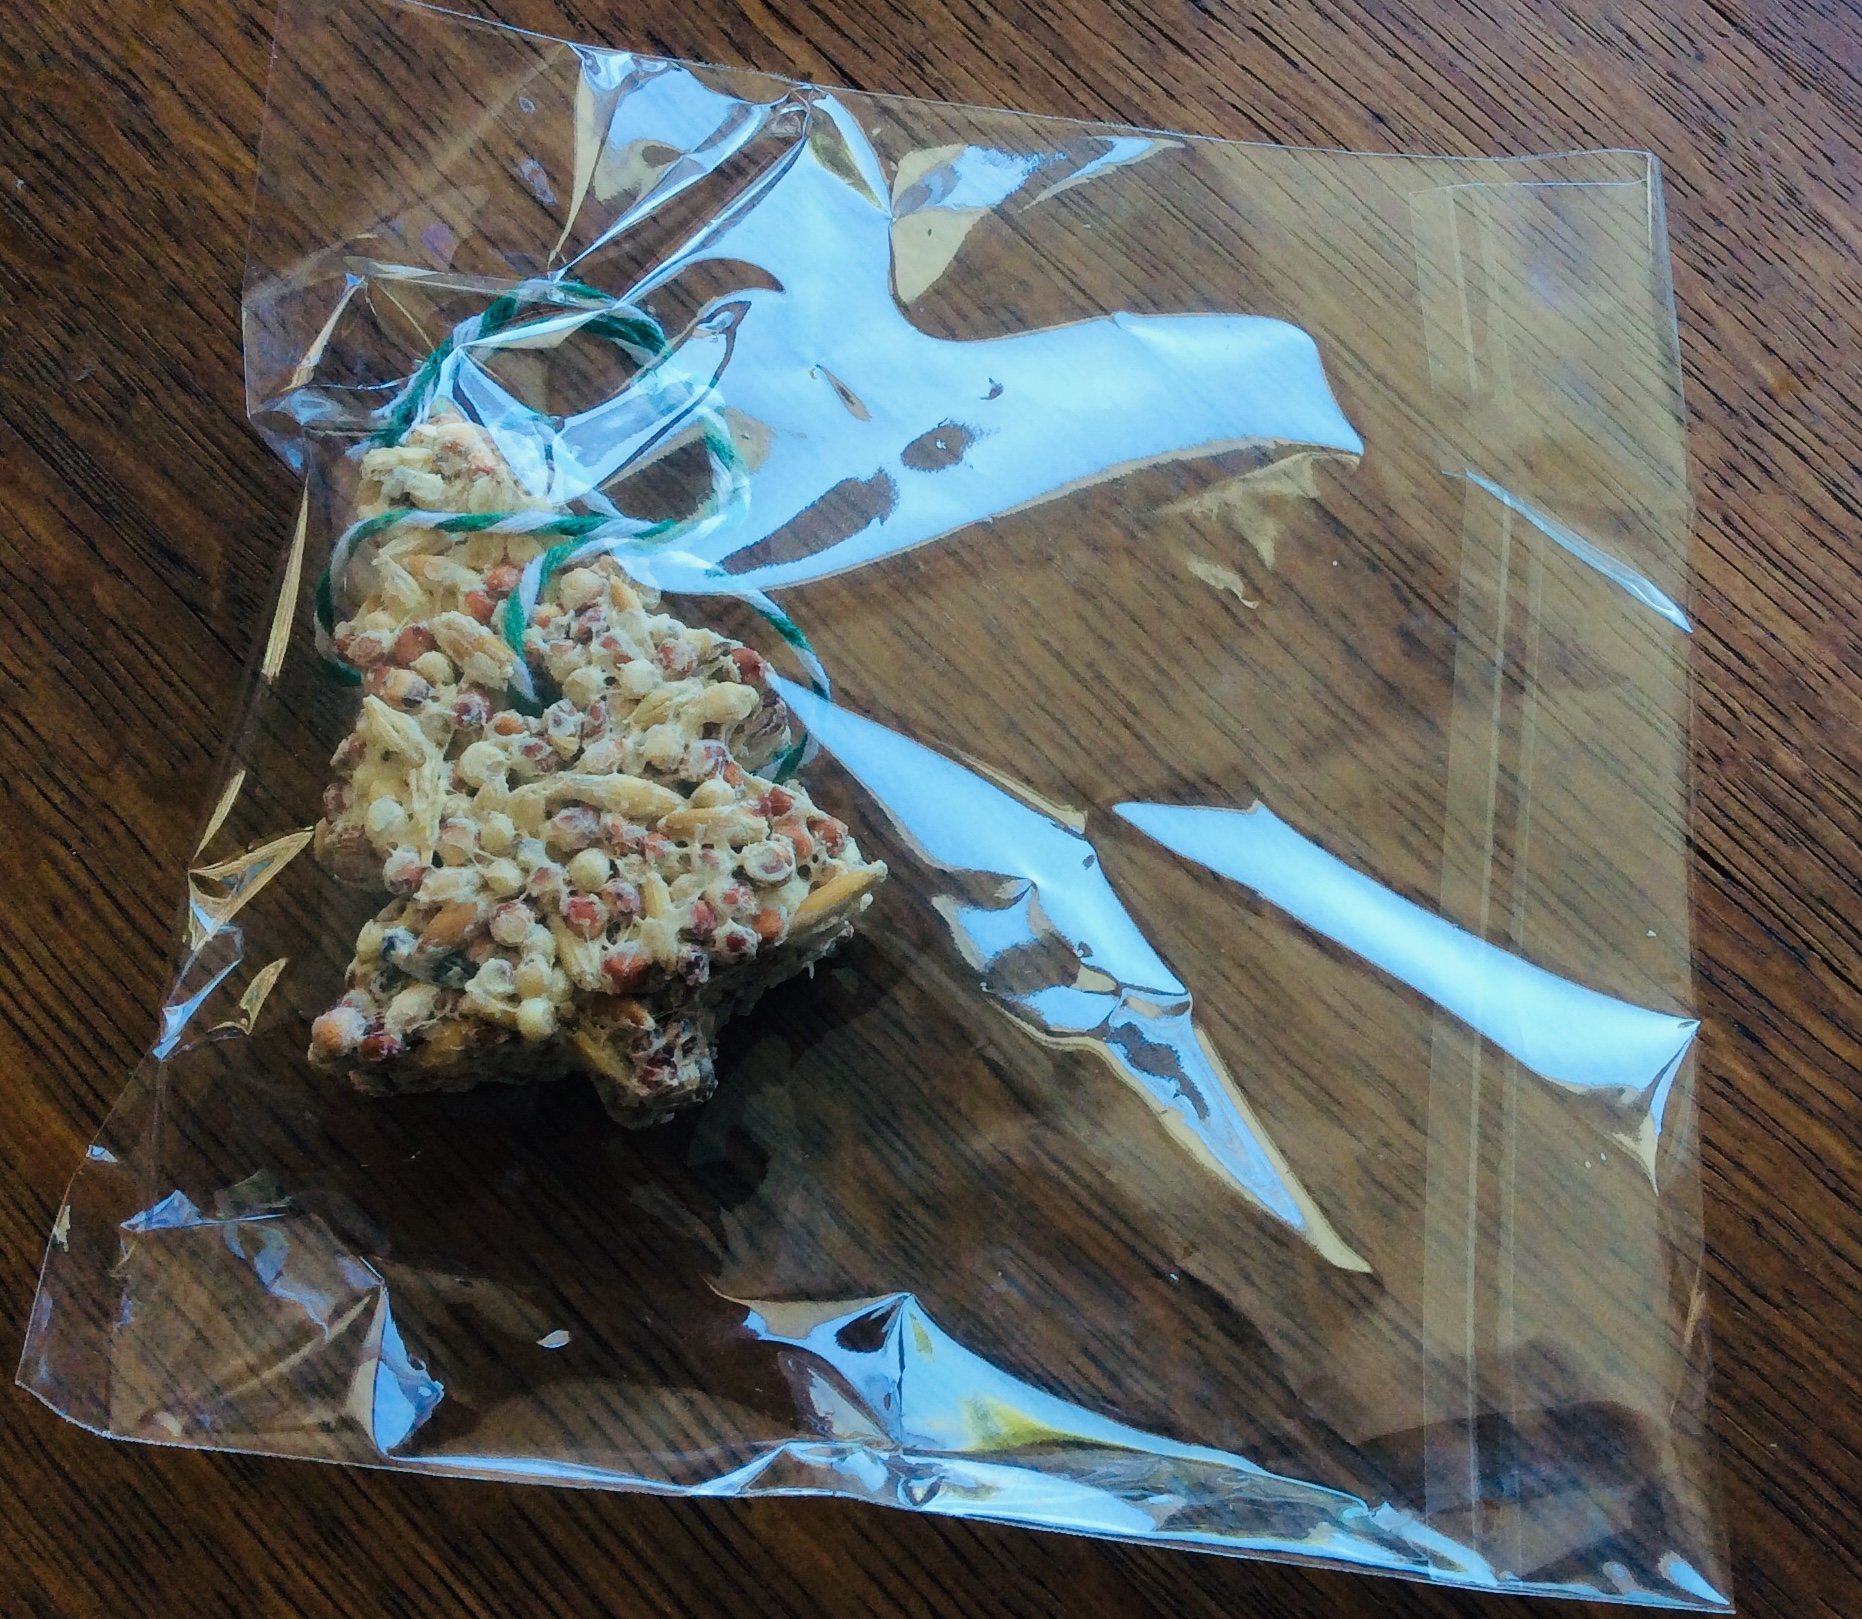
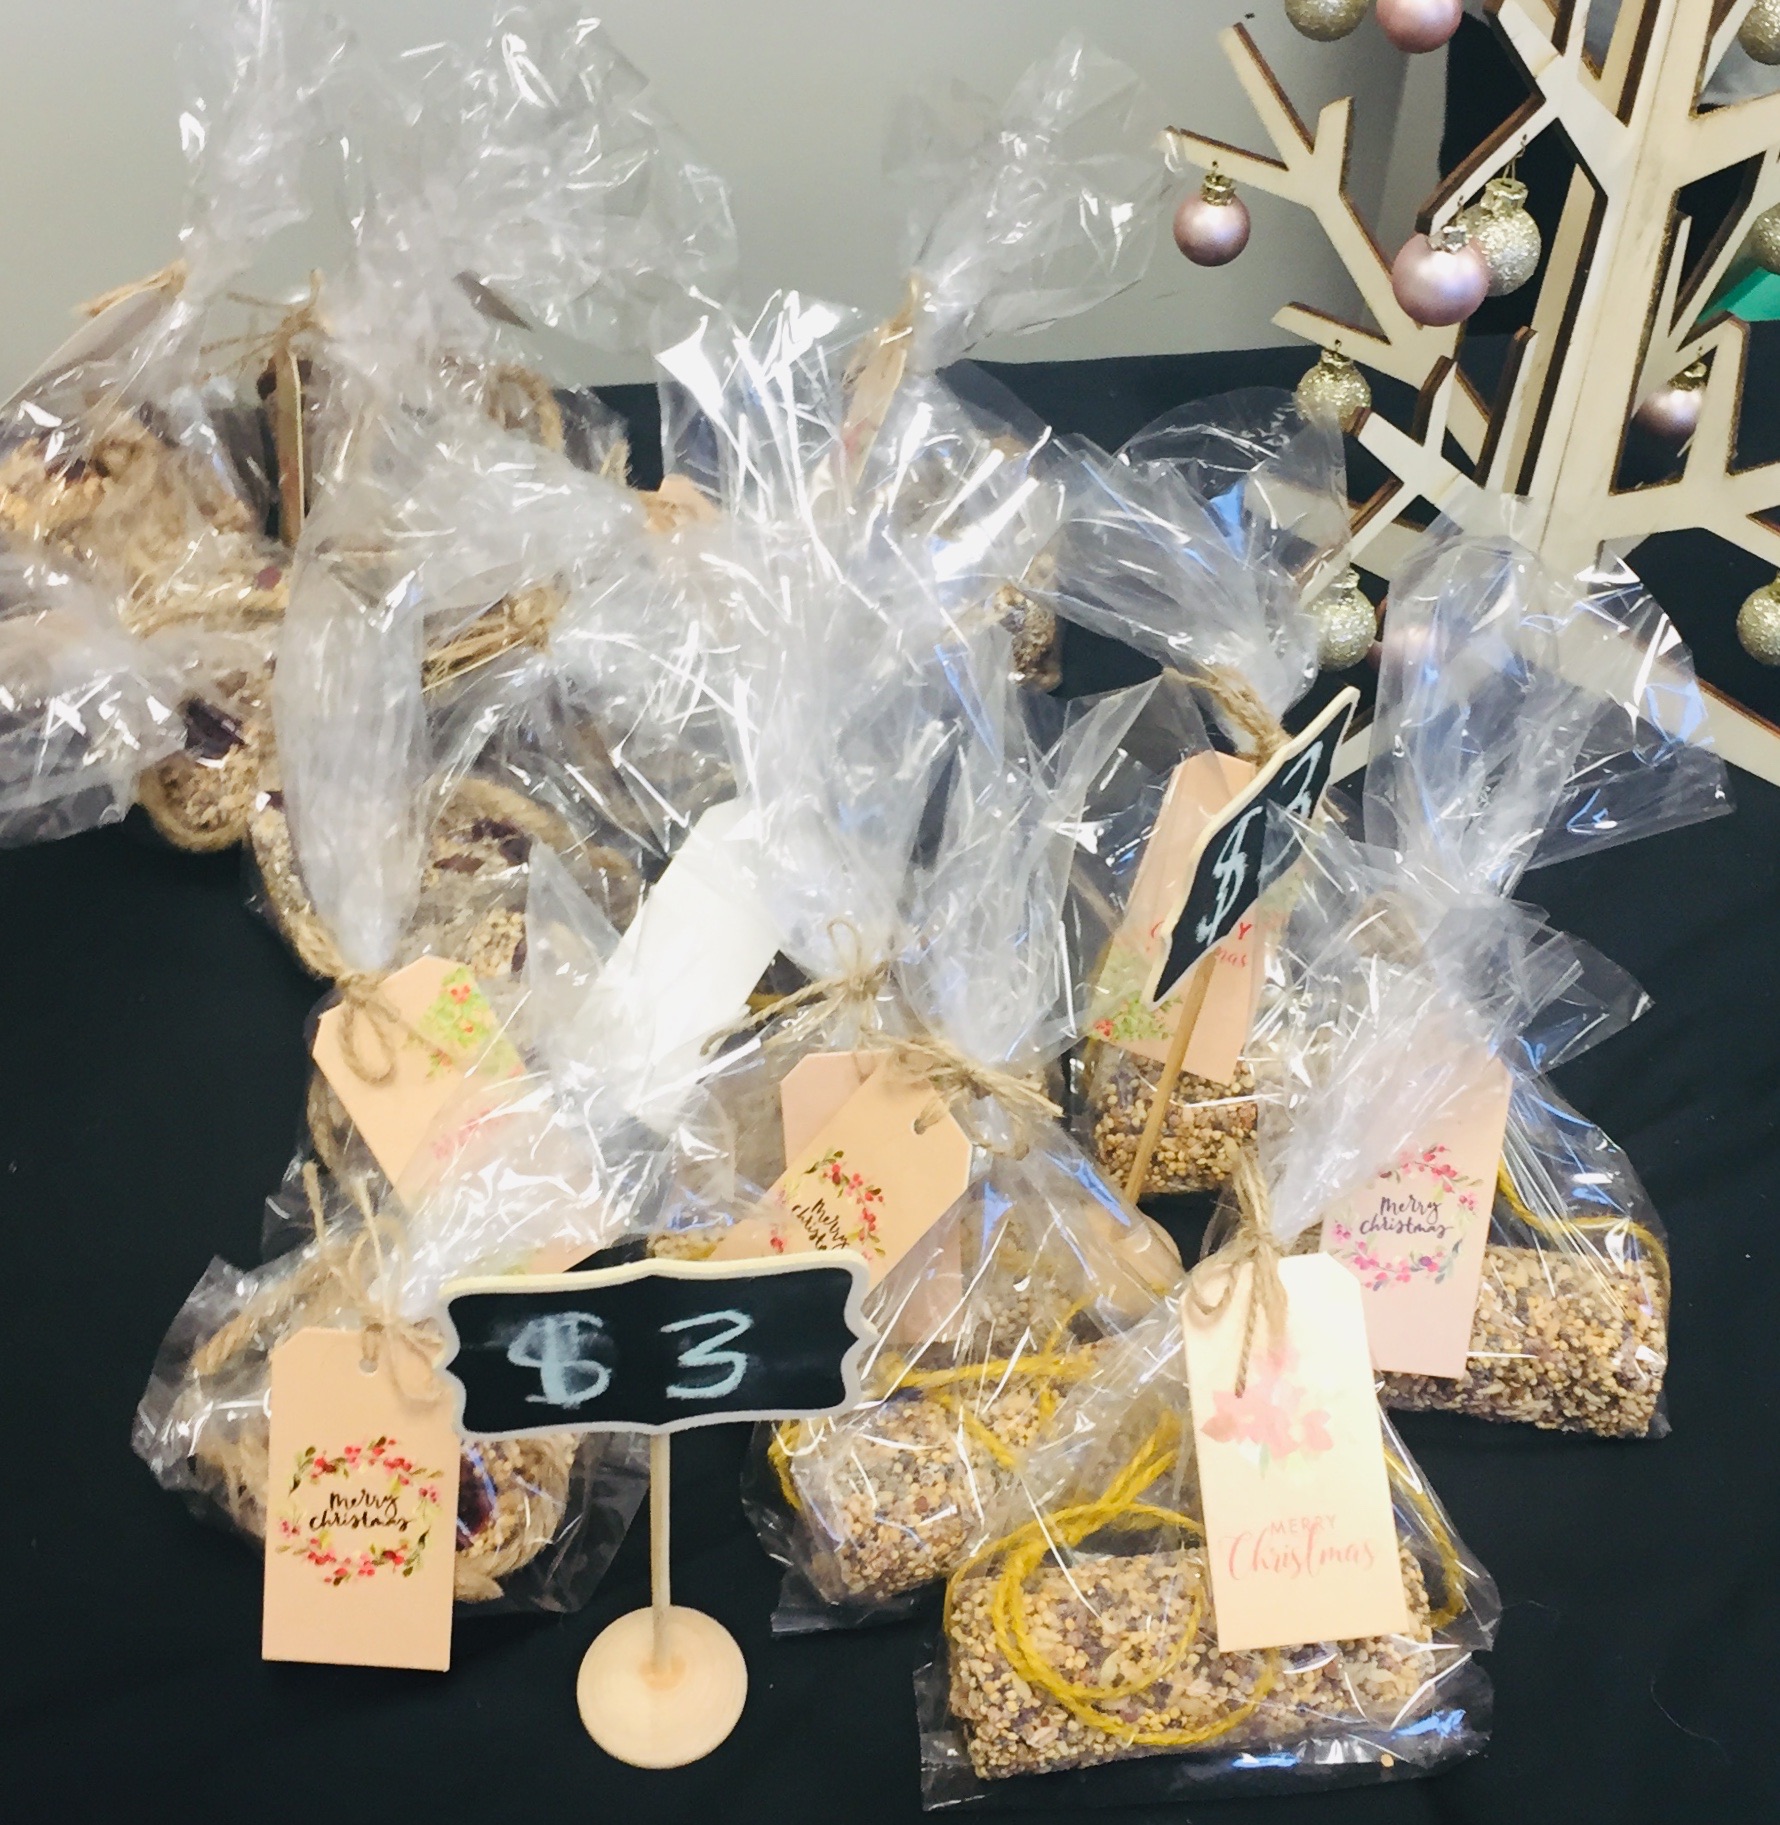
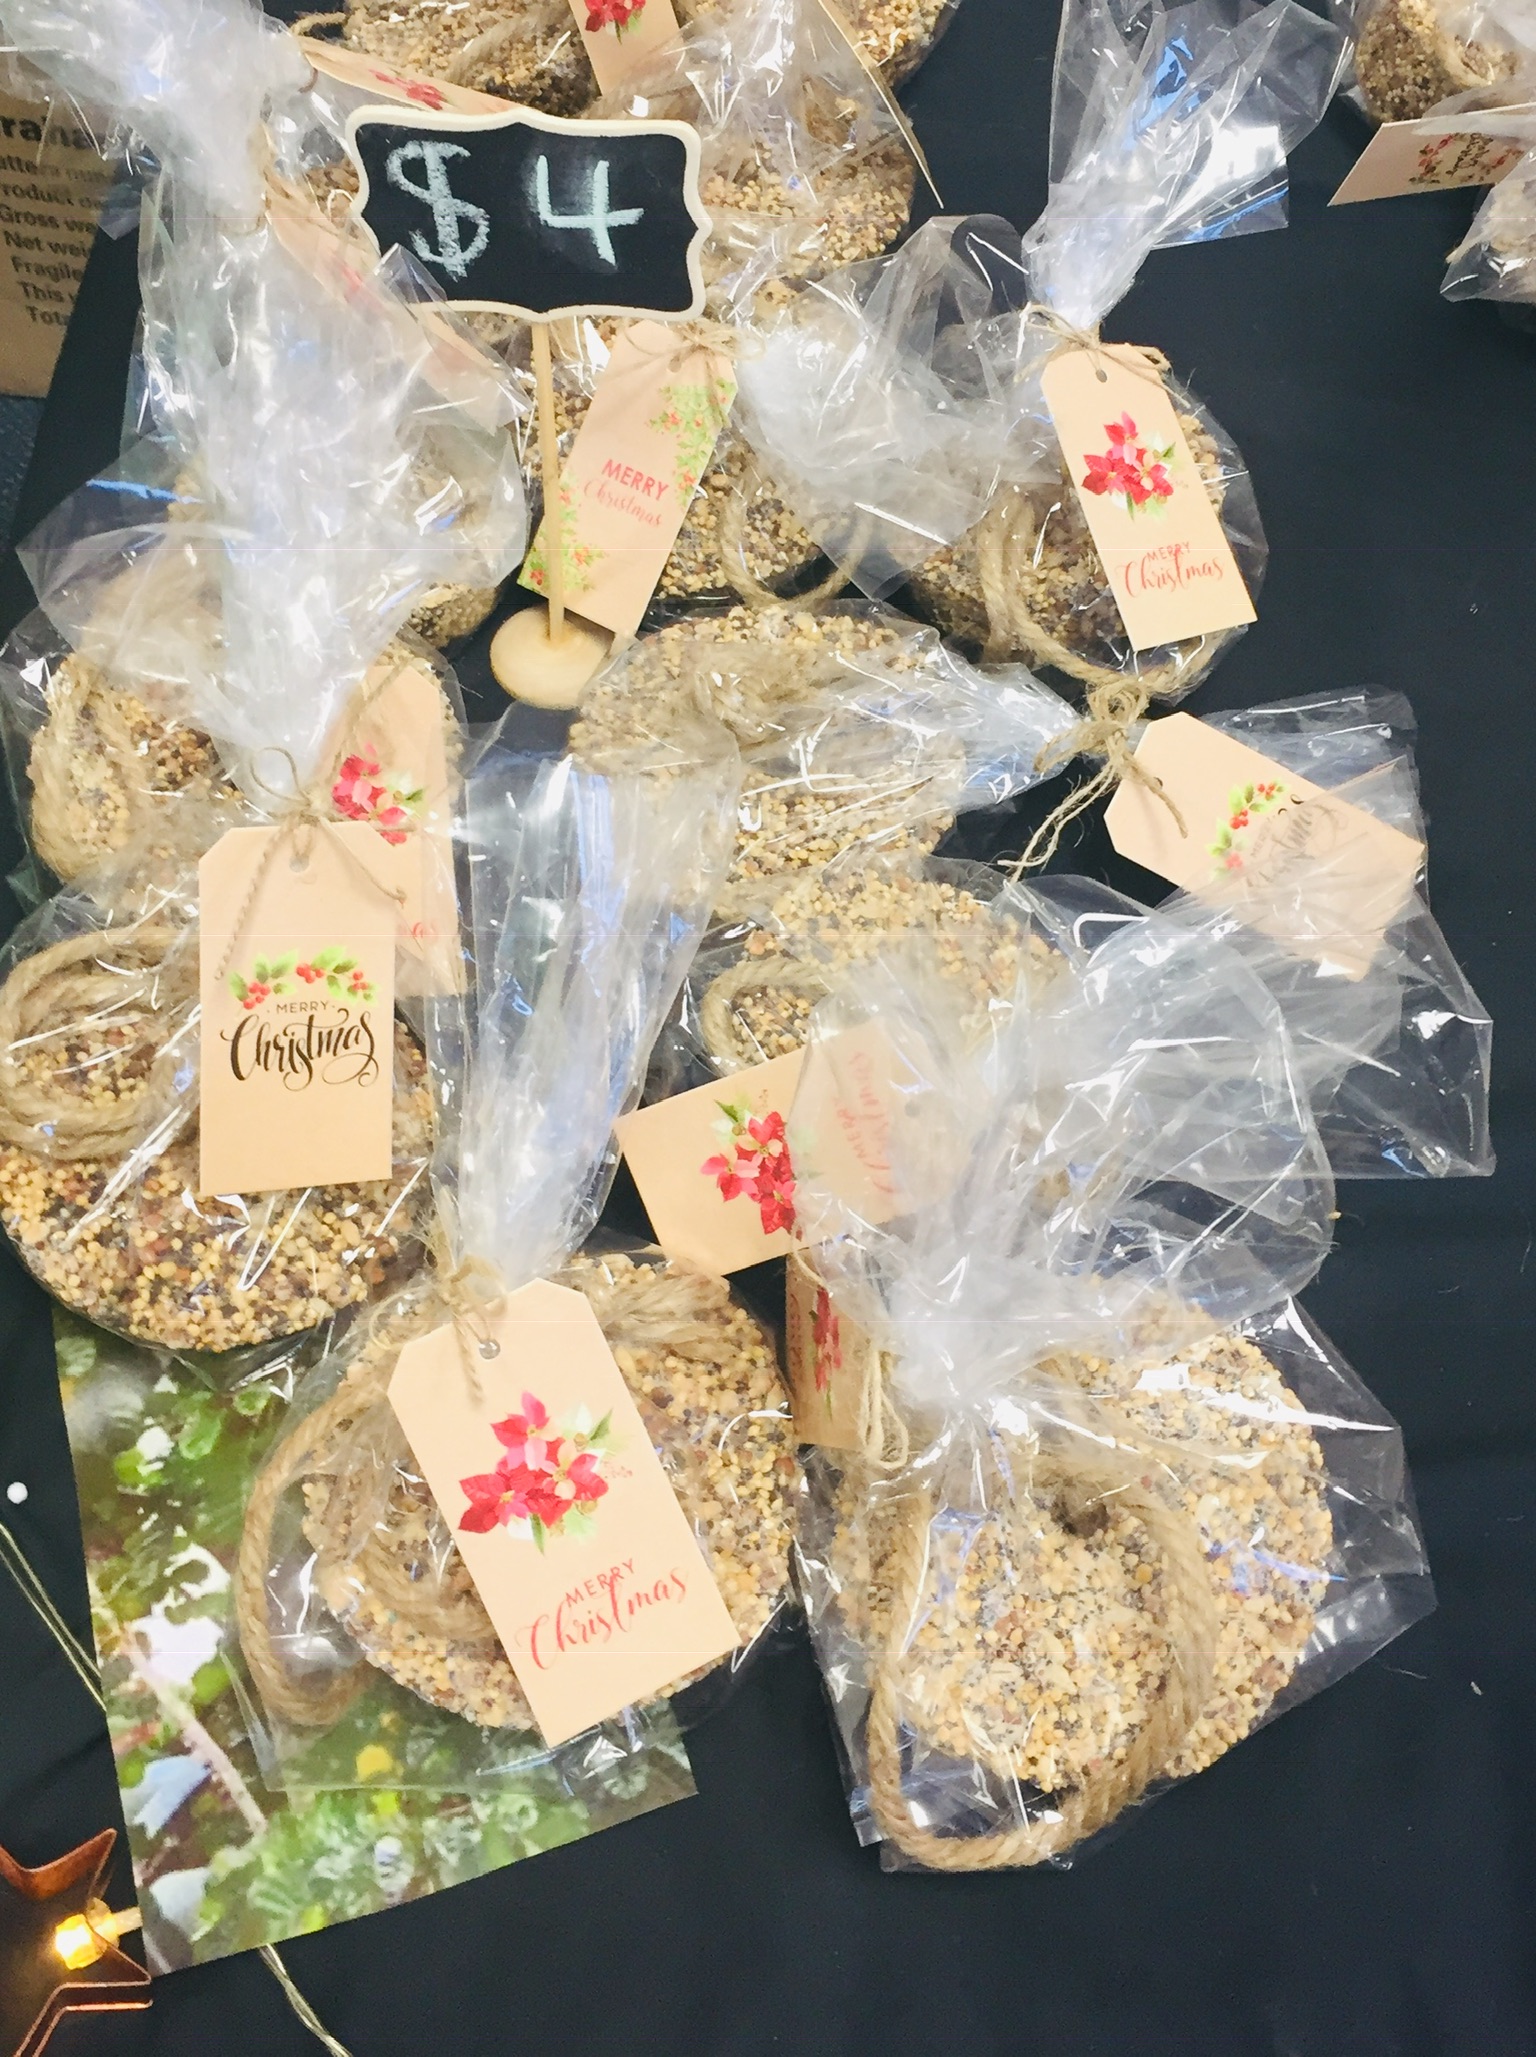
Finally, after they have dried ( I put them out in the sun to quicken the process) I placed them in cellophane bags. I brought these bags from Kmart (25 for $1.00) and attached Christmas tags.

Some photos from my Christmas craft stall


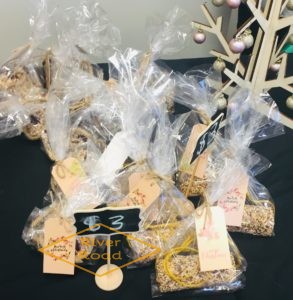
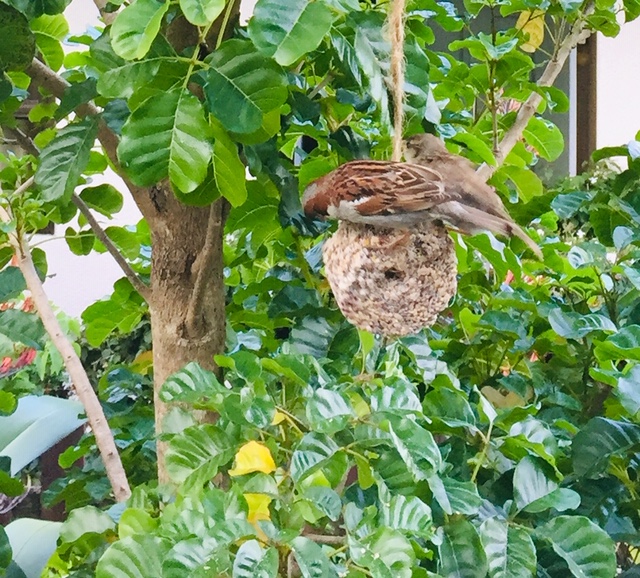
Here are some hanging in a tree, within a few hours they are eaten by the birds.


Thanks for reading my post! I hope you get to make these great bird seed cakes! Let me know if you do!

   Andi

Best Ever Chalk Paint Recipe

I think this is the best ever Chalk Paint recipe, that’s what I desperately needed due to my Annie  Sloan Chalk Paint Shop closing down in my village… a very sad day. Fortunately a friend gave me her recipe for chalk paint and it is very similar.

This week my daughter is busy working on a business project for her school and I am helping her make different coloured Resene Paint testpots into chalk paint. So I thought it would be a great opportunity to share the recipe.

Ok, so first the recipe I use for painting furniture.

Chalk Paint Recipe

Supplies needed:

  • 1 Cup (8fl oz/236 mls) Paint
  • Empty Container
  • Calcium Carbonate Powder
  • 1 Tablespoon measuring spoon
  • Water

Method:

  • Step 1: Put 1 cup of paint into your container.
  • Step 2: Add 2 Tablespoons of Calcium Carbonate Powder into the container.
  • Step 3: Add 1 Tablespoon of water.
  • Step 4: Mix it up thoroughly! Try and make it as smooth as possible. If you feel it is too thick just add a bit more water.

For my daughter’s project we are just using little testpots, so I emptied the pots into the containers added about a half a Tablespoon of Calcium  Carbonate Powder and half a Tablespoon of water. Mixing it (with plastic spoons) in a container is easier than in the testpot.

Look how cute the jars are she painted

Another great paint colour was this metallic copper. With chalk paint it sticks to the jar easily.


Finally, for the succulents we put small pebbles in the bottom of the jar to help drainage. Next special succulent potting mix brought from the store, and lastly some more small pebbles on top of the soil.  The succulents were from my garden.

I am hoping my daughter has lots of buyers of her succulents in the jars.  I do think they are so cute, what do you think?

Thanks for reading my post!

   Andi

Breast Cancer Awareness…Inspirational Wooden Block Sign…

This month is Breast Cancer Awareness Month and I wanted to do something to support it.  We all know someone who has breast cancer and I thought an inspirational sign is something small I could do to bring encouragement.

Keeping it simple I used 2×4 blocks, painted and hand-distressed. Using mod podge, scrap booking paper and letters cut using my cuttlebug. Tied together with a pink ribbon.

Materials needed:

  • 3 2×4 blocks
  • sandpaper
  • acrylic paint
  • brushes or foam brushes
  • old sheet to protect table
  • rags
  • scrapbook paper
  • mod podge
  • letters (store brought or homemade)

Instructions:

I brought my 2×4 from a hardware store (Mitre 10), they kindly cut it into all the blocks for me. I got 4 sets of 3, which cost me $15.  4 x 6 inches (15.24 cm) 4 x 7 inches (17.78cm) 4  x 8 inches (20.32cm)

First I sanded the edges of the blocks to get a smooth surface. I used an electric sander, but it easy to do it by hand.

I painted the blocks using acrylic paint, but added a small amount of calcium carbonate and water to it, this is not necessary, but I find it easier to use chalk paint when distressing. I just brought some paint test pots from Mitre 10. The paint dried really fast as it was a hot day and I only needed one coat.

Once dried I brushed a layer of  mod podge onto the front of the blocks, one at a time. Then stuck on the scrap booking paper (I had cut to size) onto the block, press the paper down starting from the centre and moving out (I use an old credit card to do this) to the ends, getting rid of any air bubbles. Then I went back and checked for any additional air bubbles.

Next, apply another coat on top of the paper, at this point a lay the letters on top of the paper. You have to do this rather quickly before it dries. Especially if it is a  hot day like it was when I did these blocks. They dried so fast. Once this had dried I then coated the letters with the mod podge and let them dry.

Finally, I tied a pink ribbon around the blocks. Beautiful!

I did this because it would make a great gift to lift someone’s spirit who is fighting cancer! Sometimes it is hard to know what to say or do, but this is just a little something….

Thanks for reading my post! I hope you try making these inspirational wooden block signs!

  Andi


DIY chalk paint at home…New Zealand

I decided it was time to make my own DIY chalk paint at home. I love Annie Sloan Chalk paints, but the shop in the village which stock them sadly closed down, so it was time to attempt to make my own. For some reason I thought it was going to be hard, maybe because I read a lot of recipes for DIY chalk paint on pinterest and the comments as well. It didn’t sound so easy.

I choose to try making chalk paint with calcium carbonate, the hardest part was trying to get hold of it. In the end a friend had some extra and I brought it off her, but in the future I will have to buy it online.

Calcium Carbonate

Next I brought some small pots of paint at our local Mitre 10 (hardware store). I managed to get some clearance paint (mistint colours) at a great price.

To test out my paint I brought a great little table for $15 at a Op Shop. Perfect for this project.

I mixed a small amount of chalk paint up using just 1 cup of paint.

The consistency was great, so similar to Annie Sloan Paint and colour came out just the same as Old White. Calcium carbonate mixed in really well and I added water to get the right consistency.


It was necessary to paint the little table with two coats, sanding after the first coat to try and get rid of brush lines and an occasional drip which escaped my notice.


Homemade Bees Wax

Finally, I waxed the dried surface with bees wax. This I had brought locally – homemade bees wax. I must say I really liked using this, it went on well (rubbing it in with a clean rag). I didn’t really notice any difference from using Annie Sloan Clear Wax.

Really love how this turned out! I think time will tell how this paint stands up to wear and tear. But I will from now on be making my own DIY chalk paint at home…

It you would like the recipe for this chalk paint I made, email me at andi@riverroad.nz and I will be happy to share it with you.

Many thanks for reading my post! Happy chalk painting!

Andi


GIN & TONIC CUPCAKES RECIPE…

Gin & Tonic Cupcakes

I was asked to make some Gin & Tonic cupcakes for an event and came up with this recipe. They didn’t want cupcakes with icing on top which is what I would have wanted to do… yummy buttercream icing with gin and tonic. Instead they wanted a syrup which to my surprise actually came out rather nice.

It also helps if you get to have a drink of G & T whilst making the cupcakes!

Gin & Tonic Cupcakes recipe

Ingredients (makes 24 cupcakes)

125g unsalted butter, softened

1 cup caster sugar

3 eggs

1 1/2 cups plain flour

1 tsp baking powder

3/4 cup (185ml) milk

Juice and zest of 1 lime

2 TBsp Gin

Syrup

Juice and zest of 1 lime

Zest of 1 lime for decoration

4 TBsp Gin

3 TBsp Tonic

2 TBsp sugar

Preheat oven to 180 degree C/350 degree F

Method

Place cupcake papers in two 12 hole cupcake trays.

In a bowl beat together the butter and sugar until pale in colour and creamy.

Beat in the eggs.

Add the gin, lime juice and zest, beat until combined.

Sift the flour and baking powder and add half to butter mixture with half the milk. Mix until well combined. Repeat with remaining flour and milk.

Fill cupcake papers 3/4 full.

Bake muffin-sized cupcakes for 20-25 minutes and small cupcakes for about 15 minutes, or until a skewer inserted into the middle comes out clean.

Baked cupcakes

Transfer to wire racks and allow to cool slightly.

Next, make the syrup, I did this in the microwave, but it can be done in a saucepan.

Mix together the lime juice and zest, gin and sugar. Microwave for 30 seconds on high. Stir well, making sure sugar is dissolved, then add the tonic water. Microwave again for 30 seconds on high. Stir well.

Syrup

Carefully pierce, with a toothpick a few holes in the cupcakes, then spoon the mixture over the cupcakes while they are still warm.

Finally sprinkle grated lime zest over the cupcakes. Enjoy!

Now I have to say if you want the gin flavour to be stronger add more gin! It is a personal preference here…

Thanks for reading my post! I do hope you get to make these delicious Gin & Tonic cupcakes!

Andi 

Wooden Shelf Makeover – New Zealand

My wooden shelf makeover was a inspiration really. It was offered free on my local neighbourly, which is a wonderful site to find things in your neighbourhood in New Zealand.

Wooden Shelf Makeover

I got it to use as extra shelving in our shed, but it wasn’t that stable and a shelf was missing. It was sitting in front of our house waiting to be fixed when my husband suggested it would make a great shelf for my potted plants sitting around by the front door. I mainly have succulents in the pots because they don’t need so much watering and maintenance.

Shelf turned upside down

As you can see I turned the shelf upside down to fit in the area, but there is a electric metre box in the way so I had to move the now top shelf up. The metre reading man needs to open it to read the metre! Fortunately it only took removing some screws and sliding the shelf up. Then I tightened all the other screws to stabilise better.

Annie Sloan Chalk Paint

Next I painted it in one of my favourite paints Annie Sloan Chalk Paint Old Ochre.

Annie Sloan Chalk Paint Old Ochre

Finally, I painted just one coat this time and there was no need to wax as I am using it for outside. Not too worried about wear and tear here.

Finished shelf

It was wonderful to get all my plants off the ground, I love how it turned out! I also used it for a time growing my lettuces, which was a great spot and super easy to pick them when needed.

Growing lettuce

It made my front of the house look so much better, much tidier and it is easier to water the plants now.

I hope my wooden shelf makeover inspired you! Thanks for reading my post!

Andi


How to make a bay leaf wreath … last minute

img_4115-2

Bay leaf wreaths tend to quickly dry out in the summer heat, so I left it till the last minute to make one.

I picked some branches off our bay tree in the garden and used what supplies I had at home to keep things simple. At this point I am trying to avoid going to the shops and enjoying just being at home with the family.

Supplies needed:

twine (you can also use florist wire)

wire coat hanger

scissors

bay leaves (or any greenery you have should work well)

Instructions:

img_4077-2

First take your coat hanger and make into a circle.

img_4081-2

Next cut your bay leaf branches to the right length and place around the coat hanger.

img_4084-2

Tie the branches onto the wire.

img_4085-2

Continue add leaves until the wire is covered and you have the amount of leaves on the wreath you desire.

img_4089-2

img_4087-2

img_4098-3

Finally, wrap the twine around the coat hanger wire hook at the top.

img_4094-2

img_4115-3

This was really quick to make and I am hoping it will last really well throughout the  Christmas holidays. It will also be great to have so many dried bay leaves for cooking now! This wreath would be easy to make with other greenery from the garden or neighbourhood, whatever you can find!

Thanks for reading my post.

Andi


Easy to make rustic christmas log project…New Zealand

No mantel and fireplace – make a rustic wooden log box…

We don’t have a mantel and fireplace so I decide to make a really quick rustic wooden log project to give that winter log, pine smell, Christmas feel to our living room…


Supplies needed:

Wooden crate

Logs

Juniper or some pine looking cuttings

Pine cones

Christmas white lights

Rustic wooden log project:

This project didn’t take long, but it really fun to do.

I had found a discarded wooden crate the other week and was saving it for a project. First I lightly painted it using Annie Sloan Chalk Paint Old Ochre. It probably didn’t need painting, but it had some writing on it from the liquor store I found it outside of, so to get rid of this I painted. I love painting as well, so any excuse. You could use any paint you have handy! The paint dried within an hour because I only did a very light coat and it was a hot day today.

unpainted wooden crate

unpainted wooden crate

Annie Sloan Chalk Paint Old Ochre

Annie Sloan Chalk Paint Old Ochre

img_3622-2

img_3625-2

Next I put the logs, which had been recently cut from a tree in our yard, into the crate.

img_3627-2

When I was out walking the dog this morning I came across some juniper in the neighbourhood. Fortunately, no one was looking as I trim off some of the tree! It was a large tree so I am sure no one would have minded. I arranged the juniper with pretty light blue berries around the outside of the logs on the crate.

img_3646-2

Then the lights, placing them down into the box and around the logs.

img_3635-2

Finally, I place the pine cones I collect earlier this week for my branch Christmas tree post, putting them onto of the juniper and lights.

Rustic Christmas log project

Rustic Christmas log project

It looks so cute can’t wait until it gets dark tonight to really see how wonderful it looks!

Thanks for reading my post! Hope you give my rustic wooden log box a try!

Andi


Simple branch Christmas tree…New Zealand

A simple  branch Christmas tree is so quick to make, looks fantastic and can be a great alternative to a traditional tree…

If you are like me and looking for something different this year, don’t have the time or even the space for a traditional tree try this:

I was on my way home this afternoon and stopped to have a look at a local reserve where I knew there would be pine cones. I was excited to find some great branches on the ground that could be made into a branch Christmas tree. It had some lovely moss on it which was even better for this purpose.

There were some natural things for decorations as well and when I got back home I picked some little crab apples from the garden to add some red colour to them.

Supplies needed:

Branches

Pine cones

Decorations

Scissors

Galvanized bucket (I brought mine at Kmart)

Floral foam (optional)

Twine

Instructions:

Start by placing your branches in floral foam (if you have some, I already had some left over from a florist bouquet in a little burlap bag, so I used this for convenience).

img_3470-2

Galvanized bucket

Galvanized bucket

Then carefully place into the galvanized bucket. Or a large jar would work, as long as it doesn’t topple over everything is on the branches.

Put the pine cones on top.

img_3474-2

Next using twine tie up the berries, nuts, natural decorations onto the branches.

img_3472-2

Finally, add any other decorations, I used my burlap hearts and stars, which I made in a previous post, see instructions here.

And some cute little decorations I brought from trade aid, it is always nice to buy things from companies that support third world countries.

trade aid Christmas ornament

trade aid Christmas ornaments

img_3544-2

img_3574-2

Thanks for reading my post! I have also made a pallet Christmas tree, see here. Have you made an alternative Christmas tree this year?

Andi


Pin It on Pinterest