Best Ever Chalk Paint Recipe

I think this is the best ever Chalk Paint recipe, that’s what I desperately needed due to my Annie  Sloan Chalk Paint Shop closing down in my village… a very sad day. Fortunately a friend gave me her recipe for chalk paint and it is very similar.

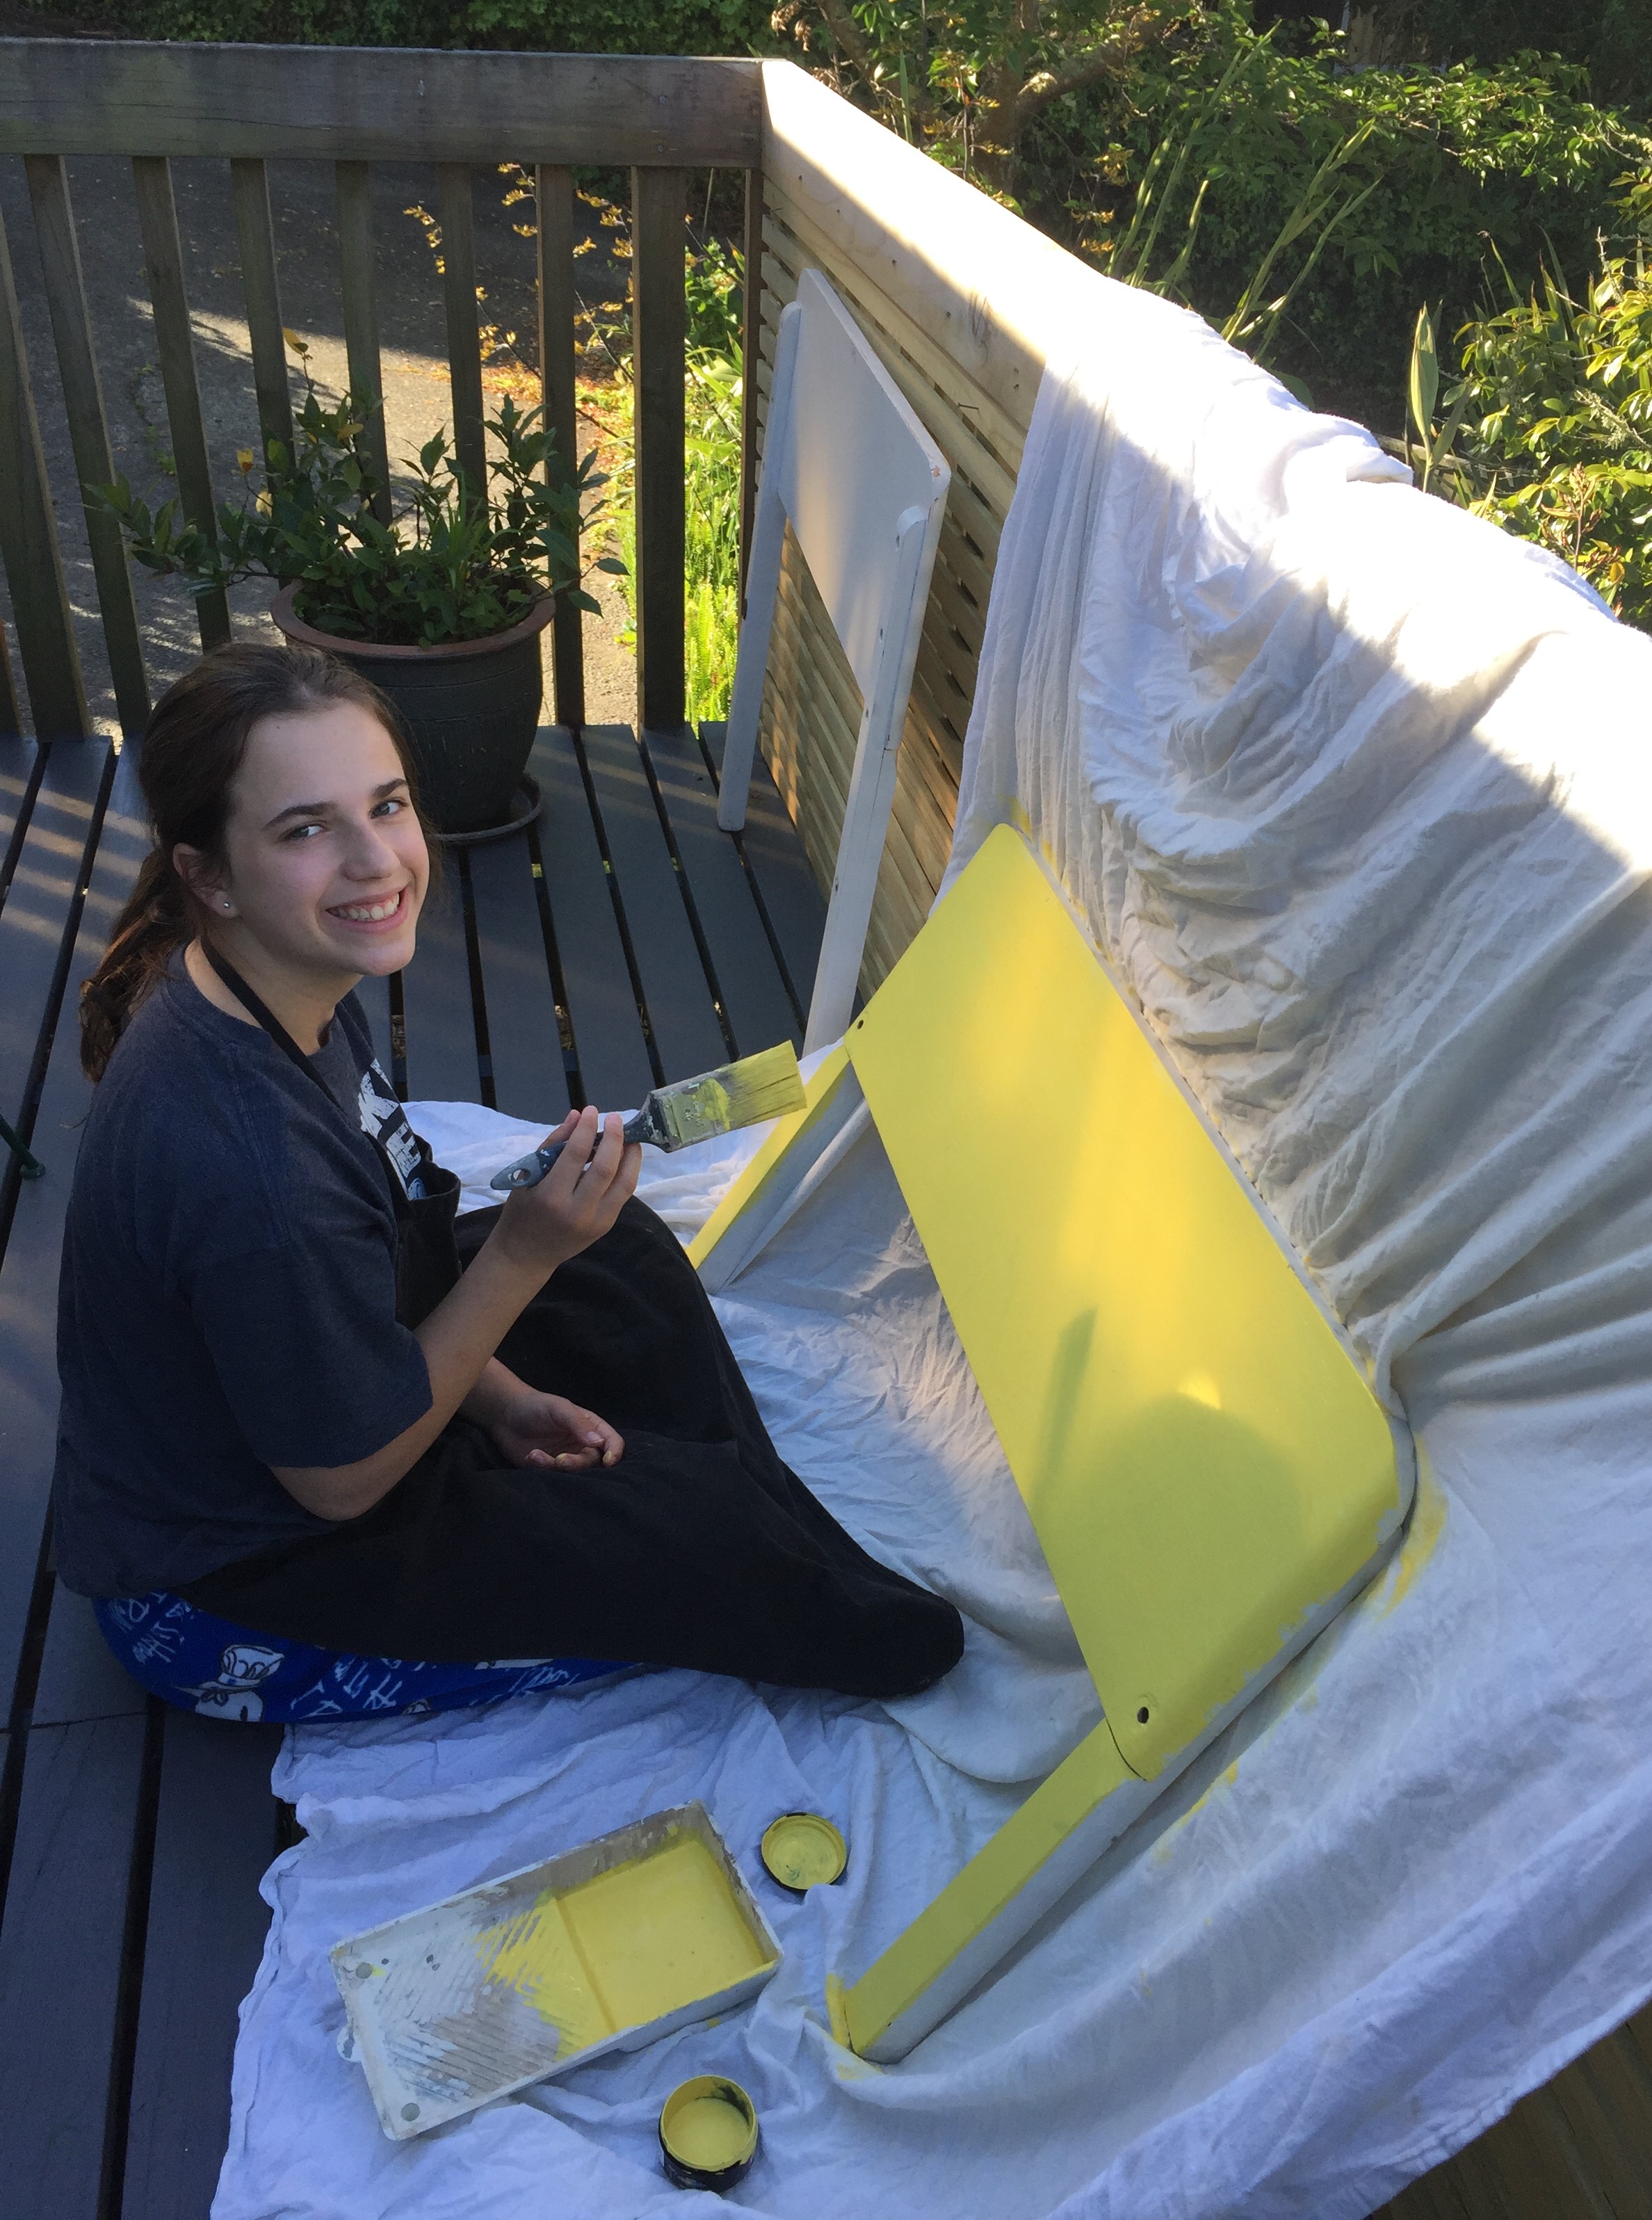
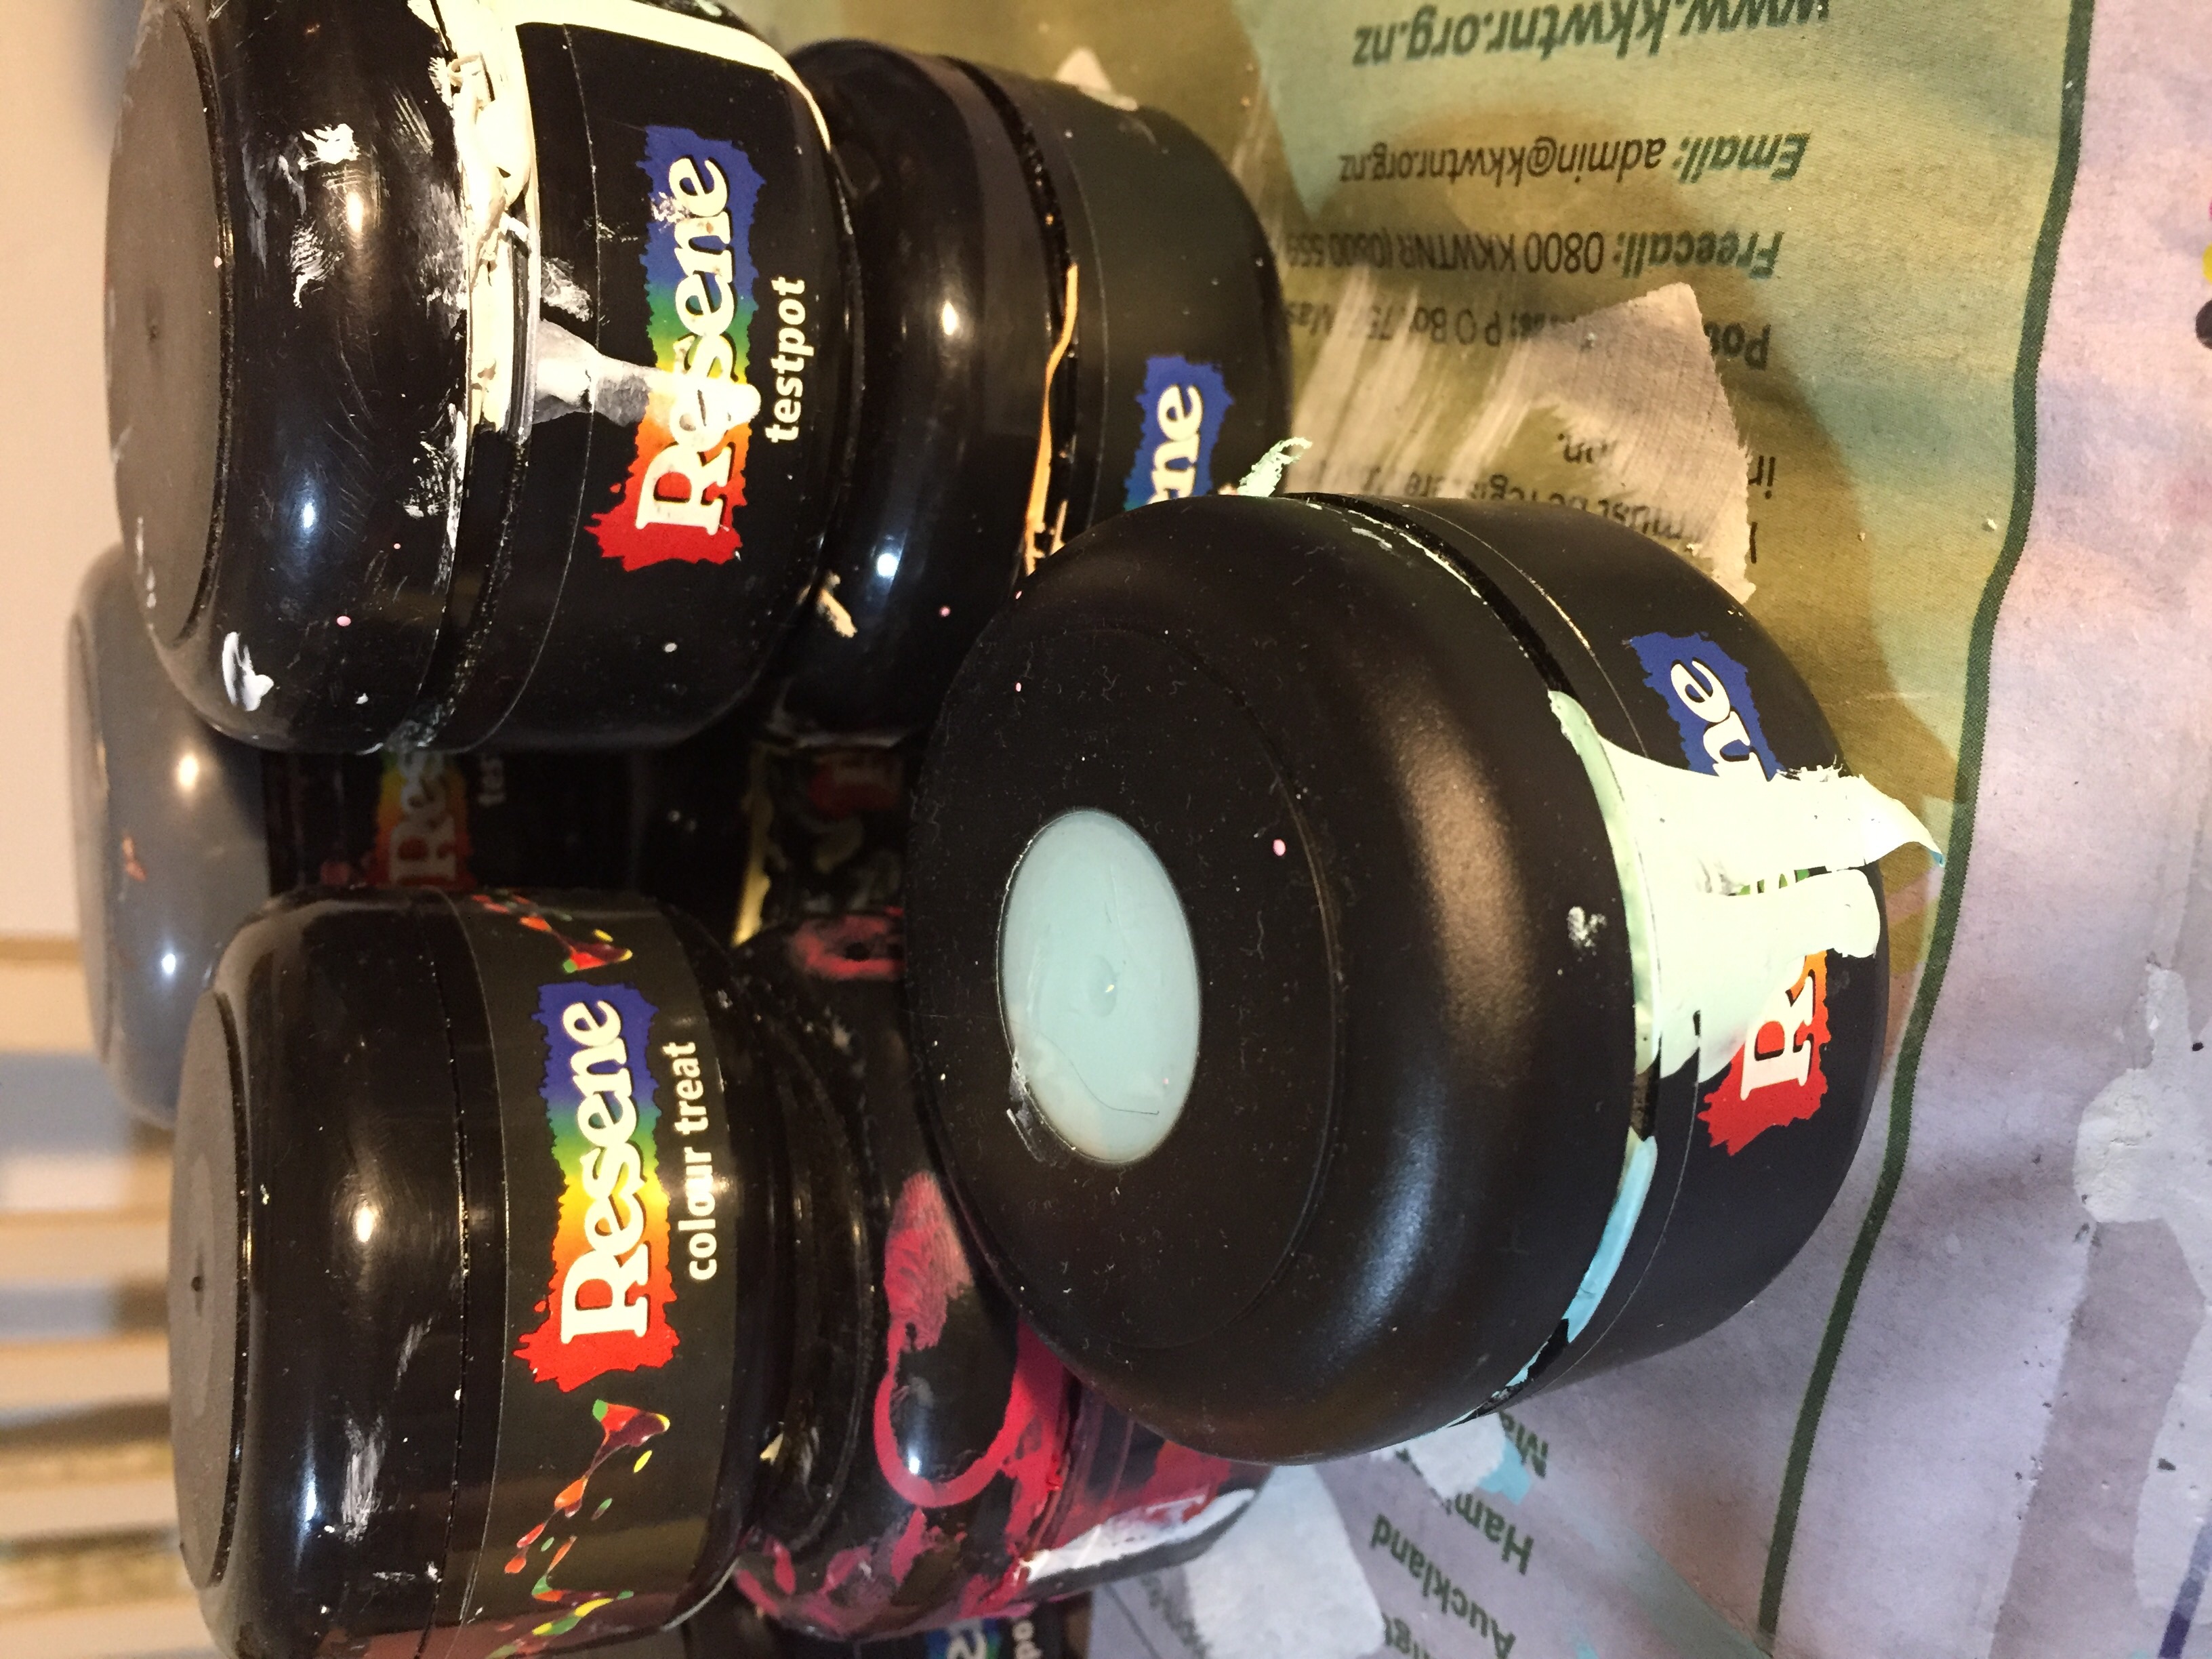
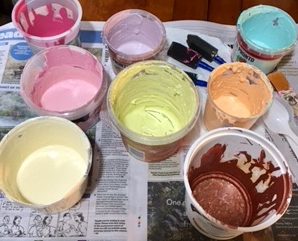
This week my daughter is busy working on a business project for her school and I am helping her make different coloured Resene Paint testpots into chalk paint. So I thought it would be a great opportunity to share the recipe.

Ok, so first the recipe I use for painting furniture.

Chalk Paint Recipe

Supplies needed:

  • 1 Cup (8fl oz/236 mls) Paint
  • Empty Container
  • Calcium Carbonate Powder
  • 1 Tablespoon measuring spoon
  • Water

Method:

  • Step 1: Put 1 cup of paint into your container.
  • Step 2: Add 2 Tablespoons of Calcium Carbonate Powder into the container.
  • Step 3: Add 1 Tablespoon of water.
  • Step 4: Mix it up thoroughly! Try and make it as smooth as possible. If you feel it is too thick just add a bit more water.

For my daughter’s project we are just using little testpots, so I emptied the pots into the containers added about a half a Tablespoon of Calcium  Carbonate Powder and half a Tablespoon of water. Mixing it (with plastic spoons) in a container is easier than in the testpot.

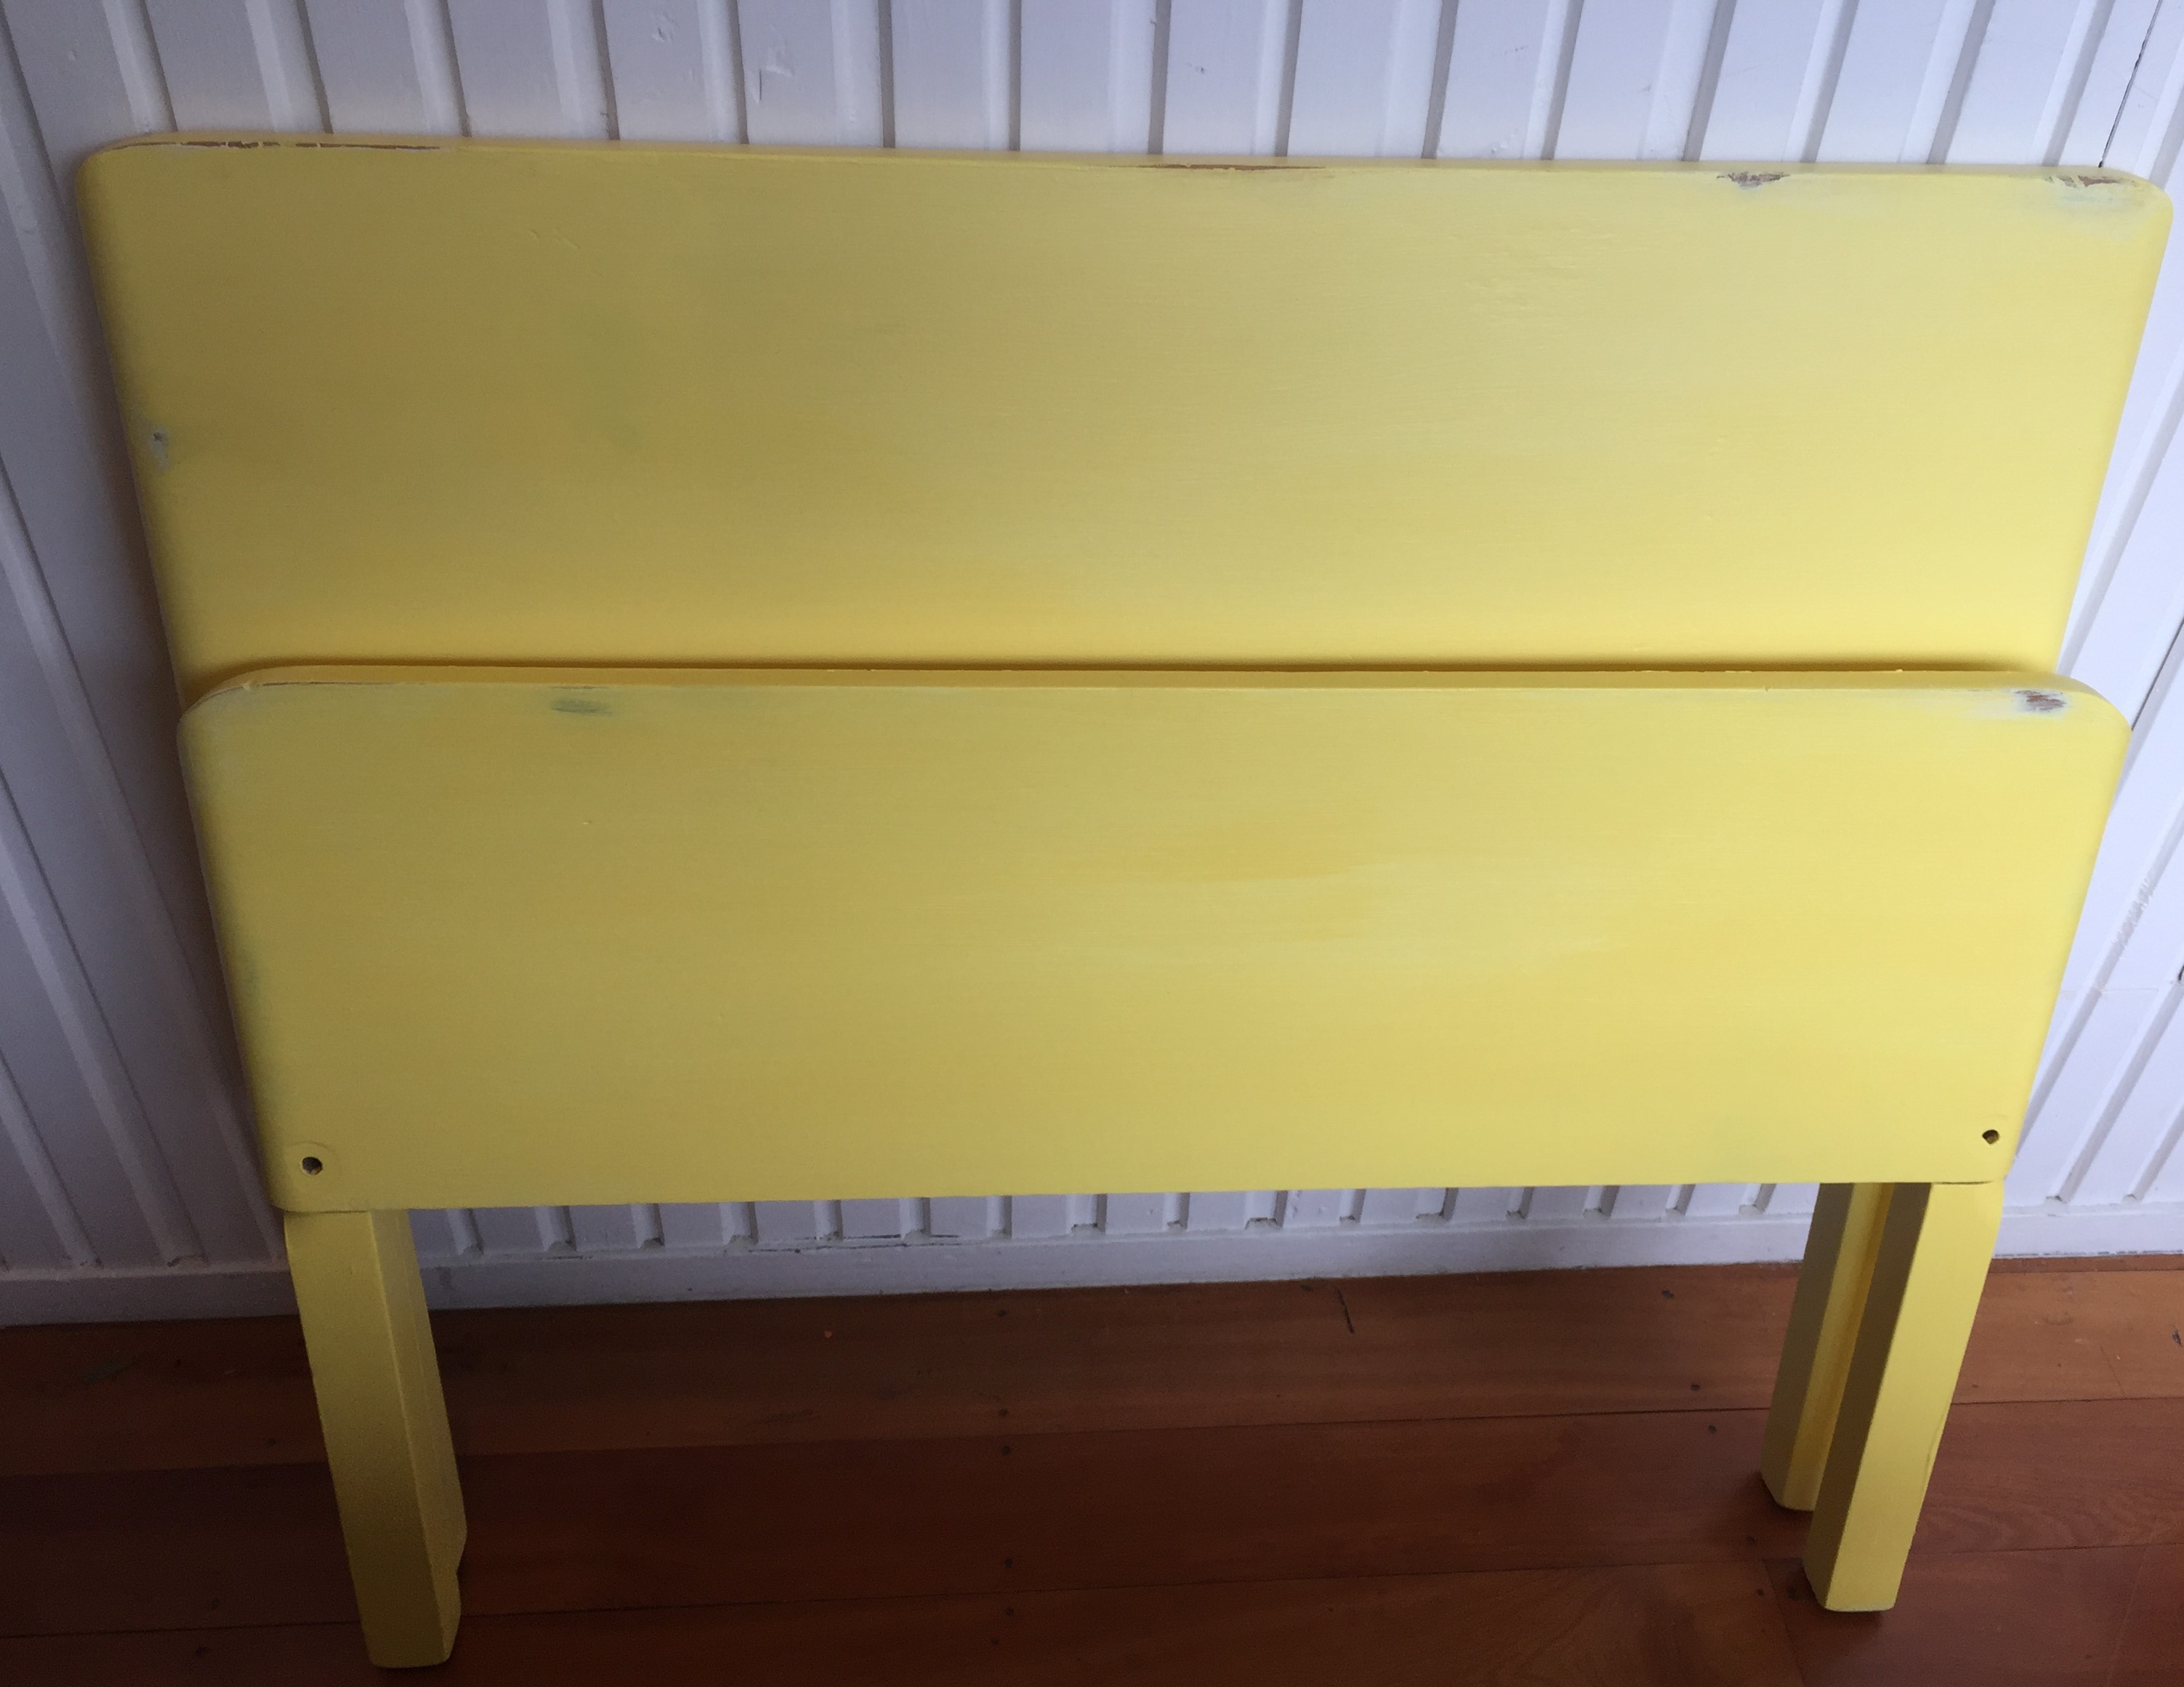
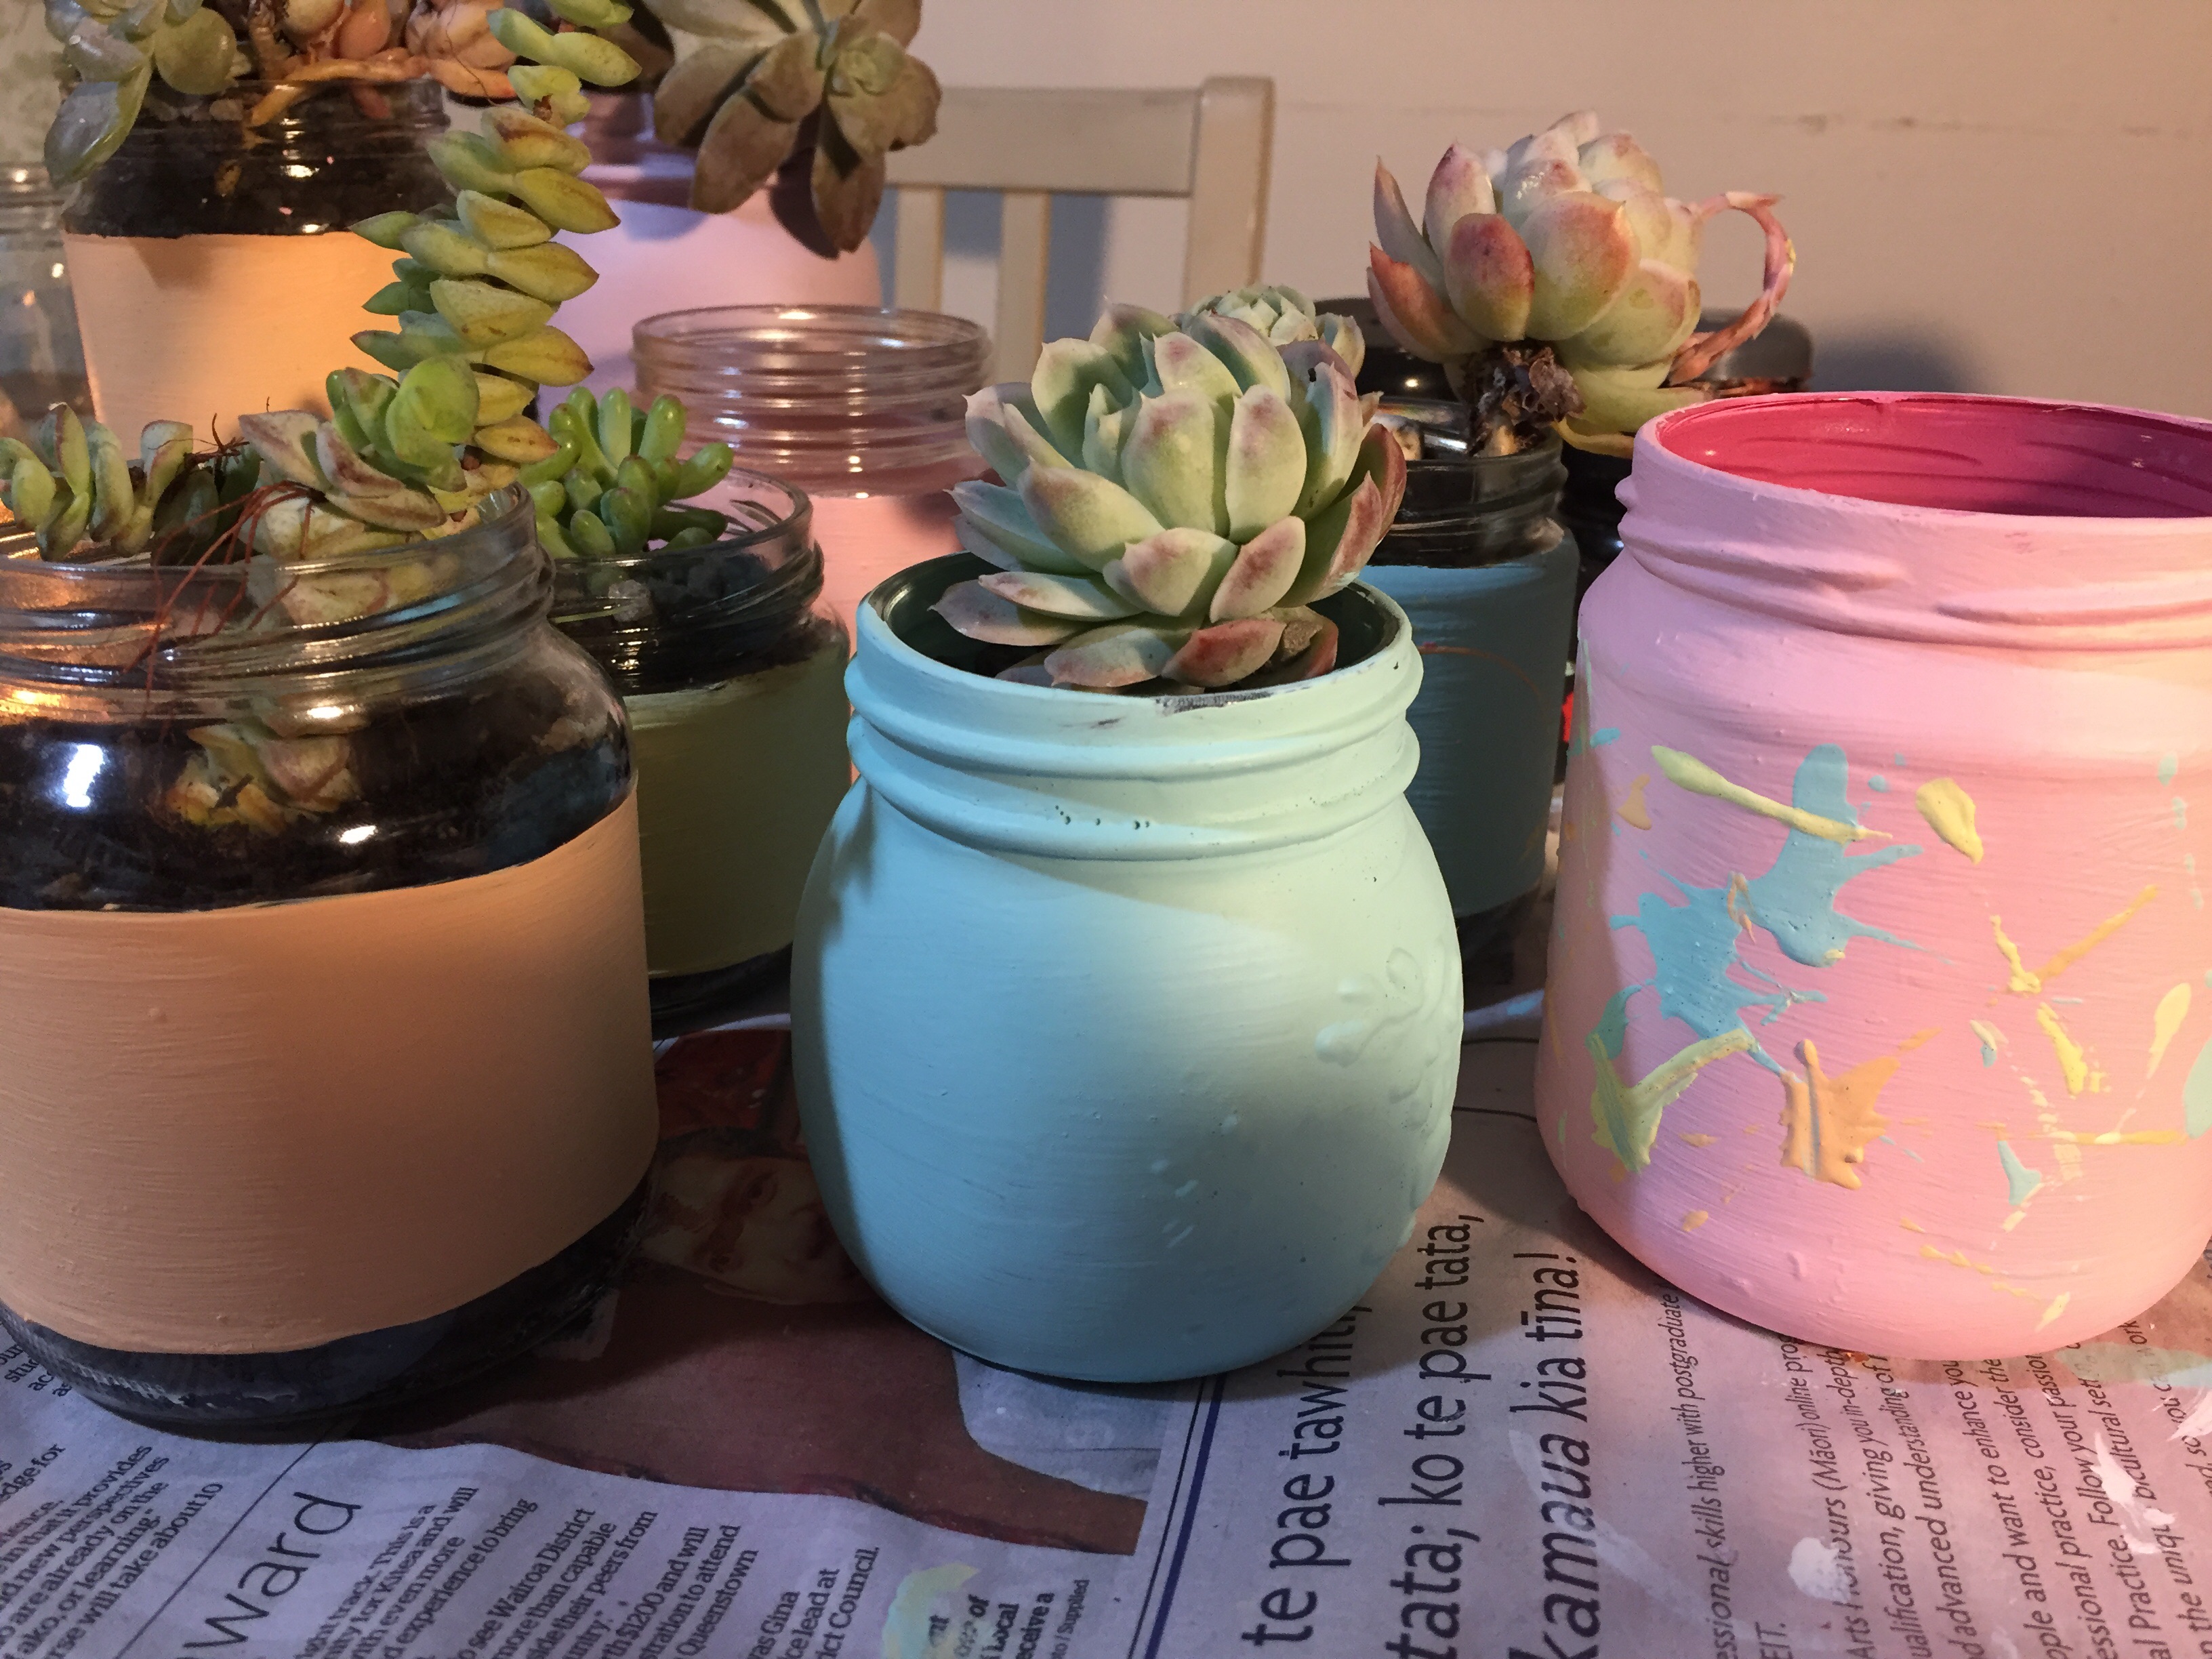
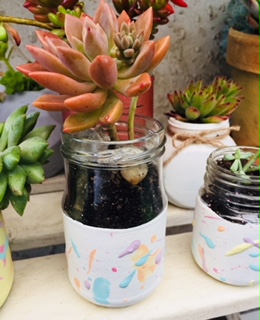
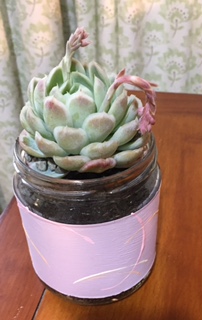
Look how cute the jars are she painted

Another great paint colour was this metallic copper. With chalk paint it sticks to the jar easily.


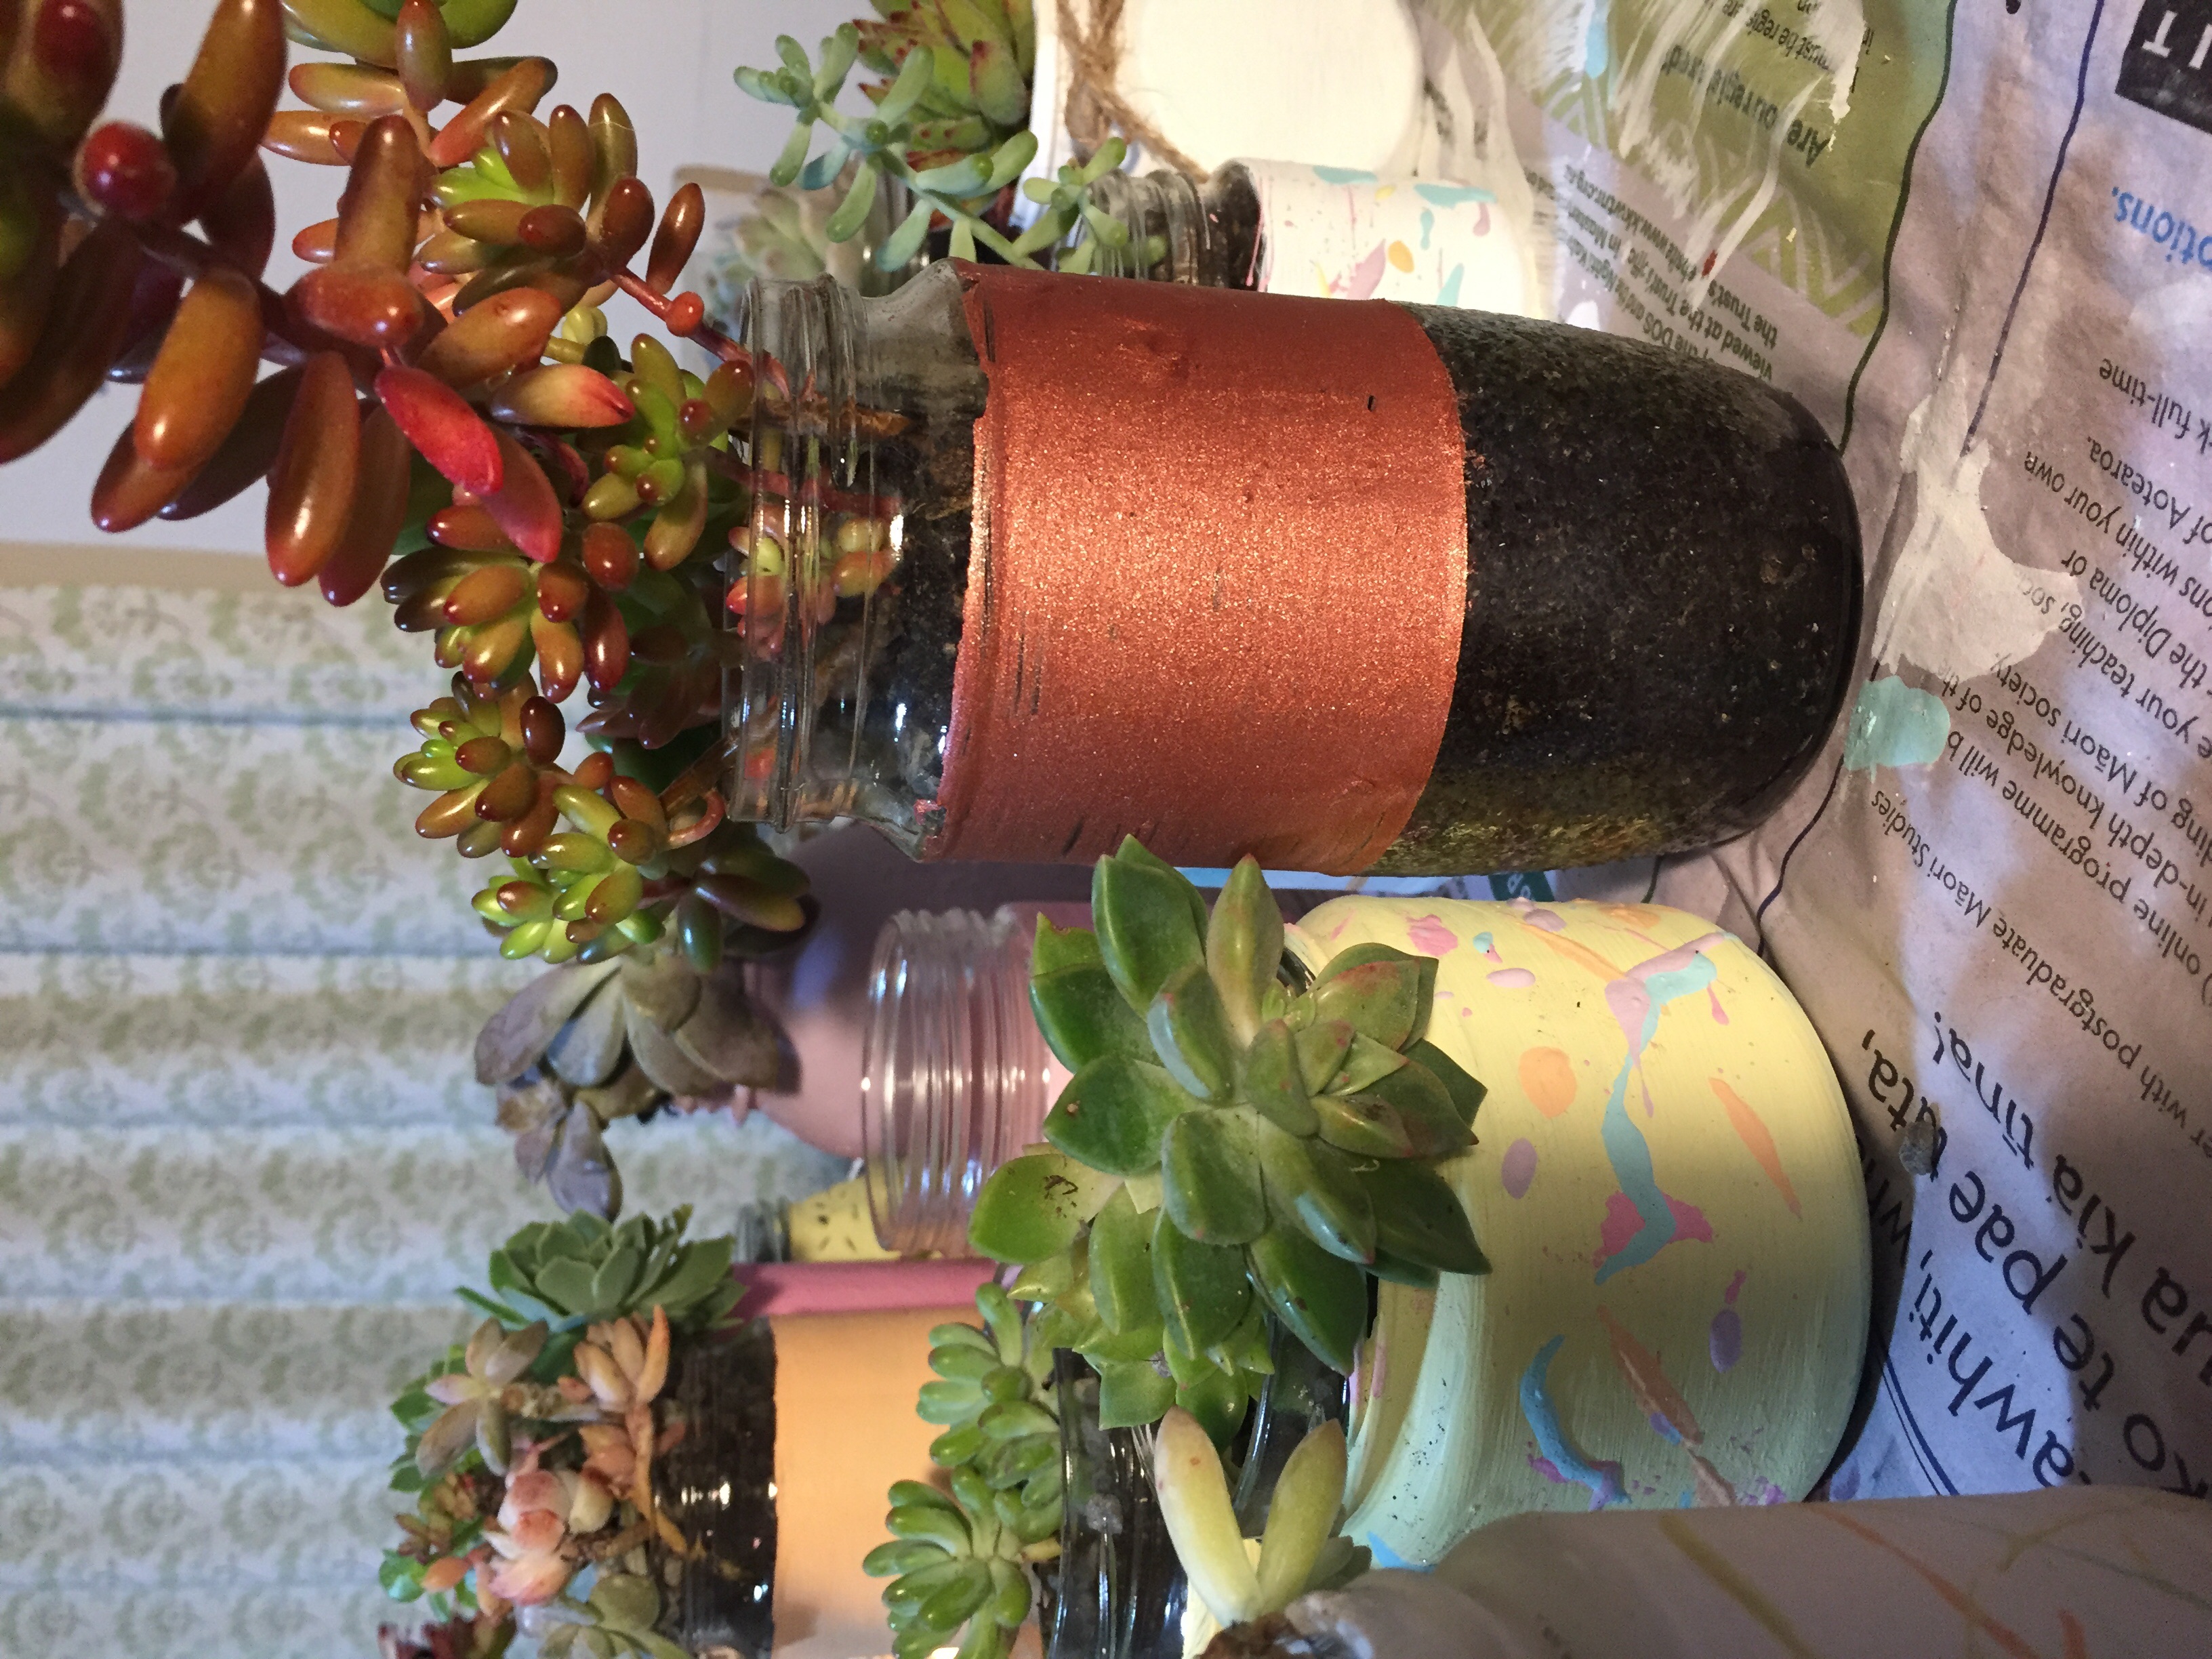
Finally, for the succulents we put small pebbles in the bottom of the jar to help drainage. Next special succulent potting mix brought from the store, and lastly some more small pebbles on top of the soil.  The succulents were from my garden.

I am hoping my daughter has lots of buyers of her succulents in the jars.  I do think they are so cute, what do you think?

Thanks for reading my post!

   Andi

EASY STEPS TO SHABBY CHIC A HEADBOARD

Shabby Chic Headboard…

My daughter and I are working on redecorating her bedroom. Our next project was to shabby chic a headboard for her bed. I want to show you the easy steps to shabby chic a headboard with everyday interior house paints. We were looking at a Thrift Store on Saturday and found a great headboard and baseboard for free.

They were in reasonable condition and made of solid wood. Because headboard and base had been painted white previously we decided to use paint from our local Resene paint shop. The colour picked was, Wild Thing, which was really quite a bright yellow, but  we decided to give it a go. I just brought four test pots (60 ml each) and used two coupons (buy one get one free) off the back of grocery store receipts. The cost was $9.00.

This was a great project for my daughter, Serah, as it was easy to do. Also, a good chance to practice her painting on something where mistakes where easy to fix.

Serah painting a headboard

Serah painting a headboard

img_1237-2

Once the first coat was done Serah found the colour too bright or too “perky yellow” as she called it. So I mixed one test pot I had brought previously of Half Bianca (60 ml) with one pot of Wild Thing.Serah much preferred the lighter yellow.

Distressing

Once the paint had dried overnight I lightly sanded down areas of the paint. The thing I love about shabby chicing a piece of furniture is it is wonderful for getting rid of mistakes, drips etc. So I just sanded off areas at random, places where in time it might get worn away anyway. The underneath layer of white paint came through in places to make it a bit more interesting.

Clear Wax and Dark Wax

Finally after sanding I used Annie Sloan Clear Wax and Dark Wax over the sanded areas. I just like this look, but you can leave it without wax if you like.

Distressed Headboard

Distressed Headboard

img_1279-2

img_1289-2

Shabby Chic Headboard and Baseboard

Shabby Chic Headboard and Baseboard

Thanks for reading my post! Serah’s bedroom reveal coming soon!

  Andi


Pin It on Pinterest