Breast Cancer Awareness…Inspirational Wooden Block Sign…

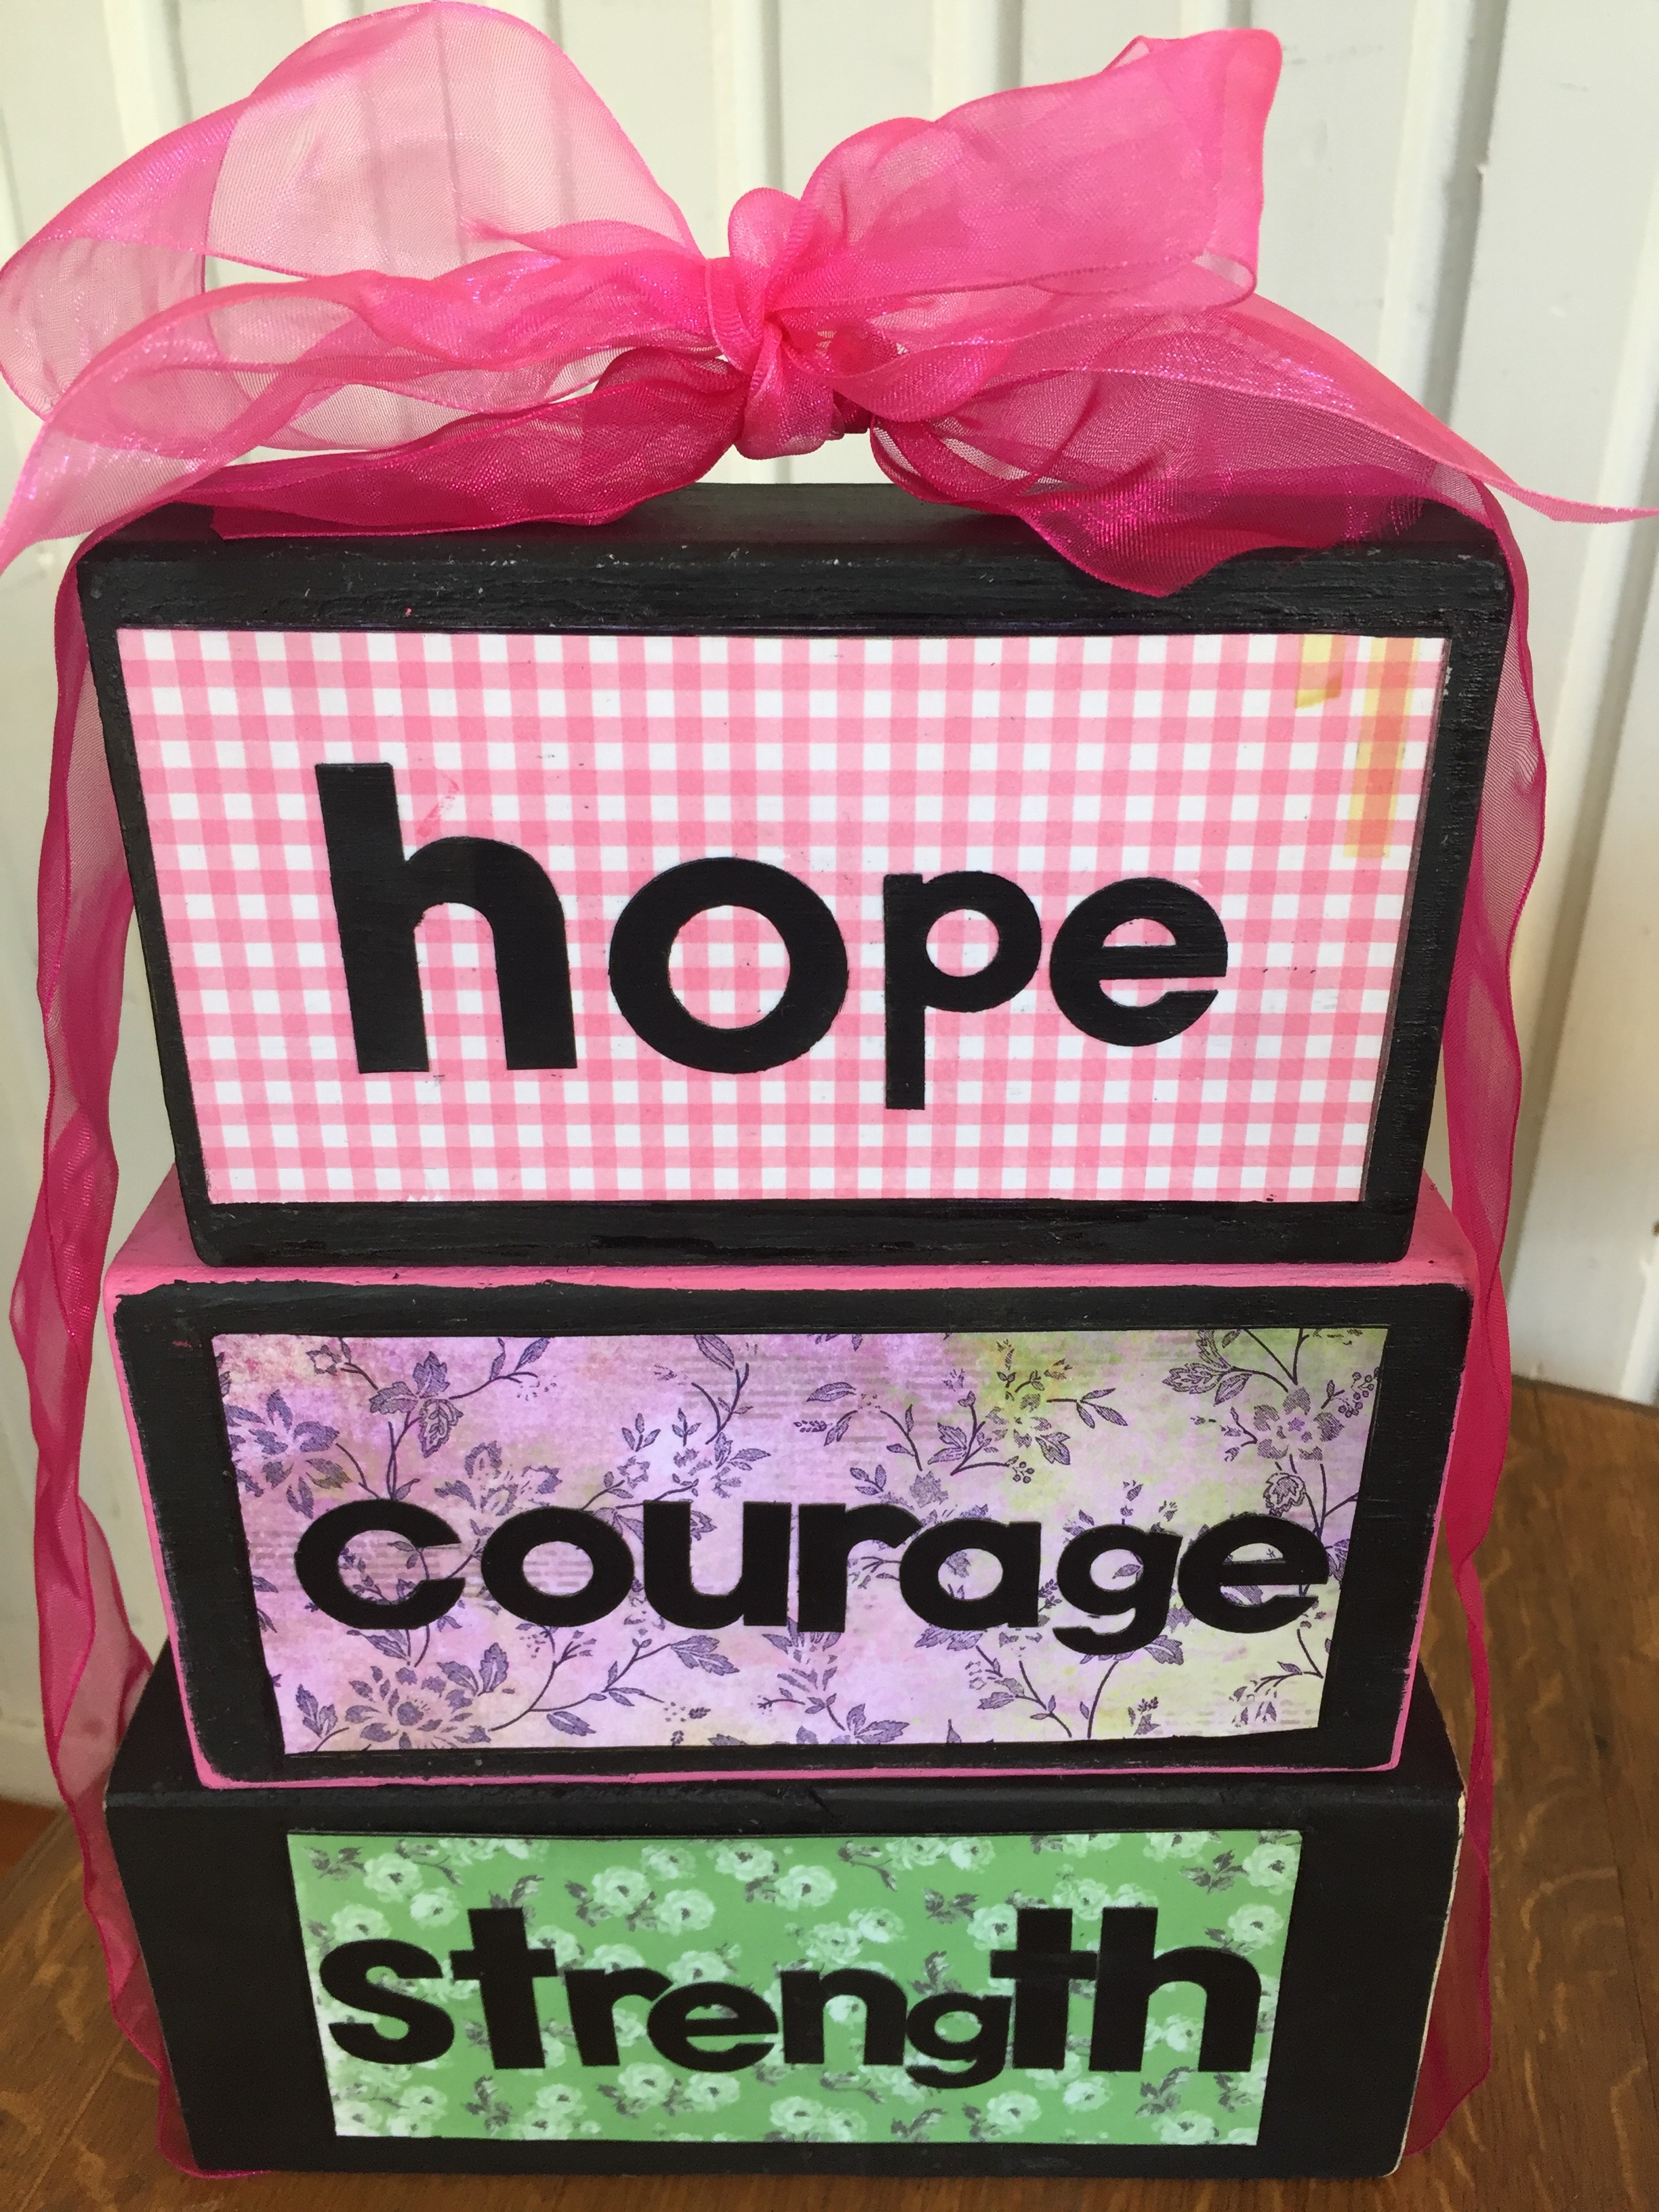
This month is Breast Cancer Awareness Month and I wanted to do something to support it.  We all know someone who has breast cancer and I thought an inspirational sign is something small I could do to bring encouragement.

Keeping it simple I used 2×4 blocks, painted and hand-distressed. Using mod podge, scrap booking paper and letters cut using my cuttlebug. Tied together with a pink ribbon.

Materials needed:

  • 3 2×4 blocks
  • sandpaper
  • acrylic paint
  • brushes or foam brushes
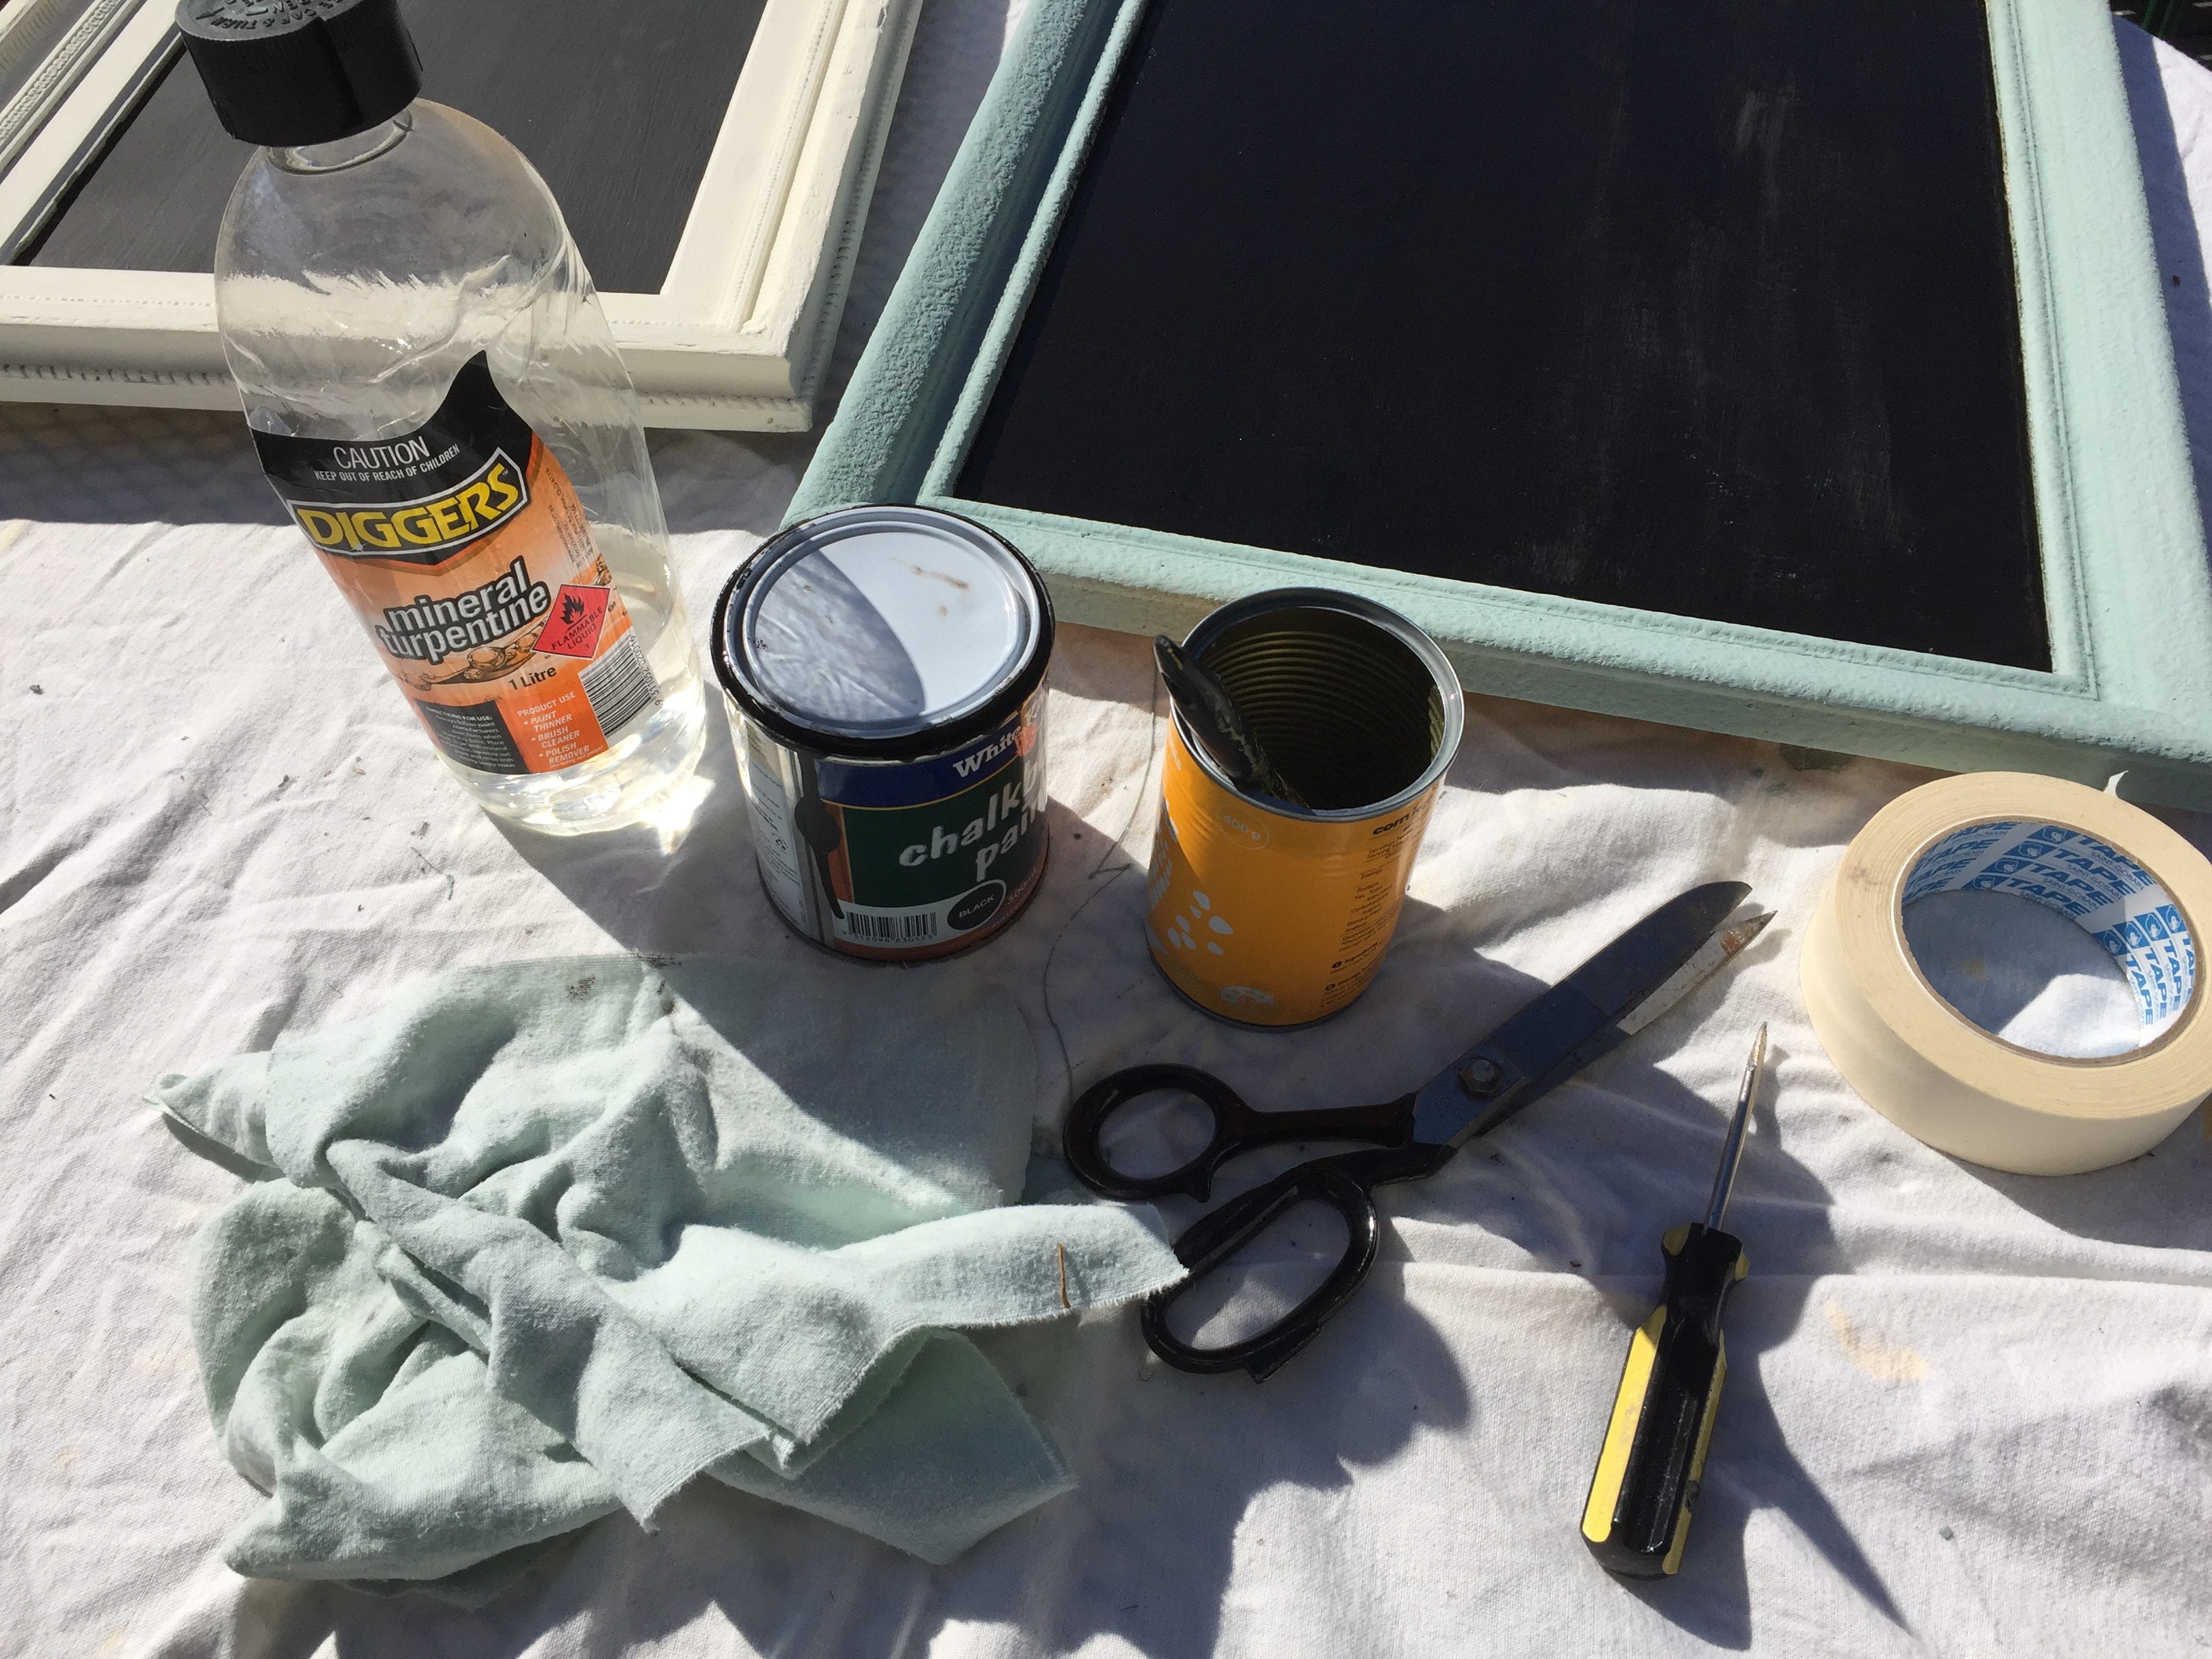
  • old sheet to protect table
  • rags
  • scrapbook paper
  • mod podge
  • letters (store brought or homemade)

Instructions:

I brought my 2×4 from a hardware store (Mitre 10), they kindly cut it into all the blocks for me. I got 4 sets of 3, which cost me $15.  4 x 6 inches (15.24 cm) 4 x 7 inches (17.78cm) 4  x 8 inches (20.32cm)

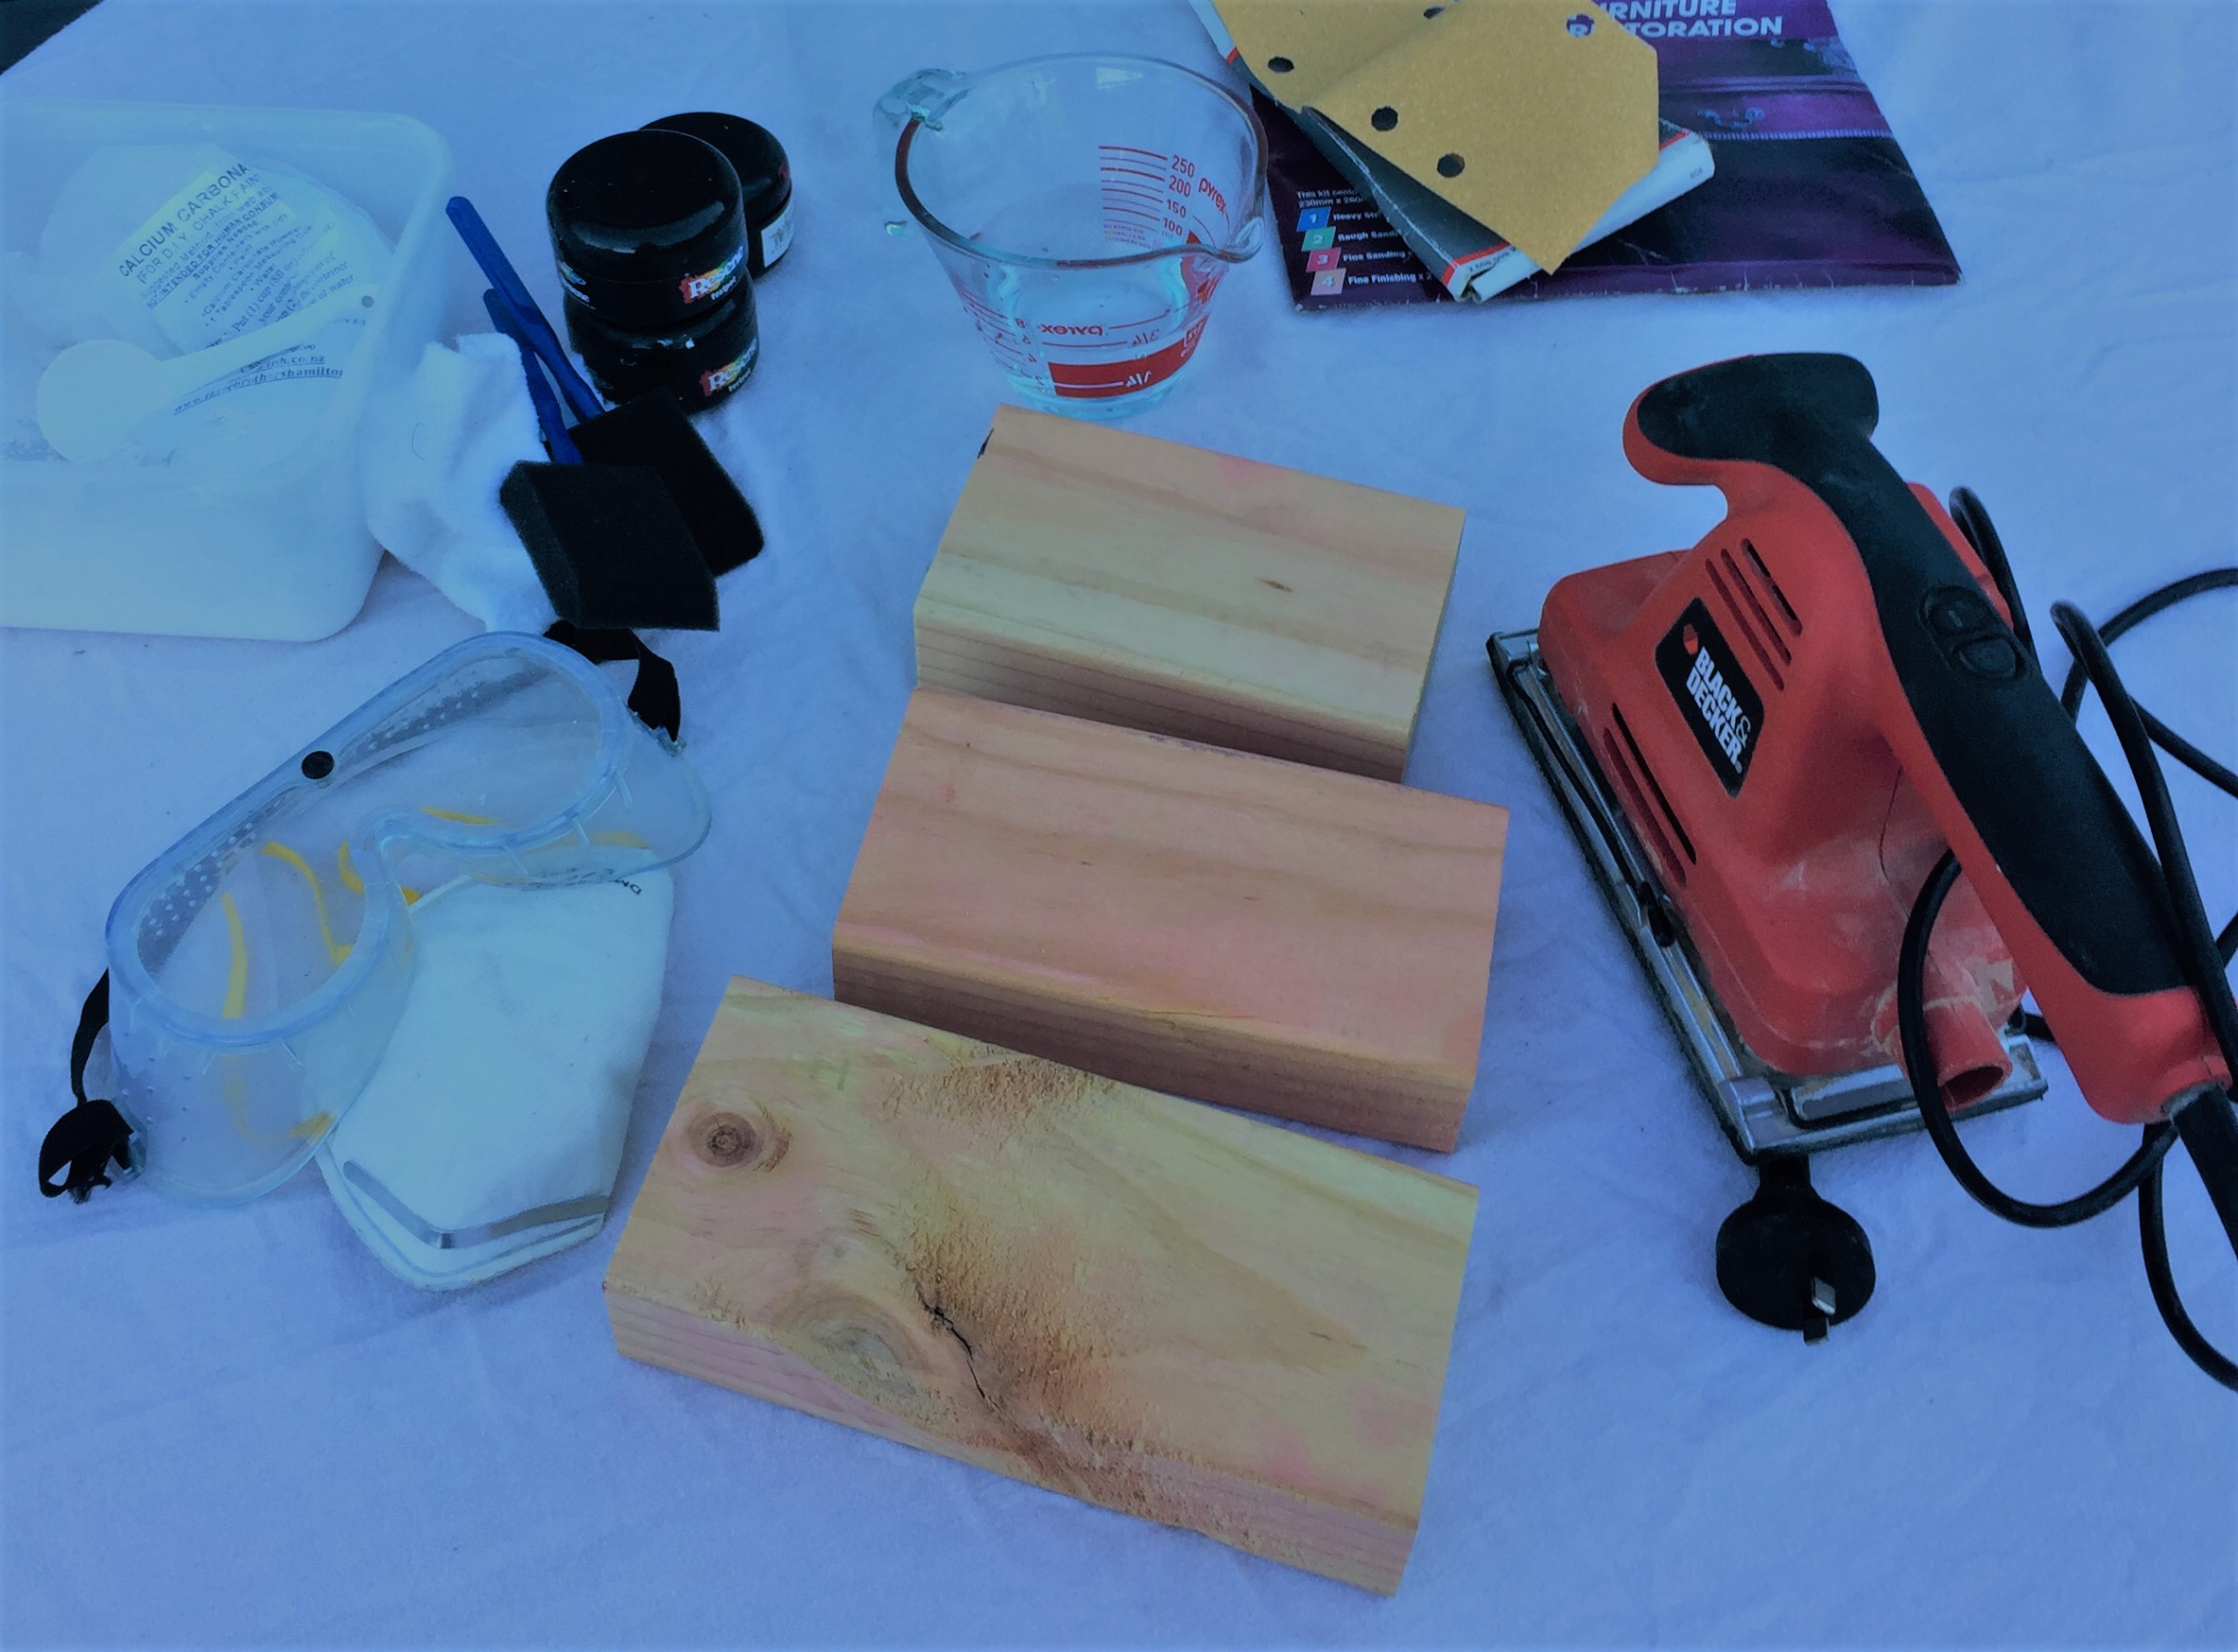
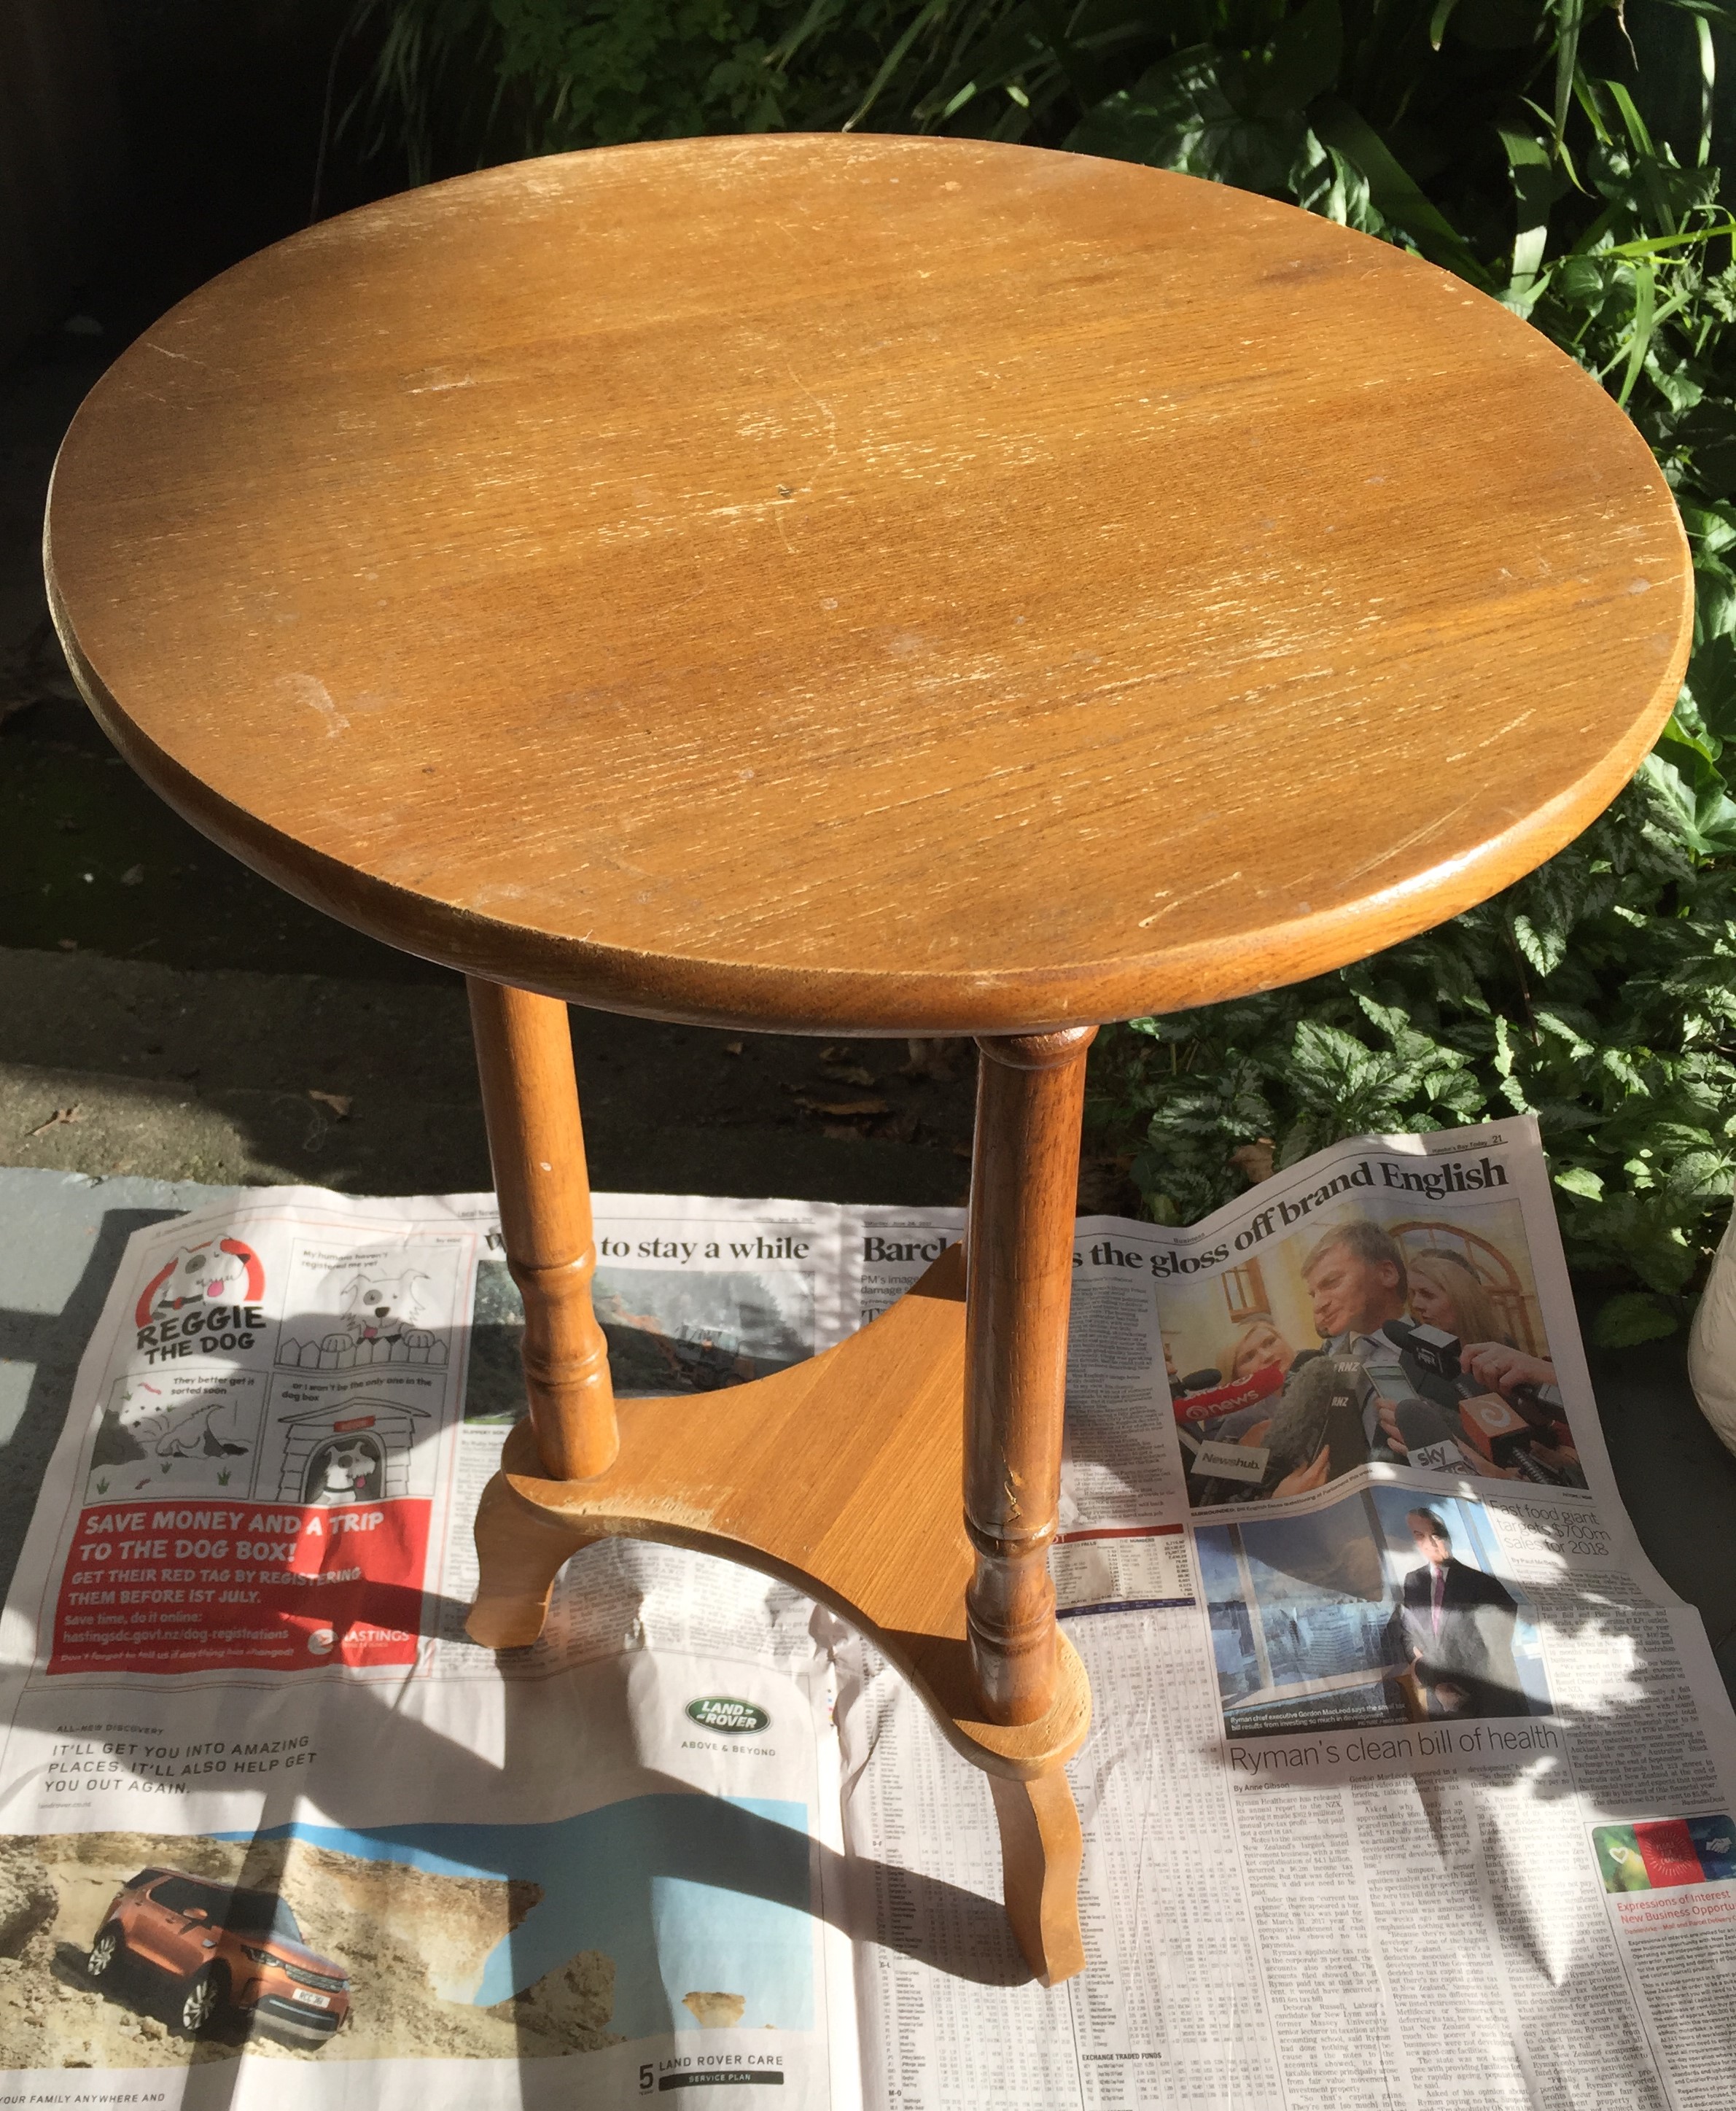
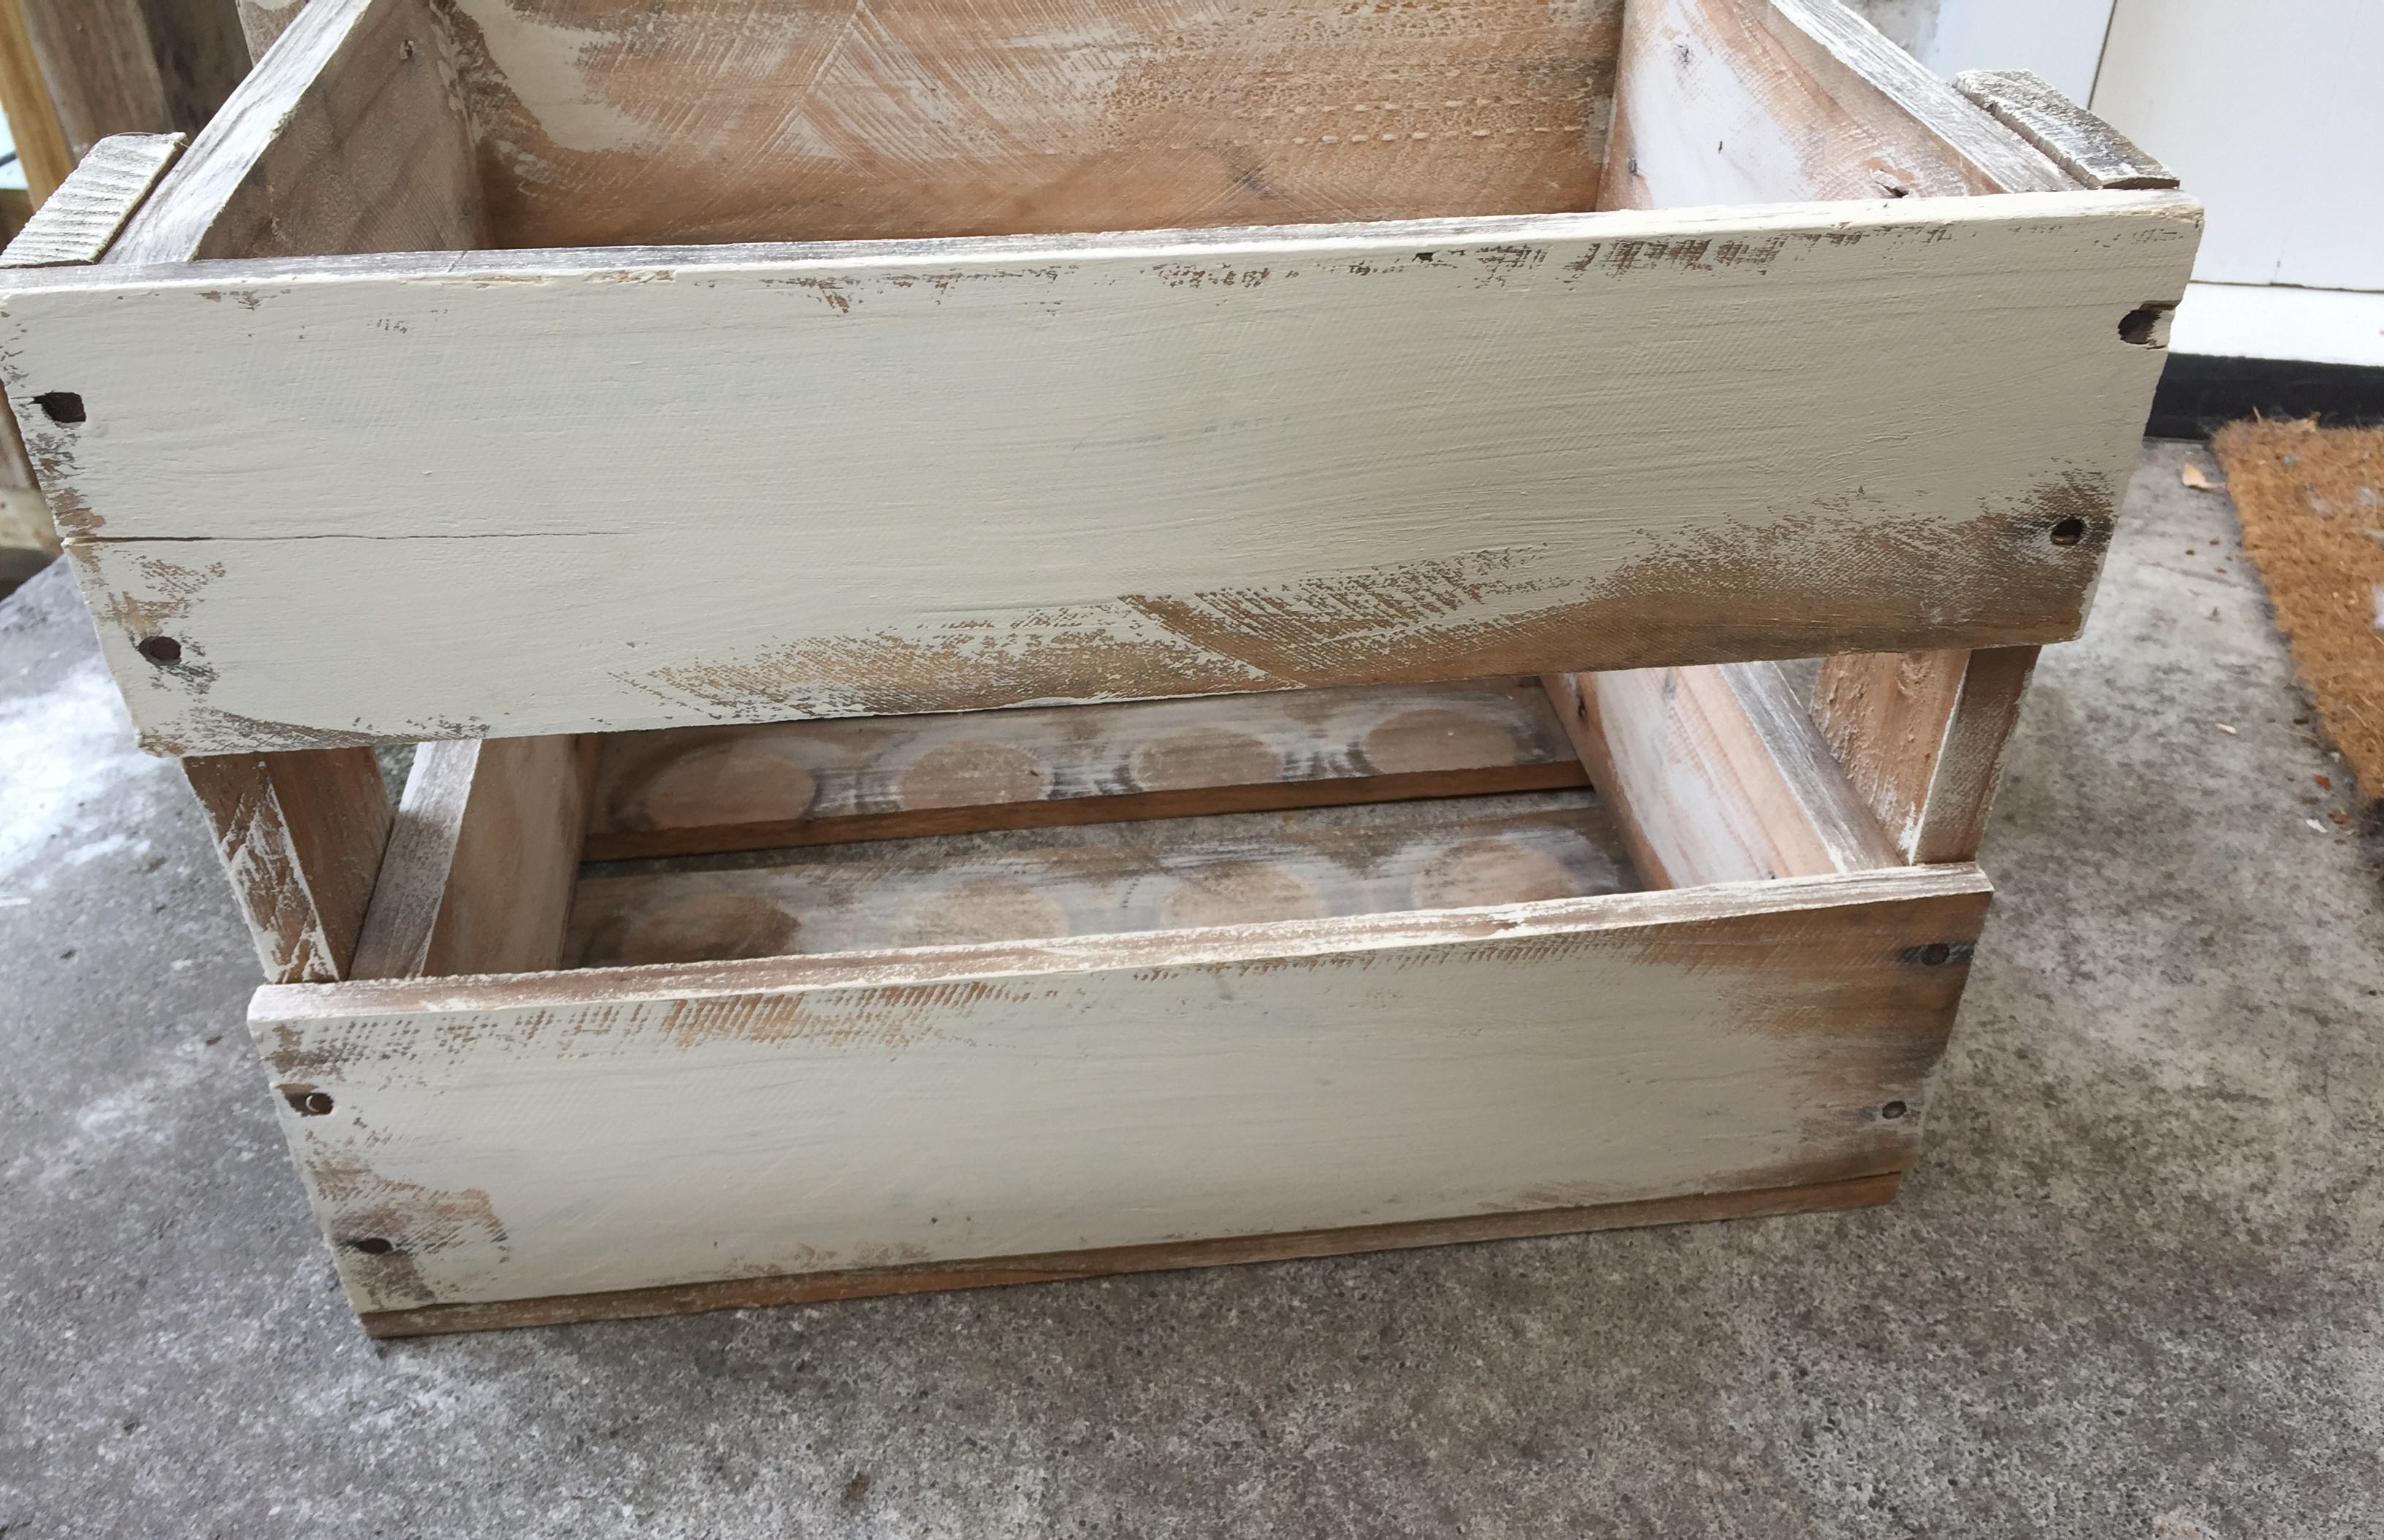
First I sanded the edges of the blocks to get a smooth surface. I used an electric sander, but it easy to do it by hand.

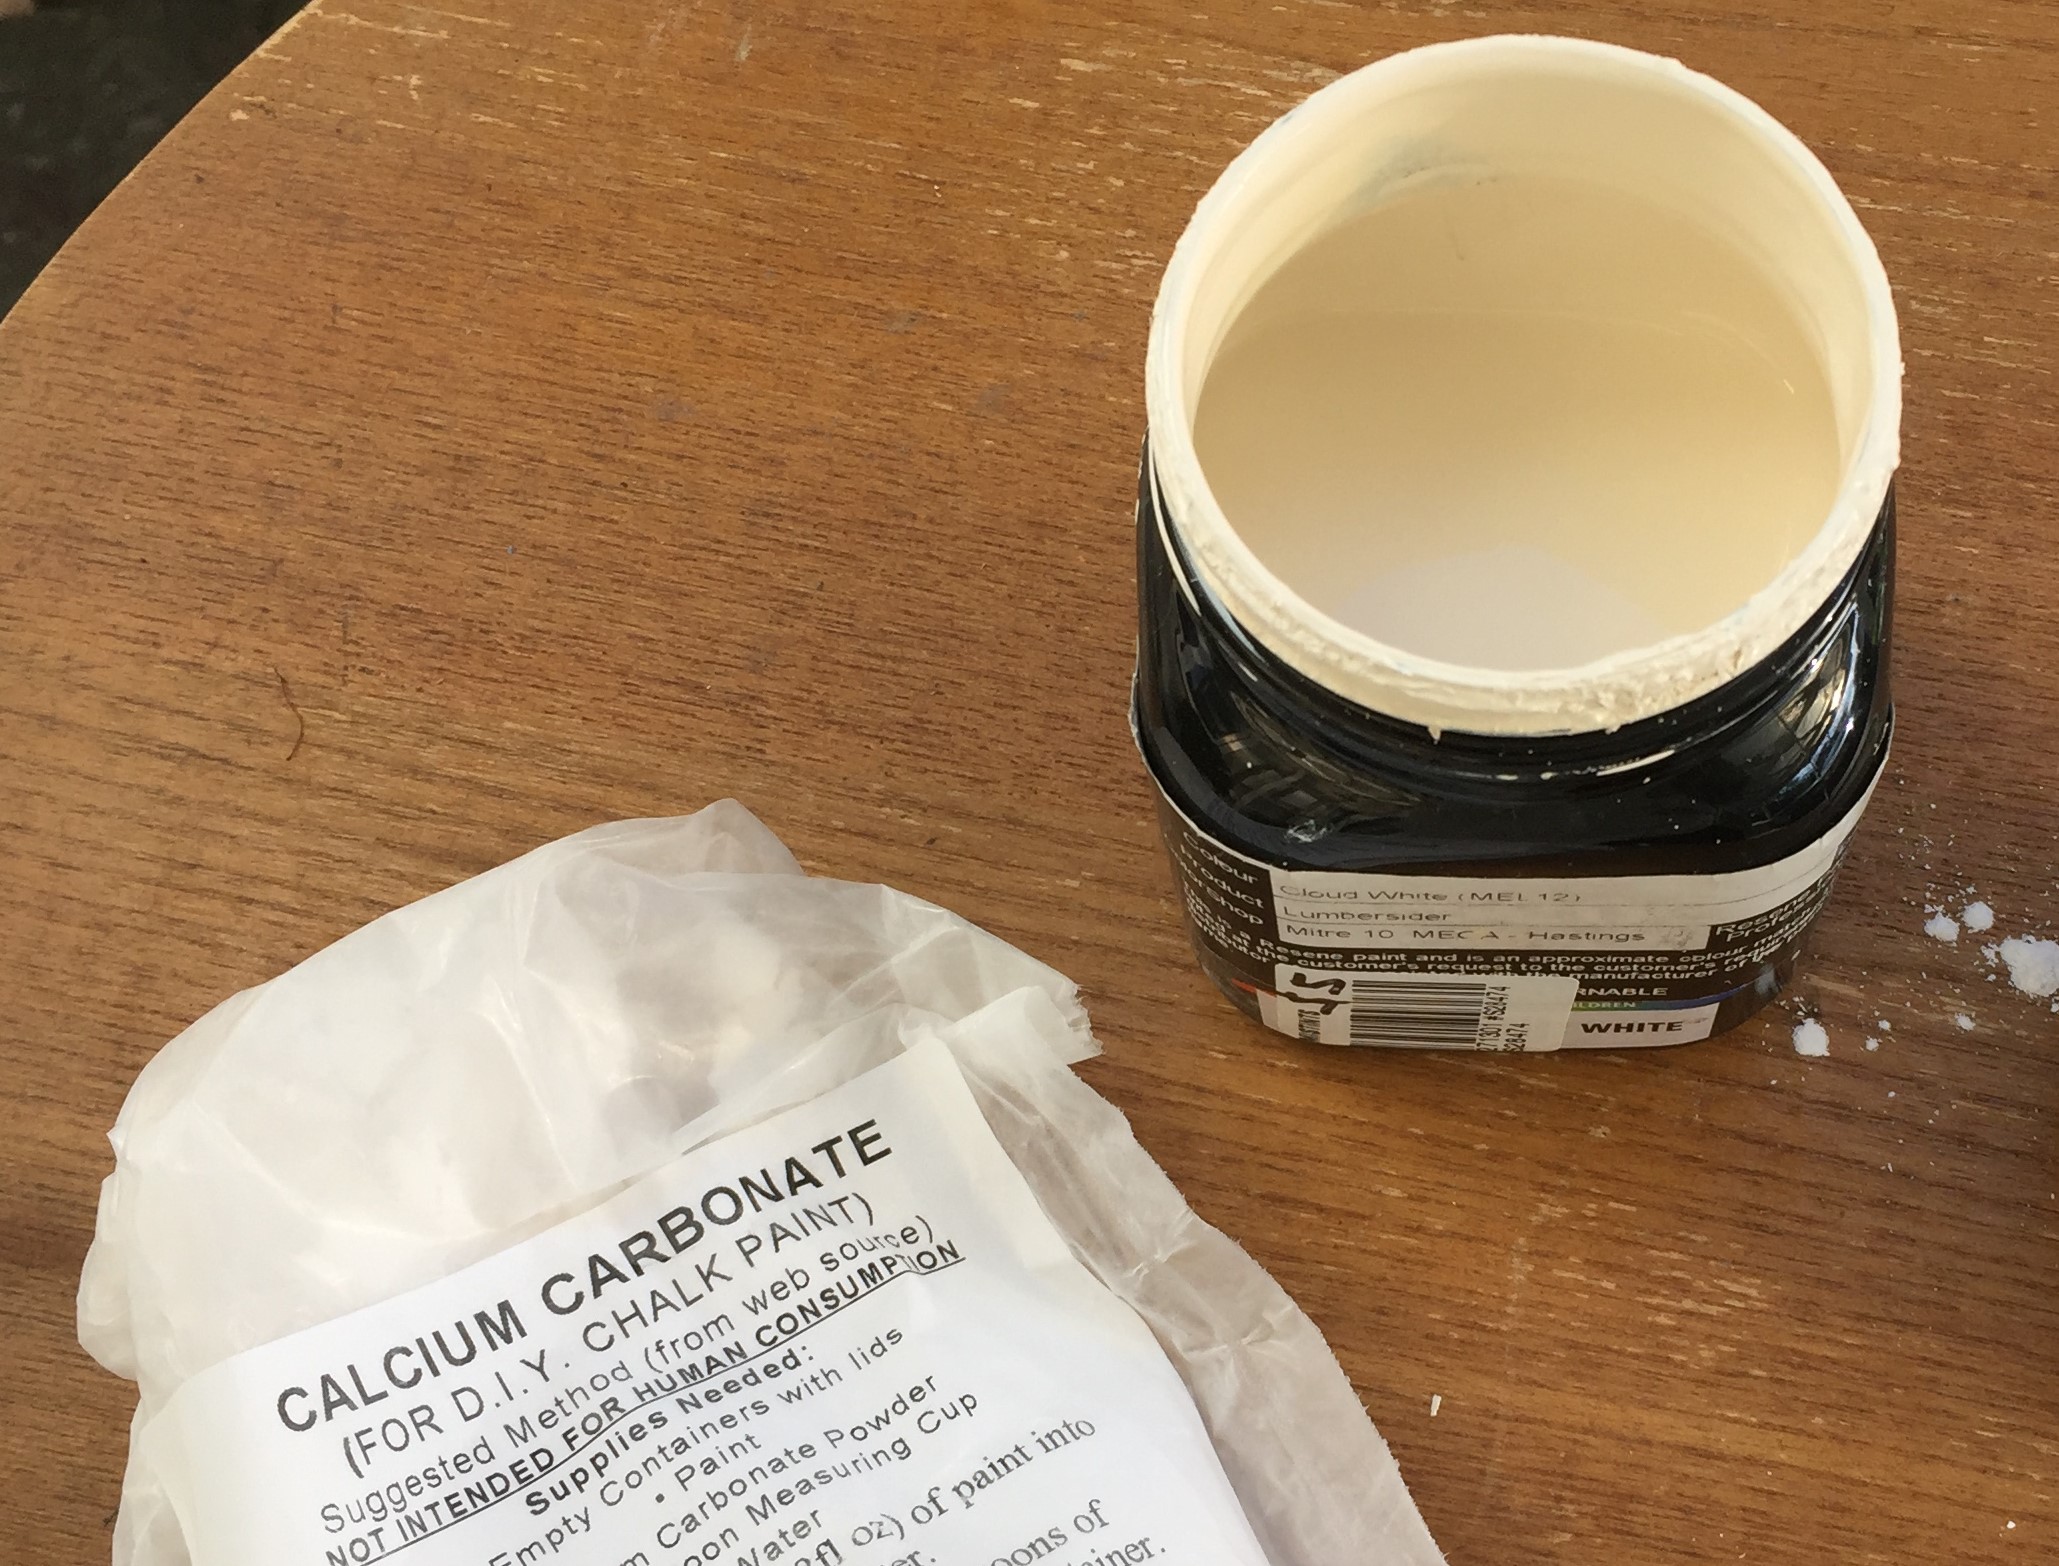
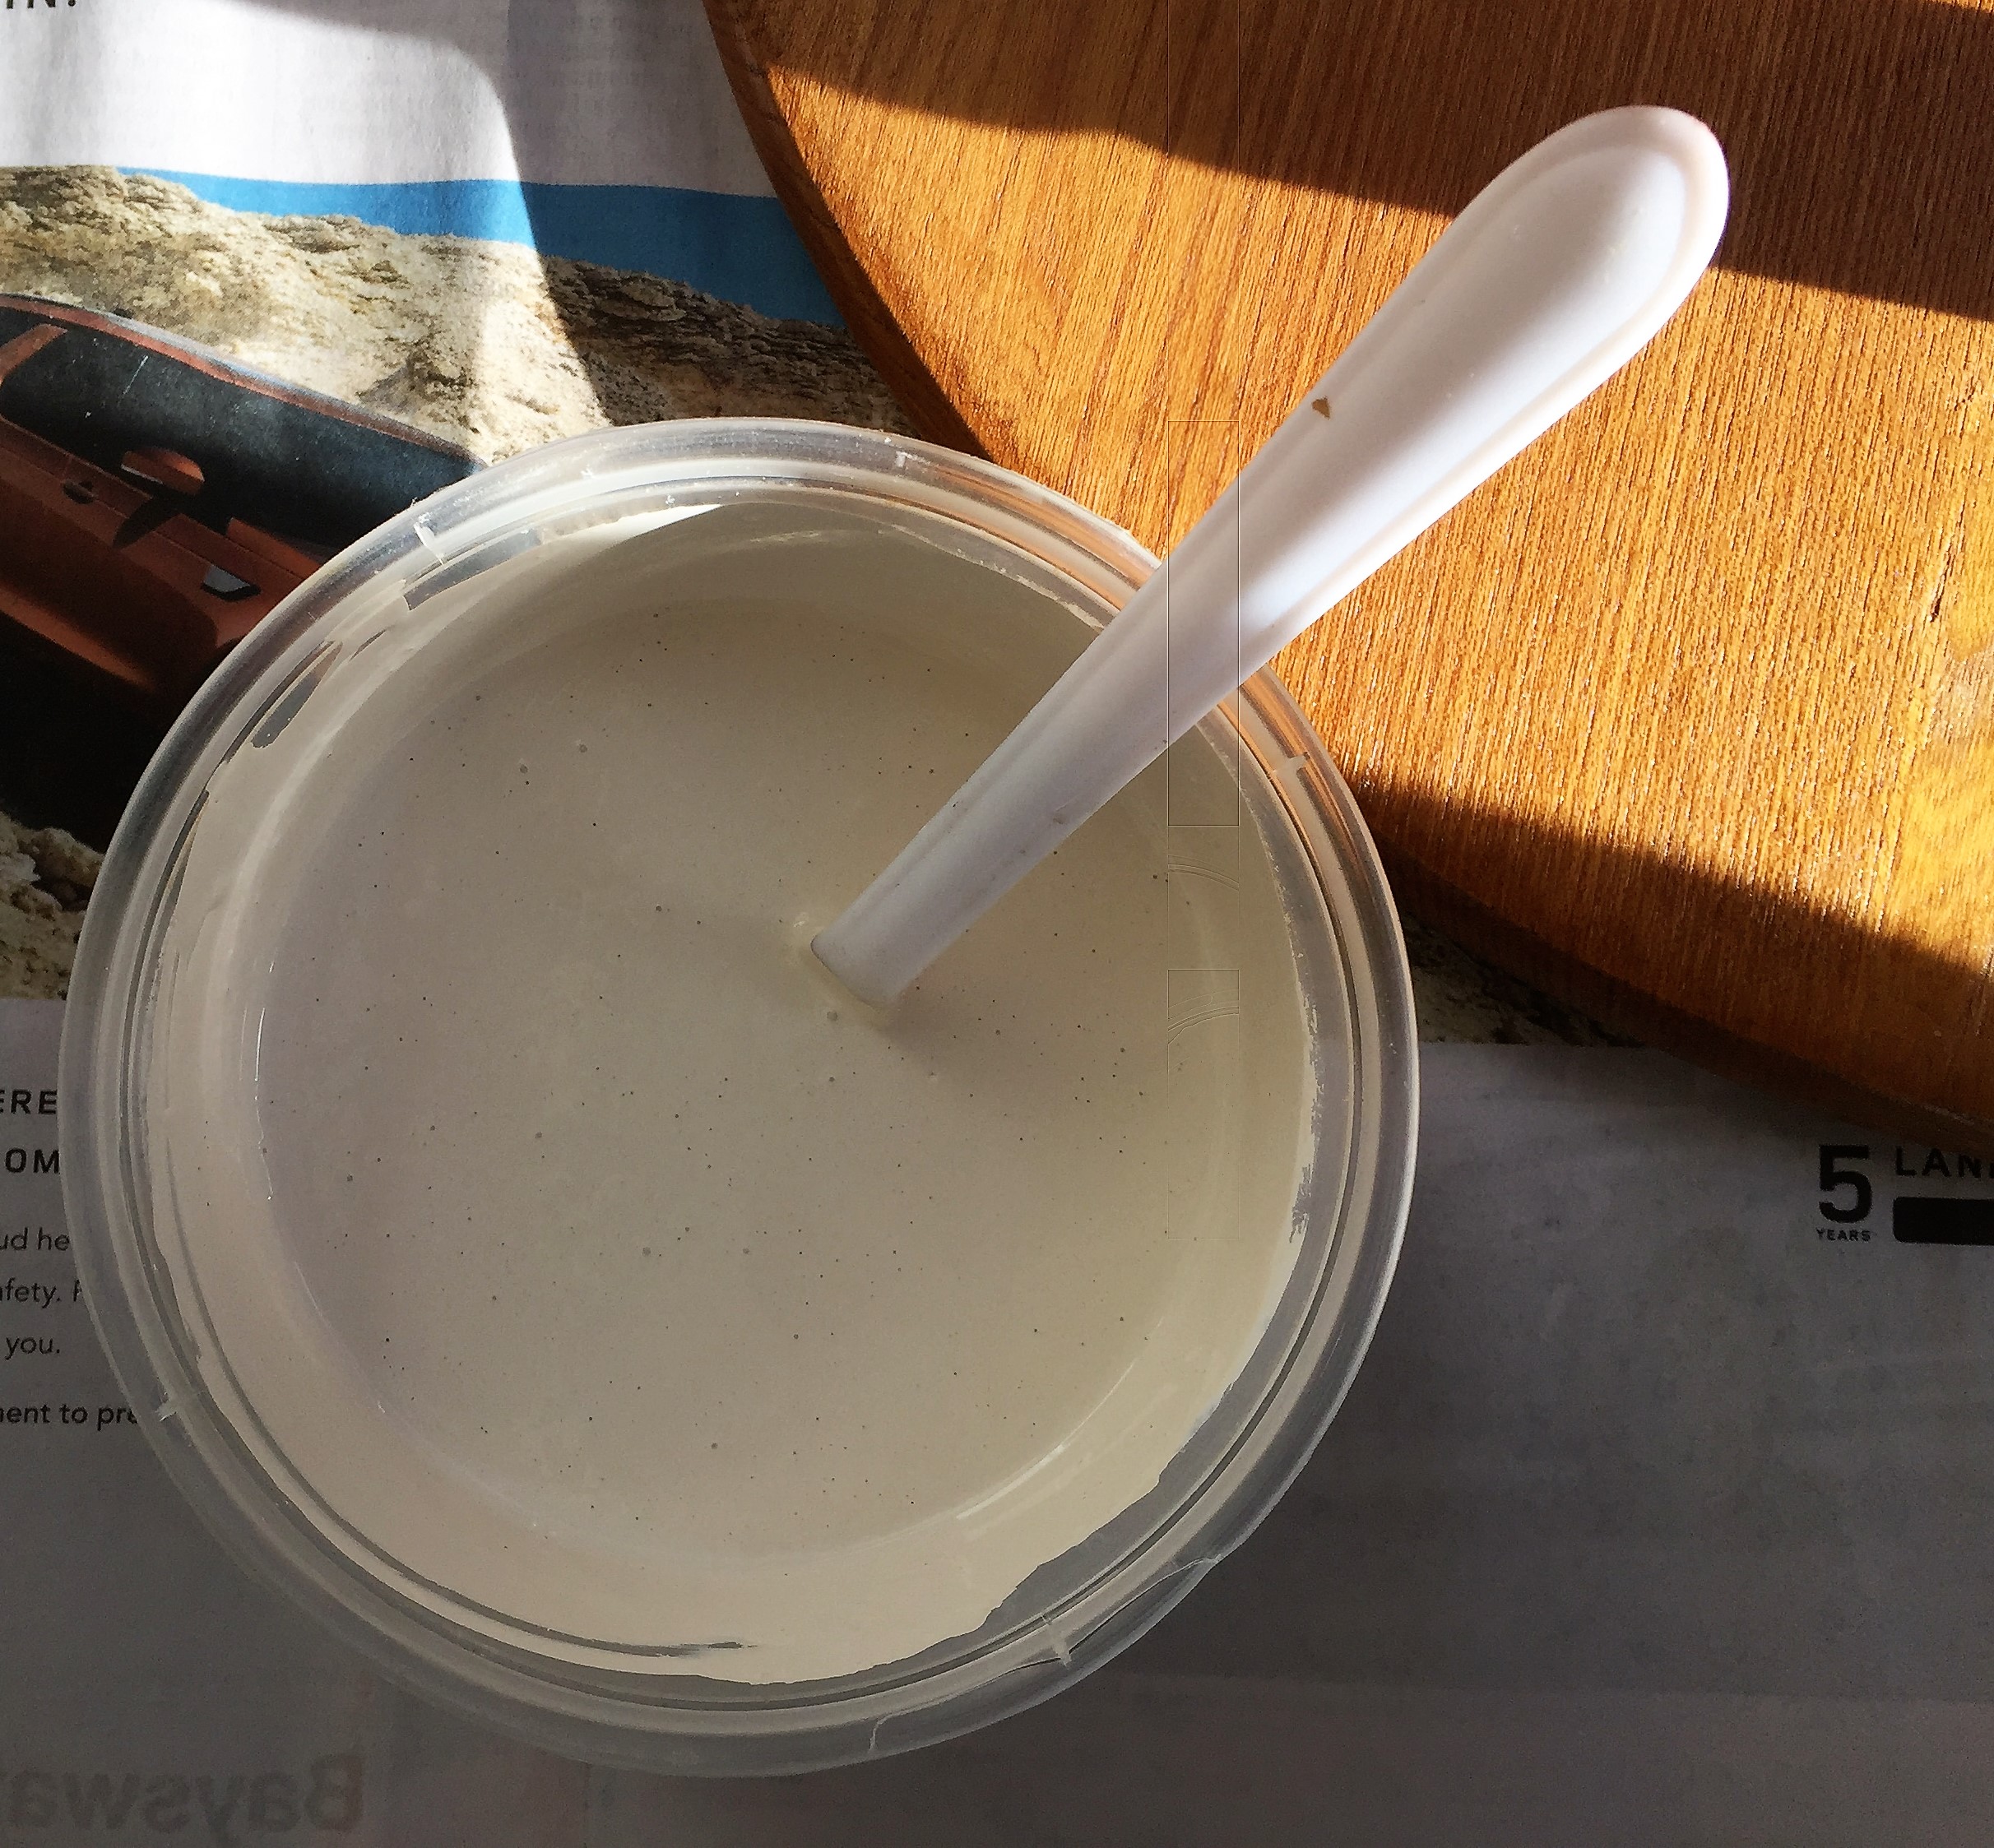
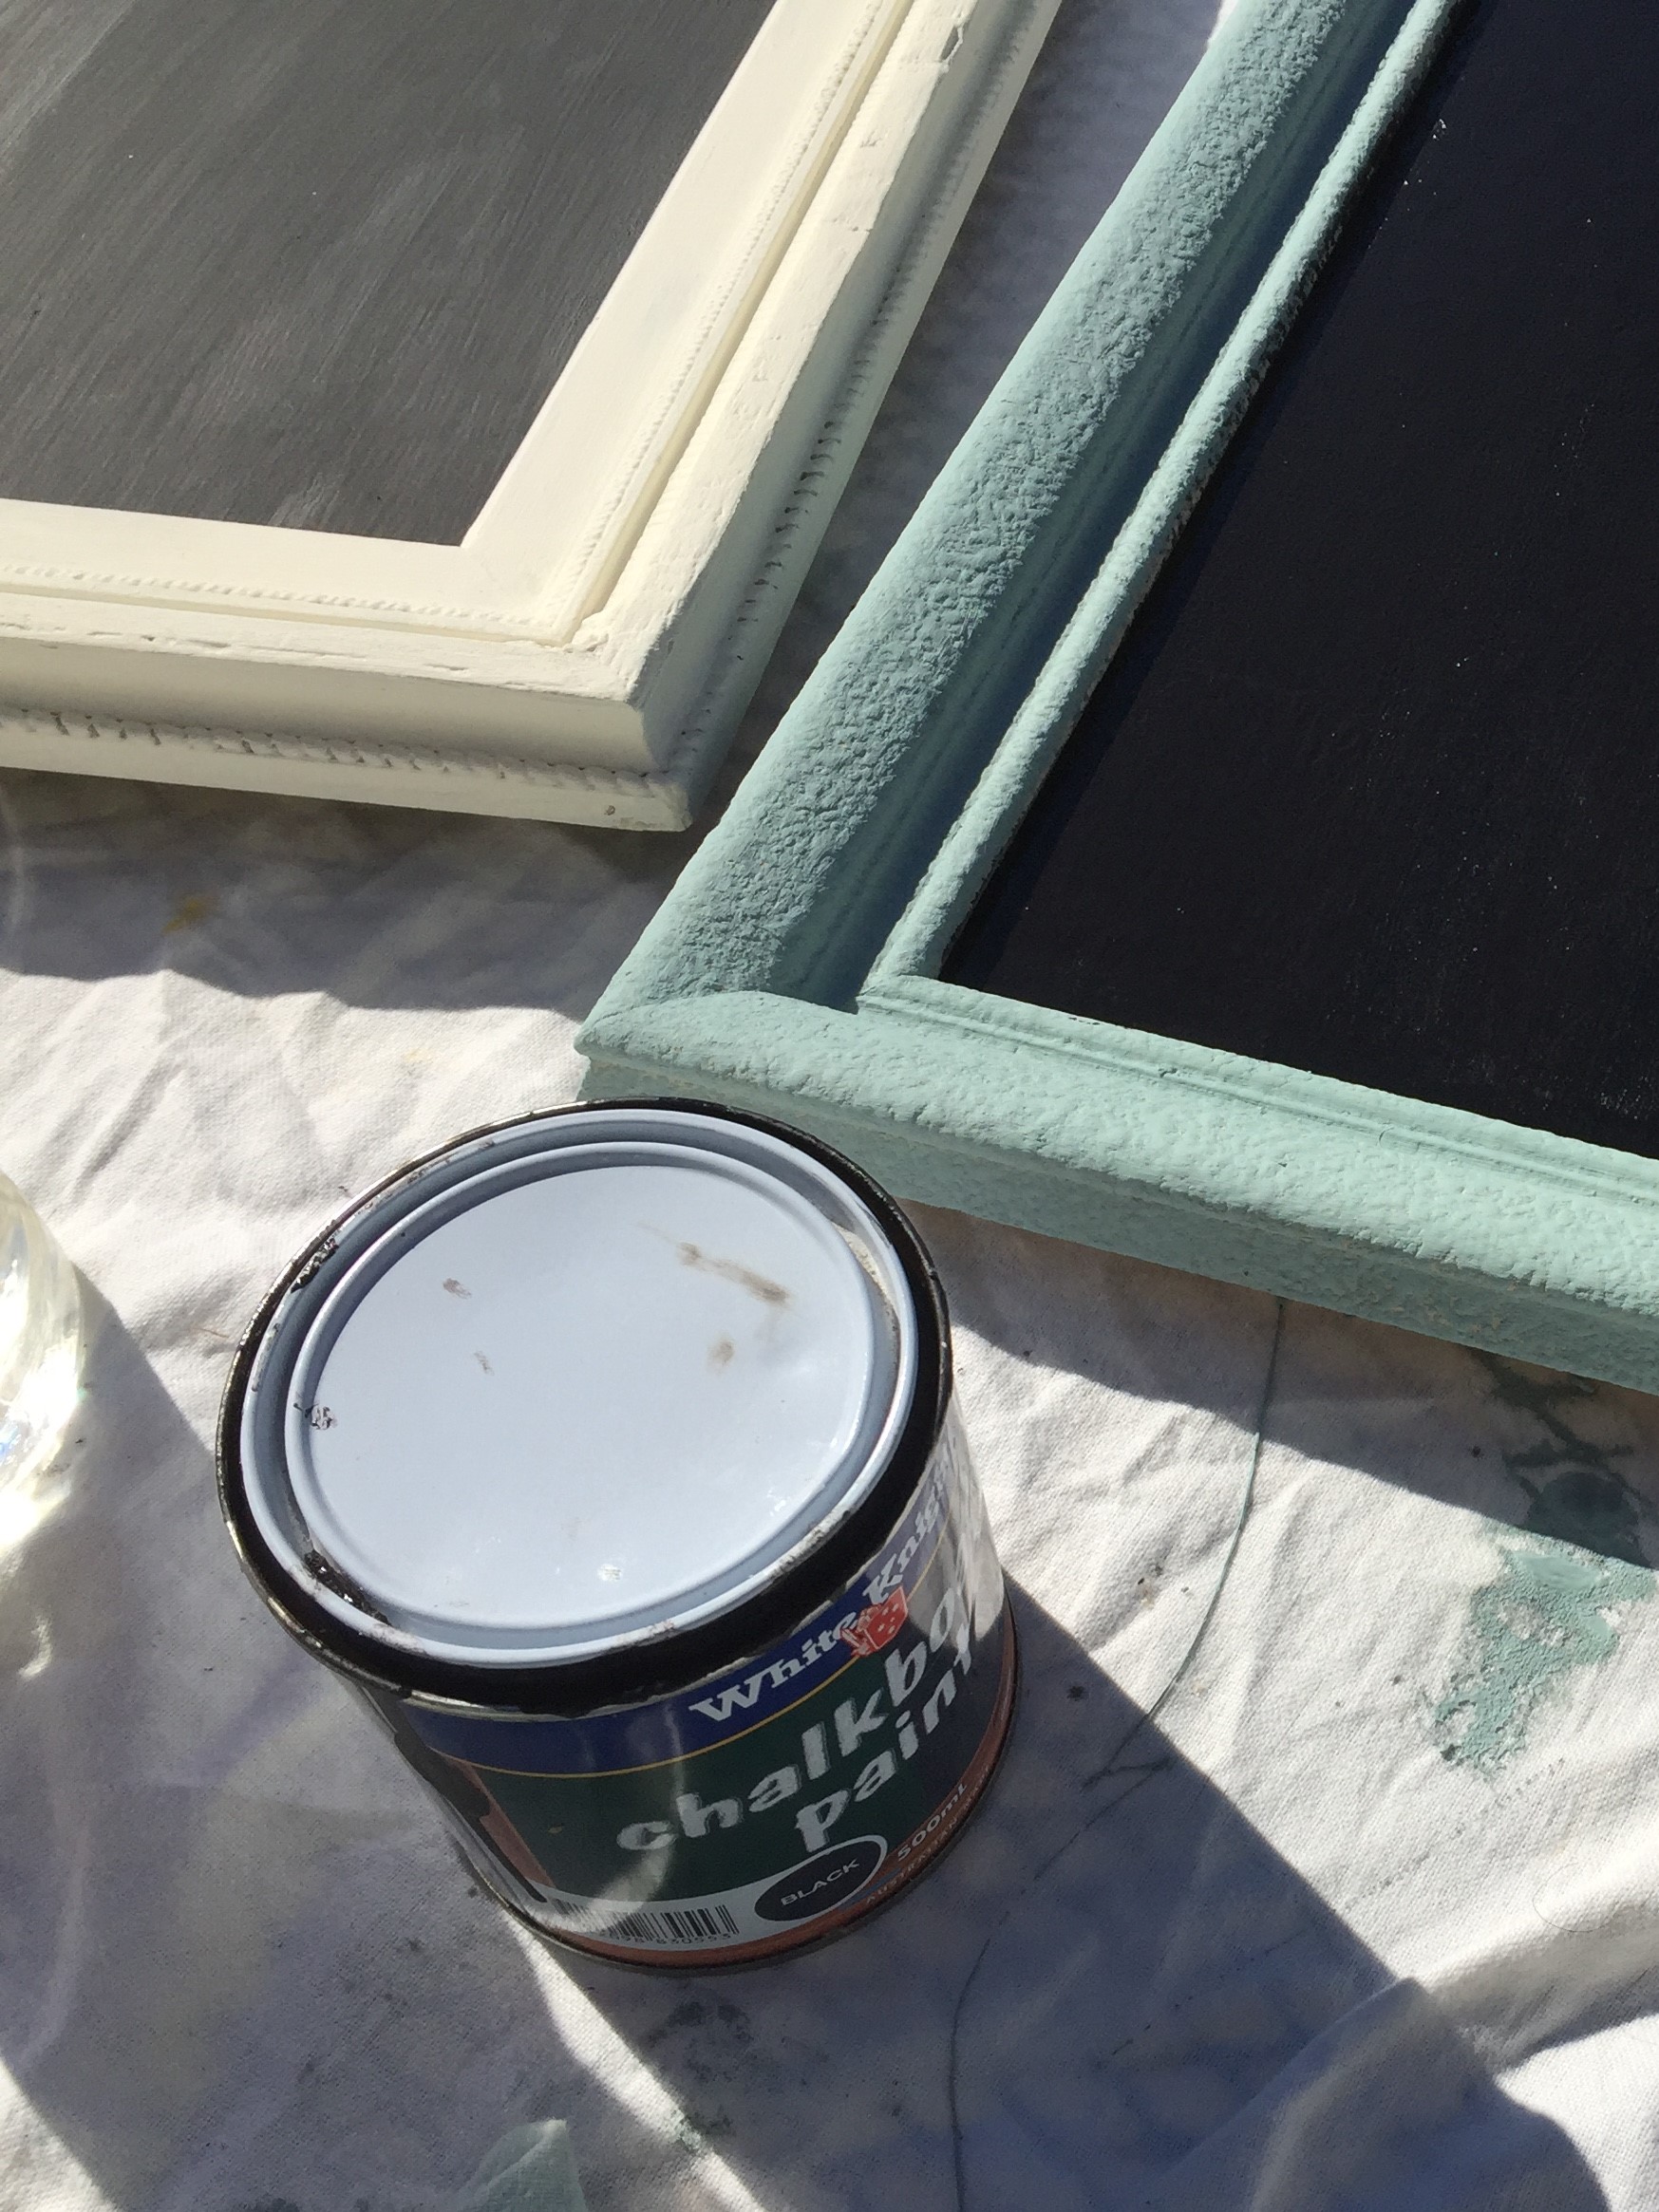
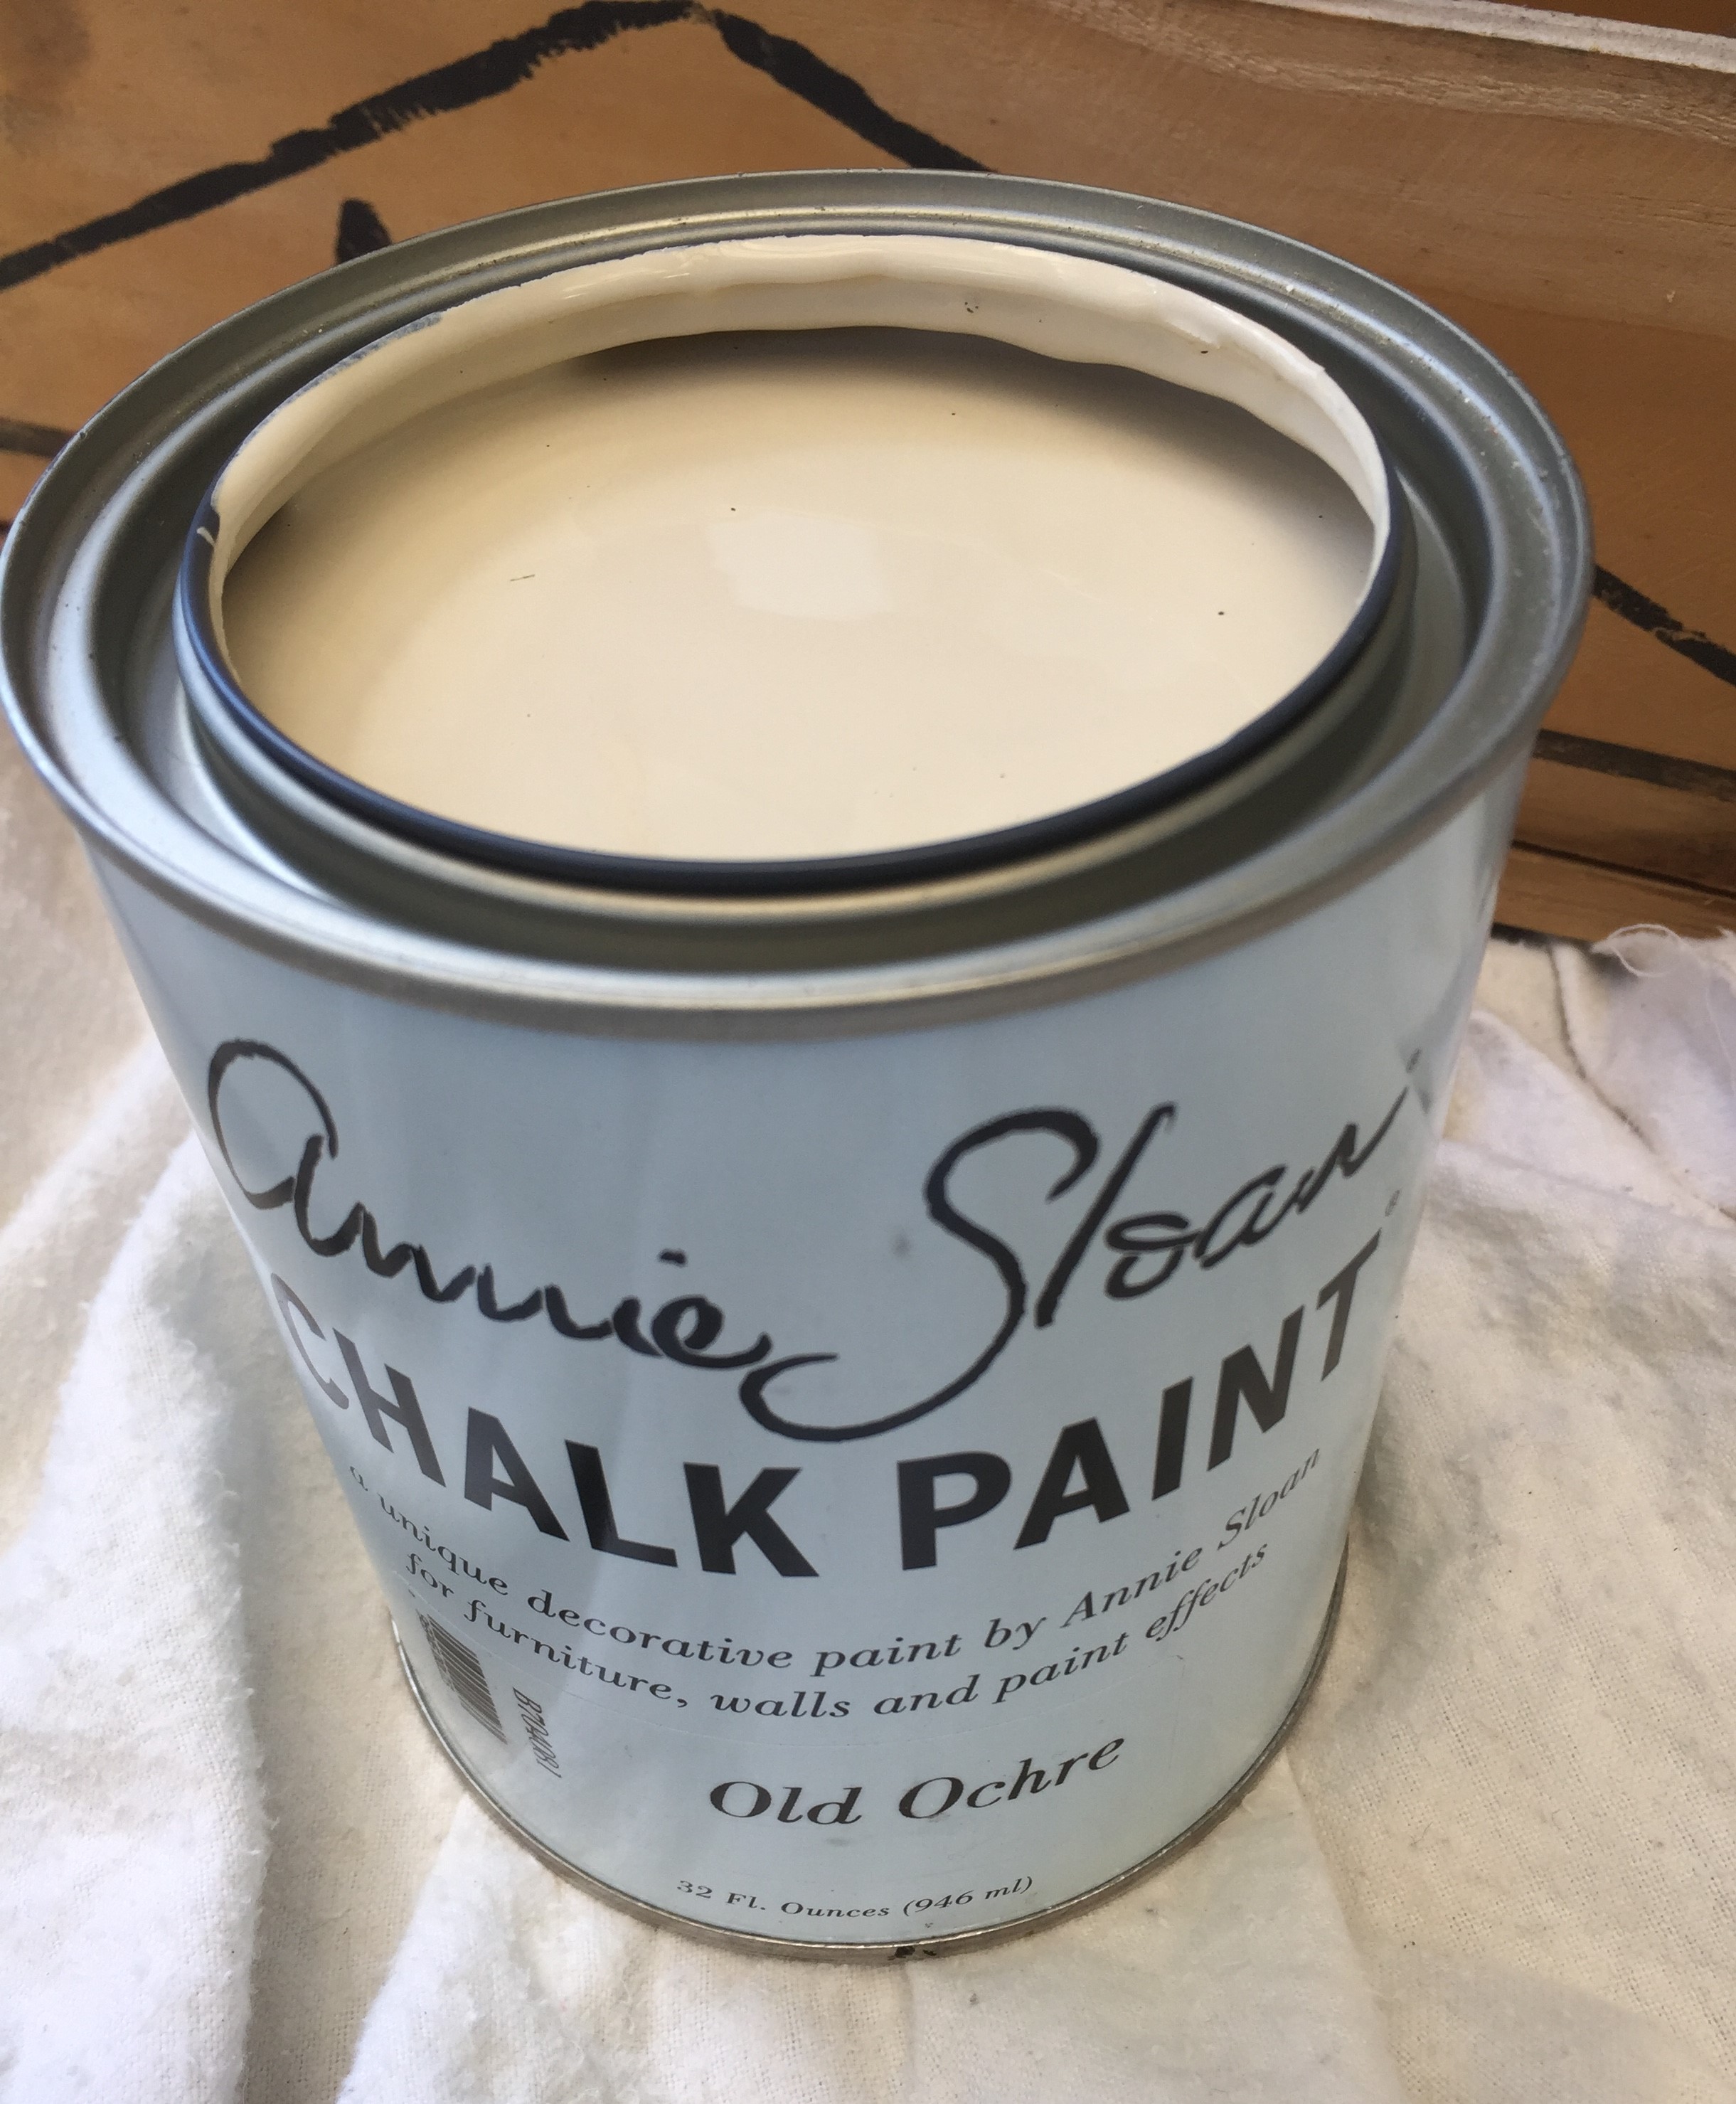
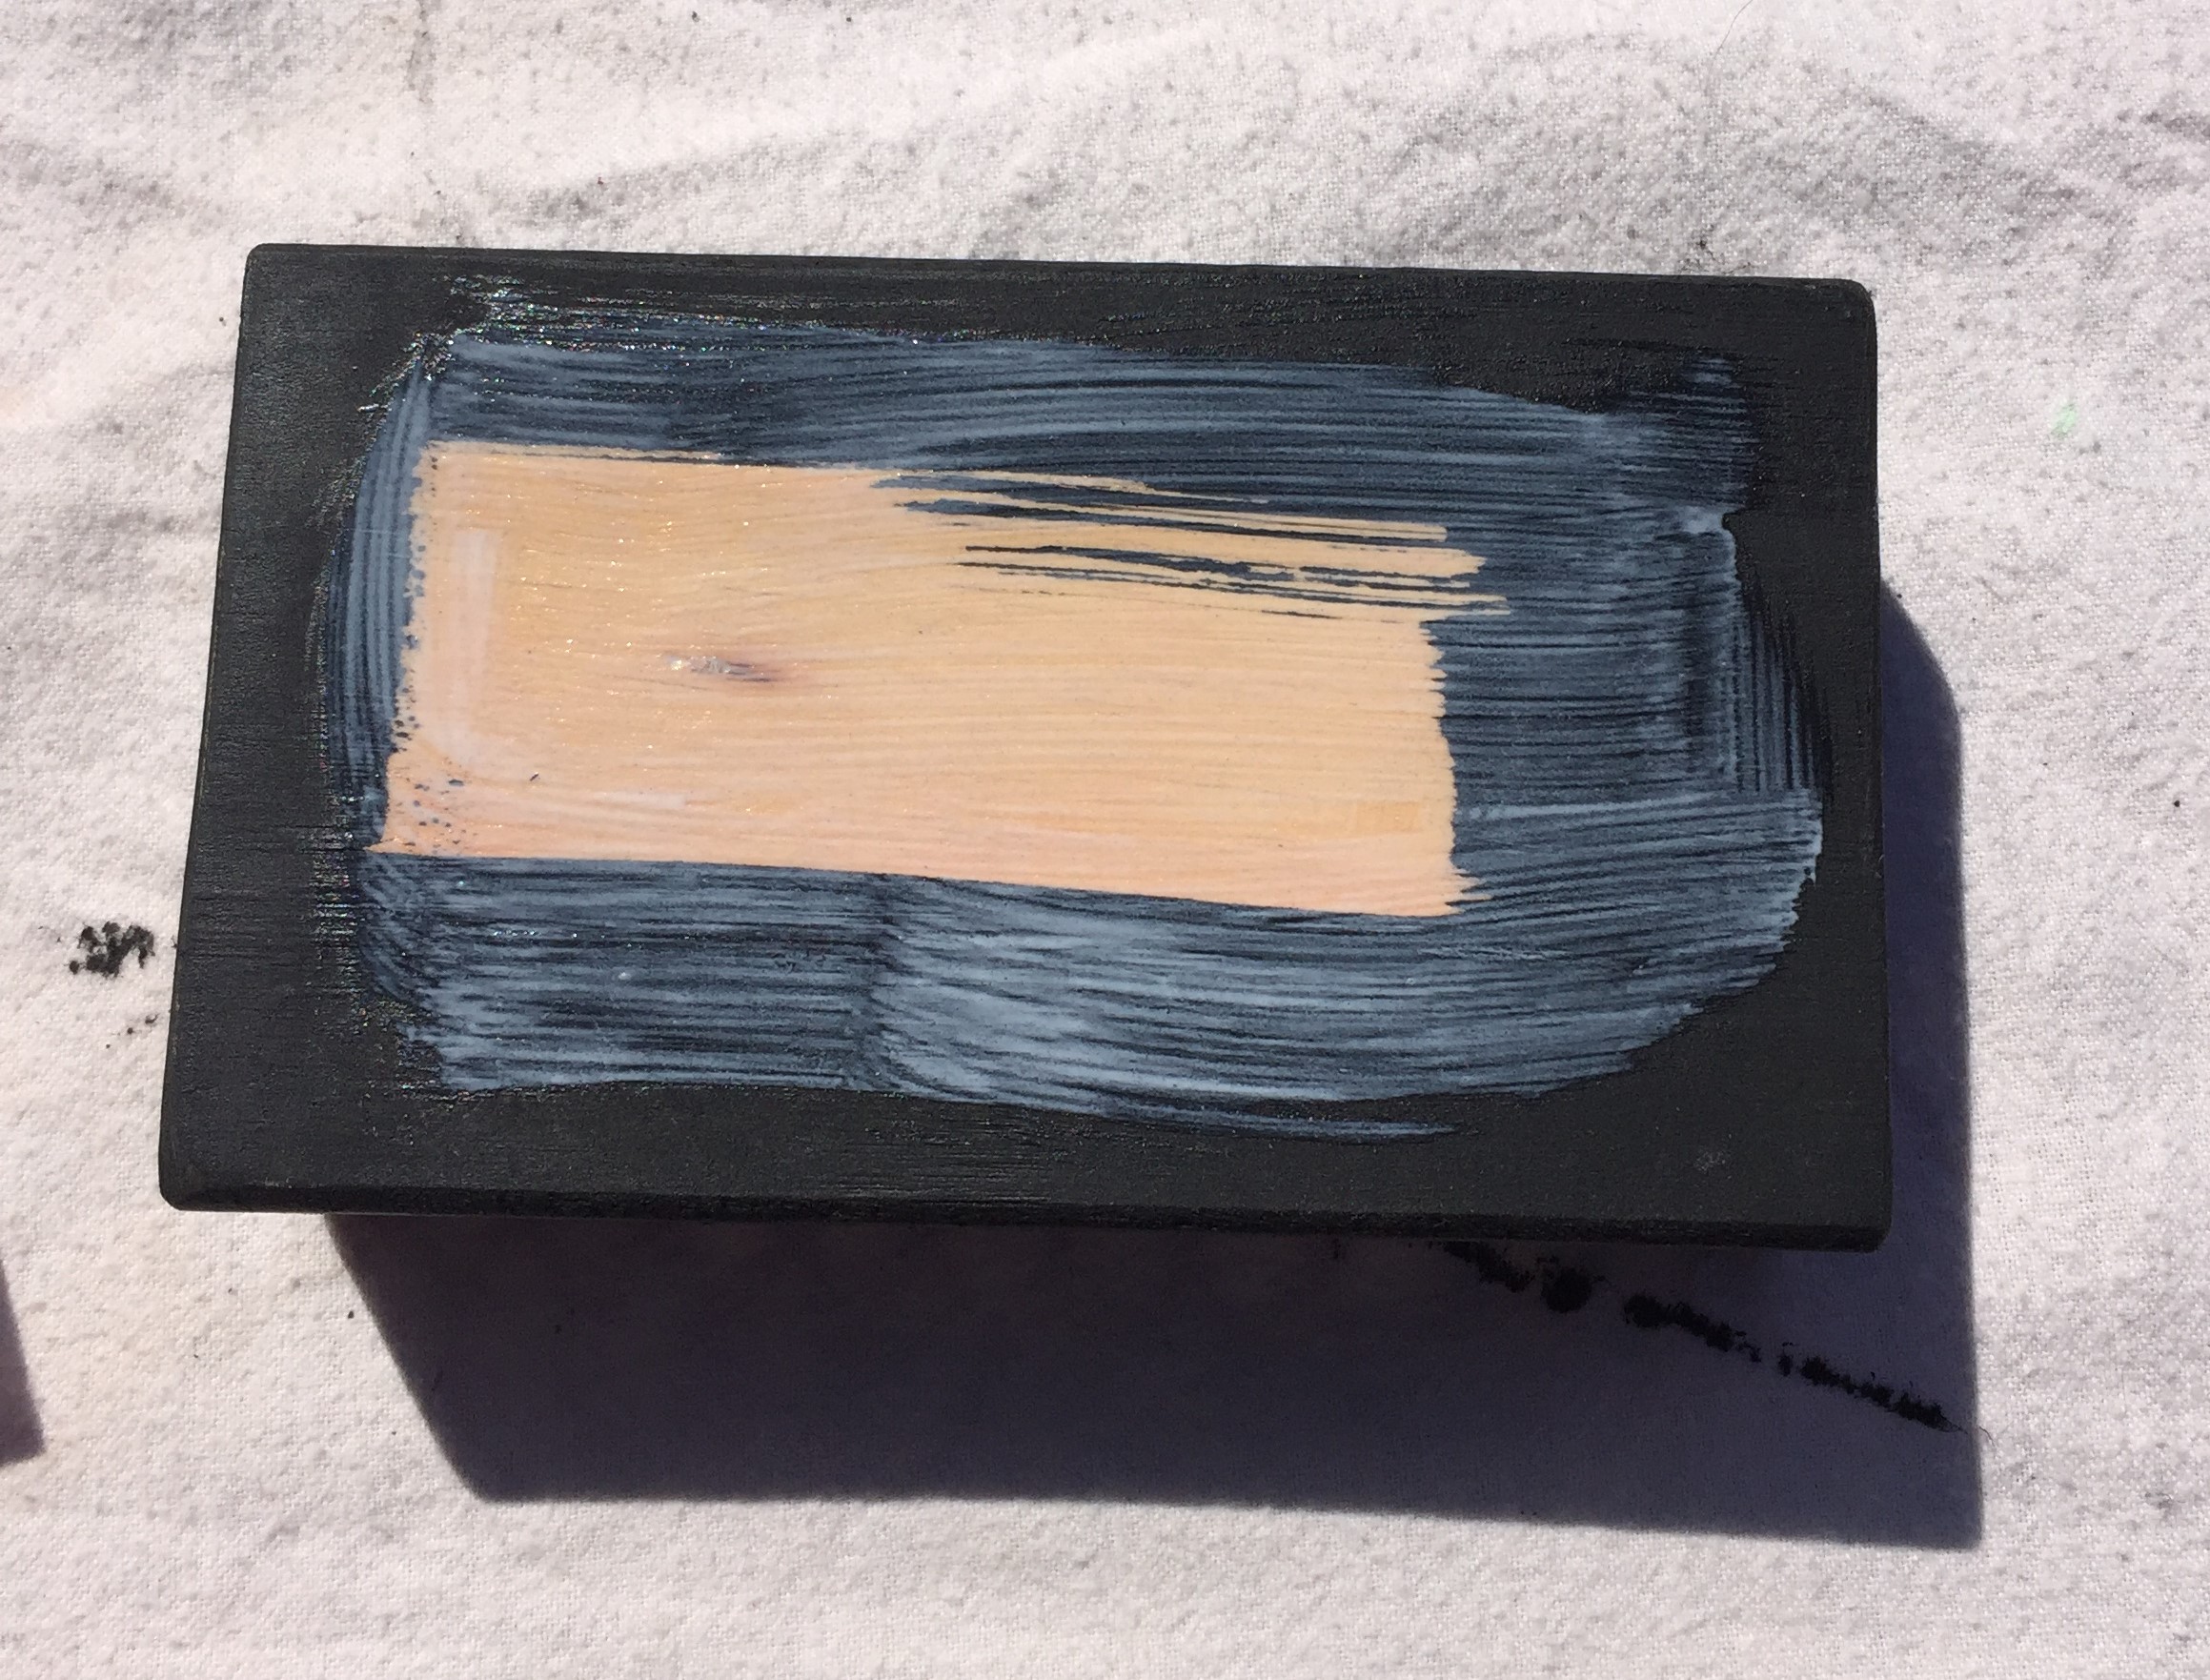
I painted the blocks using acrylic paint, but added a small amount of calcium carbonate and water to it, this is not necessary, but I find it easier to use chalk paint when distressing. I just brought some paint test pots from Mitre 10. The paint dried really fast as it was a hot day and I only needed one coat.

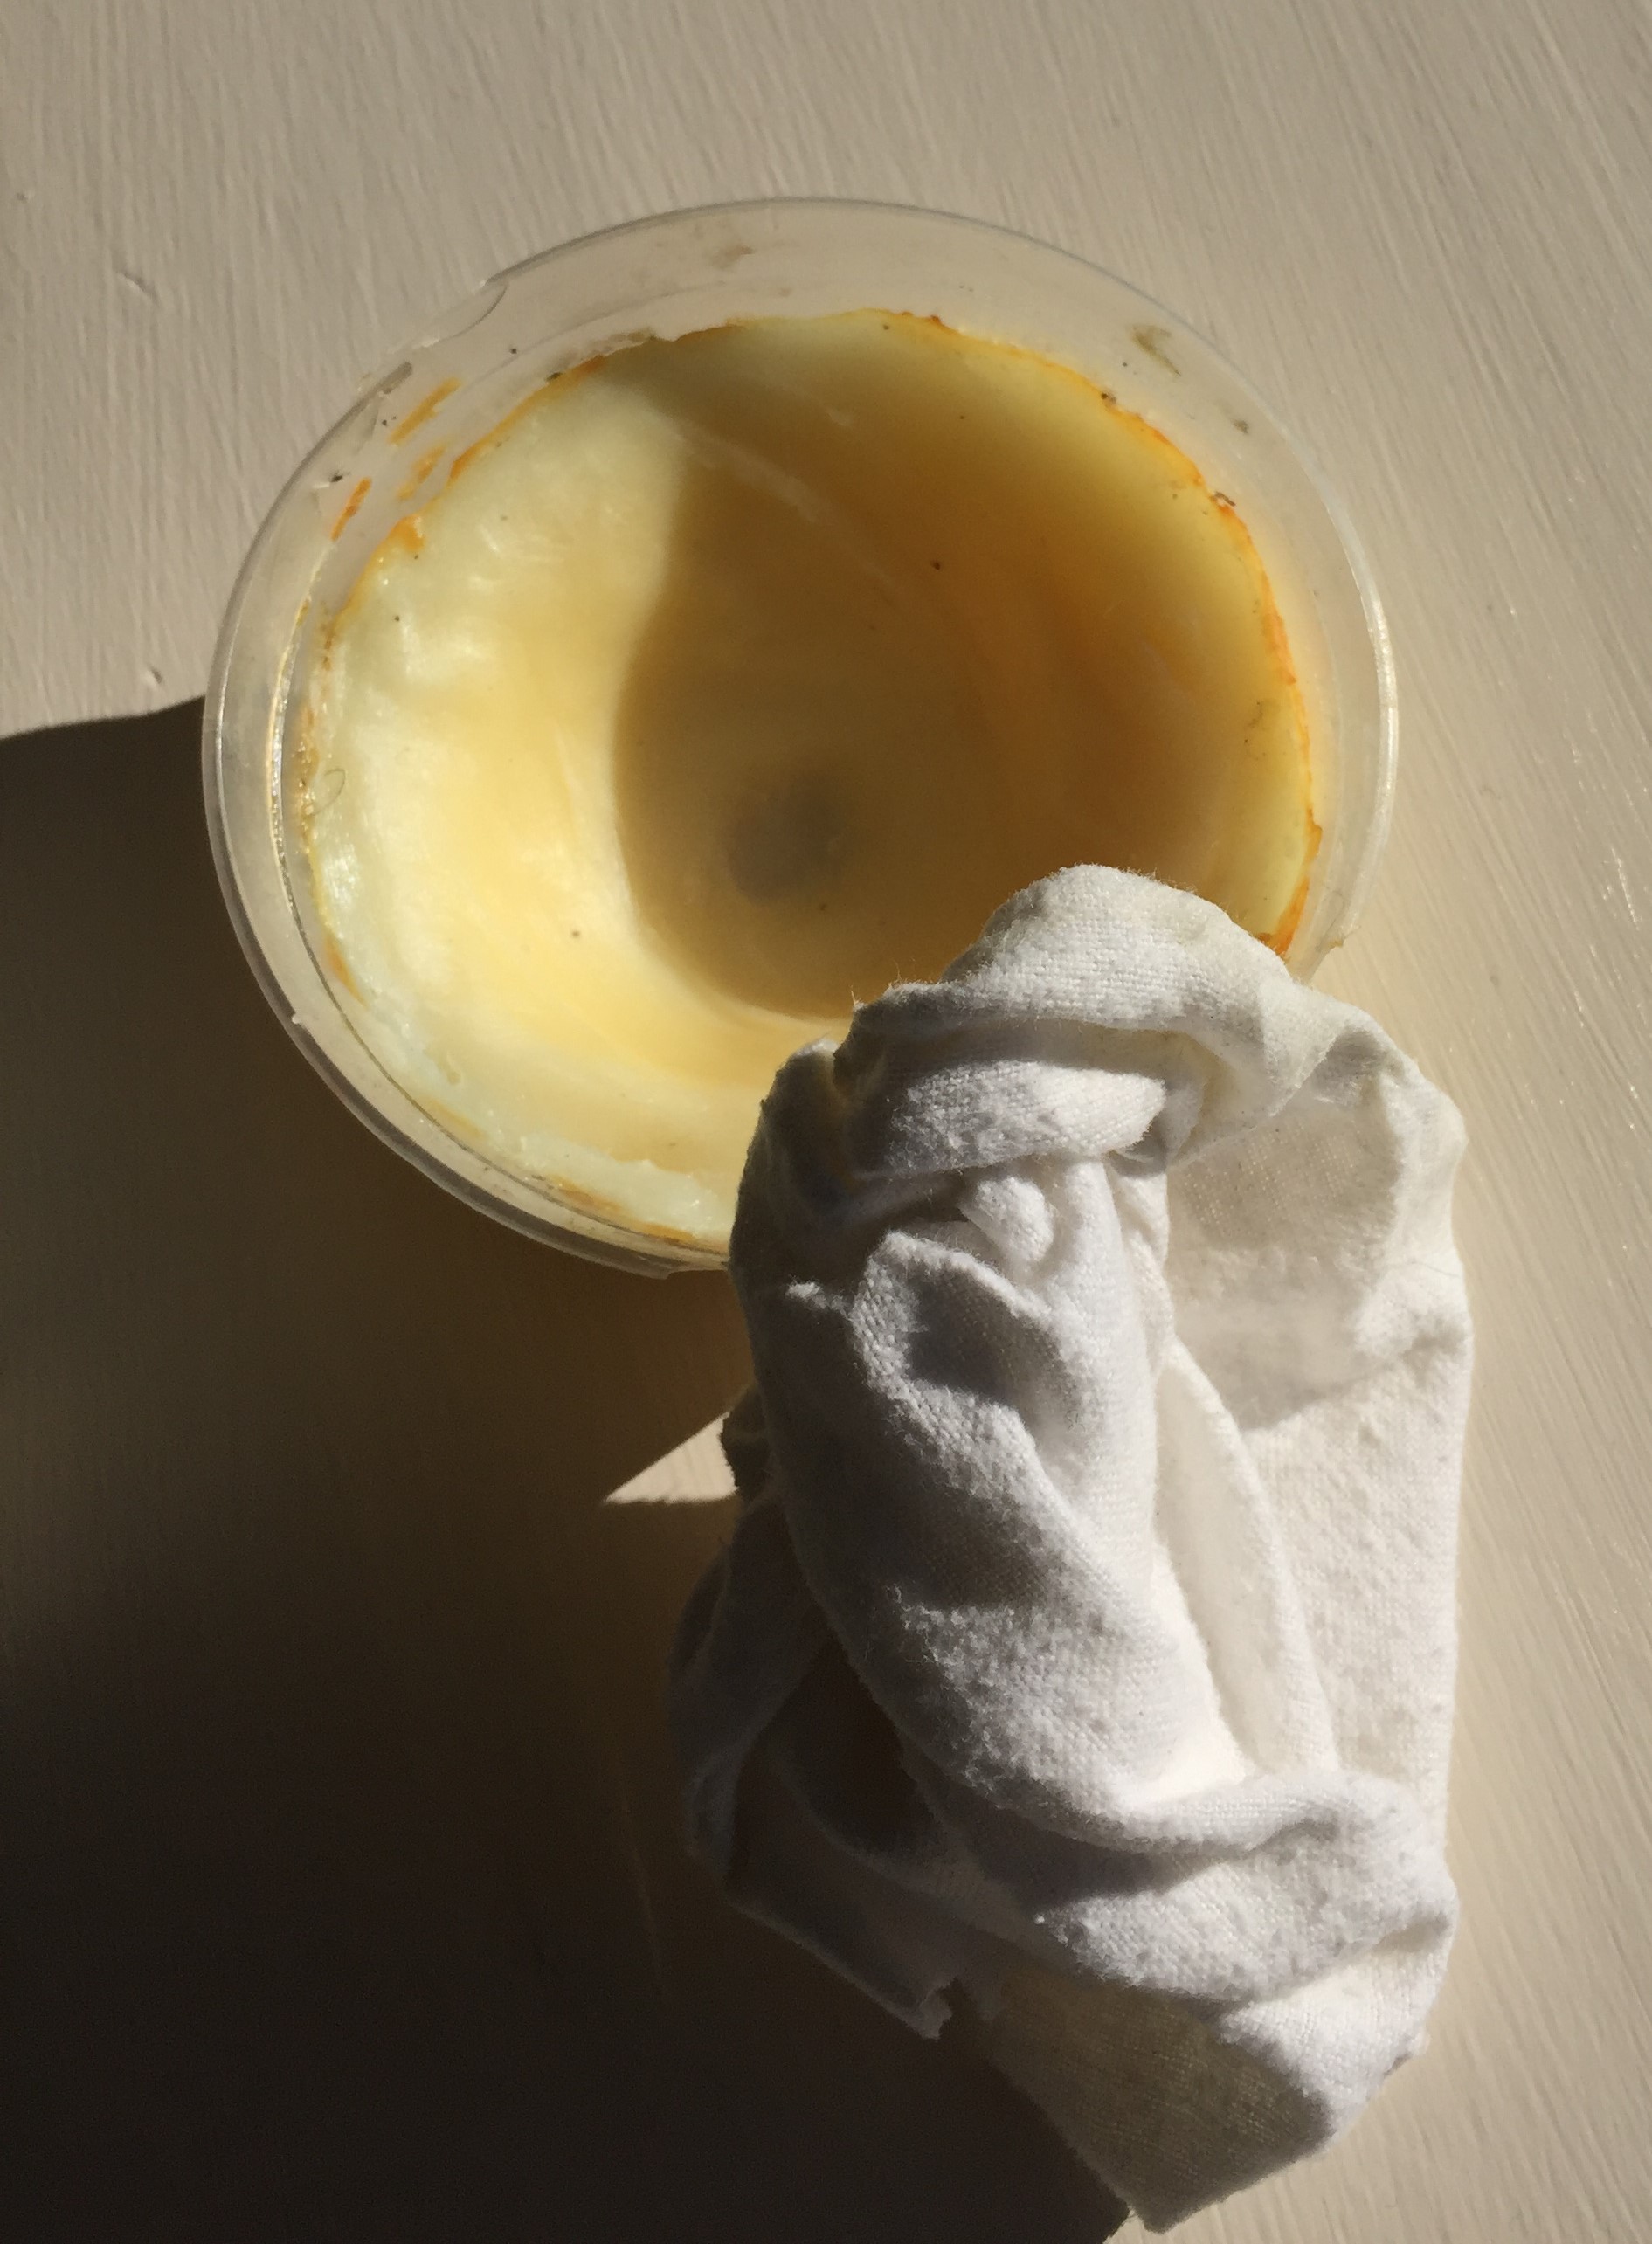
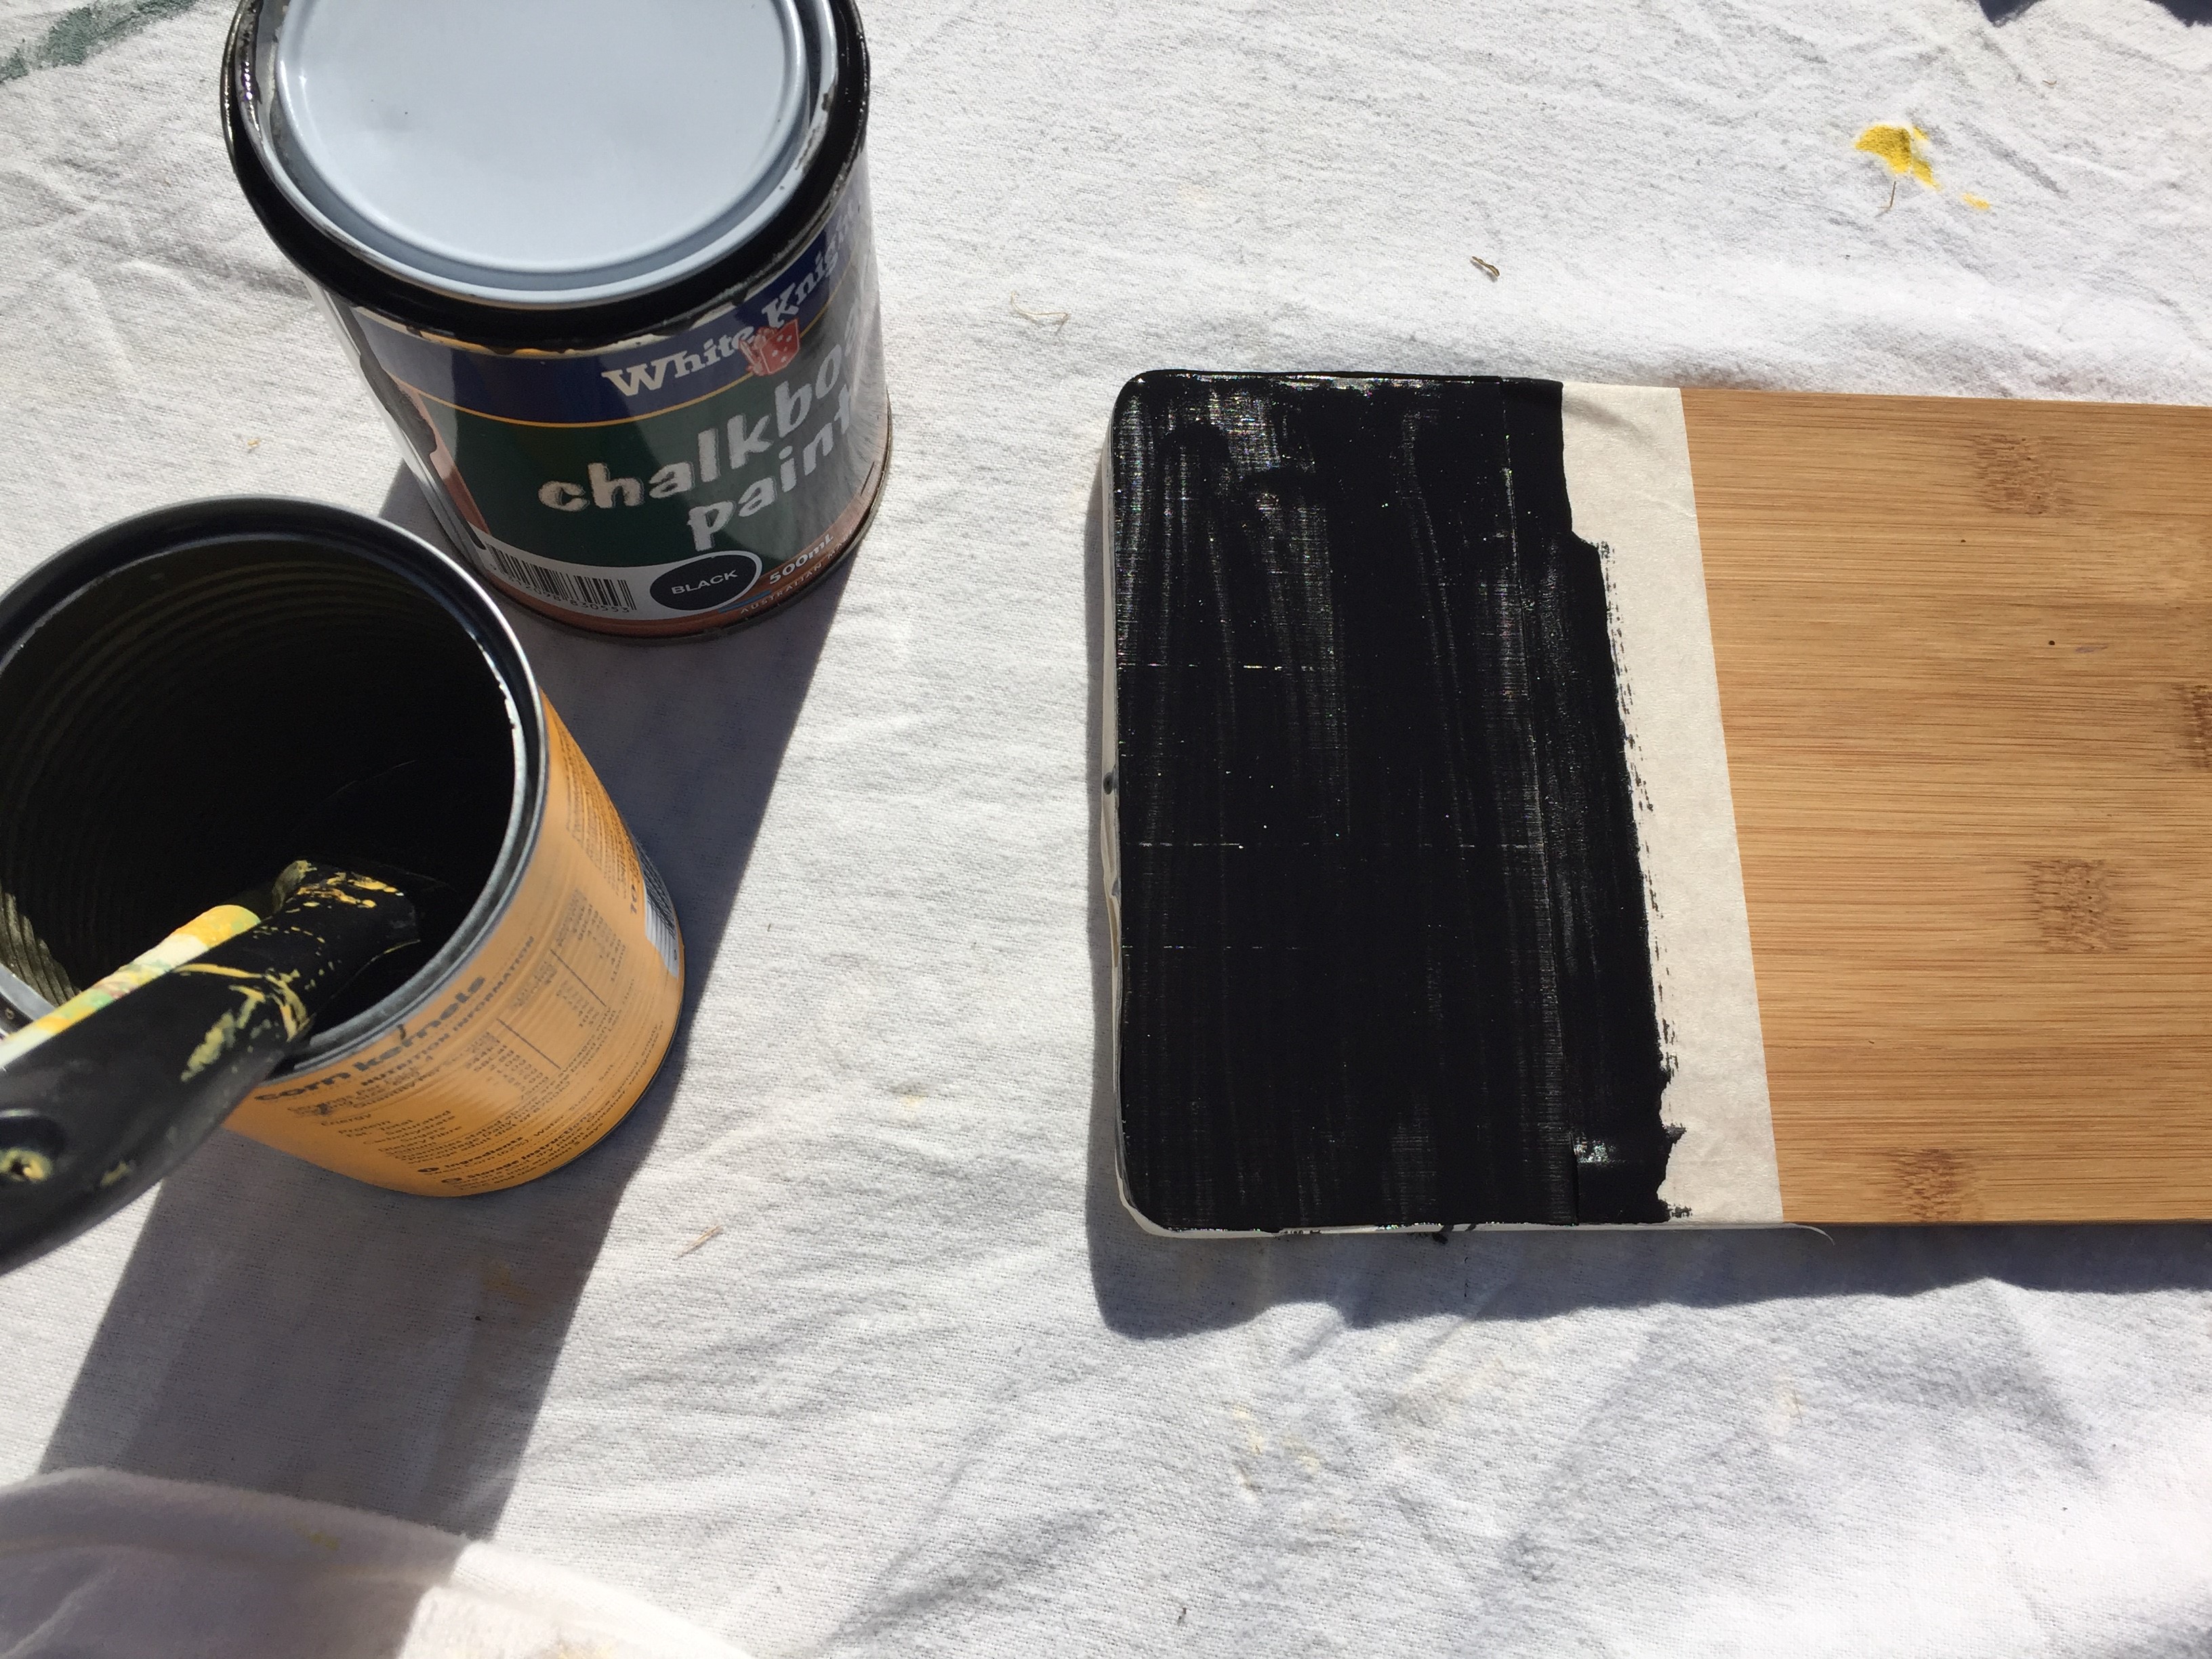
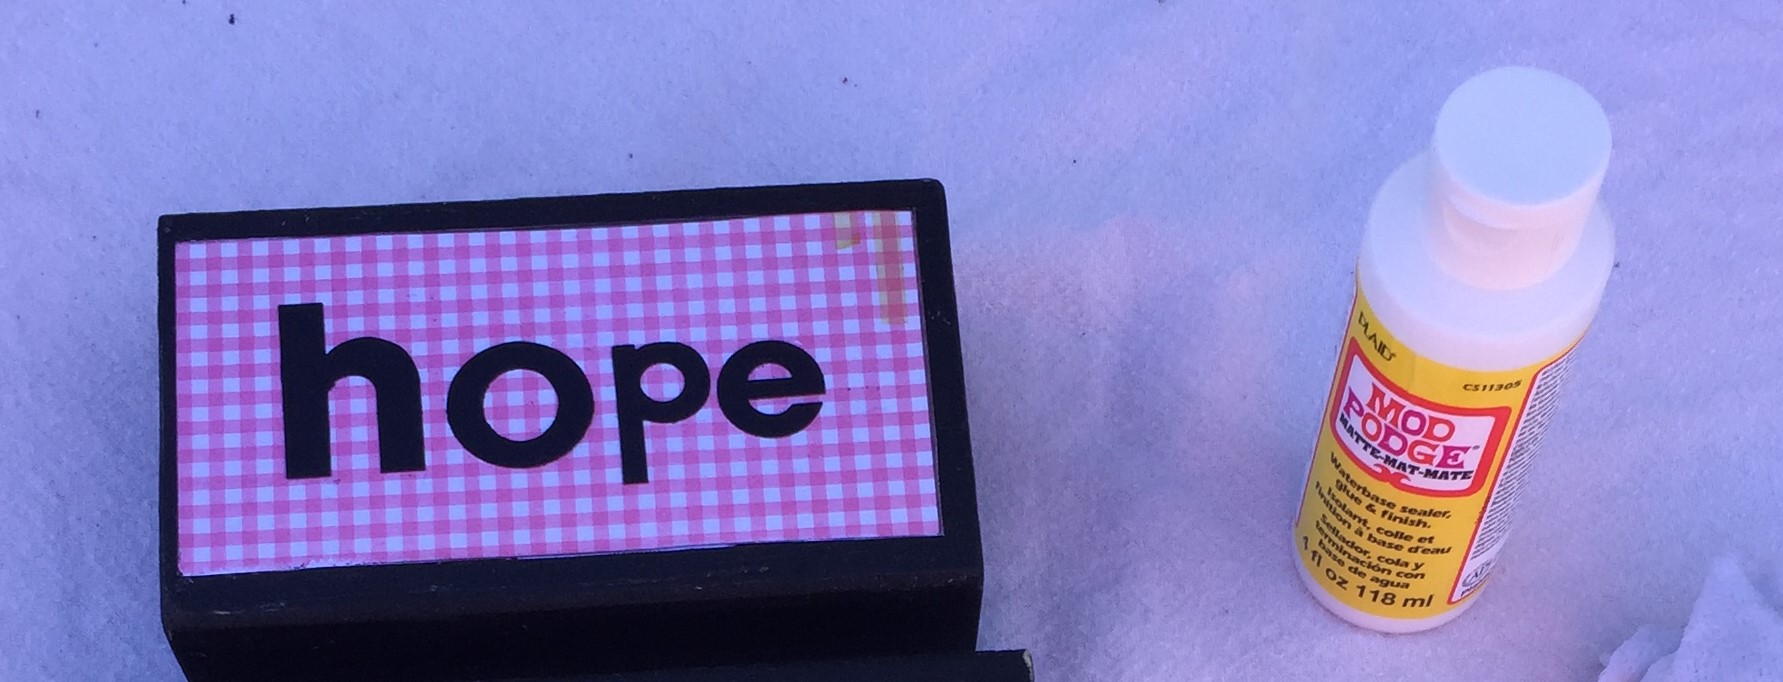
Once dried I brushed a layer of  mod podge onto the front of the blocks, one at a time. Then stuck on the scrap booking paper (I had cut to size) onto the block, press the paper down starting from the centre and moving out (I use an old credit card to do this) to the ends, getting rid of any air bubbles. Then I went back and checked for any additional air bubbles.

Next, apply another coat on top of the paper, at this point a lay the letters on top of the paper. You have to do this rather quickly before it dries. Especially if it is a  hot day like it was when I did these blocks. They dried so fast. Once this had dried I then coated the letters with the mod podge and let them dry.

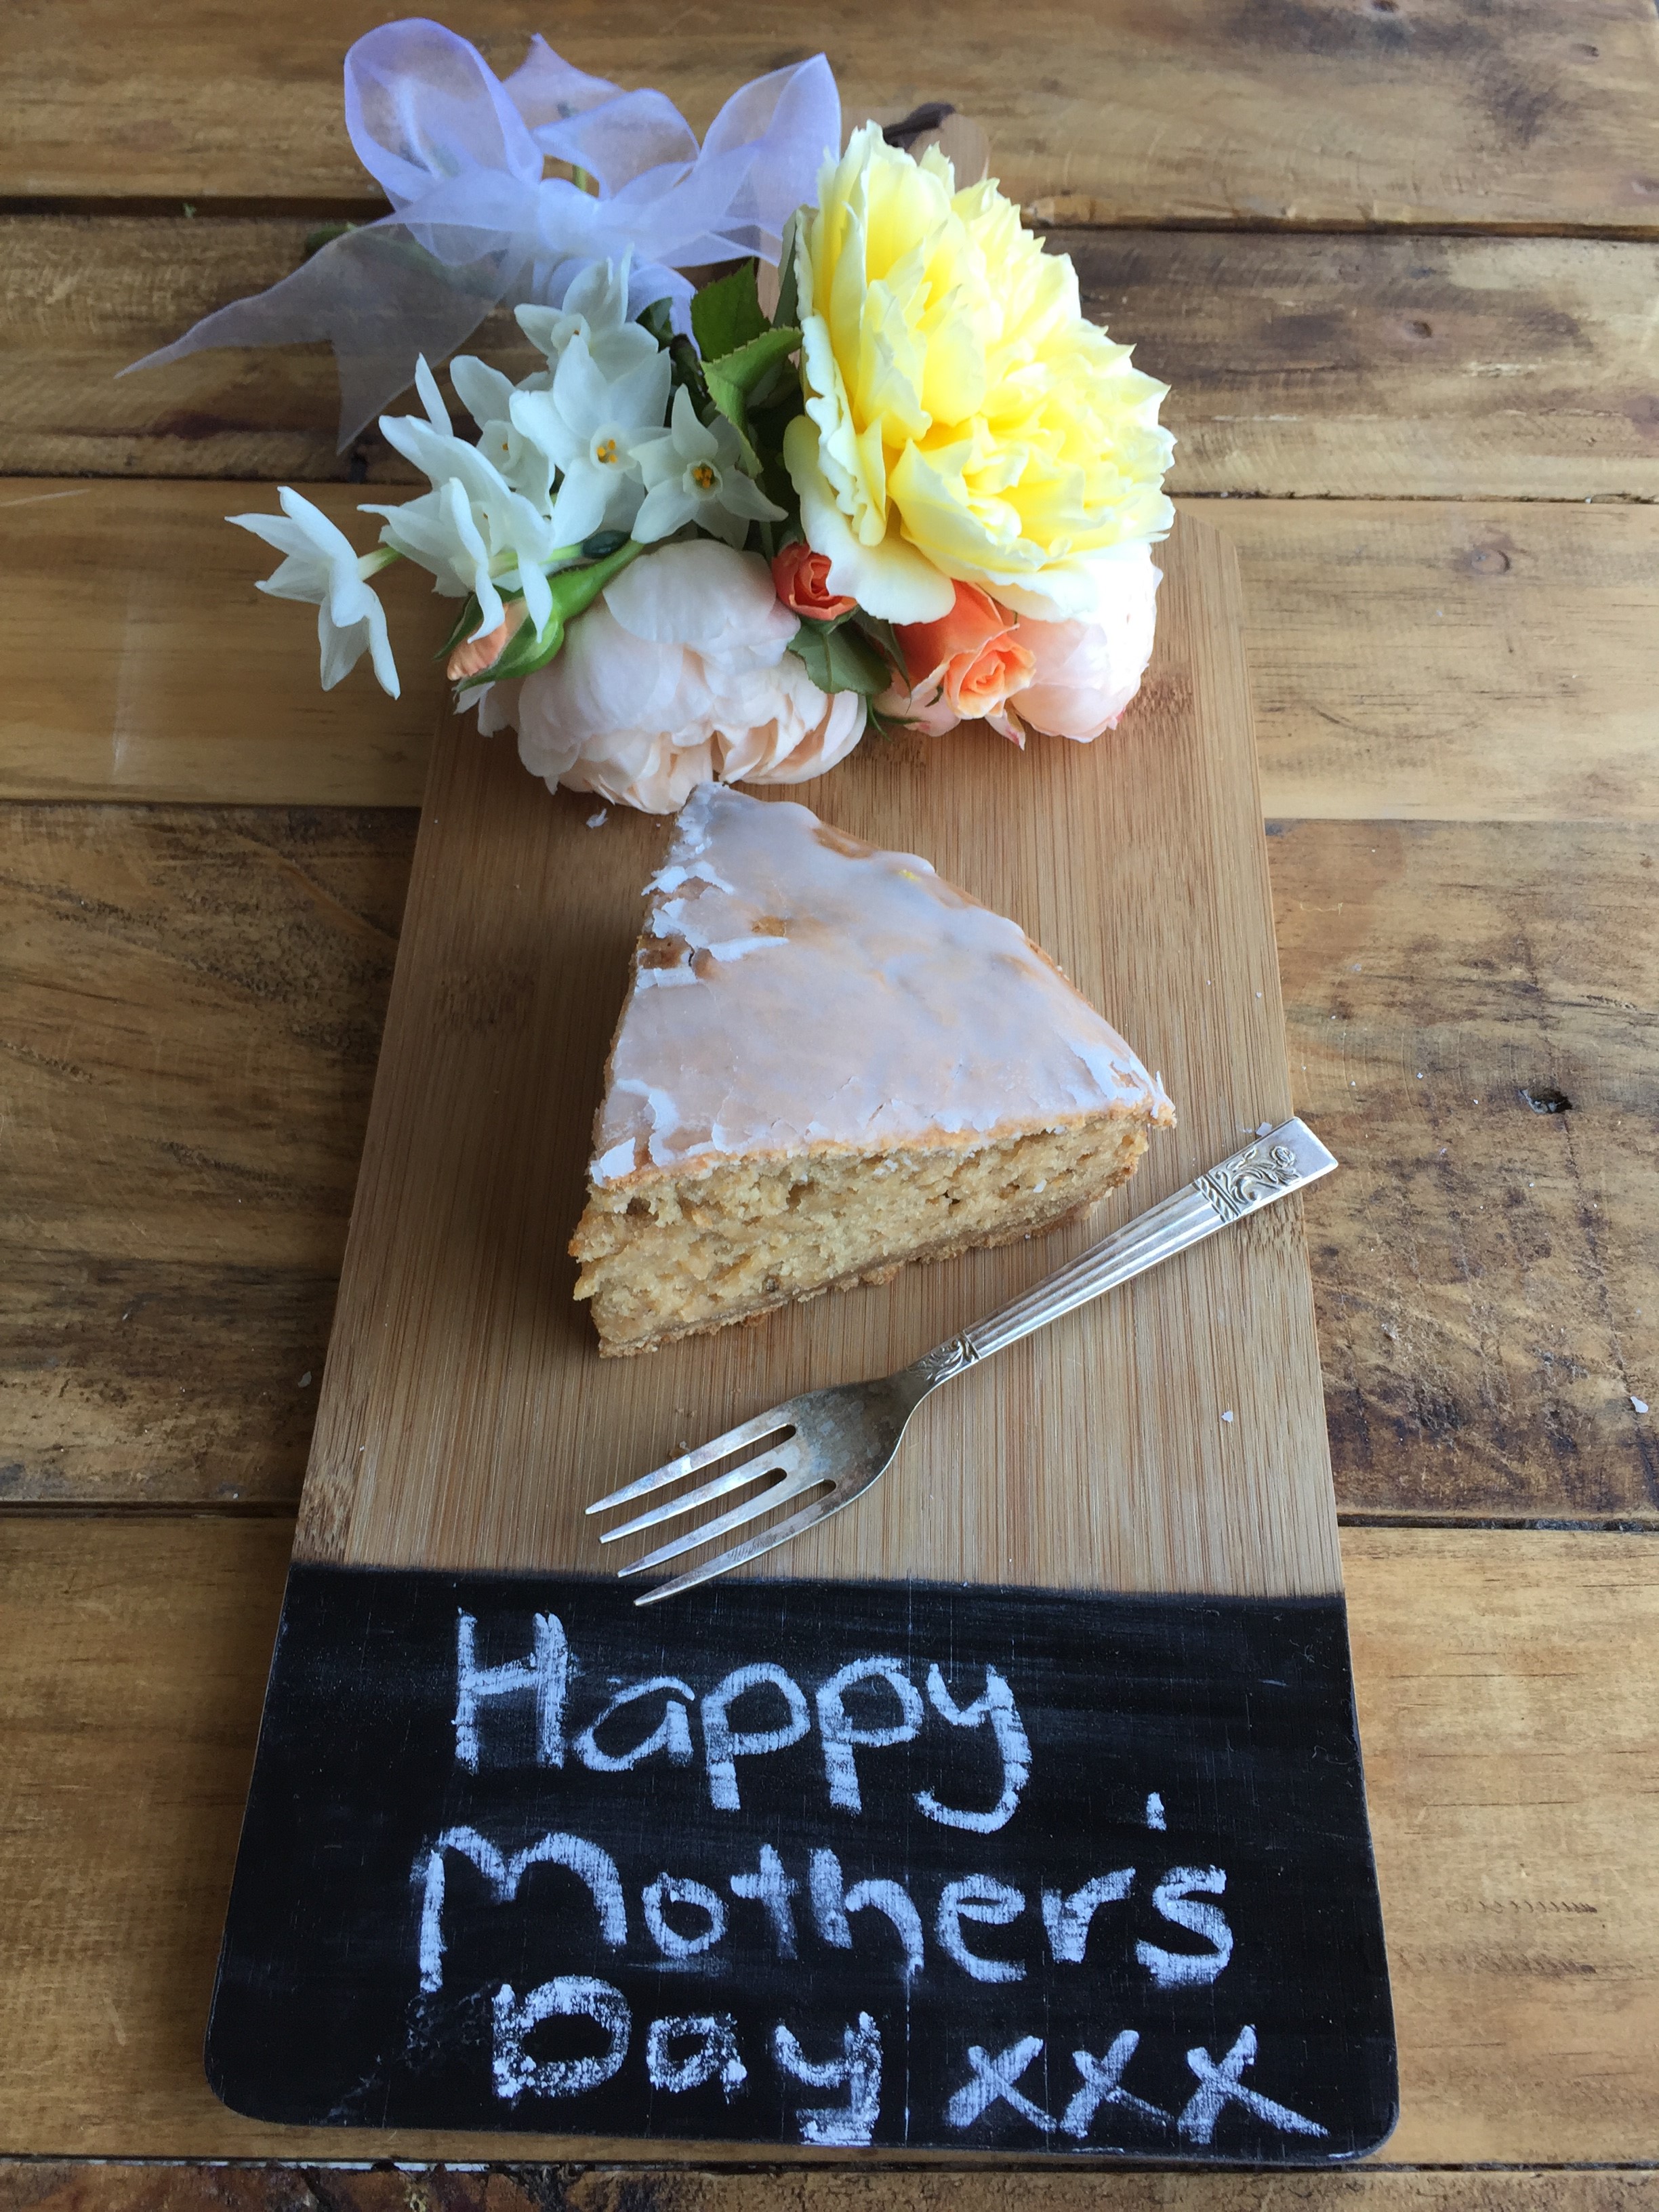
Finally, I tied a pink ribbon around the blocks. Beautiful!

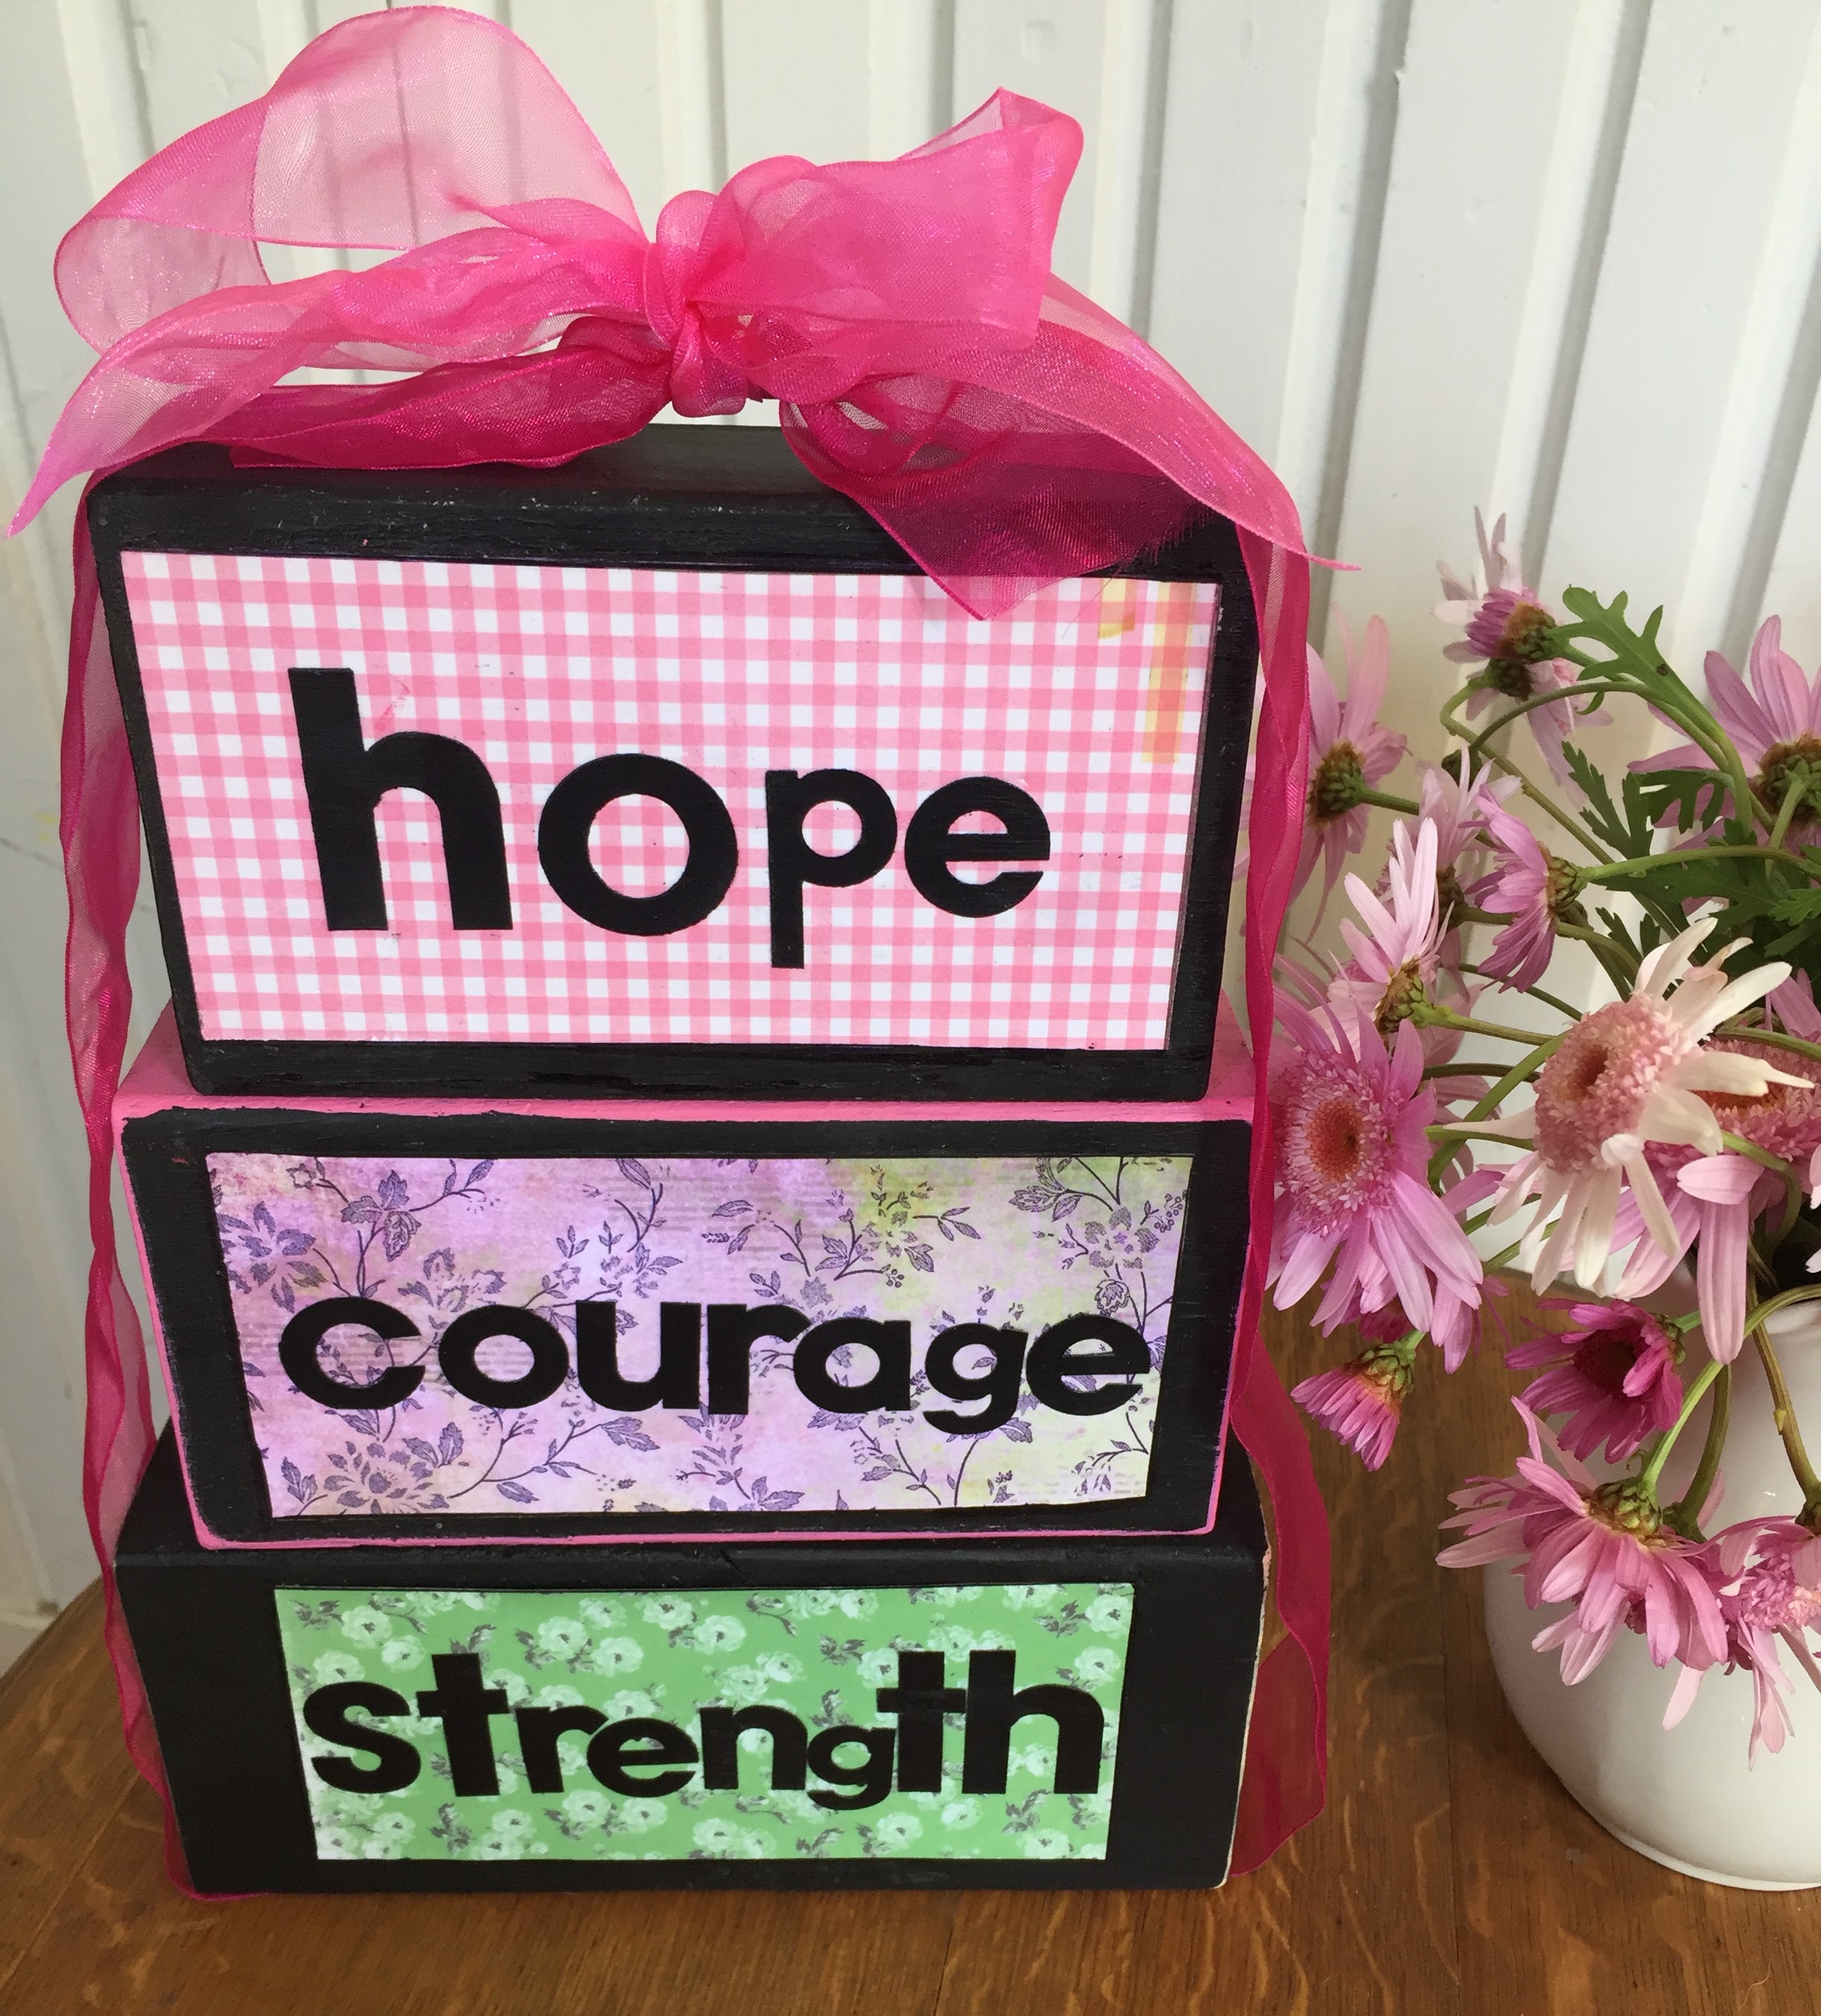
I did this because it would make a great gift to lift someone’s spirit who is fighting cancer! Sometimes it is hard to know what to say or do, but this is just a little something….

Thanks for reading my post! I hope you try making these inspirational wooden block signs!

  Andi


DIY chalk paint at home…New Zealand

I decided it was time to make my own DIY chalk paint at home. I love Annie Sloan Chalk paints, but the shop in the village which stock them sadly closed down, so it was time to attempt to make my own. For some reason I thought it was going to be hard, maybe because I read a lot of recipes for DIY chalk paint on pinterest and the comments as well. It didn’t sound so easy.

I choose to try making chalk paint with calcium carbonate, the hardest part was trying to get hold of it. In the end a friend had some extra and I brought it off her, but in the future I will have to buy it online.

Calcium Carbonate

Next I brought some small pots of paint at our local Mitre 10 (hardware store). I managed to get some clearance paint (mistint colours) at a great price.

To test out my paint I brought a great little table for $15 at a Op Shop. Perfect for this project.

I mixed a small amount of chalk paint up using just 1 cup of paint.

The consistency was great, so similar to Annie Sloan Paint and colour came out just the same as Old White. Calcium carbonate mixed in really well and I added water to get the right consistency.


It was necessary to paint the little table with two coats, sanding after the first coat to try and get rid of brush lines and an occasional drip which escaped my notice.


Homemade Bees Wax

Finally, I waxed the dried surface with bees wax. This I had brought locally – homemade bees wax. I must say I really liked using this, it went on well (rubbing it in with a clean rag). I didn’t really notice any difference from using Annie Sloan Clear Wax.

Really love how this turned out! I think time will tell how this paint stands up to wear and tear. But I will from now on be making my own DIY chalk paint at home…

It you would like the recipe for this chalk paint I made, email me at andi@riverroad.nz and I will be happy to share it with you.

Many thanks for reading my post! Happy chalk painting!

Andi


DIY painted chalkboard from old picture frames…

Another great project: DIY painted chalkboard from old picture frames are a wonderful gift or a great way to make a lovely chalkboard. It’s so easy to pick some old picture frames from Op shops these days, at really reasonable prices.  It it fun as well!

Supplies needed:

Picture frames

Backing board

Chalkboard paint

Paint for frames

Paintbrushes

Turpentine

Rags, cover for table, tin or jar for cleaning brush, something to open can with eg. screwdriver

Tape, scissors

I painted the chalkboard paint on first, this goes on really easy, but make sure you let the paint dry between coats. I put on two coats, but it is really up to you how many coats you think it needs. Read the instructions on the can or spray before starting.

After, the paint had dried I painted the frames with Annie Sloan Chalk Paint, Old White and Duck Egg. I did put tape on the chalkboard paint to make sure I didn’t get any paint on it by mistake.

Finished Chalkboard

I hope this inspires you to try making a Chalkboard!

I hope you try this… so easy to make and don’t they look great!

Thanks for reading my post!

Andi

DIY chalkboard gifts – Mother’s Day…

Some really easy DIY chalkboard gifts for Mother’s Day can be so much fun to do. Here are some of the ideas I had and best of all they are really inexpensive.

First item is a chopping board ,  this can be purchased at any housewares shop. My one came from Kmart for about $6.

Supplies needed

chopping board
chalkboard paint
paintbrush
turpentine to clean brush
tape and scissors
rags/newspaper or cover to protect table

Instructions

First tape off the area you want to paint, (this paint is really easy to wipe off if necessary when wet).

Next, paint! I had to do two coats, letting it dry after the first coat. Remove the tape and leave for 24 hours before writing with chalk on it.

I love how this turned out! And the board can be used over and over.

In my next post I will show you another DIY chalkboard painted gift for Mother’s Day.

Also, some recipes to come, super easy:  Feijoa cake and Rosemary bread.

Thanks for reading my post!

Andi

A quick update to home with cushions…

Feeling bored with your cushions? That’s where I was at this week and I decided what was needed was a quick update to the home with cushions.

I don’t know about you, but I like to change my cushions probably once a year. I just look at them and know I have enough of the colours and need a change. Now my mum and sister have probably keep the same cushions for years, so it is a personal preference.

Colour trends for 2017

Now I don’t know if you have noticed, but one of the colour trends for 2017 in interior decor is greenery. Reconnecting with nature!

With that in mind I was so excited to buy some material at a local shop that makes custom curtains etc. There they had some sample fabrics they were selling for $2 each. What a bargain and my interpretation of greenery!

Fabric samples

Getting started

I removed the inner cushions and the zips off all the cushions I had been using and started sewing. Cushions are very easy to sew and it just took my an afternoon for the update. Some of them I put zips in, but others I just inserted the inner cushion and sewed the seam closed with a top stitch.  On one I frayed the edge of a strip of the material and sewed it down the middle before inserting the inner cushion.

Frayed material sewn on cushion

Used previous zip on new cushion cover

Updated cushions

Rodeo enjoying the new cushions

The cushion with the dog I didn’t make – but had to include it as it is so cute!

Well that’s my cushions for another year … so very happy with the end result. It can be kept quick and easy when it comes to cushions. And there is no need when wanting to keep abreast of colour trends to pay for expensive cushions.

Thanks for reading my post! I hope this inspires you to make your own cushions!

Andi


How to make a bay leaf wreath … last minute

img_4115-2

Bay leaf wreaths tend to quickly dry out in the summer heat, so I left it till the last minute to make one.

I picked some branches off our bay tree in the garden and used what supplies I had at home to keep things simple. At this point I am trying to avoid going to the shops and enjoying just being at home with the family.

Supplies needed:

twine (you can also use florist wire)

wire coat hanger

scissors

bay leaves (or any greenery you have should work well)

Instructions:

img_4077-2

First take your coat hanger and make into a circle.

img_4081-2

Next cut your bay leaf branches to the right length and place around the coat hanger.

img_4084-2

Tie the branches onto the wire.

img_4085-2

Continue add leaves until the wire is covered and you have the amount of leaves on the wreath you desire.

img_4089-2

img_4087-2

img_4098-3

Finally, wrap the twine around the coat hanger wire hook at the top.

img_4094-2

img_4115-3

This was really quick to make and I am hoping it will last really well throughout the  Christmas holidays. It will also be great to have so many dried bay leaves for cooking now! This wreath would be easy to make with other greenery from the garden or neighbourhood, whatever you can find!

Thanks for reading my post.

Andi


Easy to make rustic christmas log project…New Zealand

No mantel and fireplace – make a rustic wooden log box…

We don’t have a mantel and fireplace so I decide to make a really quick rustic wooden log project to give that winter log, pine smell, Christmas feel to our living room…


Supplies needed:

Wooden crate

Logs

Juniper or some pine looking cuttings

Pine cones

Christmas white lights

Rustic wooden log project:

This project didn’t take long, but it really fun to do.

I had found a discarded wooden crate the other week and was saving it for a project. First I lightly painted it using Annie Sloan Chalk Paint Old Ochre. It probably didn’t need painting, but it had some writing on it from the liquor store I found it outside of, so to get rid of this I painted. I love painting as well, so any excuse. You could use any paint you have handy! The paint dried within an hour because I only did a very light coat and it was a hot day today.

unpainted wooden crate

unpainted wooden crate

Annie Sloan Chalk Paint Old Ochre

Annie Sloan Chalk Paint Old Ochre

img_3622-2

img_3625-2

Next I put the logs, which had been recently cut from a tree in our yard, into the crate.

img_3627-2

When I was out walking the dog this morning I came across some juniper in the neighbourhood. Fortunately, no one was looking as I trim off some of the tree! It was a large tree so I am sure no one would have minded. I arranged the juniper with pretty light blue berries around the outside of the logs on the crate.

img_3646-2

Then the lights, placing them down into the box and around the logs.

img_3635-2

Finally, I place the pine cones I collect earlier this week for my branch Christmas tree post, putting them onto of the juniper and lights.

Rustic Christmas log project

Rustic Christmas log project

It looks so cute can’t wait until it gets dark tonight to really see how wonderful it looks!

Thanks for reading my post! Hope you give my rustic wooden log box a try!

Andi


Simple branch Christmas tree…New Zealand

A simple  branch Christmas tree is so quick to make, looks fantastic and can be a great alternative to a traditional tree…

If you are like me and looking for something different this year, don’t have the time or even the space for a traditional tree try this:

I was on my way home this afternoon and stopped to have a look at a local reserve where I knew there would be pine cones. I was excited to find some great branches on the ground that could be made into a branch Christmas tree. It had some lovely moss on it which was even better for this purpose.

There were some natural things for decorations as well and when I got back home I picked some little crab apples from the garden to add some red colour to them.

Supplies needed:

Branches

Pine cones

Decorations

Scissors

Galvanized bucket (I brought mine at Kmart)

Floral foam (optional)

Twine

Instructions:

Start by placing your branches in floral foam (if you have some, I already had some left over from a florist bouquet in a little burlap bag, so I used this for convenience).

img_3470-2

Galvanized bucket

Galvanized bucket

Then carefully place into the galvanized bucket. Or a large jar would work, as long as it doesn’t topple over everything is on the branches.

Put the pine cones on top.

img_3474-2

Next using twine tie up the berries, nuts, natural decorations onto the branches.

img_3472-2

Finally, add any other decorations, I used my burlap hearts and stars, which I made in a previous post, see instructions here.

And some cute little decorations I brought from trade aid, it is always nice to buy things from companies that support third world countries.

trade aid Christmas ornament

trade aid Christmas ornaments

img_3544-2

img_3574-2

Thanks for reading my post! I have also made a pallet Christmas tree, see here. Have you made an alternative Christmas tree this year?

Andi


LITTLE WOODEN BENCH MAKEOVER…

This little wooden bench makeover was really simple to do. I love this little rustic bench! It had previously been outside in my mum’s garden, so had seen some wear and tear over the years.

img_2350-2

I wanted to bring it inside to use, but needed to give it a little makeover to clean it up. It had rust marks on it and the paint was definitely chipping.

img_2351-3

Because, I love the patina on the bench I wanted to keep the look.

First I gave it a good clean down with the hose, especially to get rid of the spiders.

A spider

A large spider

Chalk Paint

Next, I used Annie Sloan Chalk Paint, Old White, and gave it just one coat over the areas that had rust marks on. I left the bare wood and chippy bits.

img_2366-2

img_2367-2

It was a really sunny day so dried very quickly and was ready for use.

Little wooden bench

Little wooden bench painted

img_2391

Painted wooden bench

Painted wooden bench

Wooden bench and rabbit

Doesn’t it look so much better?

Thanks for ready my post!

Andi


Pin It on Pinterest