GIN & TONIC CUPCAKES RECIPE…

Gin & Tonic Cupcakes

I was asked to make some Gin & Tonic cupcakes for an event and came up with this recipe. They didn’t want cupcakes with icing on top which is what I would have wanted to do… yummy buttercream icing with gin and tonic. Instead they wanted a syrup which to my surprise actually came out rather nice.

It also helps if you get to have a drink of G & T whilst making the cupcakes!

Gin & Tonic Cupcakes recipe

Ingredients (makes 24 cupcakes)

125g unsalted butter, softened

1 cup caster sugar

3 eggs

1 1/2 cups plain flour

1 tsp baking powder

3/4 cup (185ml) milk

Juice and zest of 1 lime

2 TBsp Gin

Syrup

Juice and zest of 1 lime

Zest of 1 lime for decoration

4 TBsp Gin

3 TBsp Tonic

2 TBsp sugar

Preheat oven to 180 degree C/350 degree F

Method

Place cupcake papers in two 12 hole cupcake trays.

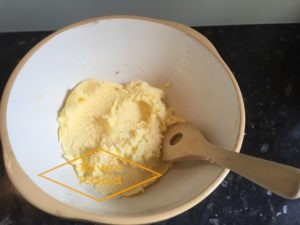
In a bowl beat together the butter and sugar until pale in colour and creamy.

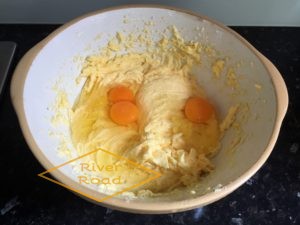
Beat in the eggs.

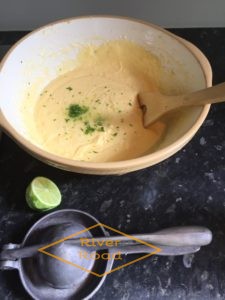
Add the gin, lime juice and zest, beat until combined.

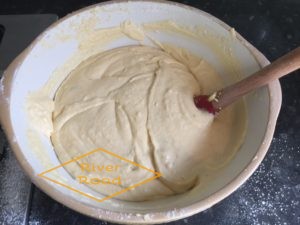
Sift the flour and baking powder and add half to butter mixture with half the milk. Mix until well combined. Repeat with remaining flour and milk.

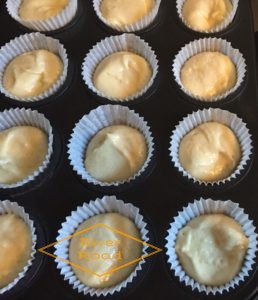
Fill cupcake papers 3/4 full.

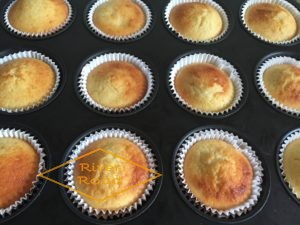
Bake muffin-sized cupcakes for 20-25 minutes and small cupcakes for about 15 minutes, or until a skewer inserted into the middle comes out clean.

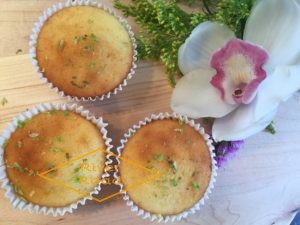
Baked cupcakes

Transfer to wire racks and allow to cool slightly.

Next, make the syrup, I did this in the microwave, but it can be done in a saucepan.

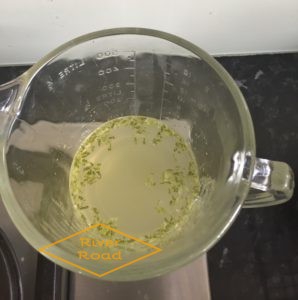
Mix together the lime juice and zest, gin and sugar. Microwave for 30 seconds on high. Stir well, making sure sugar is dissolved, then add the tonic water. Microwave again for 30 seconds on high. Stir well.

Syrup

Carefully pierce, with a toothpick a few holes in the cupcakes, then spoon the mixture over the cupcakes while they are still warm.

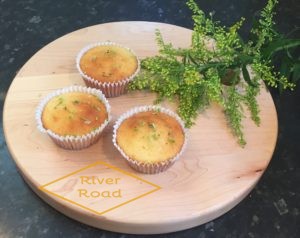
Finally sprinkle grated lime zest over the cupcakes. Enjoy!

Now I have to say if you want the gin flavour to be stronger add more gin! It is a personal preference here…

Thanks for reading my post! I do hope you get to make these delicious Gin & Tonic cupcakes!
Andi 

Lemon curd recipe- homemade gift jars…

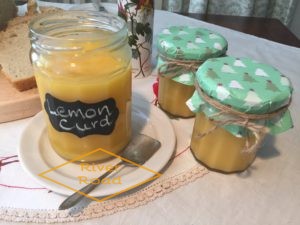
Homemade Lemon Curd – a great gift in a jar this Christmas and very easy to make!

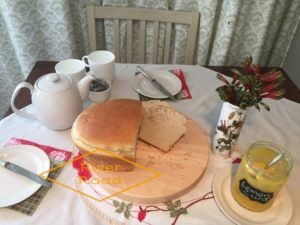
Lemon curd and Maori bread

I wasn’t planning on making homemade Lemon Curd today, but one of my sons came home from university for the holidays. He brought with him a suitcase of clothes and a half eaten jar of Lemon Curd and told us, “no one was allowed to eat it but him”. To save disputes breaking out I told everyone I would make some for all of them to share.

Then, I decided it would also be a great opportunity to make a couple of jars as gifts for work colleagues. Who doesn’t like receiving homemade Lemon Curd at Christmas?

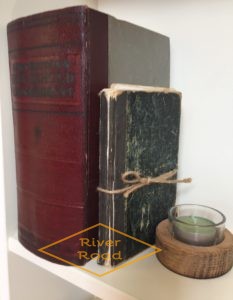
Looking for a good recipe I went to my mum’s old recipe book, Mrs.Beeton’s Household Management. I love old recipe books!
img_1669-2

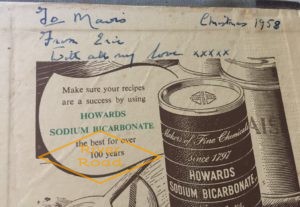
Check out this beautiful inscription my dad wrote in it for my mum for Christmas 1958.

Inscription from my dad to my mum Christmas 1958

Inscription from my dad to my mum Christmas 1958

I used the recipe in the book, but adapted to update measurements.

Ingredients

3-4 lemons depending on size (you need ½ cup lemon juice and 2 Tbsps. Lemon zest)

¼ lb butter (115 grams/4oz/ ½ cup/1 butter stick)

1 ½ cups sugar

4 eggs

1/8 tsp salt (I don’t put this in as I use salted butter)

Method

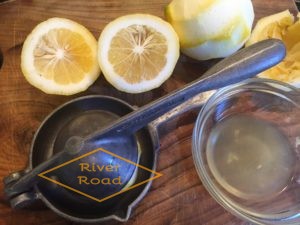
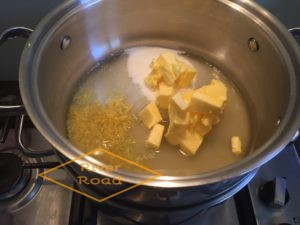
Put the sugar, butter, lemon zest and strained lemon juice into pot (I use a double boiler, which is a pot onto of a pot of water, but you don’t have to do this). Then stir until the sugar is dissolved.

img_3894-2

img_3921-2

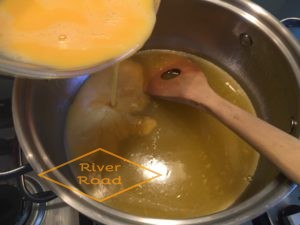
Next, beat the eggs, and add them to contents of the pot. Stir continuously and cook slowly until the mixture thickens, can take 10-13 minutes (If it is not thickening then turn the heat up a bit!).

img_3926-2

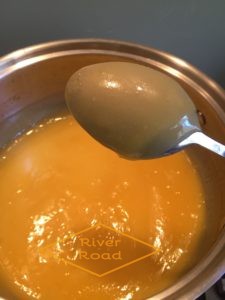
The mixture should be creamy and thick enough to coat the back of a spoon.

img_3931-2

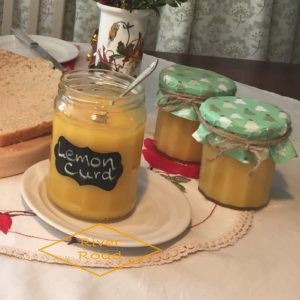
Finally, remove from the heat and let it cool, stirring occasionally before you pour it into your sterilised jars. Keep in the refrigerator until ready to use.

img_4001-2

Lemon Curd with Maori bread

Lemon Curd with Maori bread

Thanks for reading my post! I ended up making Maori (Rewena) bread as well, see my post on how to make it here.

Andi


Traditional Maori (Rewena) Bread from New Zealand

I love been able to share this recipe of our wonderful traditional Maori (Rewena) bread from New Zealand. It is a bread made with a potato starter or bug that ferments and causes the bread to rise. The starter is made from boiled potato, flour, sugar and water. There is no need for yeast to be added. It has its own really great favour.

There is no better time to make this bread than Christmas, when spending time with family and friends (whanau).

You have to allow 36-48 hours for the starter to ferment before you can make the bread. So you need to plan ahead!

Ingredients for starter:

1 medium potato

1 cup flour

1 tsp sugar

1 cup water

Instructions for starter:

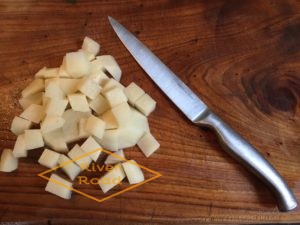
First, peel and chop the potato into small pieces.

img_3699-2

Boil the chopped potato in 1 cup of water in a pot with the lid on until mashing consistency.

Mash and leave to cool to lukewarm.

Mix in the flour and sugar into the potato mixture. Add more lukewarm water if needed. It needs to be pancake mixture consistency. (I always need to add more water).

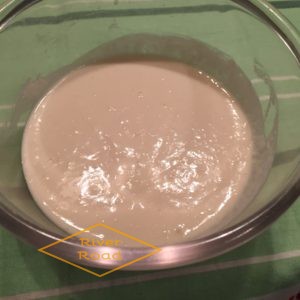
Pour it into a glass bowl or mason jar and cover.

Starter

Starter

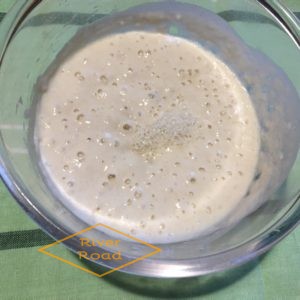
Leave in a warm place (not the refrigerator) to rise for about 24-48 hours. It should have bubbles and a yeast smell when ready.

Fermented for 36 hours

Fermented for 36 hours

If you wish to keep some for your next loaf, take out 1 Tbsp. of the mixture, put it back into your container and cover. Add ½ cup of warm potato water one day and the next 1 tsp sugar. You can also add 1- 2 Tbsp. of flour. Skip this step if you only want to make one loaf.

Ingredients for loaf:

Starter

5 cups flour

½ tsp salt

1 tsp baking soda

Instructions for loaf:

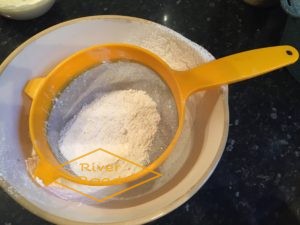
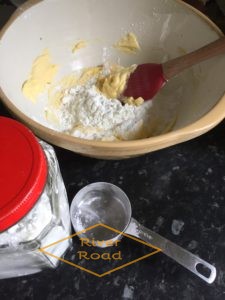
Sift together the flour, salt and baking soda.

img_3741-2

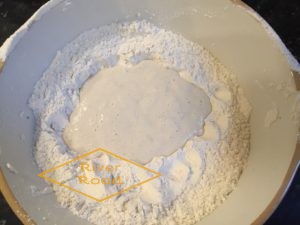
Make a well in the middle and add the starter, mix well.

img_3746-2

If needed add warm water  (I always need to)

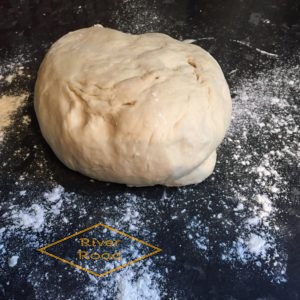
Knead for 10 minutes until firm (or for a short cut put it into the bread machine and let it knead for you)

img_3752-2

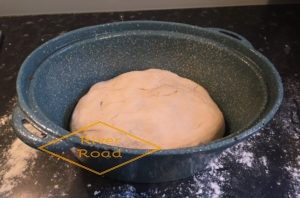
Knead into a ball and place in a greased dish or tin.

img_3757-2

Cover with a lid, tea towel or glad wrap.

img_3767-2

Next, set aside to rise in a warm place until it doubles in size. (I did this loaf  today and it was a colder day, so I put it in a slightly warmed oven to rise).

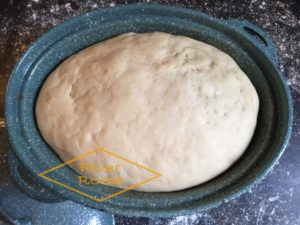
Dough doubled in size

Dough doubled in size

Bake for 1 hour in a preheated oven at about 180 degrees C/350 degrees F (Moderate oven).

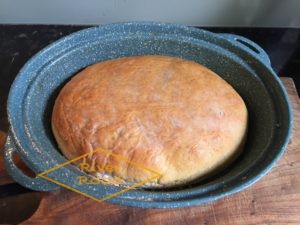
Cooked loaf

Cooked loaf

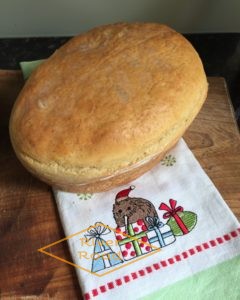
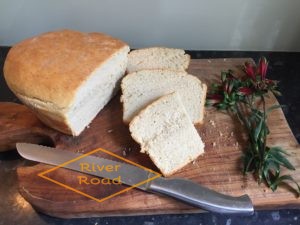
Rewena (Maori) Bread

Rewena (Maori) Bread

My family especially love this bread while it is still warm! It slices really well.

Delicious Maori bread

Delicious Maori bread

Thanks for reading my post! I really hope you get to make this Maori bread from New Zealand!

Andi


Pretty Christmas star cookie tree – New Zealand

I was very excited to find these pretty Christmas star cookie tree cutters to make my Christmas cookies look that much more fun.

Star cookie cutters and stand

Shortbread…

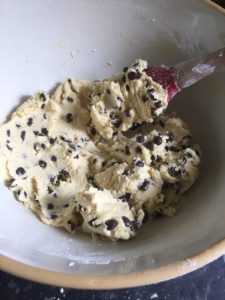
One of my favourite cookie recipe is from Chelsea Sugar Shortbread. This is a gorgeous recipe and to make it even more yummy I added 1 cup of dark chocolate chips at the end (before rolling the dough). Check out the recipe here.

Butter and icing sugar beaten together

Butter and icing sugar beaten together

1 cup of chocolate chips added

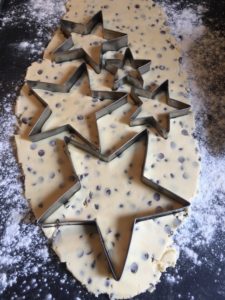
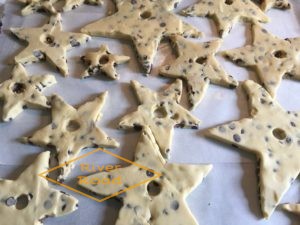
Once I rolled out the dough, I cut out the star shapes and a hole in the centre of each one.

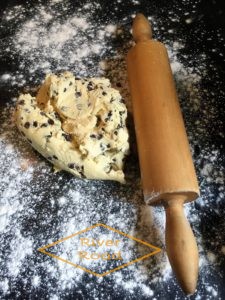
This dough was wonderful to roll out, no need to refrigerate first

This dough was wonderful to roll out, no need to refrigerate first

Star cutters

Star cutters

img_3459

Stars cut with holes in centres

When they cooled I decorated them by sprinkling icing sugar over them. It is important to let them completely cool before stacking. Although I love eating them while they are still a little bit warm.

Cooled shortbread sprinkled with icing sugar

Cooled shortbread sprinkled with icing sugar

Then I stacked them largest to smallest, it is up to you how many of each size you want.

Finally, I added a red ribbon to make it more festive and attractive.

This is really a great way to present your Christmas cookies as I did for morning tea today.

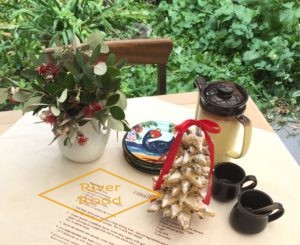
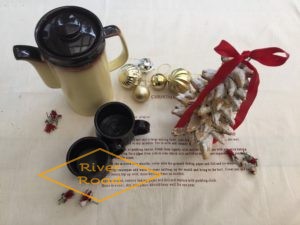
Christmas Cookie Tree

Christmas Cookie Tree

img_3116-2

Christmas morning tea

Thanks so much for reading my post! What is your favourite cookie recipe?

Andi

EASY TO MAKE FRUITY CAKE RECIPE from New Zealand

A very easy fruity desert cake recipe made in New Zealand…

The fruity cake recipe comes from New Zealand cook Dame Alison Holst. I love her recipes, they are a great favourite for us Kiwis, so easy to follow and wonderful results.

This cake is going to be served  a lot over the holidays, as fresh fruit has come into season at the berry farms near us in Havelock North.

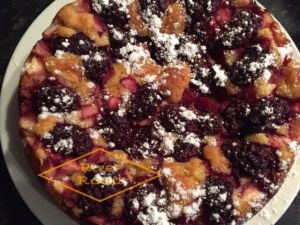
Fruity Dessert Cake

Fruity Dessert Cake

Serves 6-8 people (depending on your slice size!)

Ingredients

¼ chopped walnuts, toasted almonds or toasted hazelnuts (I don’t add nuts as you never know who has allergies these days)

1 TBsp white or brown sugar

150g (5 oz) butter

1 Cup sugar

2 large eggs

1 tsp vanilla essence

1 ½ cups self-raising flour

1 tsp baking powder

1-2 cups cubed or sliced ripe, raw fruit*

½ cup berries (optional)

*Suitable fruit includes peaches, nectarines, plums, apples, pears, kiwifruit, strawberries, raspberries, blueberries, blackberries, boysenberries. Drained canned fruit may also be used.

First, choose whatever nuts complement the fruit you are using. Toast them lightly under a grill or in the over as it heats to 180 degreesC(350 degreesF), then chop finely, mix with the 1TBsp sugar and put aside.

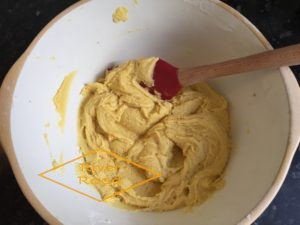
Melt the butter in a microwave bowl or pot until just liquid. Add the second measure of sugar, the eggs and vanilla and beat until blended. Sieve the flour and baking powder onto the mixture, then add half the nut and sugar mixture.

img_0119-2

Spread it evenly in a buttered or sprayed 23-25 cm (9-10 in) round (preferably loose-bottomed) cake tin.

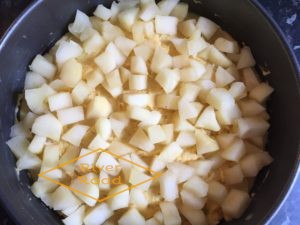
Next, prepare the fruit, slicing it or cutting it into 2 cm ( ¾ in) chunks. Arrange the pieces, skin-side up, (I took the skin off for mine) in the batter. Sprinkle with berries then with the remaining nut topping.

img_0122-2

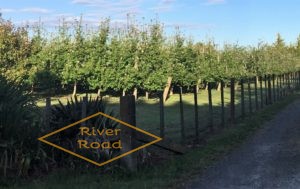
Visit to apple orchard

We have so many orchards here, shots from a recent visit to my brother’s orchard.

img_0907-2

img_1171-2


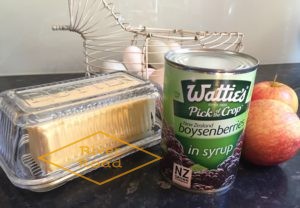
Wattie’s canned boysenberries

I have made this recipe with different fruit and berries, but today I didn’t want to make a trip to the supermarket, (are you ever like me can’t face yet another trip to the supermarket?)  so I used apples I already had and a can of Wattie’s boysenberries (these berries are often grown here in the area, canned by Wattie’s)

Wattie's can Boysenberries

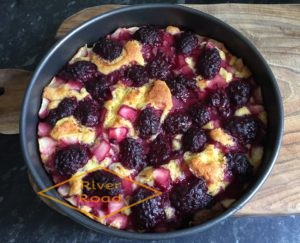
Apples and berries on the cake

Apples and berries on the cake

Bake at 180 degreeC (350 degree F) for about 45 minutes, until the cake mixture has risen round the fruit and browned lightly, and the centre springs back when pressed.

Baked fruity cake

Fruity Cake from New Zealand

Yummy!

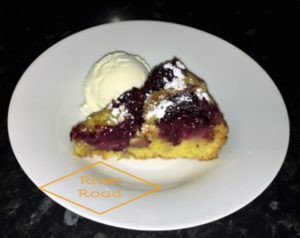
Finally serve it warm, cut into wedges, sprinkled with icing sugar, if you like, with a whipped cream, yogurt or ice cream. I actually do like it cold as well.

Fruity cake

 Thanks for reading my post! I hope you get a chance to try out this recipe – let me know if you do!

Andi


Rhubarb Custard Pie – Thanksgiving in New Zealand

We are going to be celebrating Thanksgiving in New Zealand with Rhubarb Custard Pie

We moved to Havelock North, New Zealand just over 4 years ago, but we still love celebrating Thanksgiving as a family here. In America we always travelling down to spend Thanksgiving with family in St Augustine, Florida. It was a great time of gathering together and of course an abundance of food. I  associate Thanksgiving with pies, pecan, pumpkin, sweet potato, never rhubarb custard pie. What’s pies do you always have for Thanksgiving?

When I got to thinking about our Thanksgiving here in Havelock North in a few weeks, I started looking at my pie recipes and came across my Grandma’s Rhubarb Custard Pie.

My Grandma's old recipe book

My Grandma’s old recipe book

I have some rhubarb growing in the garden so I thought I would try the recipe out.

img_1626-2

Rhubarb Custard Pie Recipe

Choose your favourite pastry for the crust. I use Chelsea Winter (New Zealand Chef) sweet shortcrust pastry recipe available here.

Grease an 8 in/20 cm pie dish and line with your pastry, flaky or short.

Filling:

2 level cups of finely sliced rhubarb (do not peel)

2 eggs

1 Tbsp. melted butter

2 level tsp. flour

1 scant cup of sugar

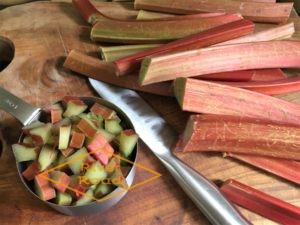
Chopped rhubarb

Chopped rhubarb

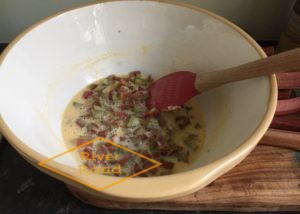
Beat the eggs, add melted butter. Mix flour and sugar well, add to the eggs, beat until light and fluffy. Then stir in the rhubarb.

img_1689-2

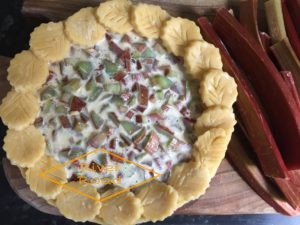
Pour the mixture into the pastry-lined dish.

img_1691

Bake in a hot oven 425degrees F, 220degrees C for 10 minutes. Then reduce the heat to 350degrees F, 180degrees C for 40 minutes or until firm to touch.

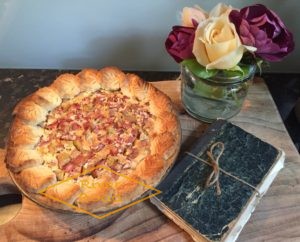
The recipe says to eat it hot with whipped cream, we loved this, but it was just as nice the next day cold. The rhubarb is quite tart in the pie, but it balances out well with the custard.

img_1726-2

Earthquakes in New Zealand

We had some severe earthquakes in New Zealand last night, only felt one but it was scary enough.

img_1741-2

Rodeo, our fox terrier is usually crazy in the morning, but after a night of earthquakes in New Zealand he is tired and anxious

Thanks for reading my post. Hope you get a chance to try my Grandma’s pie!

  Andi


3 simple tips to make perfect chocolate chip cookies

The ultimate chocolate chip cookies

The ultimate chocolate chip cookies

3 simple tips to make perfect chocolate chip cookies….

My son told me tonight he had three shared lunches at school next week.  I thought about all I could bake, but I decided to make a large batch of chocolate chip cookies. 

Cookies are very easy to bake and everyone has their favourite recipe. Our family’s favourite recipe comes from:  Betty Crocker – Ultimate Chocolate Chip Cookies 

Ingredients

¾ cup granulated sugar

¾ cup packed brown sugar

1 cup butter or margarine, softened

1 teaspoon vanilla

1 egg

2 ¼ cups all-purpose flour

1 teaspoon baking soda

½ teaspoon salt

1 cup coarsely chopped nuts (I never add nuts just due to so many people having allergies)

12 ounces/340 grams (2 cups) semisweet chocolate chips

Directions

  1. Start by pre-heating  the oven to 375 Degree F./190 Degree C.
  2. Mix sugars, butter, vanilla and egg in large bowl. Stir in flour, baking soda and salt (dough will be stiff). Stir in nuts and chocolate chips.
  3. Drop dough by rounded tablespoonfuls about 2 inches/ 5 cm apart onto ungreased cookie sheet.
  4. Bake 8 to 10 minutes or until light brown (centres will be soft). Cool slightly; remove from cookie sheet. Cool on wire rack.

My simple tips to make your perfect cookies are:

Refrigerate your cookie dough for a short time before scooping (if you have the time)

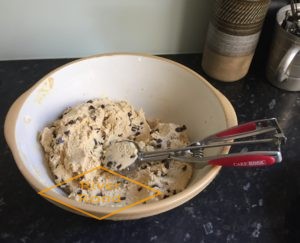
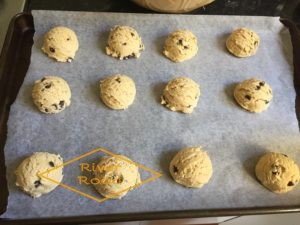
Use a cookie scoop to make the cookies perfectly round

Only bake for 8 to 10 minutes this keeps the cookies from going flat

img_0074-2

Using a cookie scoop makes perfectly round cookies

Beautifully scooped cookie dough

Beautifully scooped cookie dough

I use a potato masher to flatten my dough

I use a potato masher to flatten my dough, its a lot quicker

Perfectly round cookies

Finally perfectly round cookies

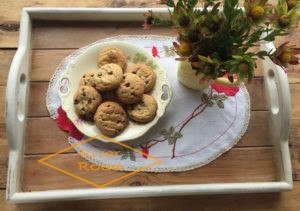
Cookies on a vintage embroidery tray cloth

The cookies on a vintage embroidery tray cloth

Vintage Embroidery Tray Cloth

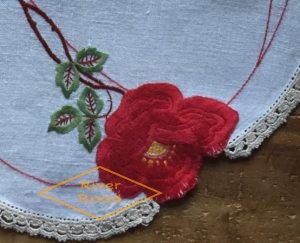
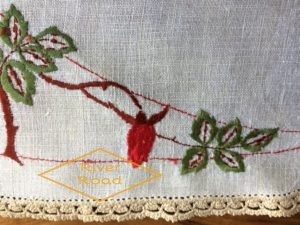
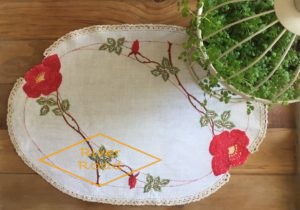
I love vintage things in my home. This beautiful vintage tray cloth was made by my grandmother’s friend in 1937.

Vintage Embroidery Tray Cloth

Vintage Embroidery Tray Cloth

img_1185-3

img_1187-2

Vintage cloth made in 1937

Vintage cloth made in 1937

Thanks for reading my post!

  Andi


Pin It on Pinterest