Simple, but cute burlap Christmas ornaments to make these holidays…
These simple, but cute burlap Christmas ornaments don’t take long to make at all. I saw them in a store for $9.00 and thought “hey I can make that for a lot less”, so here is my take on them, for a lot less!!
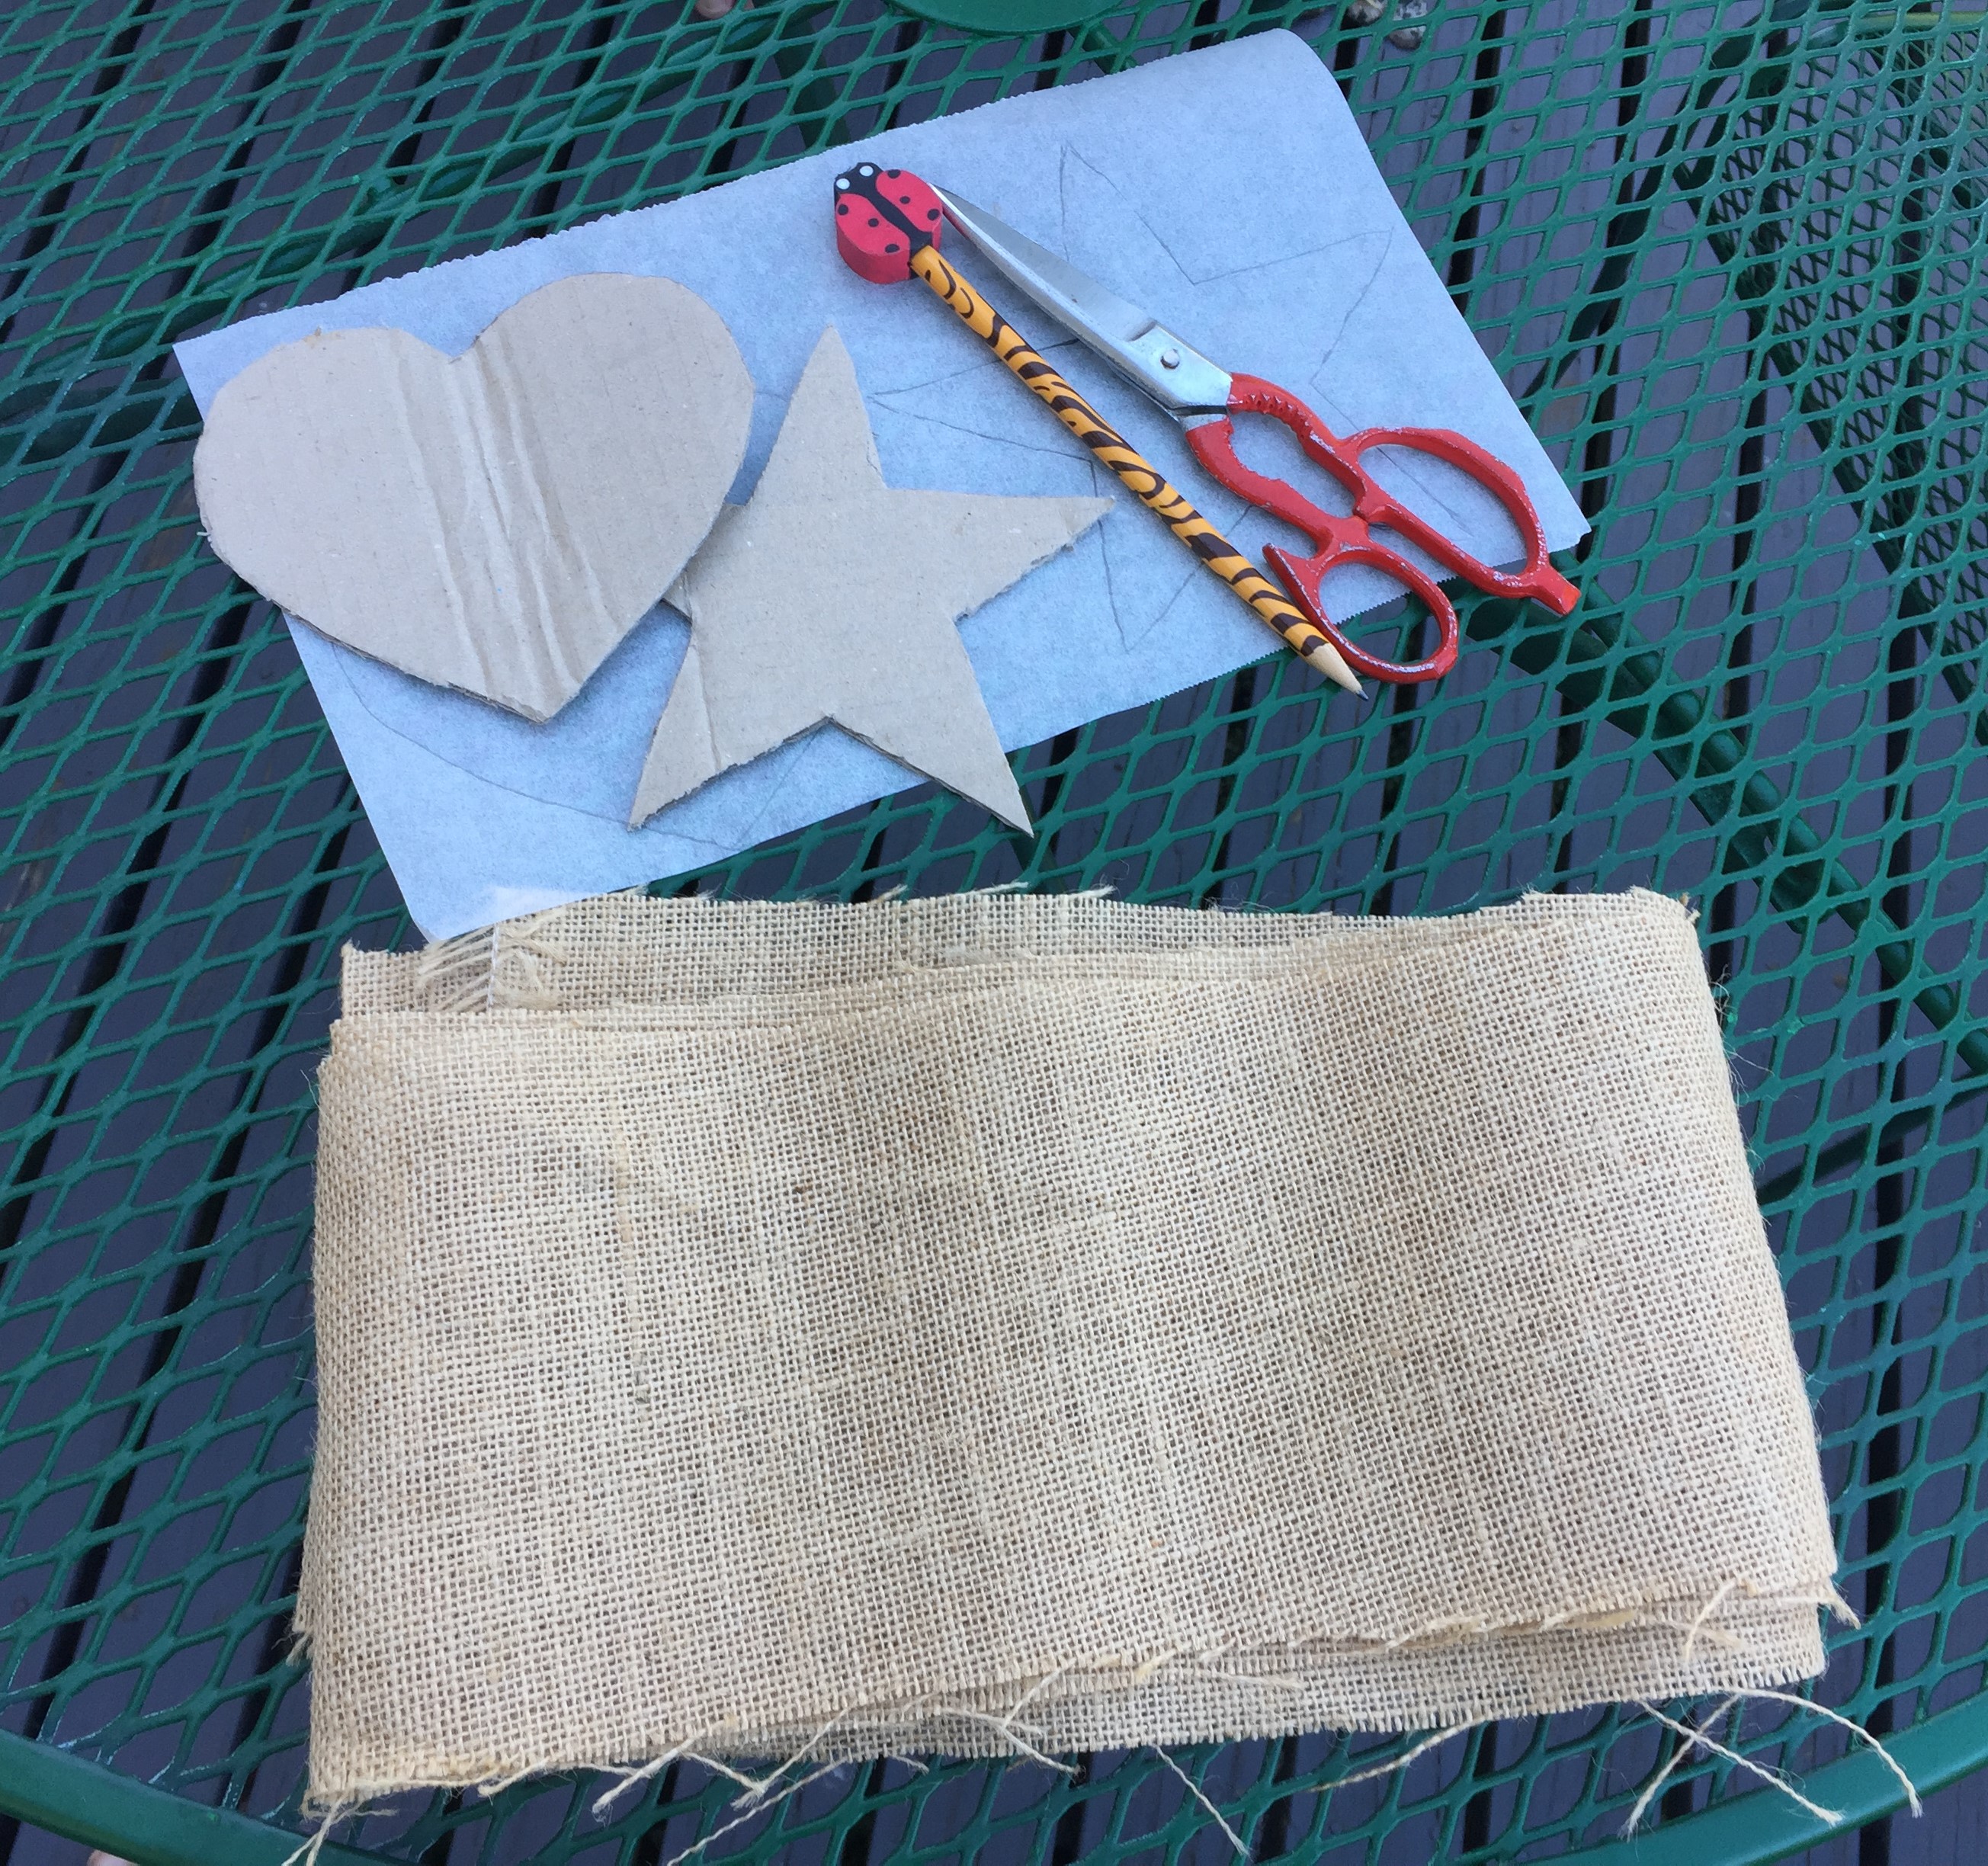
Supplies needed:
Burlap fabric
Stuffing
Tracing paper or baking paper
Cardboard
Twine
Paint
Brush
Scissors
Needle and thread
Instructions:
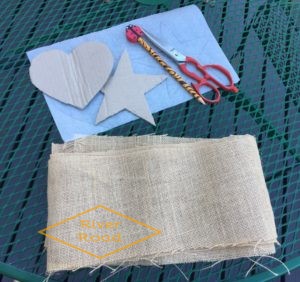
First make a star and heart pattern. To do this trace using tracing paper or as I did use baking a star and heart. If you have a stencil use this.

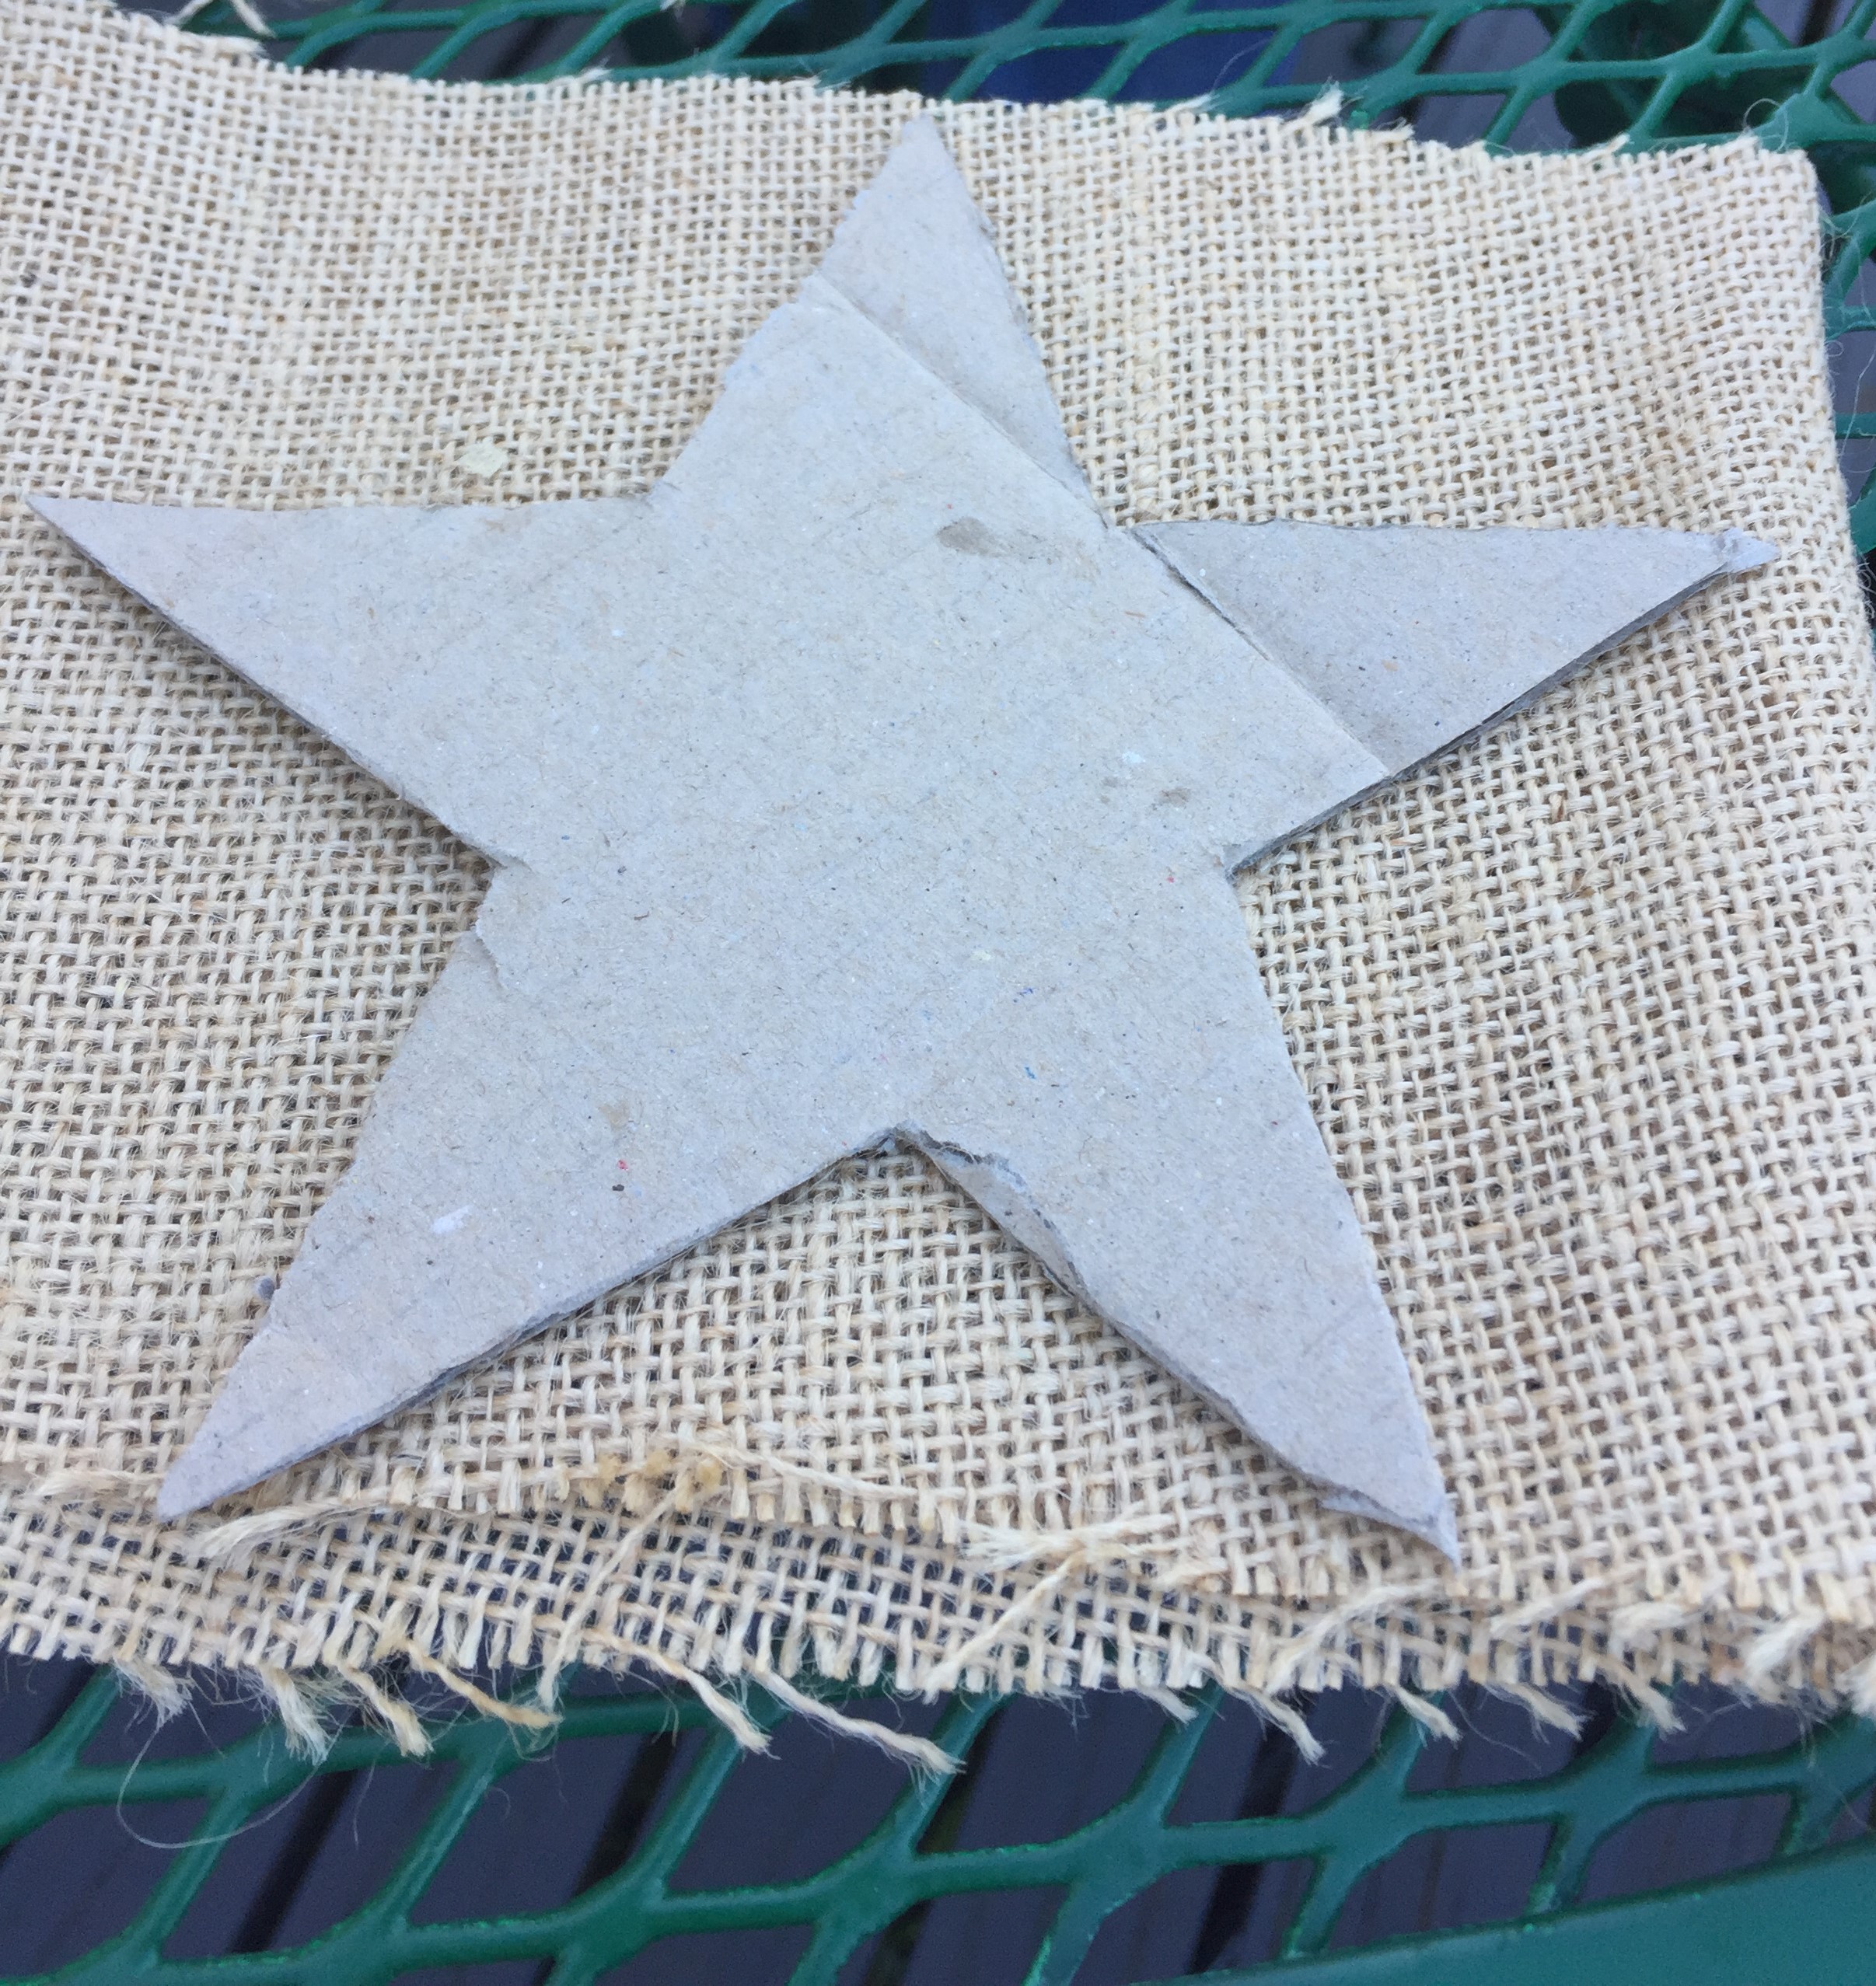
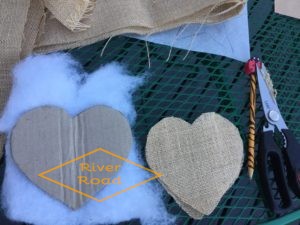
I trace the patterns on to cardboard just to make it easier.
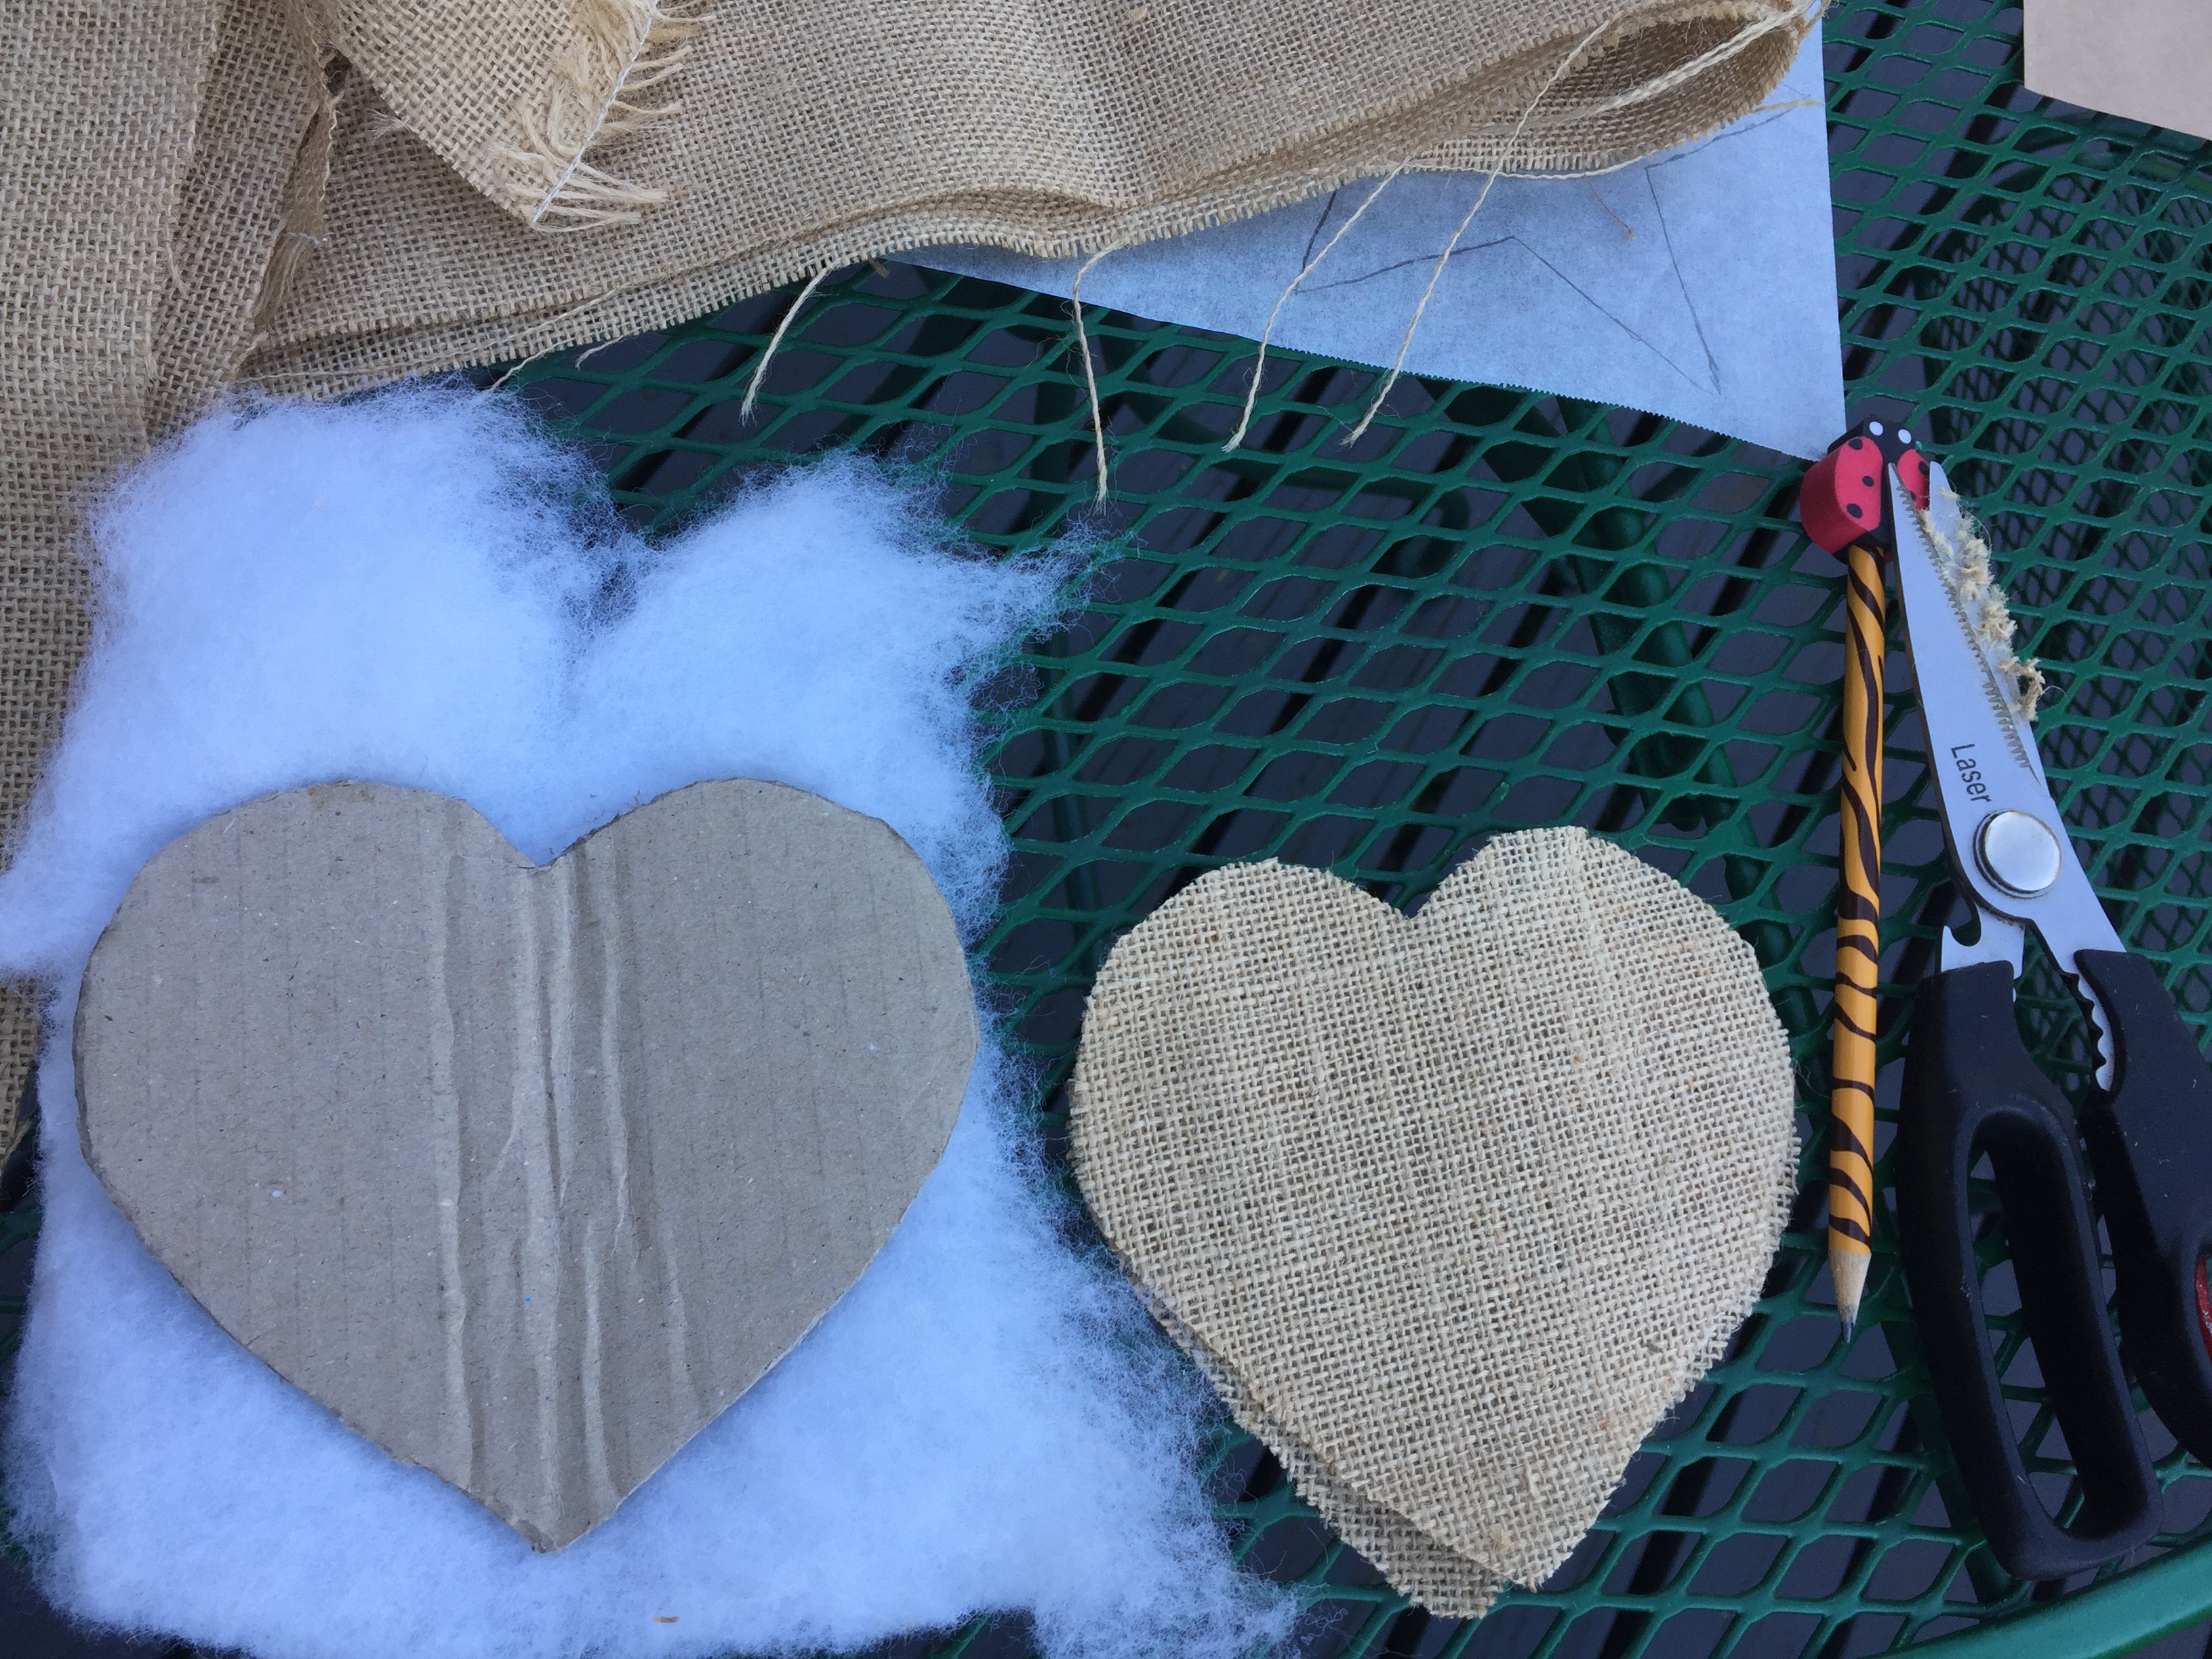
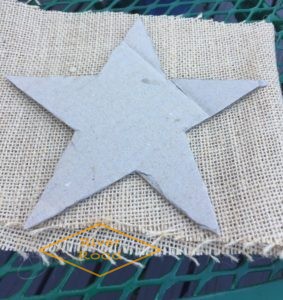
Next, trace the pattern onto your burlap fabric, you will need 2, for front and back.
Then, use the pattern to trace and cut out the stuffing. I just used polyester filling as I already had some at home. I found it easier to have a flat piece of stuffing and cut it to a little bit smaller that the pattern. It then fits in nicely inside.
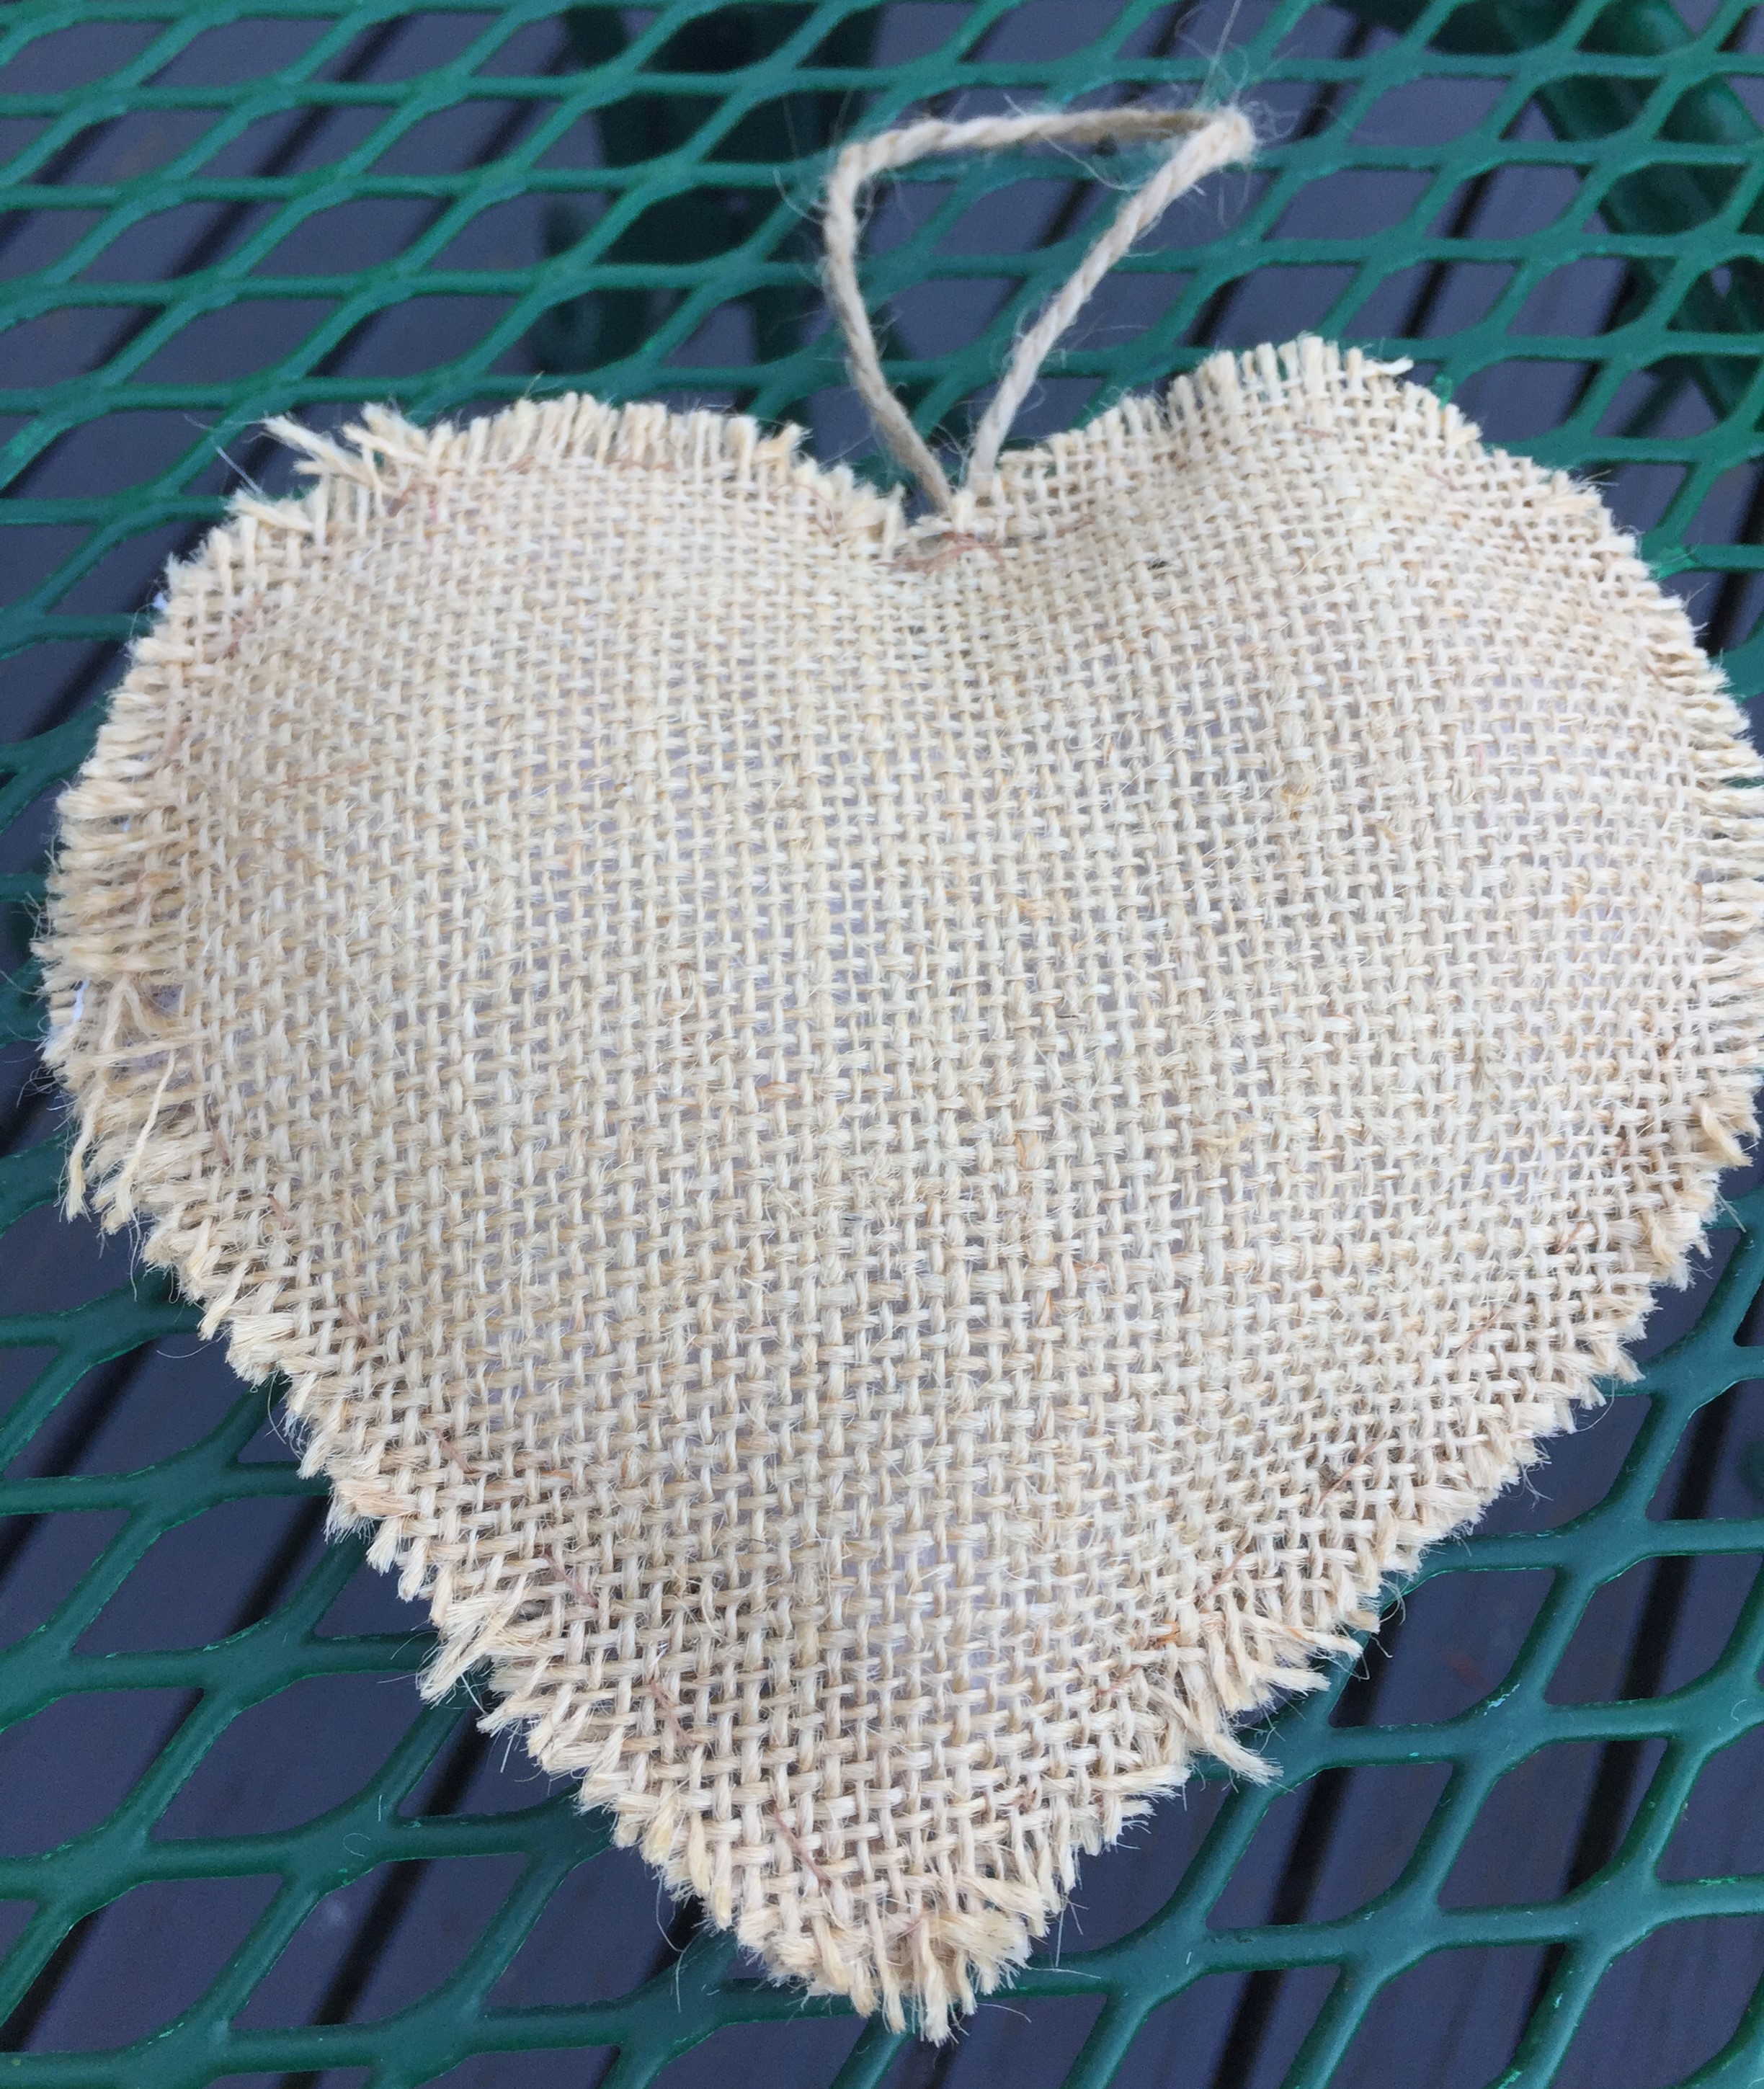
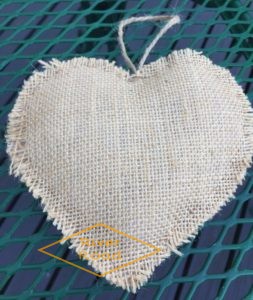
I then sewed with needle and thread the about 1 cm in around the star and heart, finishing at the top. You could use a sewing machine or even use fabric glue, the choice is yours. At the top at attached a small loop of twine for hanging up the ornament.
At this stage I gently fray the edges to get a frayed look.
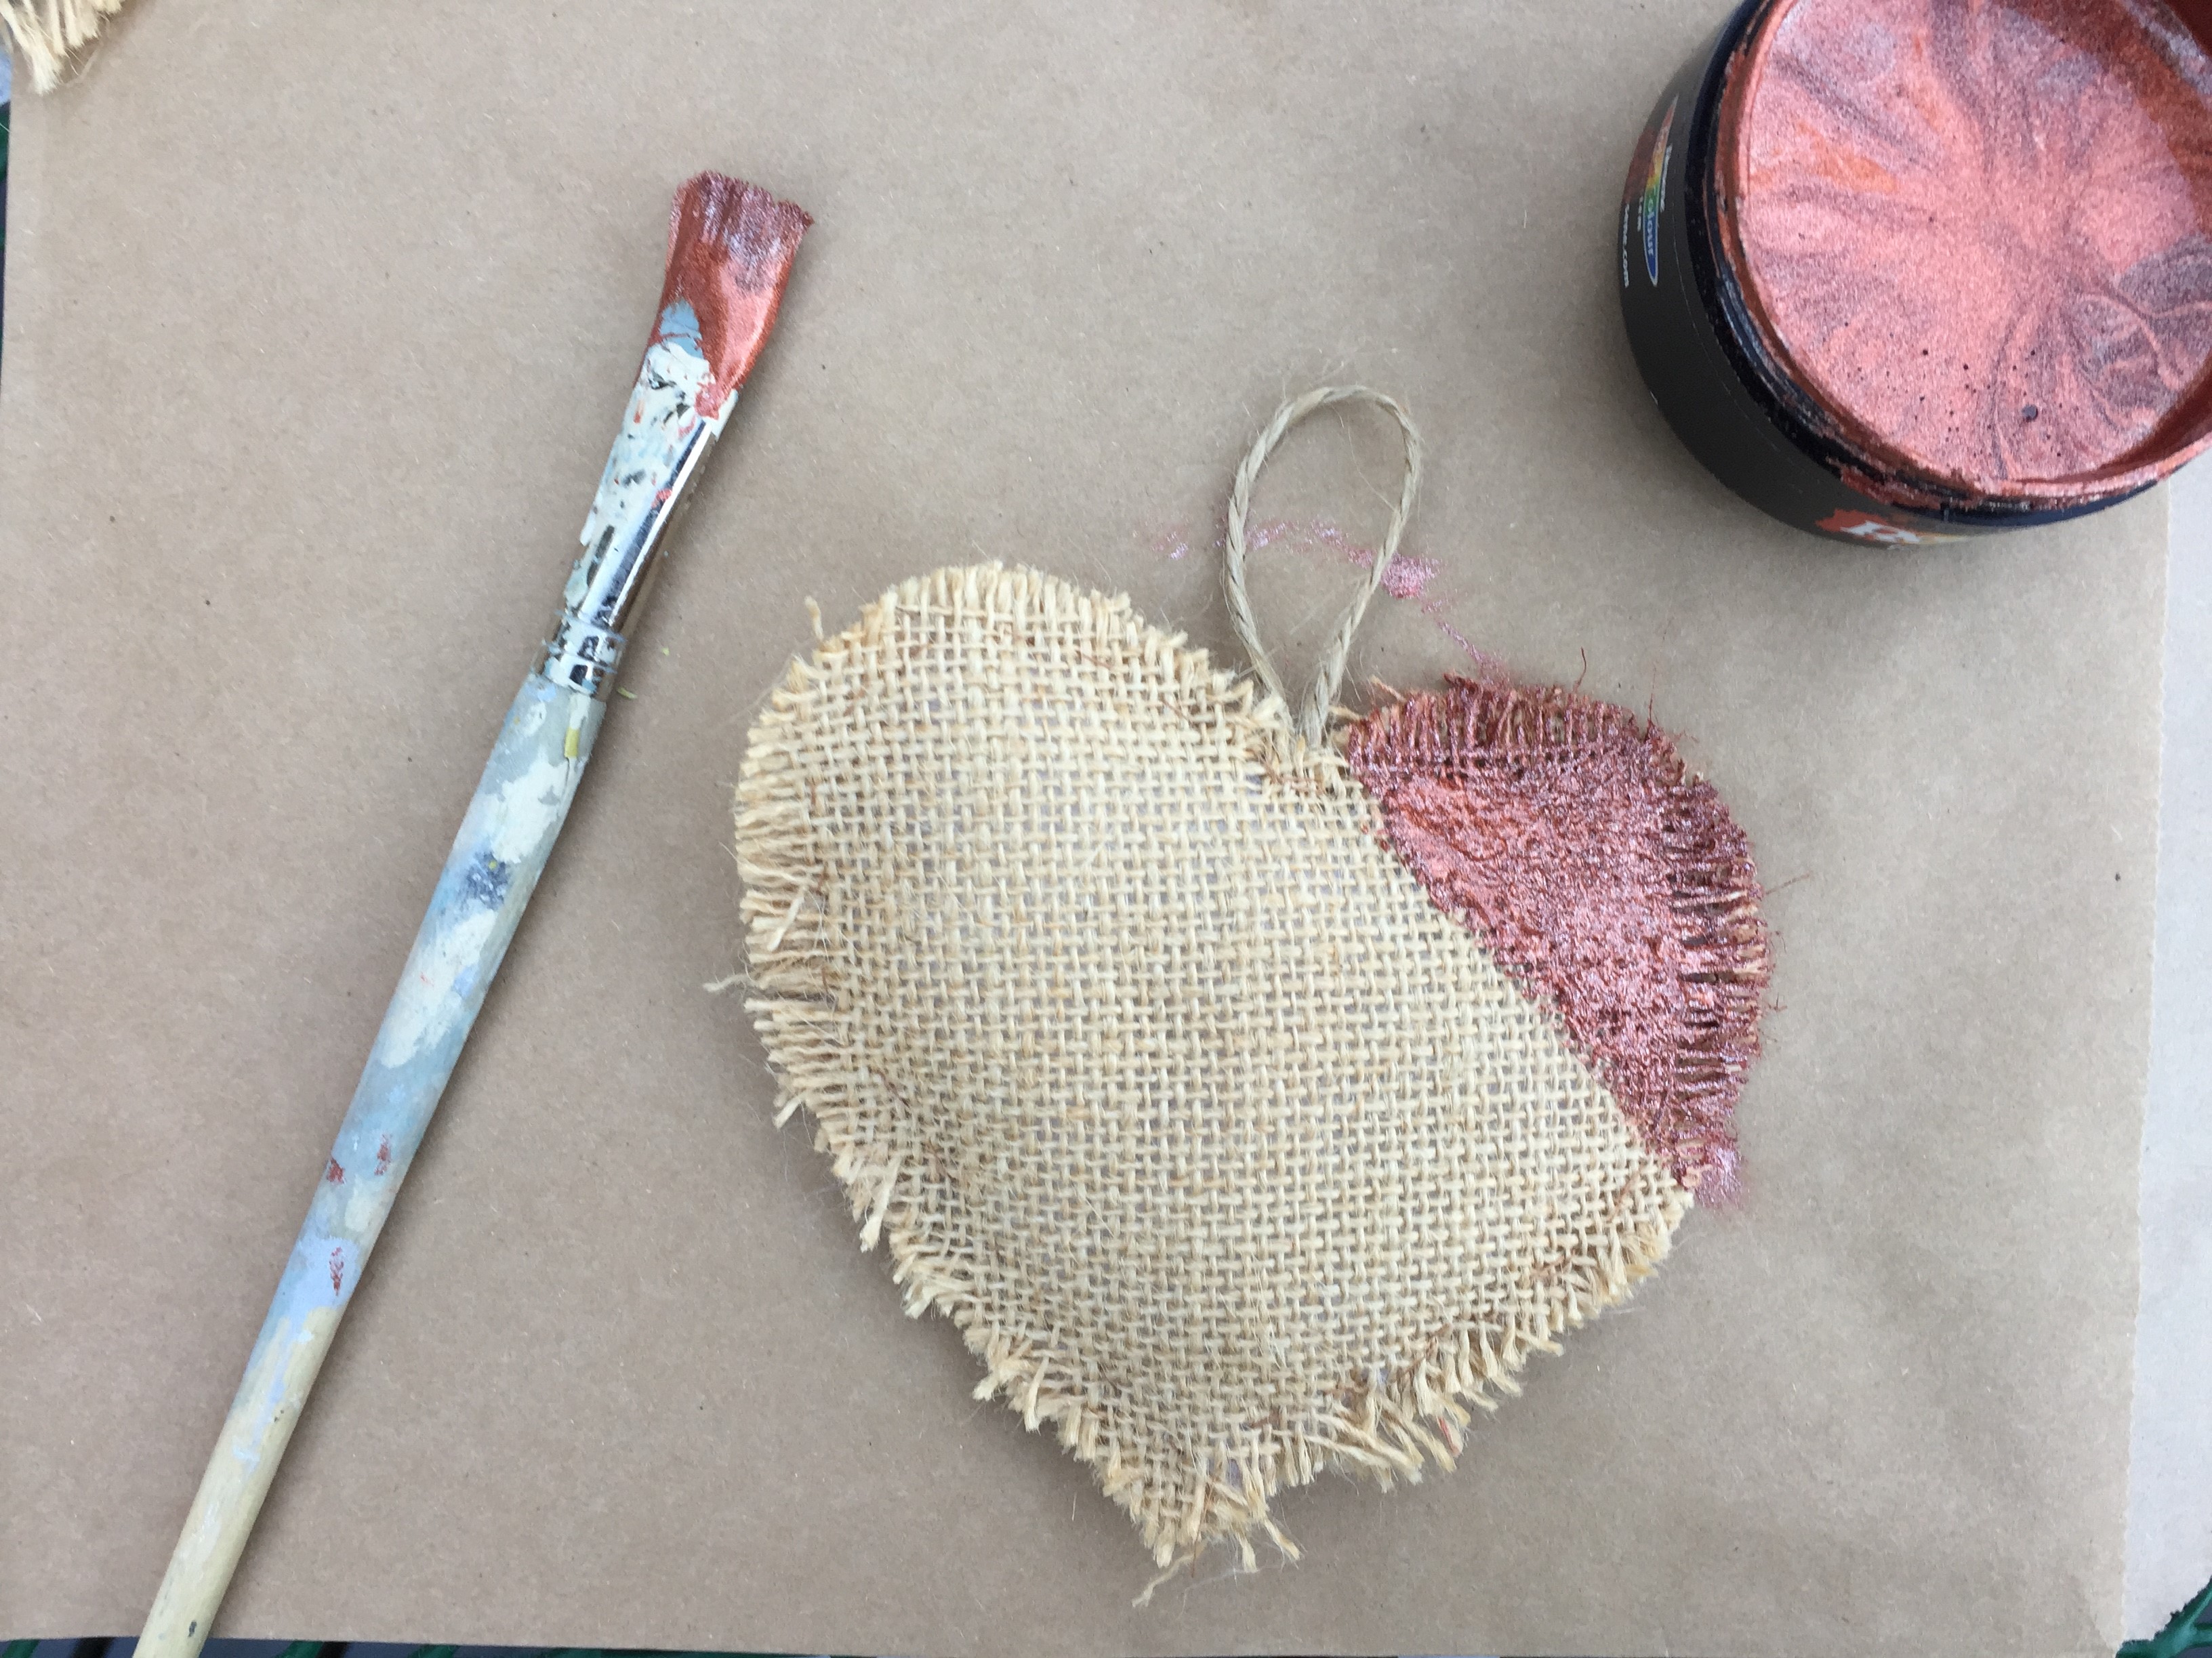
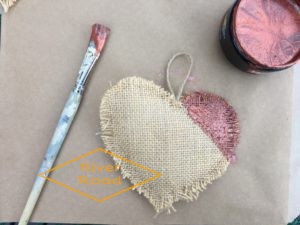
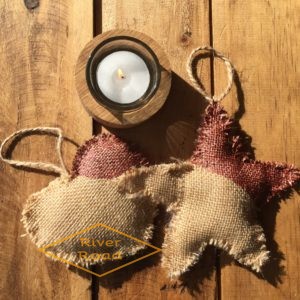
Finally, paint the top left or right side of the ornament. I used Resene paints (a test pot) colour Copper Fire, because I already had this at home. It is copper colour with glitter. You can use any colour!
I made various sizes for my Christmas tree. I imagine there a lot of other shapes you could use to make these ornaments.
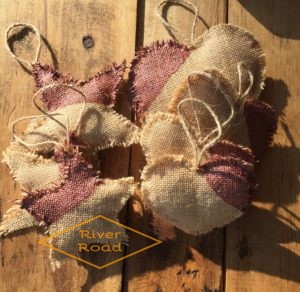
Hearts and Stars Ornaments
Thanks for reading my post! I hope you get to make these simple, but cute ornaments!
Andi