I love been able to share this recipe of our wonderful traditional Maori (Rewena) bread from New Zealand. It is a bread made with a potato starter or bug that ferments and causes the bread to rise. The starter is made from boiled potato, flour, sugar and water. There is no need for yeast to be added. It has its own really great favour.
There is no better time to make this bread than Christmas, when spending time with family and friends (whanau).
You have to allow 36-48 hours for the starter to ferment before you can make the bread. So you need to plan ahead!
Ingredients for starter:
1 medium potato
1 cup flour
1 tsp sugar
1 cup water
Instructions for starter:
First, peel and chop the potato into small pieces.
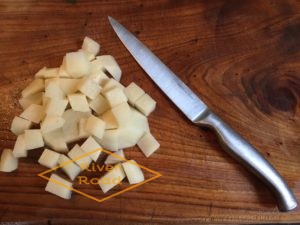
Boil the chopped potato in 1 cup of water in a pot with the lid on until mashing consistency.
Mash and leave to cool to lukewarm.
Mix in the flour and sugar into the potato mixture. Add more lukewarm water if needed. It needs to be pancake mixture consistency. (I always need to add more water).
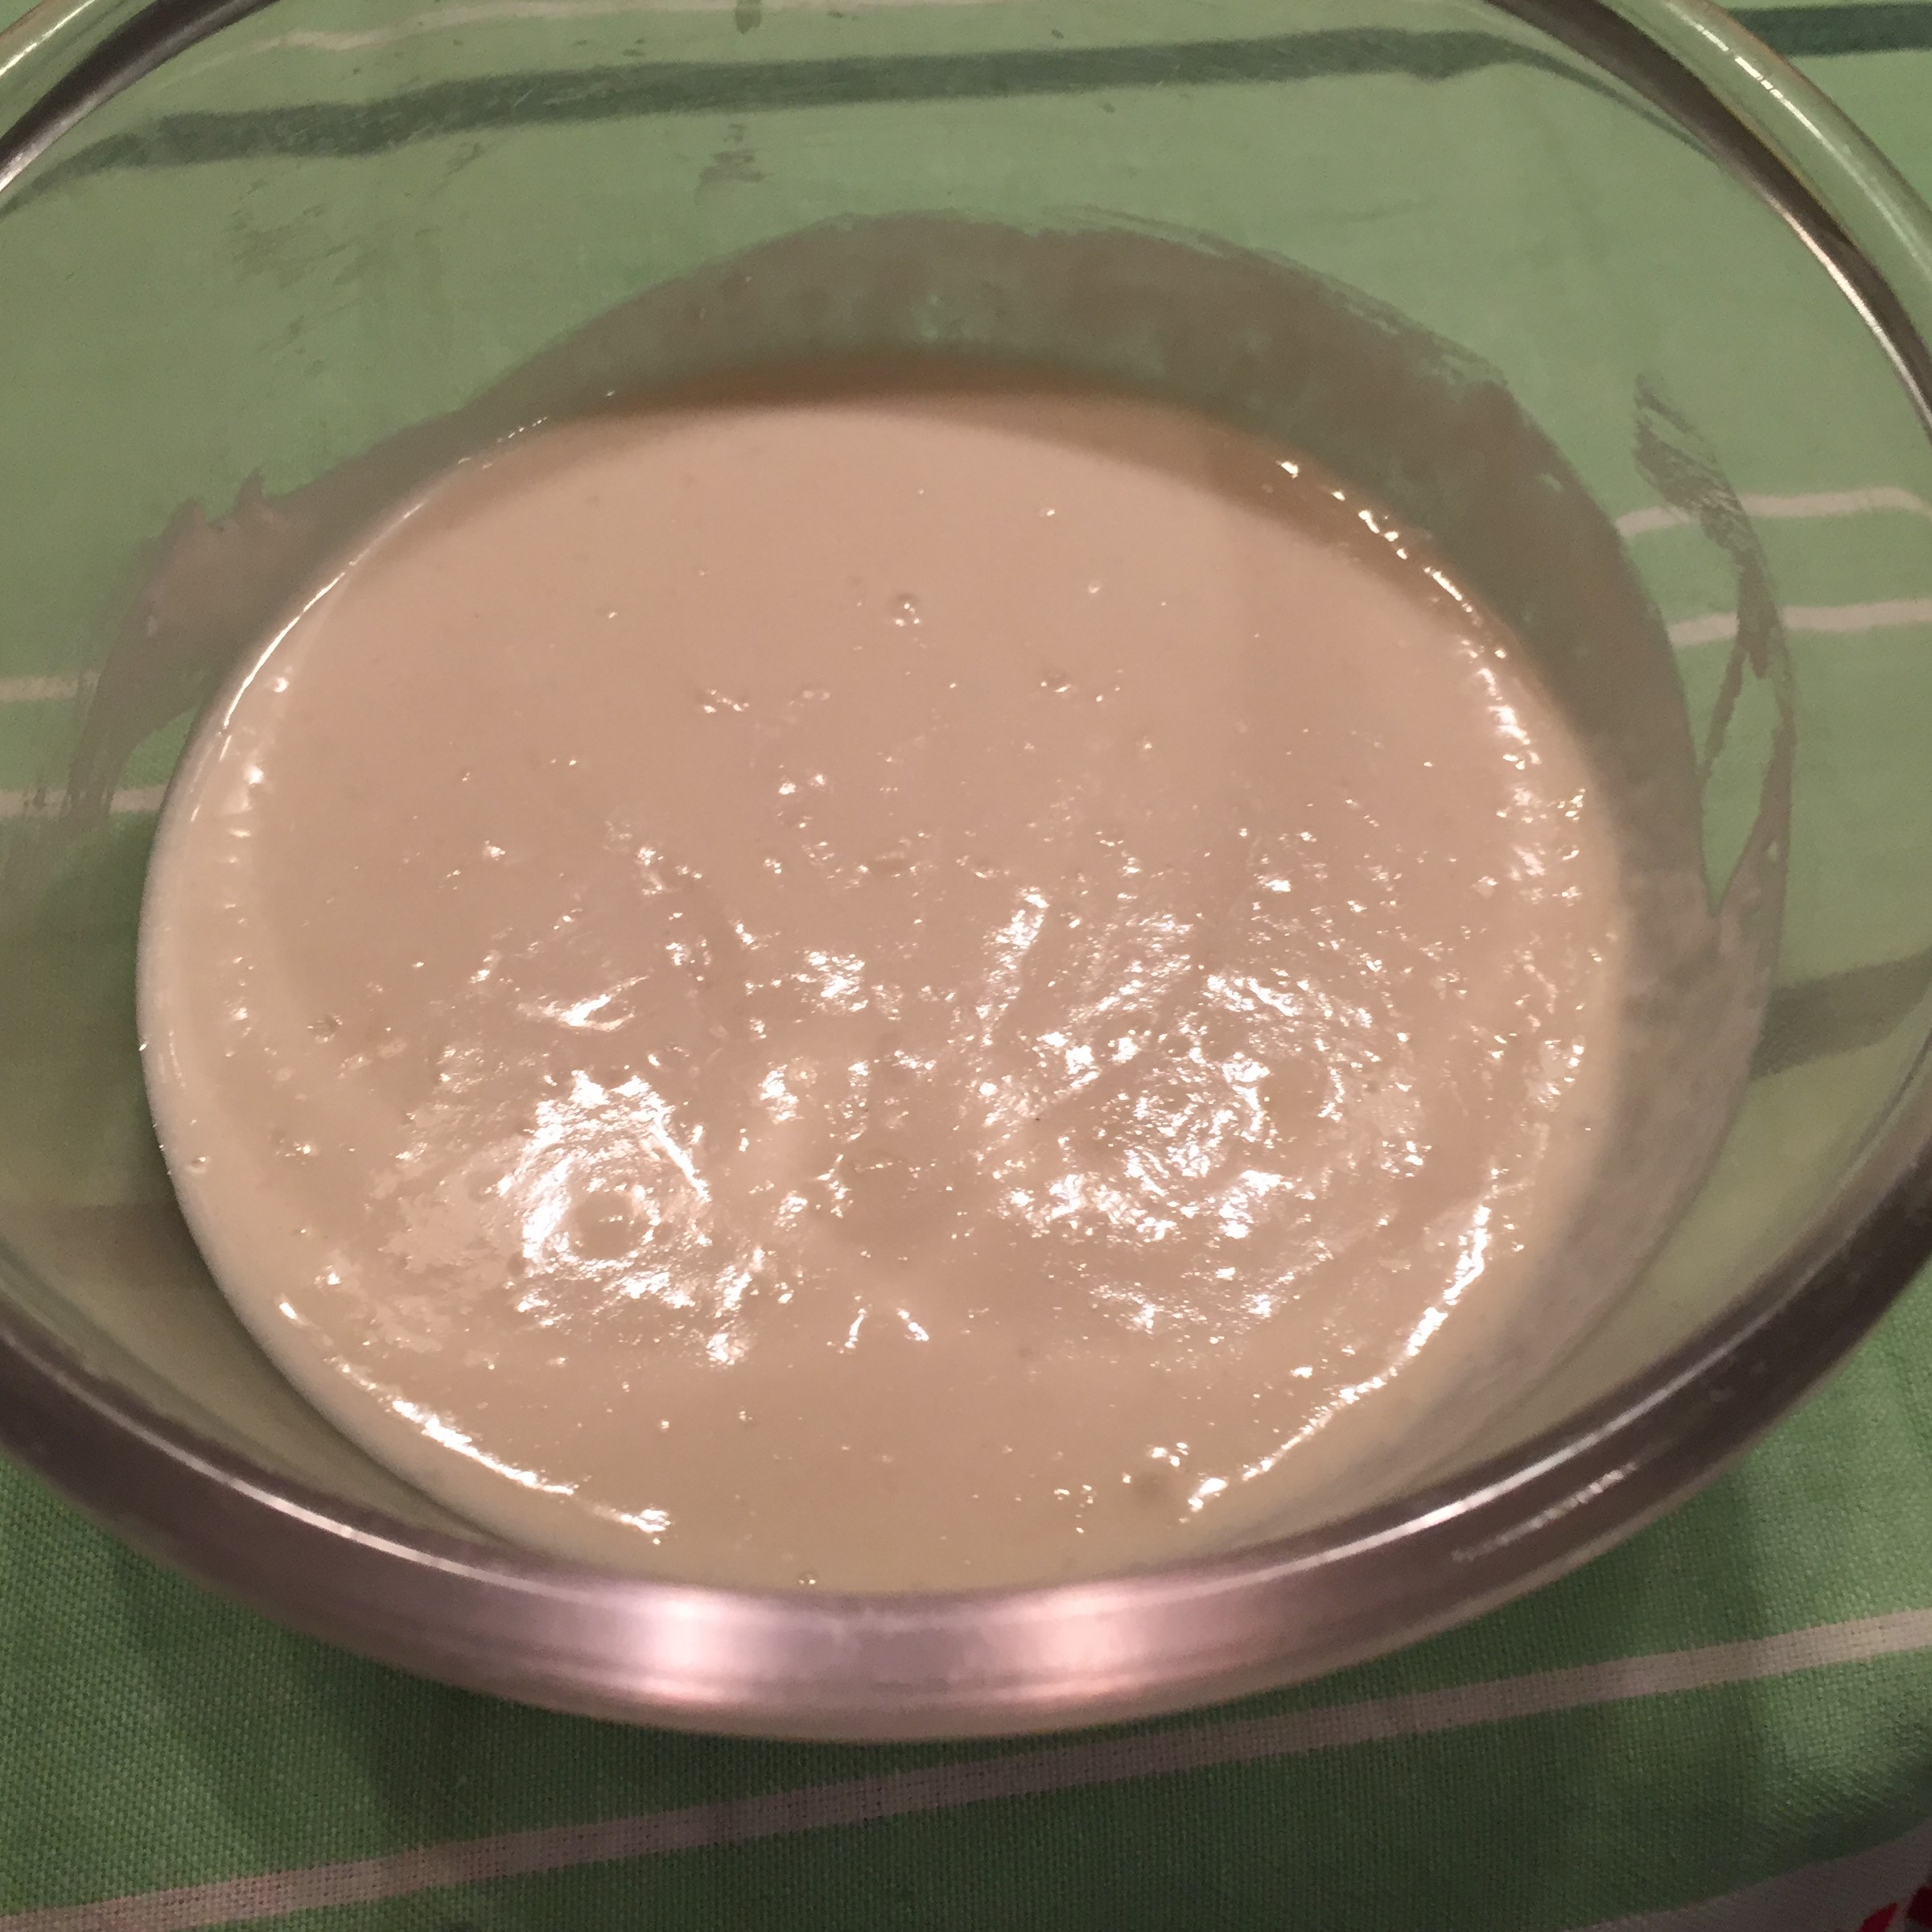
Pour it into a glass bowl or mason jar and cover.

Starter
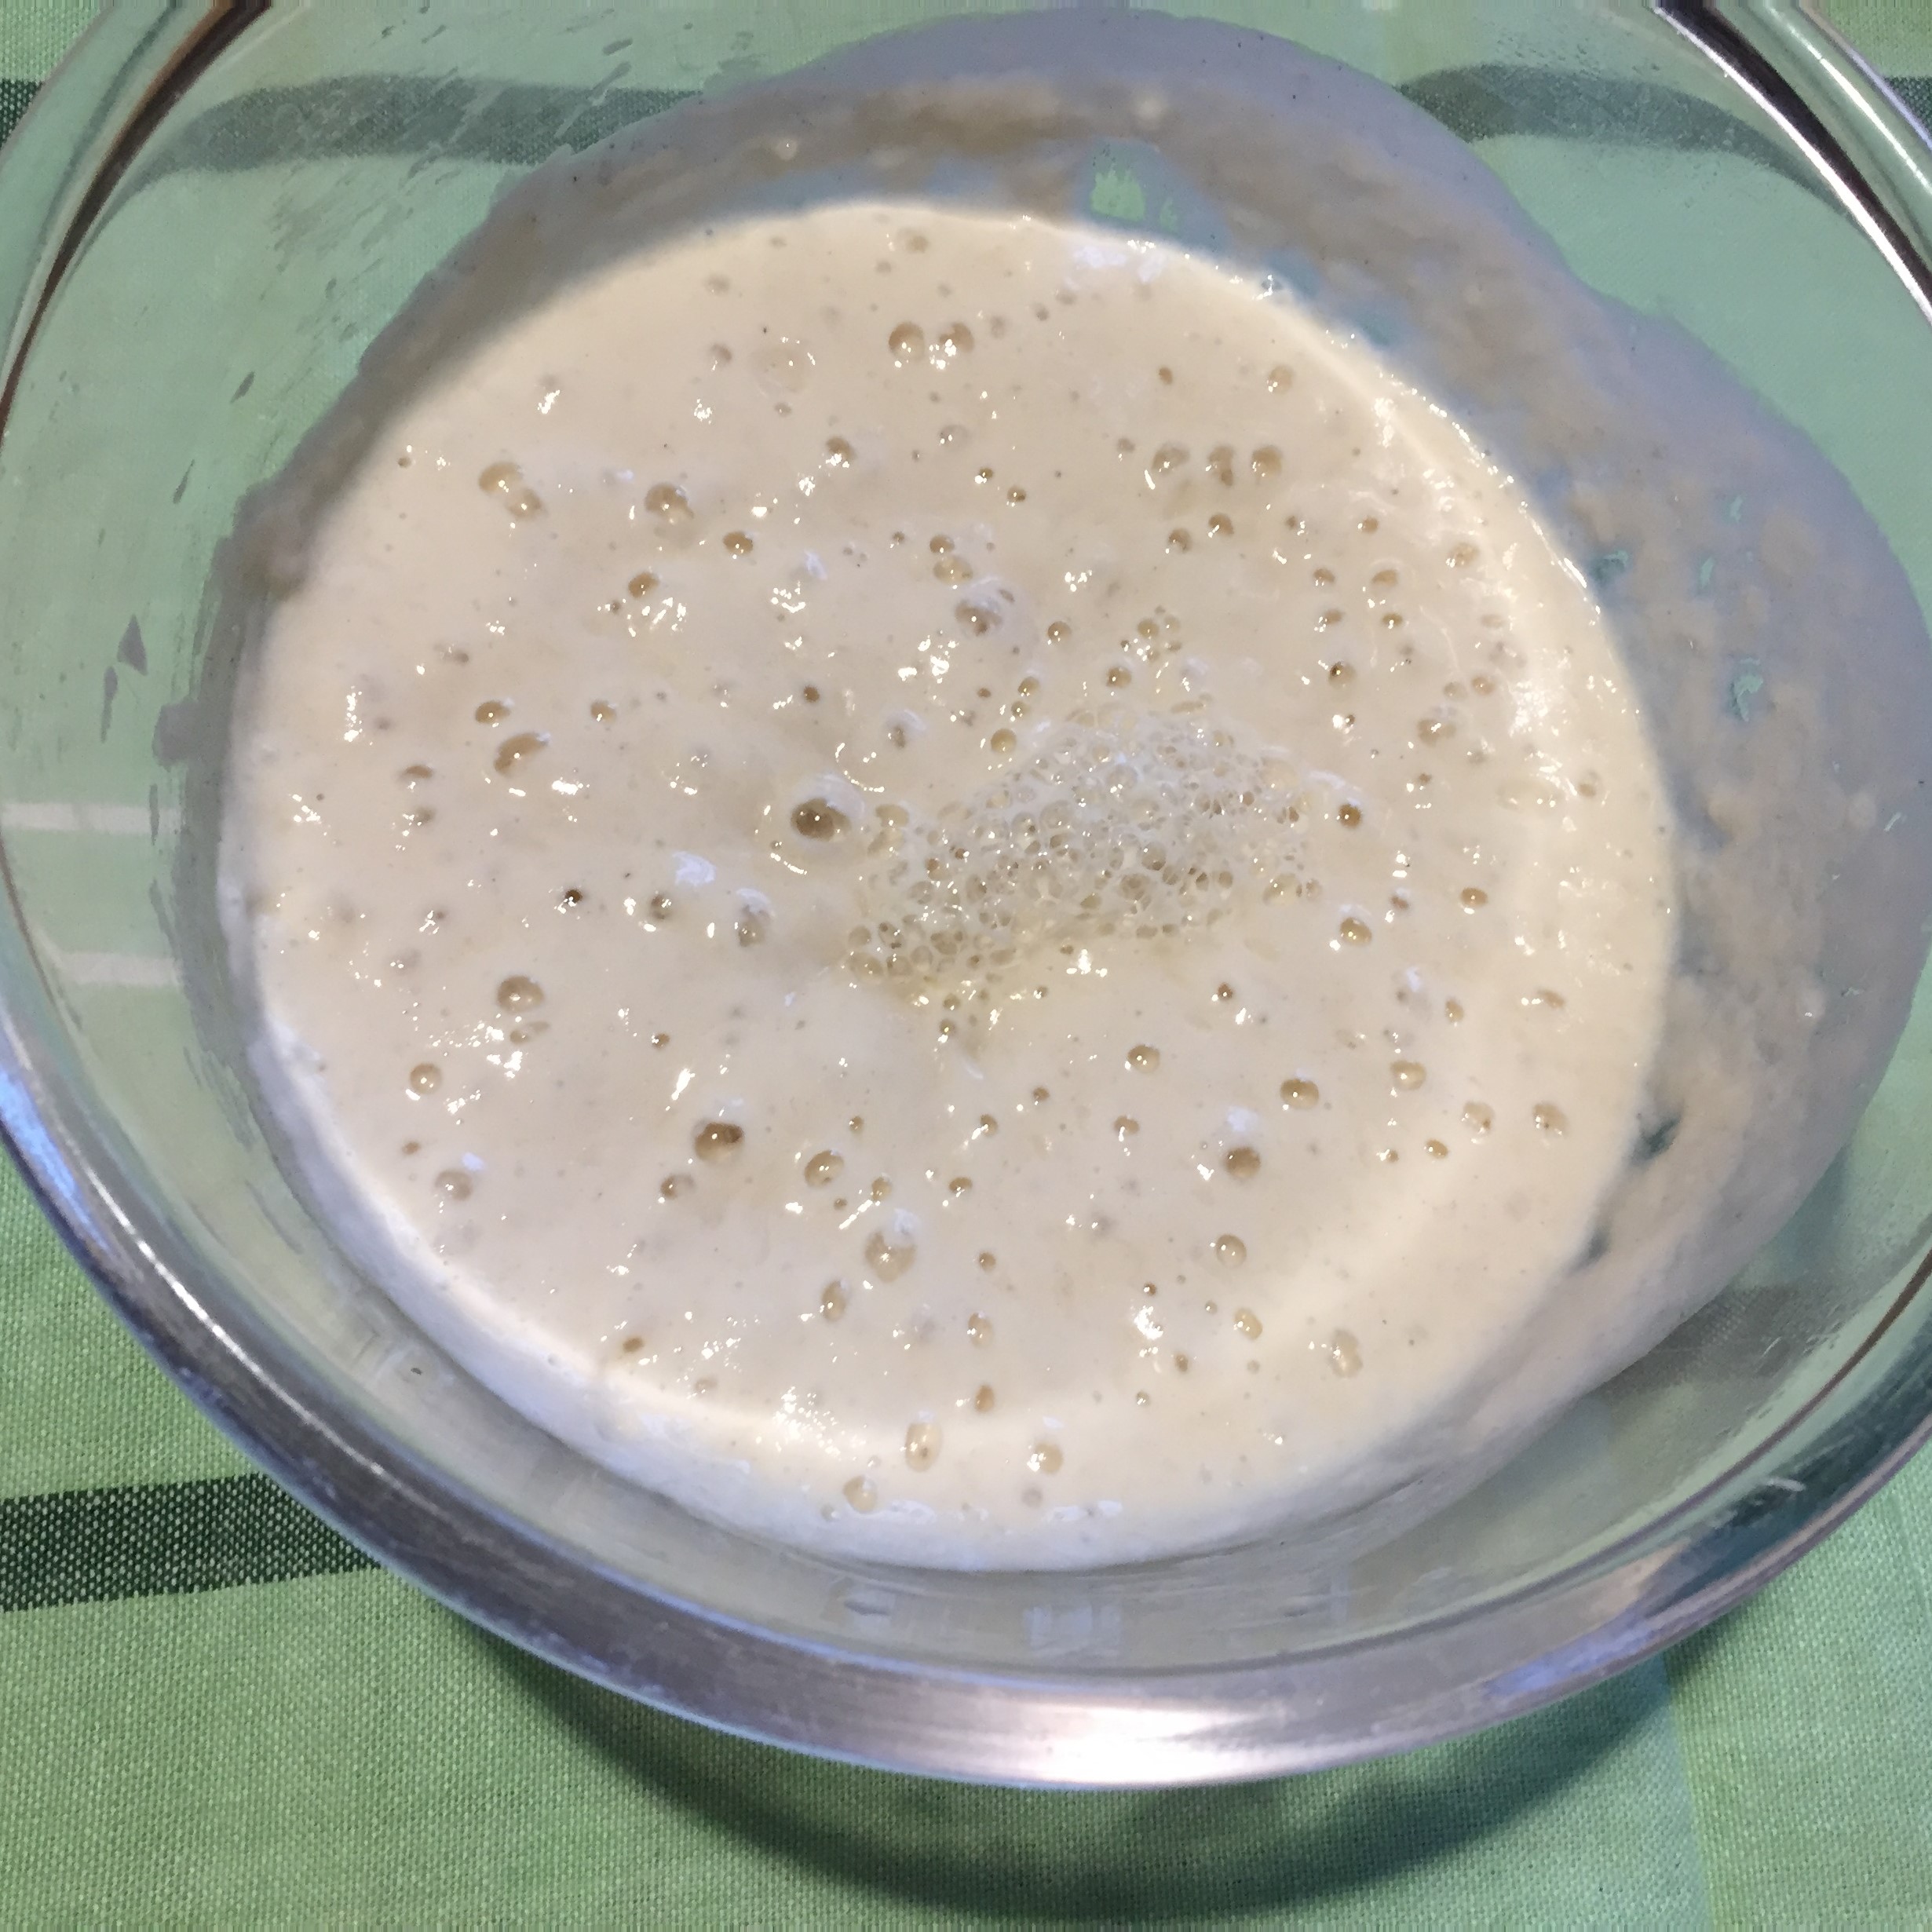
Leave in a warm place (not the refrigerator) to rise for about 24-48 hours. It should have bubbles and a yeast smell when ready.
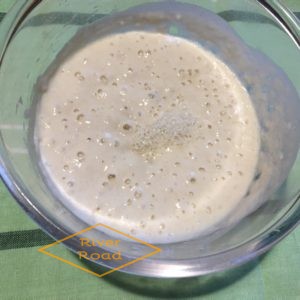
Fermented for 36 hours
If you wish to keep some for your next loaf, take out 1 Tbsp. of the mixture, put it back into your container and cover. Add ½ cup of warm potato water one day and the next 1 tsp sugar. You can also add 1- 2 Tbsp. of flour. Skip this step if you only want to make one loaf.
Ingredients for loaf:
Starter
5 cups flour
½ tsp salt
1 tsp baking soda
Instructions for loaf:
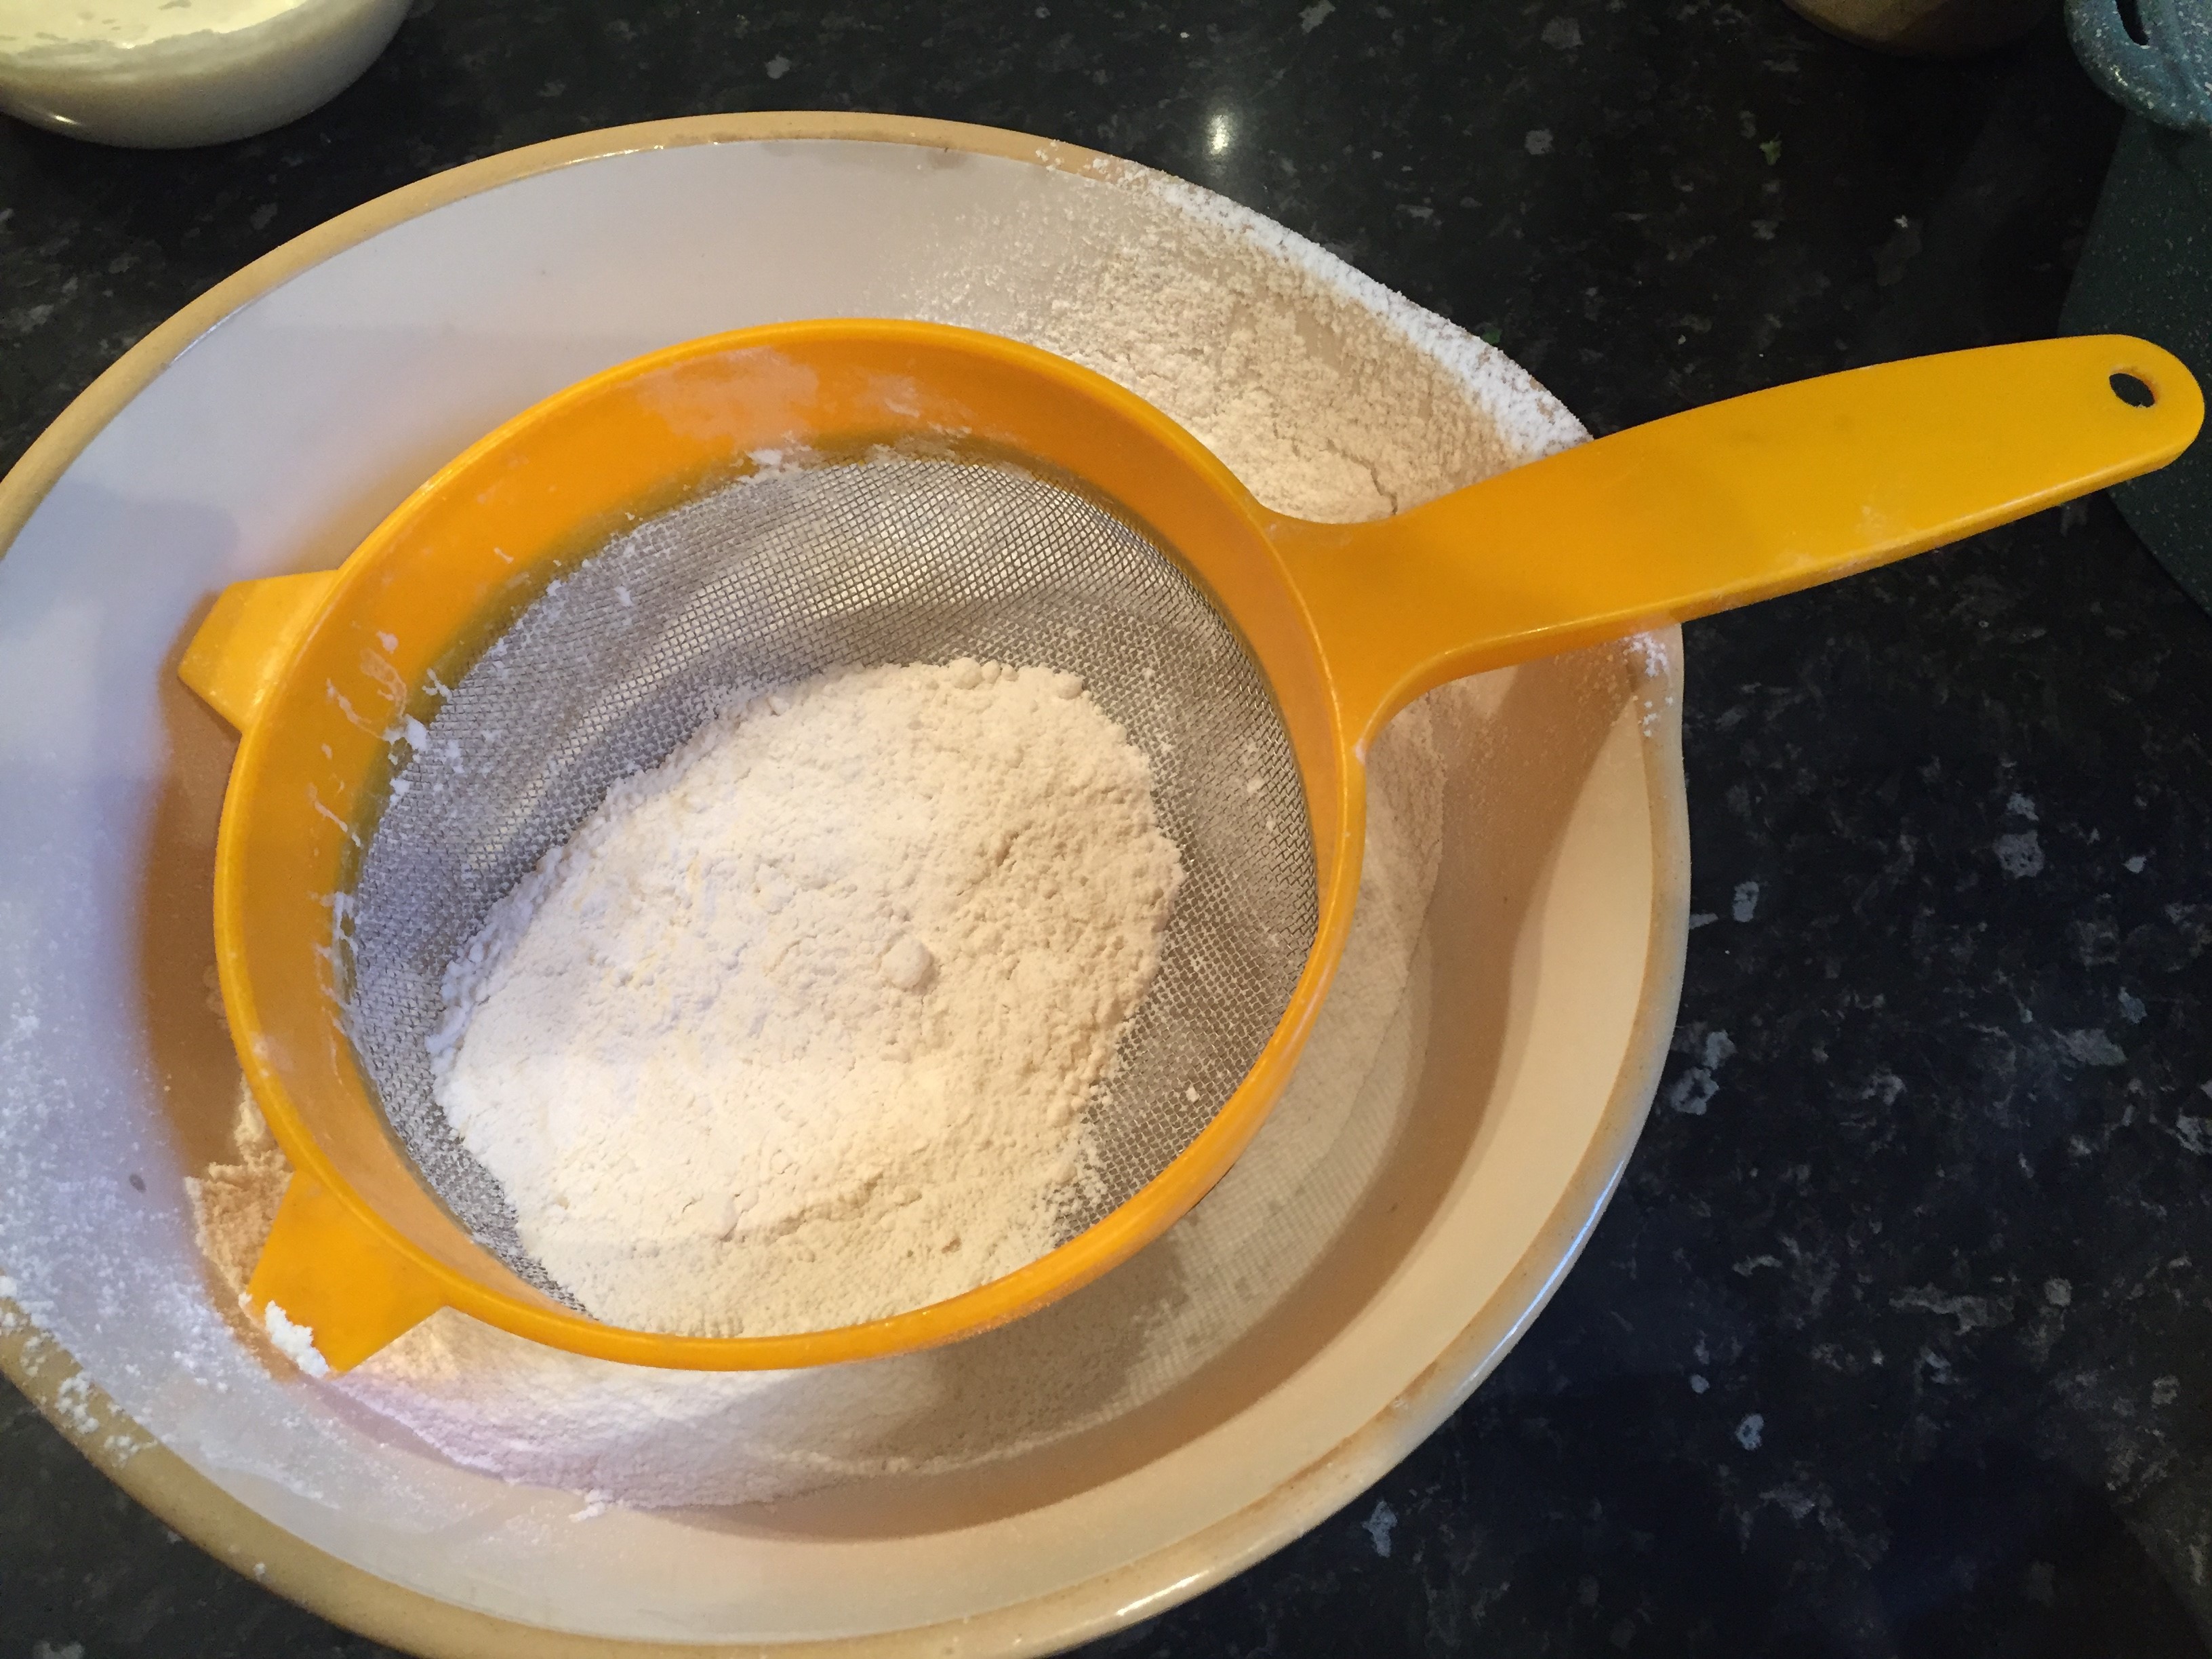
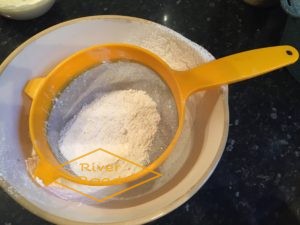
Sift together the flour, salt and baking soda.
Make a well in the middle and add the starter, mix well.
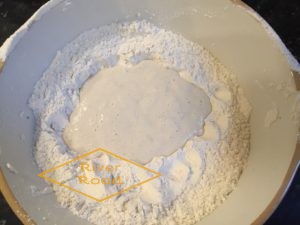
If needed add warm water (I always need to)
Knead for 10 minutes until firm (or for a short cut put it into the bread machine and let it knead for you)
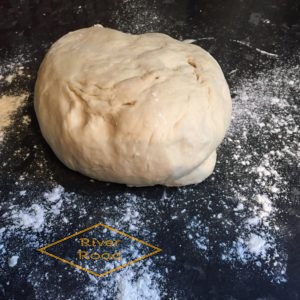
Knead into a ball and place in a greased dish or tin.
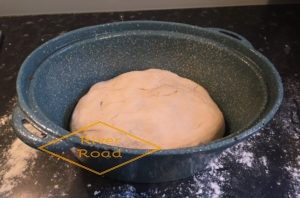
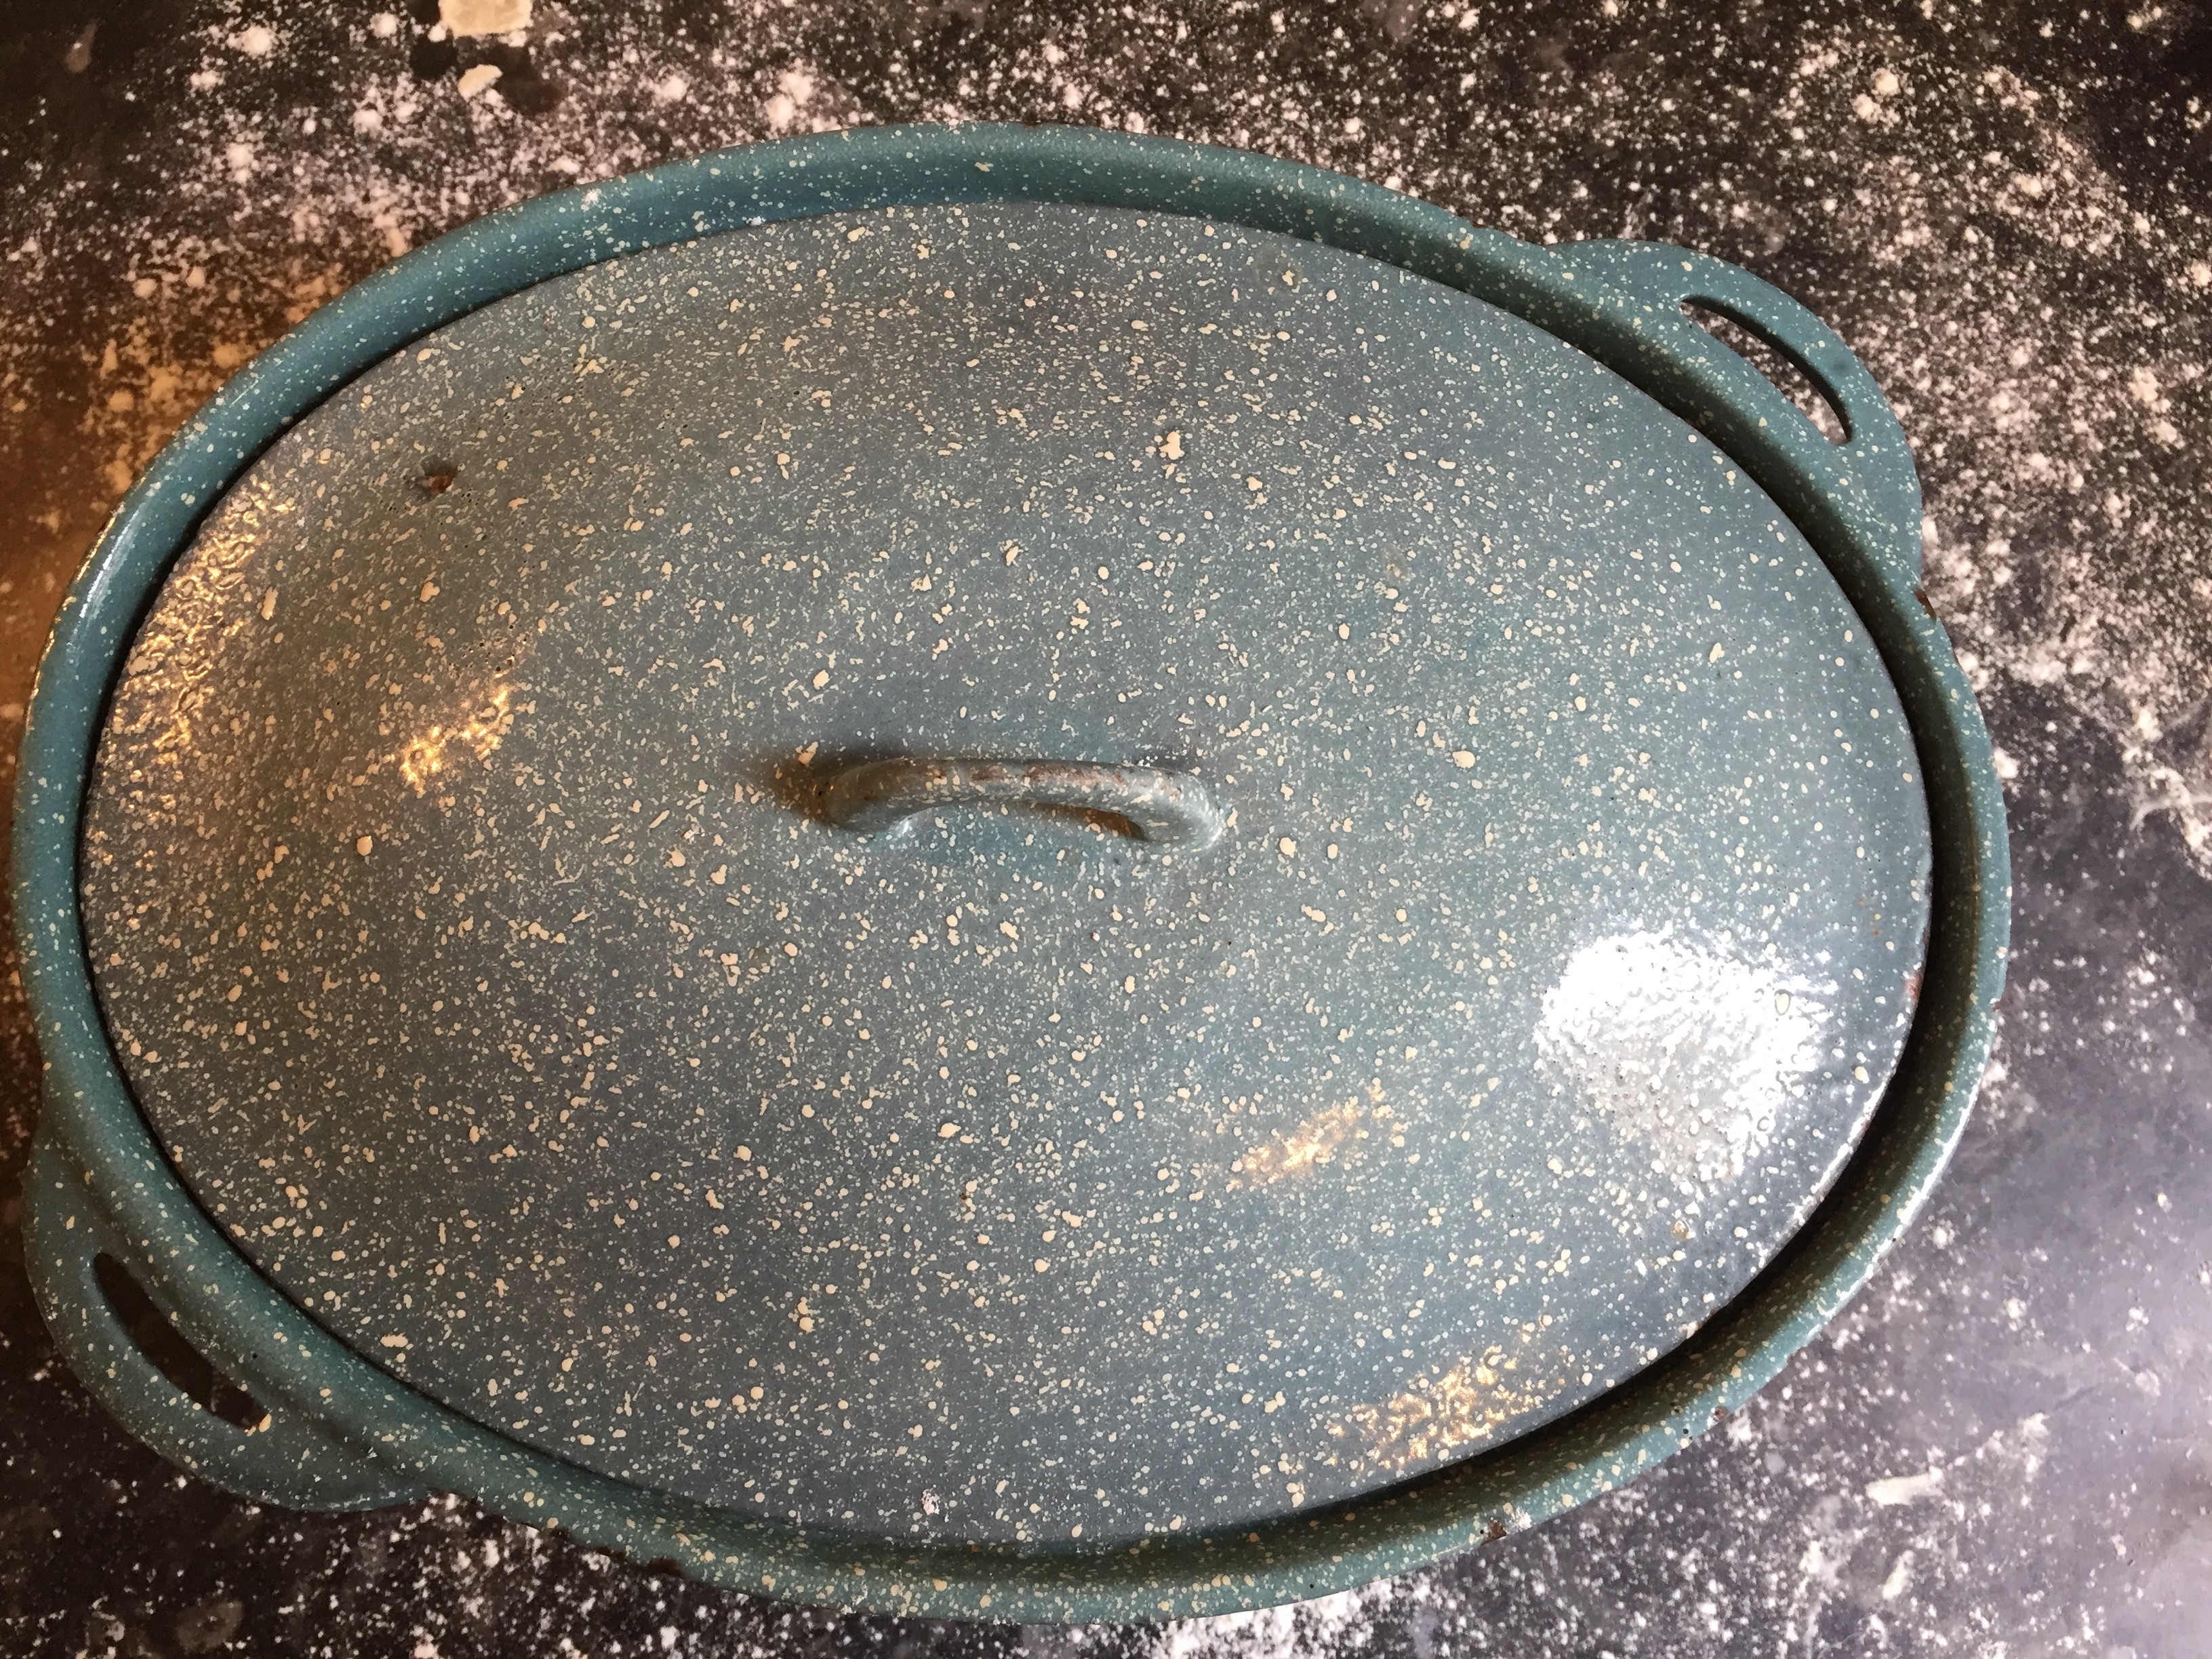
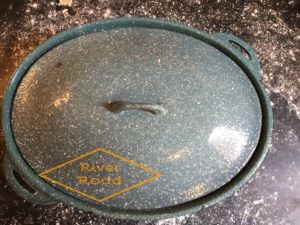
Cover with a lid, tea towel or glad wrap.
Next, set aside to rise in a warm place until it doubles in size. (I did this loaf today and it was a colder day, so I put it in a slightly warmed oven to rise).
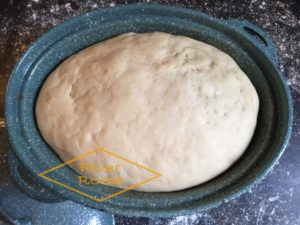
Dough doubled in size
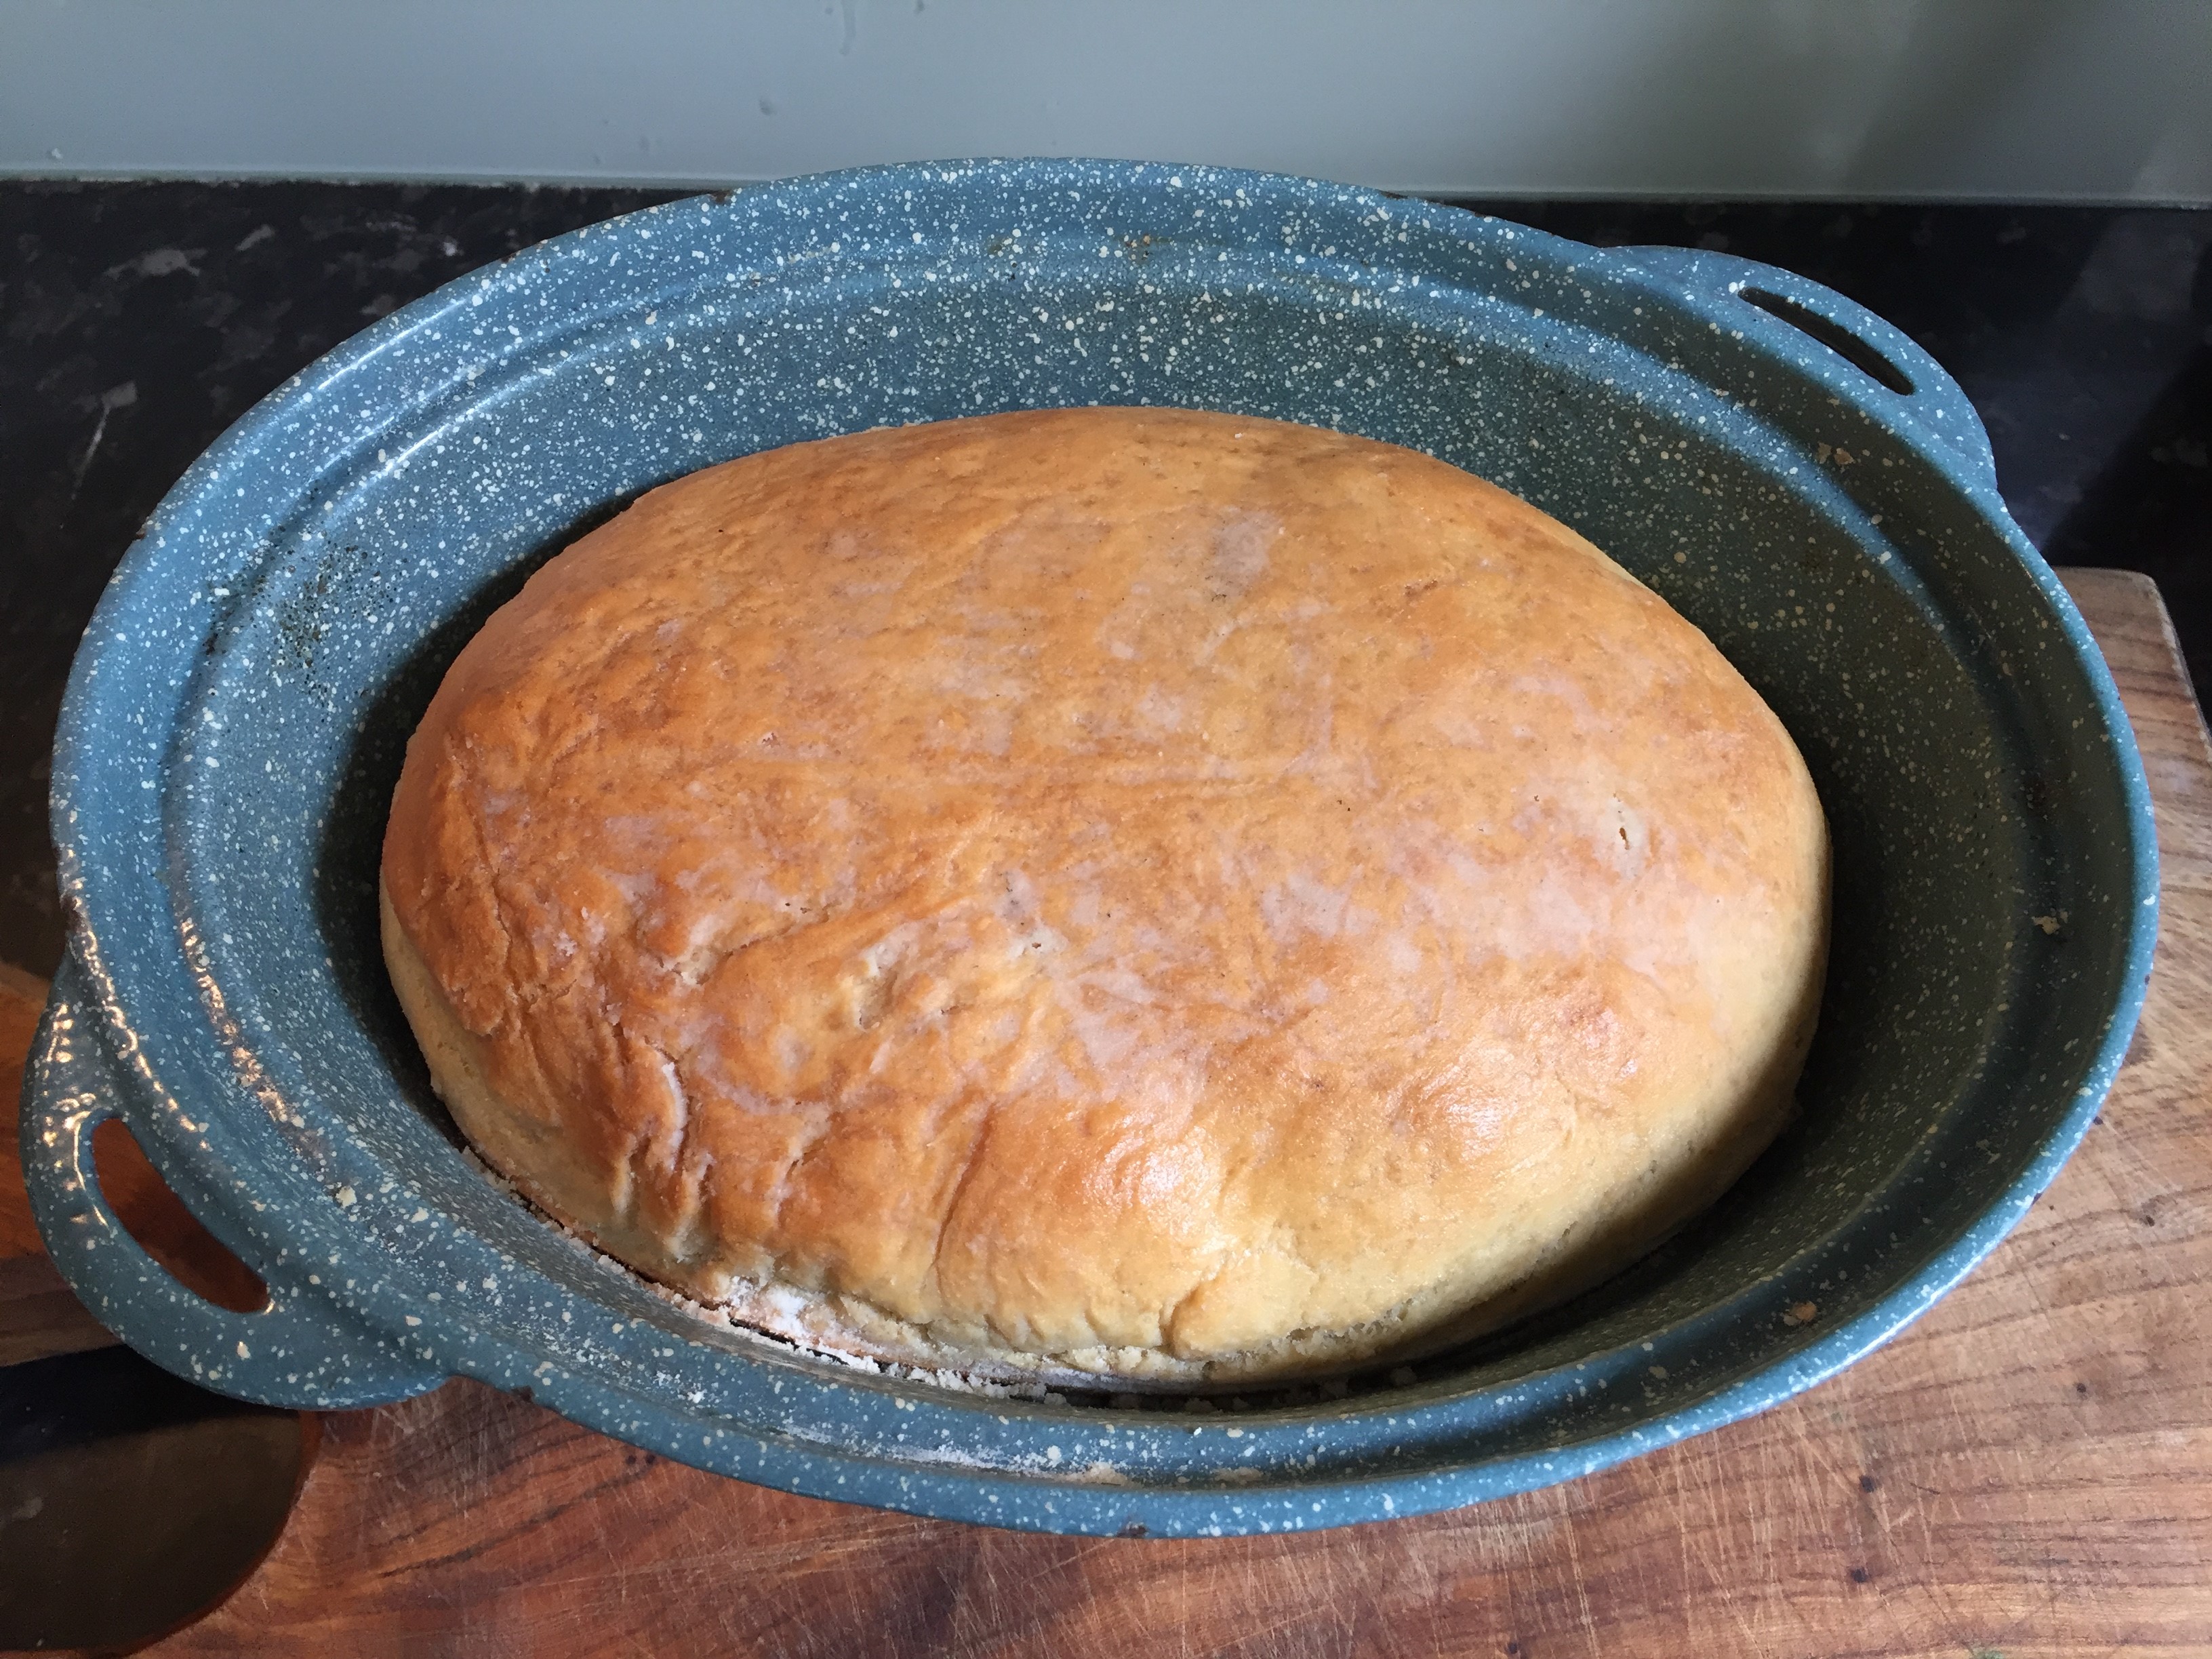
Bake for 1 hour in a preheated oven at about 180 degrees C/350 degrees F (Moderate oven).
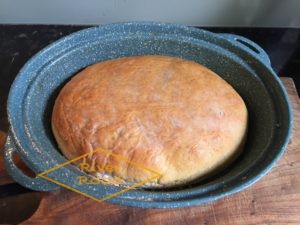
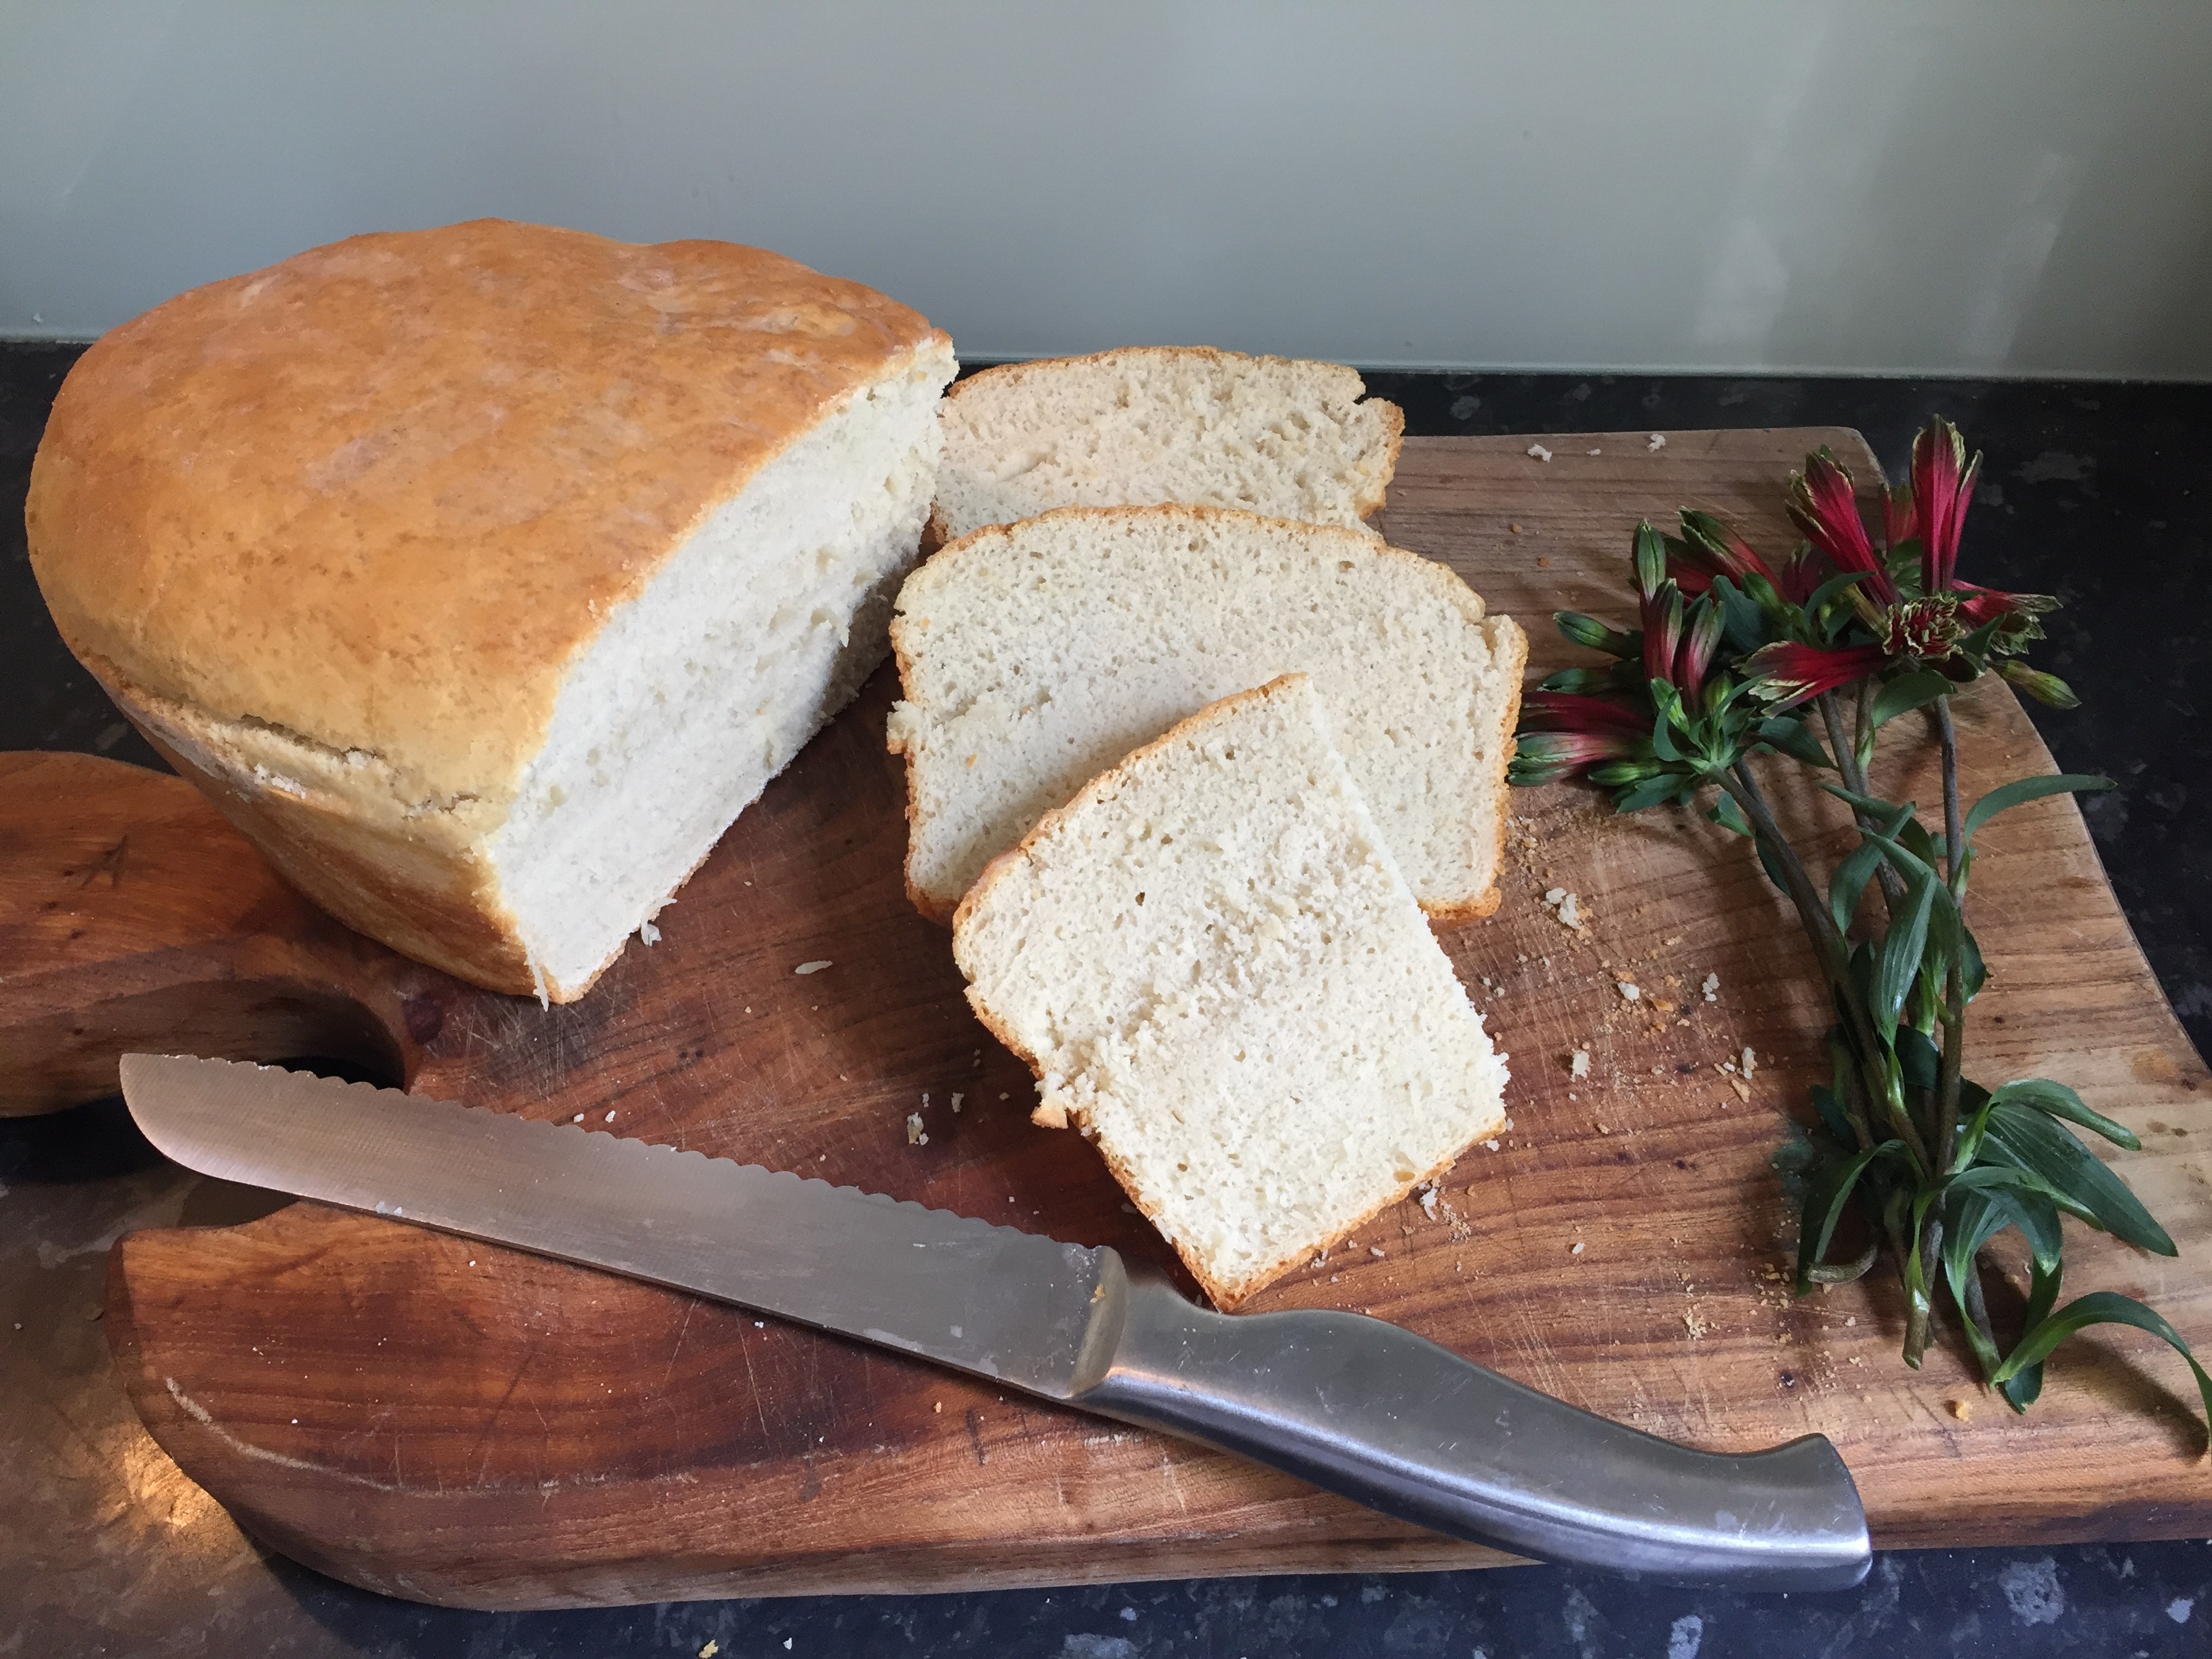
Cooked loaf
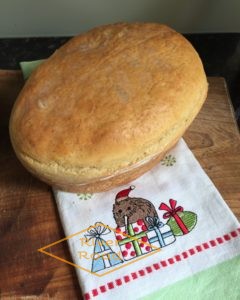
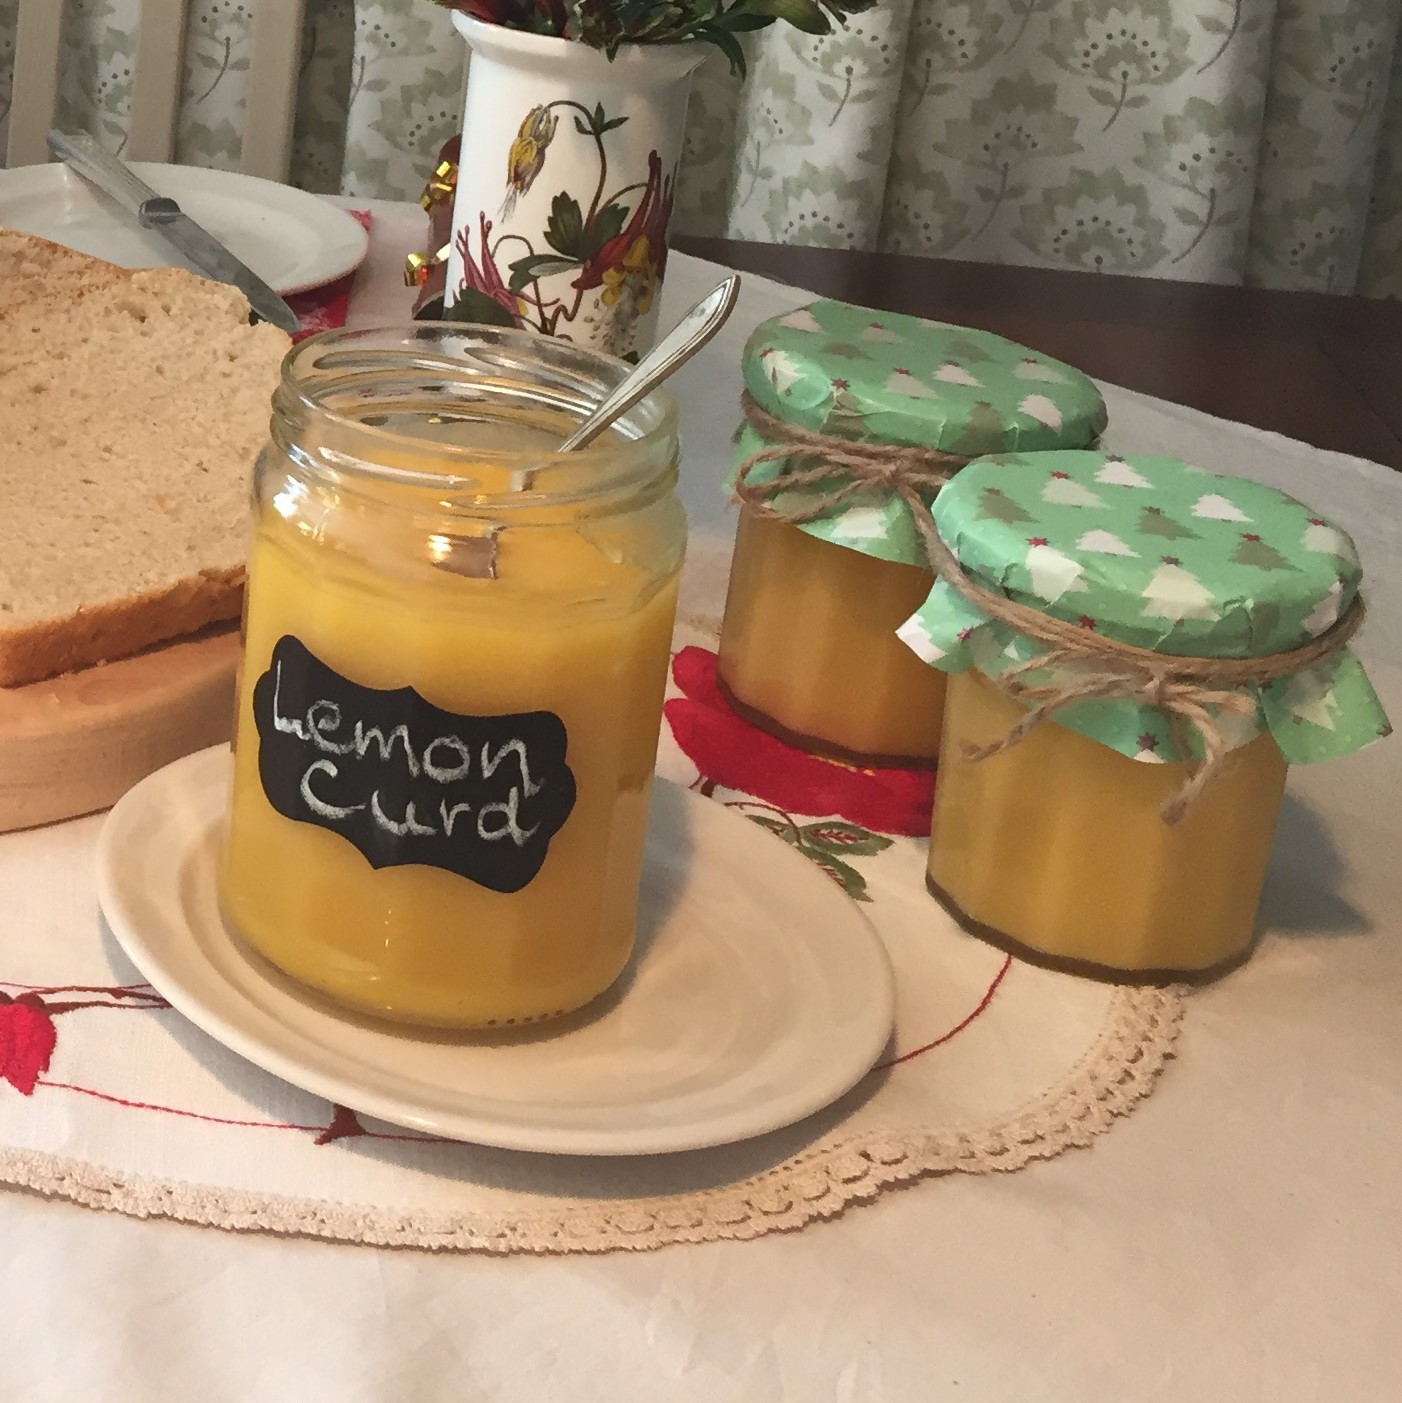
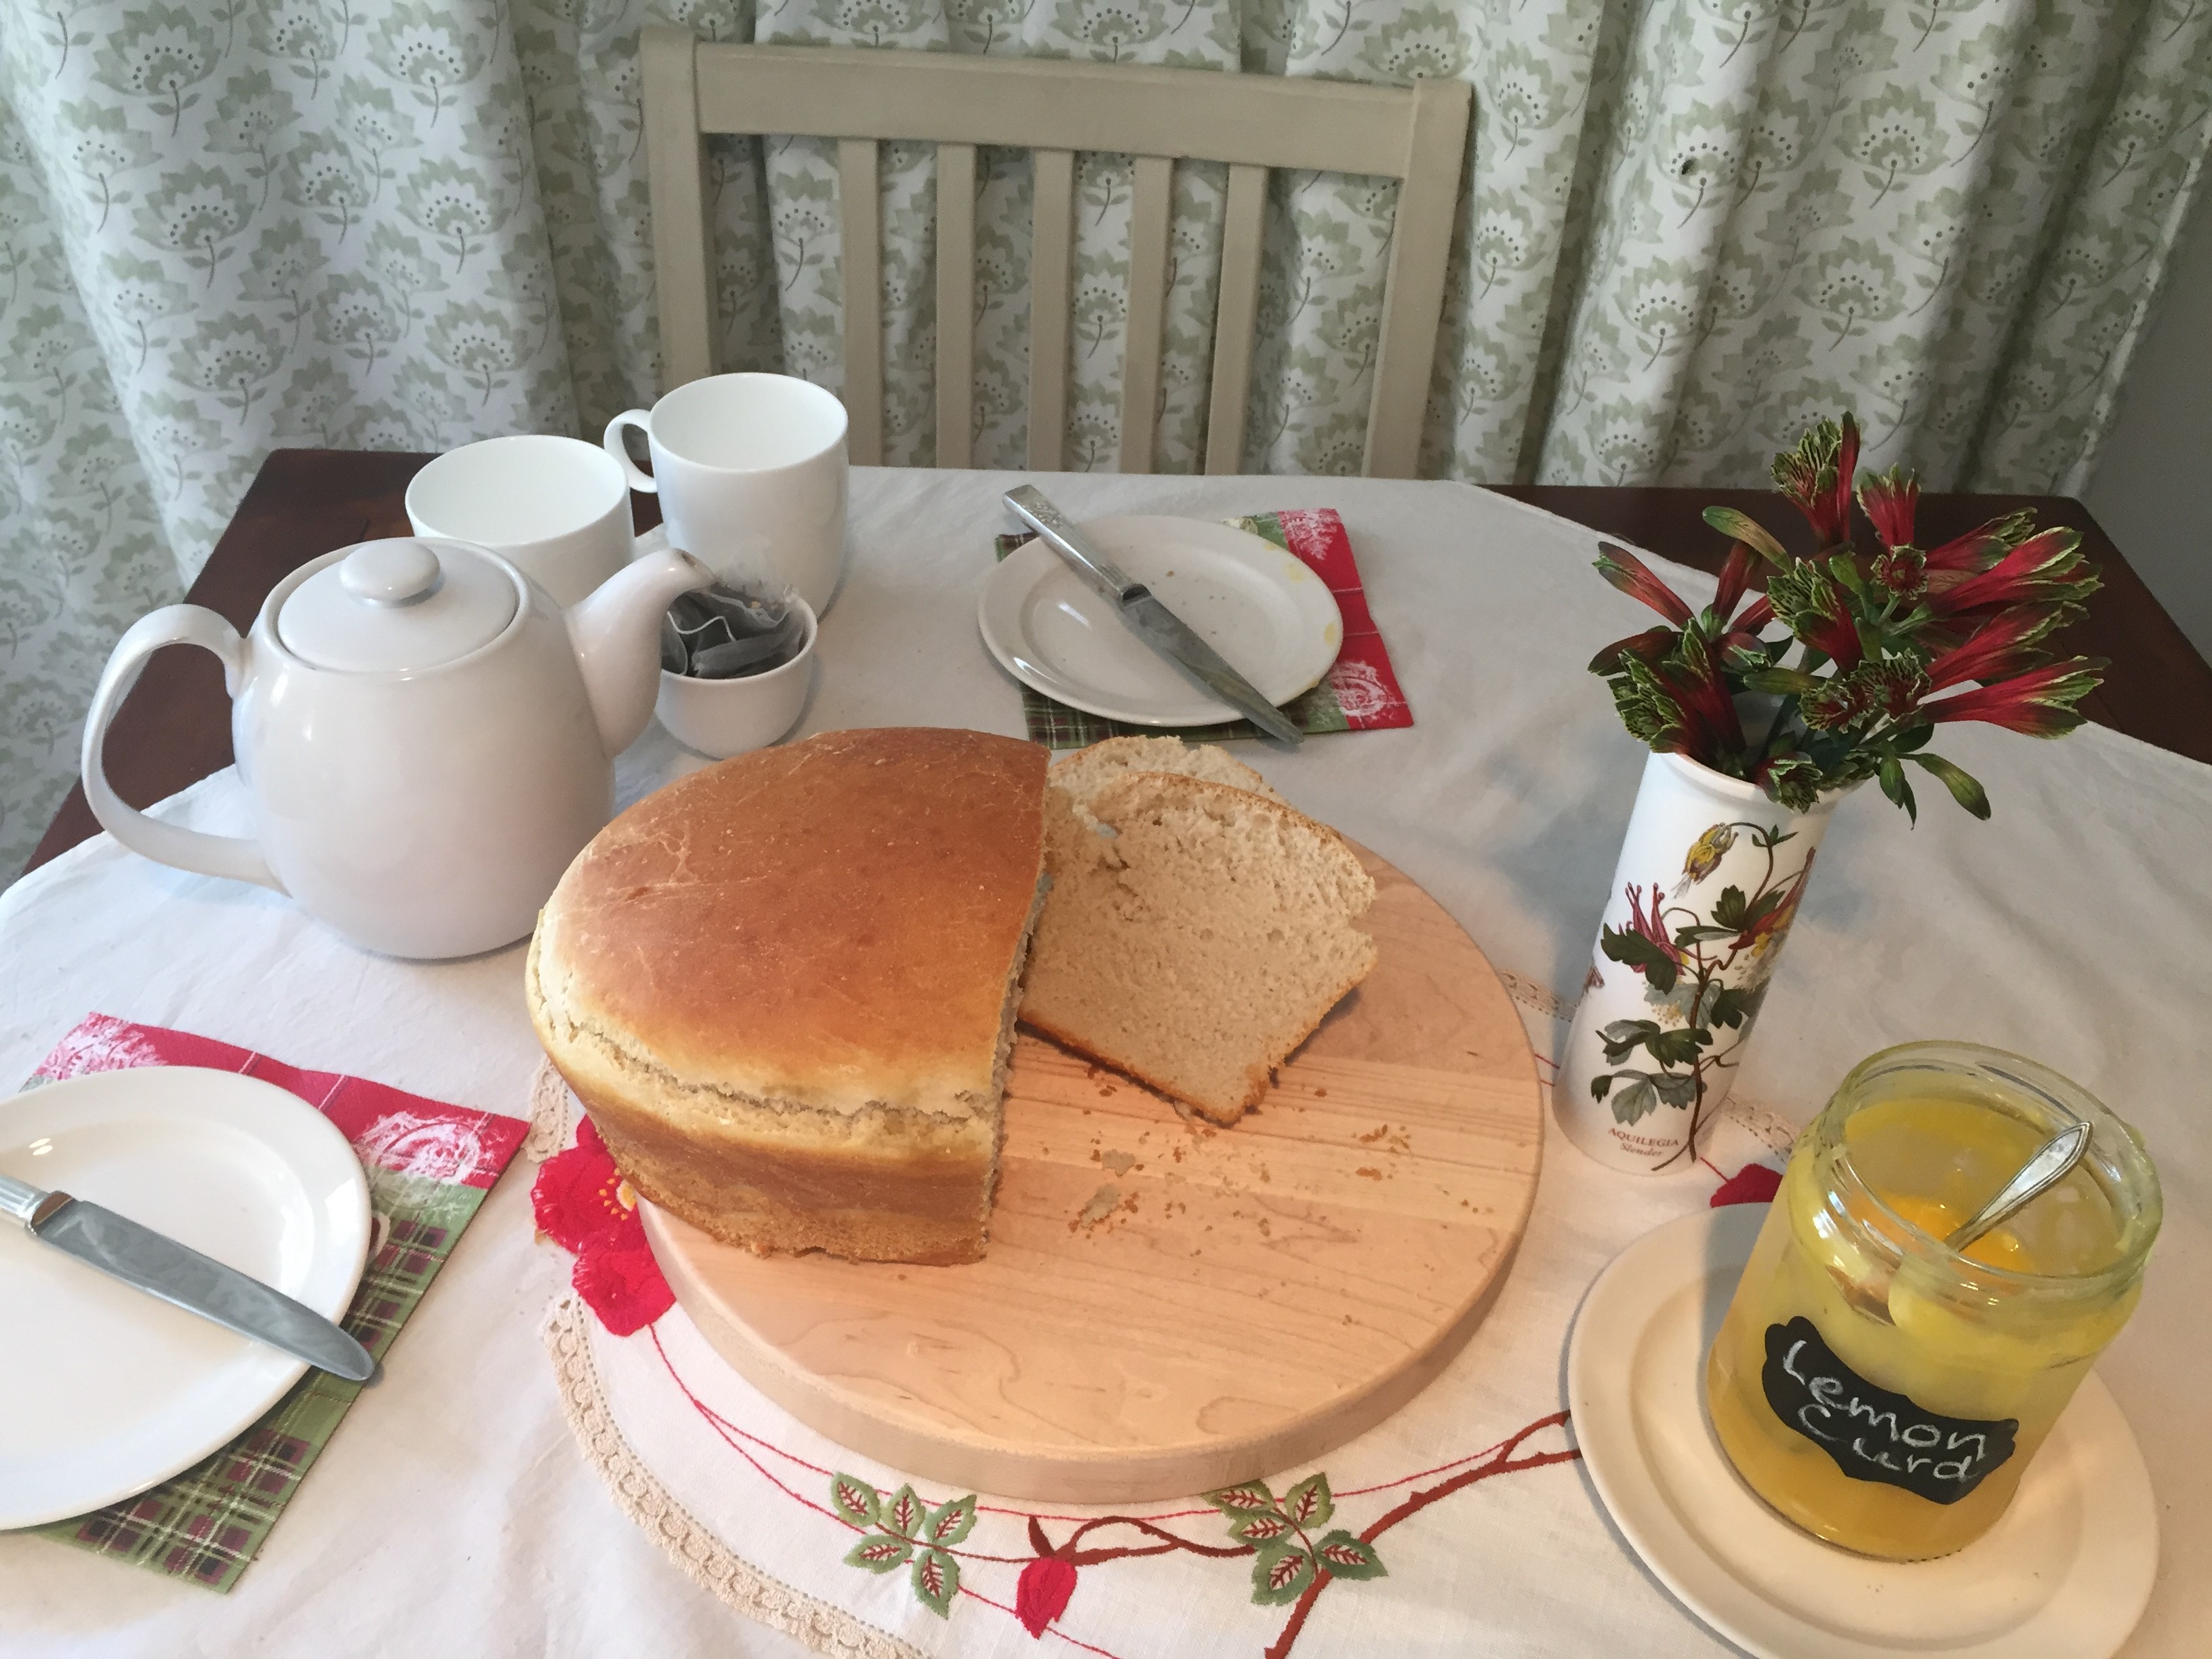
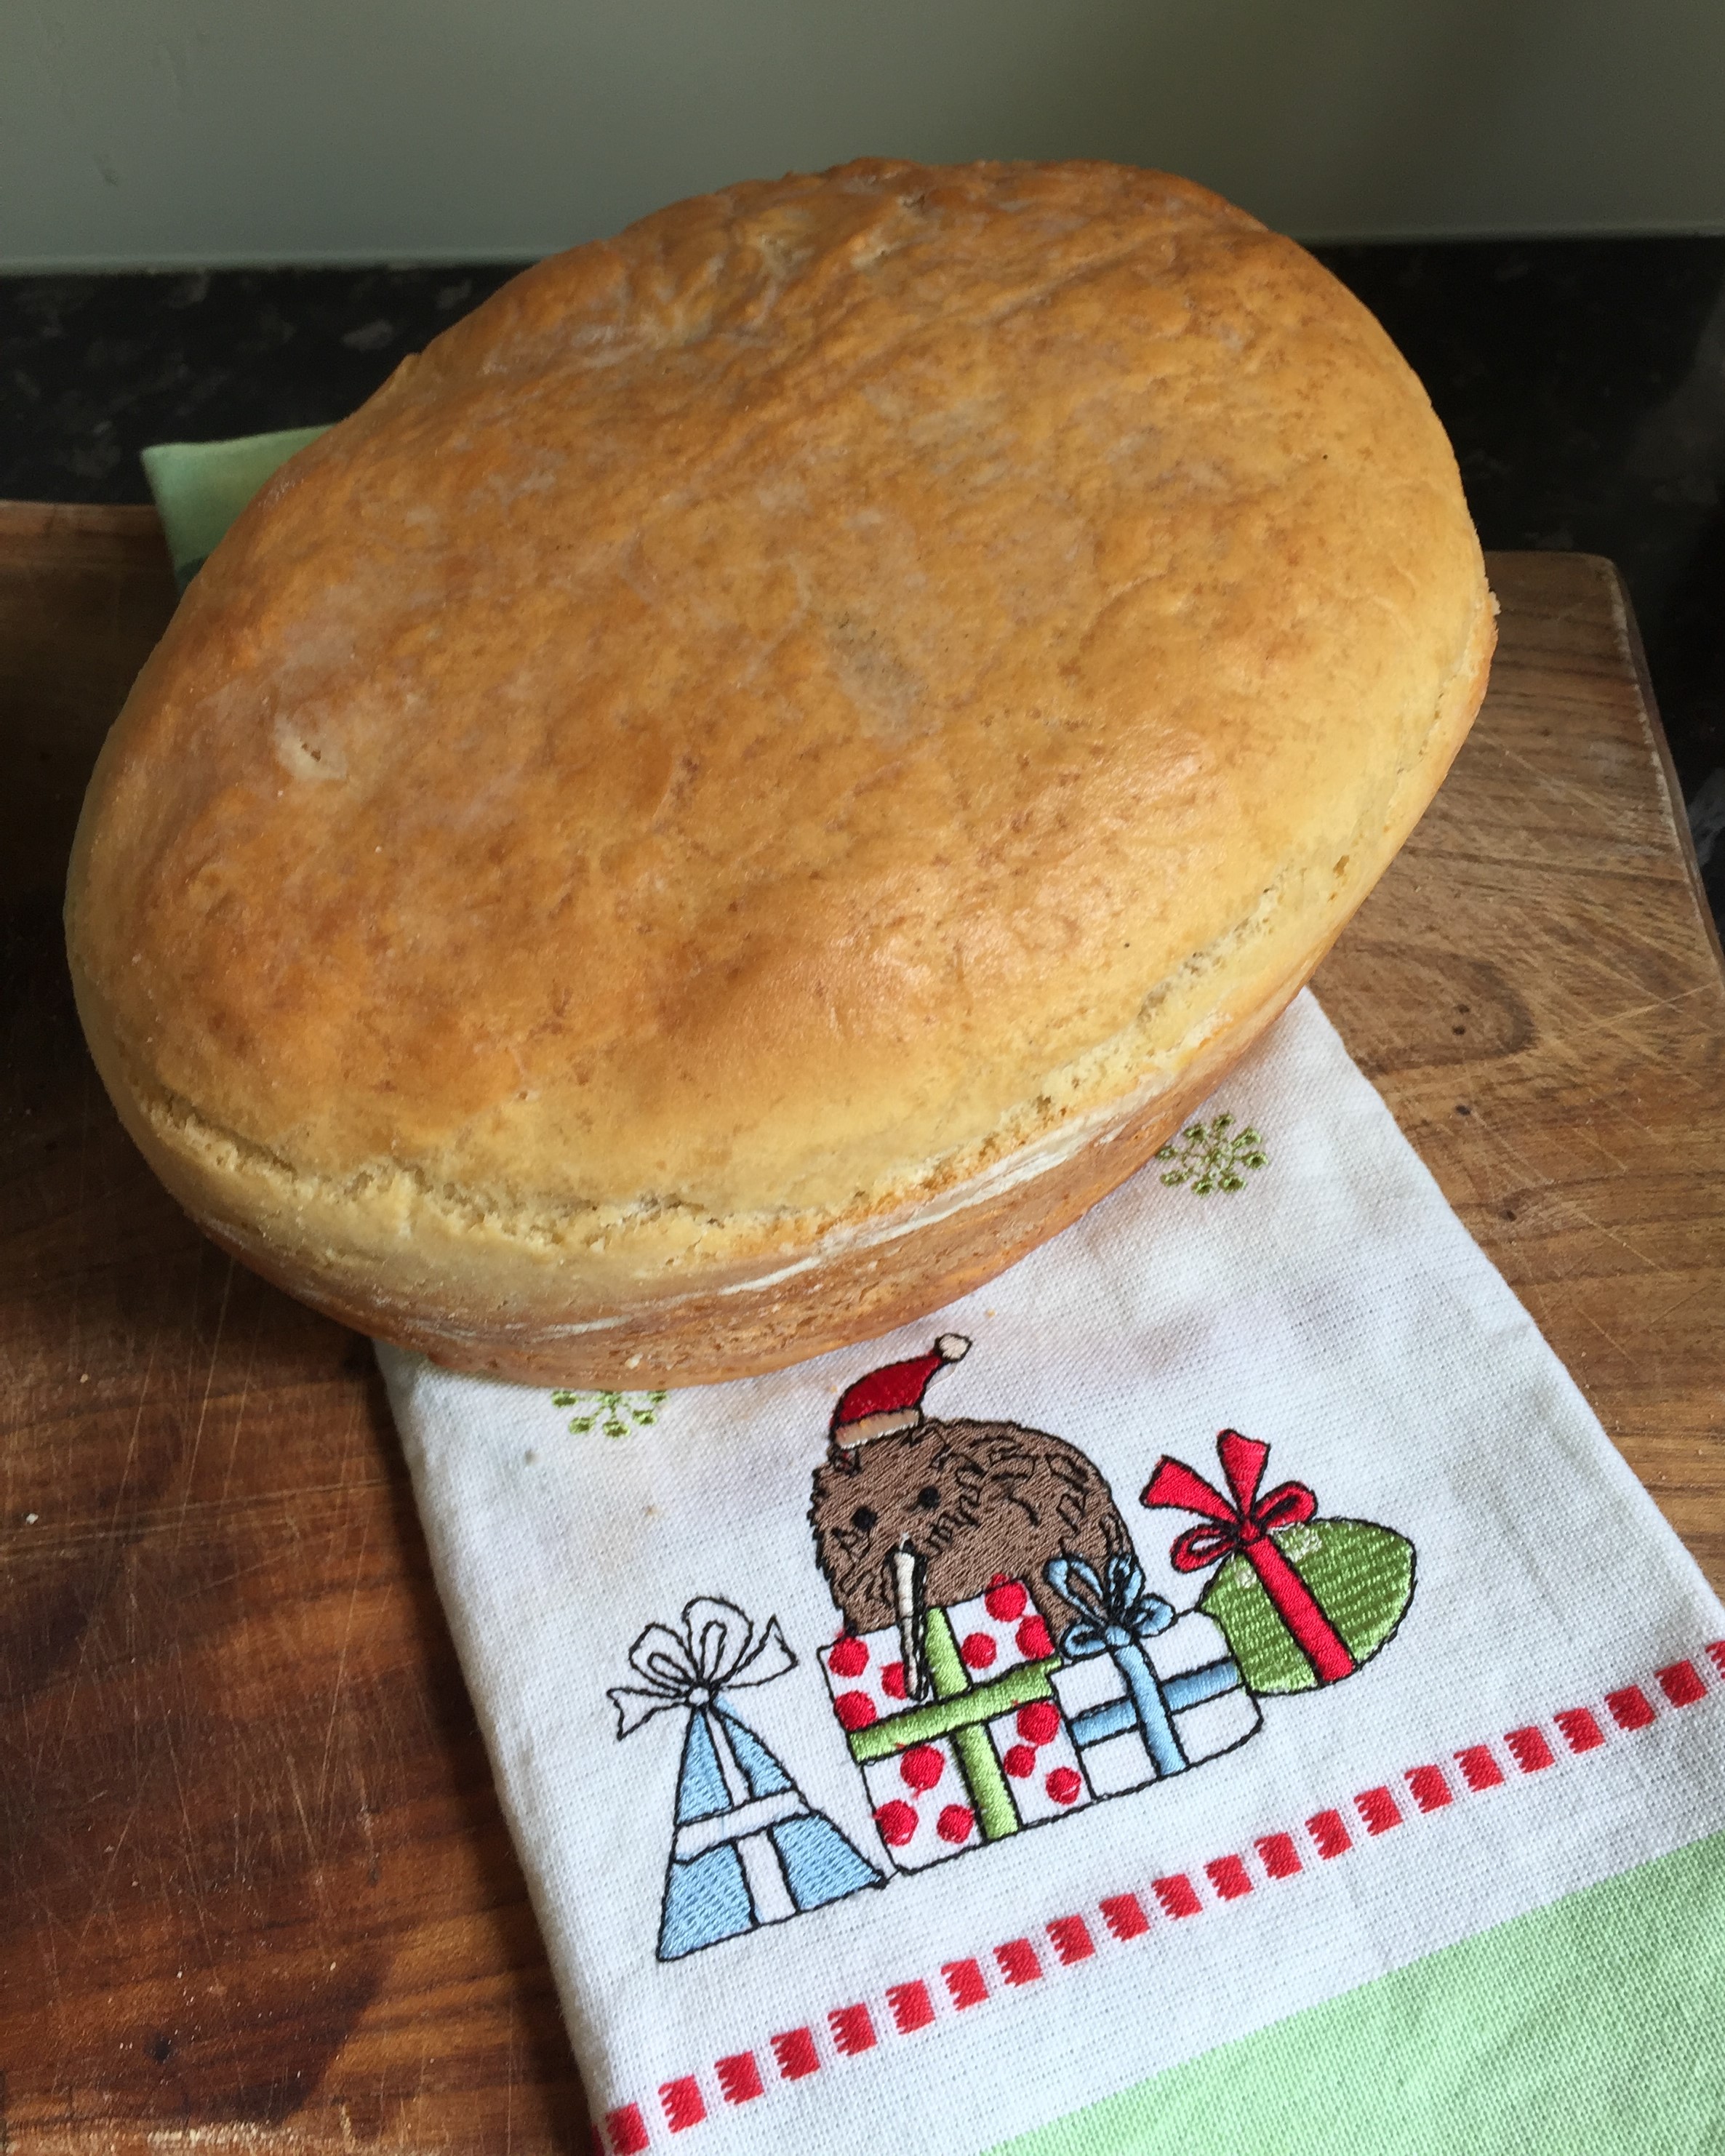
Rewena (Maori) Bread
My family especially love this bread while it is still warm! It slices really well.
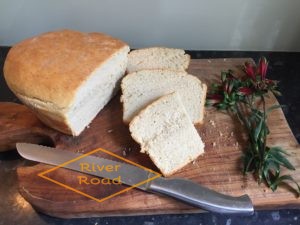
Delicious Maori bread
Thanks for reading my post! I really hope you get to make this Maori bread from New Zealand!
Andi