GROWING A ROSEMARY TOPIARY IN TIME FOR CHRISTMAS…..

Growing a Rosemary topiary in time for Christmas in Hawke’s Bay, New Zealand …

October is not too late start growing a rosemary topiary in time for Christmas! But if you read this post and it is after Christmas start a topiary anyway, because you will love it.

Rosemary

I love rosemary, I use it a lot in cooking, so I like to keep it inside in a jug of water. Something about the smell of it is really wonderful and fills the whole room.

Rosemary in a ironstone jug

Rosemary in an ironstone jug


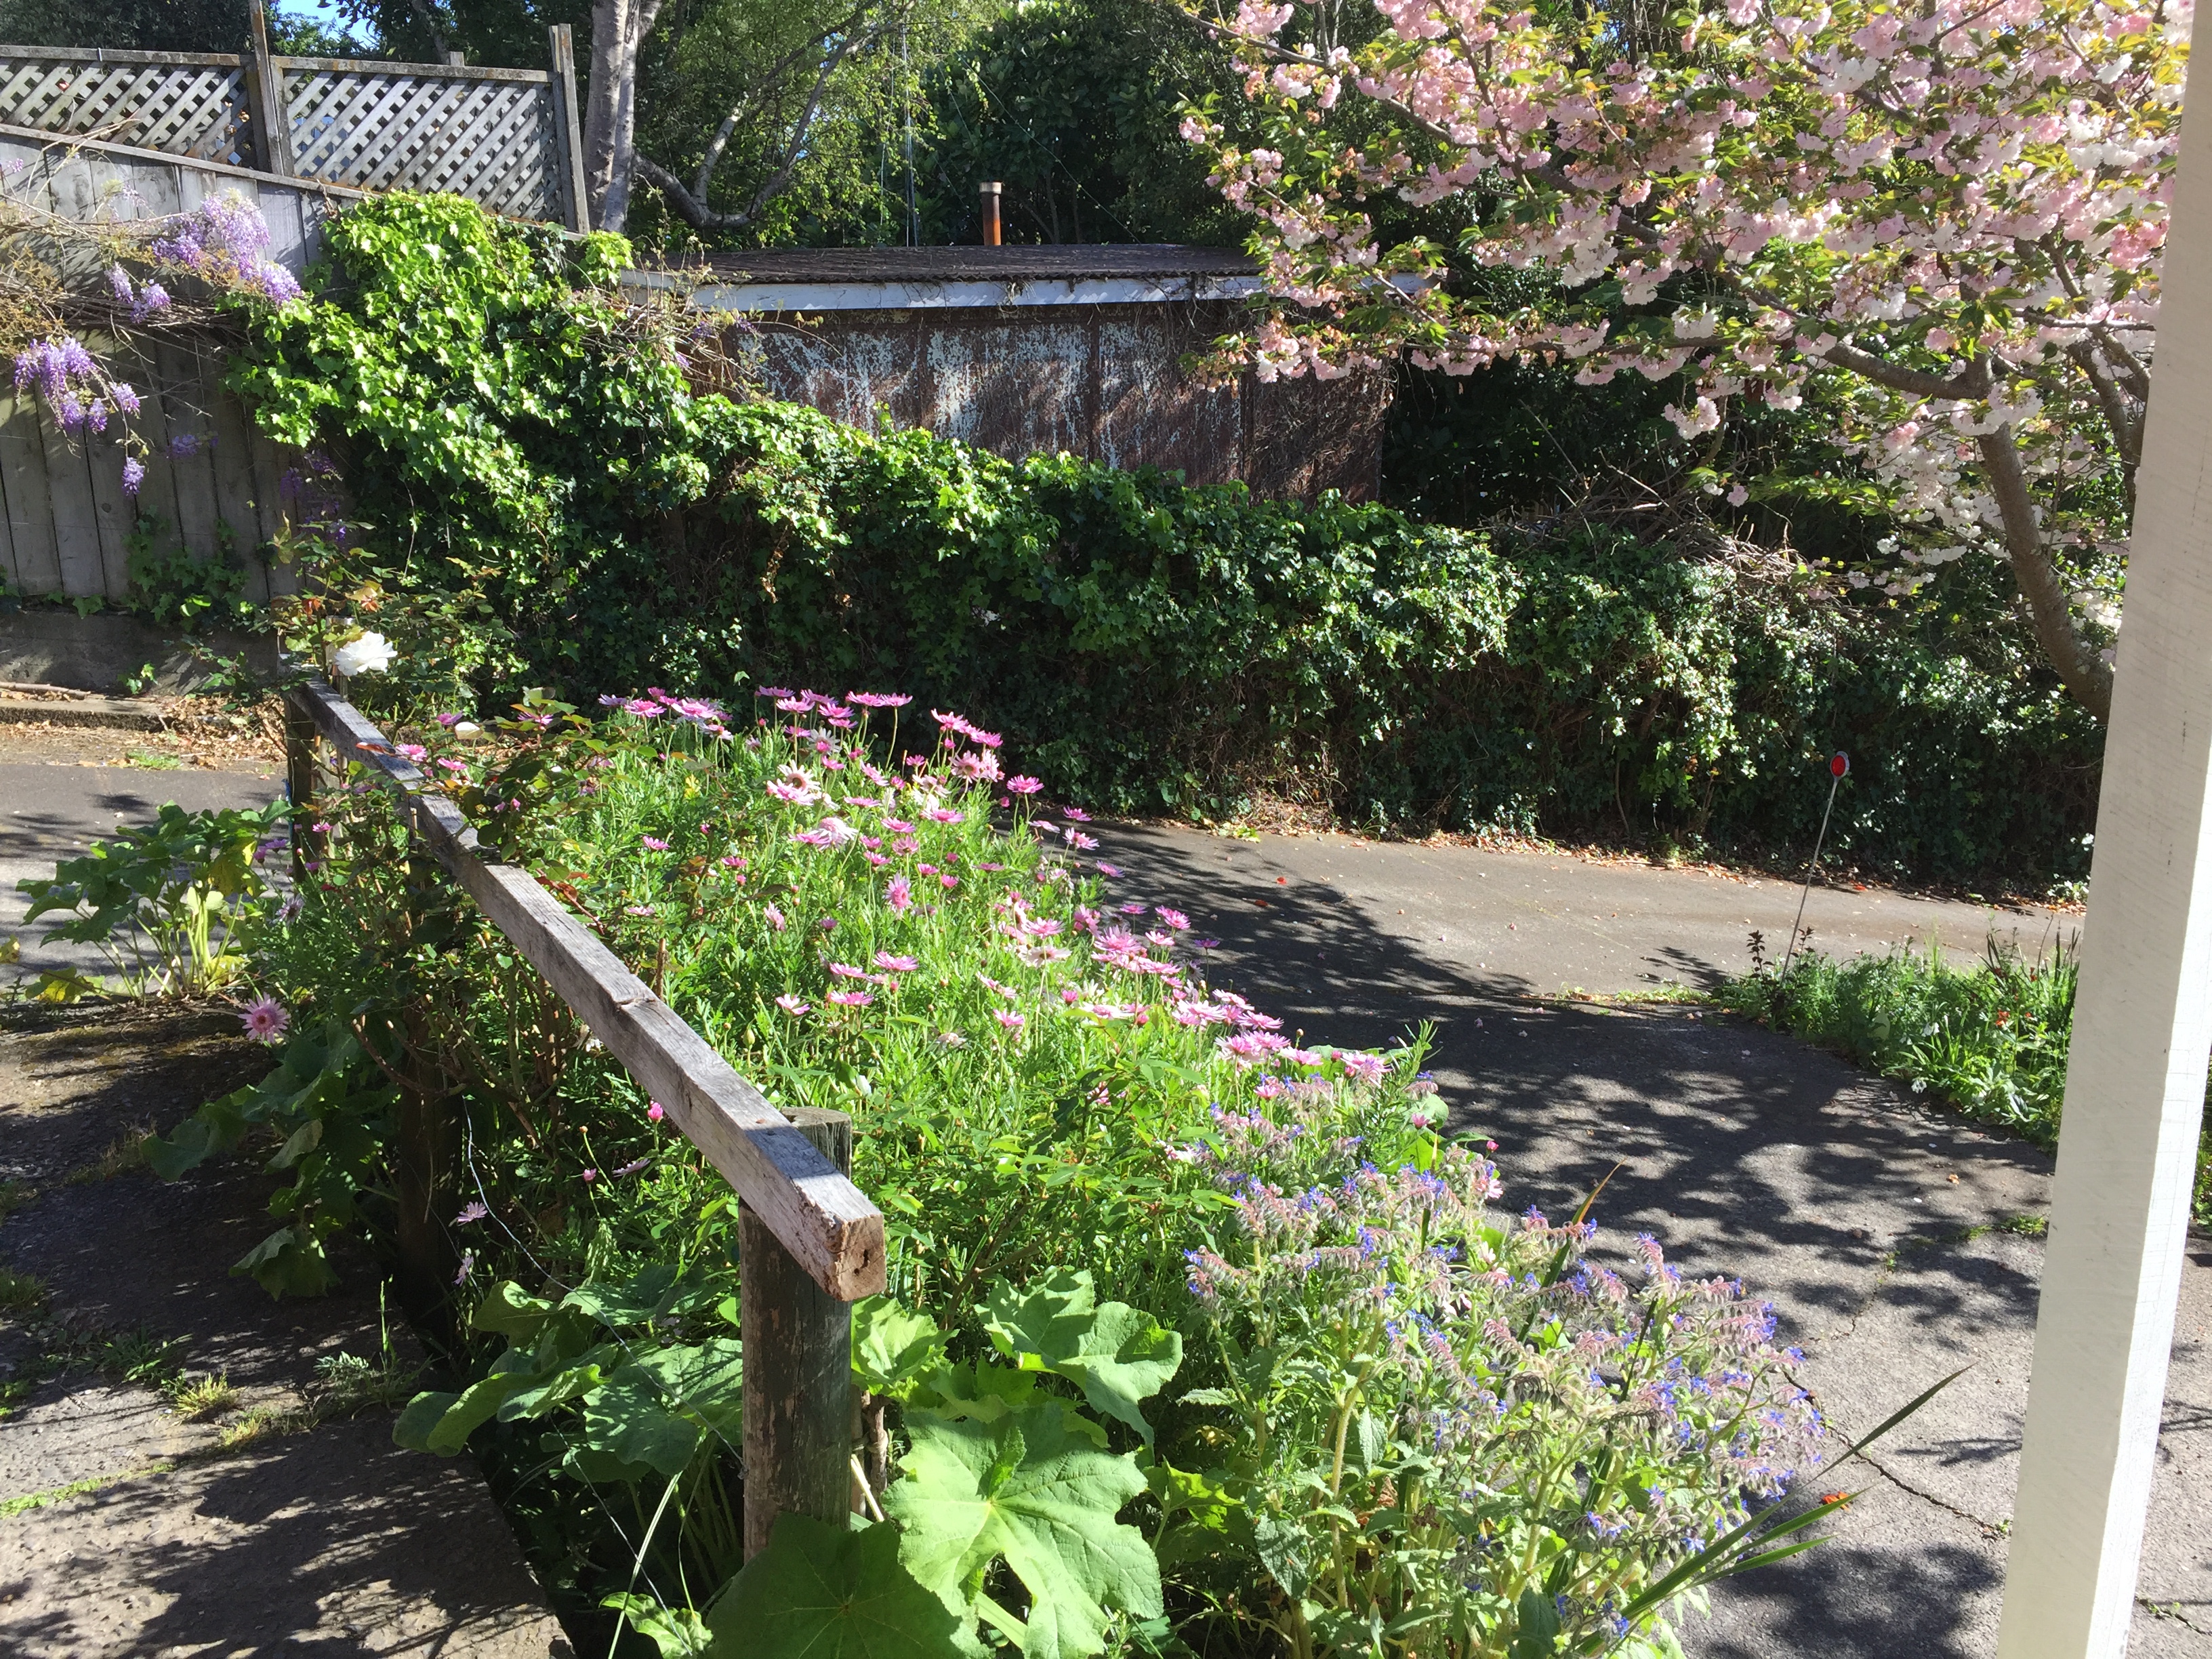
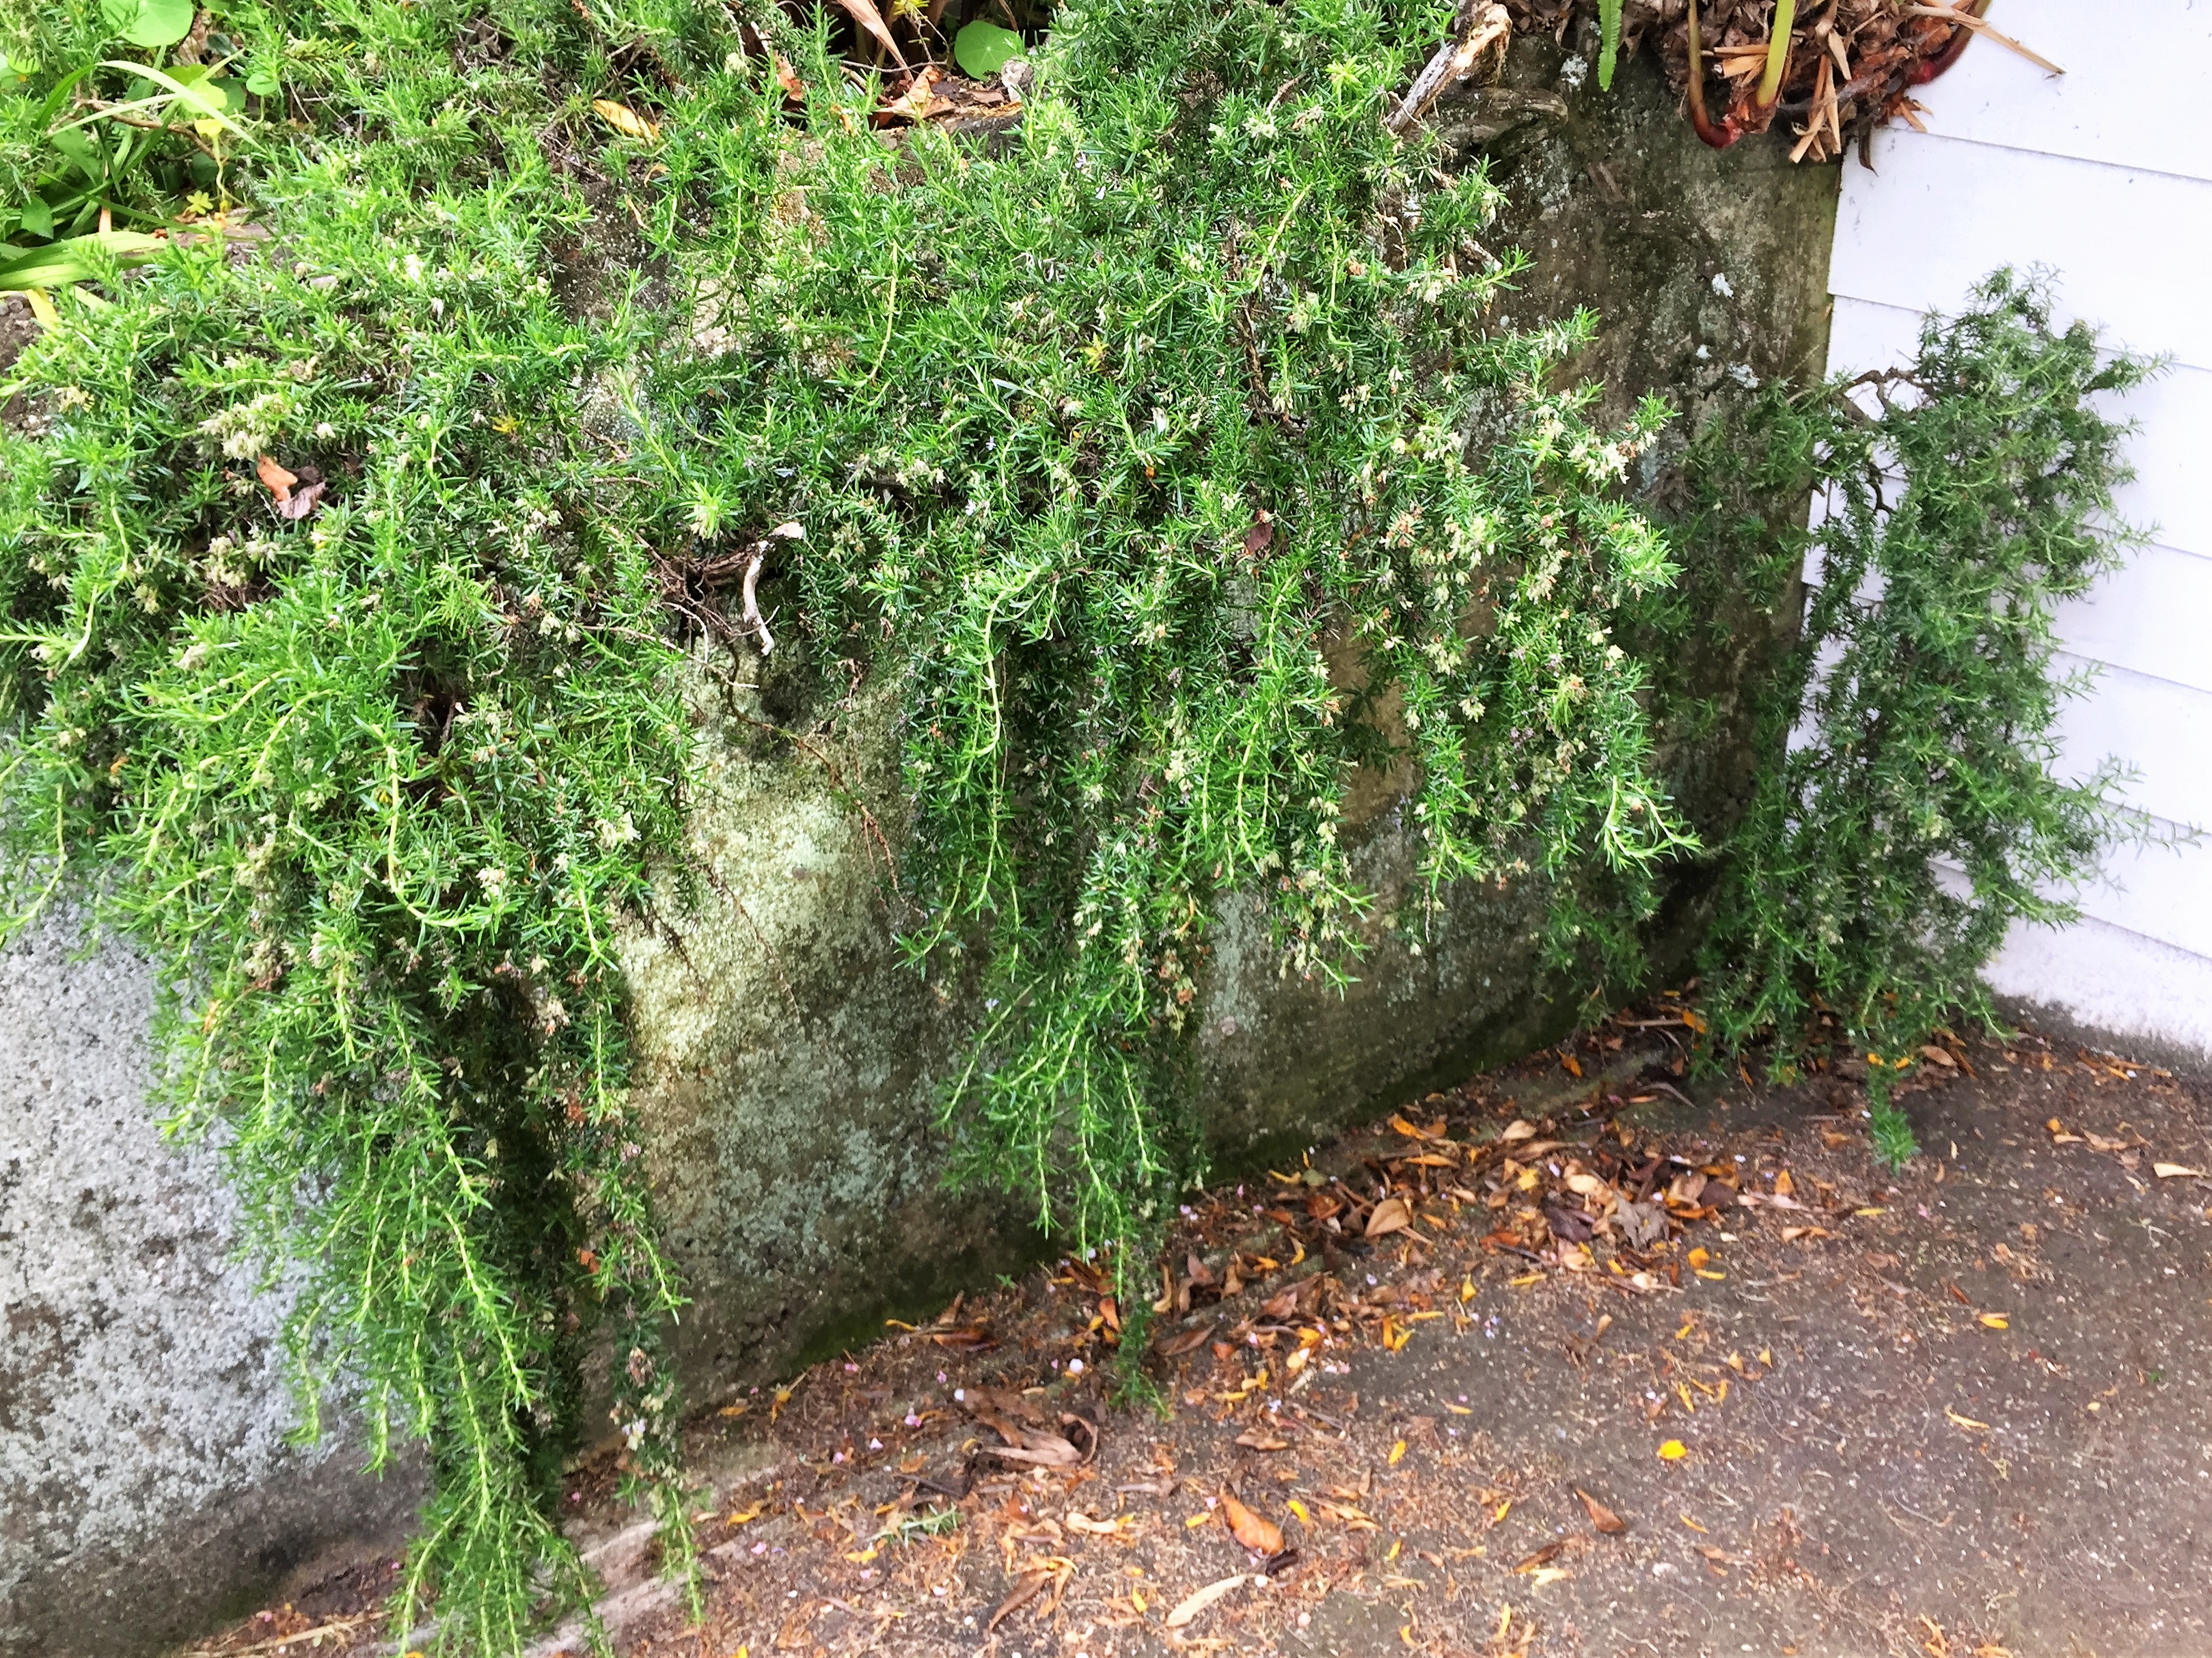
In my garden I have lots of rosemary bushes growing, one of them is incredibly old with really gnarly roots.

Gnarly roots on rosemary

Gnarly roots on rosemary

img_1116-2

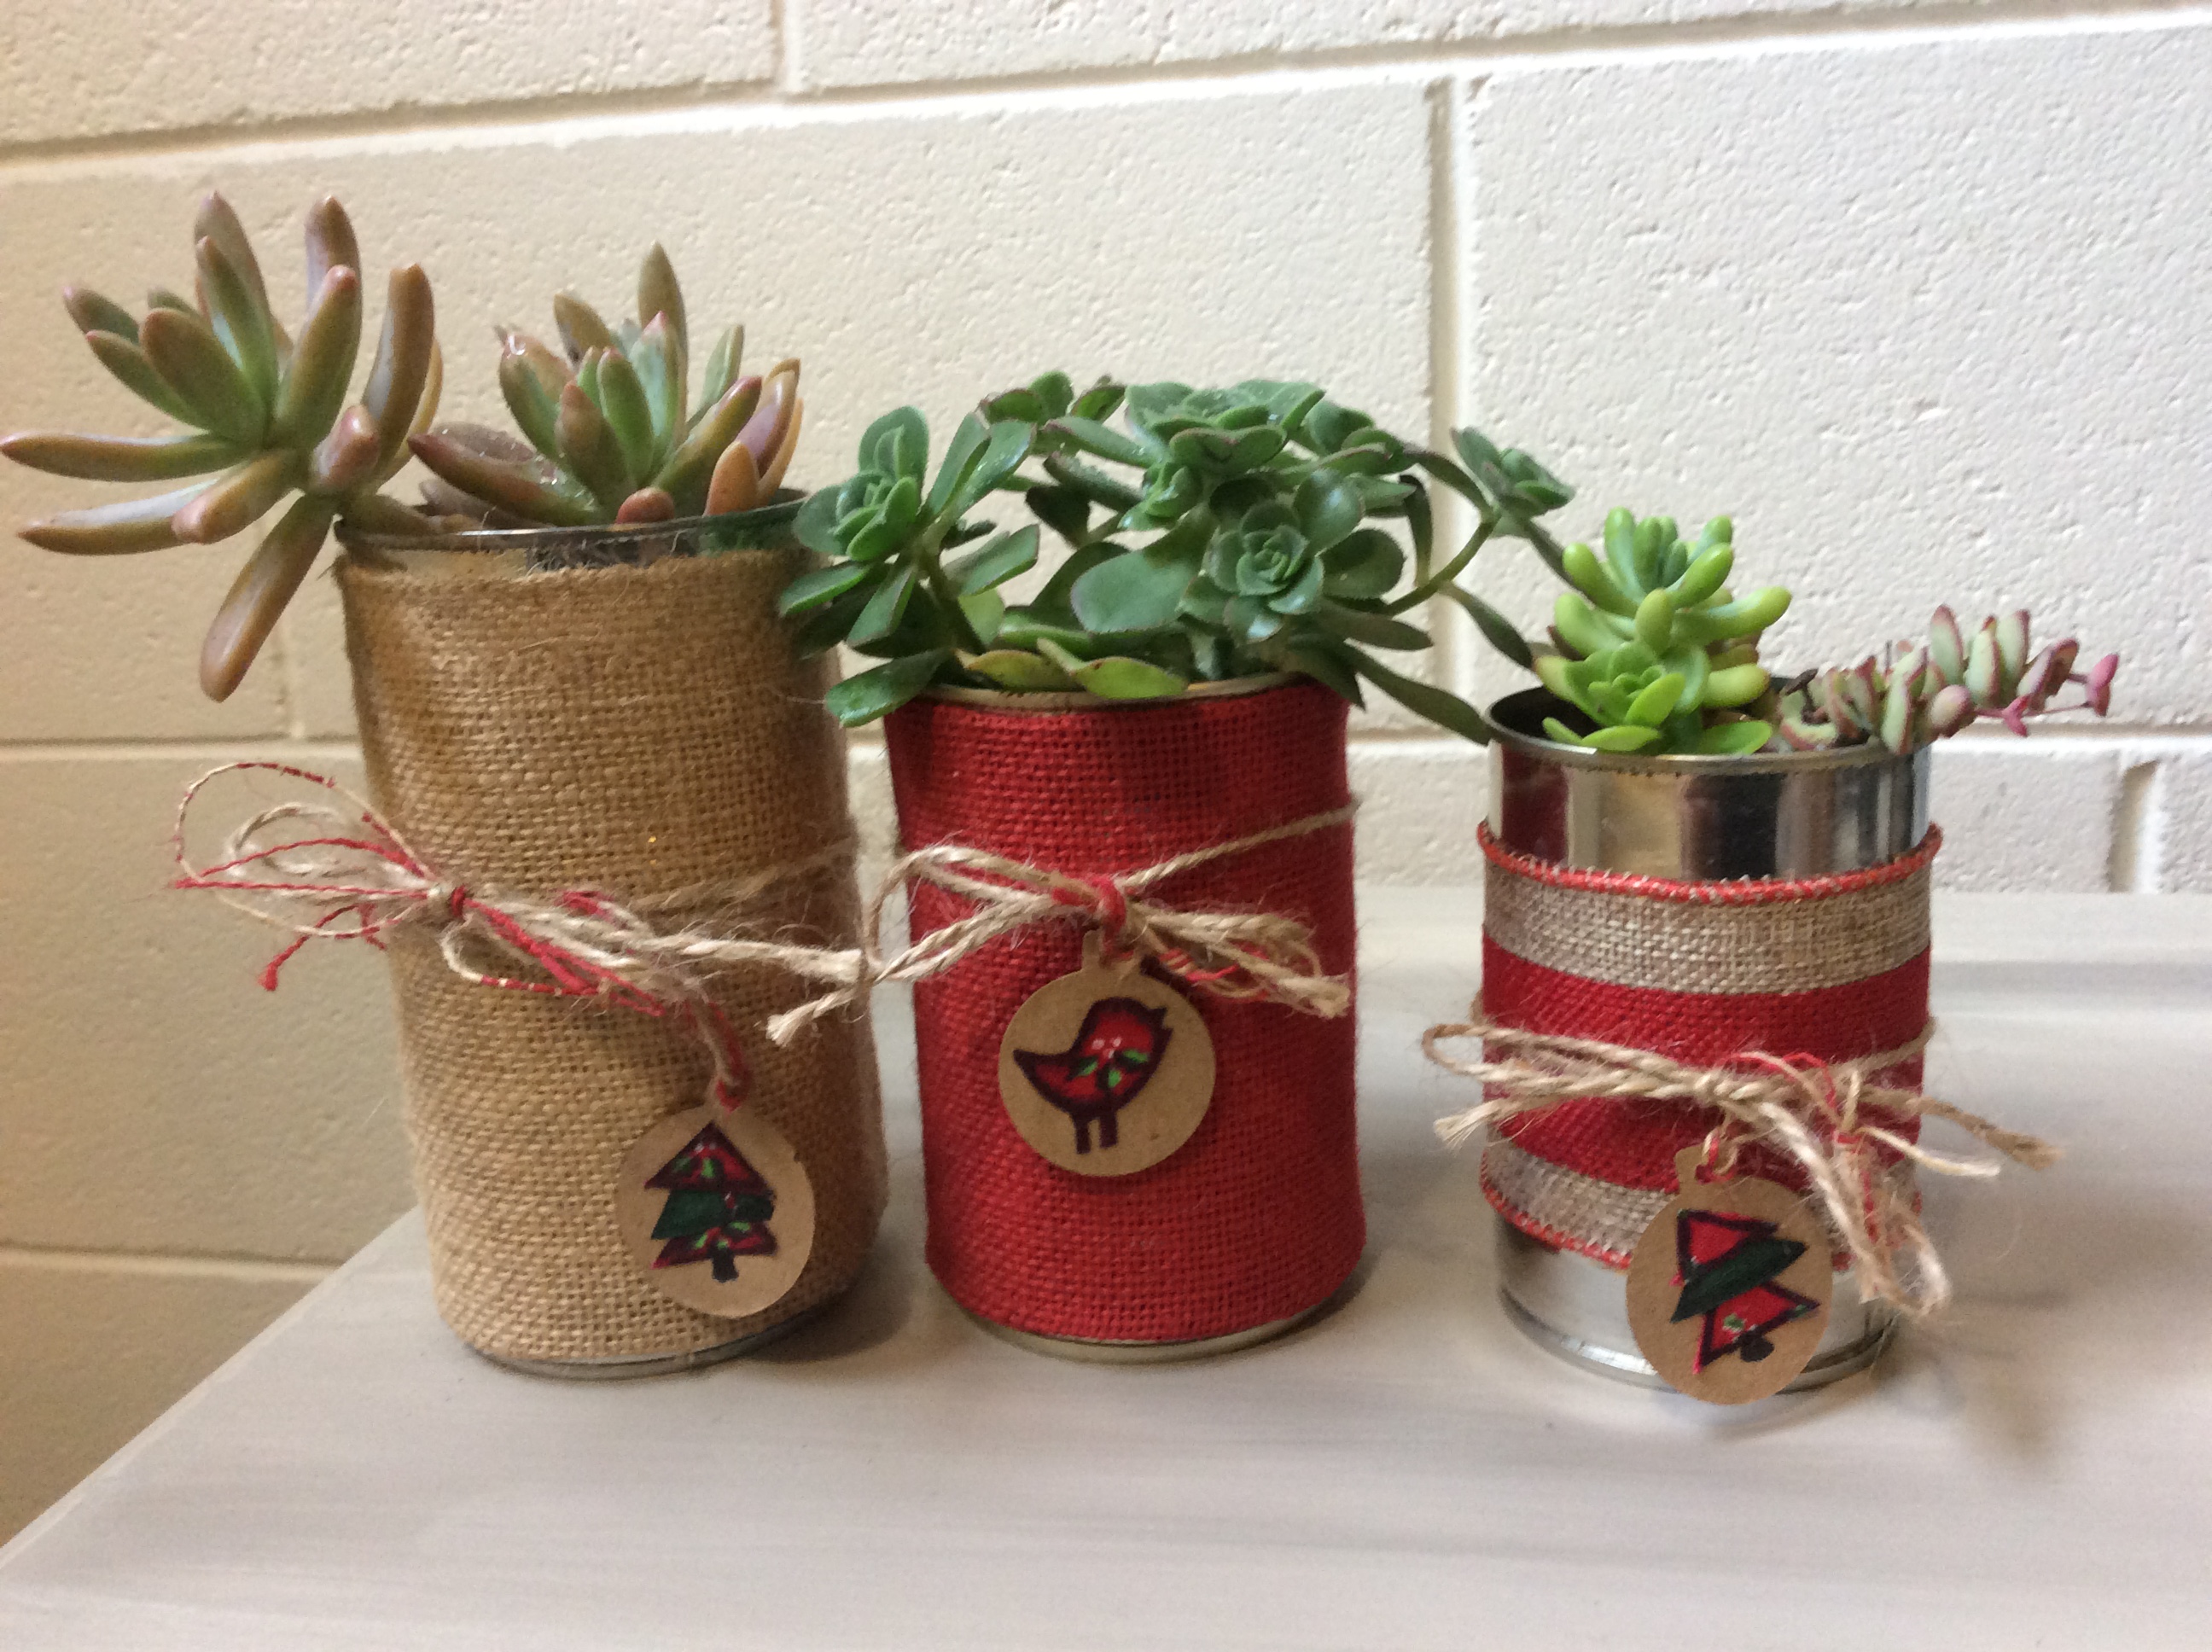
Since I have never grown a topiary before, I decided I would start one with the idea it should be looking good enough to bring into the house to decorate in time for Christmas. They look great with even a simple bow around as a decoration. Or they can make a great gift!

So I decided to try growing and pruning a couple of rosemary. One had been growing in a pot for some time and I just had to cut it back to the main vertical shoot. Then trimming off all the shoots and cutting the top off.

img_1072-2

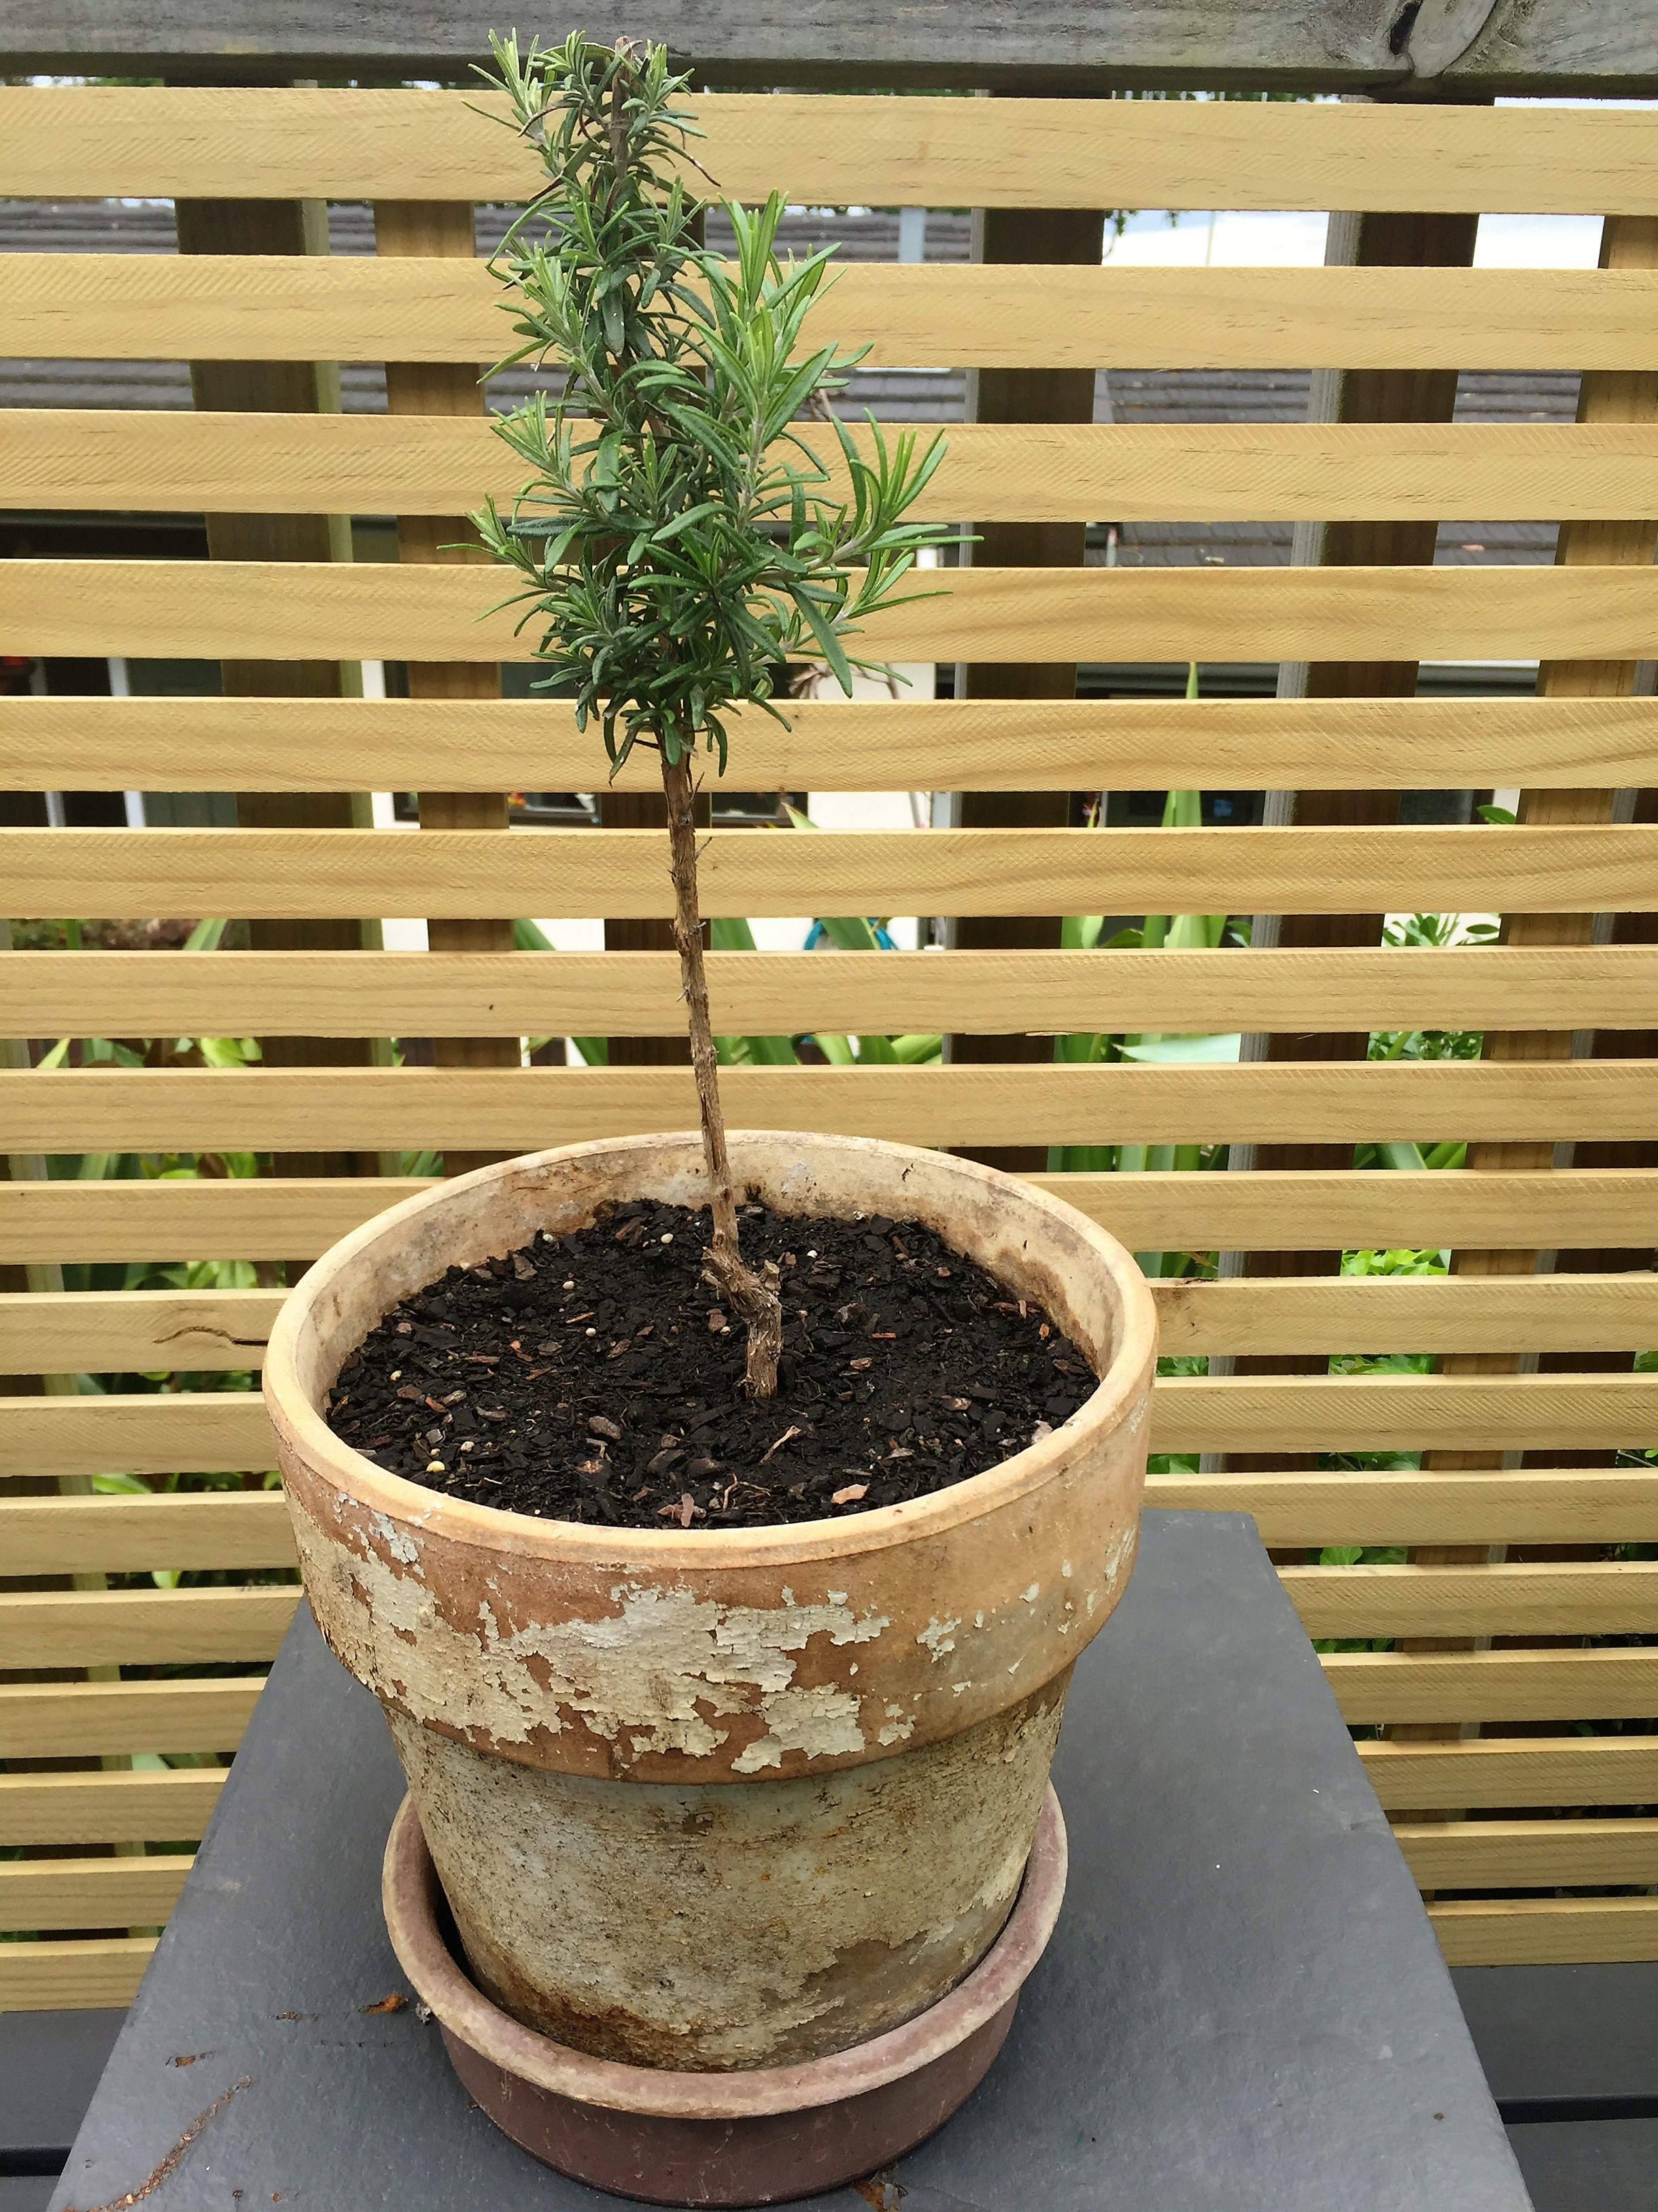
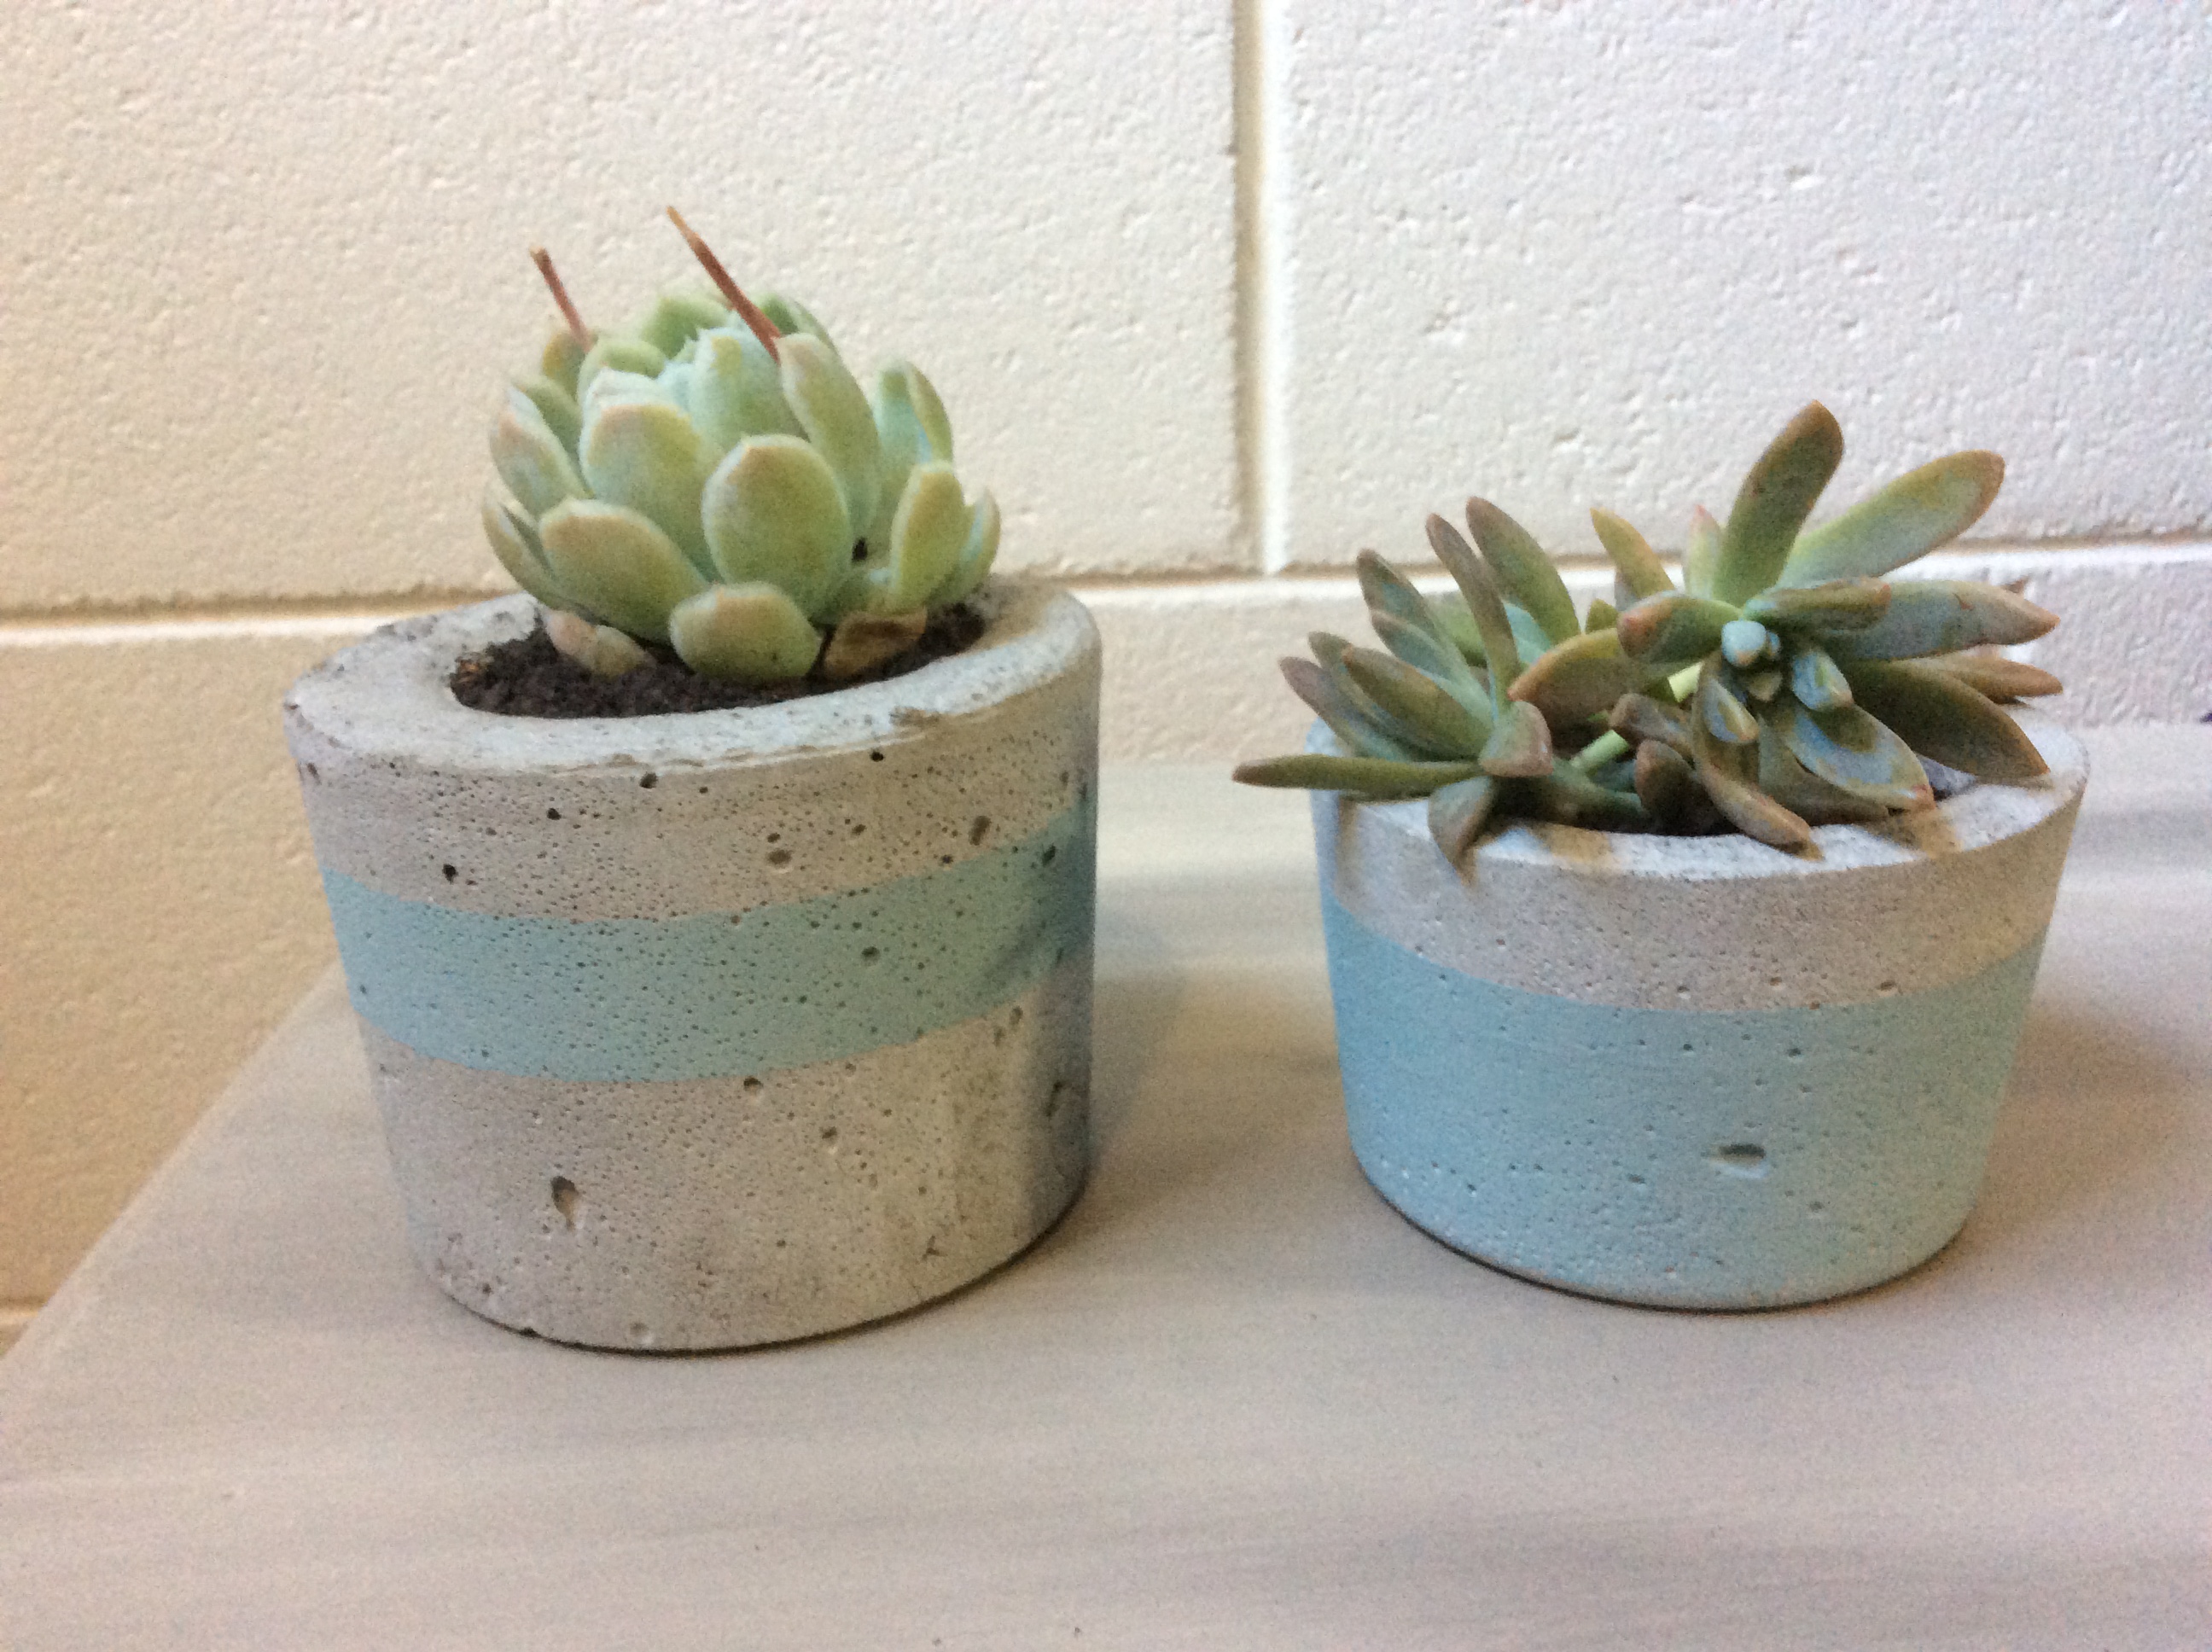
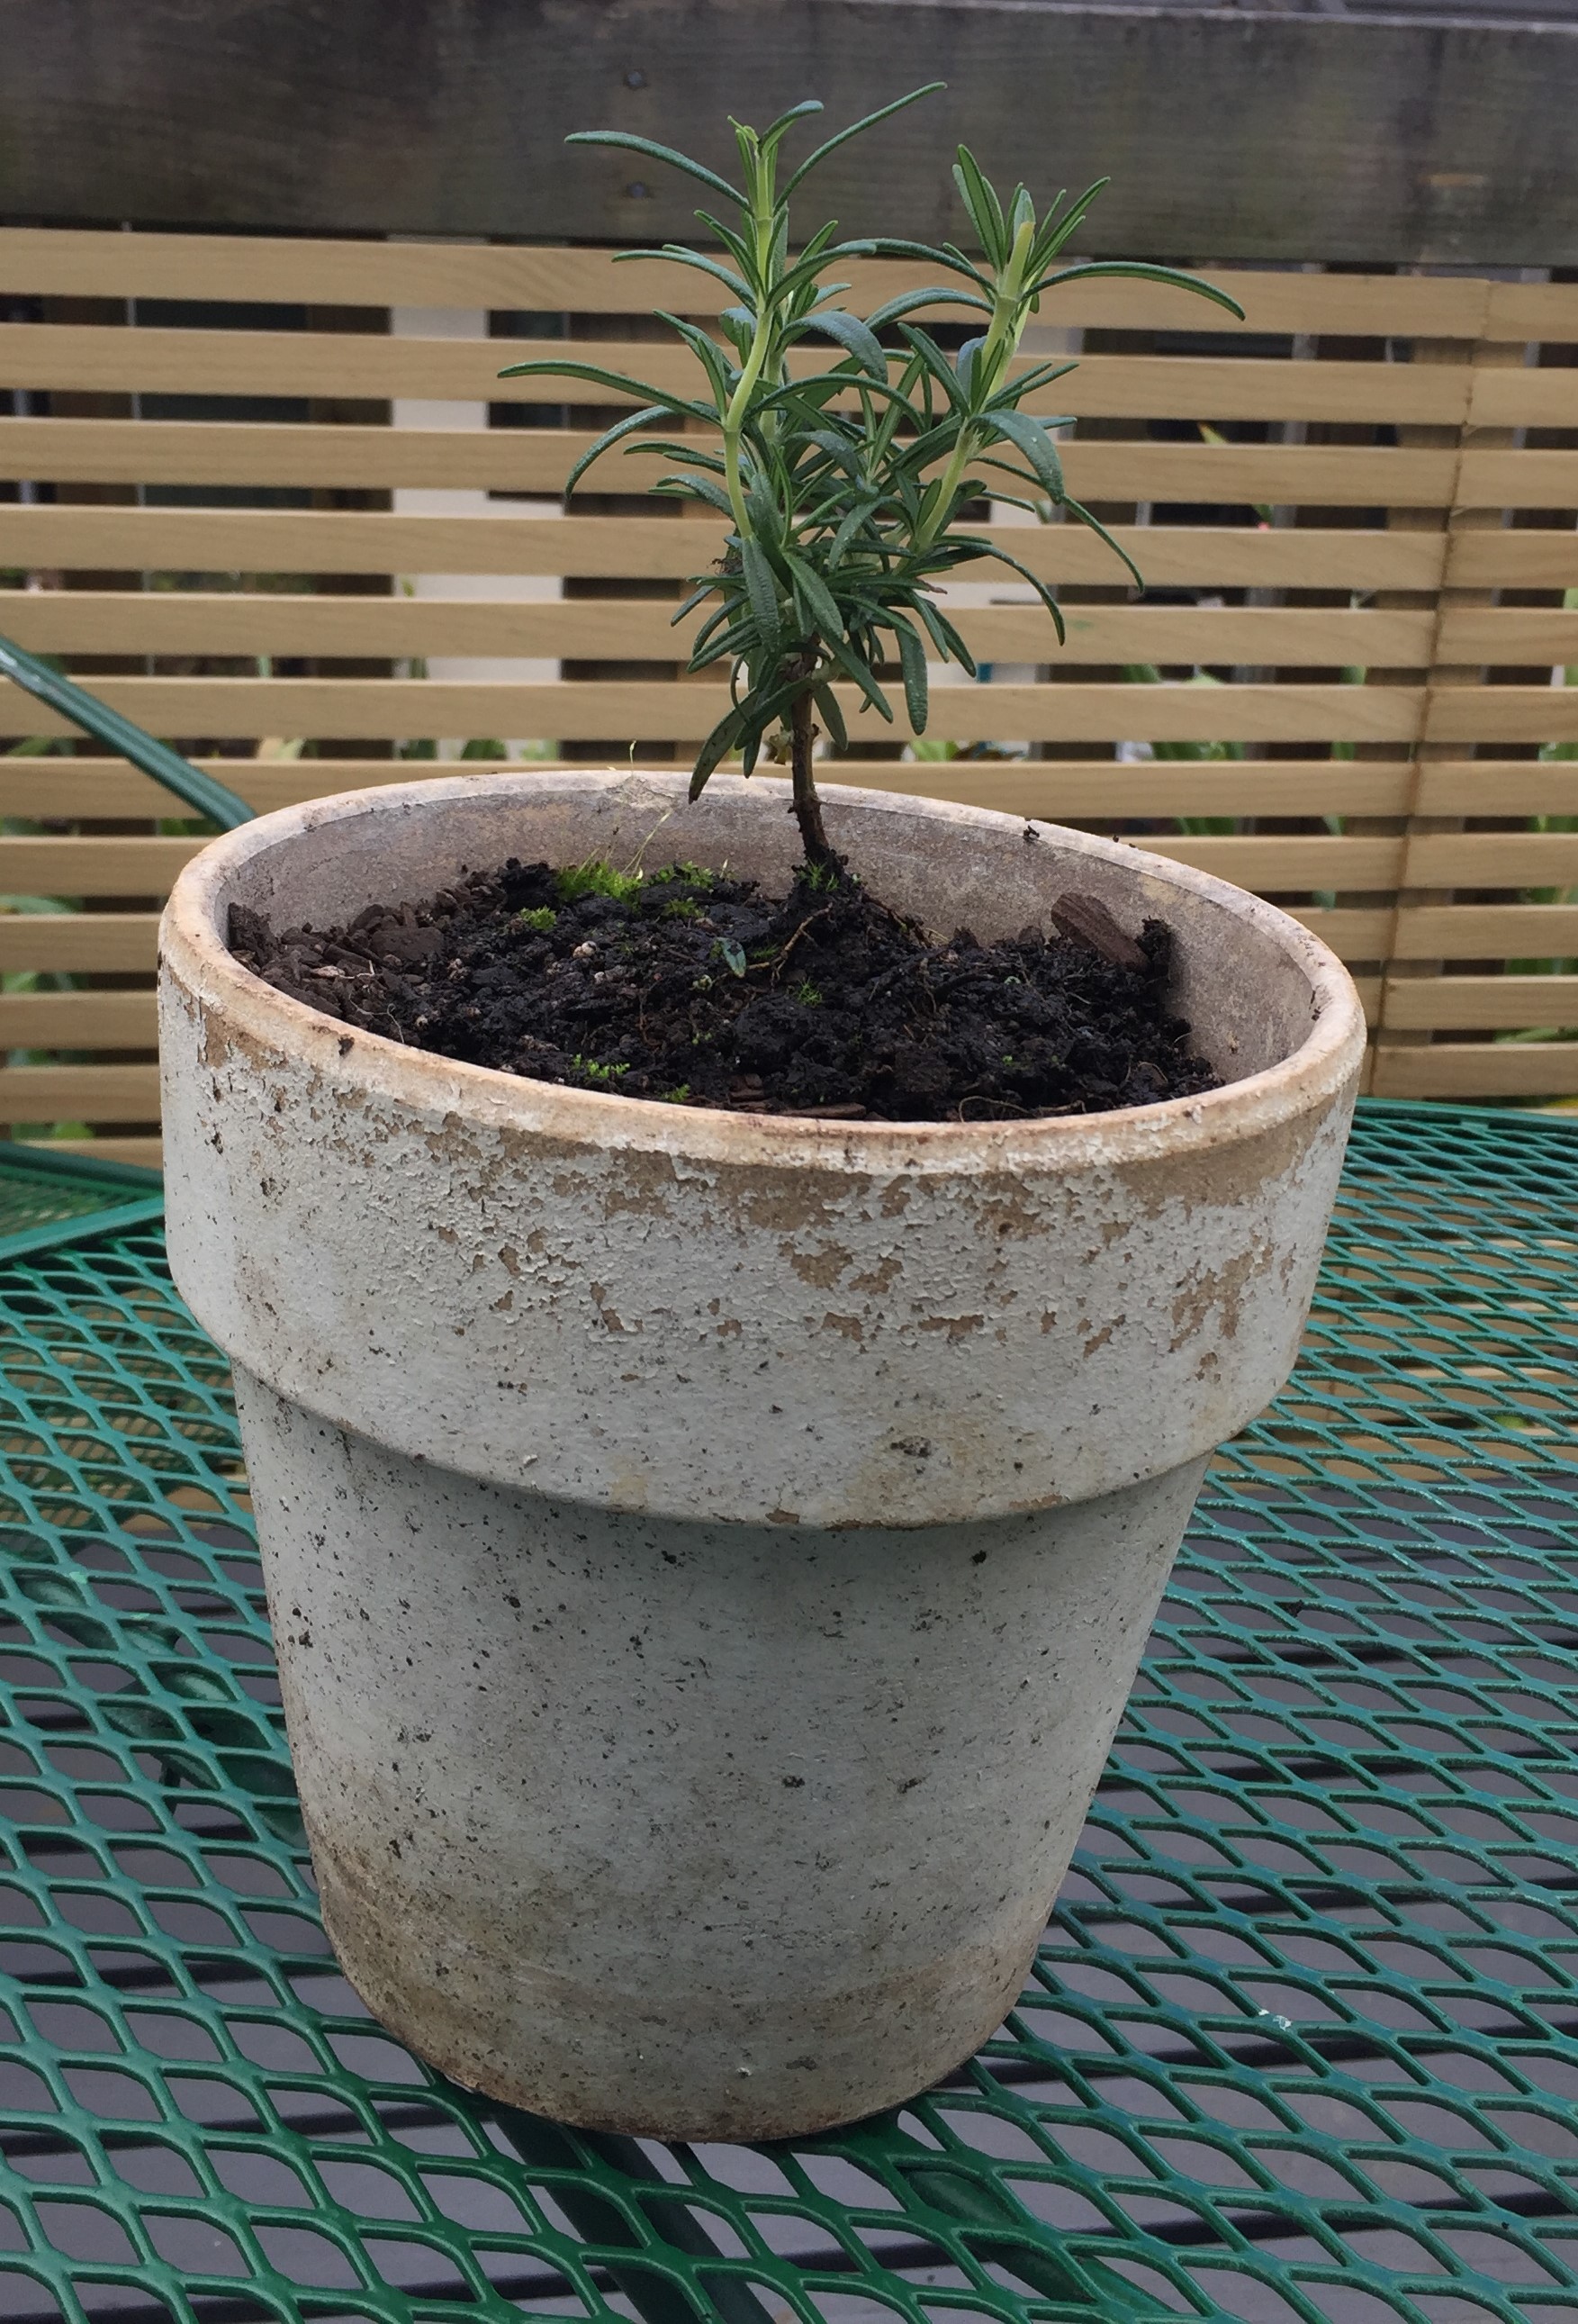
The second one I brought from a nursery and transplanted it to a terracotta pot.

img_0834-2

img_0839-3

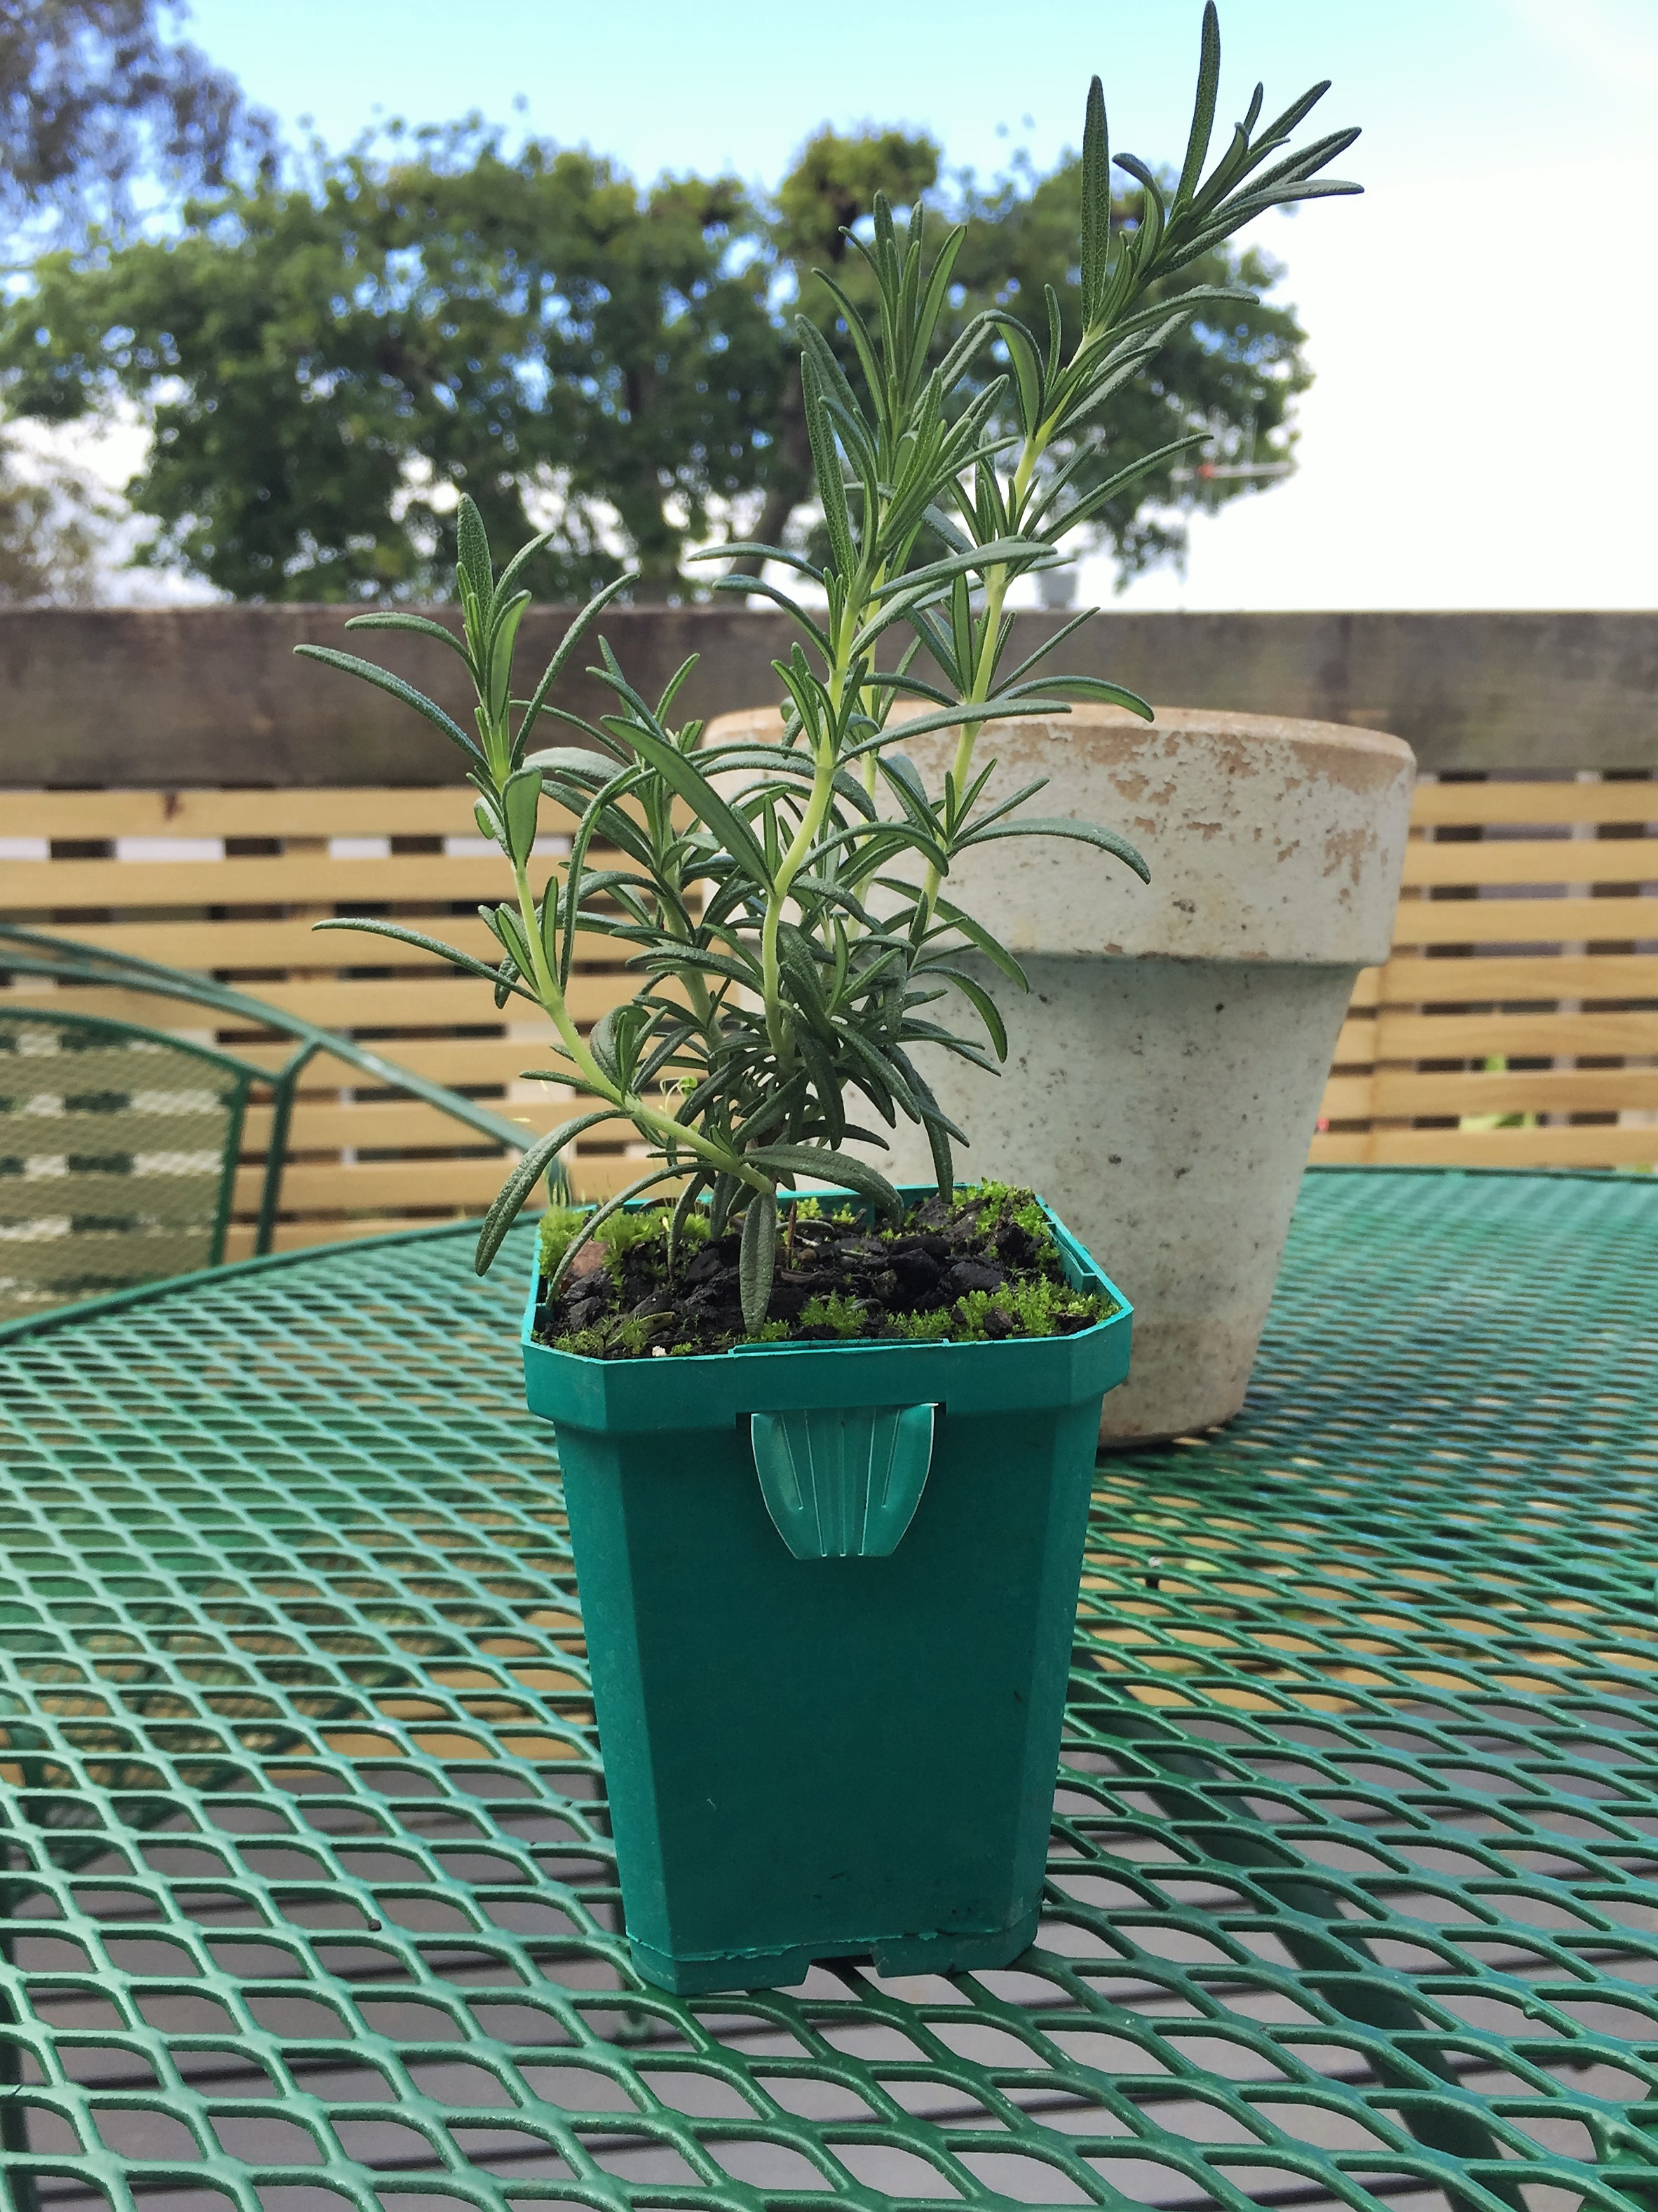
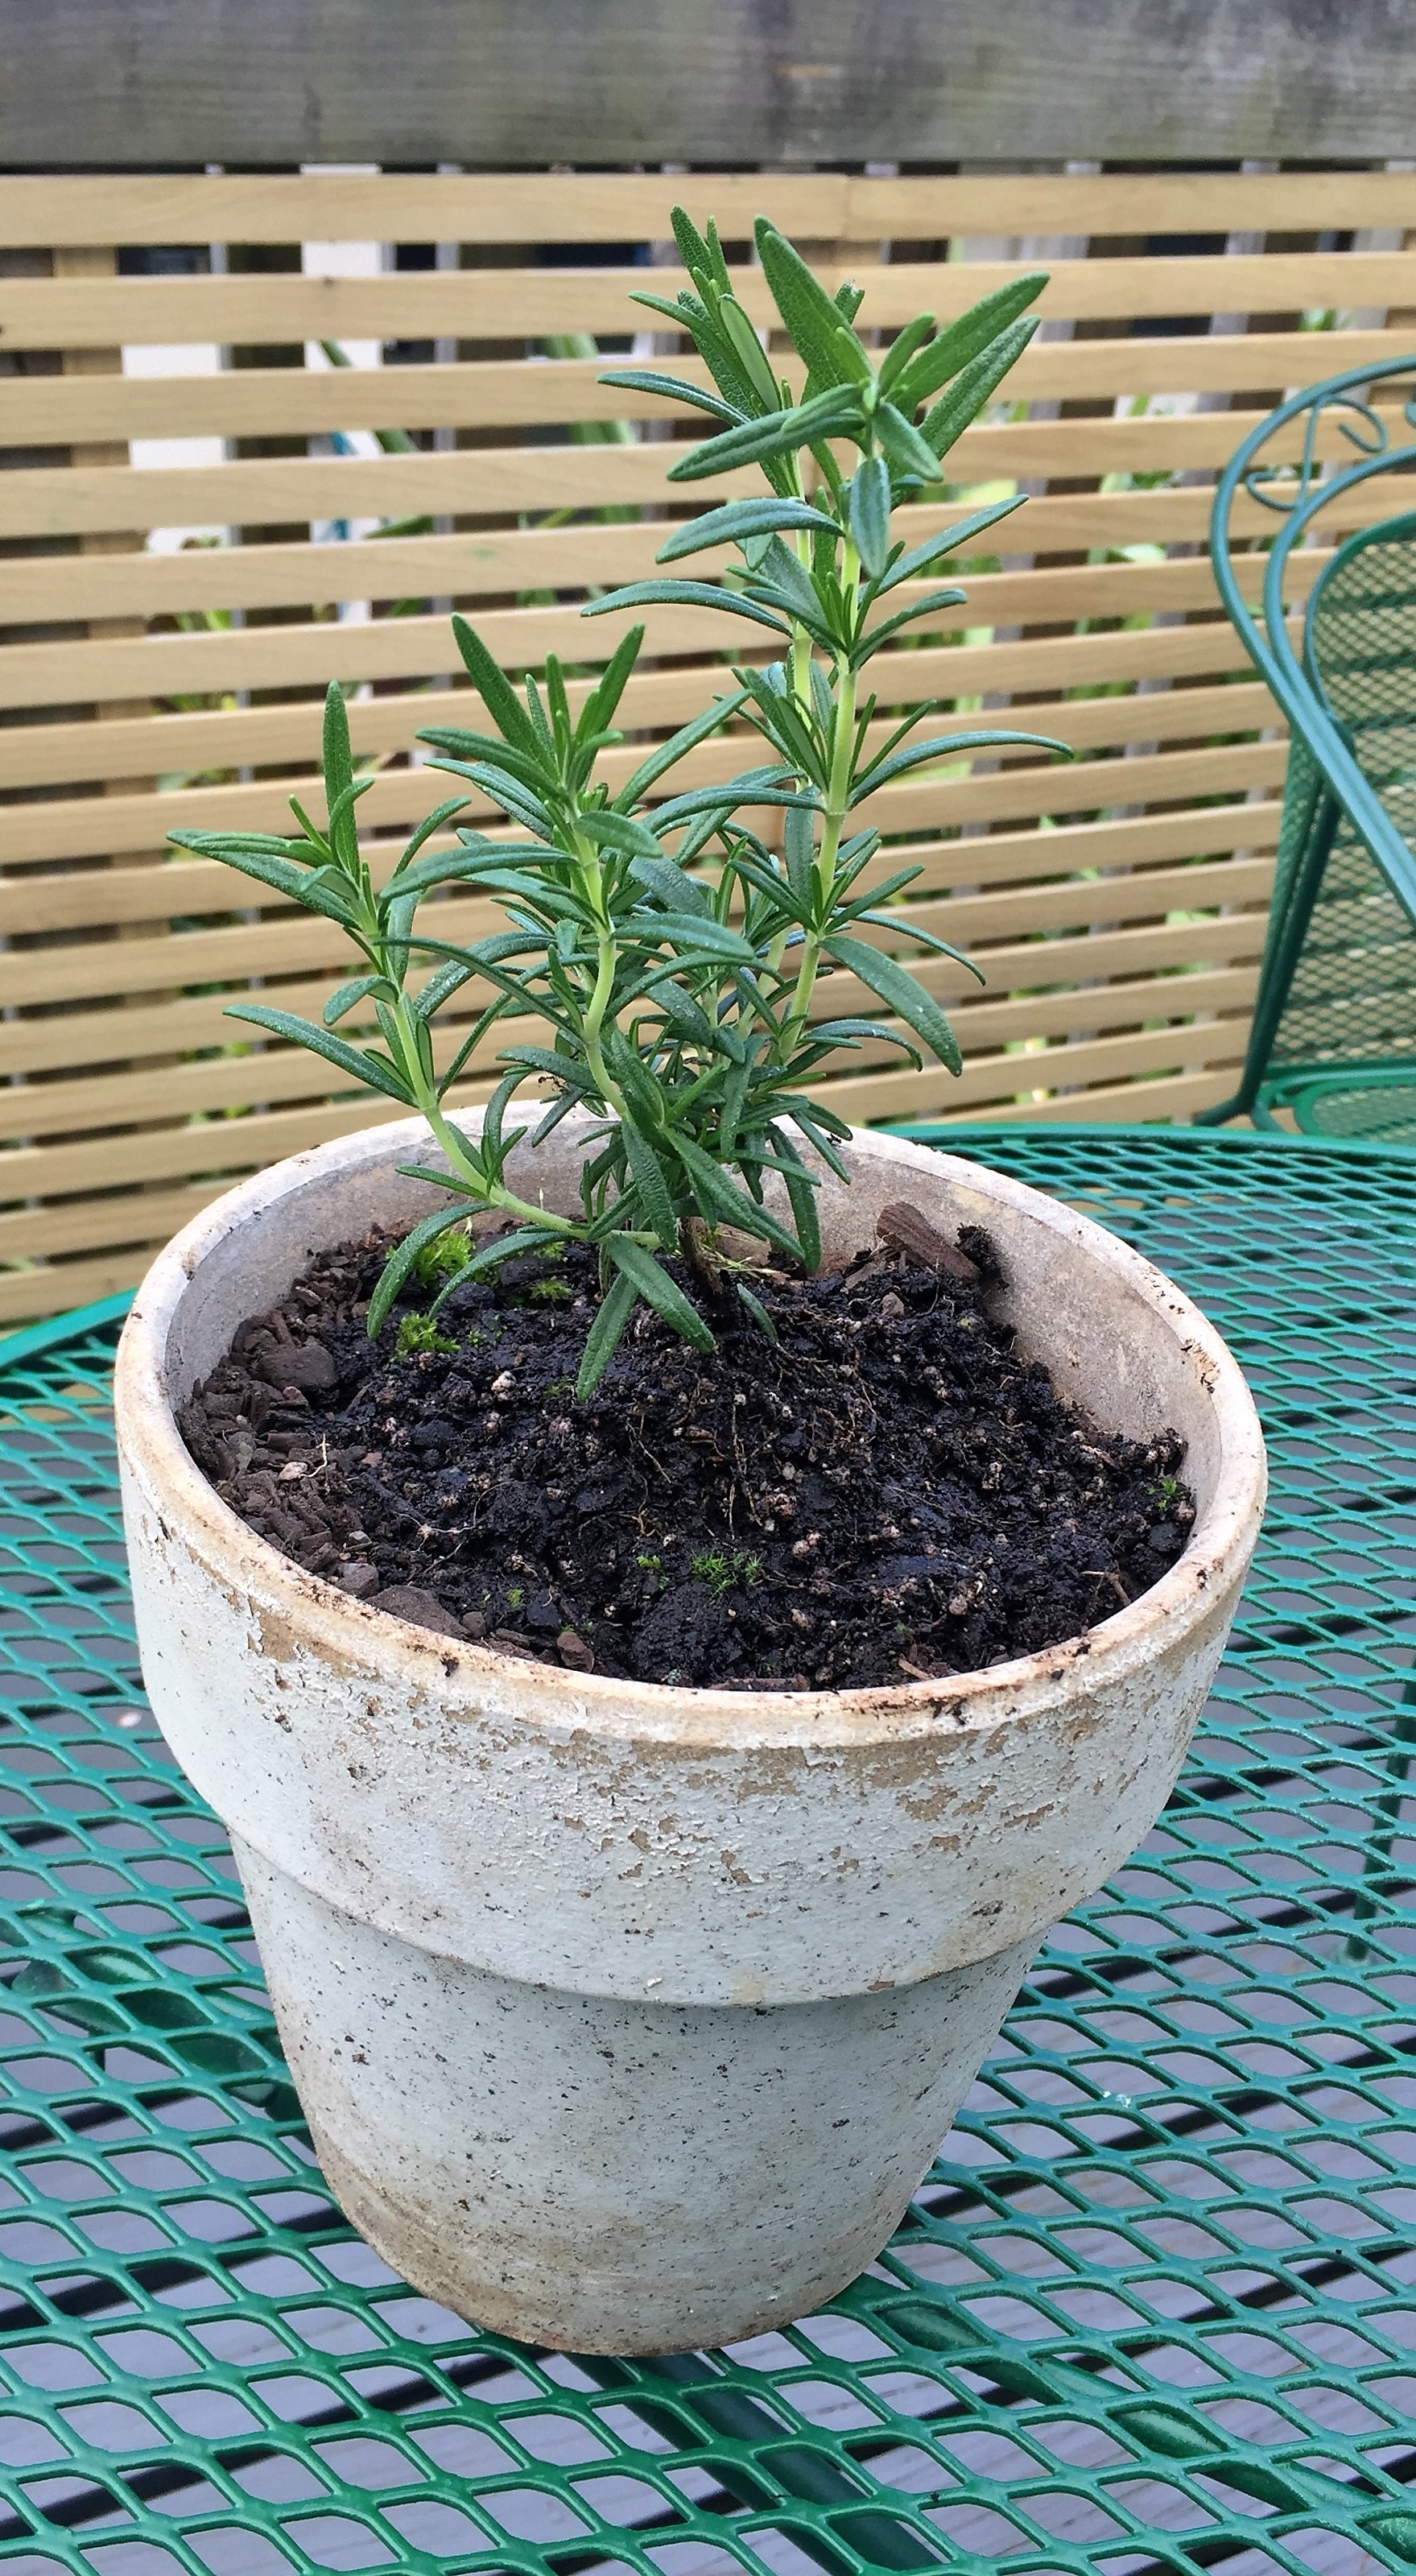
Then I proceeded to trim the shoots of the main shoot and cut back the top.

img_0842-2

Keep them watered, but not sitting in water. Turn them around to make sure they get plenty of sunlight.

White lavender

Today I  found in a friends garden white lavender with flecks of purple. I managed to get a cutting, so that went in a terracotta pot as well. I trimmed off the flowers and the stem and now we will see if it grows. I will let you know how I get on!

White Lavender

White Lavender

img_1075

White Lavender

White Lavender

Growing a rosemary topary

Growing toparies

Growing toparies

Thanks for reading about Rosemary. Please come back and find out how my toparies are getting on!

Andi


Succulents in teacups, little pots, concrete pots….

Succulents in teacups, little pots….

When asked to have a table at a Christmas craft fundraiser for an Alzheimer’s Day Care I immediately said yes. I had a few months to get prepared so I started collecting succulents of all species. Asking friends and families for cuttings, raiding gardens whenever I saw a succulent. Then I hit the Thrift stores collecting teacups, little pots and any pot that looked pretty and was a reasonable price.

I even experimented making some concrete pots painted with Annie Sloan Chalk Paint Duck Egg. My son Elisha helped me making them, we certainly had fun, but that is for another post!

Then I collected tin cans of various sizes and brought some burlap and twine to decorate them. Using a hot glue gun I stuck the burlap on the tins. I even made my own little tags.

This was a really fun project as I love succulents. They have become so popular, probably because they live inside and outside and are very hard to kill.

It took some time, doing all the preparation. But I finally got all the succulents into the right teacup or pot and left them outside to grow for a few weeks. I had to kept them watered regularly as it was hot outside, fortunately they all survived and made it to the Fair.

img_1518

Don’t they look beautiful?

img_1503

This is my favourite succulent, called Jelly Bean or Pork and Beans.

Jelly Bean Succulent in a teacup

Check out some of these cute teacups

img_1587

img_1604

img_1583

Some pretty pots

img_1594

img_1600-2

The tin cans with tags

img_1580

img_1576

And of course my concrete pots painted with chalk paint.

img_1608

The day was an incredible success and a lot of fun. Fortunately I only had to bring one home!

Thanks for reading my post. Please come back to find out more about life in Hawke’s Bay, New Zealand.

   Andi


Feeling blessed this Sunday to be living in Havelock North, New Zealand

Feeling blessed this Sunday to be living in Havelock North, New Zealand. Celebrating Spring!

Today is just beautiful and I look out our front door and see Spring.

img_0646

img_0662

Flowers in the garden.

img_0686-2

img_0689

img_0654

Even our palm tree looks colourful.

img_0669-2

A Beautiful Moon

And then to end the day a beautiful full moon comes up as we look out from our deck over the hills of Havelock North.

img_0698

Feeling blessed in New Zealand!

Wishing you all a blessed Sunday!

Andi xx

Upcycling Tin Cans as a Herb Garden

I love the look of; dear I say it, elegant tin cans, as a herb garden on my kitchen window sill. Upcycling tin cans as herb garden indoor or outside can look wonderful. Here are a few tips on how to do it and what you will need: o Potting mix from garden center (garden soil not so good for in pots) o Herbs (I just buy them from my supermarket – the living herbs, but you can get them as plants or seeds as well from local garden center) o Tins (I found Milo tins are the largest I could find at my supermarket) o River rocks (found at the river or garden center) o Plastic old garden center container, soda bottle or anything else you can find at home. o Scissors I like to plant my basil inside as it doesn’t seem to grow so well for me outside, especially when there is a frost. The best herbs to plant inside are Basil Rosemary, Oregano, Chives, Parsley and Thyme. I don’t want to put holes in my tin for drainage and have something underneath to collect the water, I think it spoils my look. So I use a plastic container with holes in the bottom. It is always important to have drainage holes, without them water can sit at the bottom and cause the plant to get water logged resulting sometimes in disease. I start by trimming my plastic container to fix nicely inside my tin and place holes in the bottom (if they don’t already have them) for drainage. Then put river rocks in the bottom of the plastic container, around about 1 inch/2.5 cm. Slide your plastic container into the tin and put some potting mix in the container. Pull your plant out of its original tub. Notice how it is actually made up of many plants, if you wish you could plant some of these in other pots or in your garden. I loosen the soil around the bottom of the roots as they have become a bit impacted by being in a small tub. Finally place the plant in the container, put more potting mix on top and water your plant. Don’t water too much, especially Basil plants. I like to have a spray bottle filled with water and spray when needed, especially in the summer. I repurposed a tin can as a vase – look how great my tins now look on my kitchen window sill.

Another Purpose

Here’s another personal touch for re purposing your tin cans. Take a personal photograph down to the photo shop and get it printed large enough to wrap around a tin can. Fill it with something memorable and give it as a gift to remember.

Growing Lettuce in Containers

I love being able to have lettuce growing in containers just outside my kitchen door, in the back yard. It is so easy to grow and then pick whenever you want. Being able to say to the children “go pick some lettuce for tonight’s dinner” is a great feeling. The lettuce is continually growing back after picking. I found at my local garden centre sells a pot of lettuce plants for only NZD$6.99, amazing the number of lettuce plants in there. I would pay at least that at my supermarket for a bag of lettuce. I then replant many of the plants into other pots. Whatever I have at home this time I am using some plastic pots. I brought some potting mix from the garden centre and nearly fill up each pot. I then transplant the plants into the new pots leaving space between plants. Water and let them grow! This is the view from my back door of my lettuce and herb plants! Happy growing!

Pin It on Pinterest