Feeling blessed this Sunday to be living in Havelock North, New Zealand

Feeling blessed this Sunday to be living in Havelock North, New Zealand. Celebrating Spring!

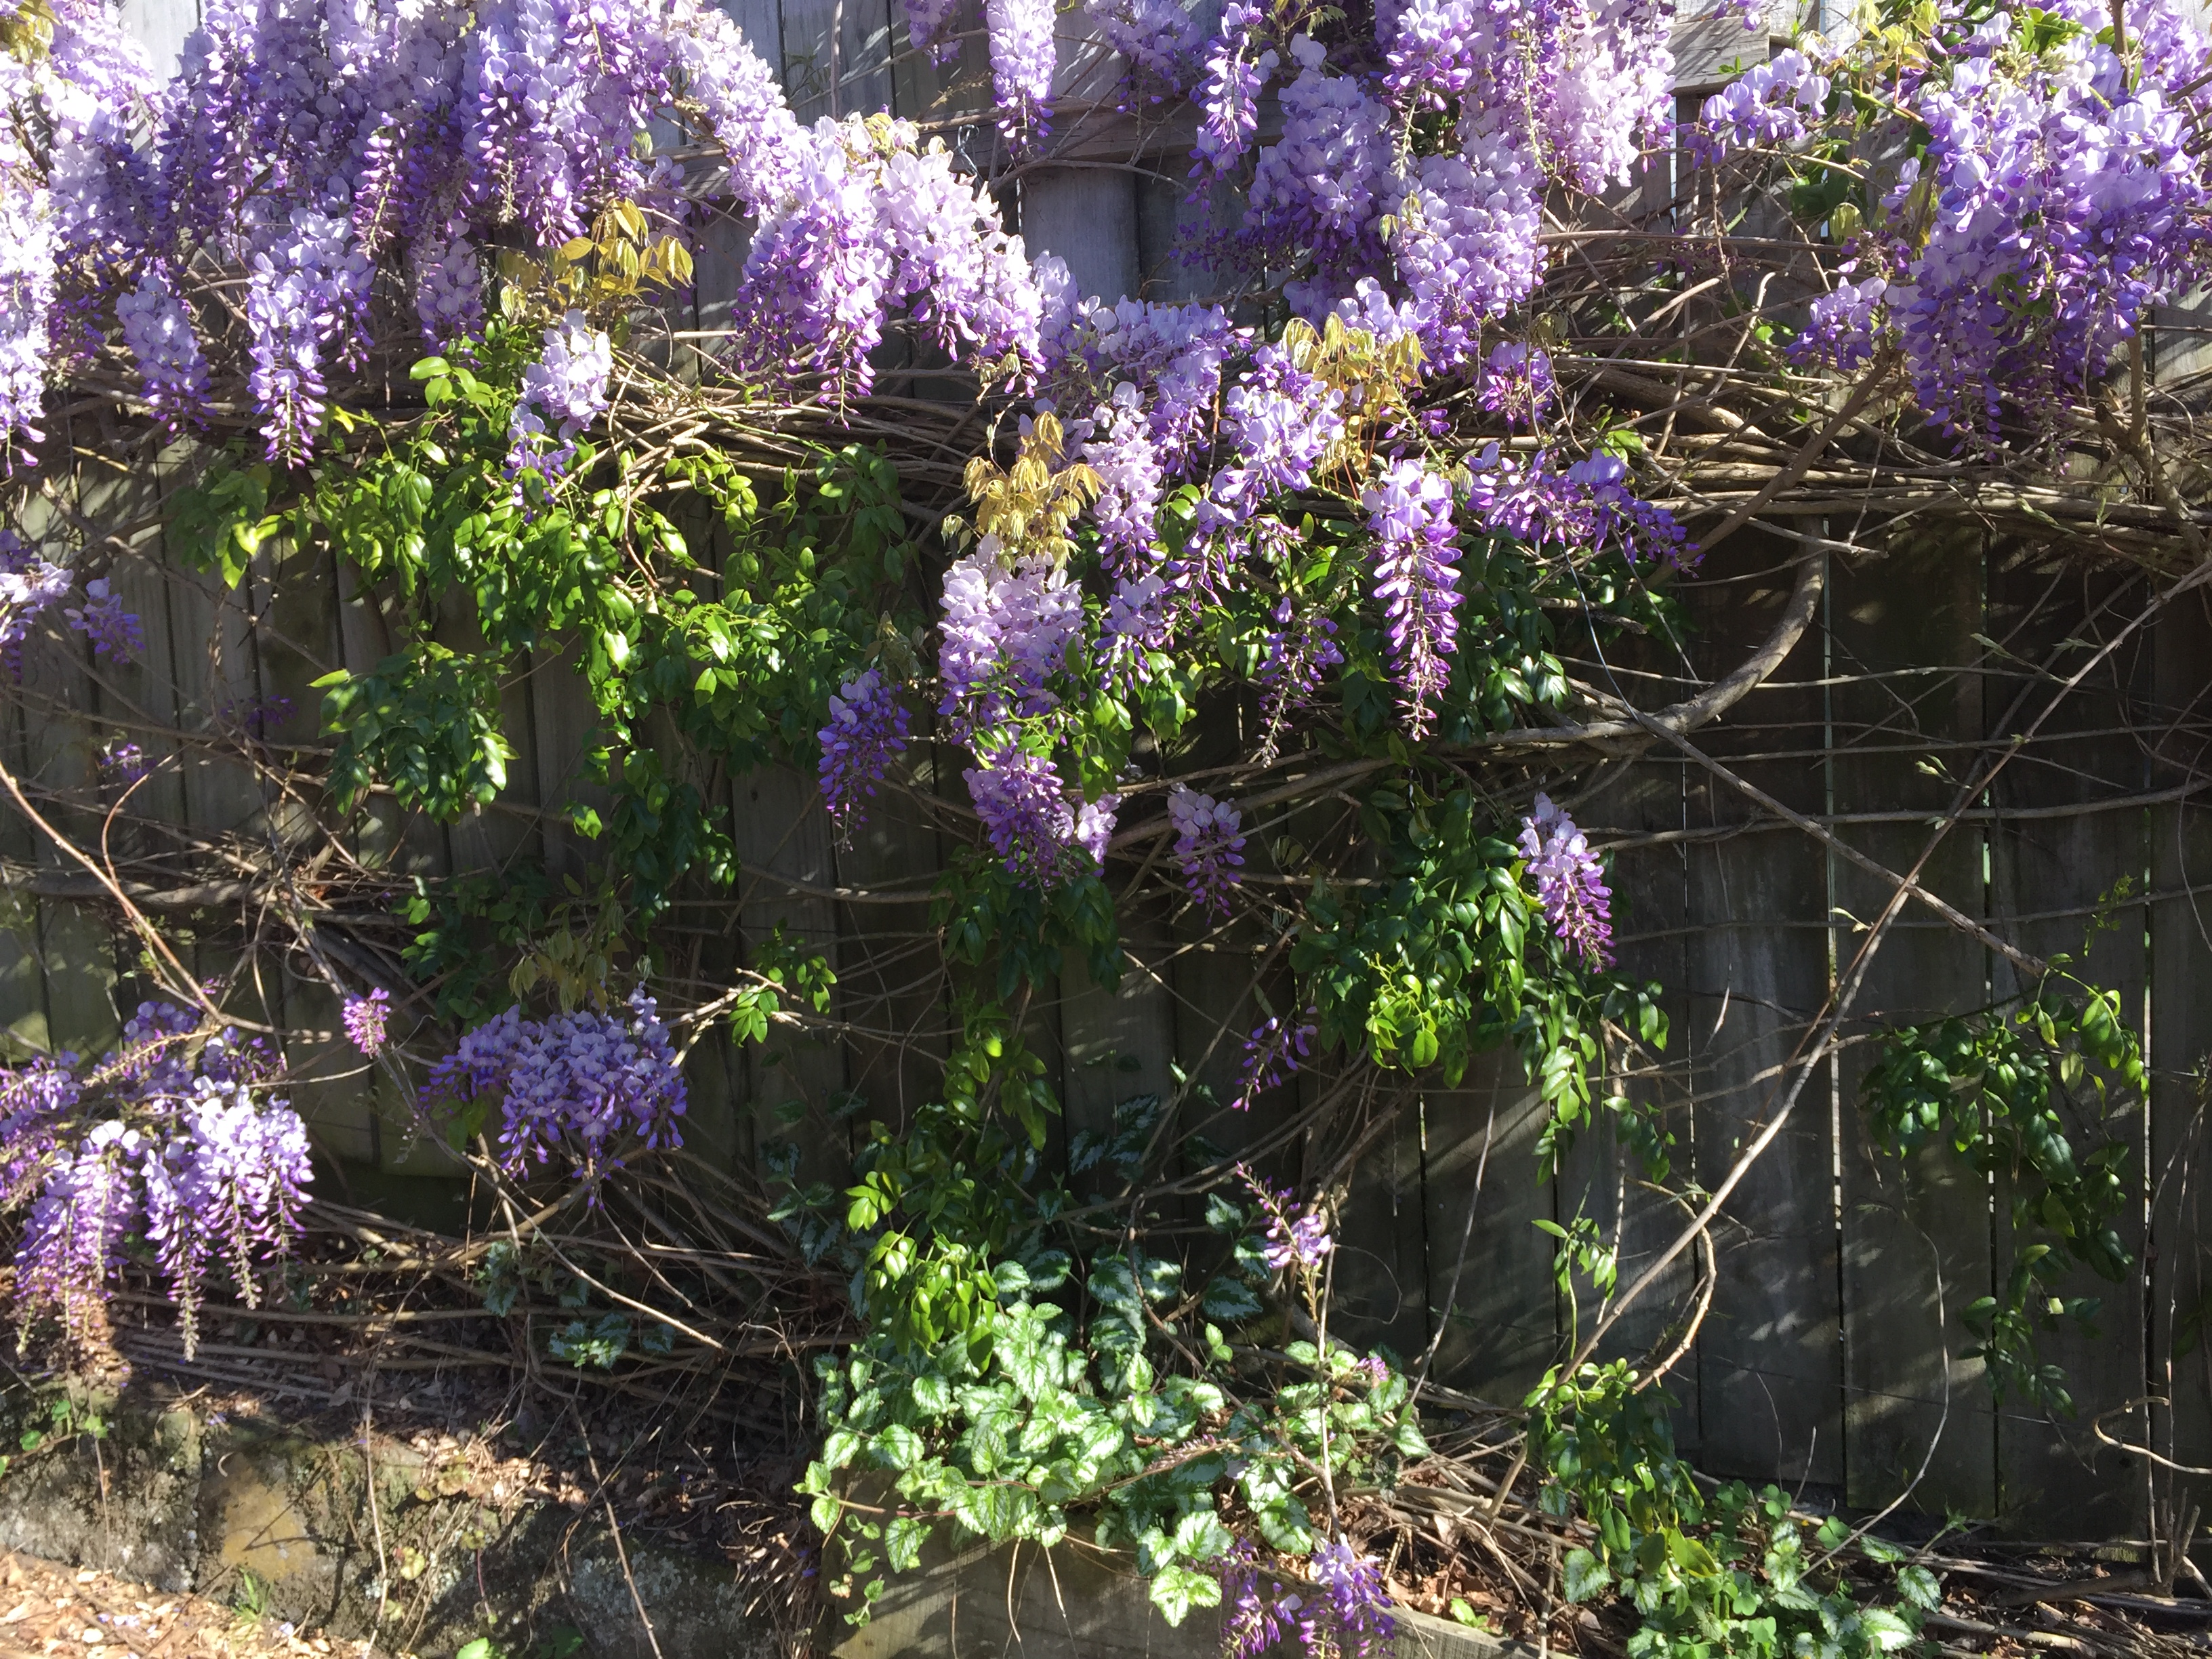
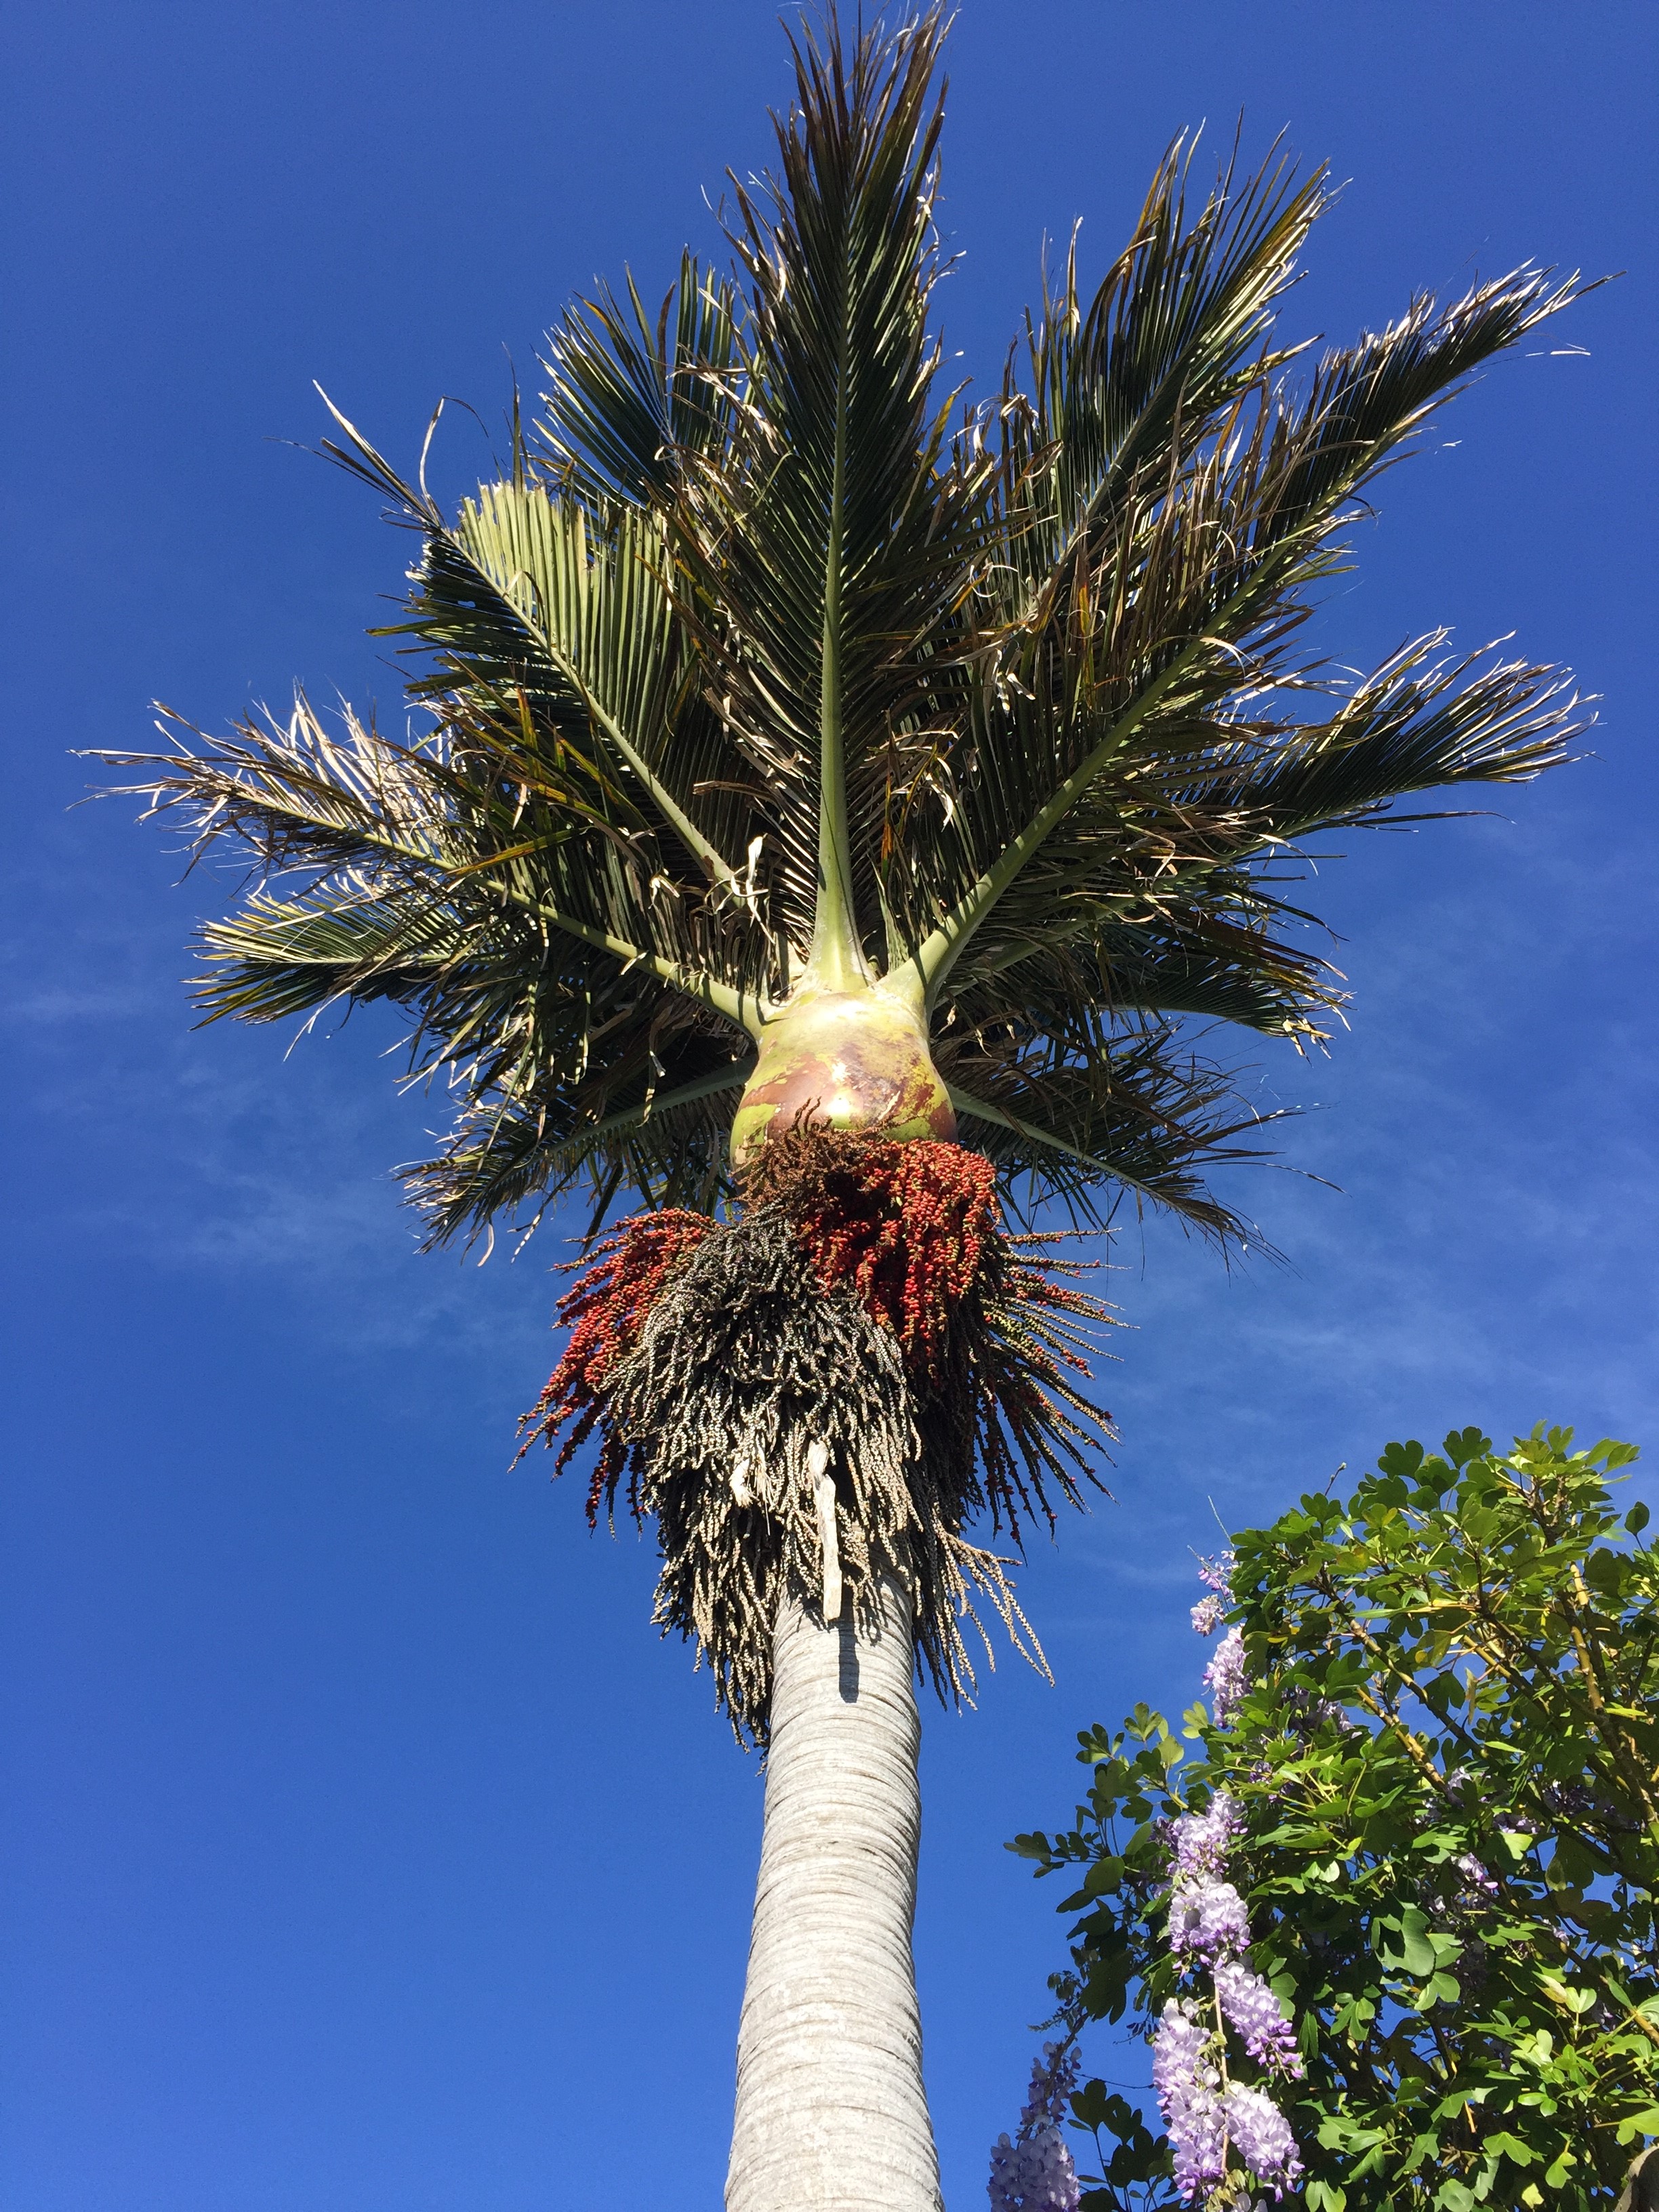
Today is just beautiful and I look out our front door and see Spring.

img_0646

img_0662

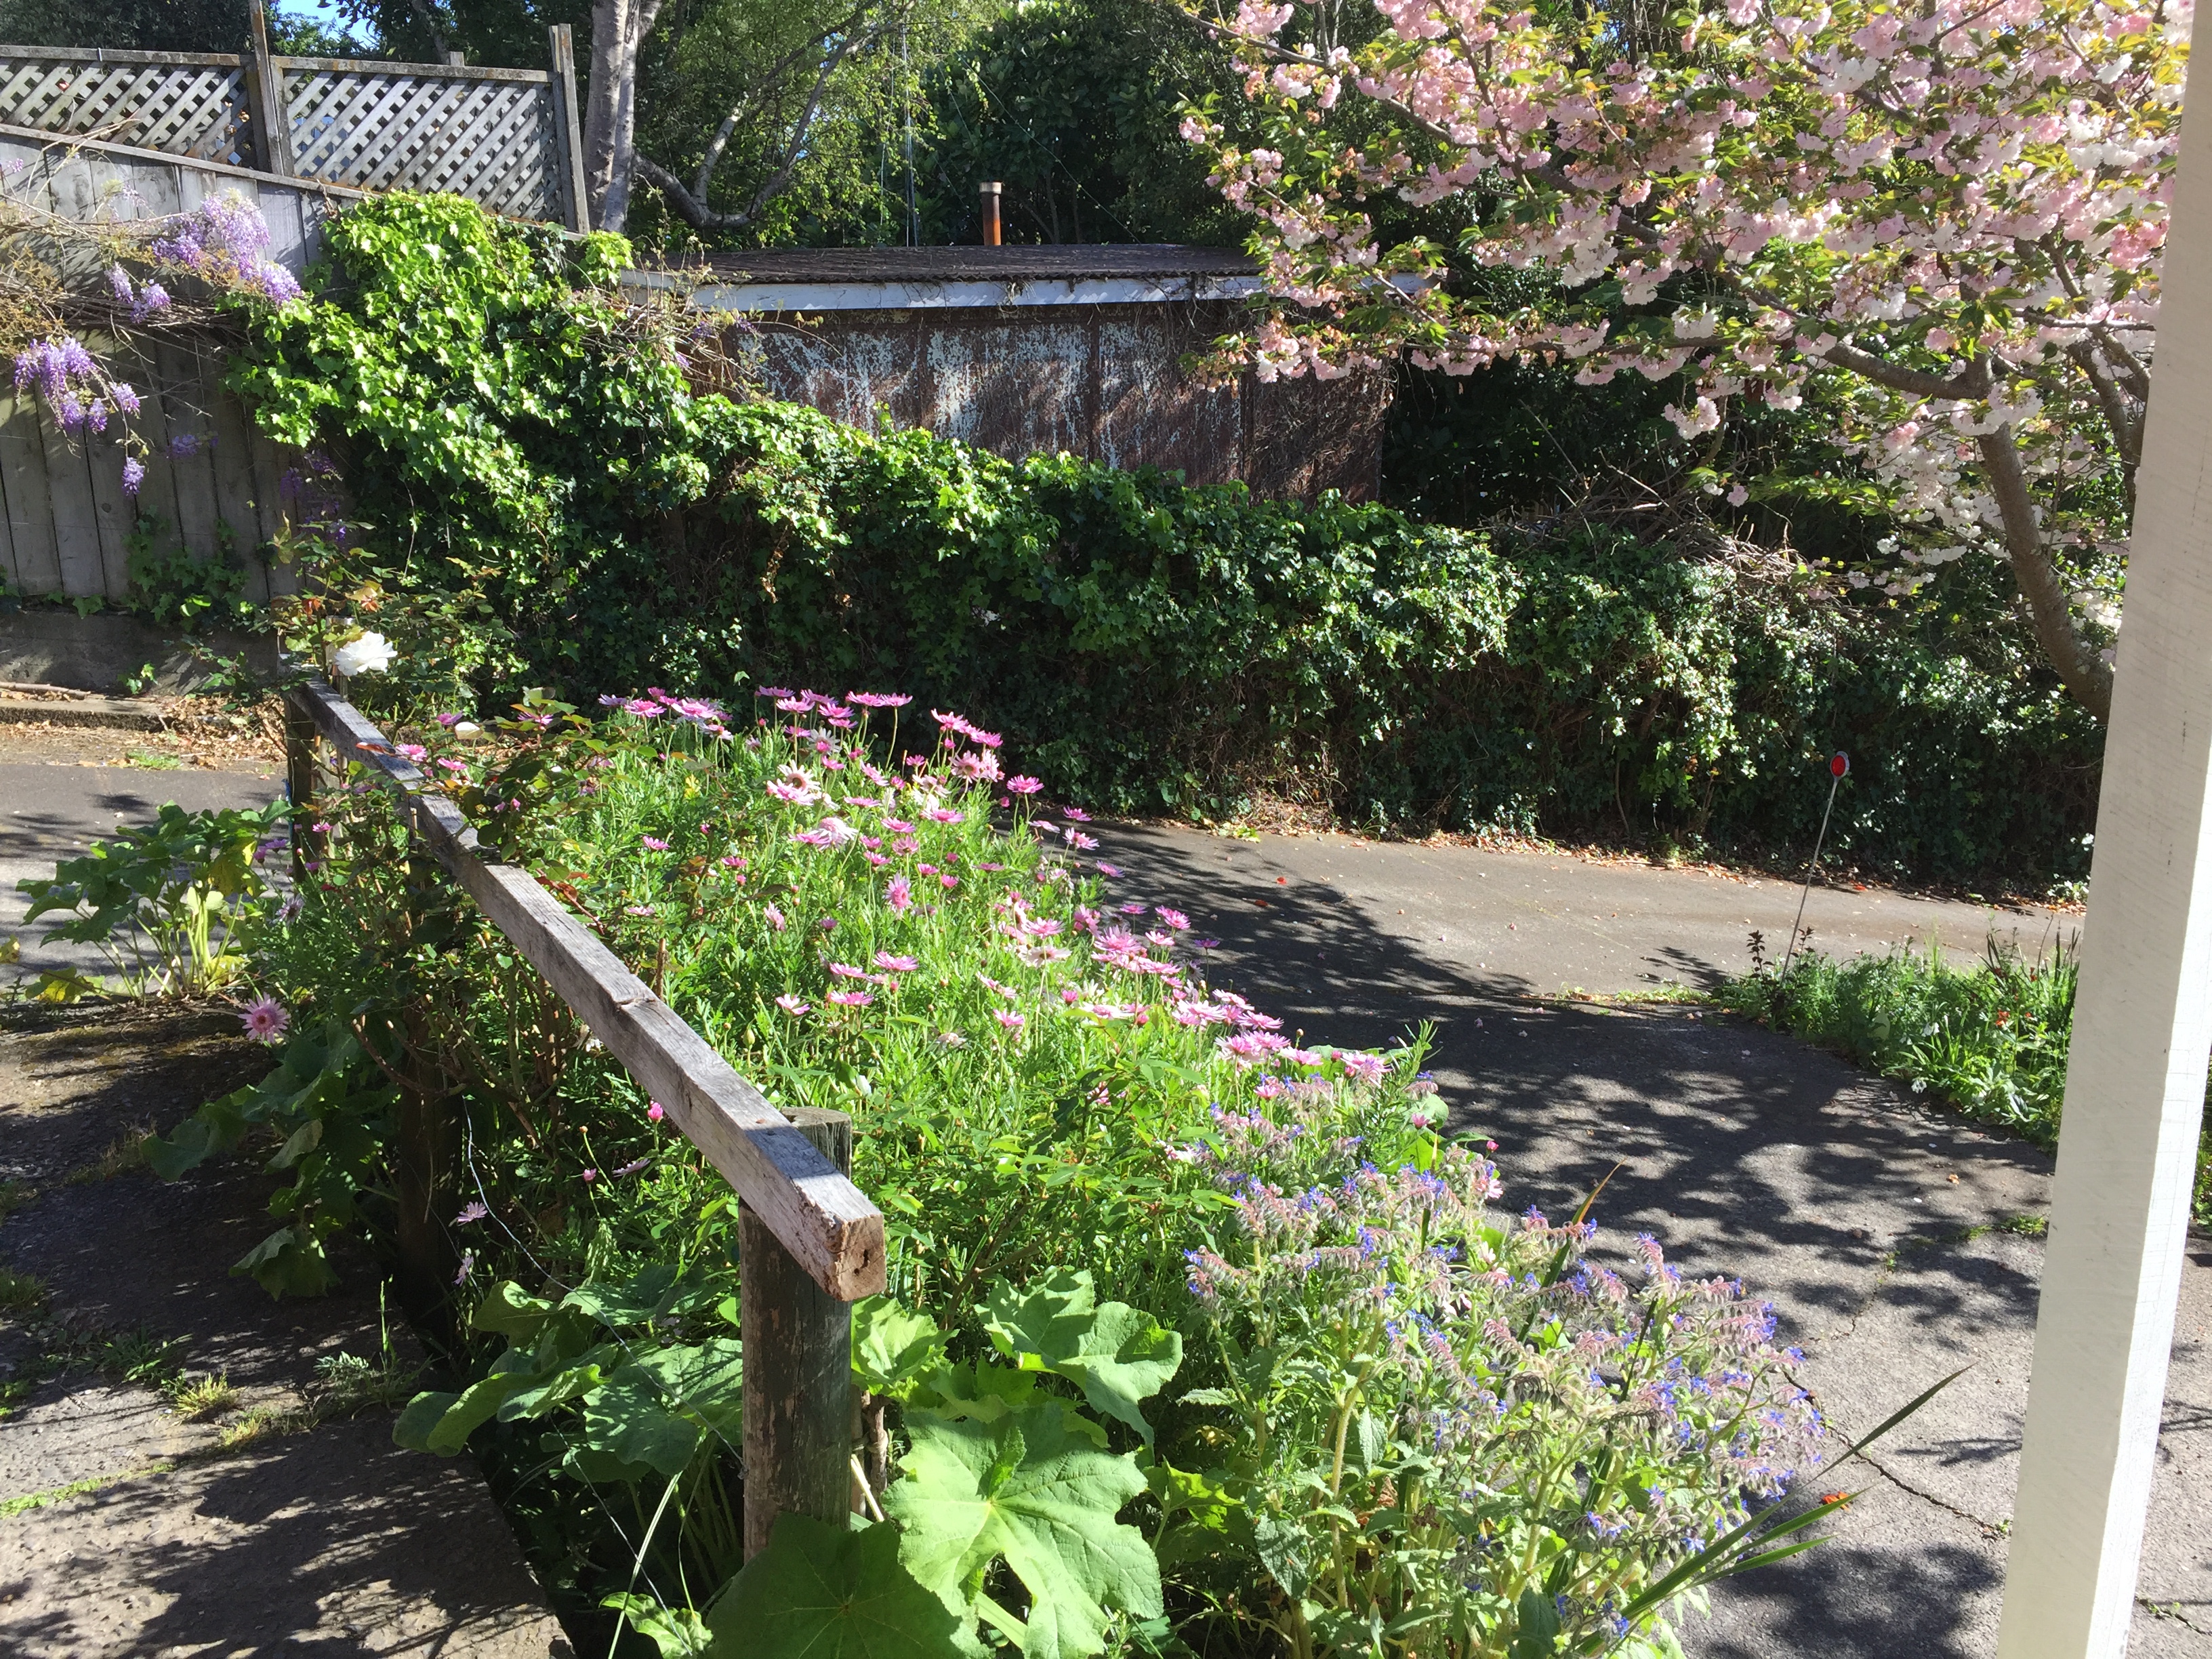
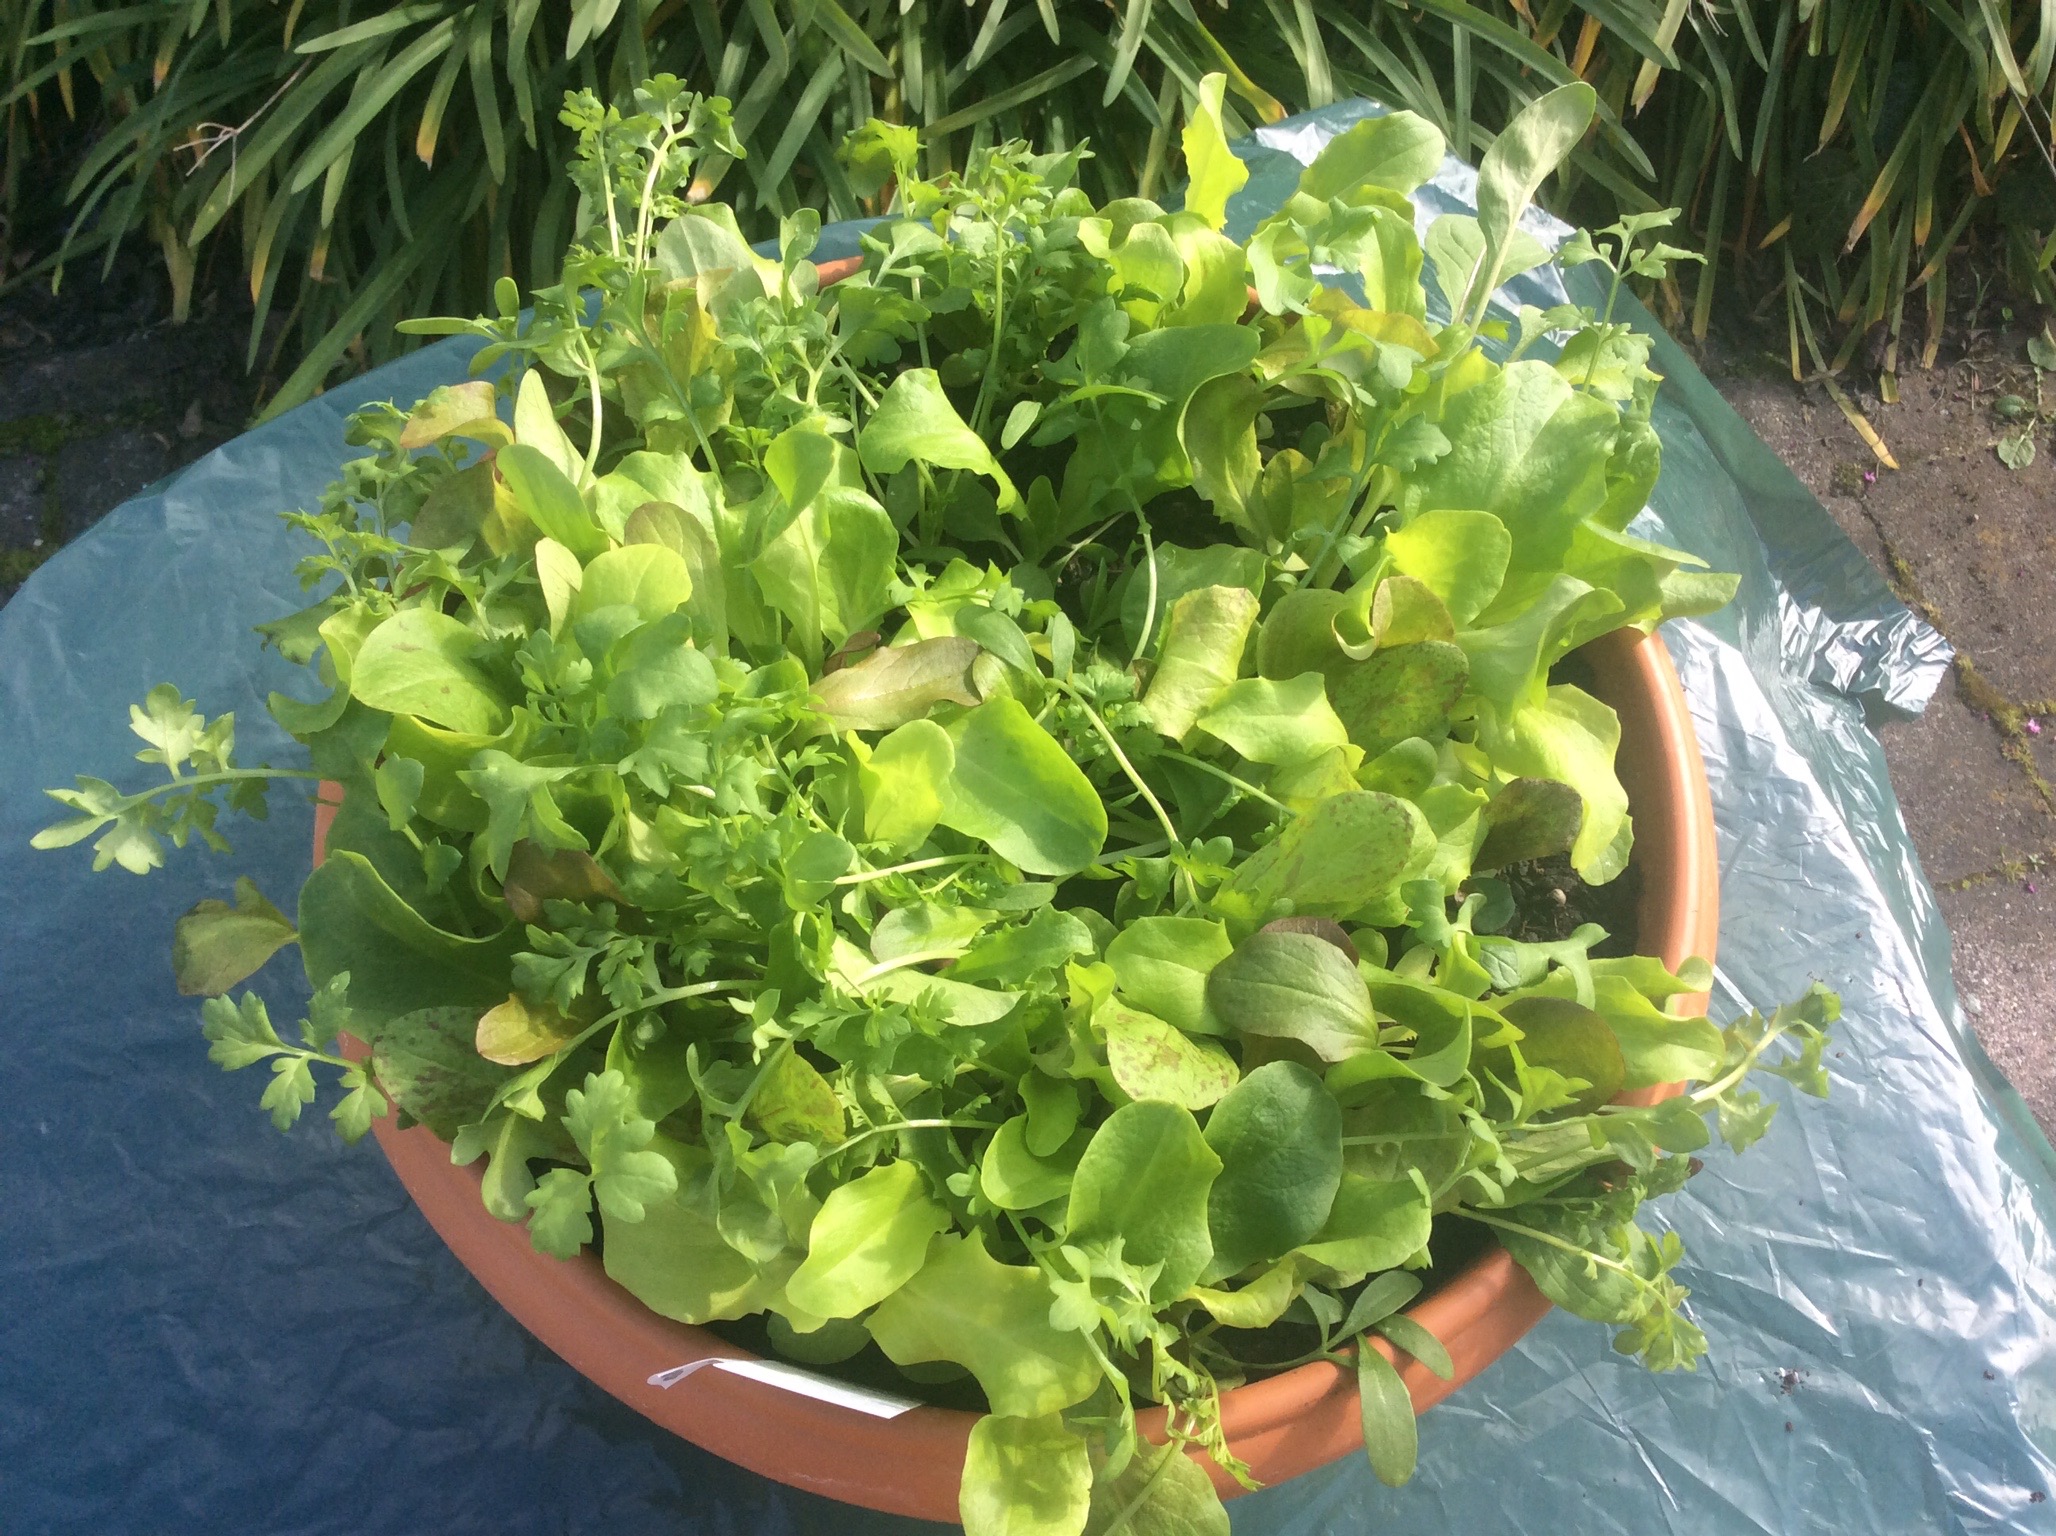
Flowers in the garden.

img_0686-2

img_0689

img_0654

Even our palm tree looks colourful.

img_0669-2

A Beautiful Moon

And then to end the day a beautiful full moon comes up as we look out from our deck over the hills of Havelock North.

img_0698

Feeling blessed in New Zealand!

Wishing you all a blessed Sunday!

Andi xx

Annie Sloan Chalk Paint – Art Deco Cabinet

As soon as I saw it I knew Annie Sloan Chalk Paint would look wonderful on an old Art Deco Cabinet that I found in a local Napier Second Hand Furniture Store.

One of the wonderful things about living in Hawke’s Bay, New Zealand is the Art Deco town of Napier.

Napier Earthquake

It had a devastatingly large earthquake in 1931, but after the earthquake the town was rebuilt. The buildings were all beautiful Art Deco Buildings, which remain to this day.

In February each year the whole town of Napier becomes an Art Deco Festival. People come from all over the world to dress up in deco style clothes. The city is totally transformed for a few days. It is such a fun time, our family love dressing up and being part of it. It is like going back in time.

I was really excited to find an old Art Deco Cabinet and Drawers for a good price.

img_1559-2
img_1562

As you can see it needed a really good clean with water and dish detergent. Then some little holes and deeper scratches I filled with wood filler, to tidy the surfaces up.

Annie Sloan Chalk Paint has so many great colours to choice from but I think my favourite are Old Ochre and Duck Egg Blue.  They look beautiful together and the design on this piece of furniture lends itself to having two different colours on it. I ended up having to paint two coats of each colour and then gave it a gentle sanding after each coat had dried. Just to smooth any rough areas of paint. It is easy to get little drips here and there and sanding gets rid of them.

Then I finished it off with Annie Sloan Clear Wax. (No Dark Wax this time.)

img_1672

I kept the original hardware on as they were in such good condition.

img_1674

The end result looks amazing with these colours.img_1641-3

img_1642-2

If you enjoyed this post please leave a comment, would love to hear from you about your favourite Annie Sloan Chalk Paint…

 Andi


HAPPY FALL TO FRIENDS IN AMERICA!

Just wanted to say Happy Fall to my dear friends in America!

I lived in America for over 16 happy years but have been back in New Zealand for just over 4 years.

One on the things I loved the most about America was the way each season is celebrated. I have wonderful memories of Fall, probably my favourite is pumpkin spiced coffee. Another is houses with front porches decorated with pumpkins, mums, pansies, just beautifully celebrating the season.

In New Zealand we don’t decorate our front porches, but I had to simply to celebrate Fall with you.

So enjoy the season!

img_0605-2


img_0572

With love Andi  xx


PALLET COFFEE TABLE – EASY TO MAKE

I want to show you this amazing pallet coffee table. My 15-year-old son, Thaddeus, made for me with the help of my husband Tom, they found it easy to make.

To start with they got a great pallet that was already rounded on the sides. I have found lots of different places here that give away pallets for free. Just check they are in good condition and have HT (Heat Treated) stamped on them. You don’t want ones treated with chemicals.

The great chunky legs where cut off an old dinning table.

They had to purchase a few boards from the local hardware store to fill in the gaps on the pallet top, It was possible to get them cut to size to make it easier. Next they sanded it down where needed on the top and sides. Leaving some rough added character.

It was really exciting to see the result of using a pallet. They did a fantastic job of making this table for me. I love it!

img_1680-2

Annie Sloan Chalk Paint

I then painted the sides and legs with Annie Sloan Chalk Paint, Old Ochre.  I did a couple of coats of paint, but left areas of dark brown legs unpainted to show through. Just because I love the contrast between the dark stain on the wood and the Old Ochre Paint.

I waxed the top and sides with Annie Sloan Clear Wax and next Dark Wax. Was quite heavy in places with the Dark Wax, especially over the rough areas of the wood.

Was so very please with amazing pallet coffee table!

img_0347 

img_0350

img_0368

img_0370

img_0369

img_0323-2

img_0343-2

img_0339-2

img_0415


img_0401

Had to include Rodeo our puppy in the shots, but he really is not suppose to be on the sofa.

Feeling inspired to make a pallet coffee table? Love to hear from you ..

If you have enjoyed reading my post come back and see my next post Painting an Art Deco Cabinet

      Andi

New Life for an Old Footstool

New Life for an Old Footstool

I found this old footstool made of oak; I loved the beautiful texture of the oak wood and decided not to paint over it, but to recover the padded top and stencil a design on the fabric. I was able to get this lovely velvety chestnut brown material at an op (charity) shop to recover it in. I wanted to stencil it using Annie Sloan Chalk stencils, but wasn’t able to find any at my stockist, so I went to my local library and found a book on stenciling. It had some great ideas and traceable designs. I was able to trace a couple which I combined on a piece of baking paper and then cut it out using a craft knife on a piece of plastic I had at home. I could have used cardboard/poster board as well. I just used an old plastic kitchen chopping mat underneath it to protect the table I was working on. It was easy to unscrew the padded top to the footstool and measured up and cut out the material. I placed the stencil over the material and taped it in place. Using a small dry brush I first painted on the Old Ochre, just sparingly dabbing it on. Then I wiped my brush and did the same using Coco, but not putting it over the whole design, just dabbing it on parts to allow the Old Ochre to seen as well, giving a lovely effect in the two shades. Once it had dried I stapled it onto the padded top of the stool and screwed it back it. It looks so beautiful, what a transformation!   Thanks for visiting RiverRoad.nz

Upcycling Tin Cans as a Herb Garden

I love the look of; dear I say it, elegant tin cans, as a herb garden on my kitchen window sill. Upcycling tin cans as herb garden indoor or outside can look wonderful. Here are a few tips on how to do it and what you will need: o Potting mix from garden center (garden soil not so good for in pots) o Herbs (I just buy them from my supermarket – the living herbs, but you can get them as plants or seeds as well from local garden center) o Tins (I found Milo tins are the largest I could find at my supermarket) o River rocks (found at the river or garden center) o Plastic old garden center container, soda bottle or anything else you can find at home. o Scissors I like to plant my basil inside as it doesn’t seem to grow so well for me outside, especially when there is a frost. The best herbs to plant inside are Basil Rosemary, Oregano, Chives, Parsley and Thyme. I don’t want to put holes in my tin for drainage and have something underneath to collect the water, I think it spoils my look. So I use a plastic container with holes in the bottom. It is always important to have drainage holes, without them water can sit at the bottom and cause the plant to get water logged resulting sometimes in disease. I start by trimming my plastic container to fix nicely inside my tin and place holes in the bottom (if they don’t already have them) for drainage. Then put river rocks in the bottom of the plastic container, around about 1 inch/2.5 cm. Slide your plastic container into the tin and put some potting mix in the container. Pull your plant out of its original tub. Notice how it is actually made up of many plants, if you wish you could plant some of these in other pots or in your garden. I loosen the soil around the bottom of the roots as they have become a bit impacted by being in a small tub. Finally place the plant in the container, put more potting mix on top and water your plant. Don’t water too much, especially Basil plants. I like to have a spray bottle filled with water and spray when needed, especially in the summer. I repurposed a tin can as a vase – look how great my tins now look on my kitchen window sill.

Another Purpose

Here’s another personal touch for re purposing your tin cans. Take a personal photograph down to the photo shop and get it printed large enough to wrap around a tin can. Fill it with something memorable and give it as a gift to remember.

Growing Lettuce in Containers

I love being able to have lettuce growing in containers just outside my kitchen door, in the back yard. It is so easy to grow and then pick whenever you want. Being able to say to the children “go pick some lettuce for tonight’s dinner” is a great feeling. The lettuce is continually growing back after picking. I found at my local garden centre sells a pot of lettuce plants for only NZD$6.99, amazing the number of lettuce plants in there. I would pay at least that at my supermarket for a bag of lettuce. I then replant many of the plants into other pots. Whatever I have at home this time I am using some plastic pots. I brought some potting mix from the garden centre and nearly fill up each pot. I then transplant the plants into the new pots leaving space between plants. Water and let them grow! This is the view from my back door of my lettuce and herb plants! Happy growing!

Pin It on Pinterest