SIMPLE, BUT CUTE BURLAP CHRISTMAS ORNAMENT…

Simple, but cute burlap Christmas ornaments to make these holidays…

These simple, but cute burlap Christmas ornaments don’t take long to make at all. I saw them in a store for $9.00 and thought “hey I can make that for a lot less”, so here is my take on them, for a lot less!!

Supplies needed:

Burlap fabric

Stuffing

Tracing paper or baking paper

Cardboard

Twine

Paint

Brush

Scissors

Needle and thread

Instructions:

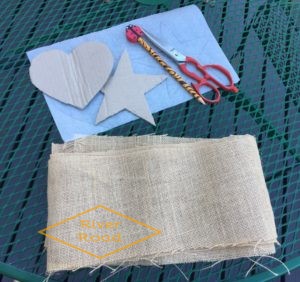
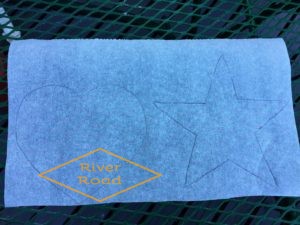
First make a star and heart pattern. To do this trace using tracing paper or as I did use baking a star and heart. If you have a stencil use this.

img_2155-2

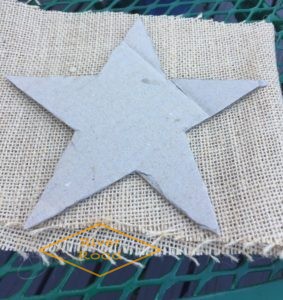
I trace the patterns on to cardboard just to make it easier.

img_2158-3


Next, trace the pattern onto your burlap fabric, you will need 2, for front and back.

img_2162-2

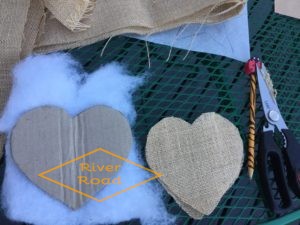
Then, use the pattern to trace and cut out the stuffing. I just used polyester filling as I already had some at home. I found it easier to have a flat piece of stuffing and cut it to a little bit smaller that the pattern. It then fits in nicely inside.

img_2177-2

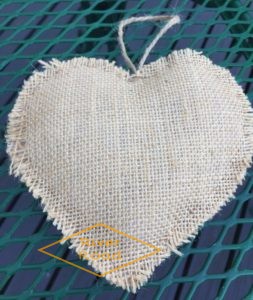
I then sewed with needle and thread the about 1 cm in around the star and heart, finishing at the top. You could use a sewing machine or even use fabric glue, the choice is yours. At the top at attached a small loop of twine for hanging up the ornament.

At this stage I gently fray the edges to get a frayed look.

img_2182-2

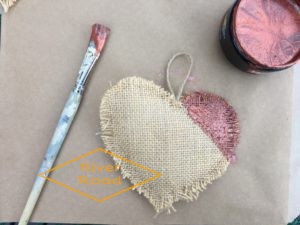
Finally, paint the top left or right side of the ornament. I used Resene paints (a test pot) colour Copper Fire, because I already had this at home. It is copper colour with glitter. You can use any colour!

img_2189-2

I made various sizes for my Christmas tree. I imagine there a lot of other shapes you could use to make these ornaments.

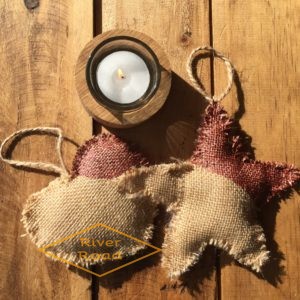
Hearts and Stars Ornaments

Hearts and Stars Ornaments


Burlap Christmas Ornaments


Thanks for reading my post! I hope you get to make these simple, but cute ornaments!

Andi
EASY TO MAKE FRUITY CAKE RECIPE from New Zealand

A very easy fruity desert cake recipe made in New Zealand…

The fruity cake recipe comes from New Zealand cook Dame Alison Holst. I love her recipes, they are a great favourite for us Kiwis, so easy to follow and wonderful results.

This cake is going to be served  a lot over the holidays, as fresh fruit has come into season at the berry farms near us in Havelock North.

Fruity Dessert Cake

Fruity Dessert Cake

Serves 6-8 people (depending on your slice size!)

Ingredients

¼ chopped walnuts, toasted almonds or toasted hazelnuts (I don’t add nuts as you never know who has allergies these days)

1 TBsp white or brown sugar

150g (5 oz) butter

1 Cup sugar

2 large eggs

1 tsp vanilla essence

1 ½ cups self-raising flour

1 tsp baking powder

1-2 cups cubed or sliced ripe, raw fruit*

½ cup berries (optional)

*Suitable fruit includes peaches, nectarines, plums, apples, pears, kiwifruit, strawberries, raspberries, blueberries, blackberries, boysenberries. Drained canned fruit may also be used.

First, choose whatever nuts complement the fruit you are using. Toast them lightly under a grill or in the over as it heats to 180 degreesC(350 degreesF), then chop finely, mix with the 1TBsp sugar and put aside.

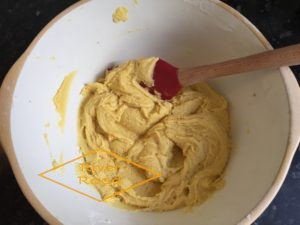
Melt the butter in a microwave bowl or pot until just liquid. Add the second measure of sugar, the eggs and vanilla and beat until blended. Sieve the flour and baking powder onto the mixture, then add half the nut and sugar mixture.

img_0119-2

Spread it evenly in a buttered or sprayed 23-25 cm (9-10 in) round (preferably loose-bottomed) cake tin.

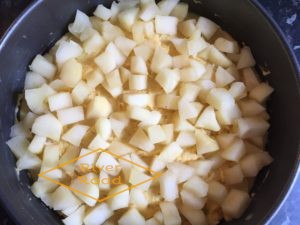
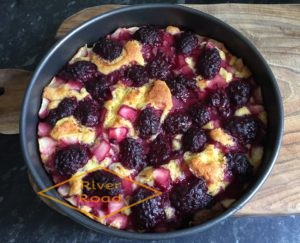
Next, prepare the fruit, slicing it or cutting it into 2 cm ( ¾ in) chunks. Arrange the pieces, skin-side up, (I took the skin off for mine) in the batter. Sprinkle with berries then with the remaining nut topping.

img_0122-2

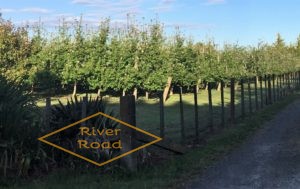
Visit to apple orchard

We have so many orchards here, shots from a recent visit to my brother’s orchard.

img_0907-2

img_1171-2


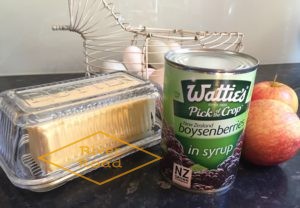
Wattie’s canned boysenberries

I have made this recipe with different fruit and berries, but today I didn’t want to make a trip to the supermarket, (are you ever like me can’t face yet another trip to the supermarket?)  so I used apples I already had and a can of Wattie’s boysenberries (these berries are often grown here in the area, canned by Wattie’s)

Wattie's can Boysenberries

Apples and berries on the cake

Apples and berries on the cake

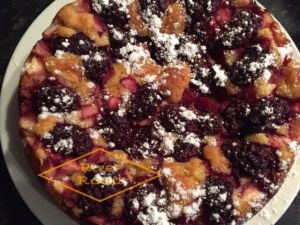
Bake at 180 degreeC (350 degree F) for about 45 minutes, until the cake mixture has risen round the fruit and browned lightly, and the centre springs back when pressed.

Baked fruity cake

Fruity Cake from New Zealand

Yummy!

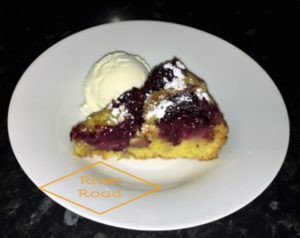
Finally serve it warm, cut into wedges, sprinkled with icing sugar, if you like, with a whipped cream, yogurt or ice cream. I actually do like it cold as well.

Fruity cake

 Thanks for reading my post! I hope you get a chance to try out this recipe – let me know if you do!

Andi


Pin It on Pinterest