
Another great project: DIY painted chalkboard from old picture frames are a wonderful gift or a great way to make a lovely chalkboard. It’s so easy to pick some old picture frames from Op shops these days, at really reasonable prices. It it fun as well!
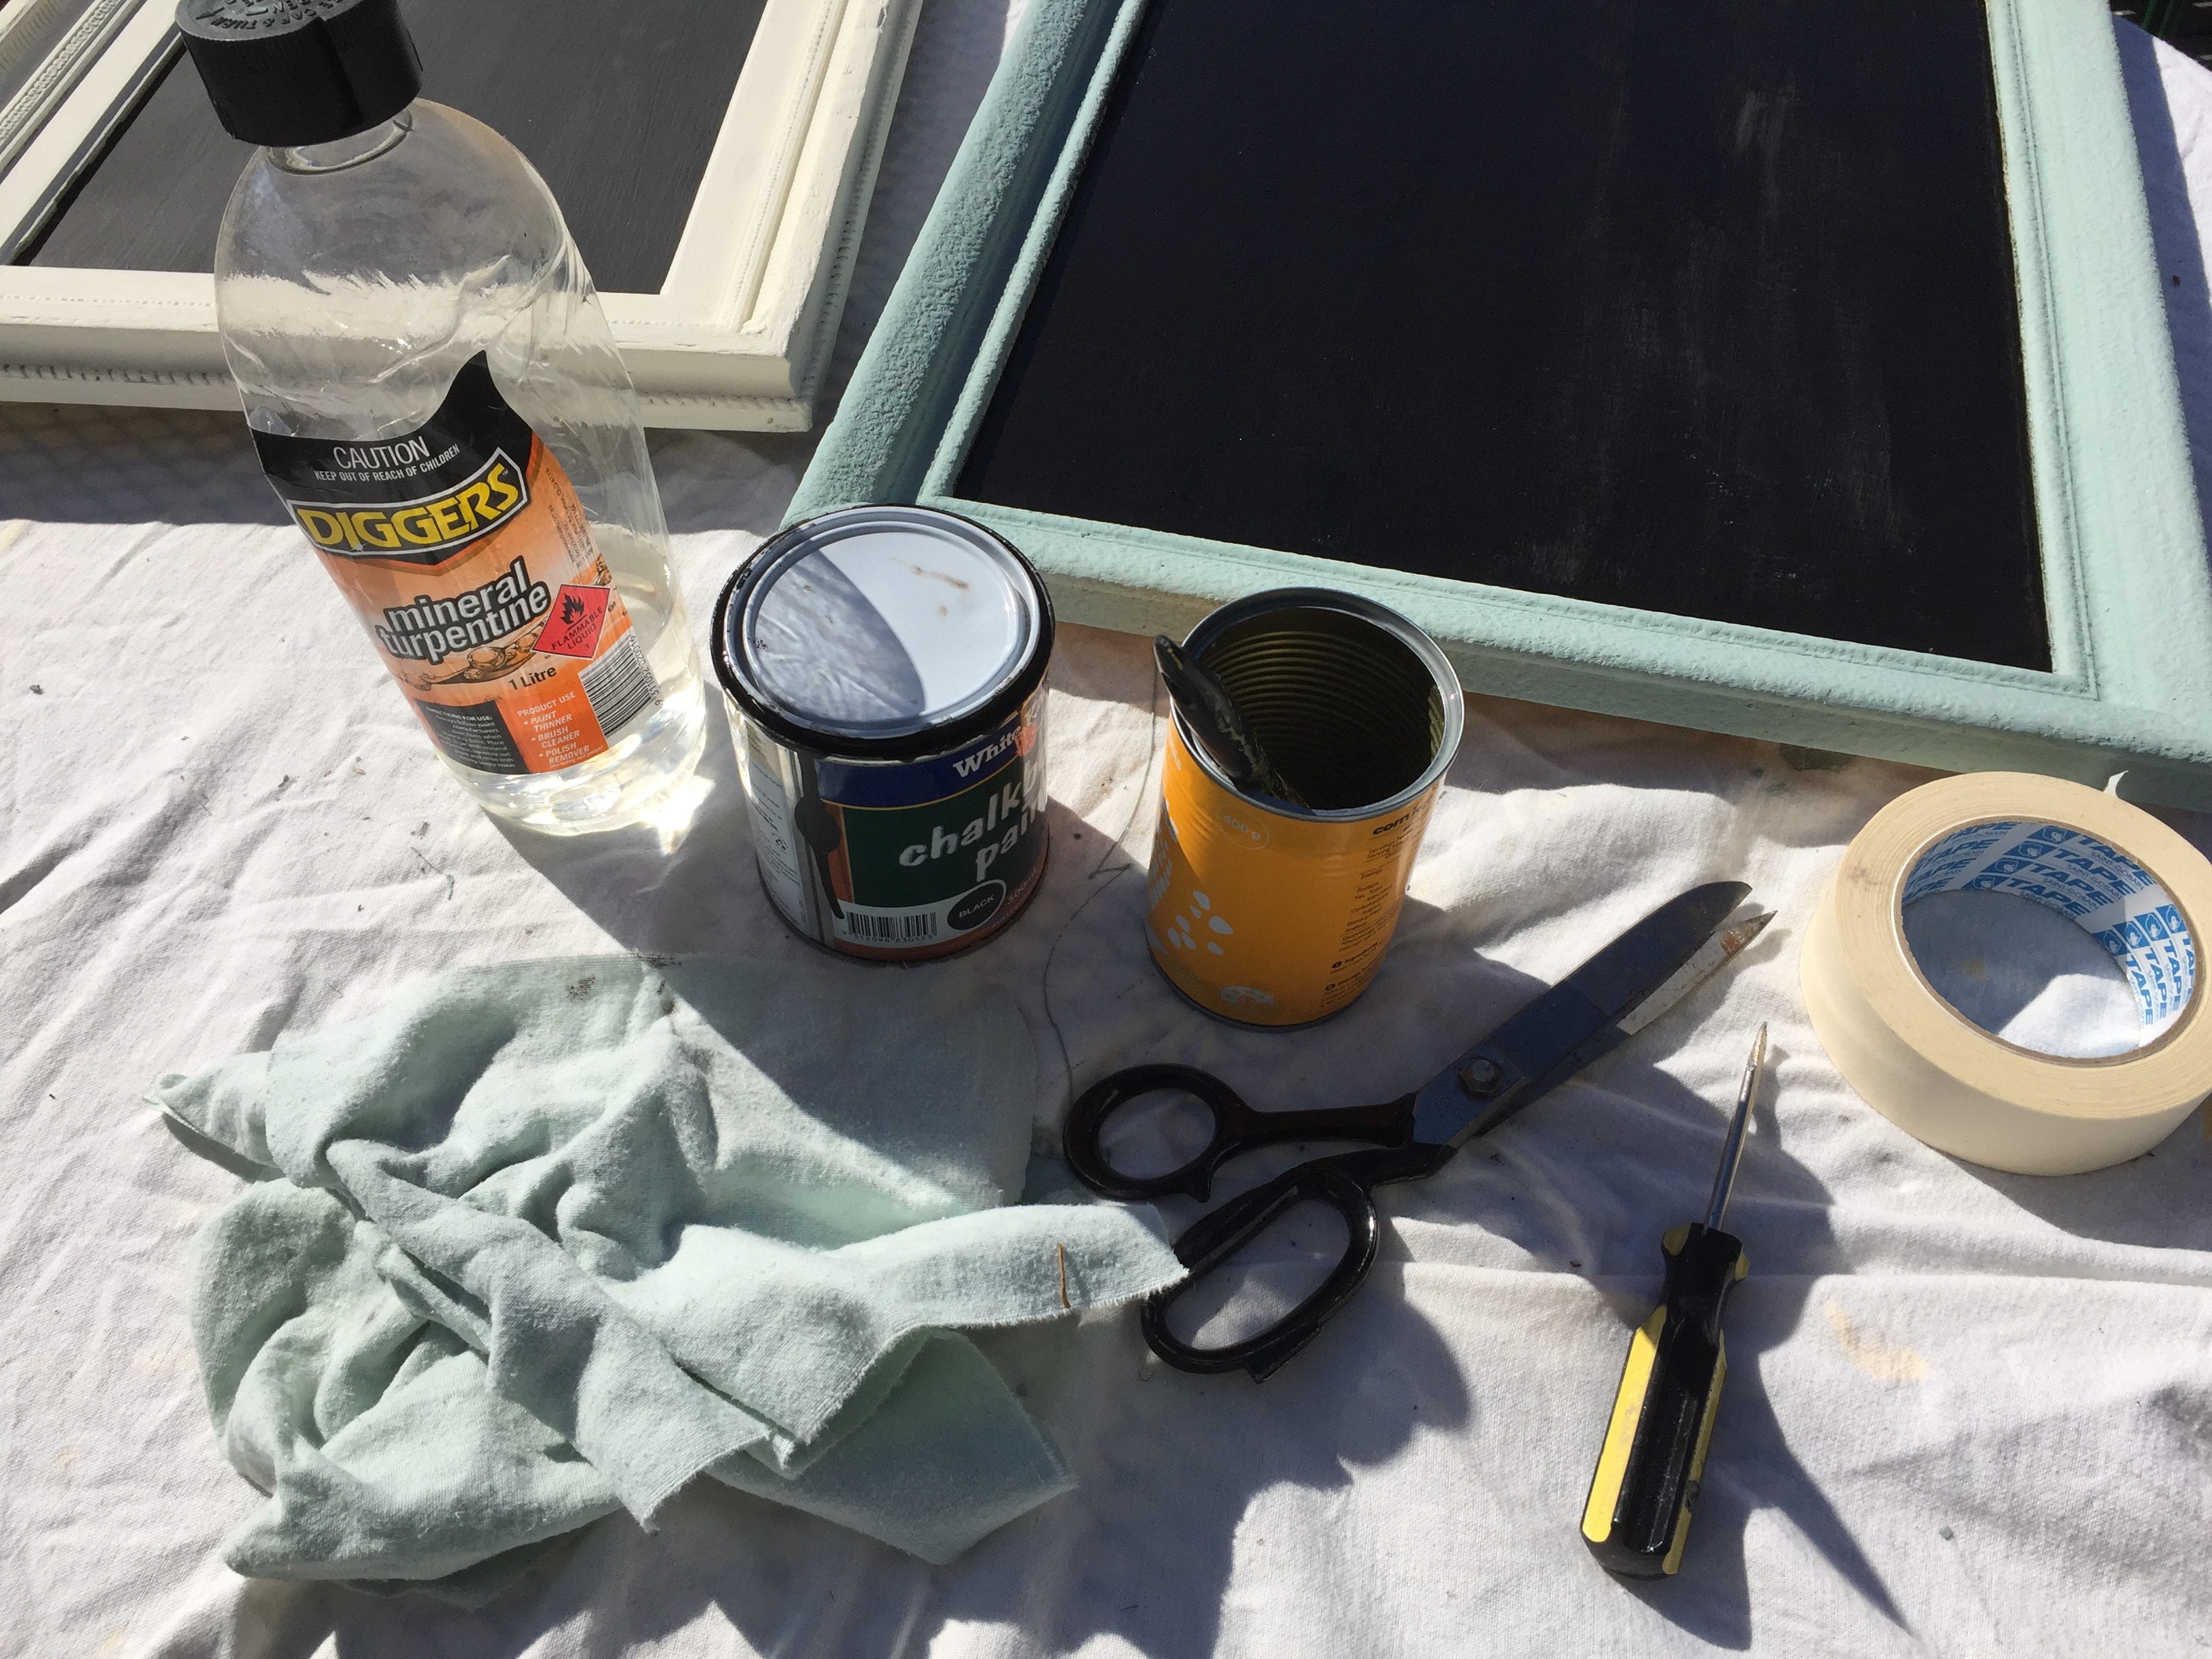
Supplies needed:
Picture frames
Backing board
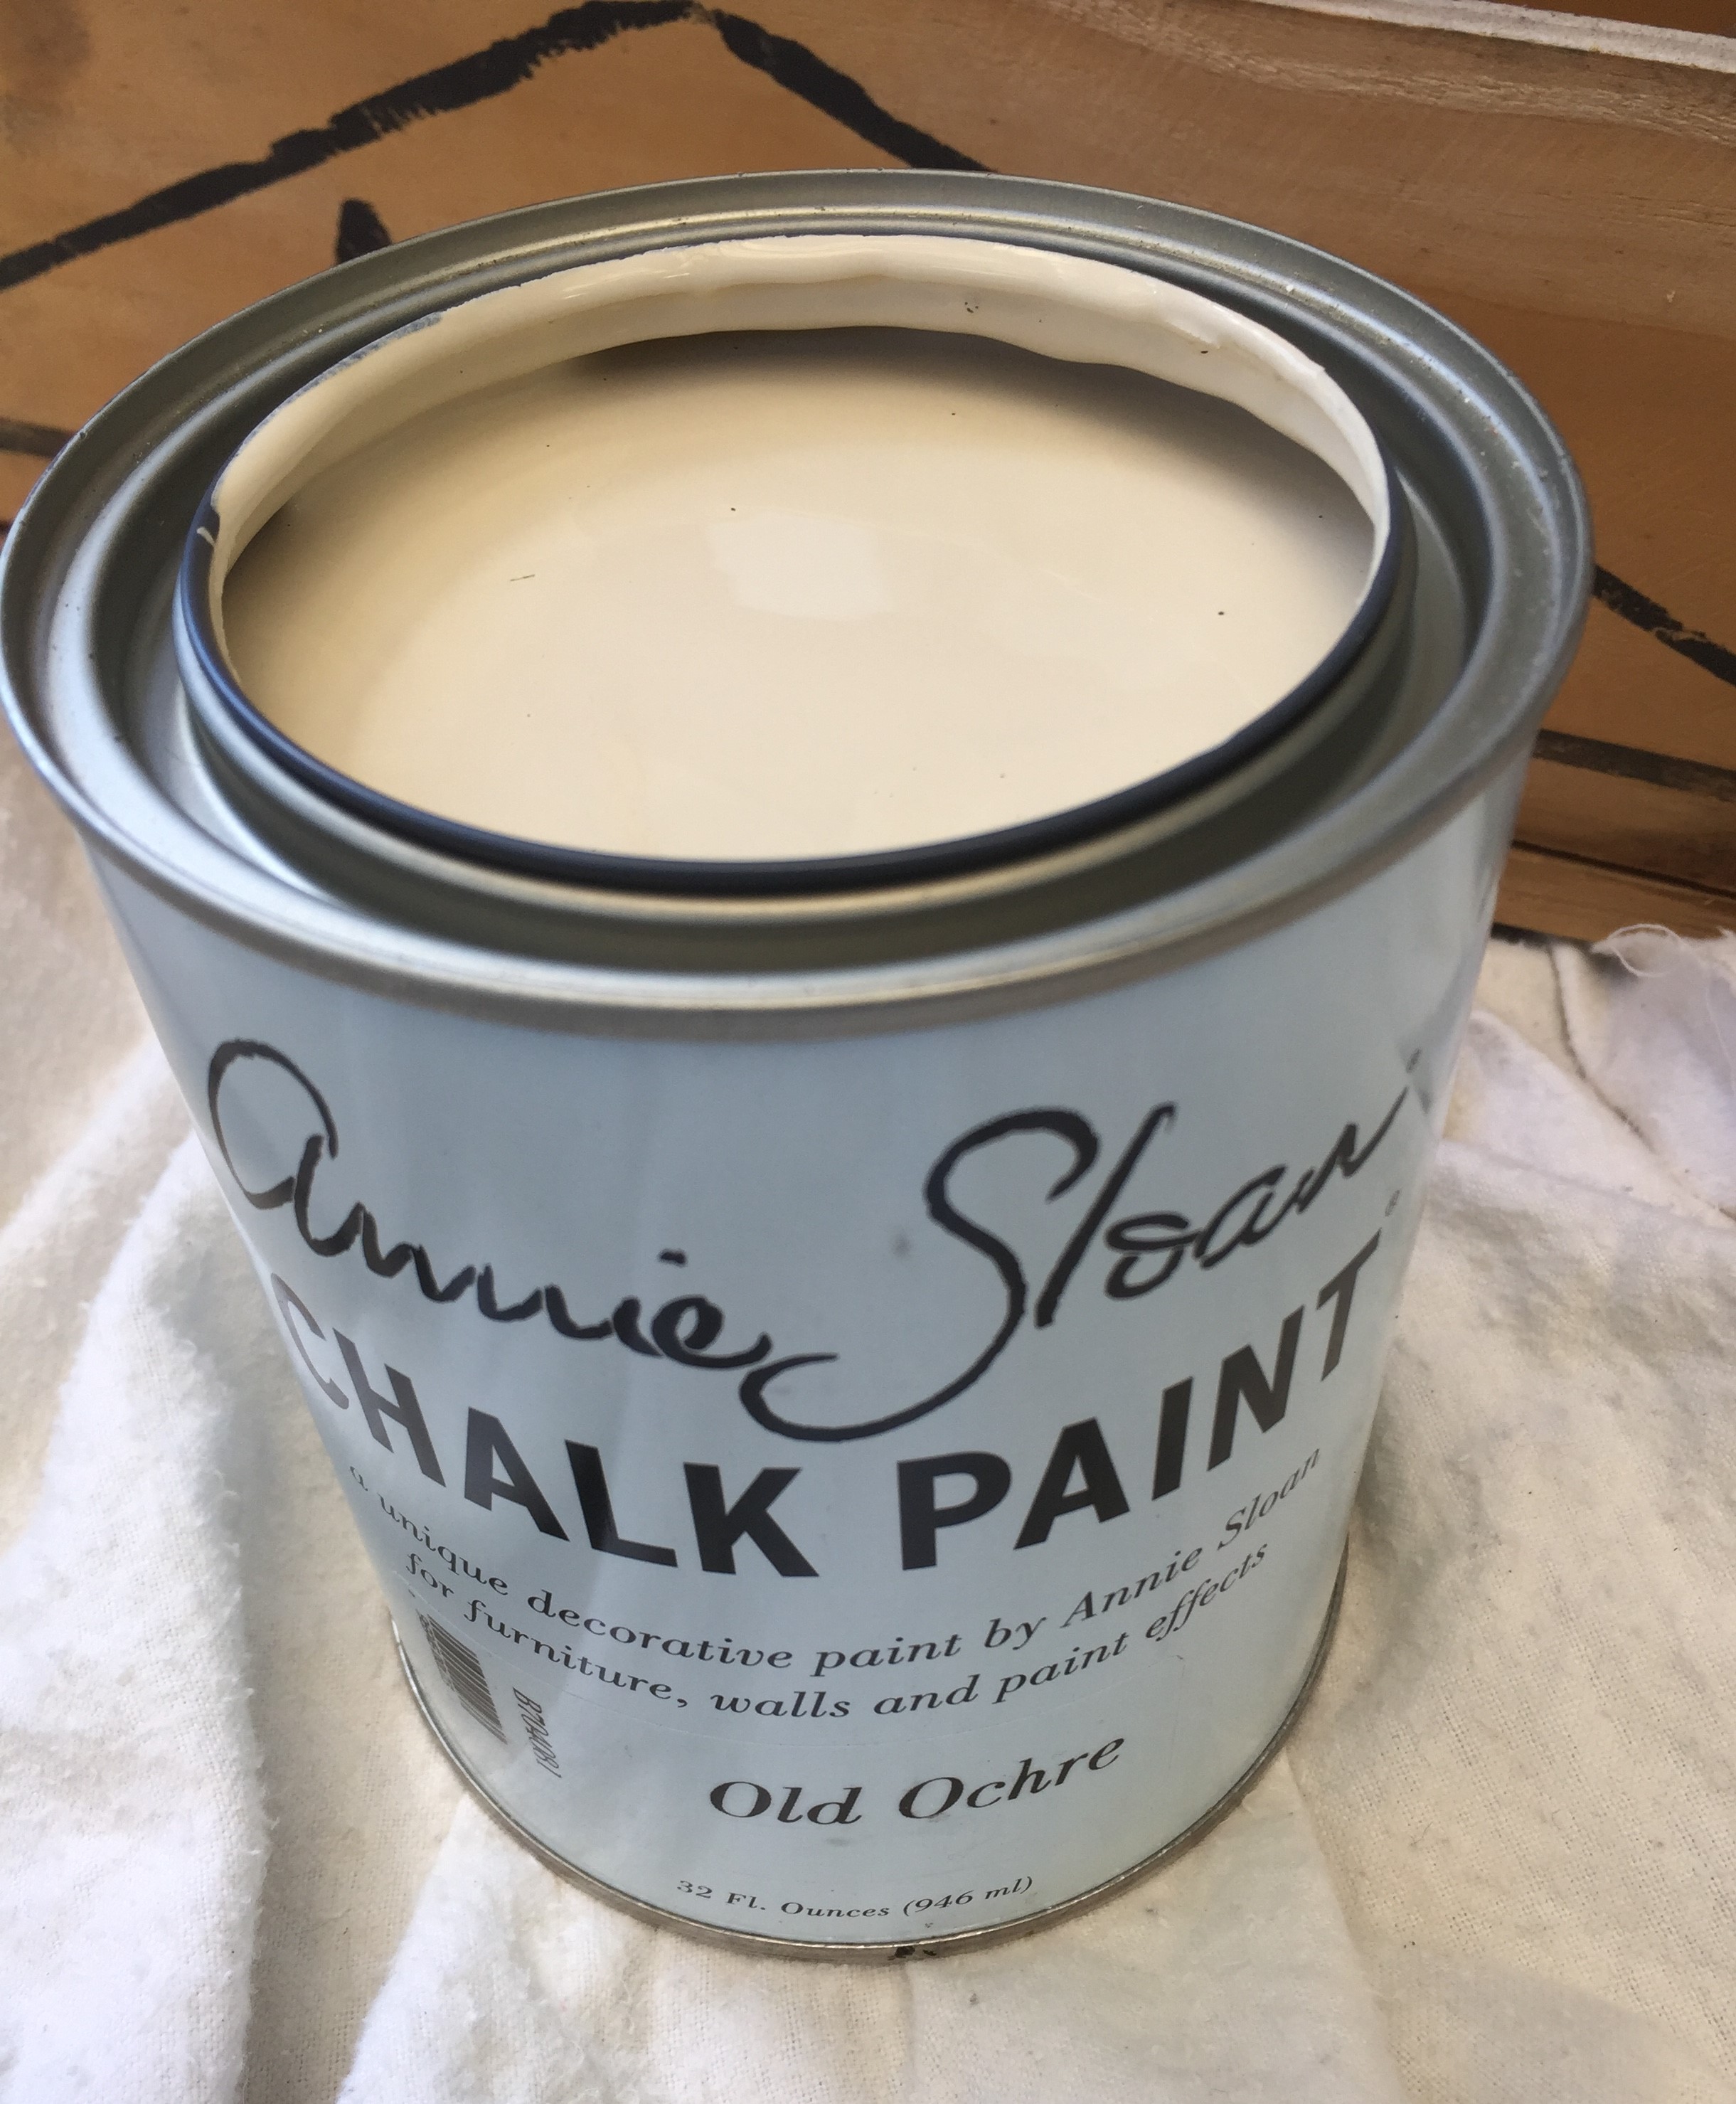
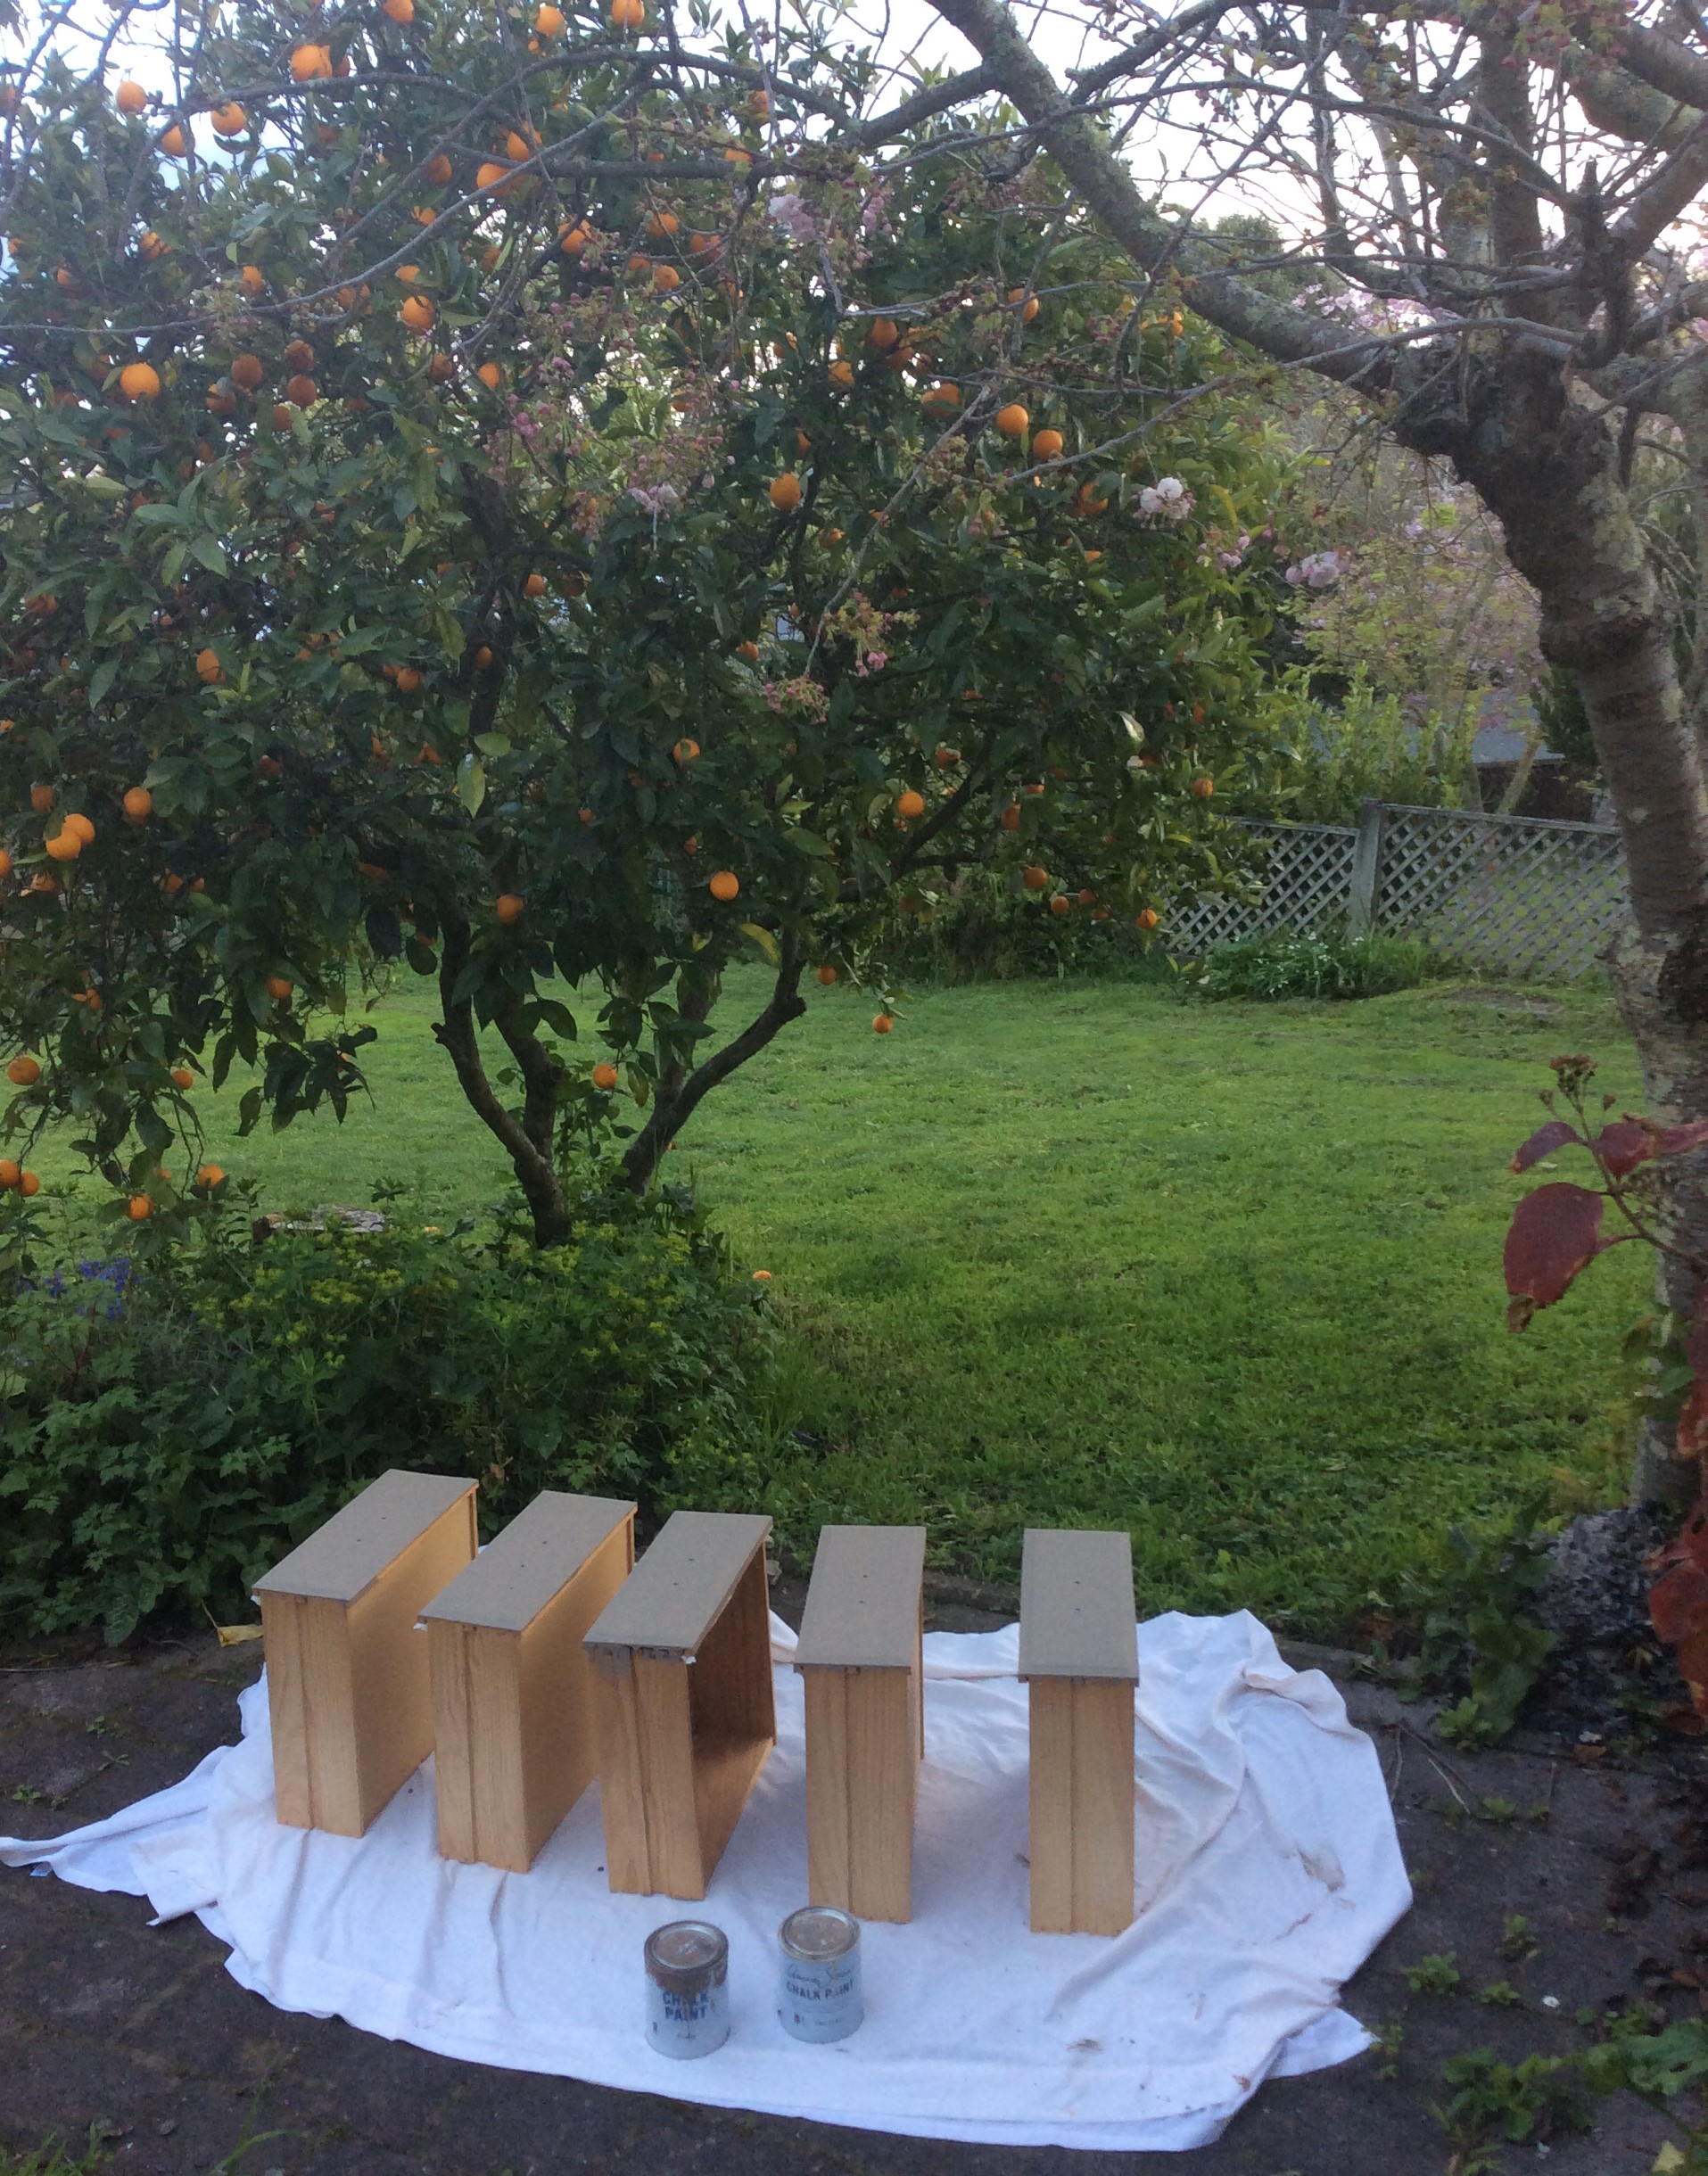
Chalkboard paint
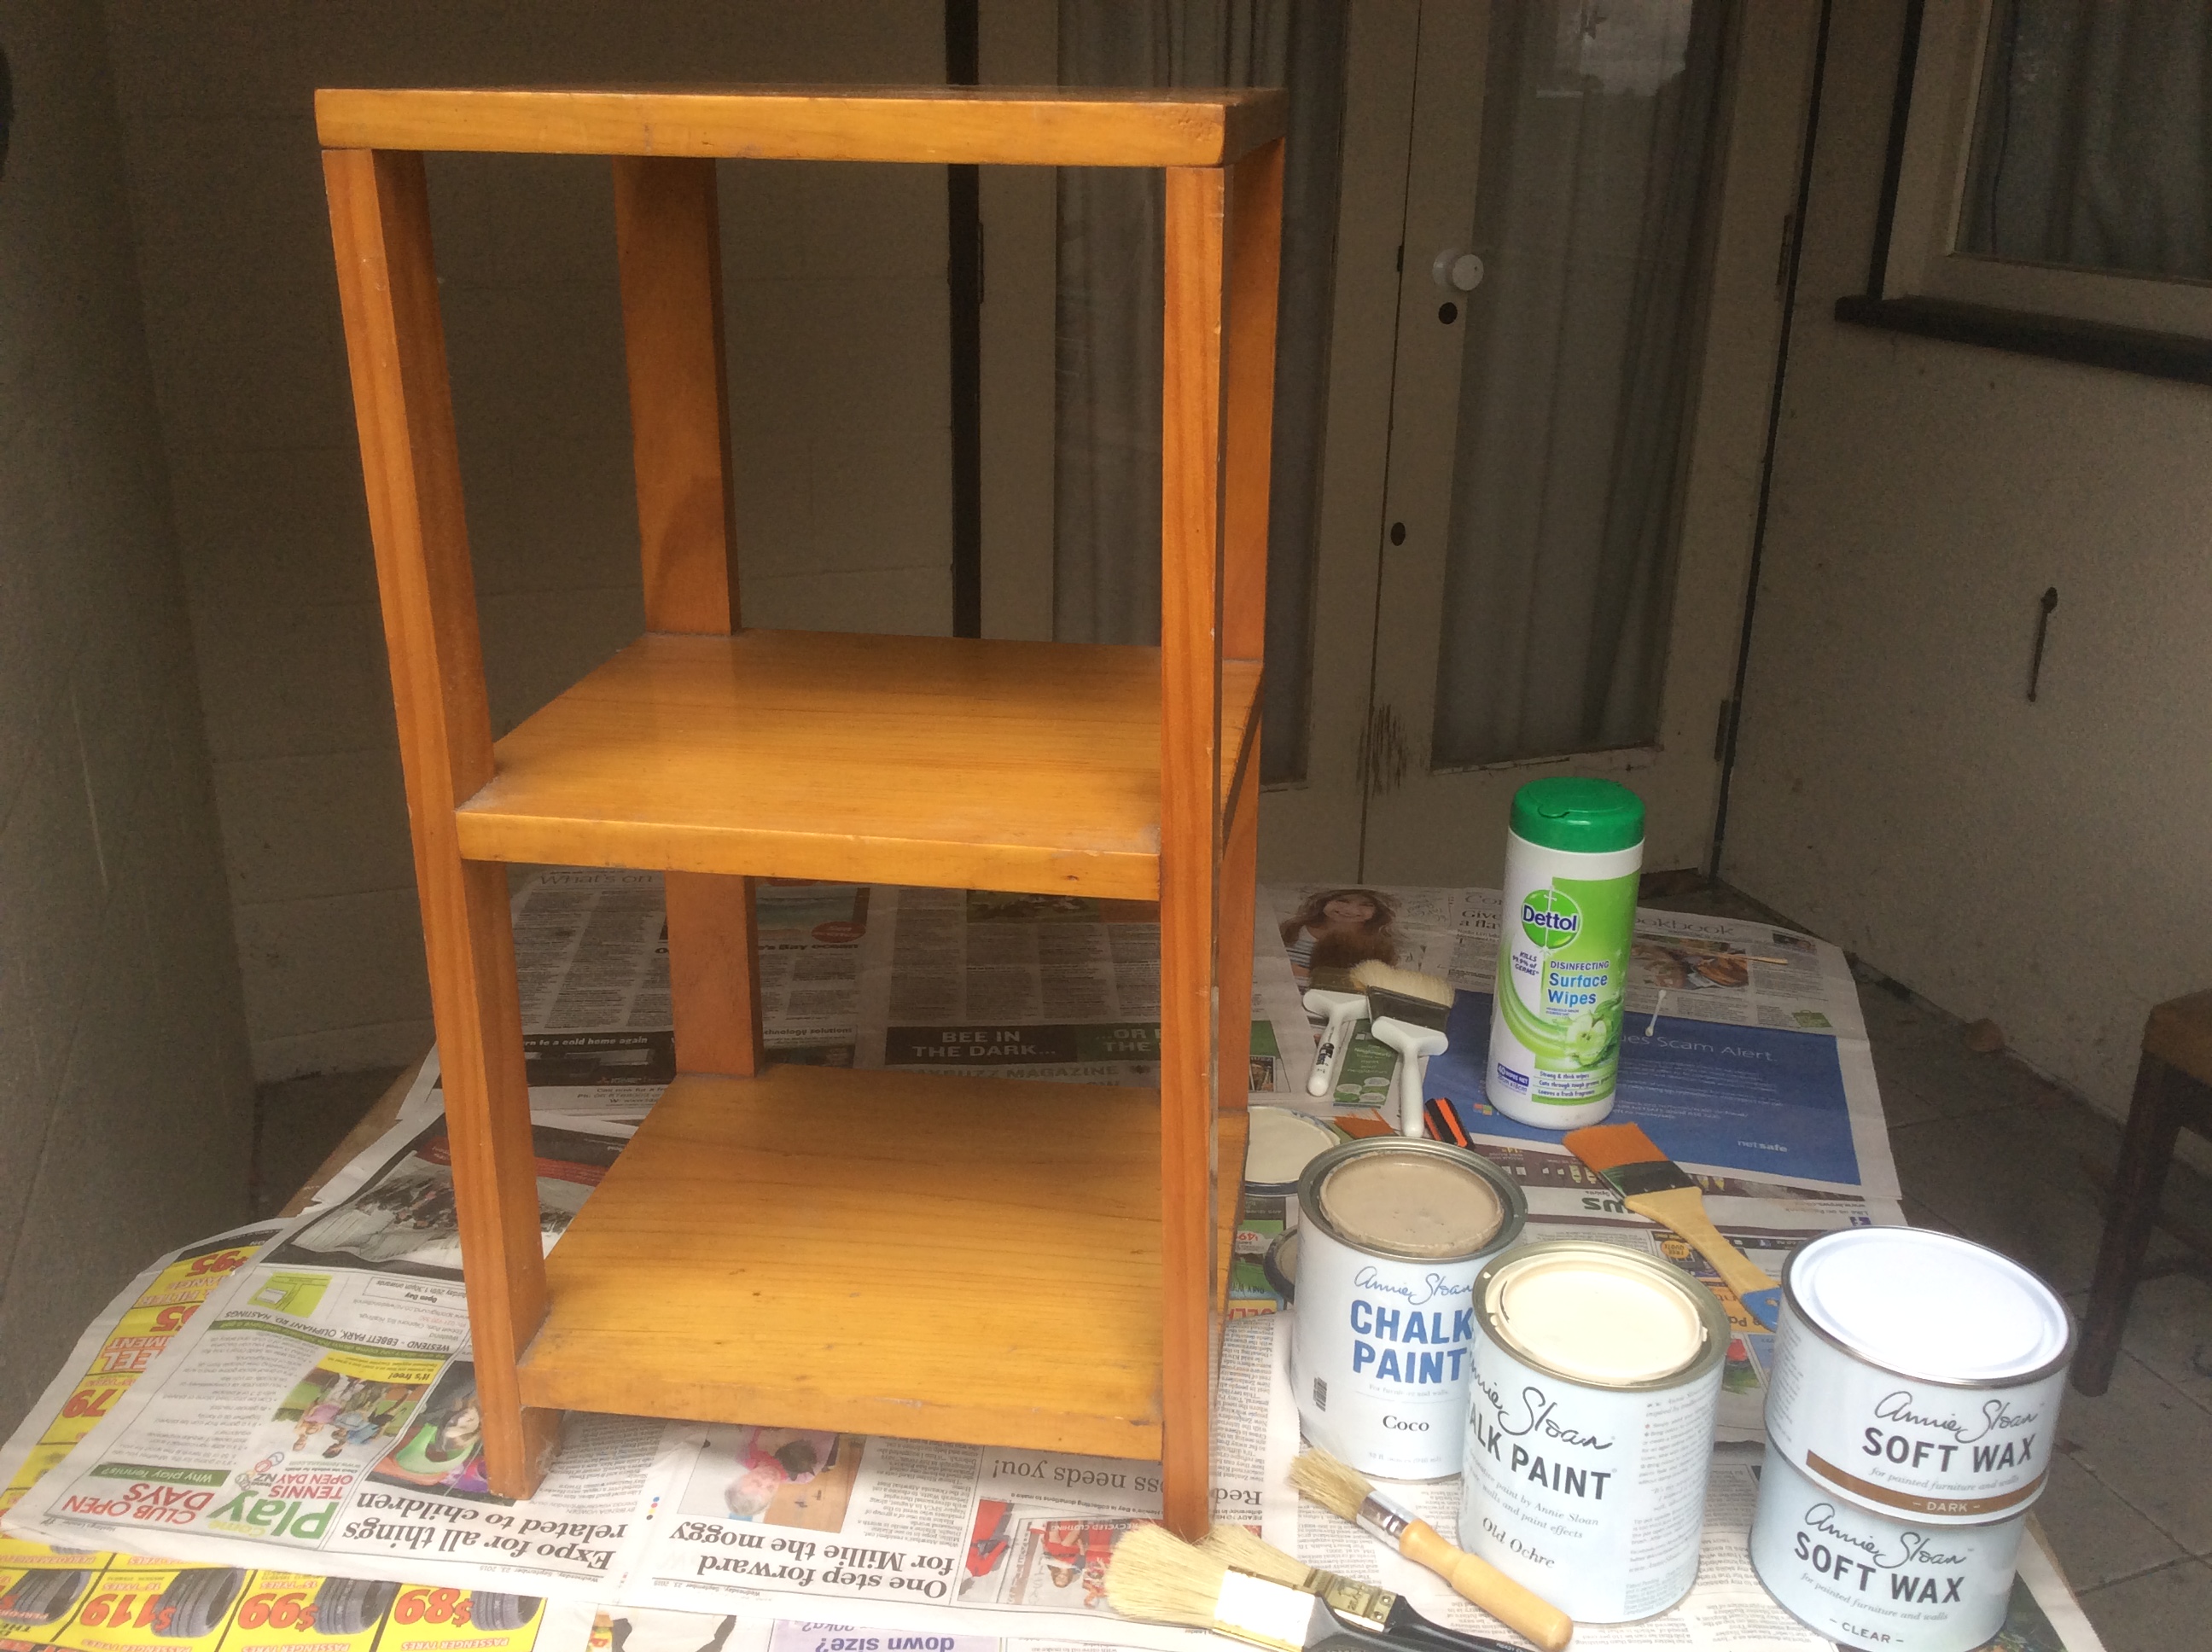
Paint for frames
Paintbrushes
Turpentine
Rags, cover for table, tin or jar for cleaning brush, something to open can with eg. screwdriver
Tape, scissors
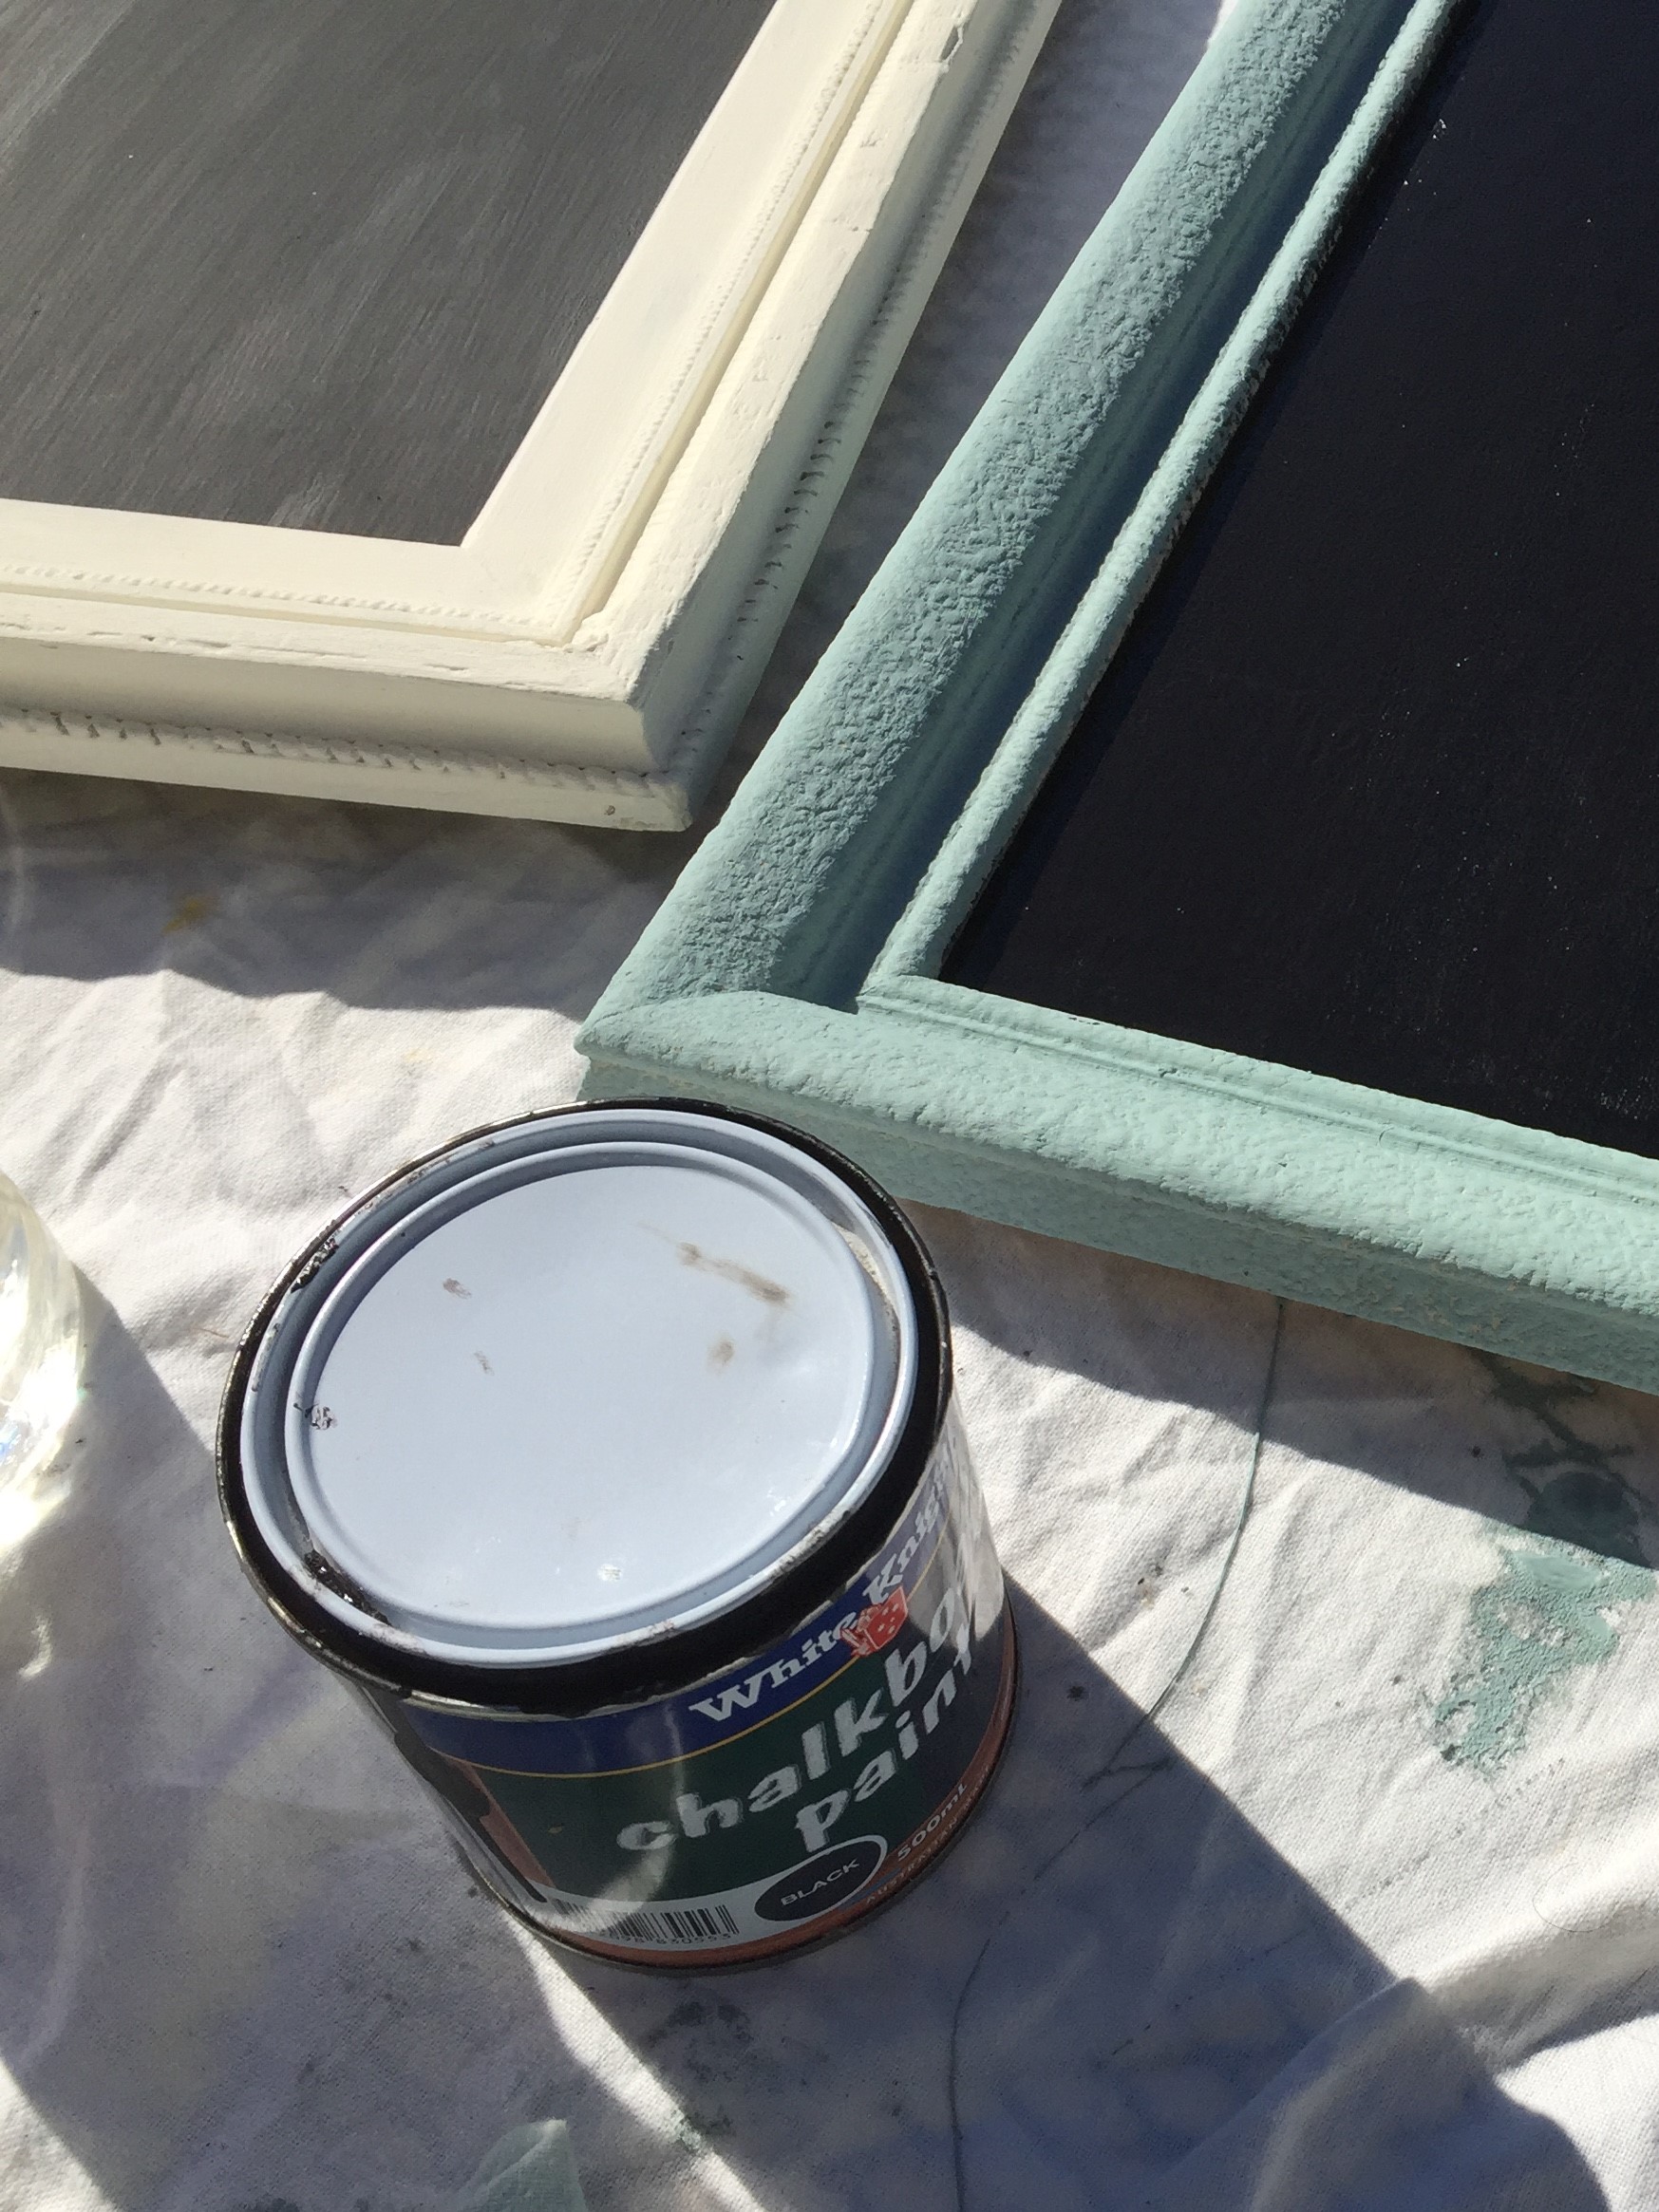
I painted the chalkboard paint on first, this goes on really easy, but make sure you let the paint dry between coats. I put on two coats, but it is really up to you how many coats you think it needs. Read the instructions on the can or spray before starting.
After, the paint had dried I painted the frames with Annie Sloan Chalk Paint, Old White and Duck Egg. I did put tape on the chalkboard paint to make sure I didn’t get any paint on it by mistake.
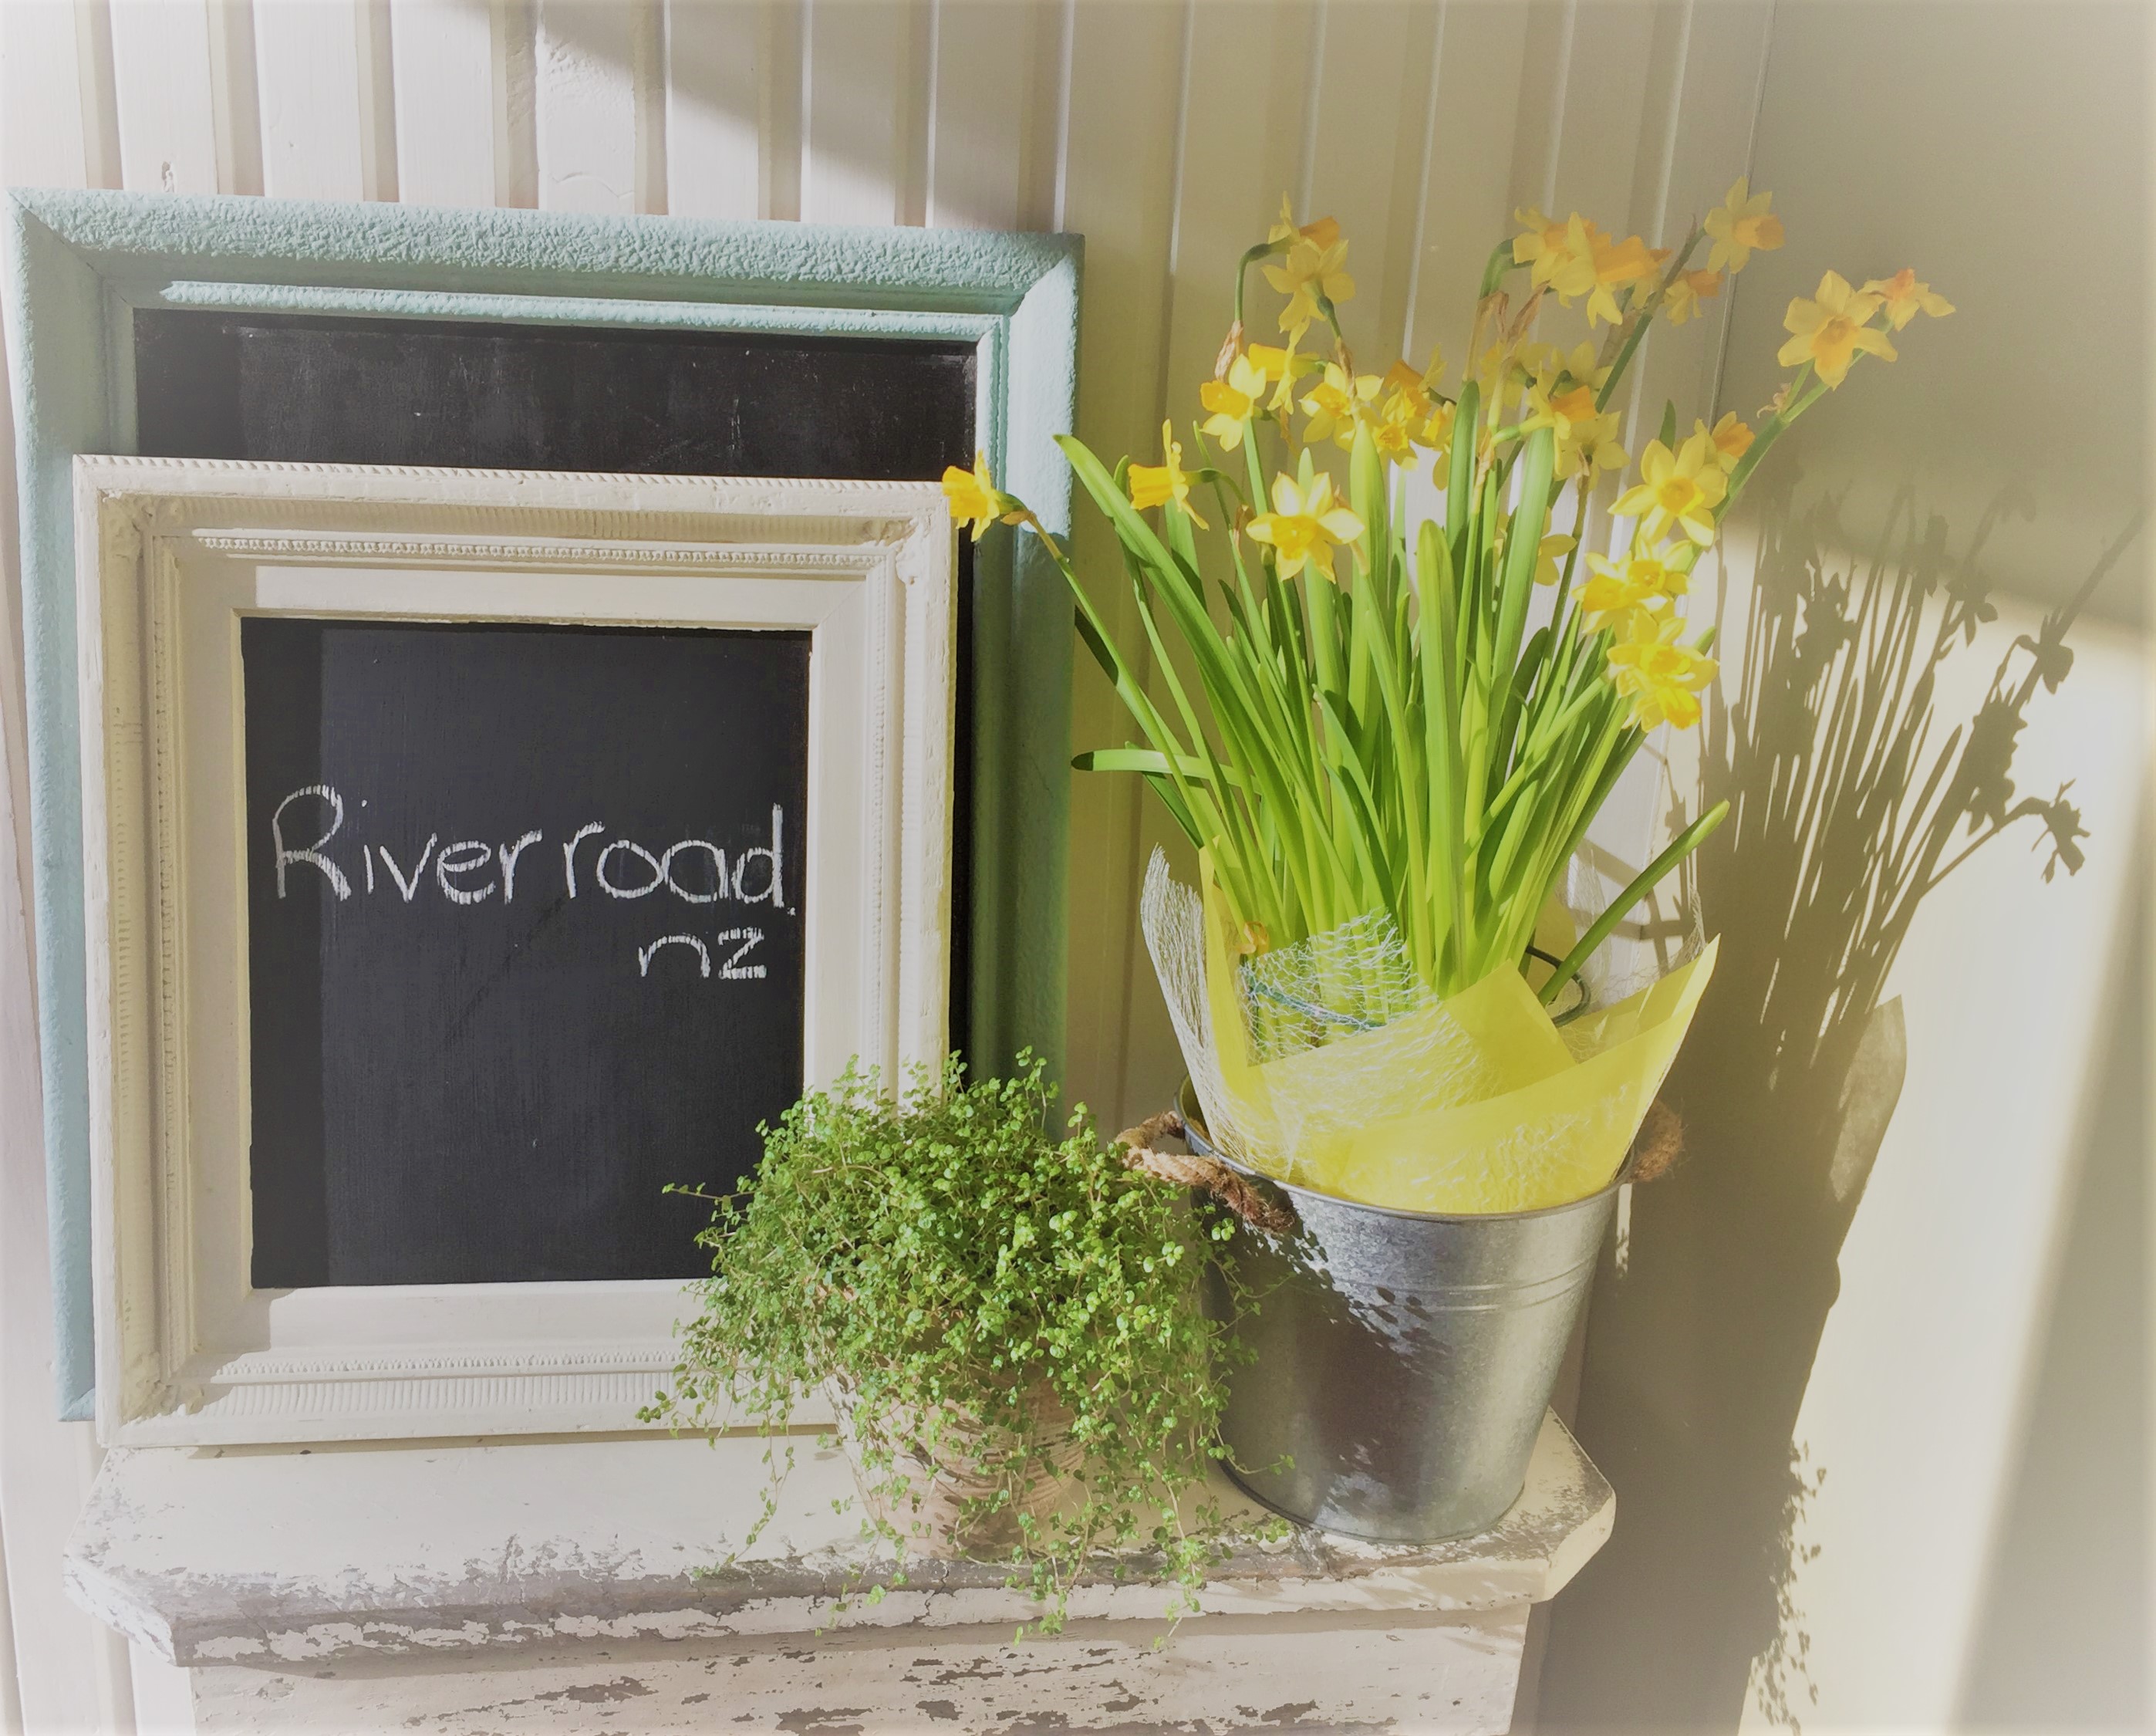
Finished Chalkboard

I hope this inspires you to try making a Chalkboard!
I hope you try this… so easy to make and don’t they look great!
Thanks for reading my post!


