Do you ever look at your dining chairs and want to change them? That’s what I was doing and finally took the plunge do something about them. To save the cost of buying new chairs; I actually like the chairs we have in that they are nice and wide, very comfortable to sit on. So I decided to paint and recover them, do a dining chairs makeover….
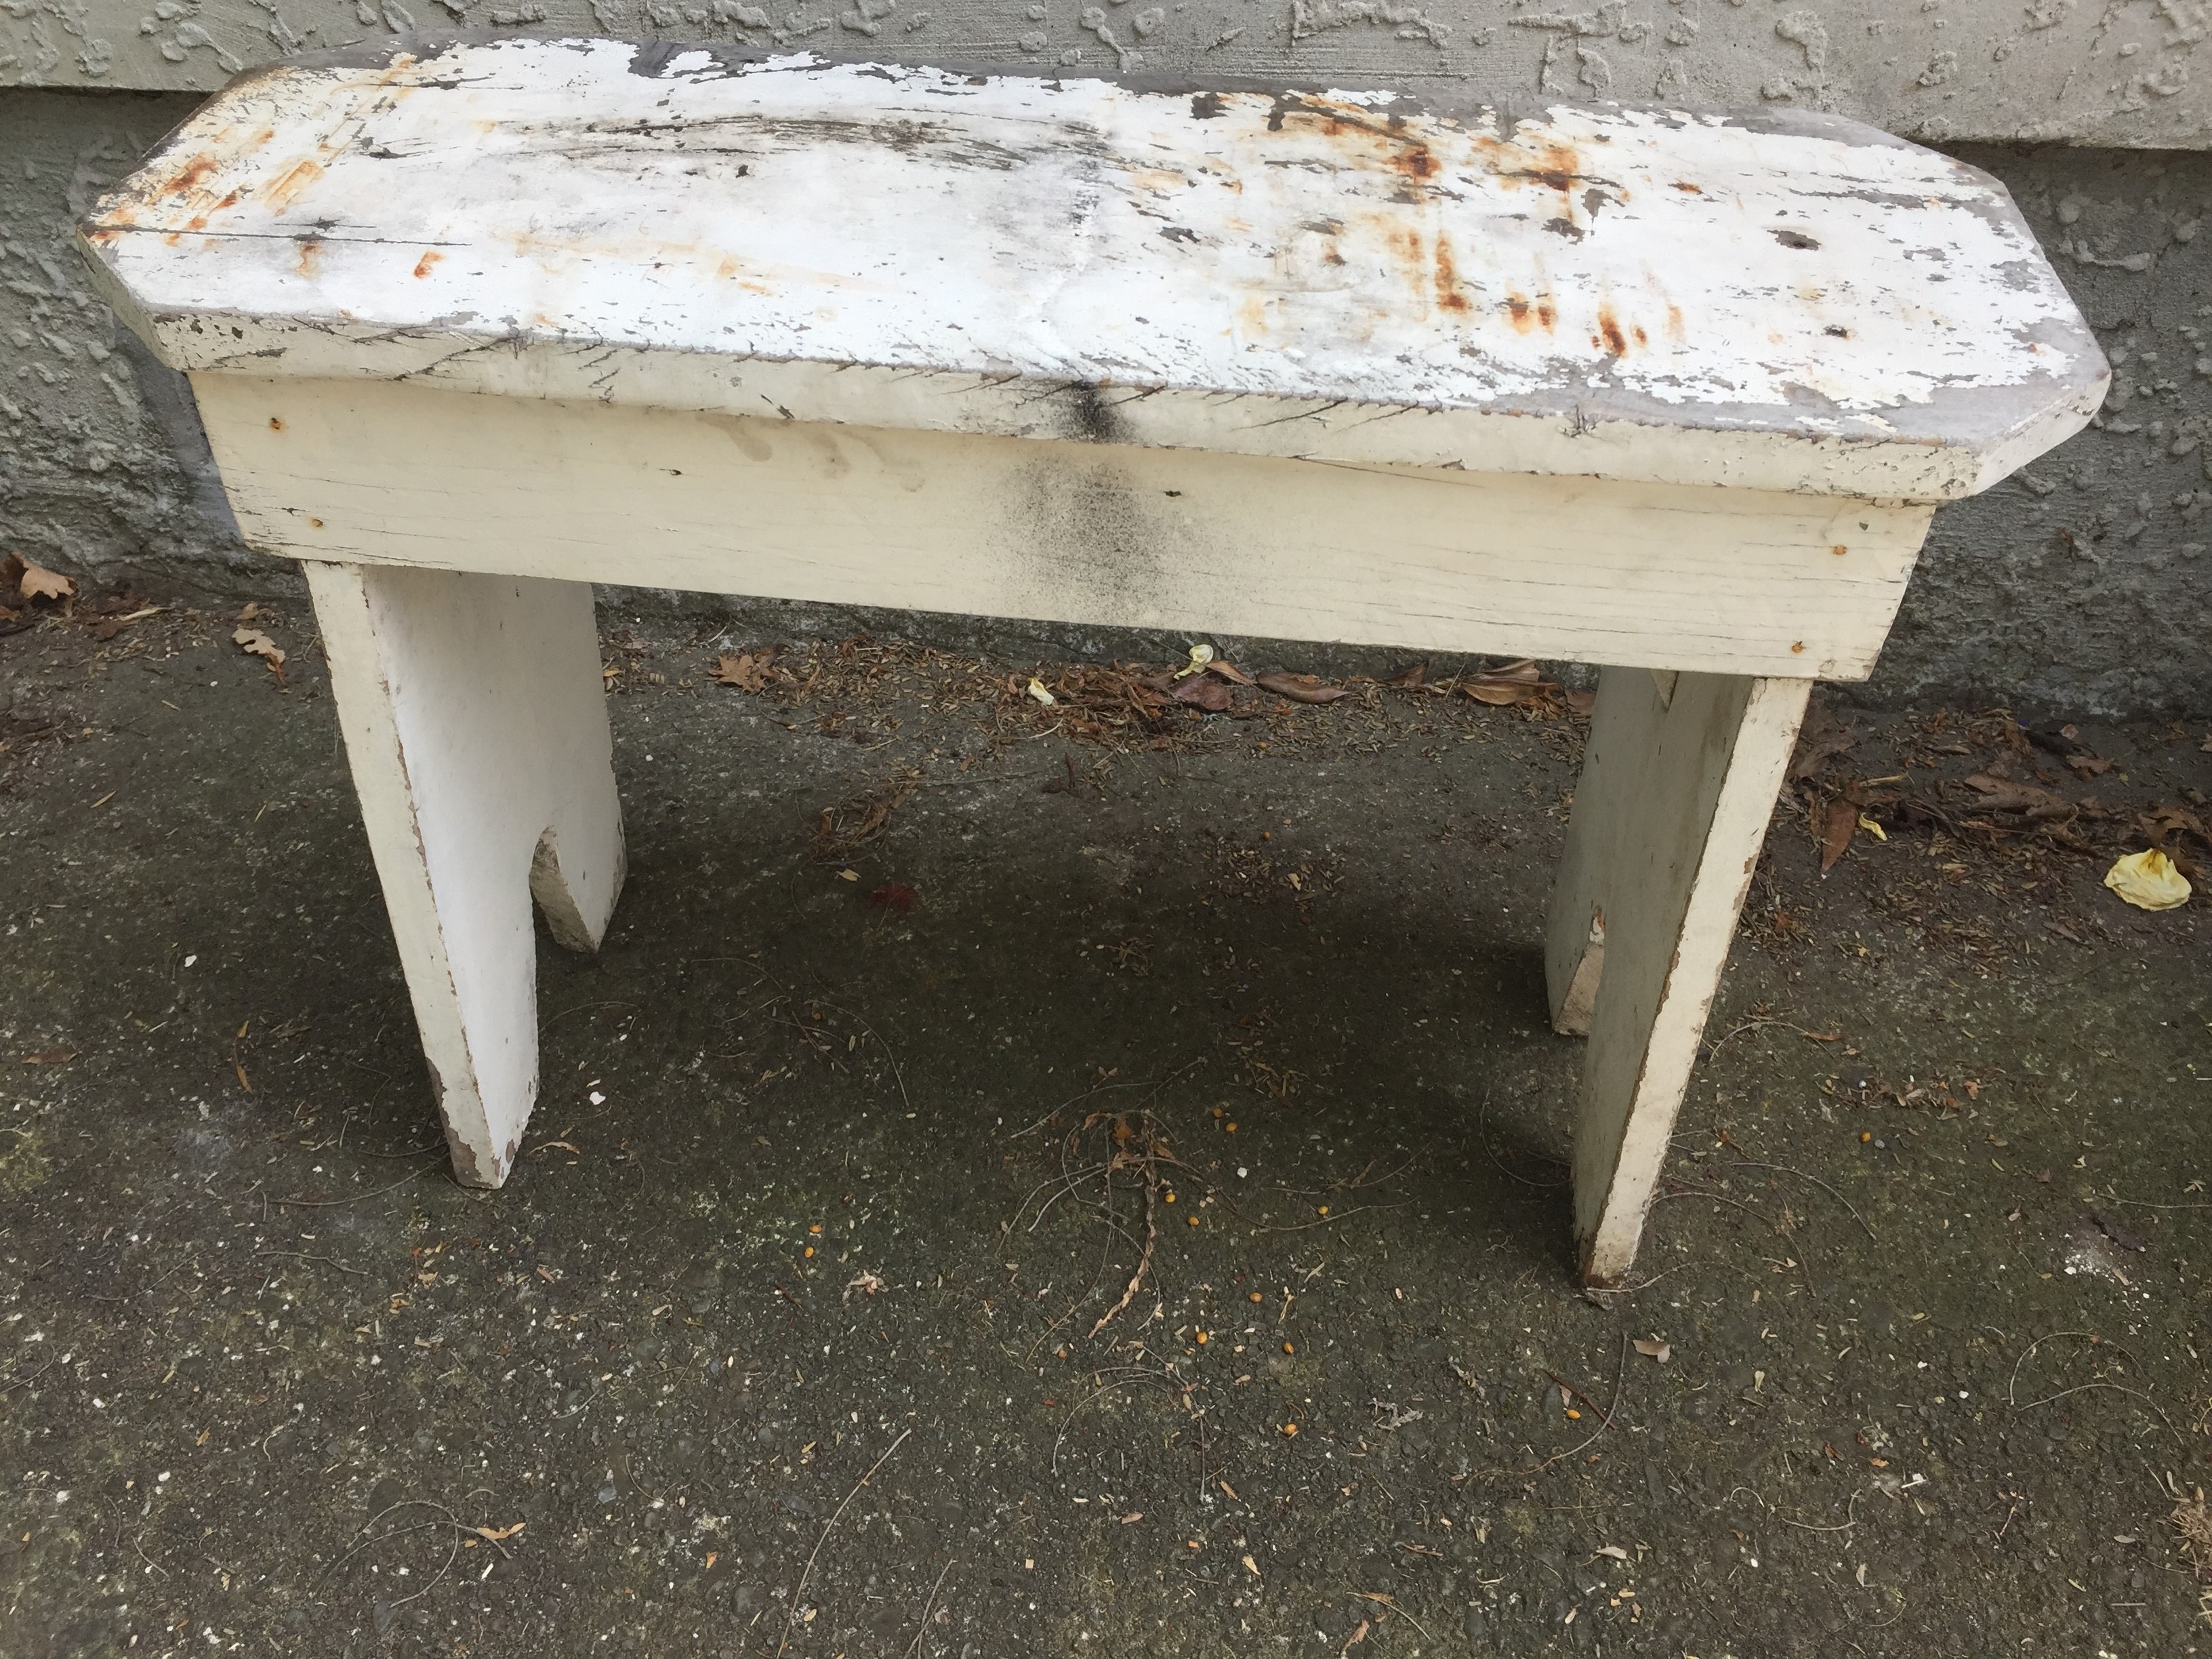
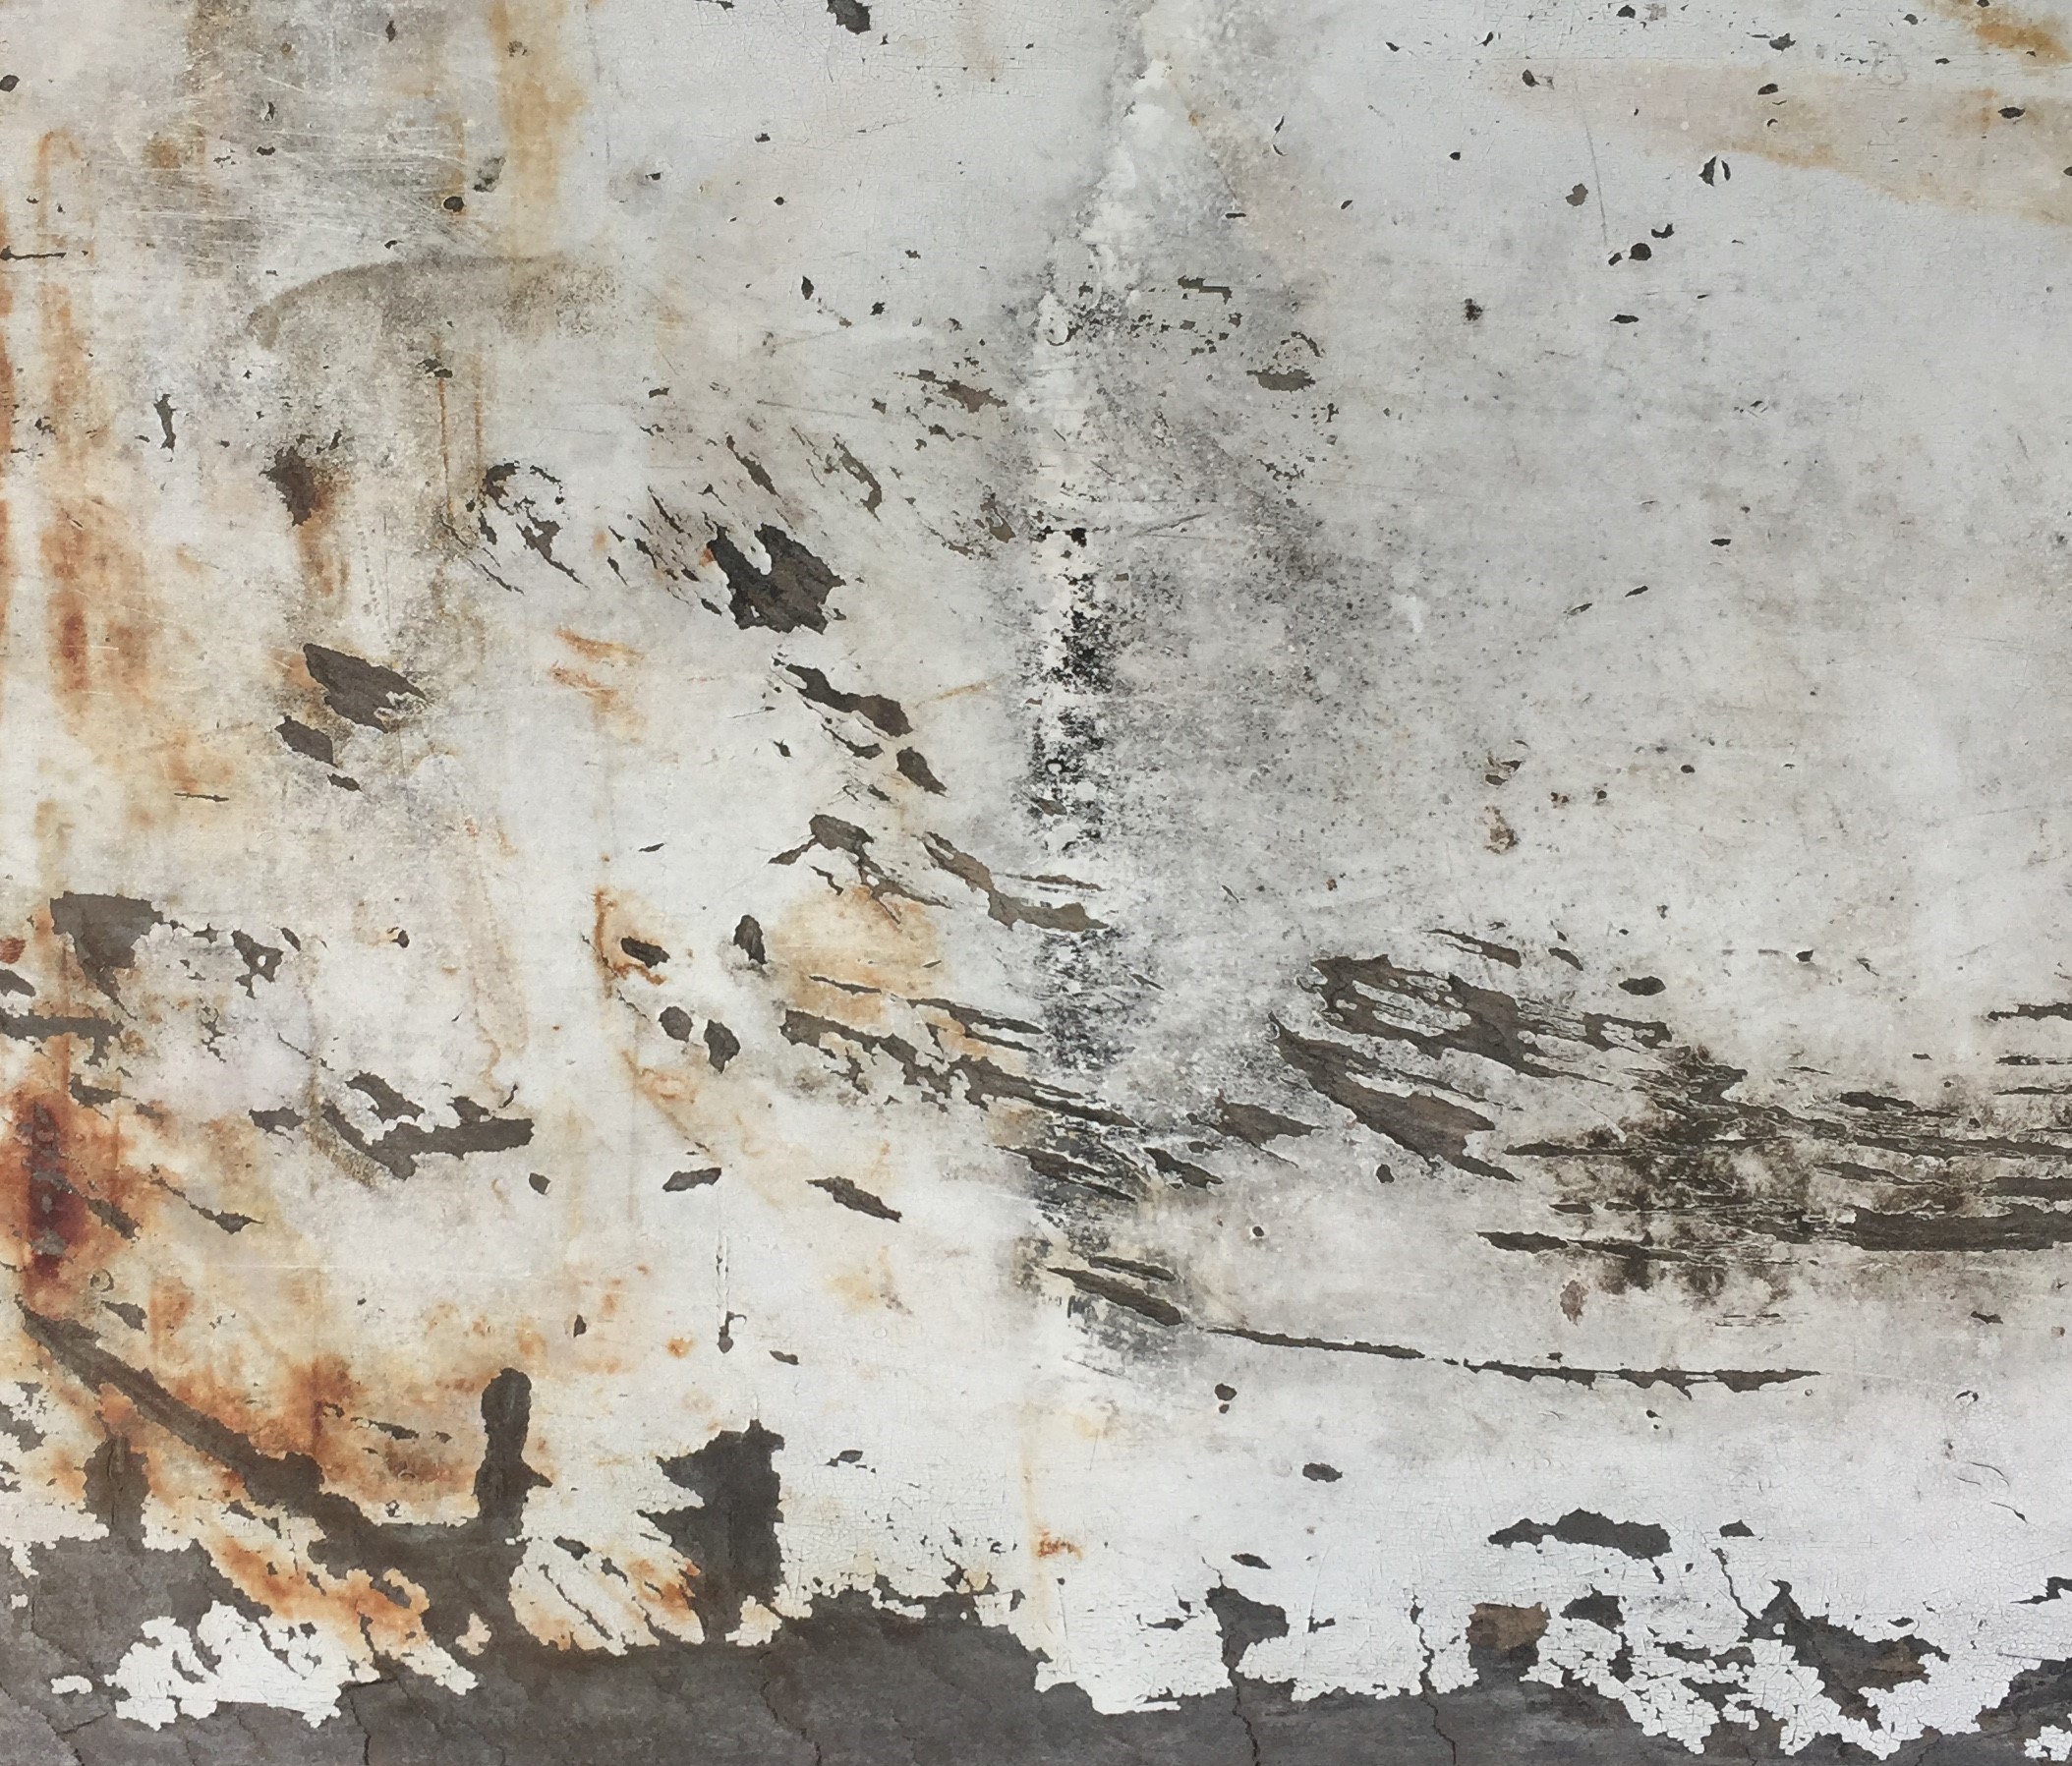
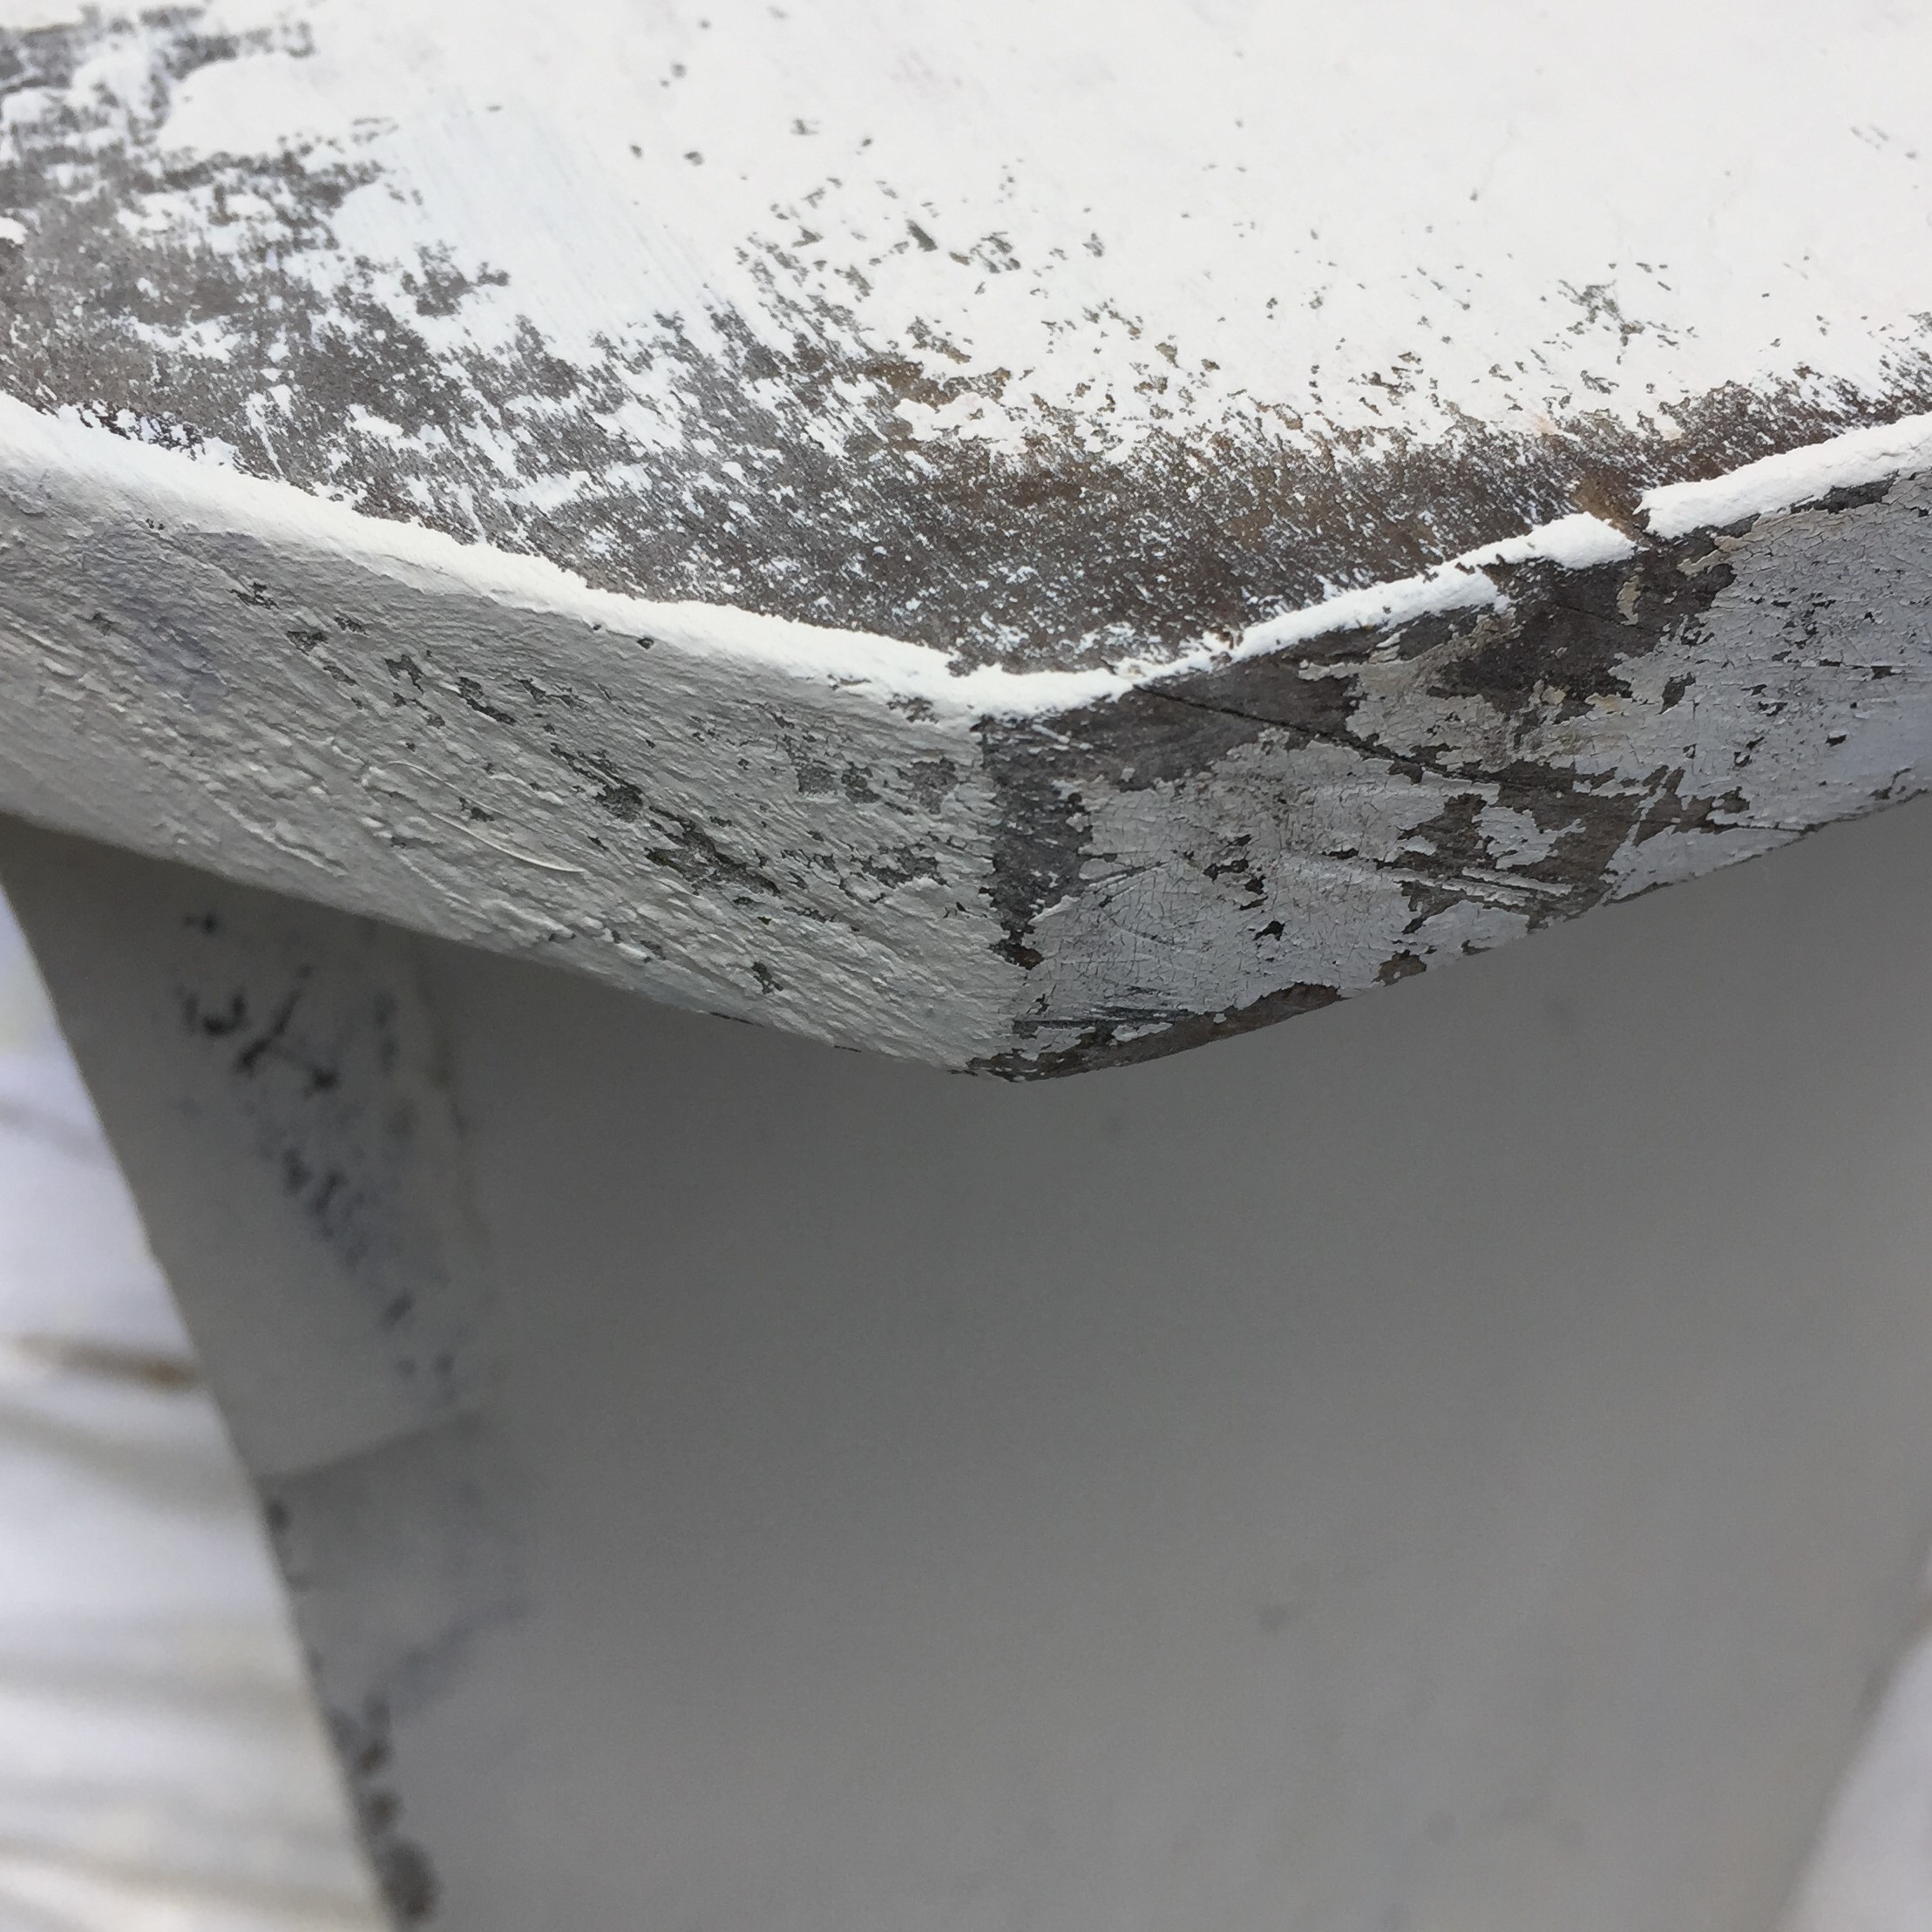
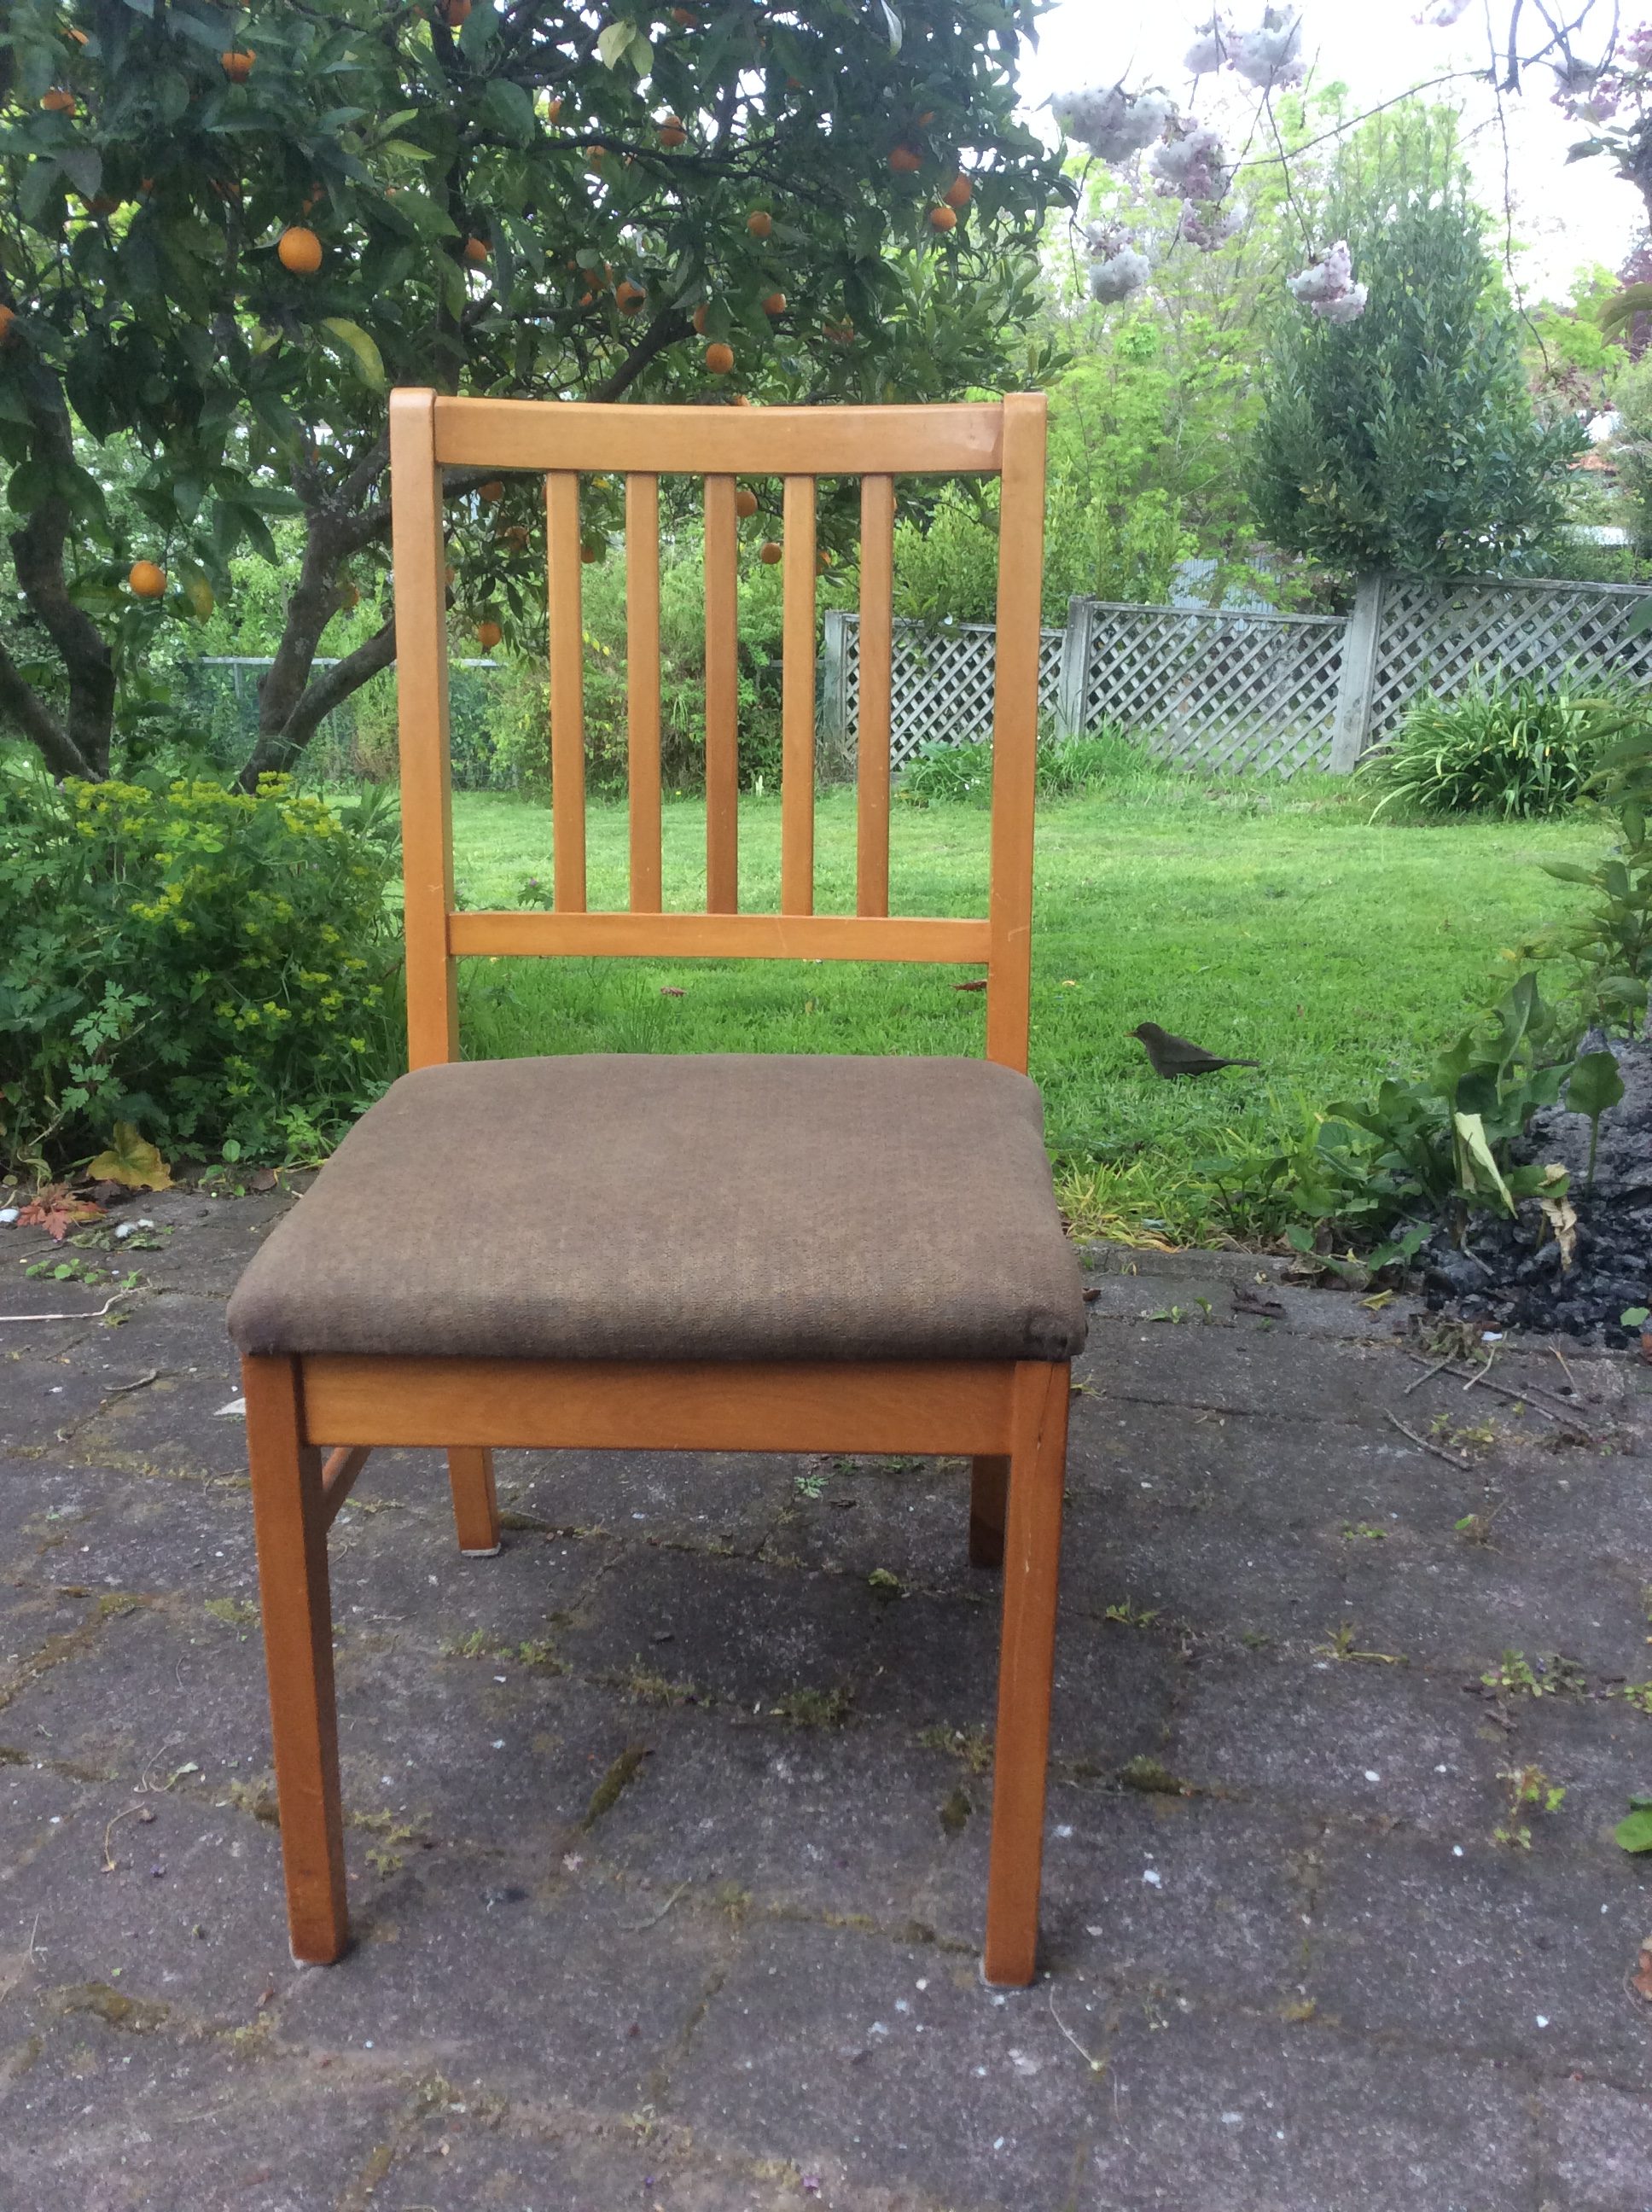
Here’s what they looked like to begin with…
Annie Sloan Chalk Paint
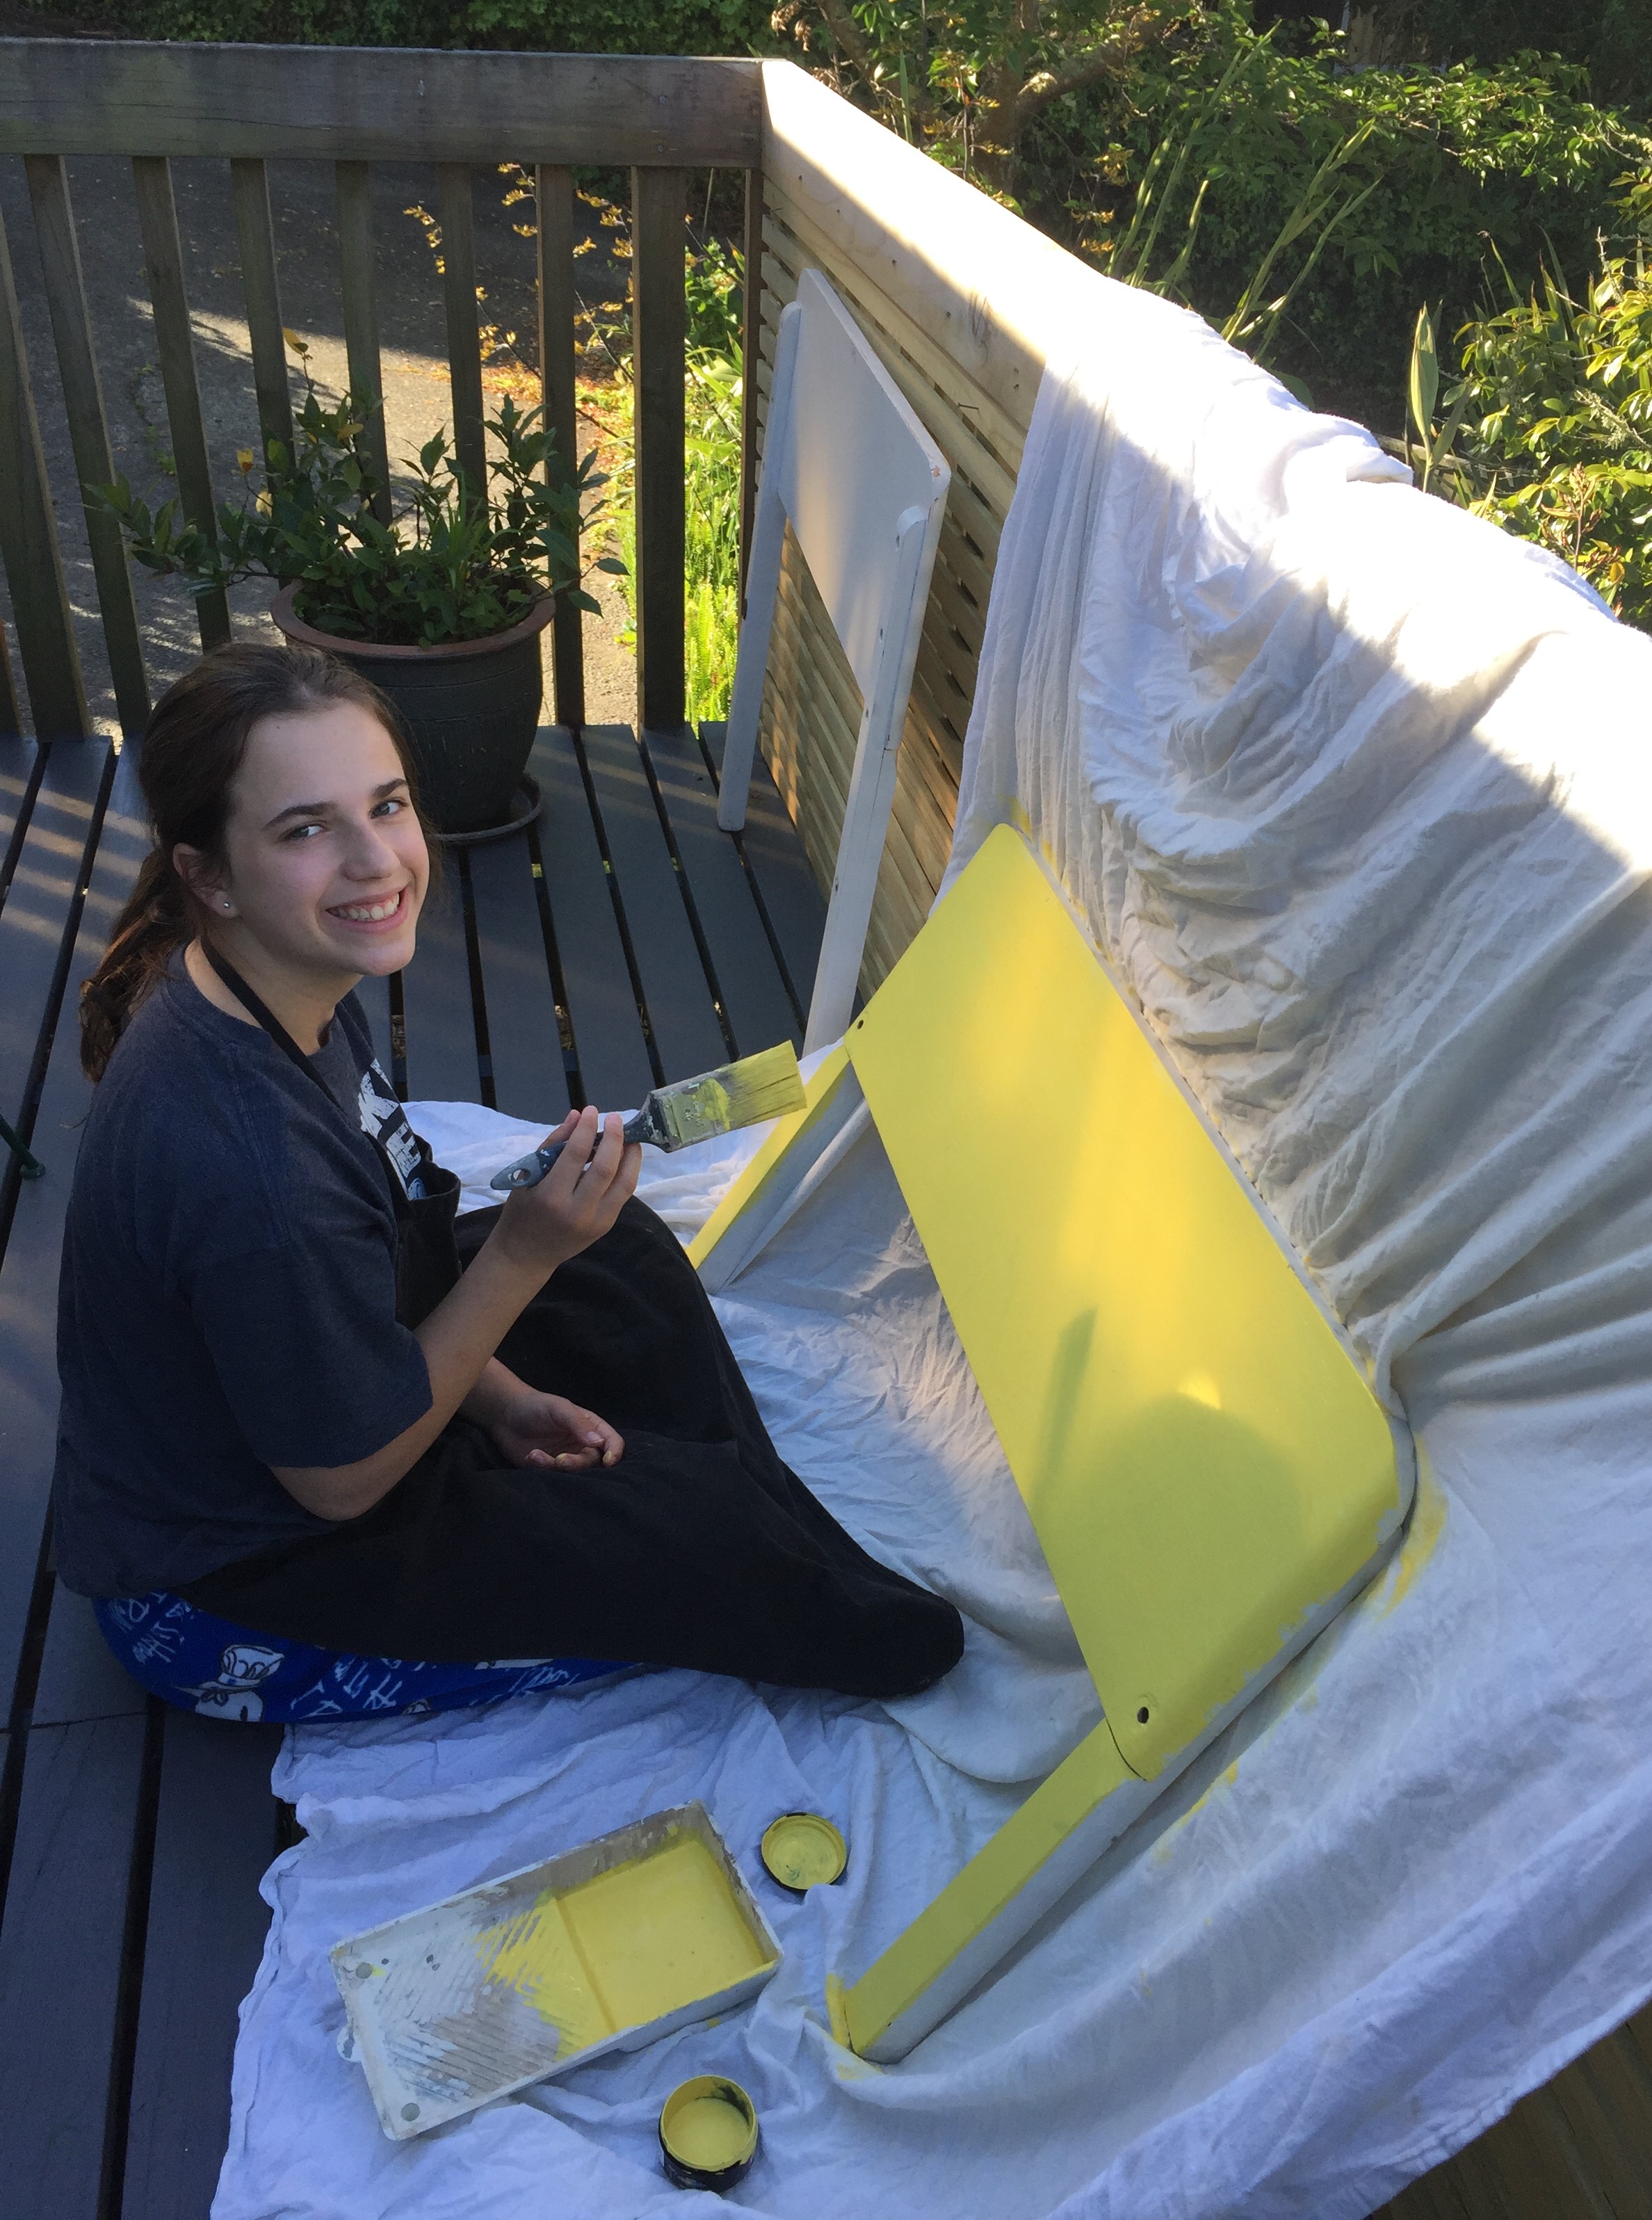
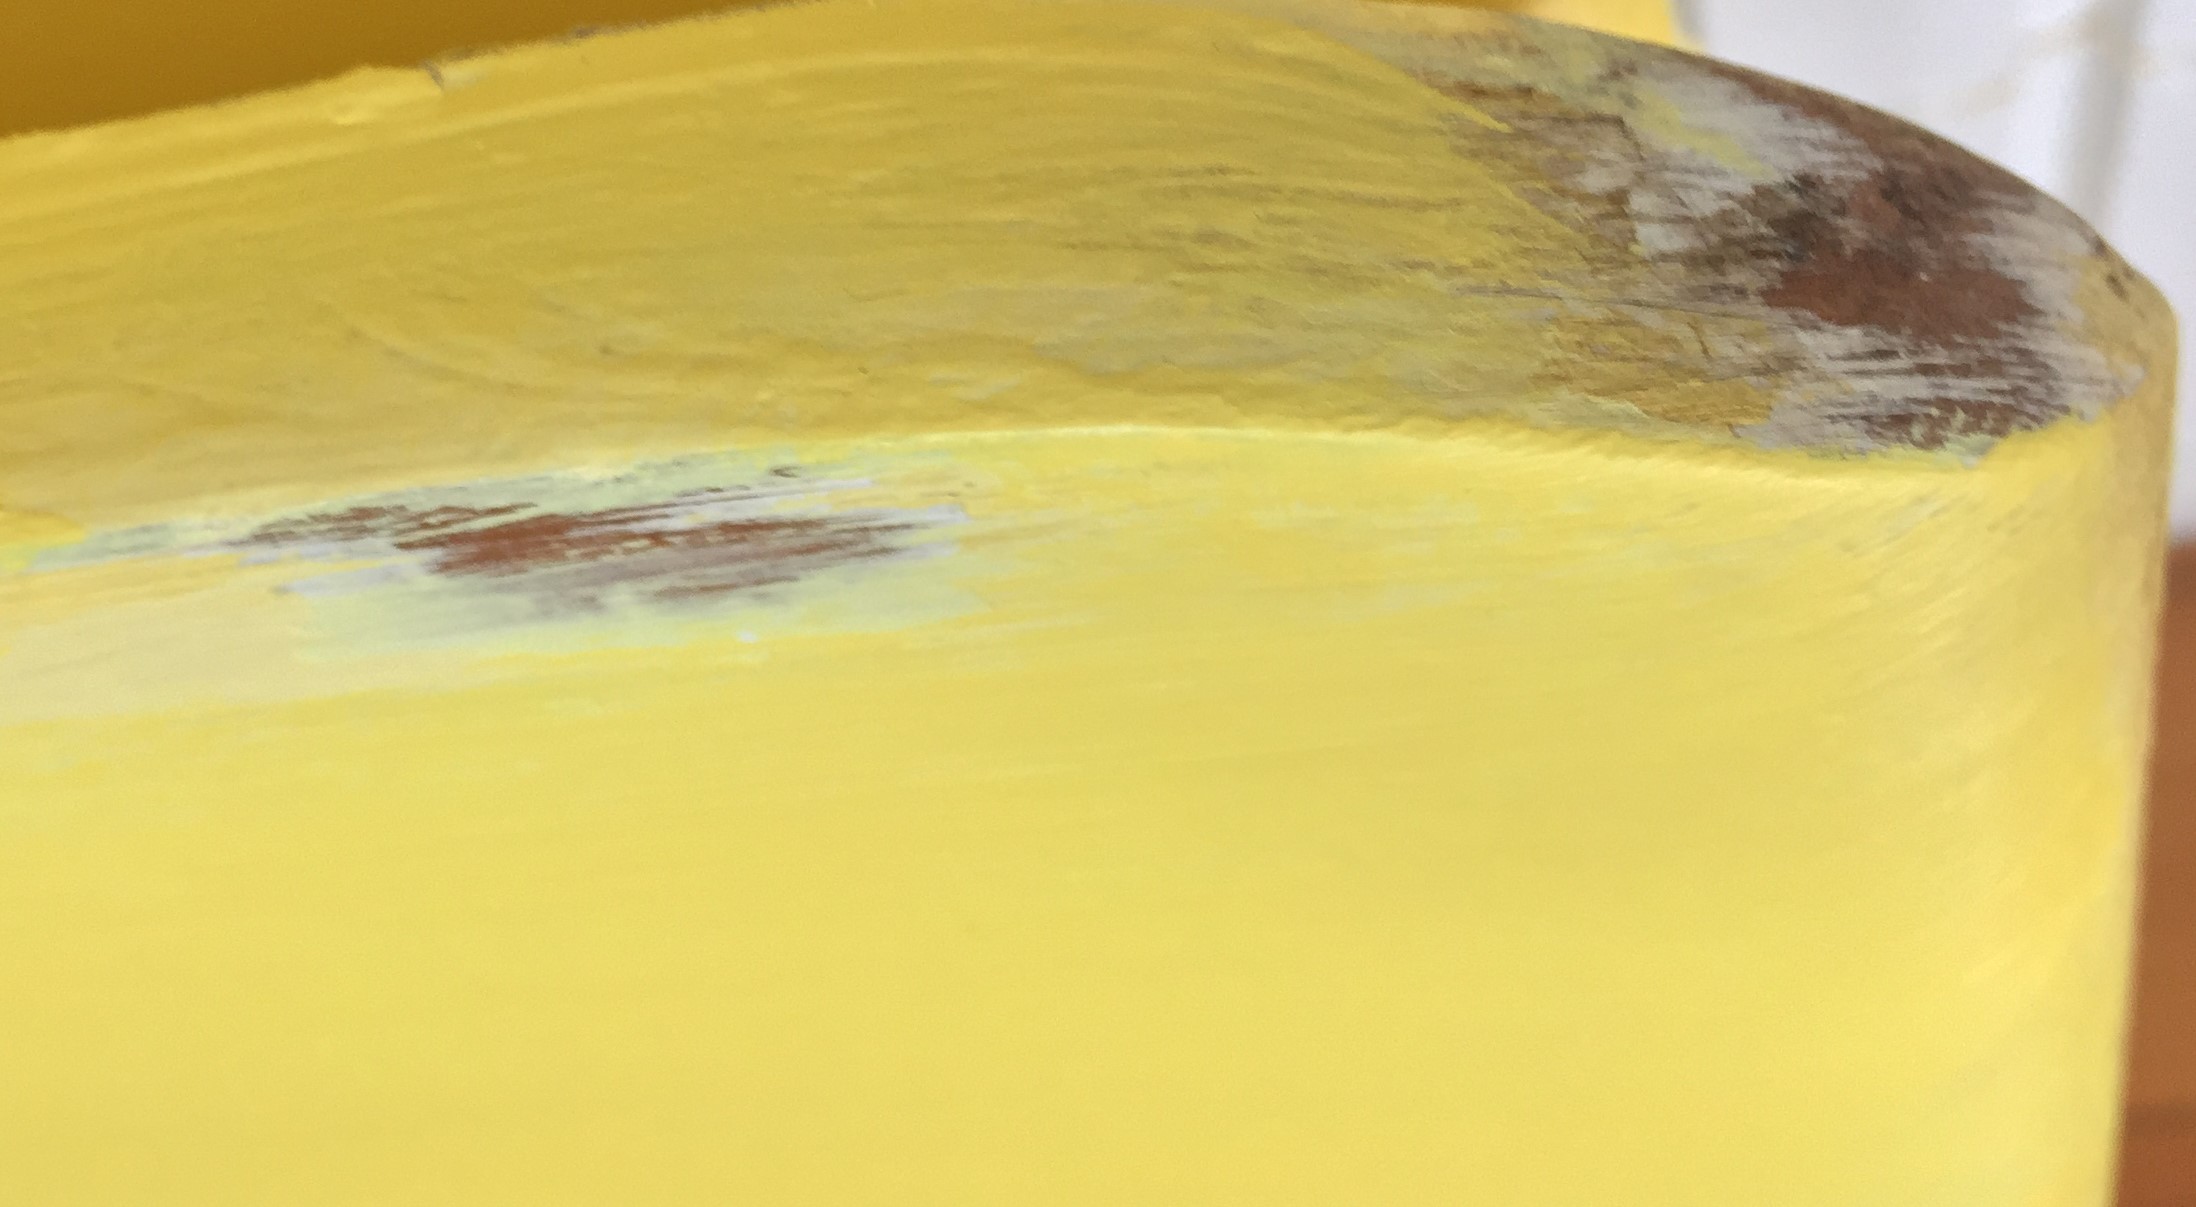
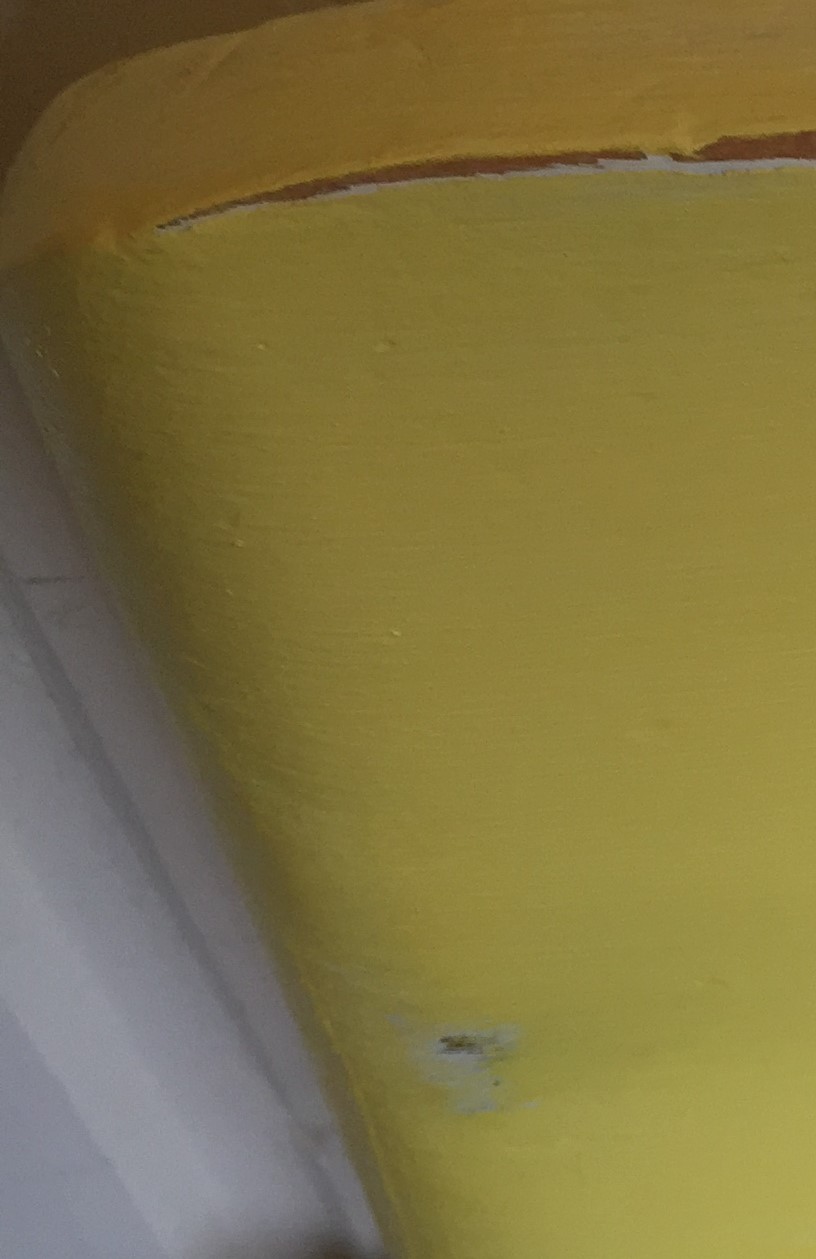
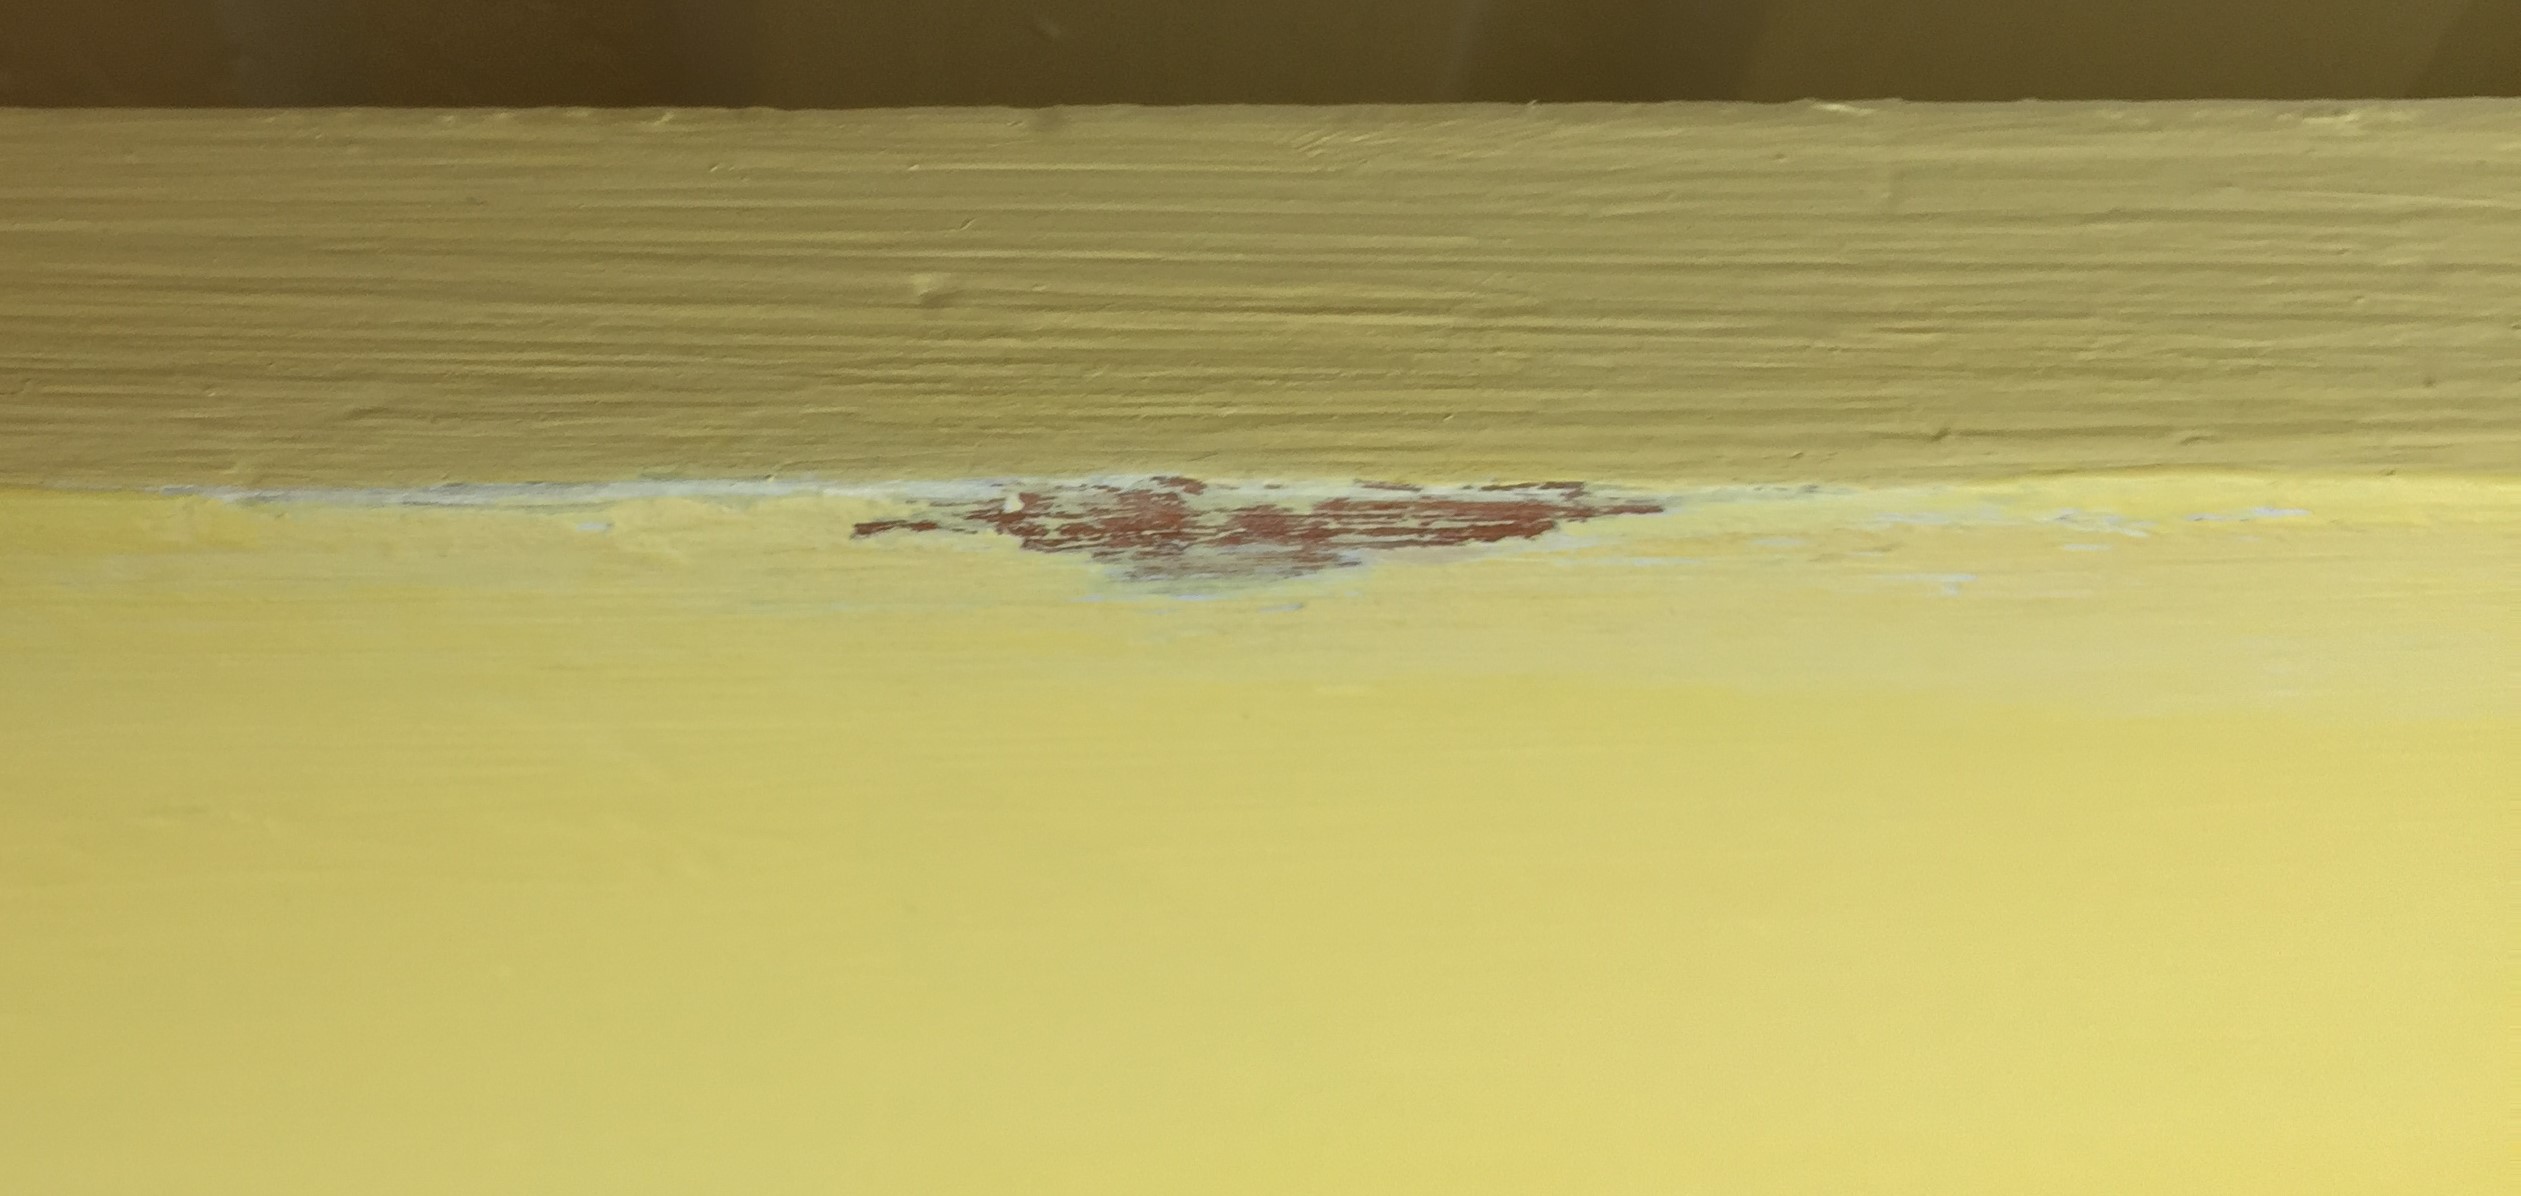
First, I removed the seat and then cleaned down the wooden chair frames with water and dish washing detergent. Once it had dried I painted them with Annie Sloan Chalk Paint Old Ochre (my favourite colour.)
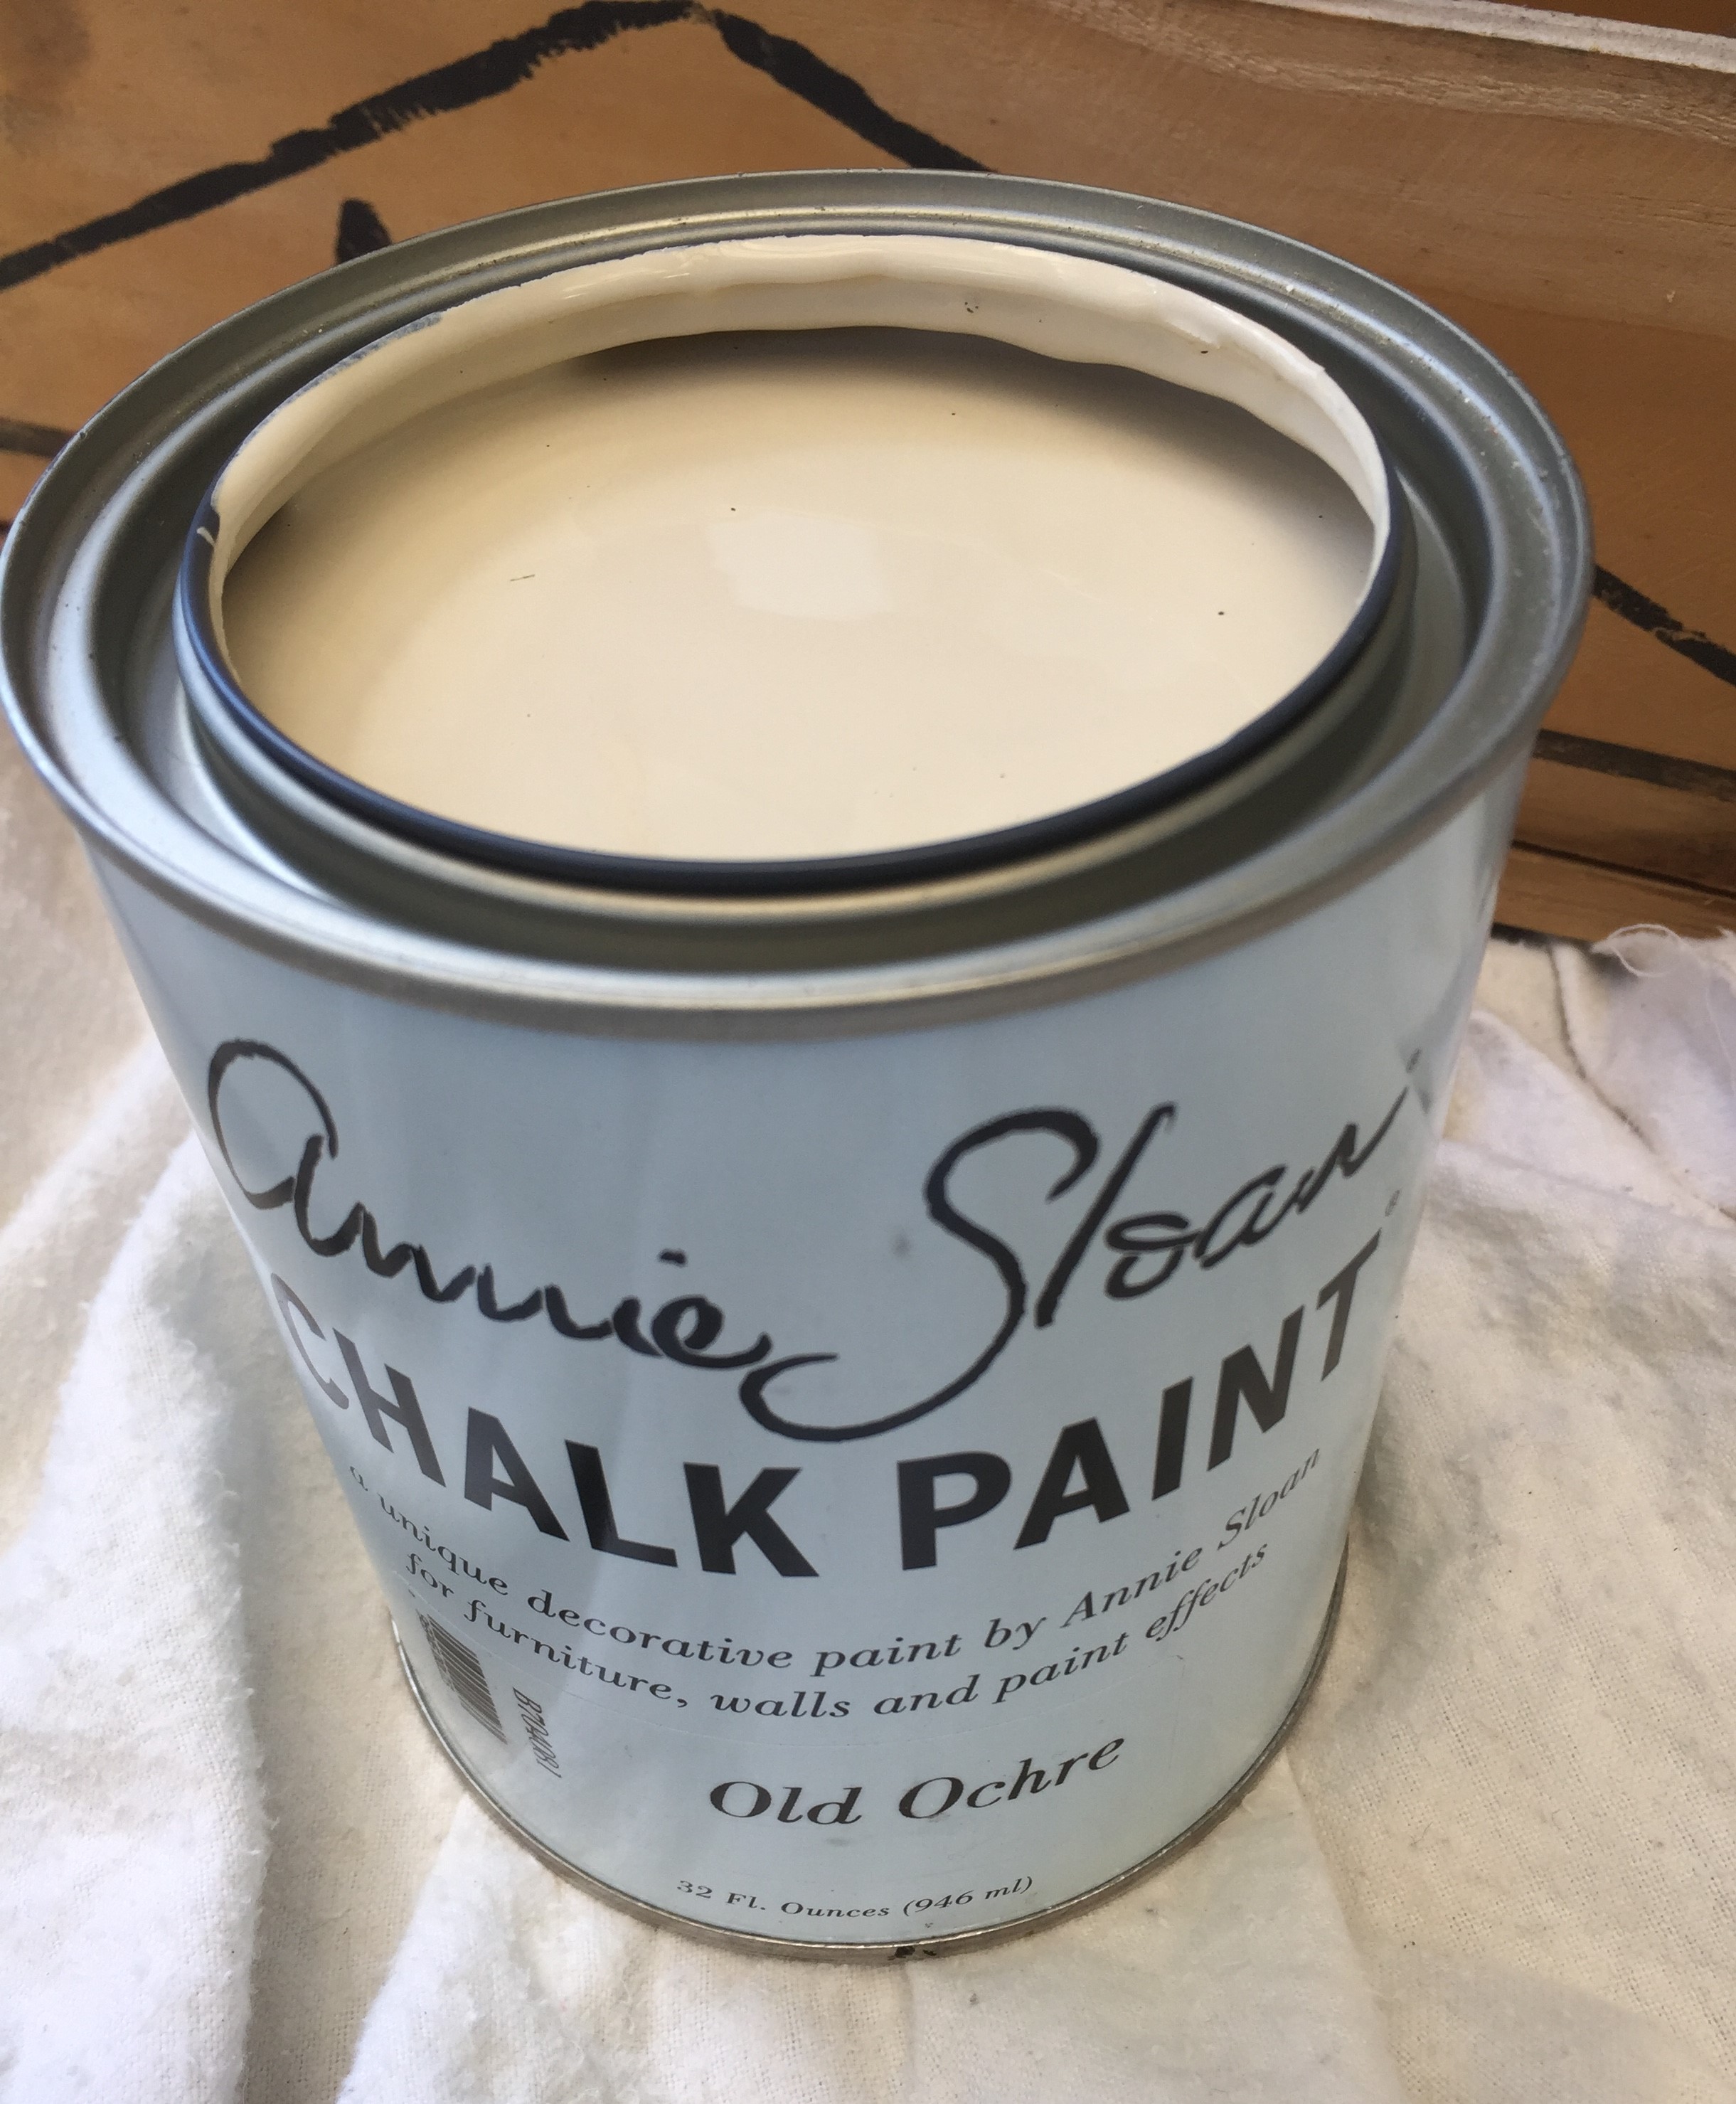
Annie Sloan Chalk Paint Old Ochre
It took two coats of paint, just to make sure it was covered nicely and then once they had dried I used Annie Sloan Clear Wax to protect the paint. I can’t say painting dining chairs is something I enjoyed doing, I found it quite a bit of work with all the slats on the back, but the end result was worth it.
Recover the Seat
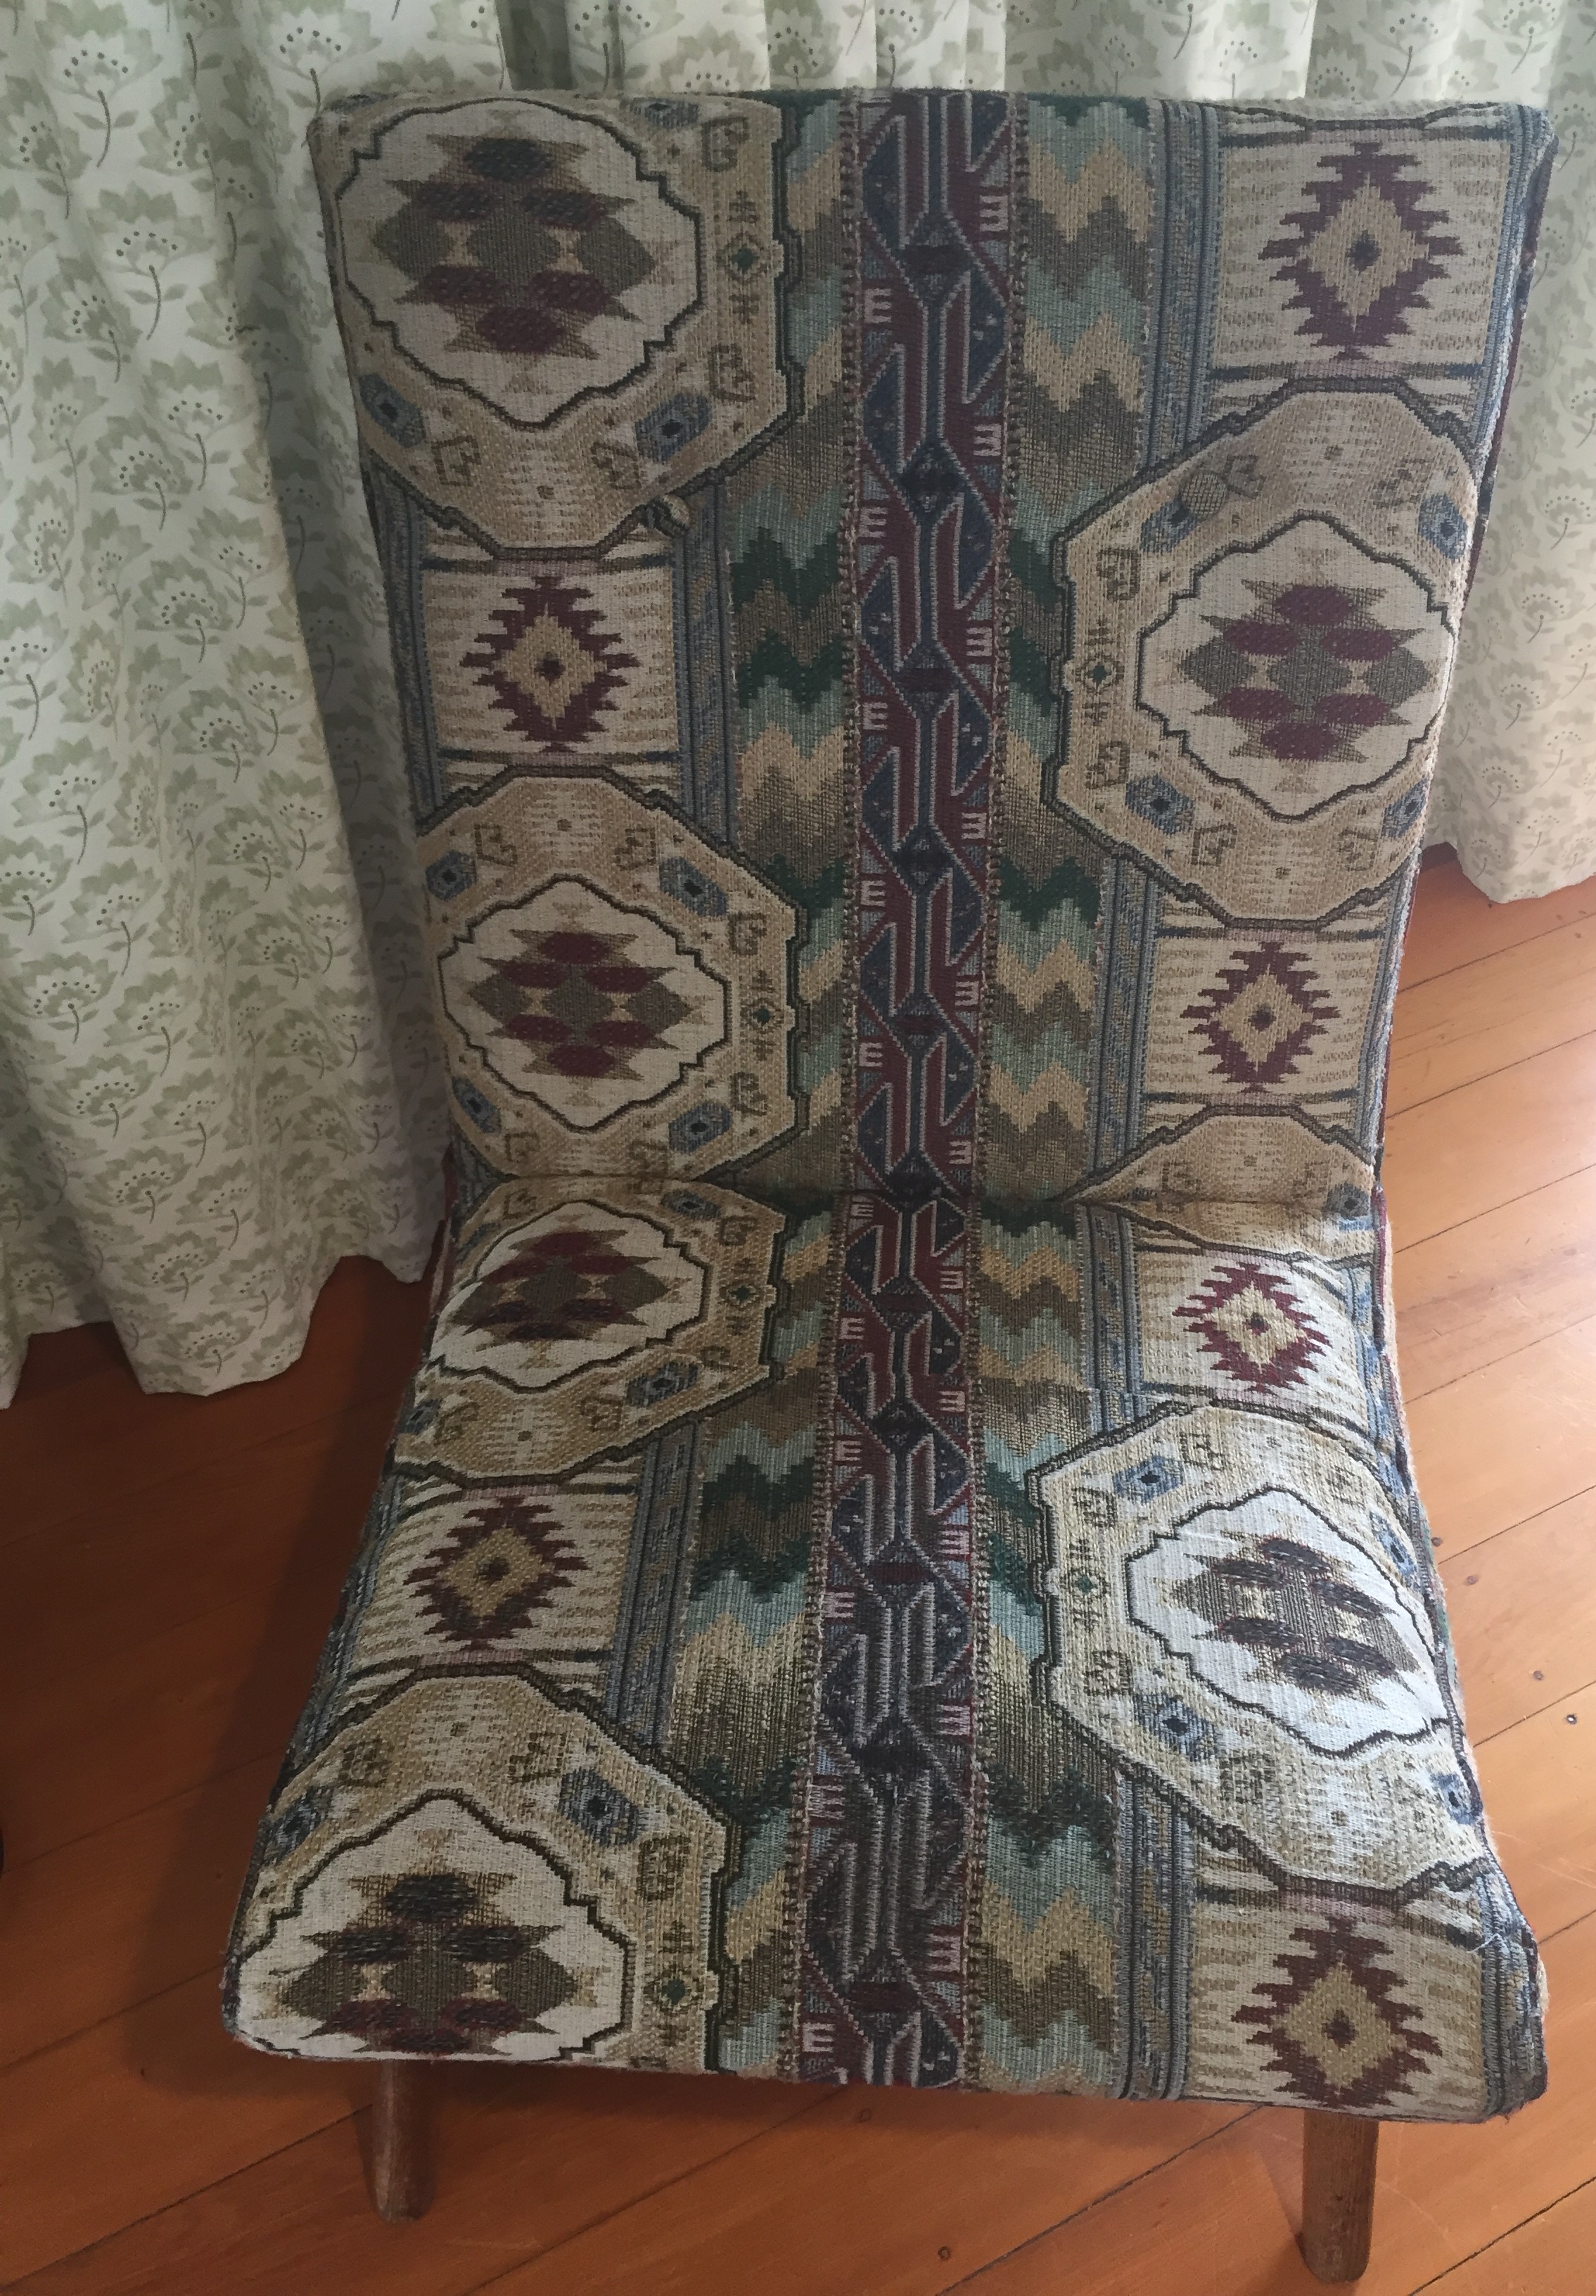
This is really easy to do! I had already unscrewed the seat, so next I removed the old material (this had been stapled on) using a screw driver and pliers (any tool that does the job!). This took some time, but got is done! Then I used the material as a guideline to cut a new piece of material. I had gone into a local furniture/curtain/upholstery store and was able to get some off cuts for only $2.00, the piece was enough to do all six chairs. Leaving the chair padding in place I replaced the material over the it and stapled in the new material. I brought a staple gun for this project and was able to get one cheap at our local Uncle Bill (like a clearance store).
Finally, I screwed the seat back into the chair frame. Done!

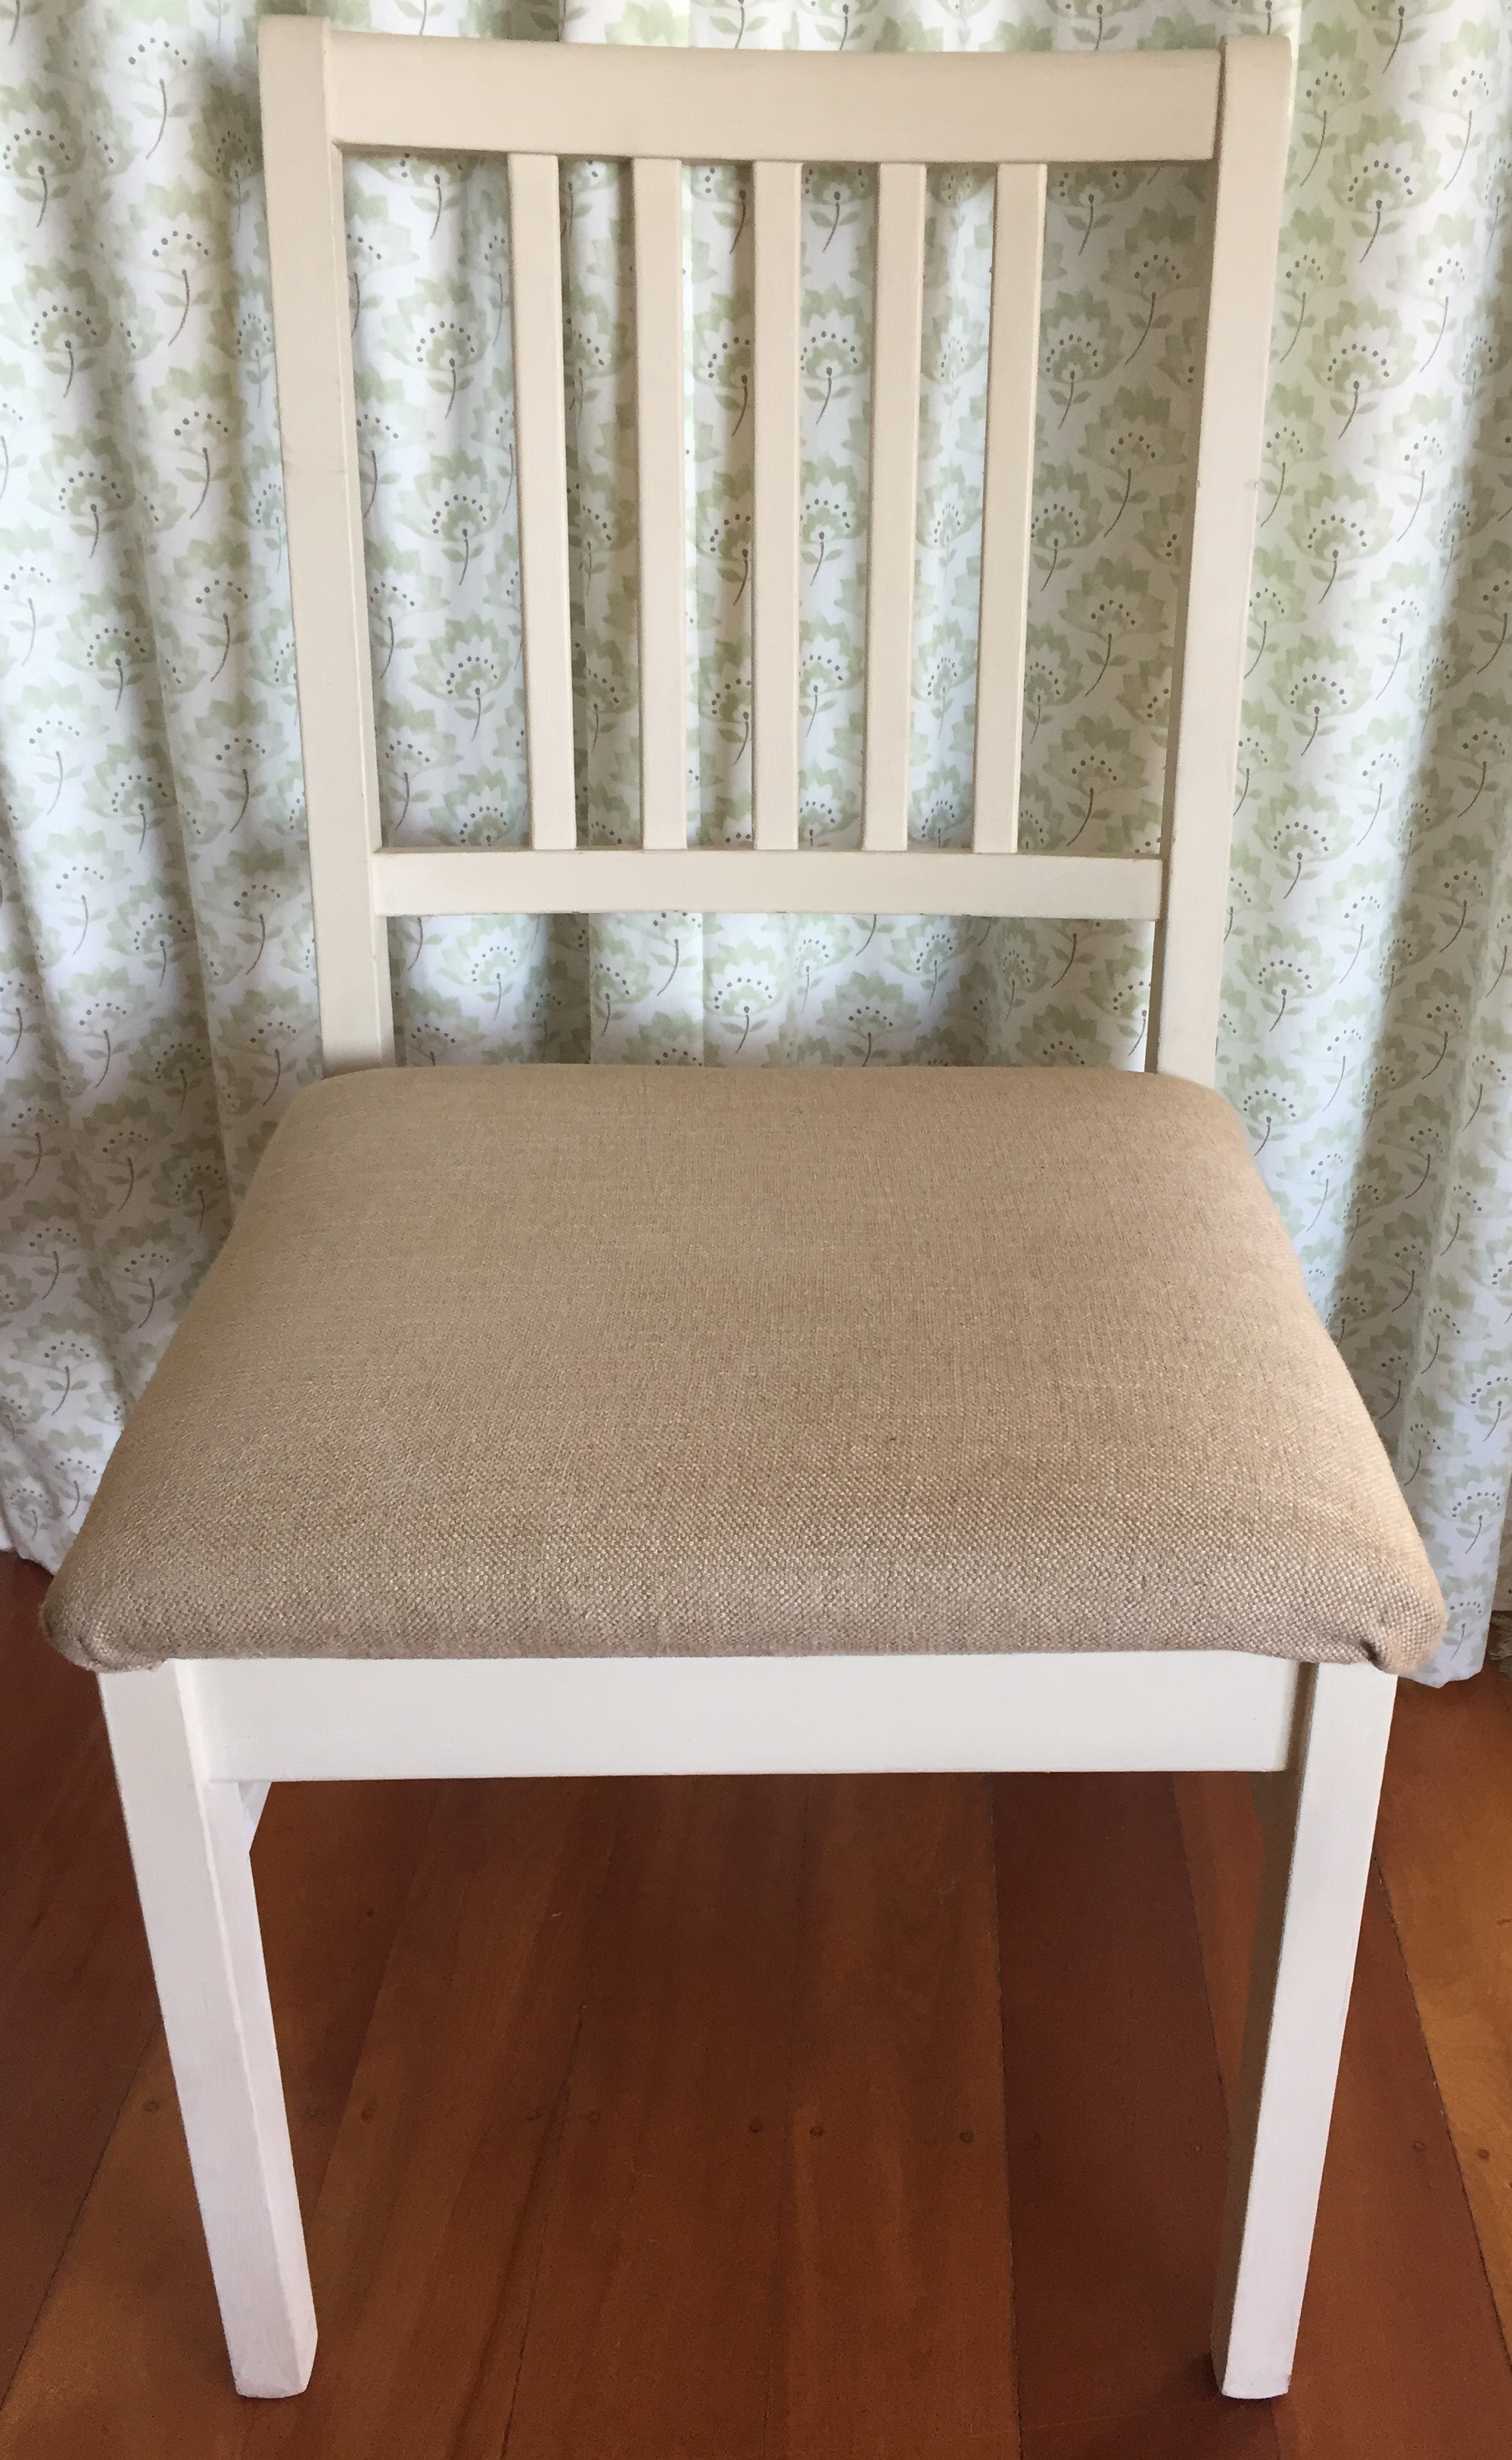
Chair makeover!
I am very happy with the end result.
Thanks for reading my post! Have you tried a chair makeover?
Andi