Breast Cancer Awareness…Inspirational Wooden Block Sign…

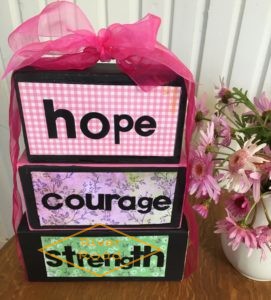
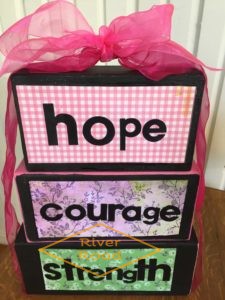
This month is Breast Cancer Awareness Month and I wanted to do something to support it.  We all know someone who has breast cancer and I thought an inspirational sign is something small I could do to bring encouragement.

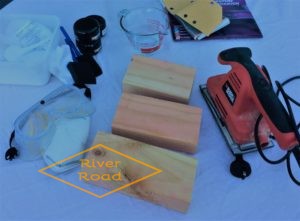
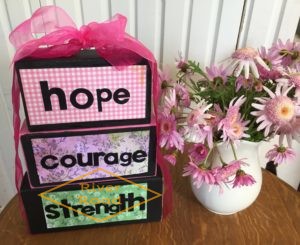
Keeping it simple I used 2×4 blocks, painted and hand-distressed. Using mod podge, scrap booking paper and letters cut using my cuttlebug. Tied together with a pink ribbon.

Materials needed:

  • 3 2×4 blocks
  • sandpaper
  • acrylic paint
  • brushes or foam brushes
  • old sheet to protect table
  • rags
  • scrapbook paper
  • mod podge
  • letters (store brought or homemade)

Instructions:

I brought my 2×4 from a hardware store (Mitre 10), they kindly cut it into all the blocks for me. I got 4 sets of 3, which cost me $15.  4 x 6 inches (15.24 cm) 4 x 7 inches (17.78cm) 4  x 8 inches (20.32cm)

First I sanded the edges of the blocks to get a smooth surface. I used an electric sander, but it easy to do it by hand.

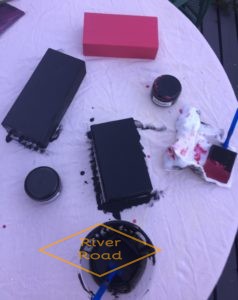
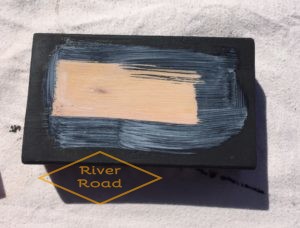
I painted the blocks using acrylic paint, but added a small amount of calcium carbonate and water to it, this is not necessary, but I find it easier to use chalk paint when distressing. I just brought some paint test pots from Mitre 10. The paint dried really fast as it was a hot day and I only needed one coat.

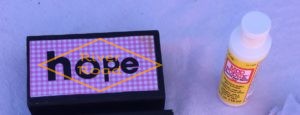
Once dried I brushed a layer of  mod podge onto the front of the blocks, one at a time. Then stuck on the scrap booking paper (I had cut to size) onto the block, press the paper down starting from the centre and moving out (I use an old credit card to do this) to the ends, getting rid of any air bubbles. Then I went back and checked for any additional air bubbles.

Next, apply another coat on top of the paper, at this point a lay the letters on top of the paper. You have to do this rather quickly before it dries. Especially if it is a  hot day like it was when I did these blocks. They dried so fast. Once this had dried I then coated the letters with the mod podge and let them dry.

Finally, I tied a pink ribbon around the blocks. Beautiful!

I did this because it would make a great gift to lift someone’s spirit who is fighting cancer! Sometimes it is hard to know what to say or do, but this is just a little something….

Thanks for reading my post! I hope you try making these inspirational wooden block signs!

  Andi
 

DIY chalk paint at home…New Zealand

I decided it was time to make my own DIY chalk paint at home. I love Annie Sloan Chalk paints, but the shop in the village which stock them sadly closed down, so it was time to attempt to make my own. For some reason I thought it was going to be hard, maybe because I read a lot of recipes for DIY chalk paint on pinterest and the comments as well. It didn’t sound so easy.

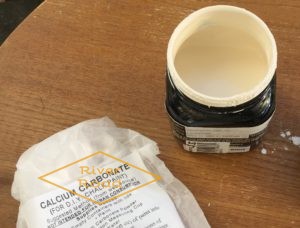
I choose to try making chalk paint with calcium carbonate, the hardest part was trying to get hold of it. In the end a friend had some extra and I brought it off her, but in the future I will have to buy it online.

Calcium Carbonate

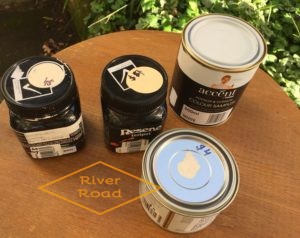
Next I brought some small pots of paint at our local Mitre 10 (hardware store). I managed to get some clearance paint (mistint colours) at a great price.

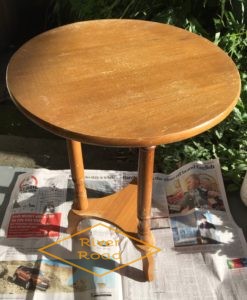
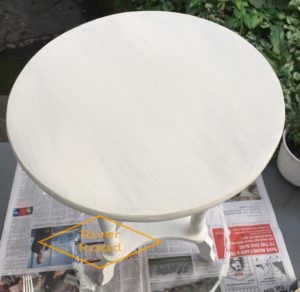
To test out my paint I brought a great little table for $15 at a Op Shop. Perfect for this project.

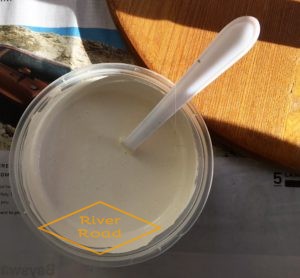
I mixed a small amount of chalk paint up using just 1 cup of paint.

The consistency was great, so similar to Annie Sloan Paint and colour came out just the same as Old White. Calcium carbonate mixed in really well and I added water to get the right consistency.


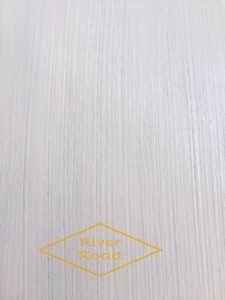
It was necessary to paint the little table with two coats, sanding after the first coat to try and get rid of brush lines and an occasional drip which escaped my notice.


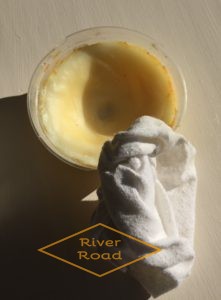
Homemade Bees Wax

Finally, I waxed the dried surface with bees wax. This I had brought locally – homemade bees wax. I must say I really liked using this, it went on well (rubbing it in with a clean rag). I didn’t really notice any difference from using Annie Sloan Clear Wax.

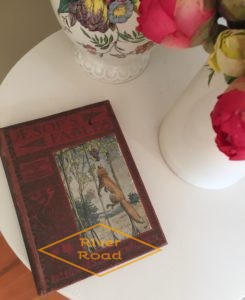
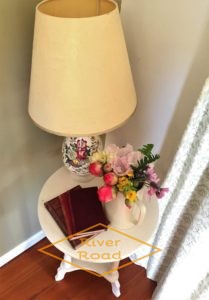
Really love how this turned out! I think time will tell how this paint stands up to wear and tear. But I will from now on be making my own DIY chalk paint at home…

It you would like the recipe for this chalk paint I made, email me at andi@riverroad.nz and I will be happy to share it with you.

Many thanks for reading my post! Happy chalk painting!

Andi


New Life for an Old Footstool

New Life for an Old Footstool

I found this old footstool made of oak; I loved the beautiful texture of the oak wood and decided not to paint over it, but to recover the padded top and stencil a design on the fabric. I was able to get this lovely velvety chestnut brown material at an op (charity) shop to recover it in. I wanted to stencil it using Annie Sloan Chalk stencils, but wasn’t able to find any at my stockist, so I went to my local library and found a book on stenciling. It had some great ideas and traceable designs. I was able to trace a couple which I combined on a piece of baking paper and then cut it out using a craft knife on a piece of plastic I had at home. I could have used cardboard/poster board as well. I just used an old plastic kitchen chopping mat underneath it to protect the table I was working on. It was easy to unscrew the padded top to the footstool and measured up and cut out the material. I placed the stencil over the material and taped it in place. Using a small dry brush I first painted on the Old Ochre, just sparingly dabbing it on. Then I wiped my brush and did the same using Coco, but not putting it over the whole design, just dabbing it on parts to allow the Old Ochre to seen as well, giving a lovely effect in the two shades. Once it had dried I stapled it onto the padded top of the stool and screwed it back it. It looks so beautiful, what a transformation!   Thanks for visiting RiverRoad.nz

Pin It on Pinterest