A quick update to home with cushions…

Feeling bored with your cushions? That’s where I was at this week and I decided what was needed was a quick update to the home with cushions.

I don’t know about you, but I like to change my cushions probably once a year. I just look at them and know I have enough of the colours and need a change. Now my mum and sister have probably keep the same cushions for years, so it is a personal preference.

Colour trends for 2017

Now I don’t know if you have noticed, but one of the colour trends for 2017 in interior decor is greenery. Reconnecting with nature!

With that in mind I was so excited to buy some material at a local shop that makes custom curtains etc. There they had some sample fabrics they were selling for $2 each. What a bargain and my interpretation of greenery!

Fabric samples

Getting started

I removed the inner cushions and the zips off all the cushions I had been using and started sewing. Cushions are very easy to sew and it just took my an afternoon for the update. Some of them I put zips in, but others I just inserted the inner cushion and sewed the seam closed with a top stitch.  On one I frayed the edge of a strip of the material and sewed it down the middle before inserting the inner cushion.

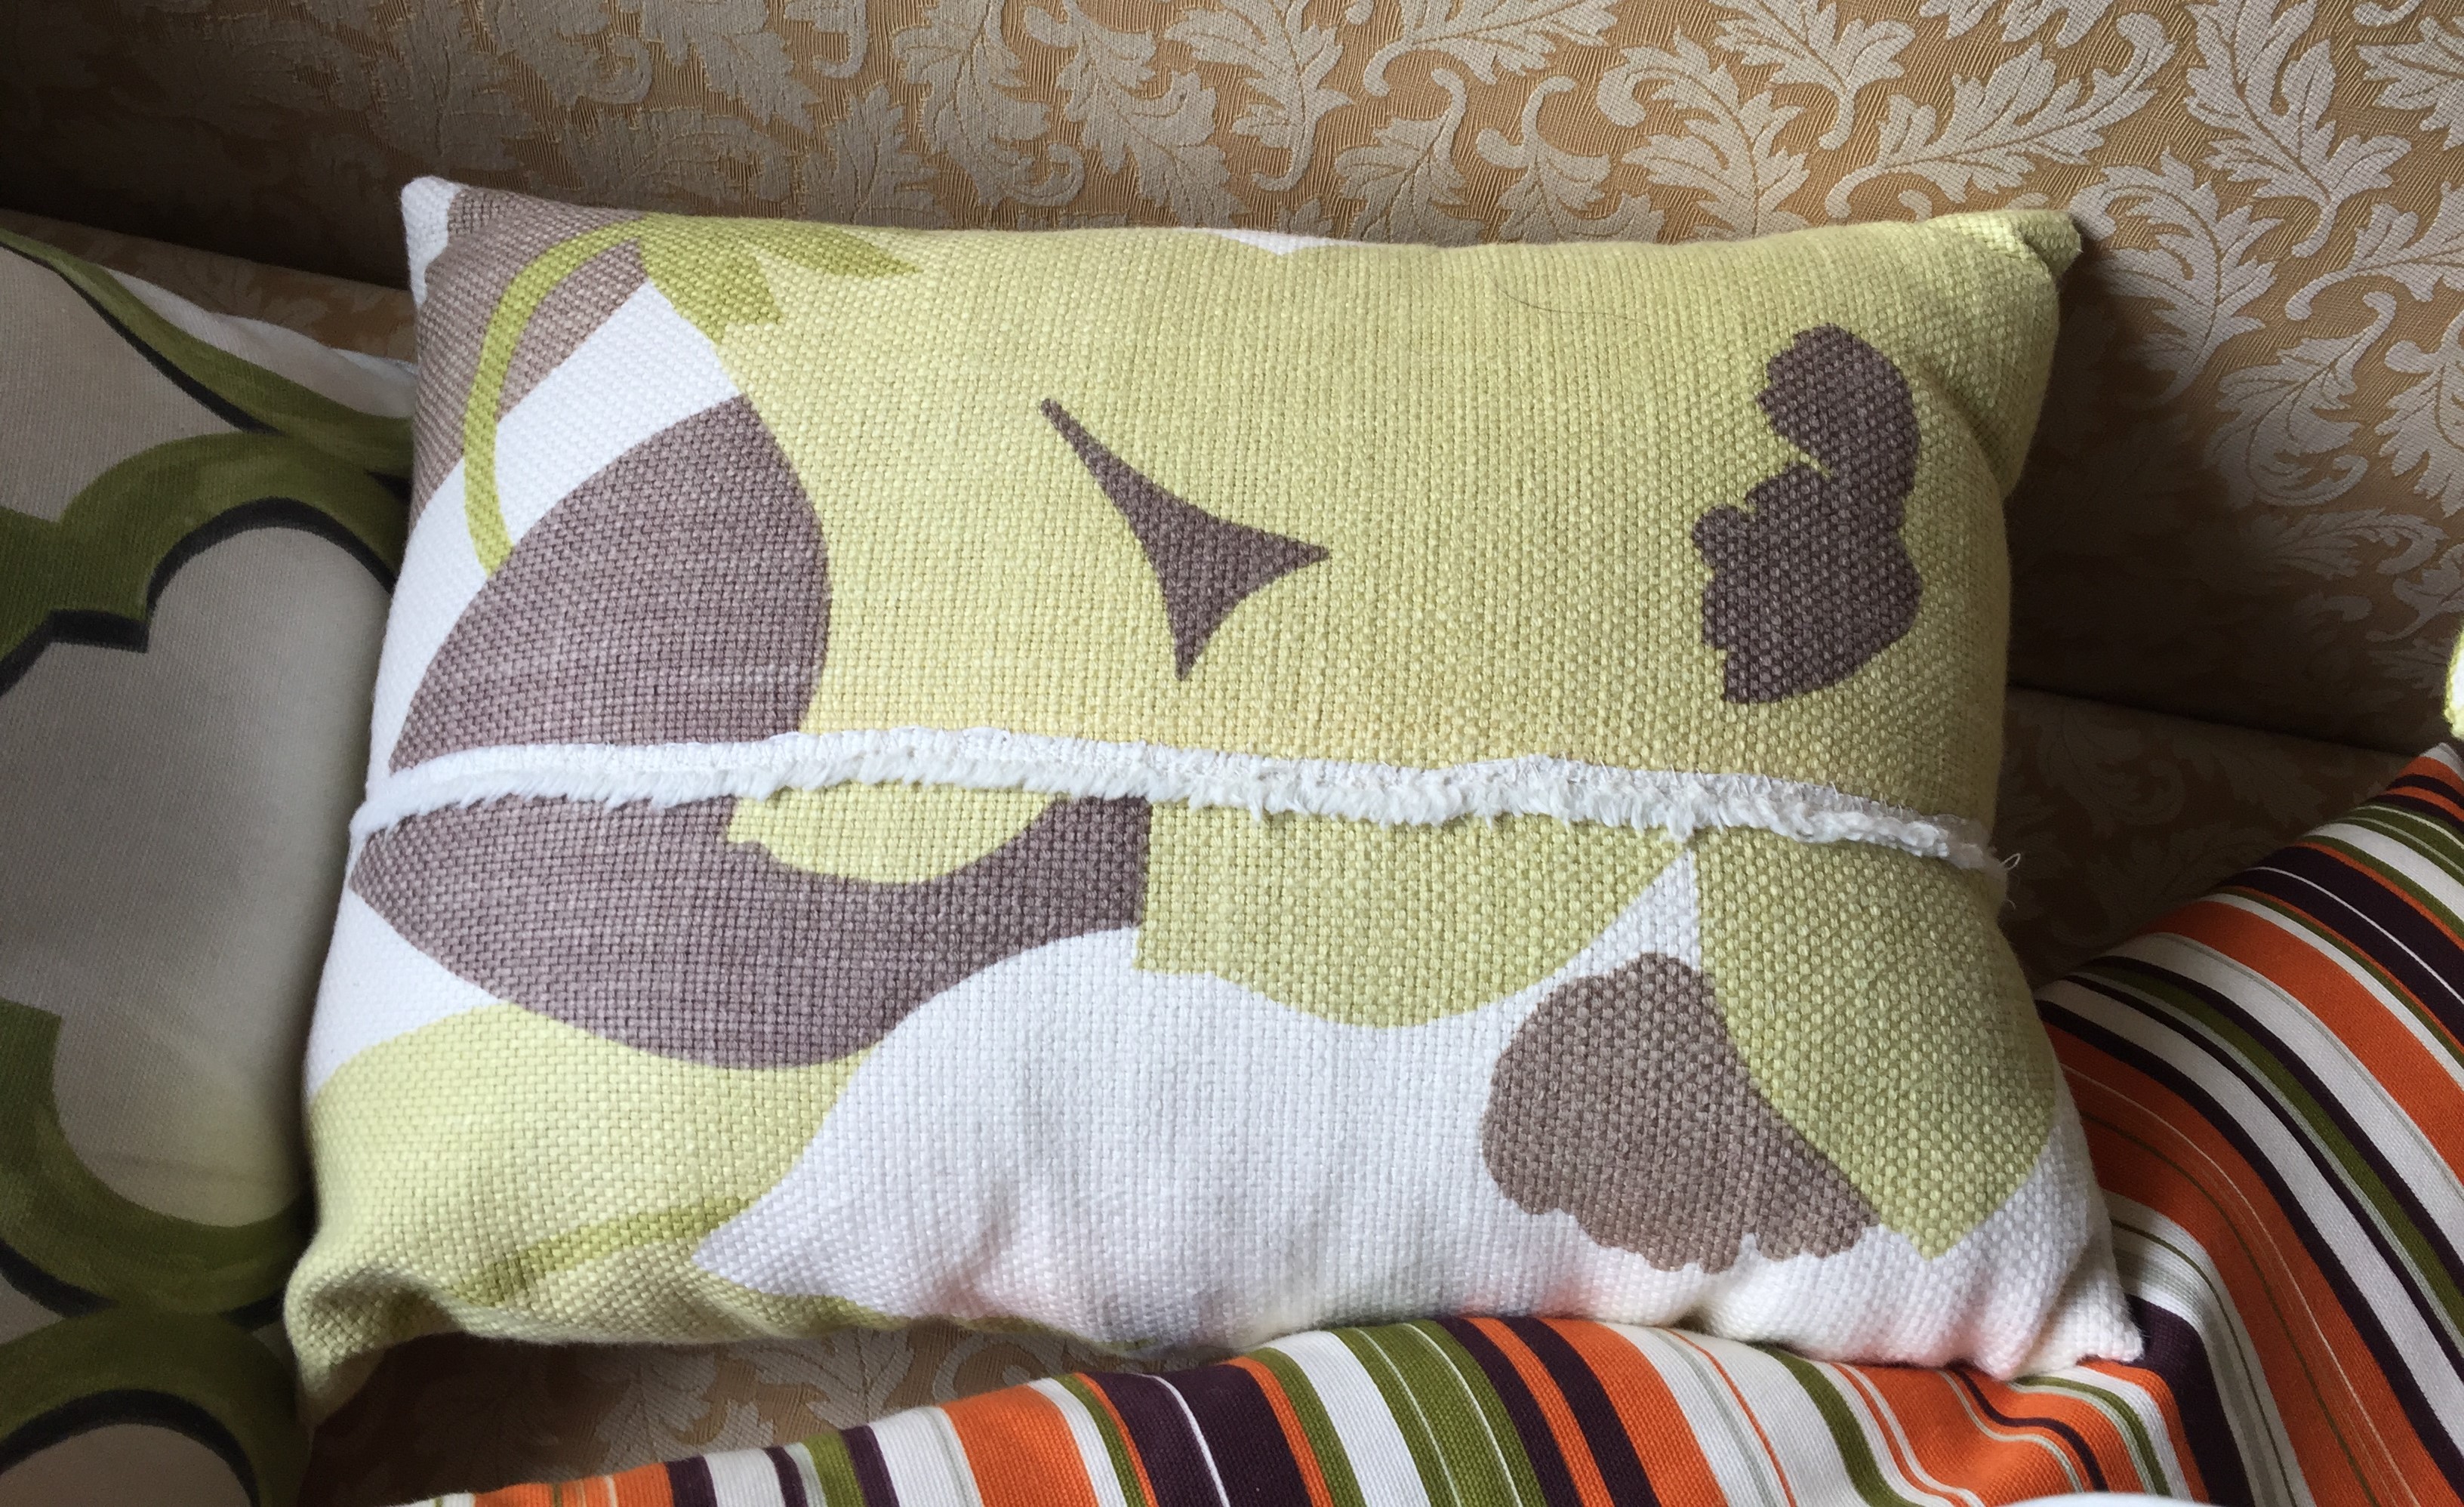
Frayed material sewn on cushion

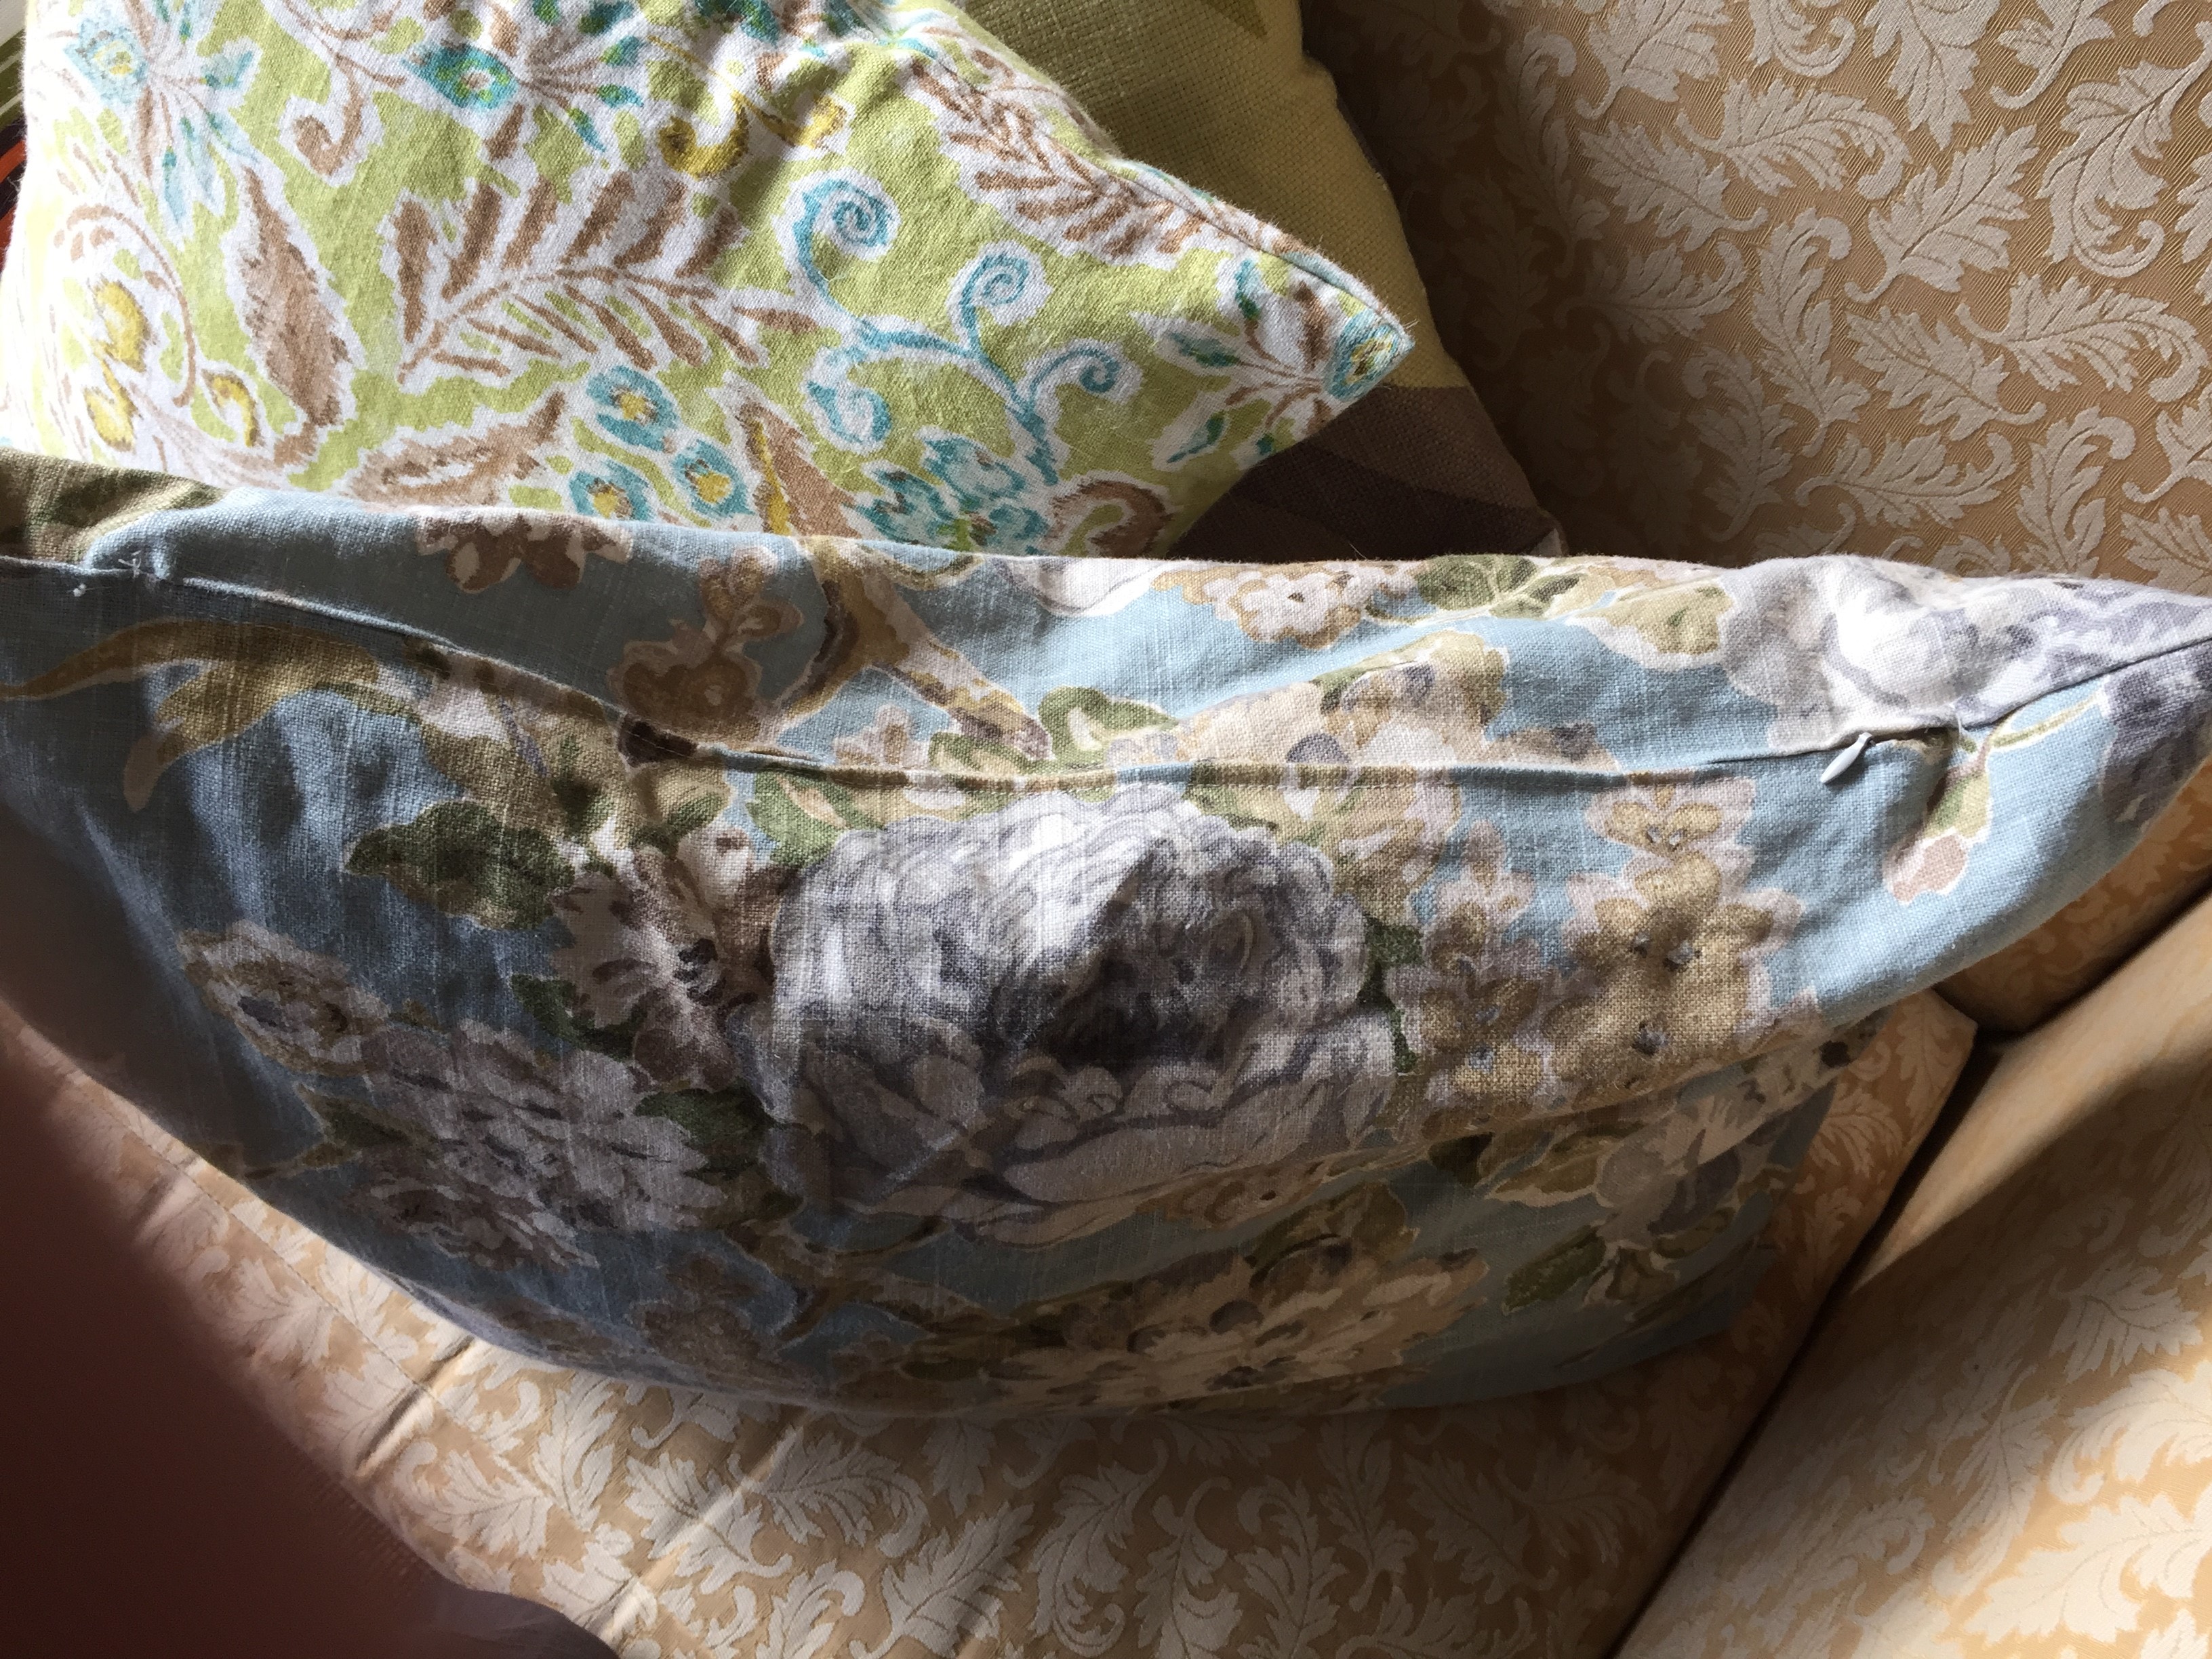
Used previous zip on new cushion cover
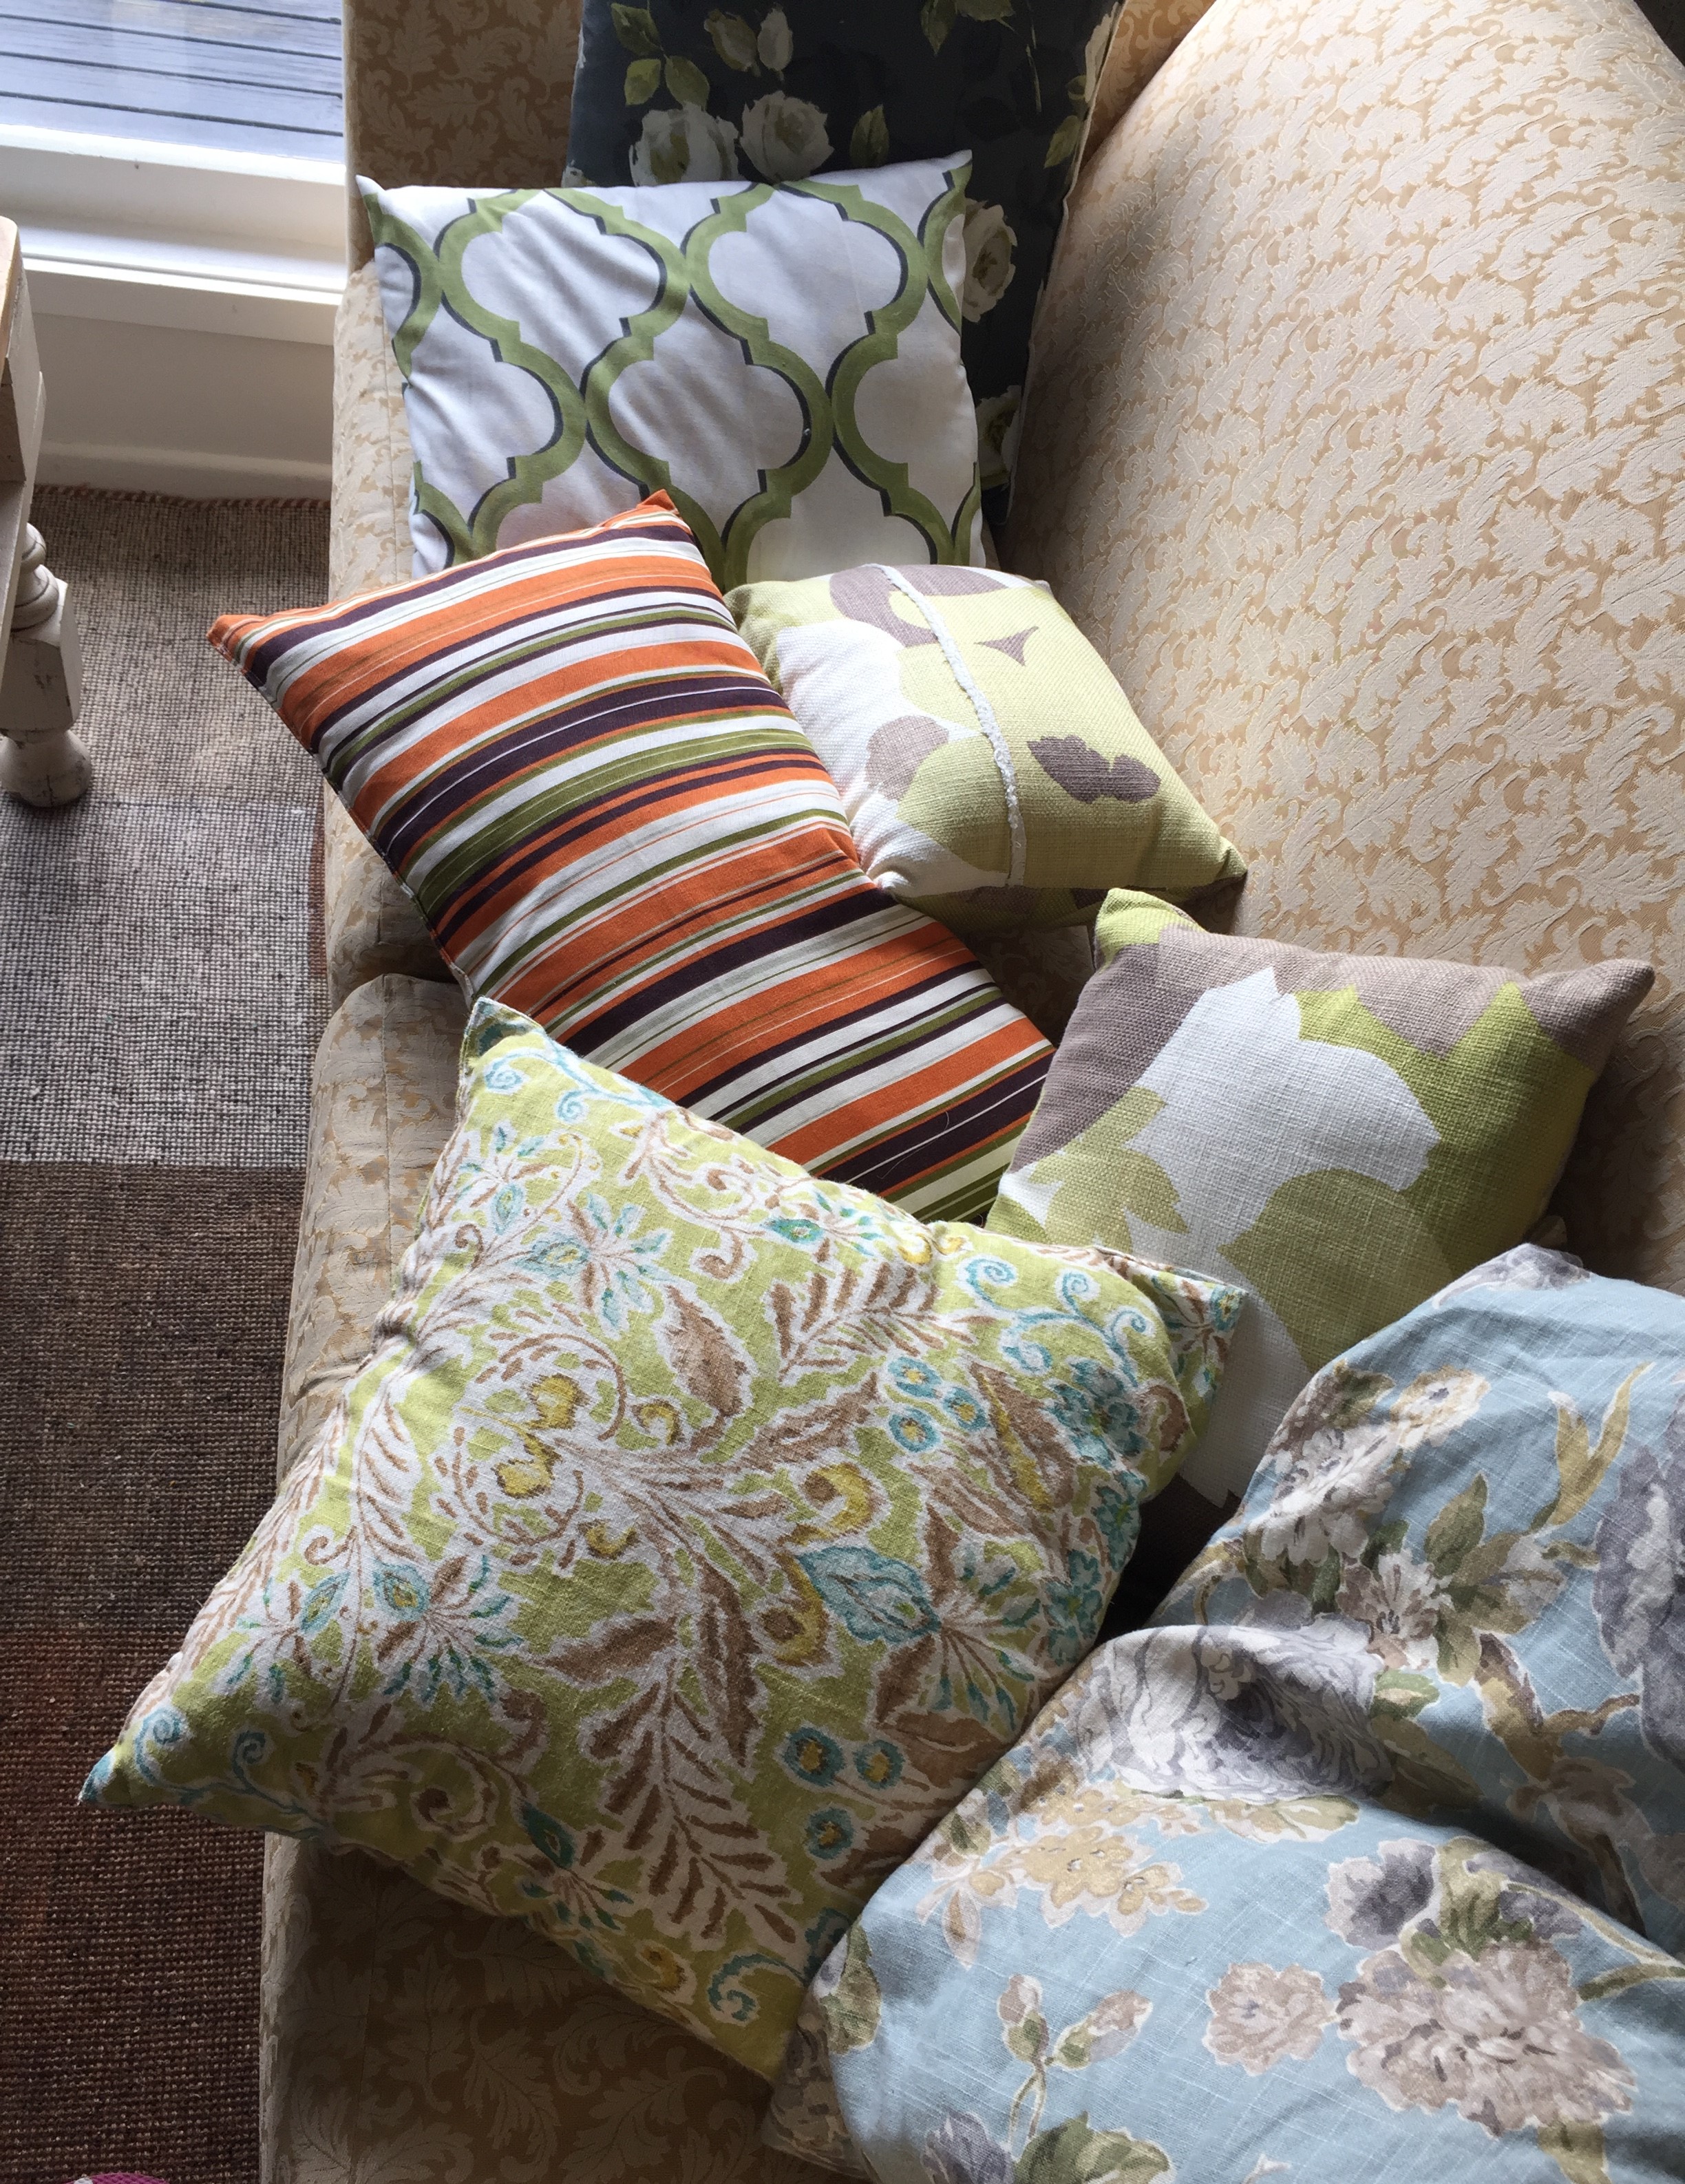
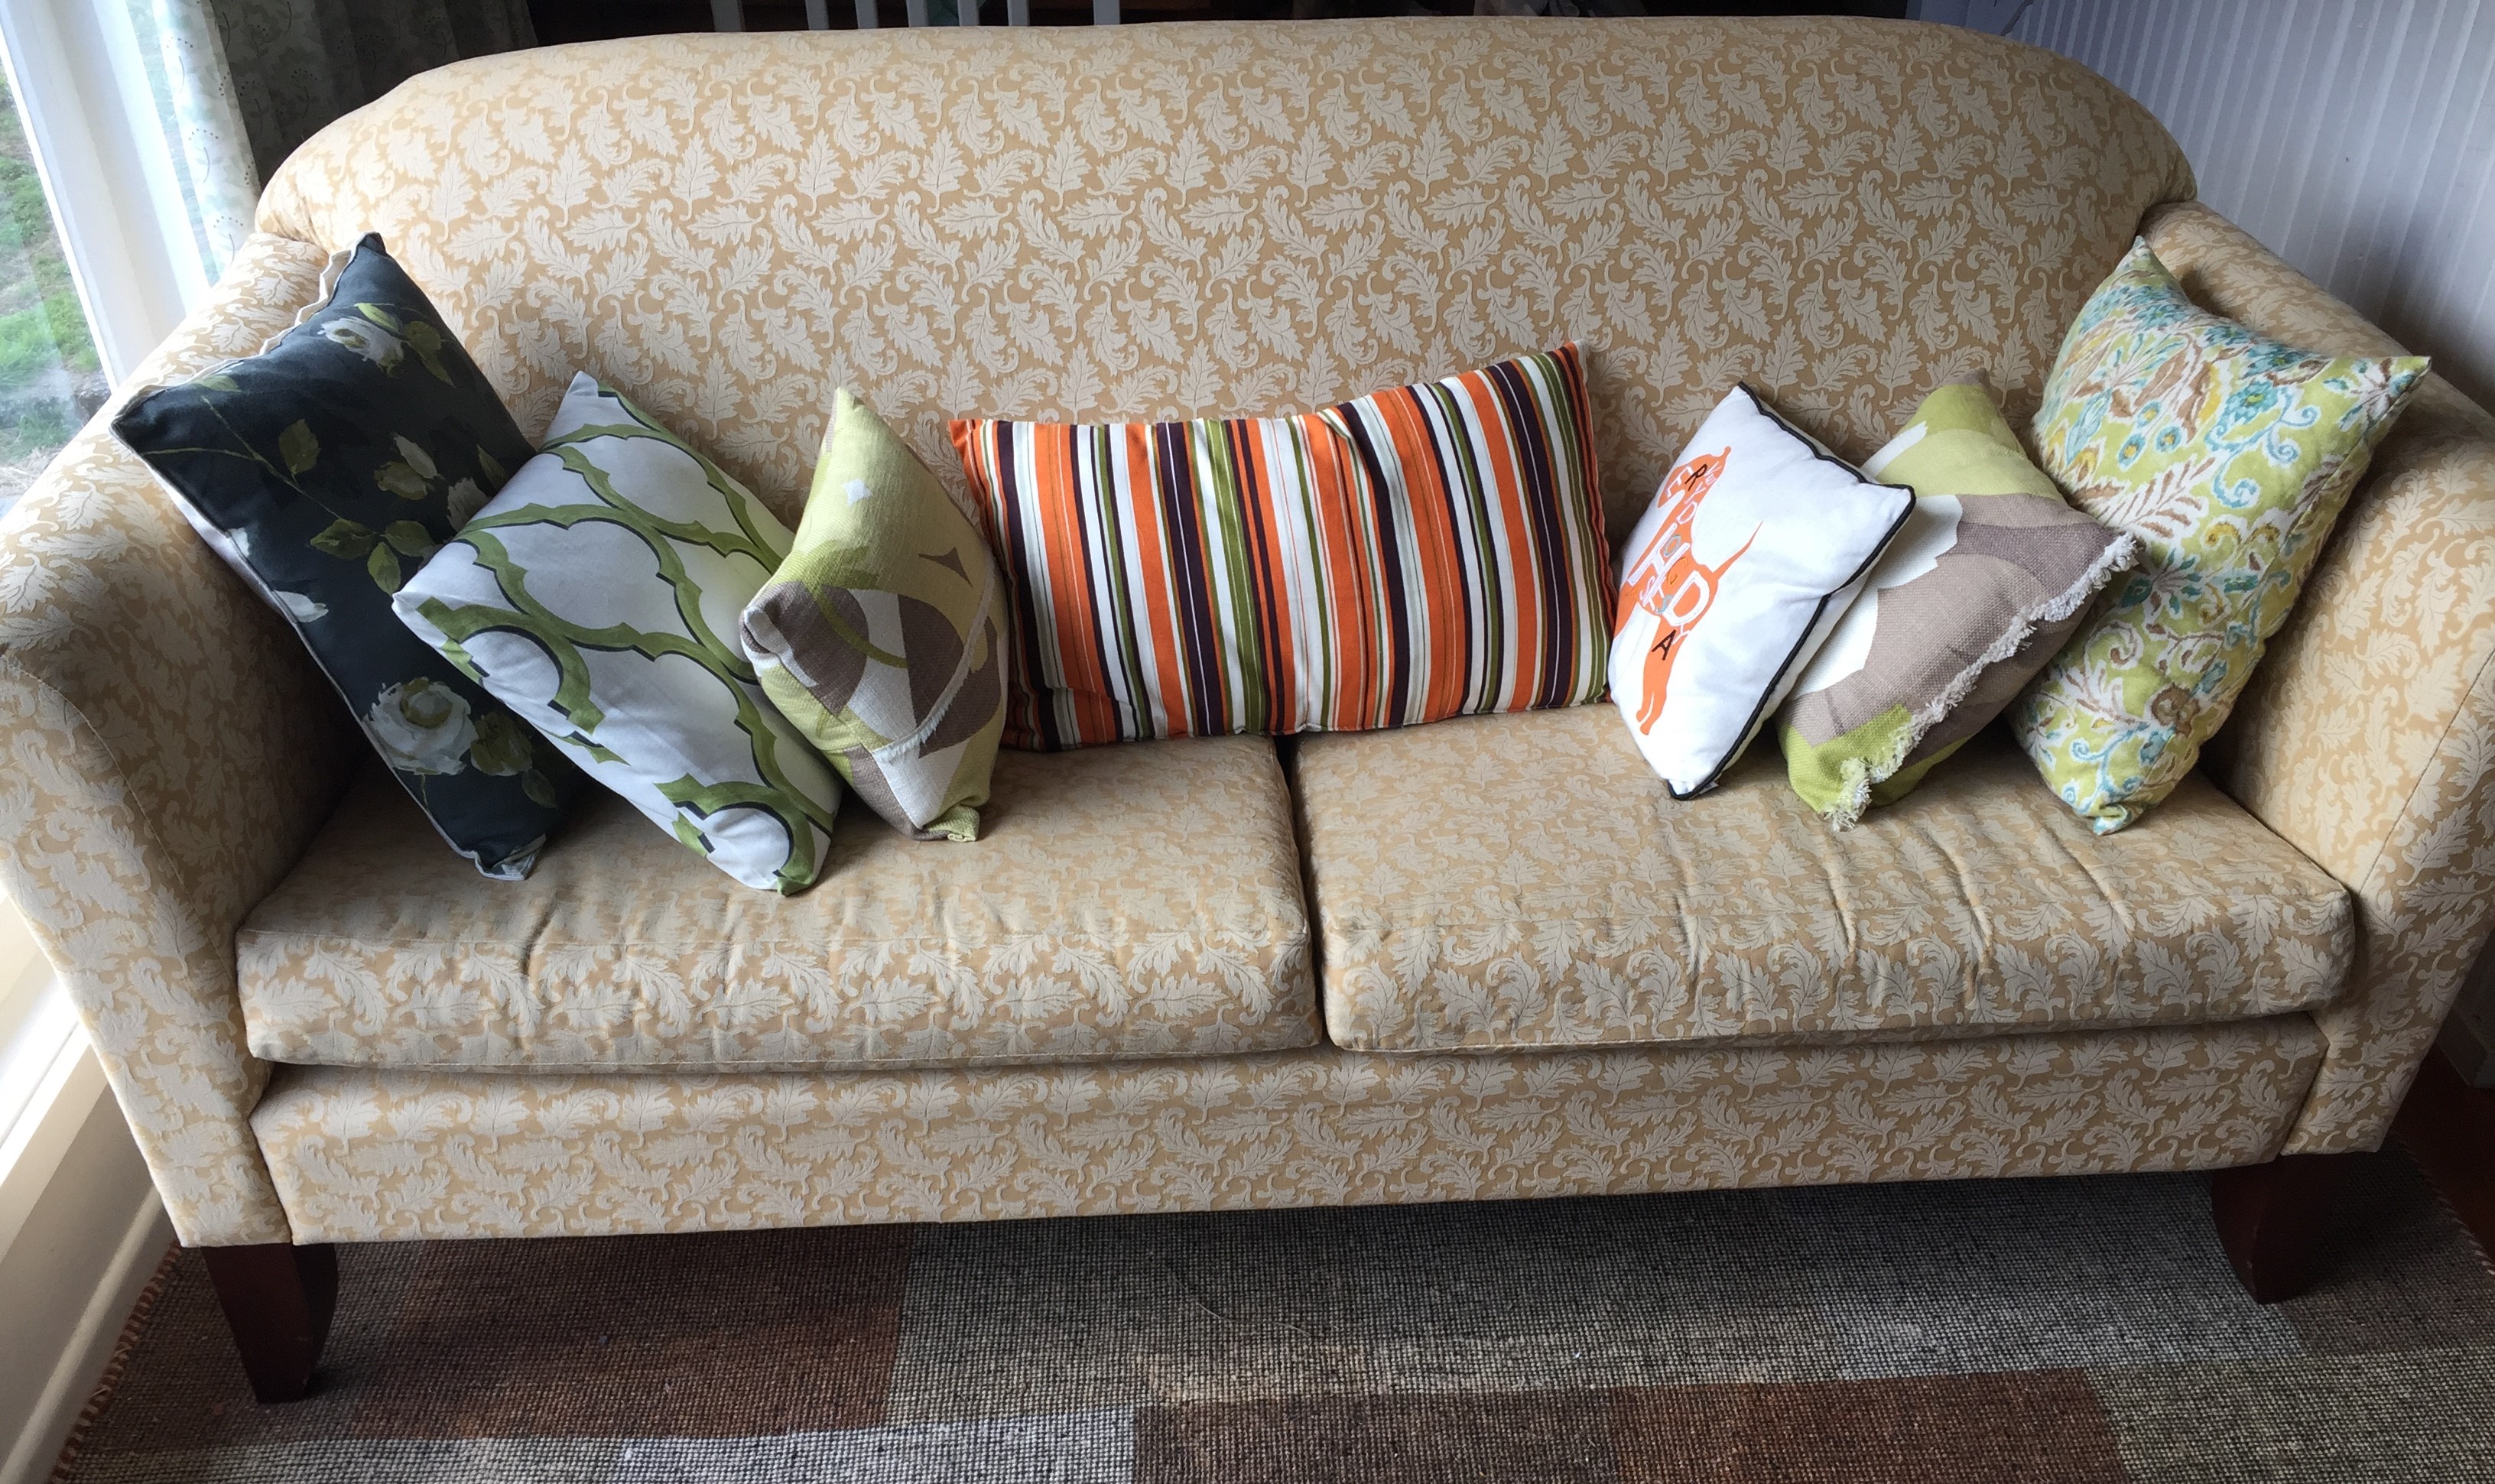
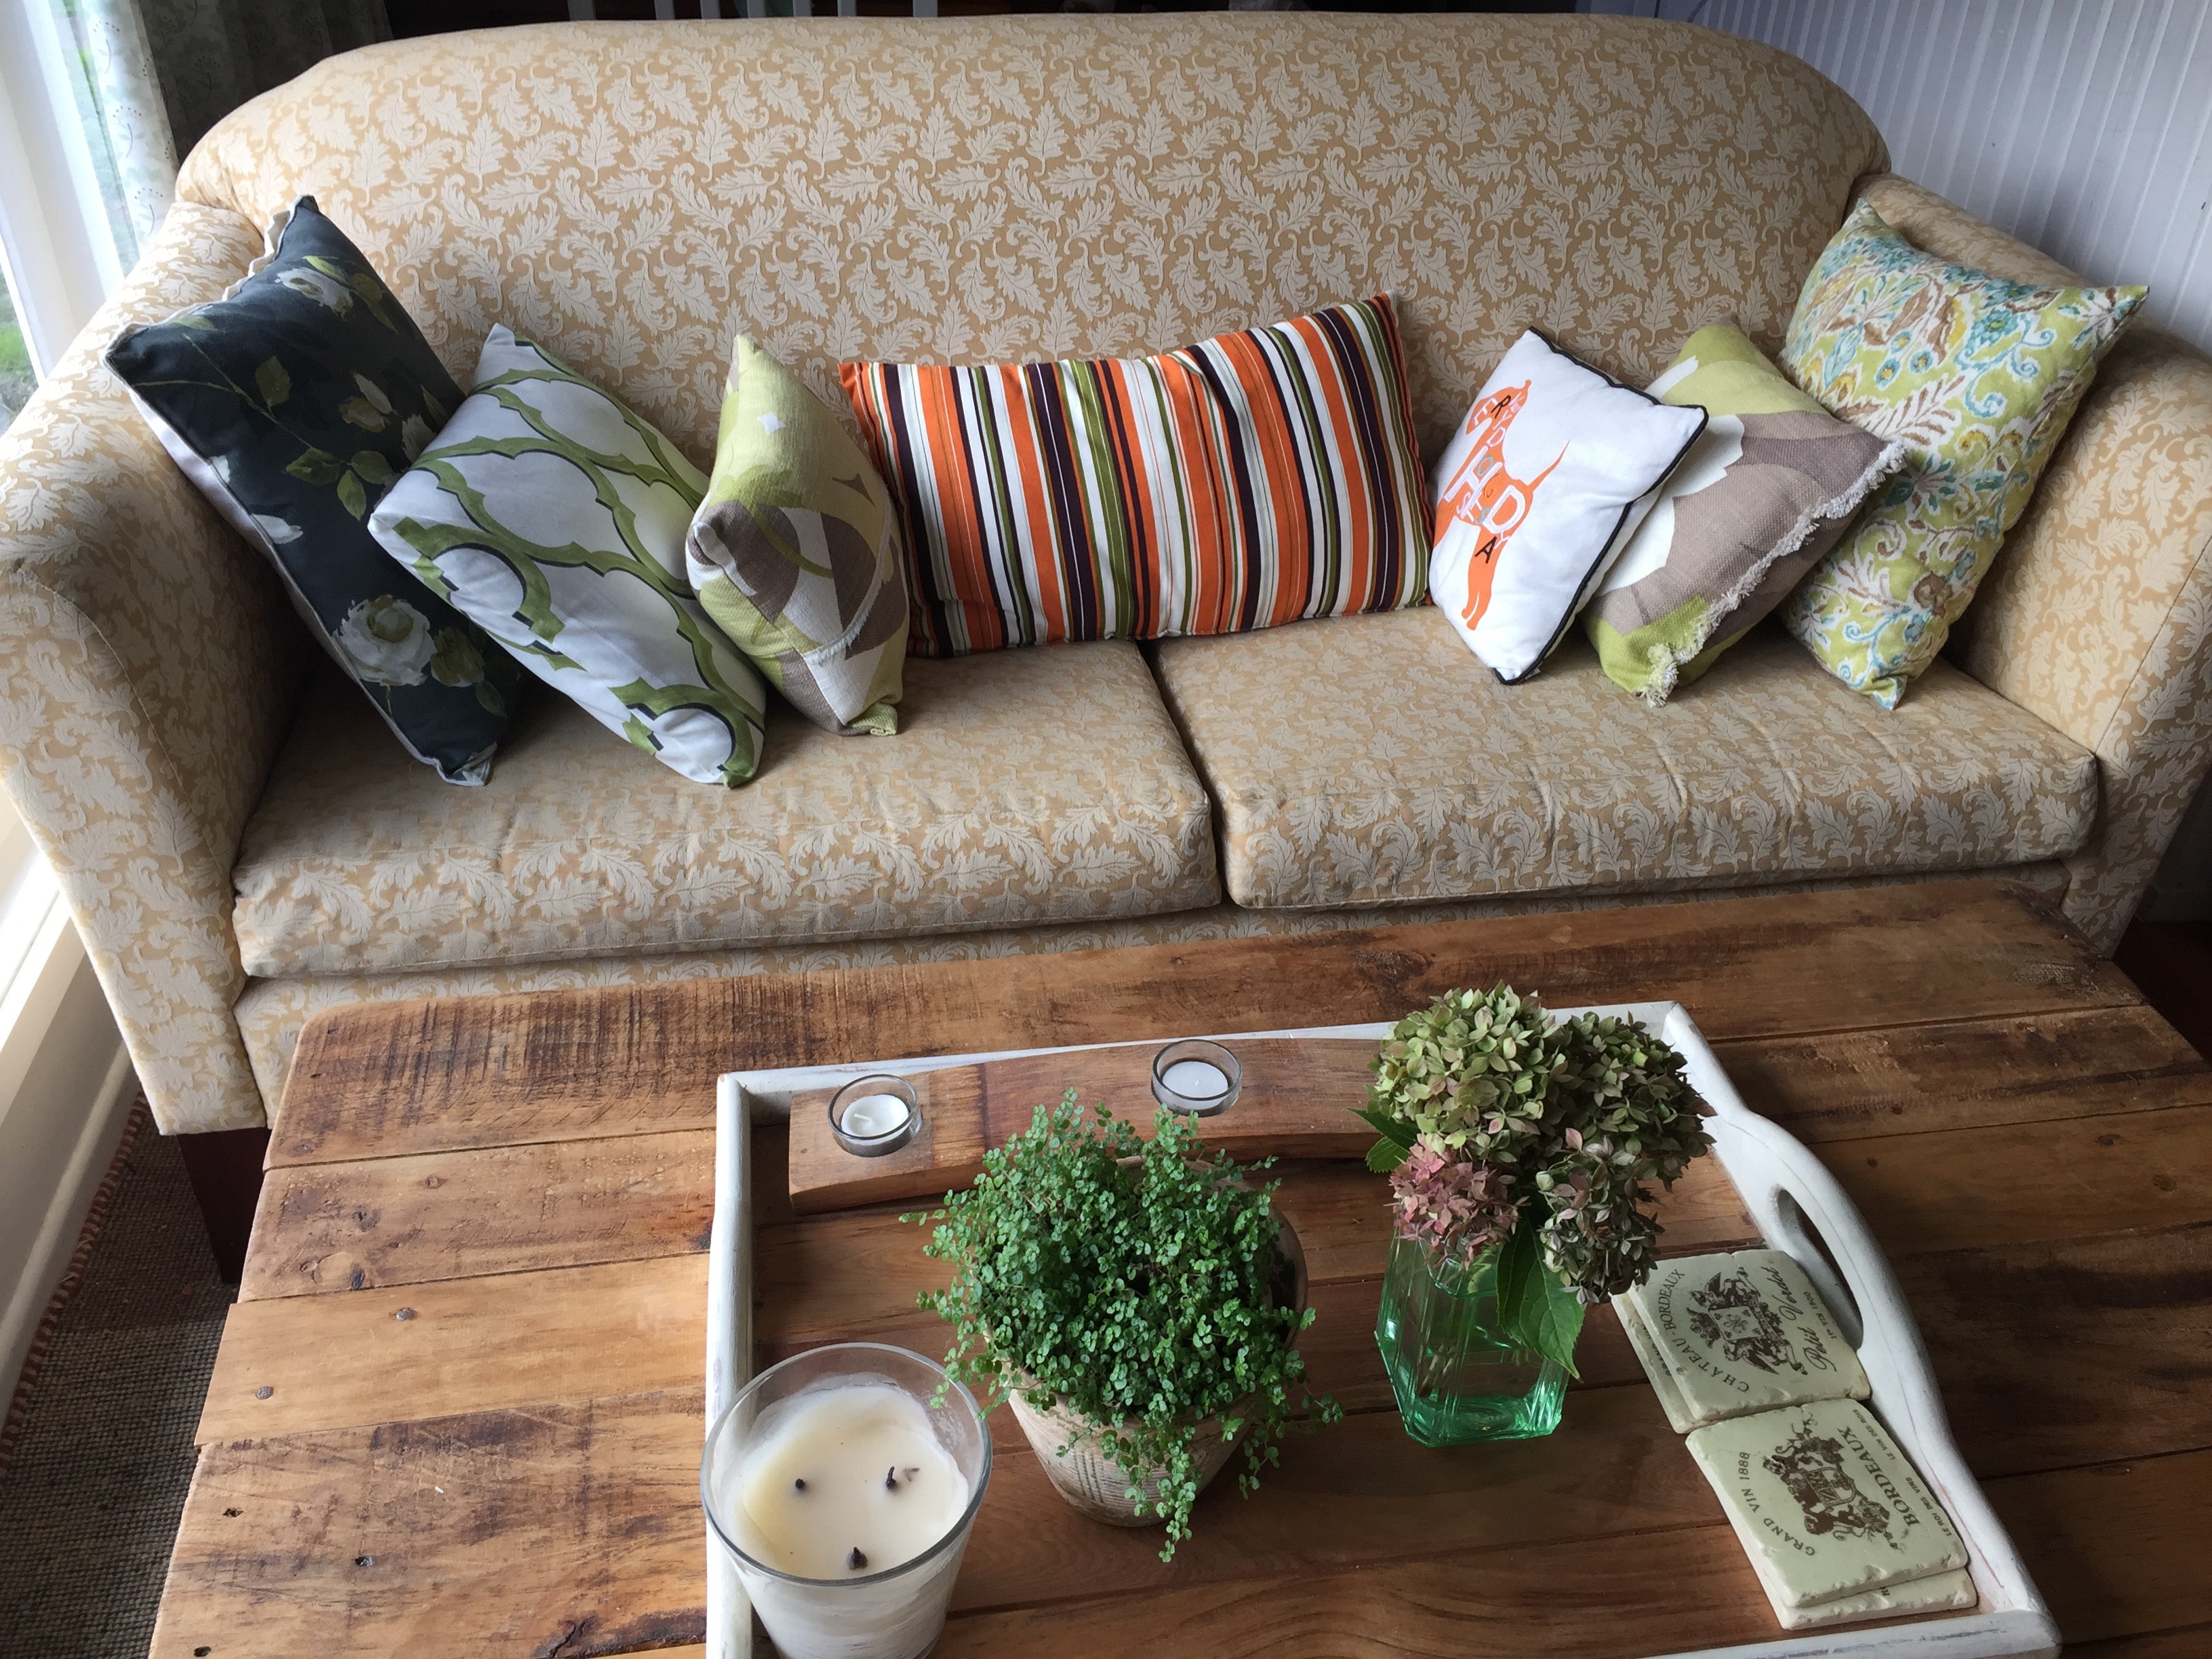
Updated cushions

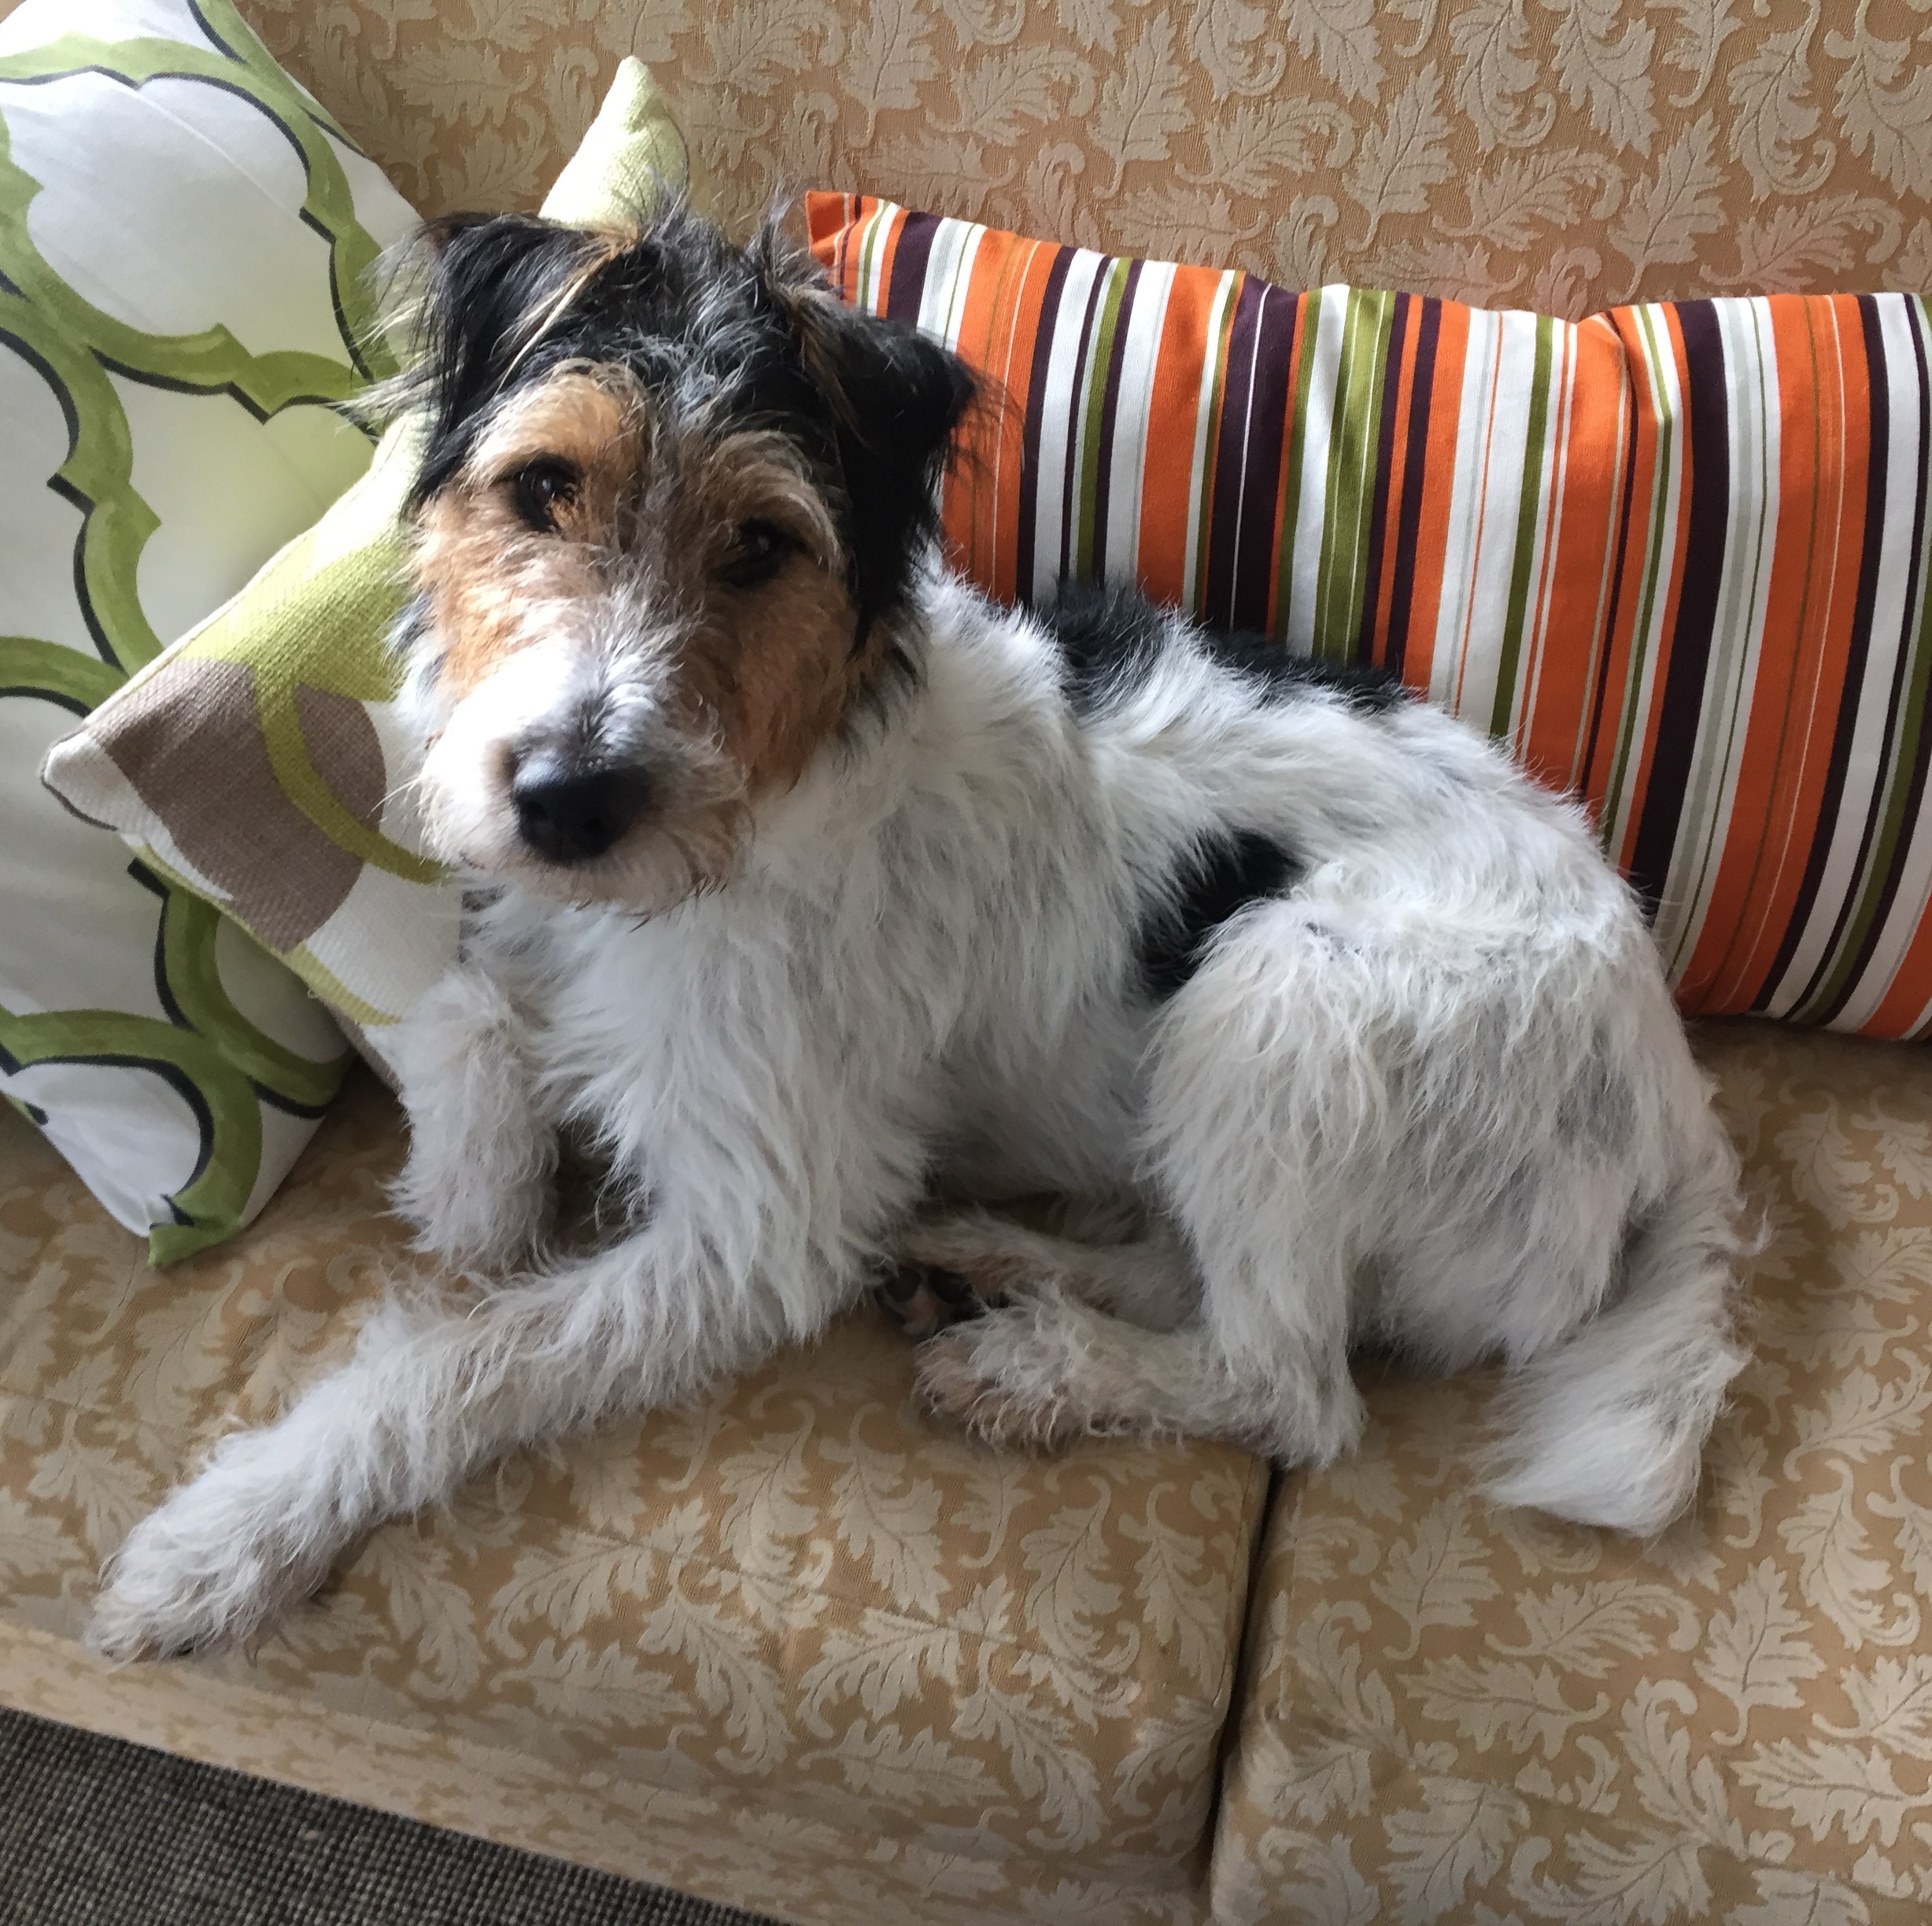
Rodeo enjoying the new cushions

The cushion with the dog I didn’t make – but had to include it as it is so cute!

Well that’s my cushions for another year … so very happy with the end result. It can be kept quick and easy when it comes to cushions. And there is no need when wanting to keep abreast of colour trends to pay for expensive cushions.

Thanks for reading my post! I hope this inspires you to make your own cushions!

Andi


Dining chairs makeover – paint and recover…

Do you ever look at your dining chairs and want to change them? That’s what I was doing and finally took the plunge do something about them. To save the cost of buying new chairs; I actually like the chairs we have in that they are nice and wide, very comfortable to sit on. So I decided to paint and recover them, do a dining chairs makeover….

Here’s what they looked like to begin with…

Annie Sloan Chalk Paint

First, I removed the seat and then cleaned down the wooden chair frames  with water and dish washing detergent. Once it had dried I painted them with Annie Sloan Chalk Paint Old Ochre (my favourite colour.)

Annie Sloan Chalk Paint Old Ochre

It took two coats of paint, just to make sure it was covered nicely and then once they  had dried I used Annie Sloan Clear Wax to protect the paint. I can’t say painting dining chairs is something I enjoyed doing, I found it quite a bit of work with all the slats on the back, but the end result was worth it.

Recover the Seat

This is really easy to do! I had already unscrewed the seat, so next I removed the old material (this had been stapled on) using a screw driver and pliers (any tool that does the job!). This took some time, but got is done! Then I used the material as a guideline to cut a new piece of material. I had gone into a local furniture/curtain/upholstery store and was able to get some off cuts for only $2.00, the piece was enough to do all six chairs. Leaving the chair padding in place I replaced the material over the it and stapled in the new material. I brought a staple gun for this project and was able to get one cheap at our local Uncle Bill (like a clearance store).

Finally, I screwed the seat back into the chair frame. Done!

Chair makeover!

I am very happy with the end result.

Thanks for reading my post! Have you tried a chair makeover?

Andi


Pin It on Pinterest