Simple branch Christmas tree…New Zealand

A simple  branch Christmas tree is so quick to make, looks fantastic and can be a great alternative to a traditional tree…

If you are like me and looking for something different this year, don’t have the time or even the space for a traditional tree try this:

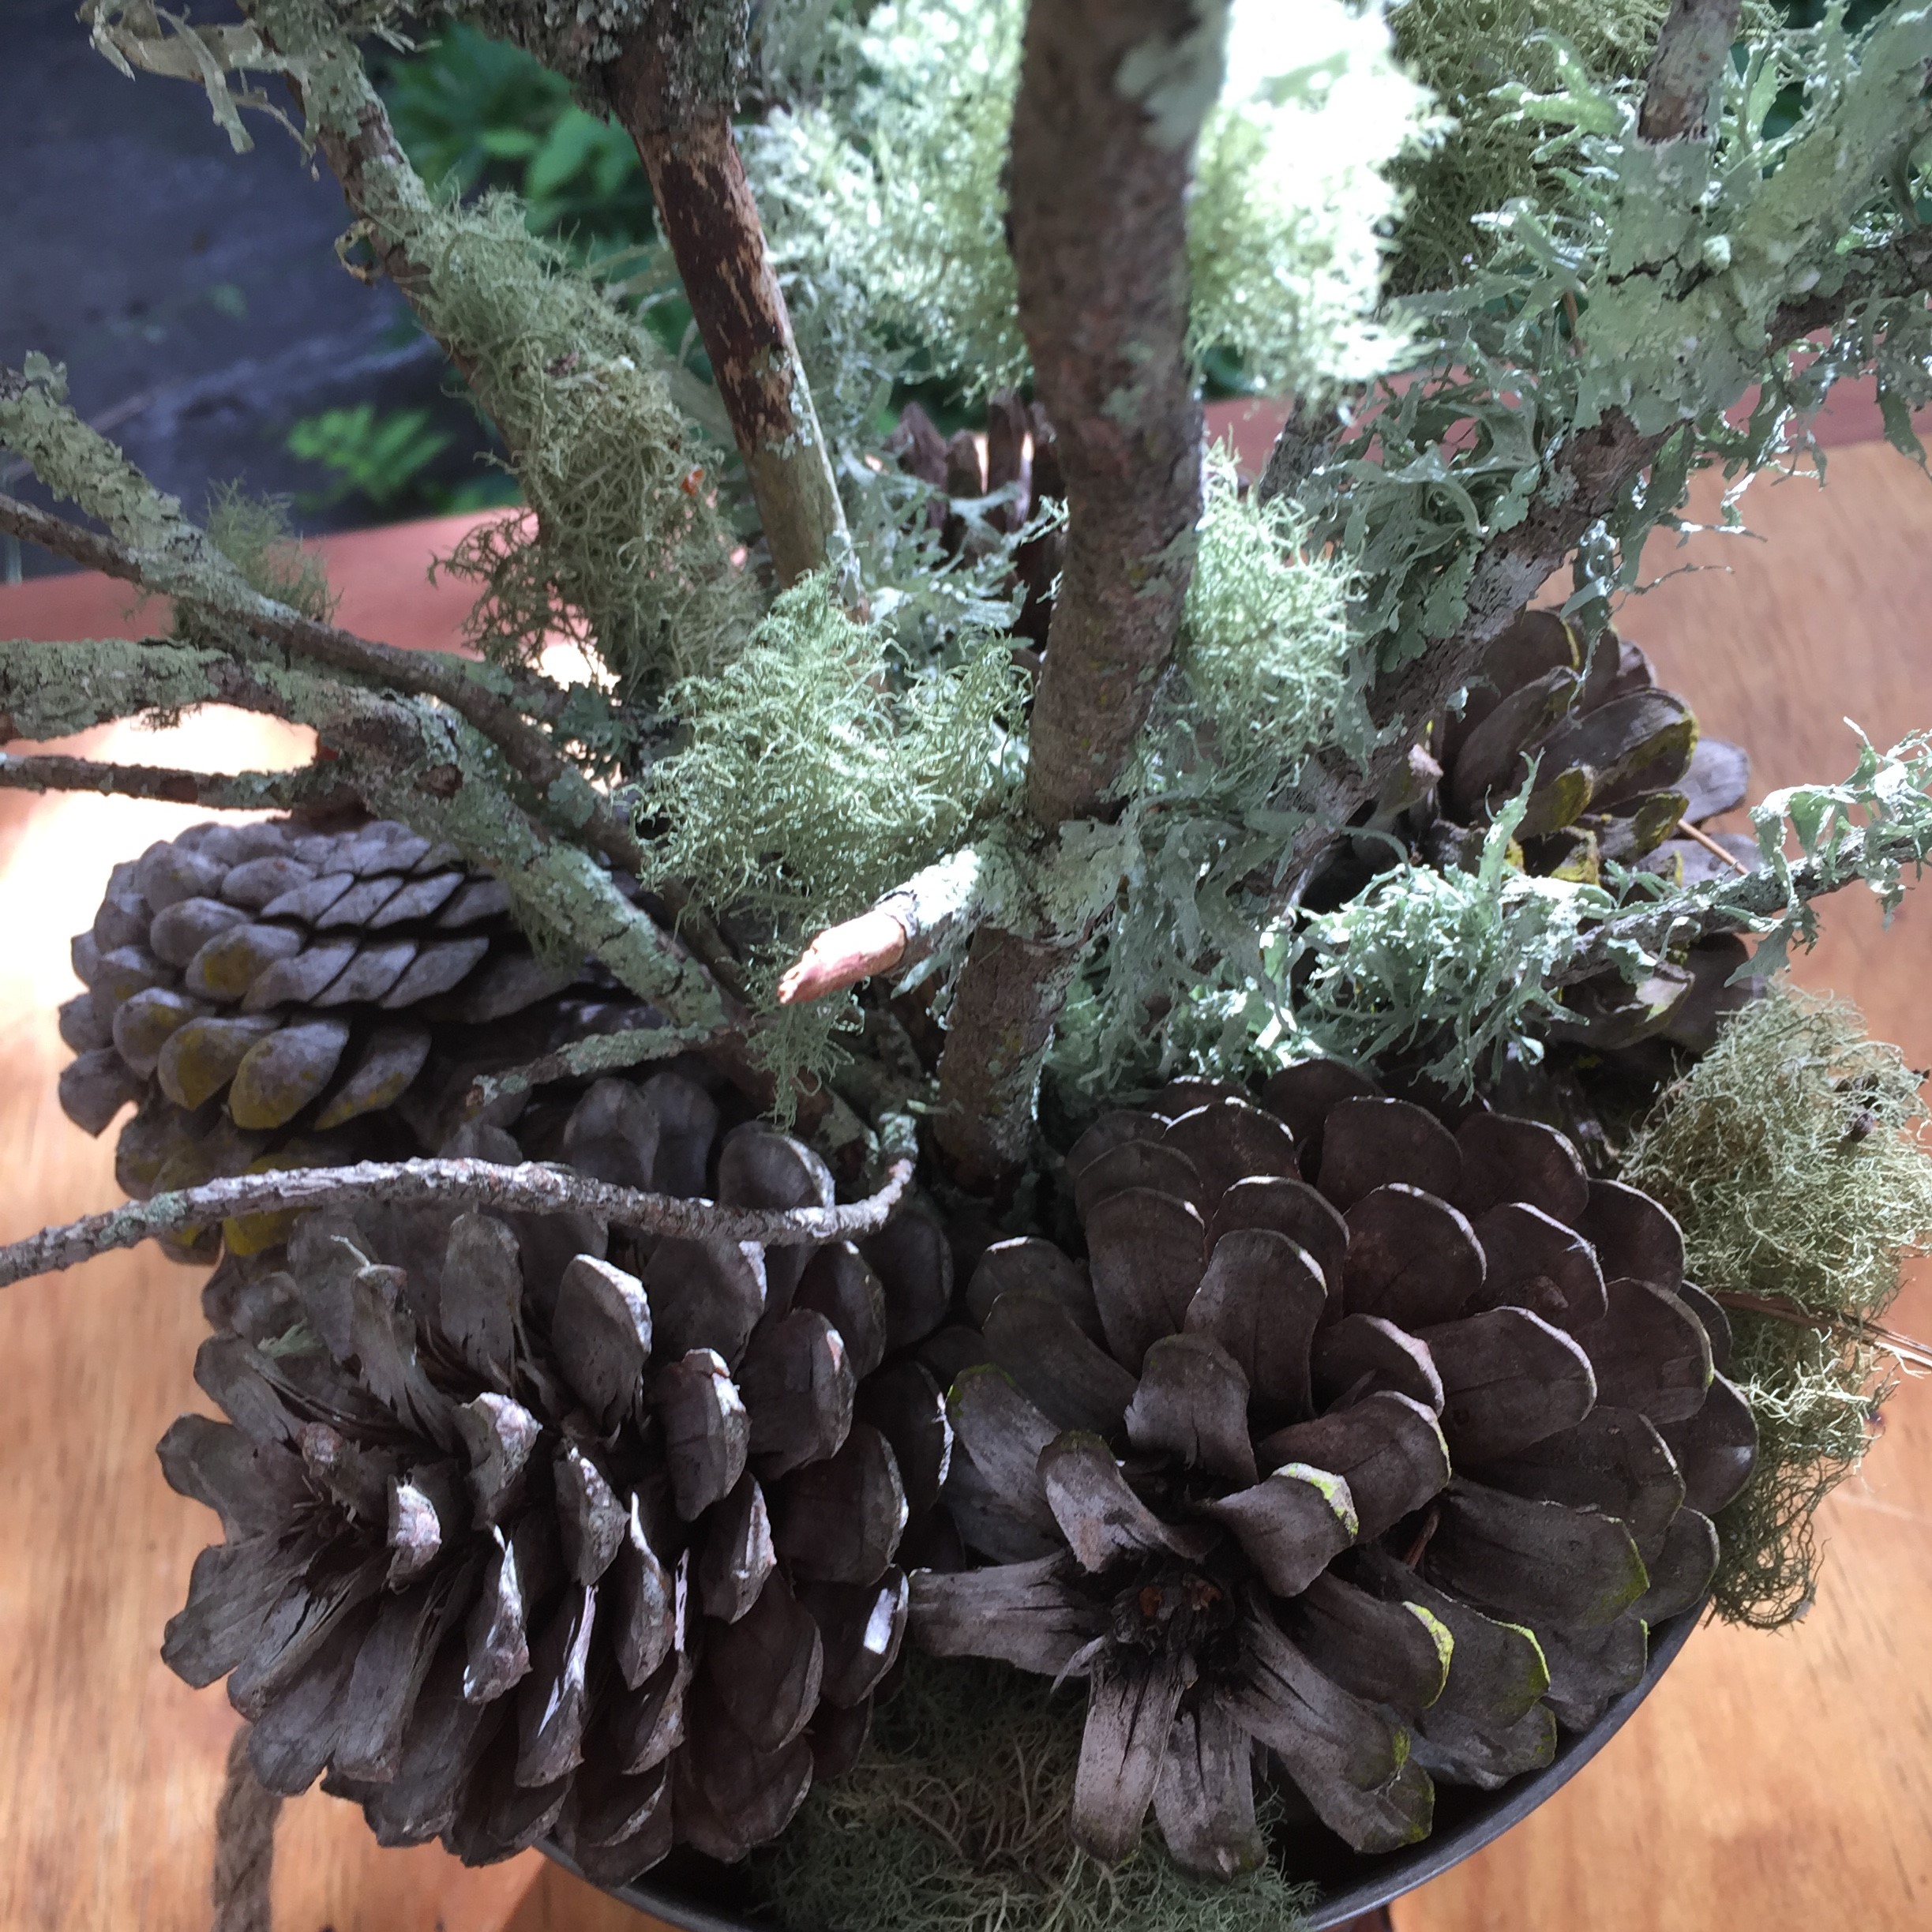
I was on my way home this afternoon and stopped to have a look at a local reserve where I knew there would be pine cones. I was excited to find some great branches on the ground that could be made into a branch Christmas tree. It had some lovely moss on it which was even better for this purpose.

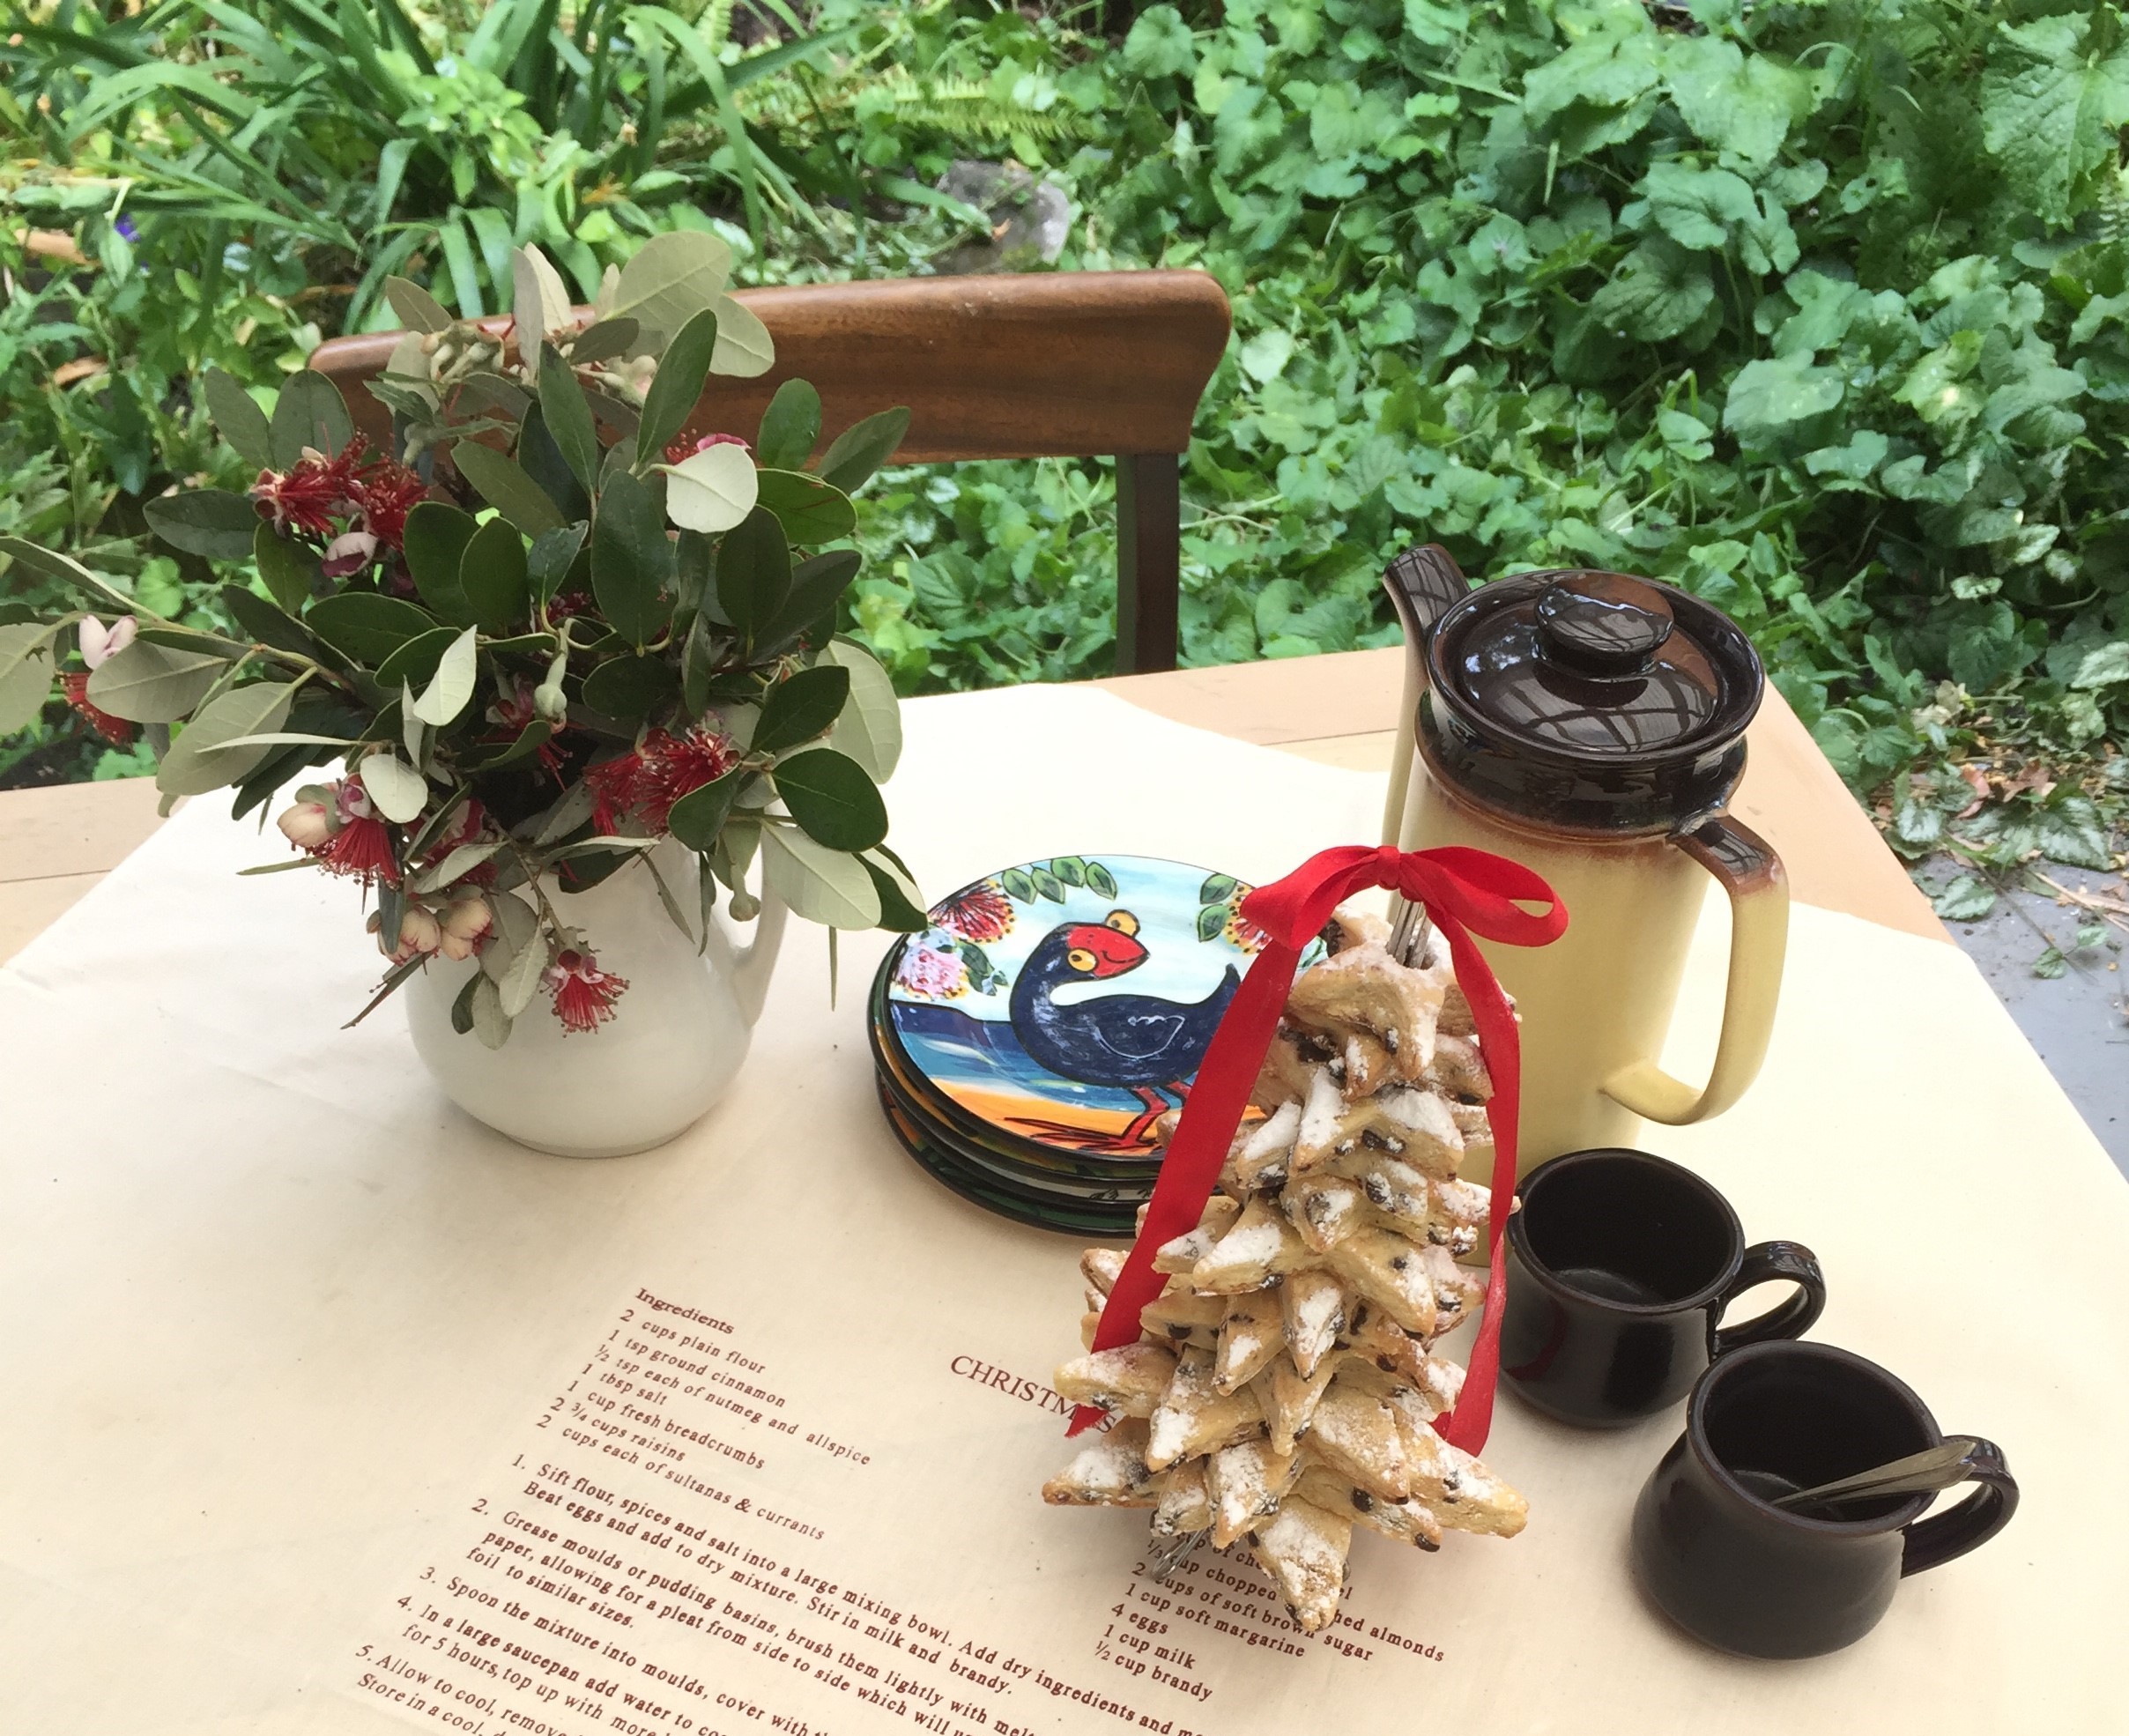
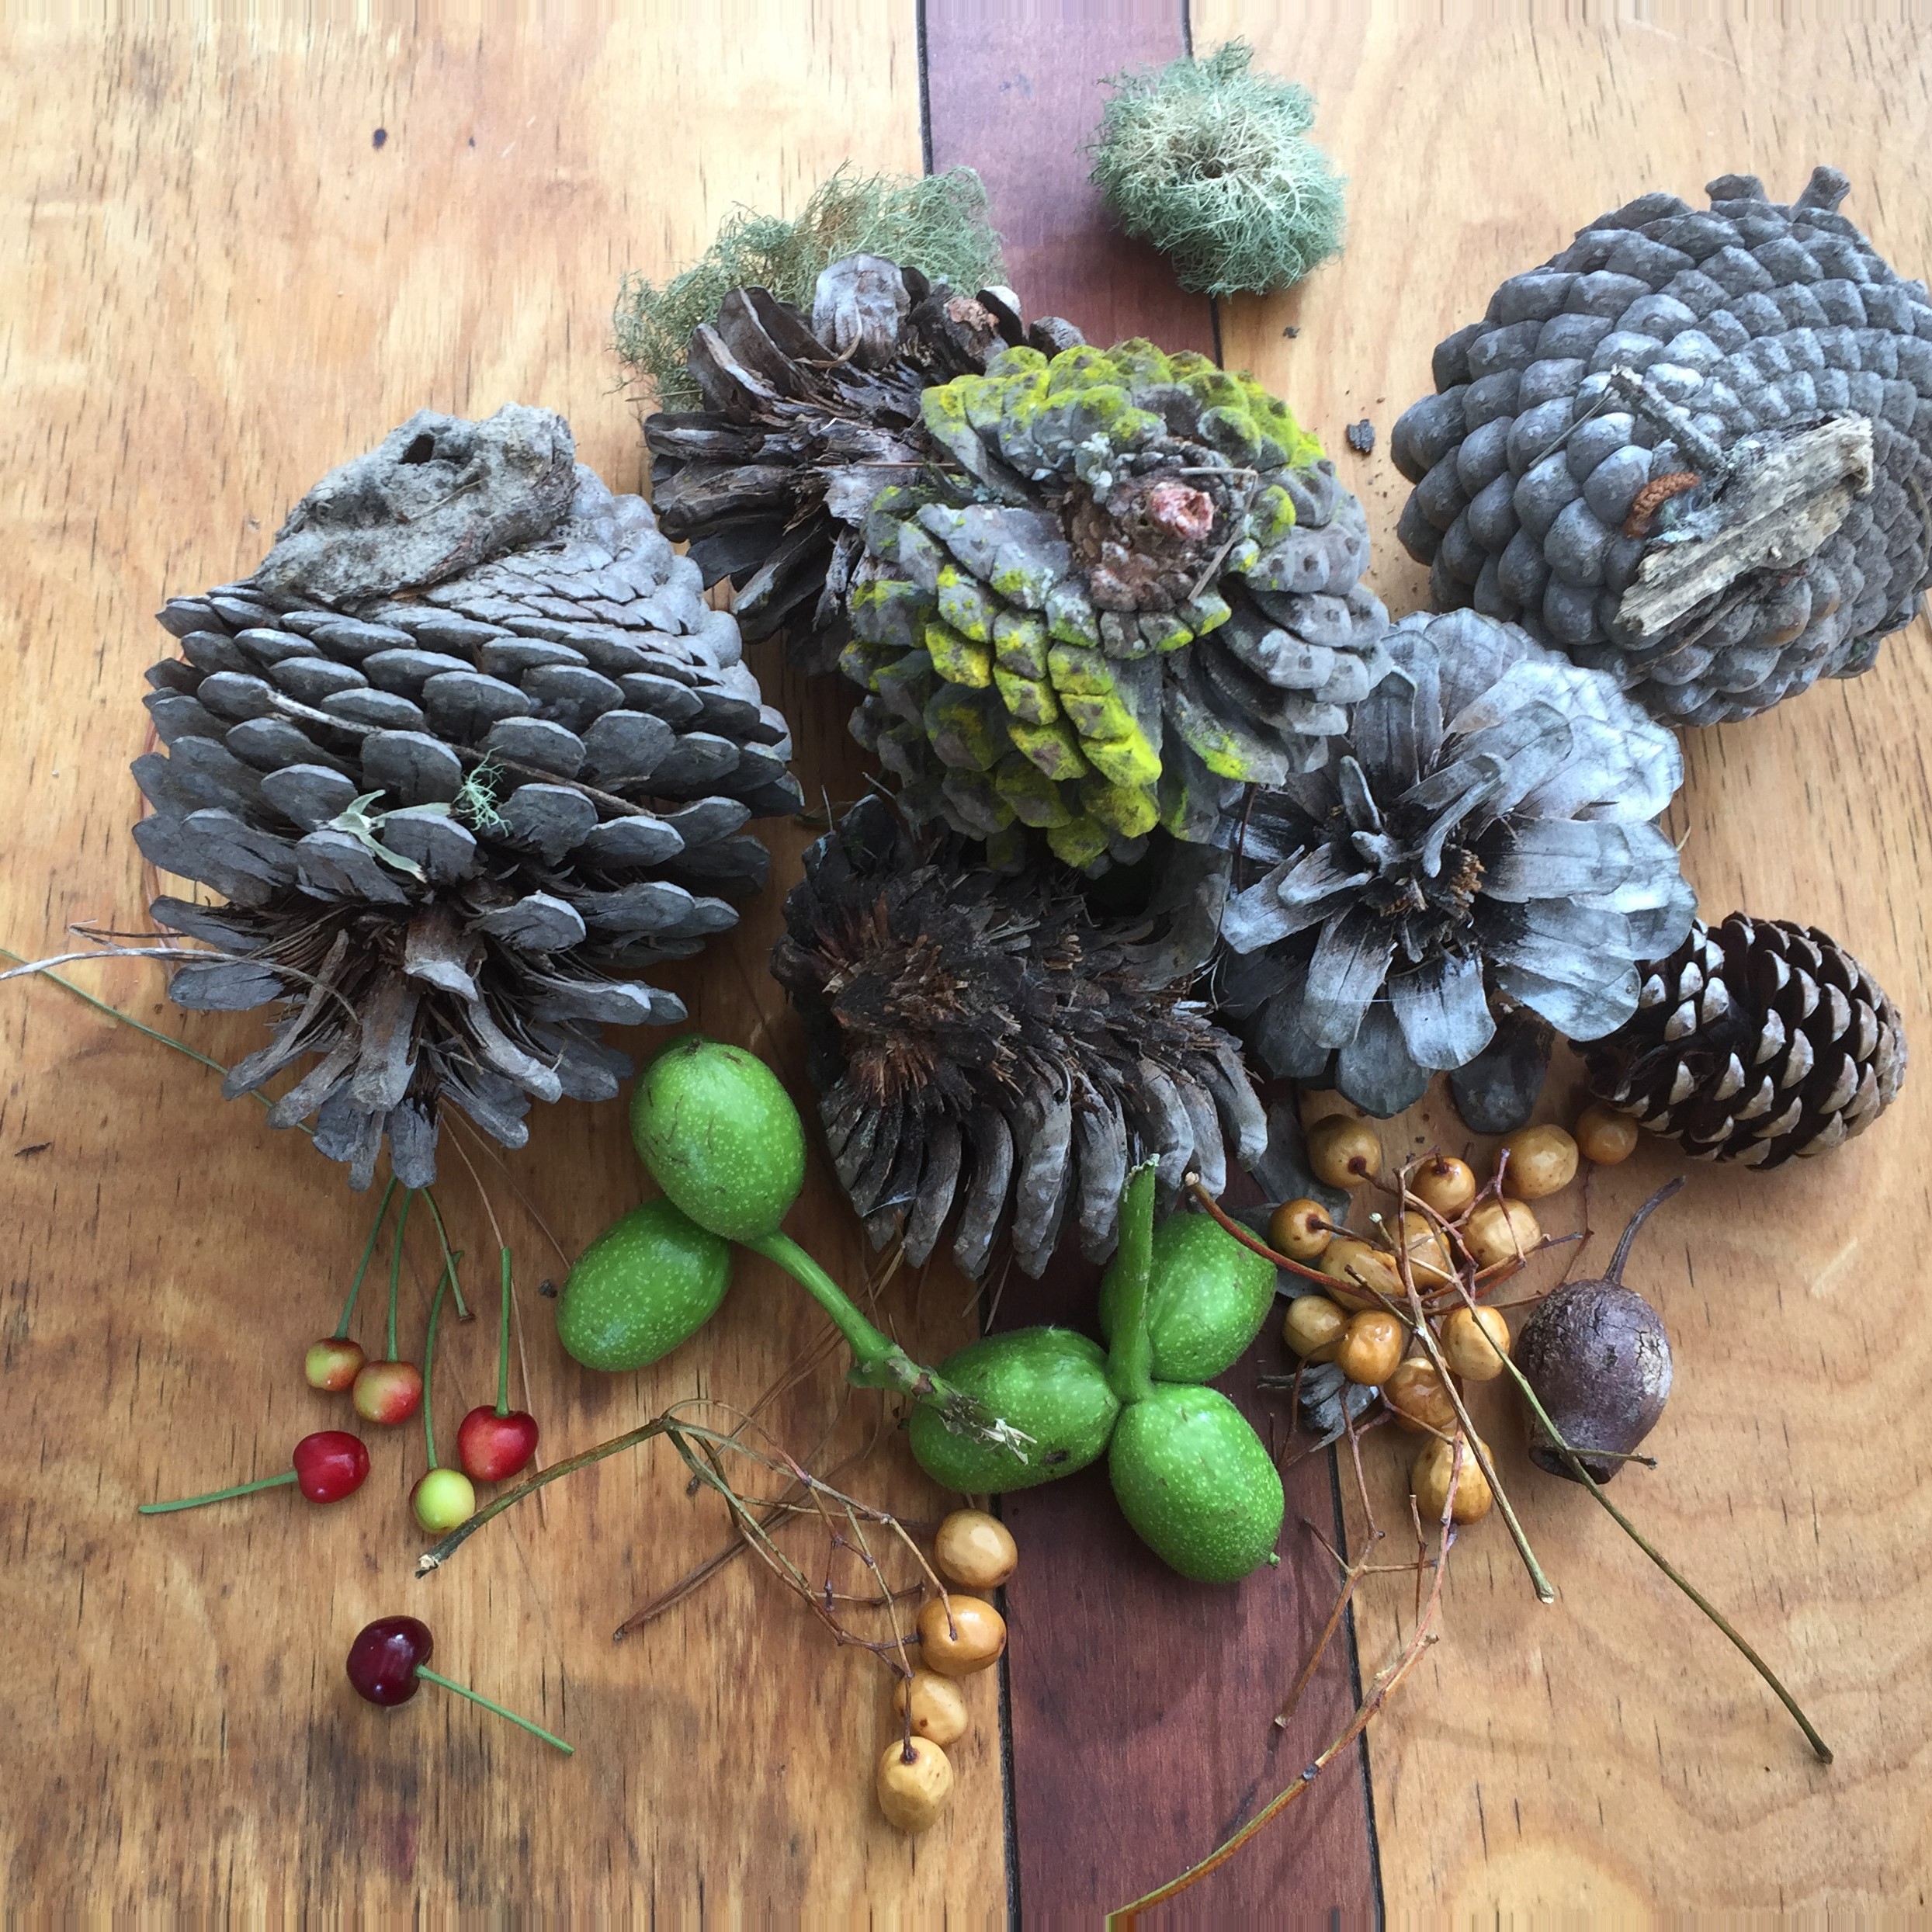
There were some natural things for decorations as well and when I got back home I picked some little crab apples from the garden to add some red colour to them.
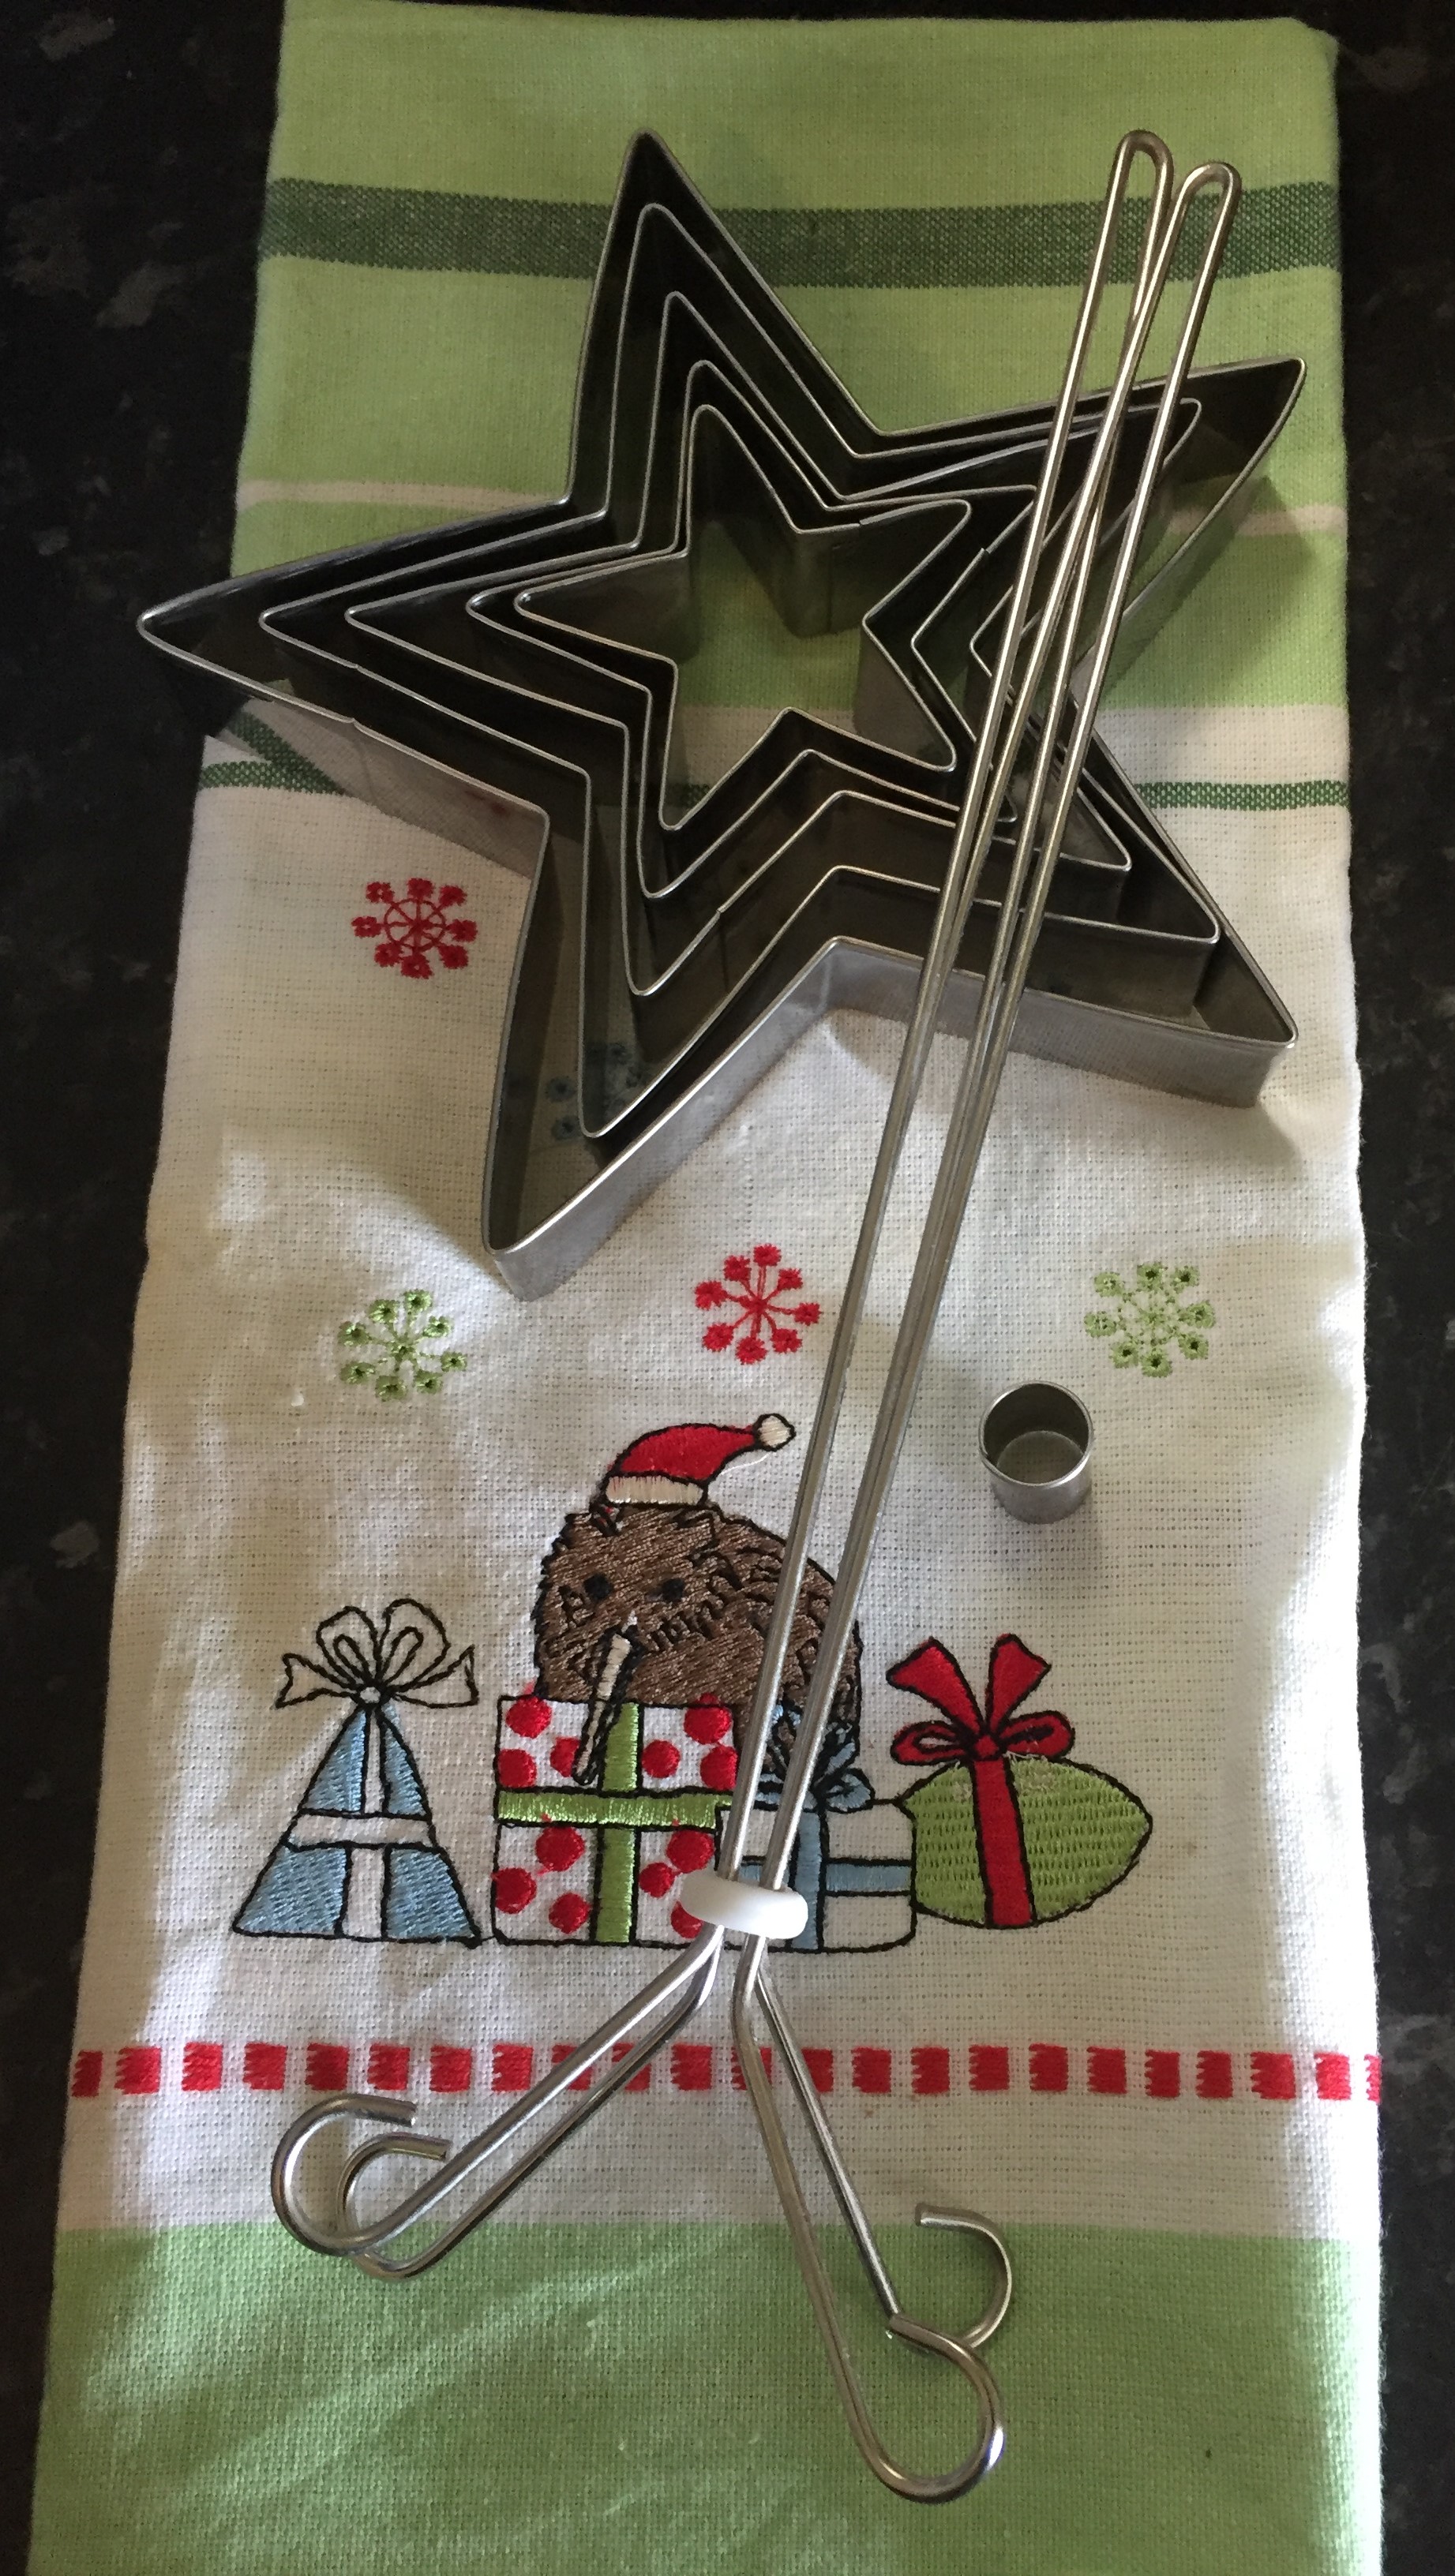
Supplies needed:

Branches

Pine cones

Decorations

Scissors

Galvanized bucket (I brought mine at Kmart)

Floral foam (optional)

Twine

Instructions:

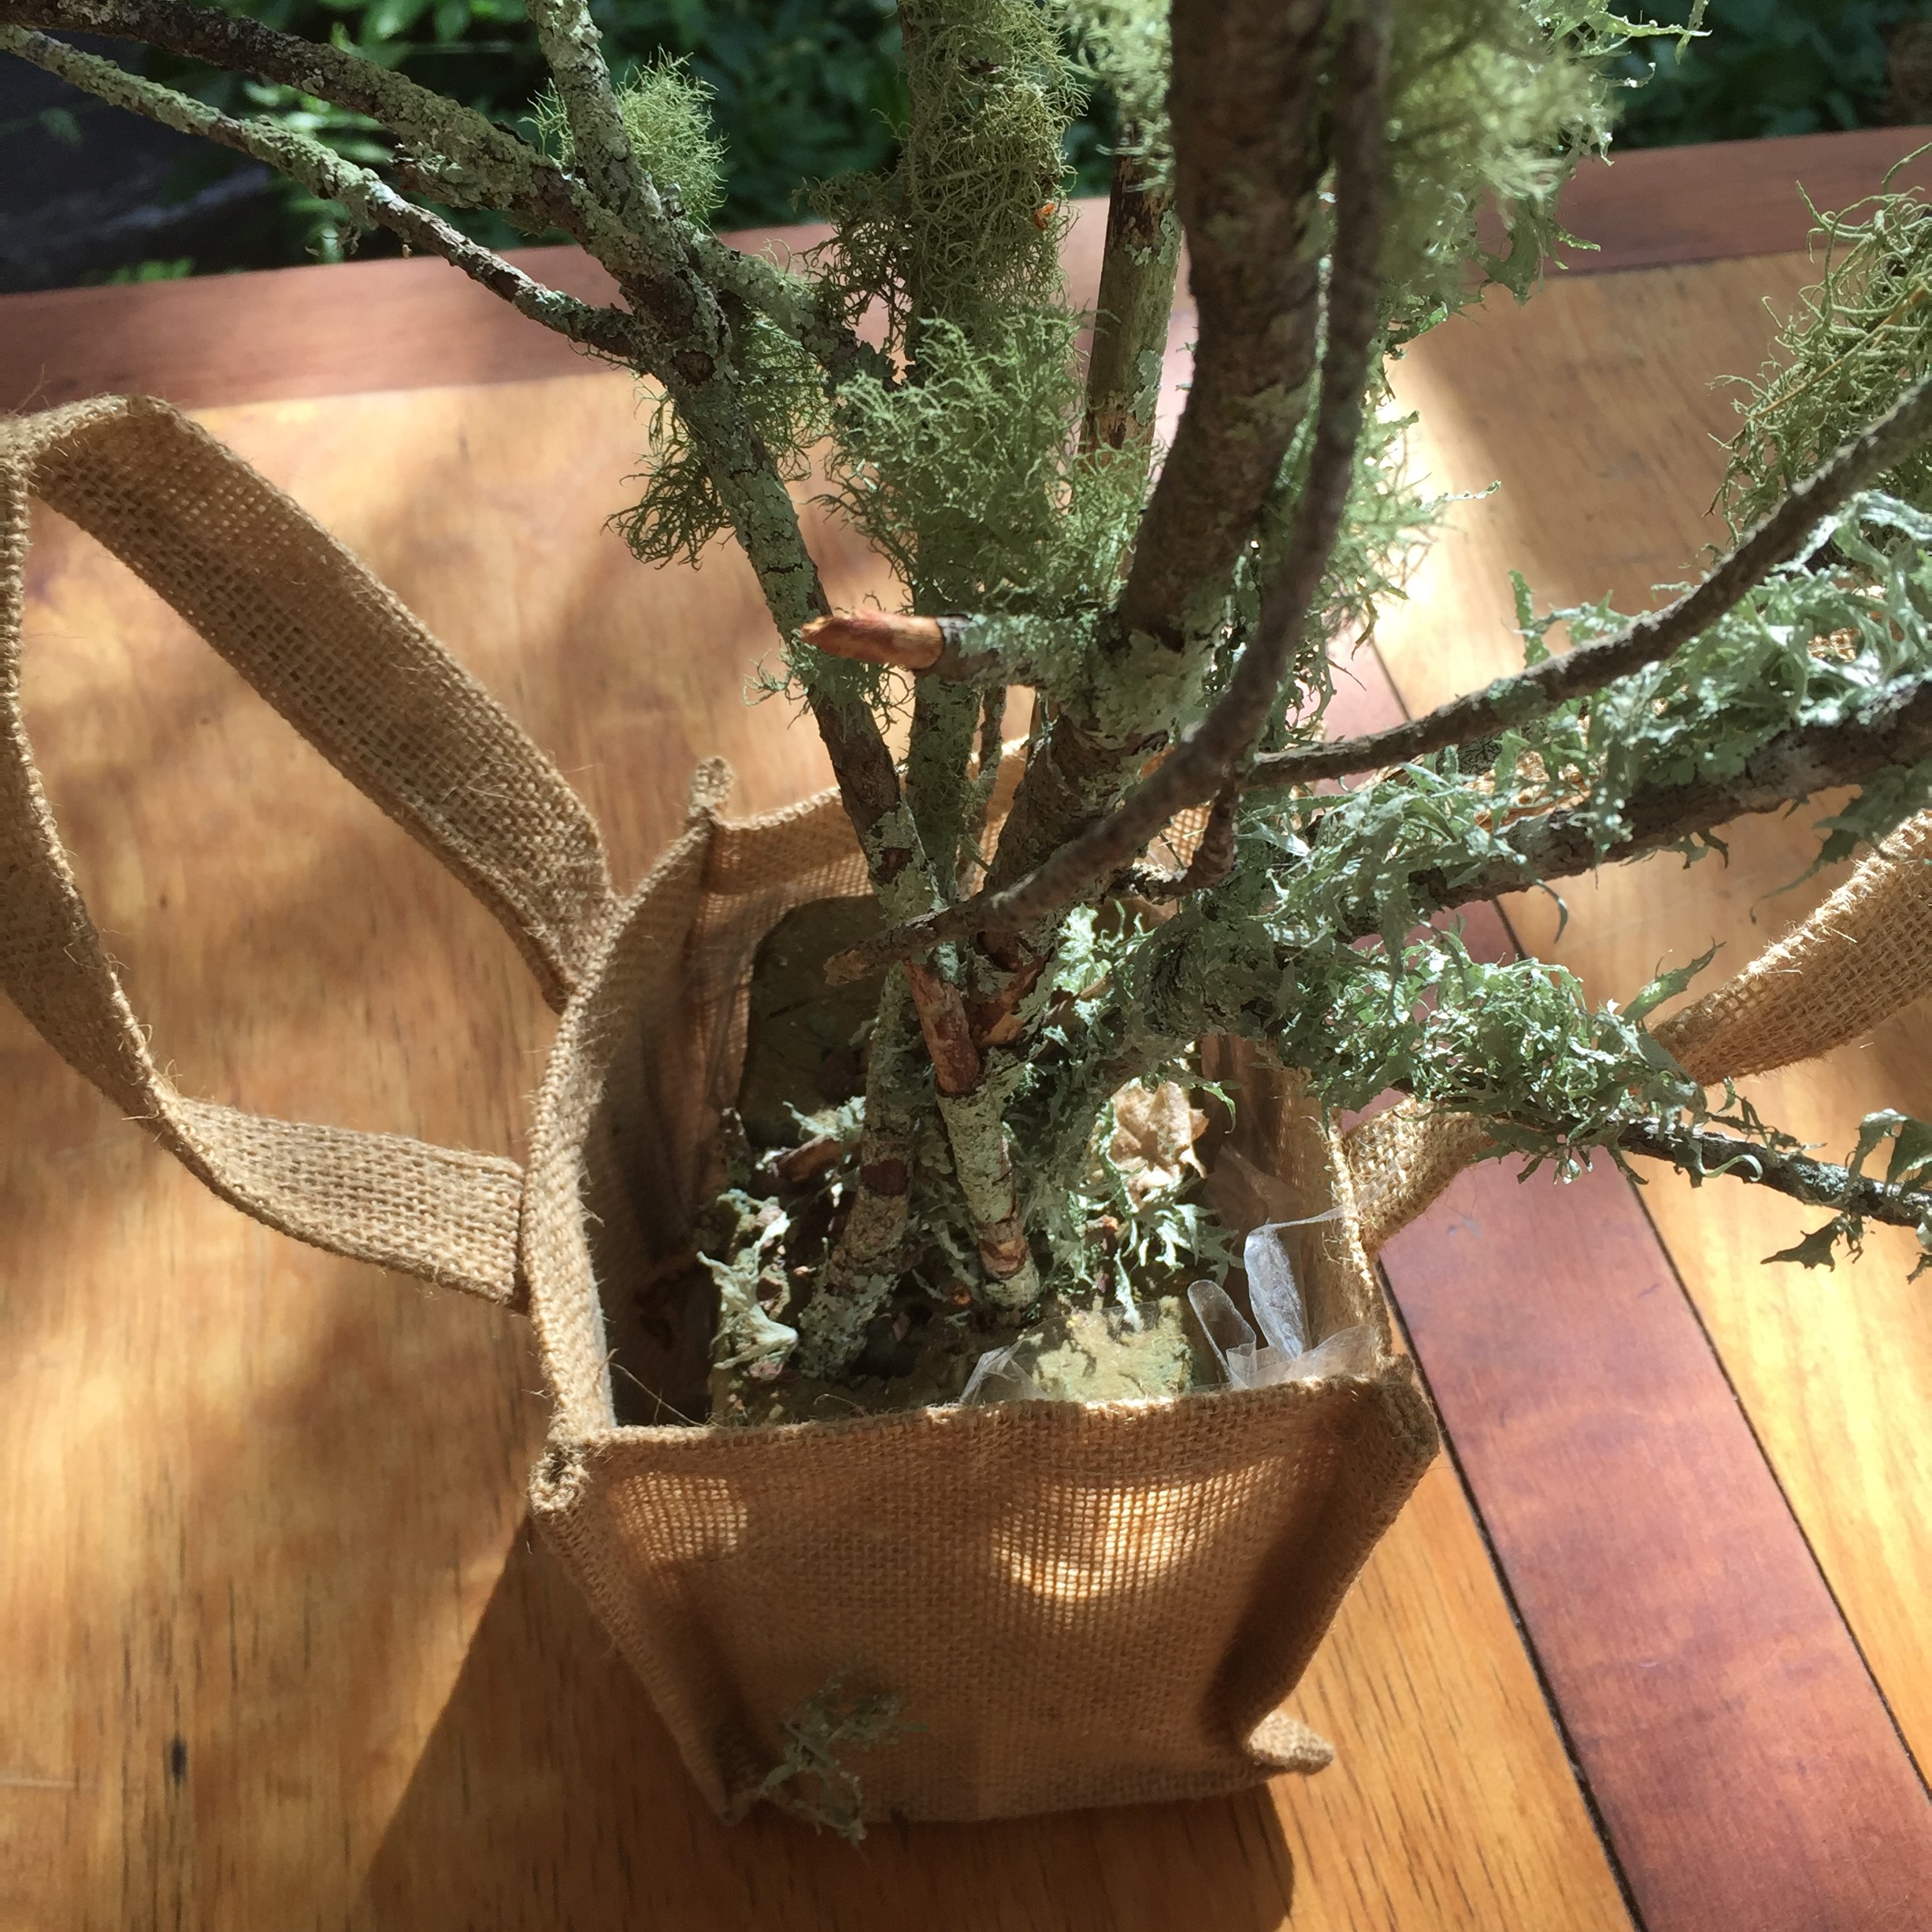
Start by placing your branches in floral foam (if you have some, I already had some left over from a florist bouquet in a little burlap bag, so I used this for convenience).
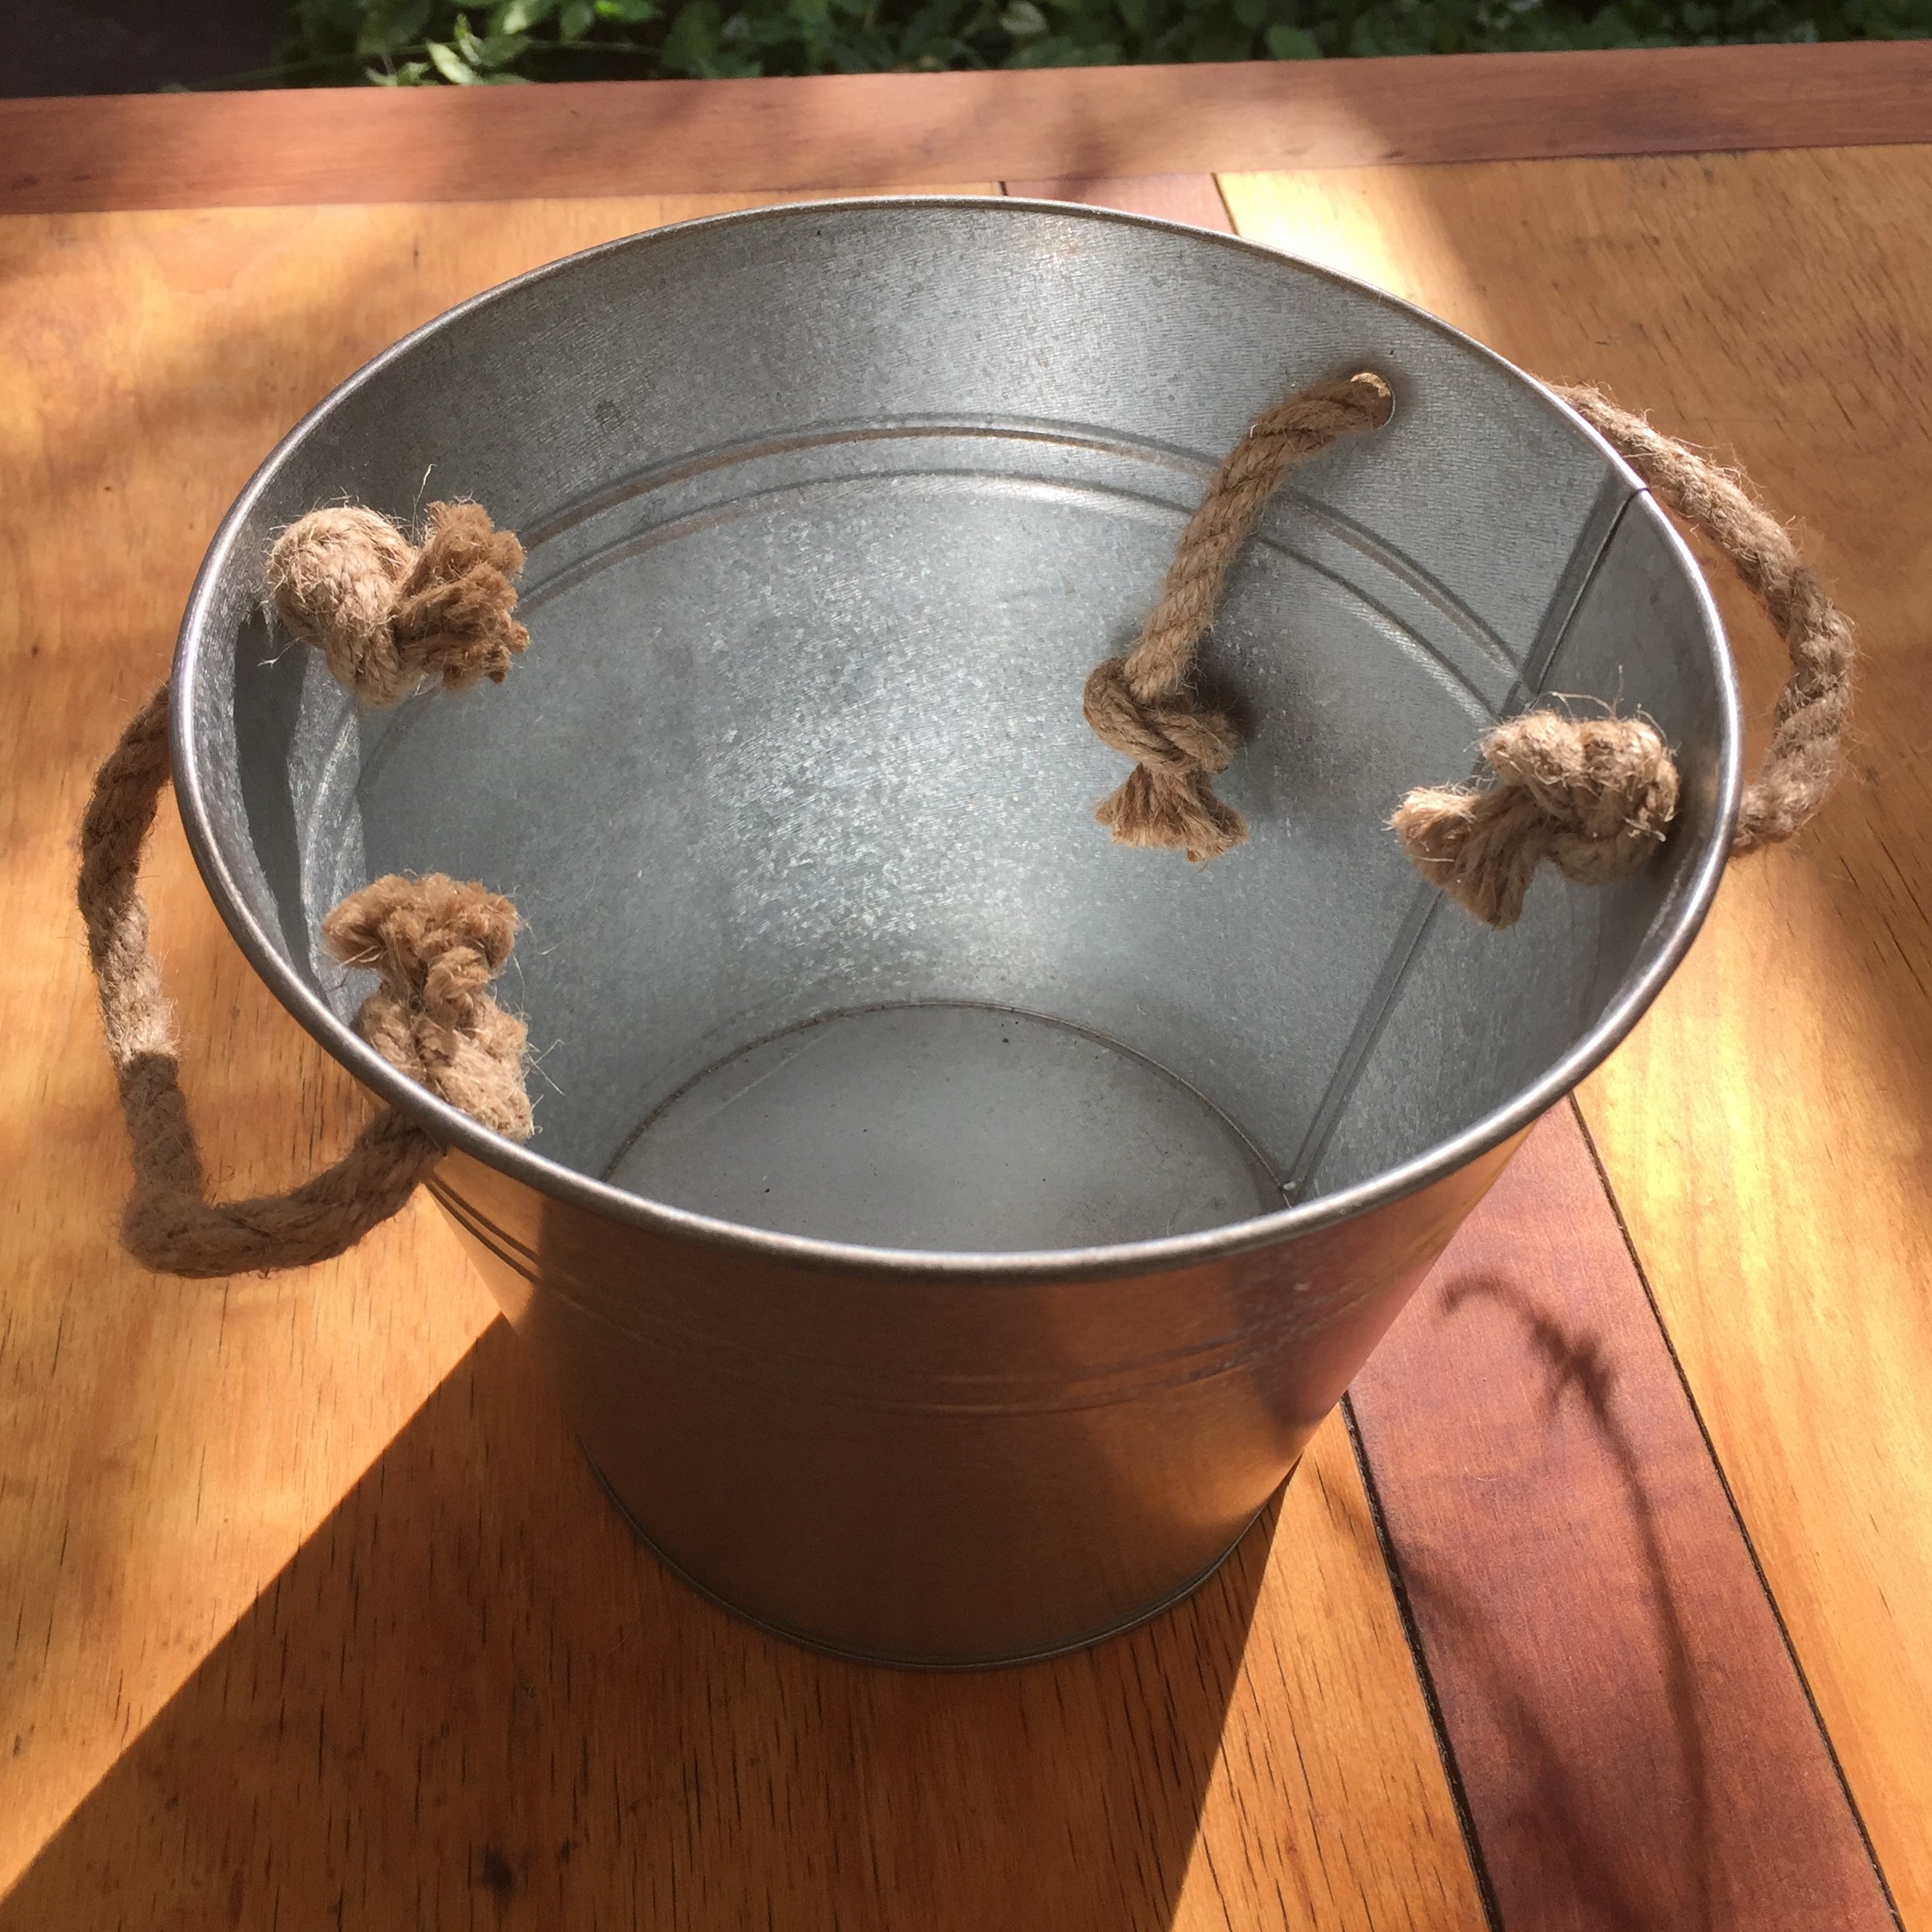
img_3470-2

Galvanized bucket

Galvanized bucket

Then carefully place into the galvanized bucket. Or a large jar would work, as long as it doesn’t topple over everything is on the branches.

Put the pine cones on top.

img_3474-2

Next using twine tie up the berries, nuts, natural decorations onto the branches.

img_3472-2

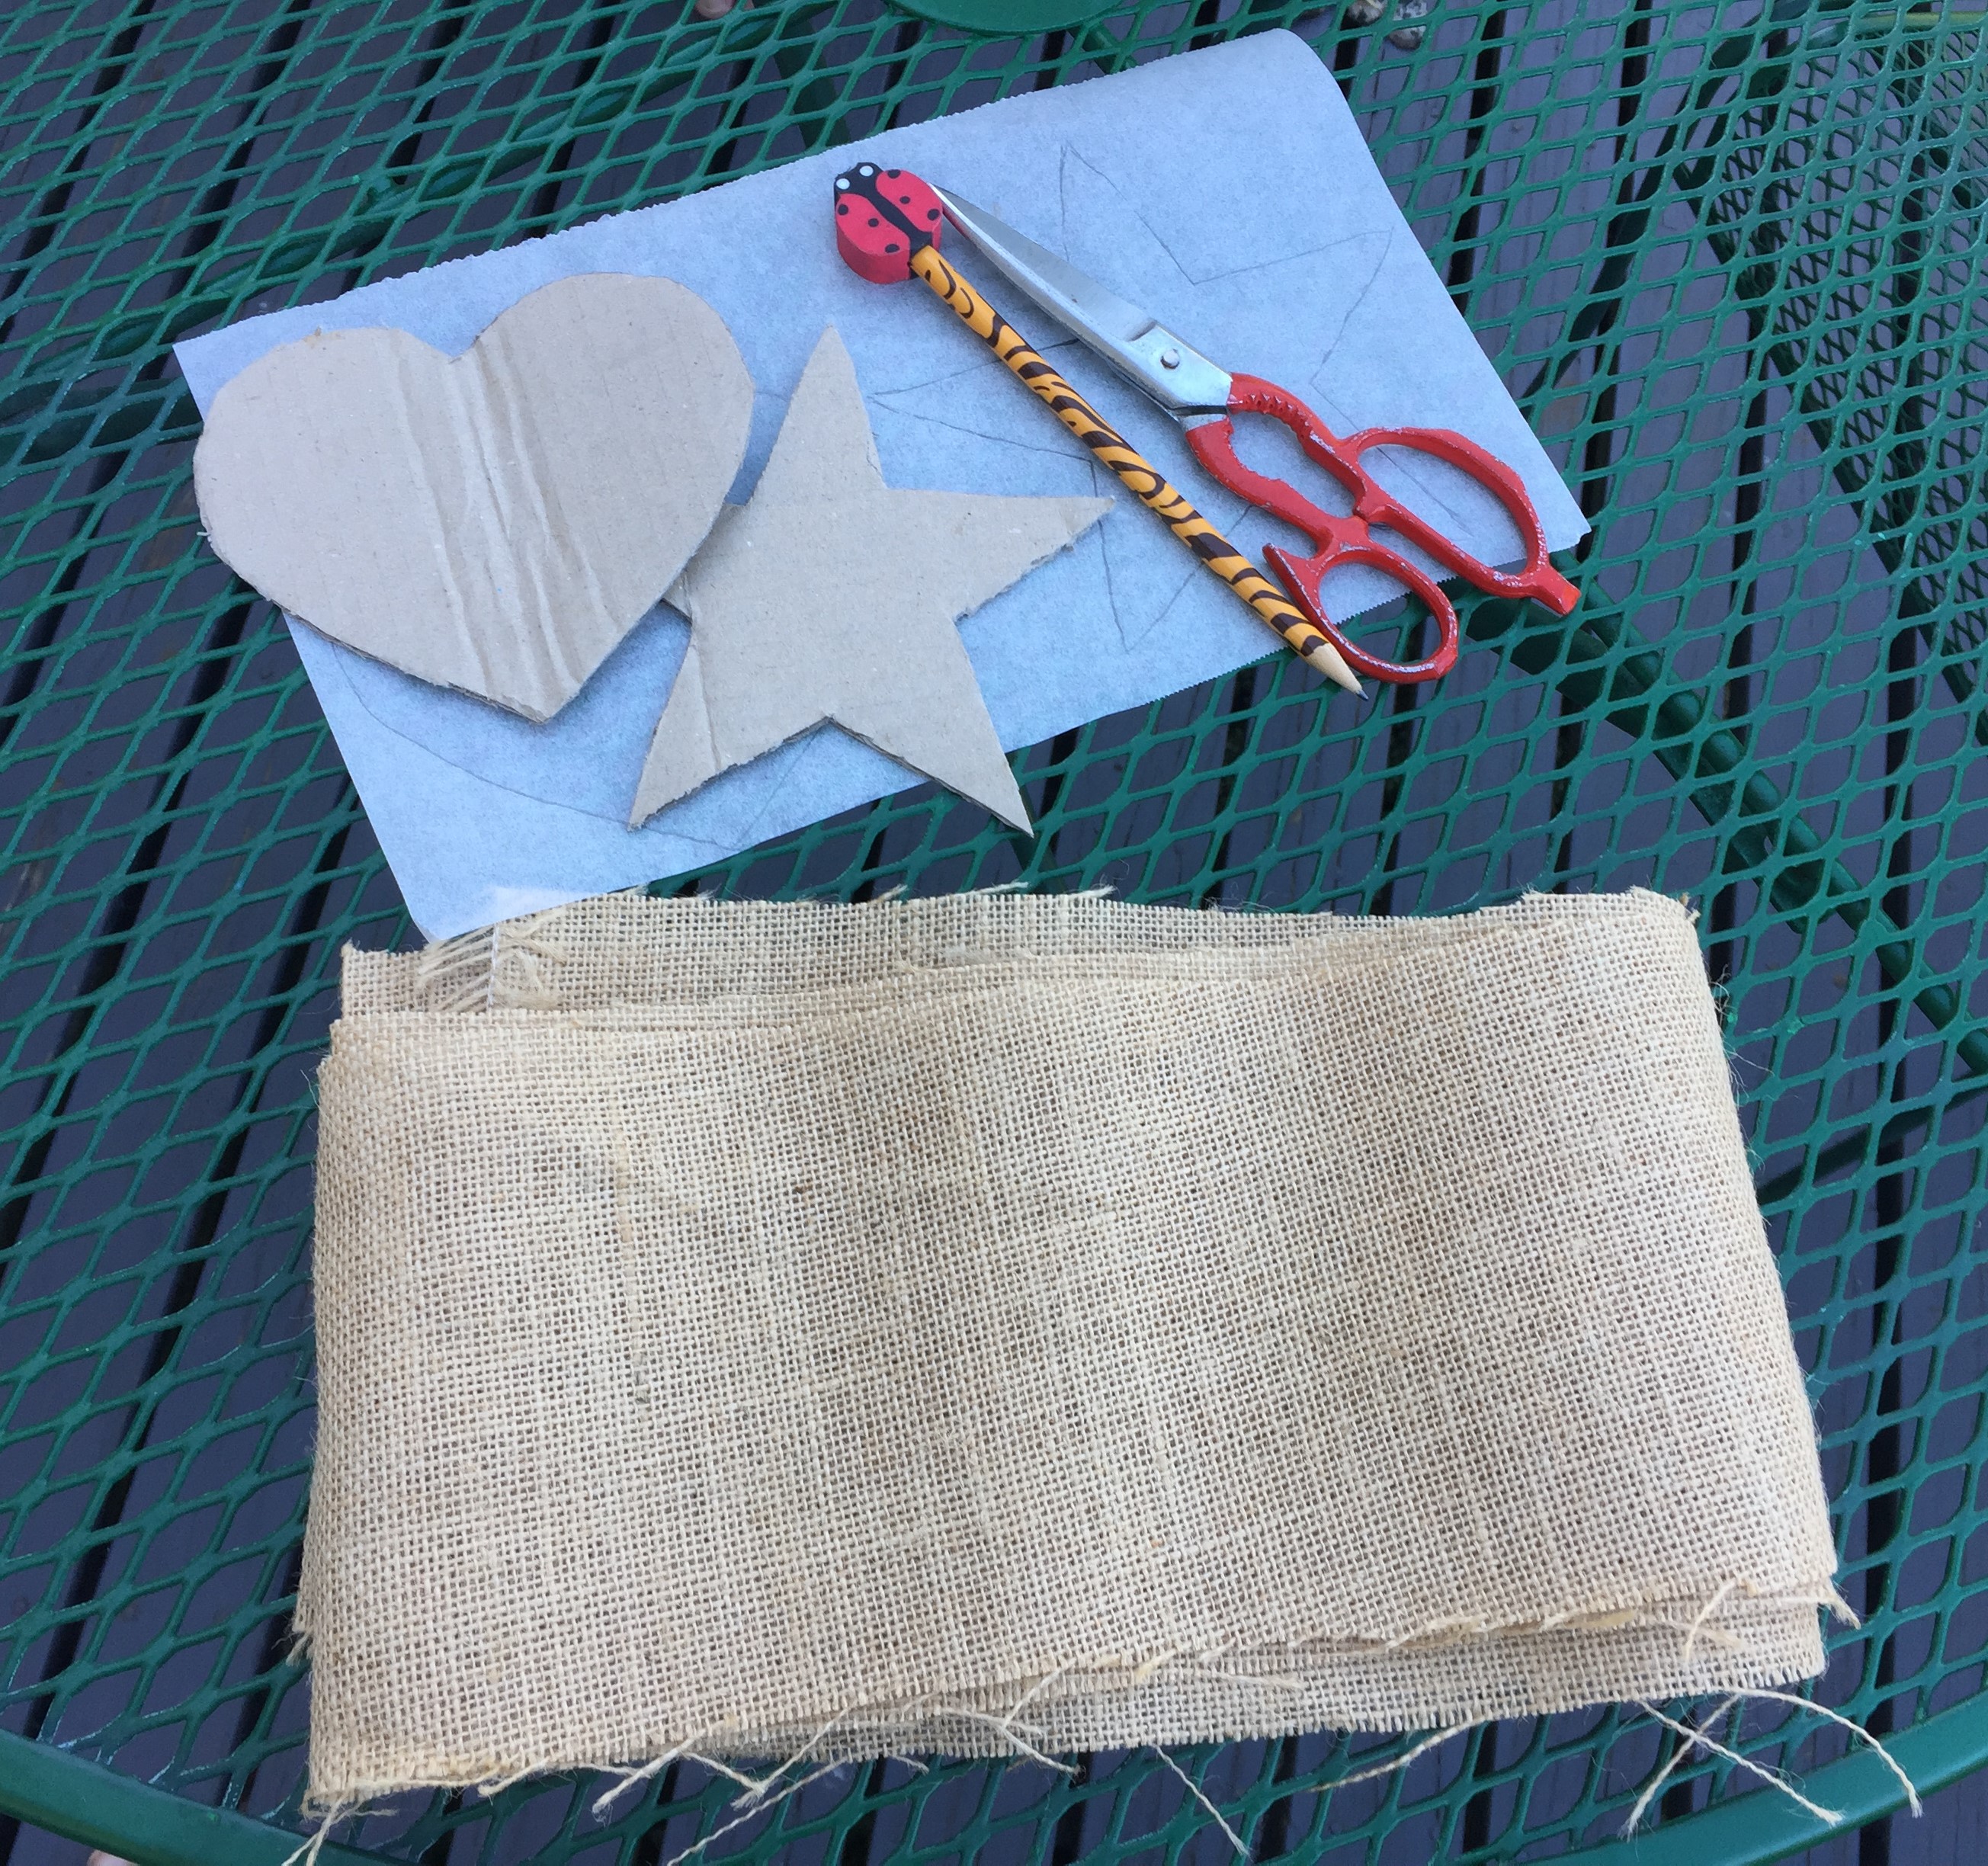
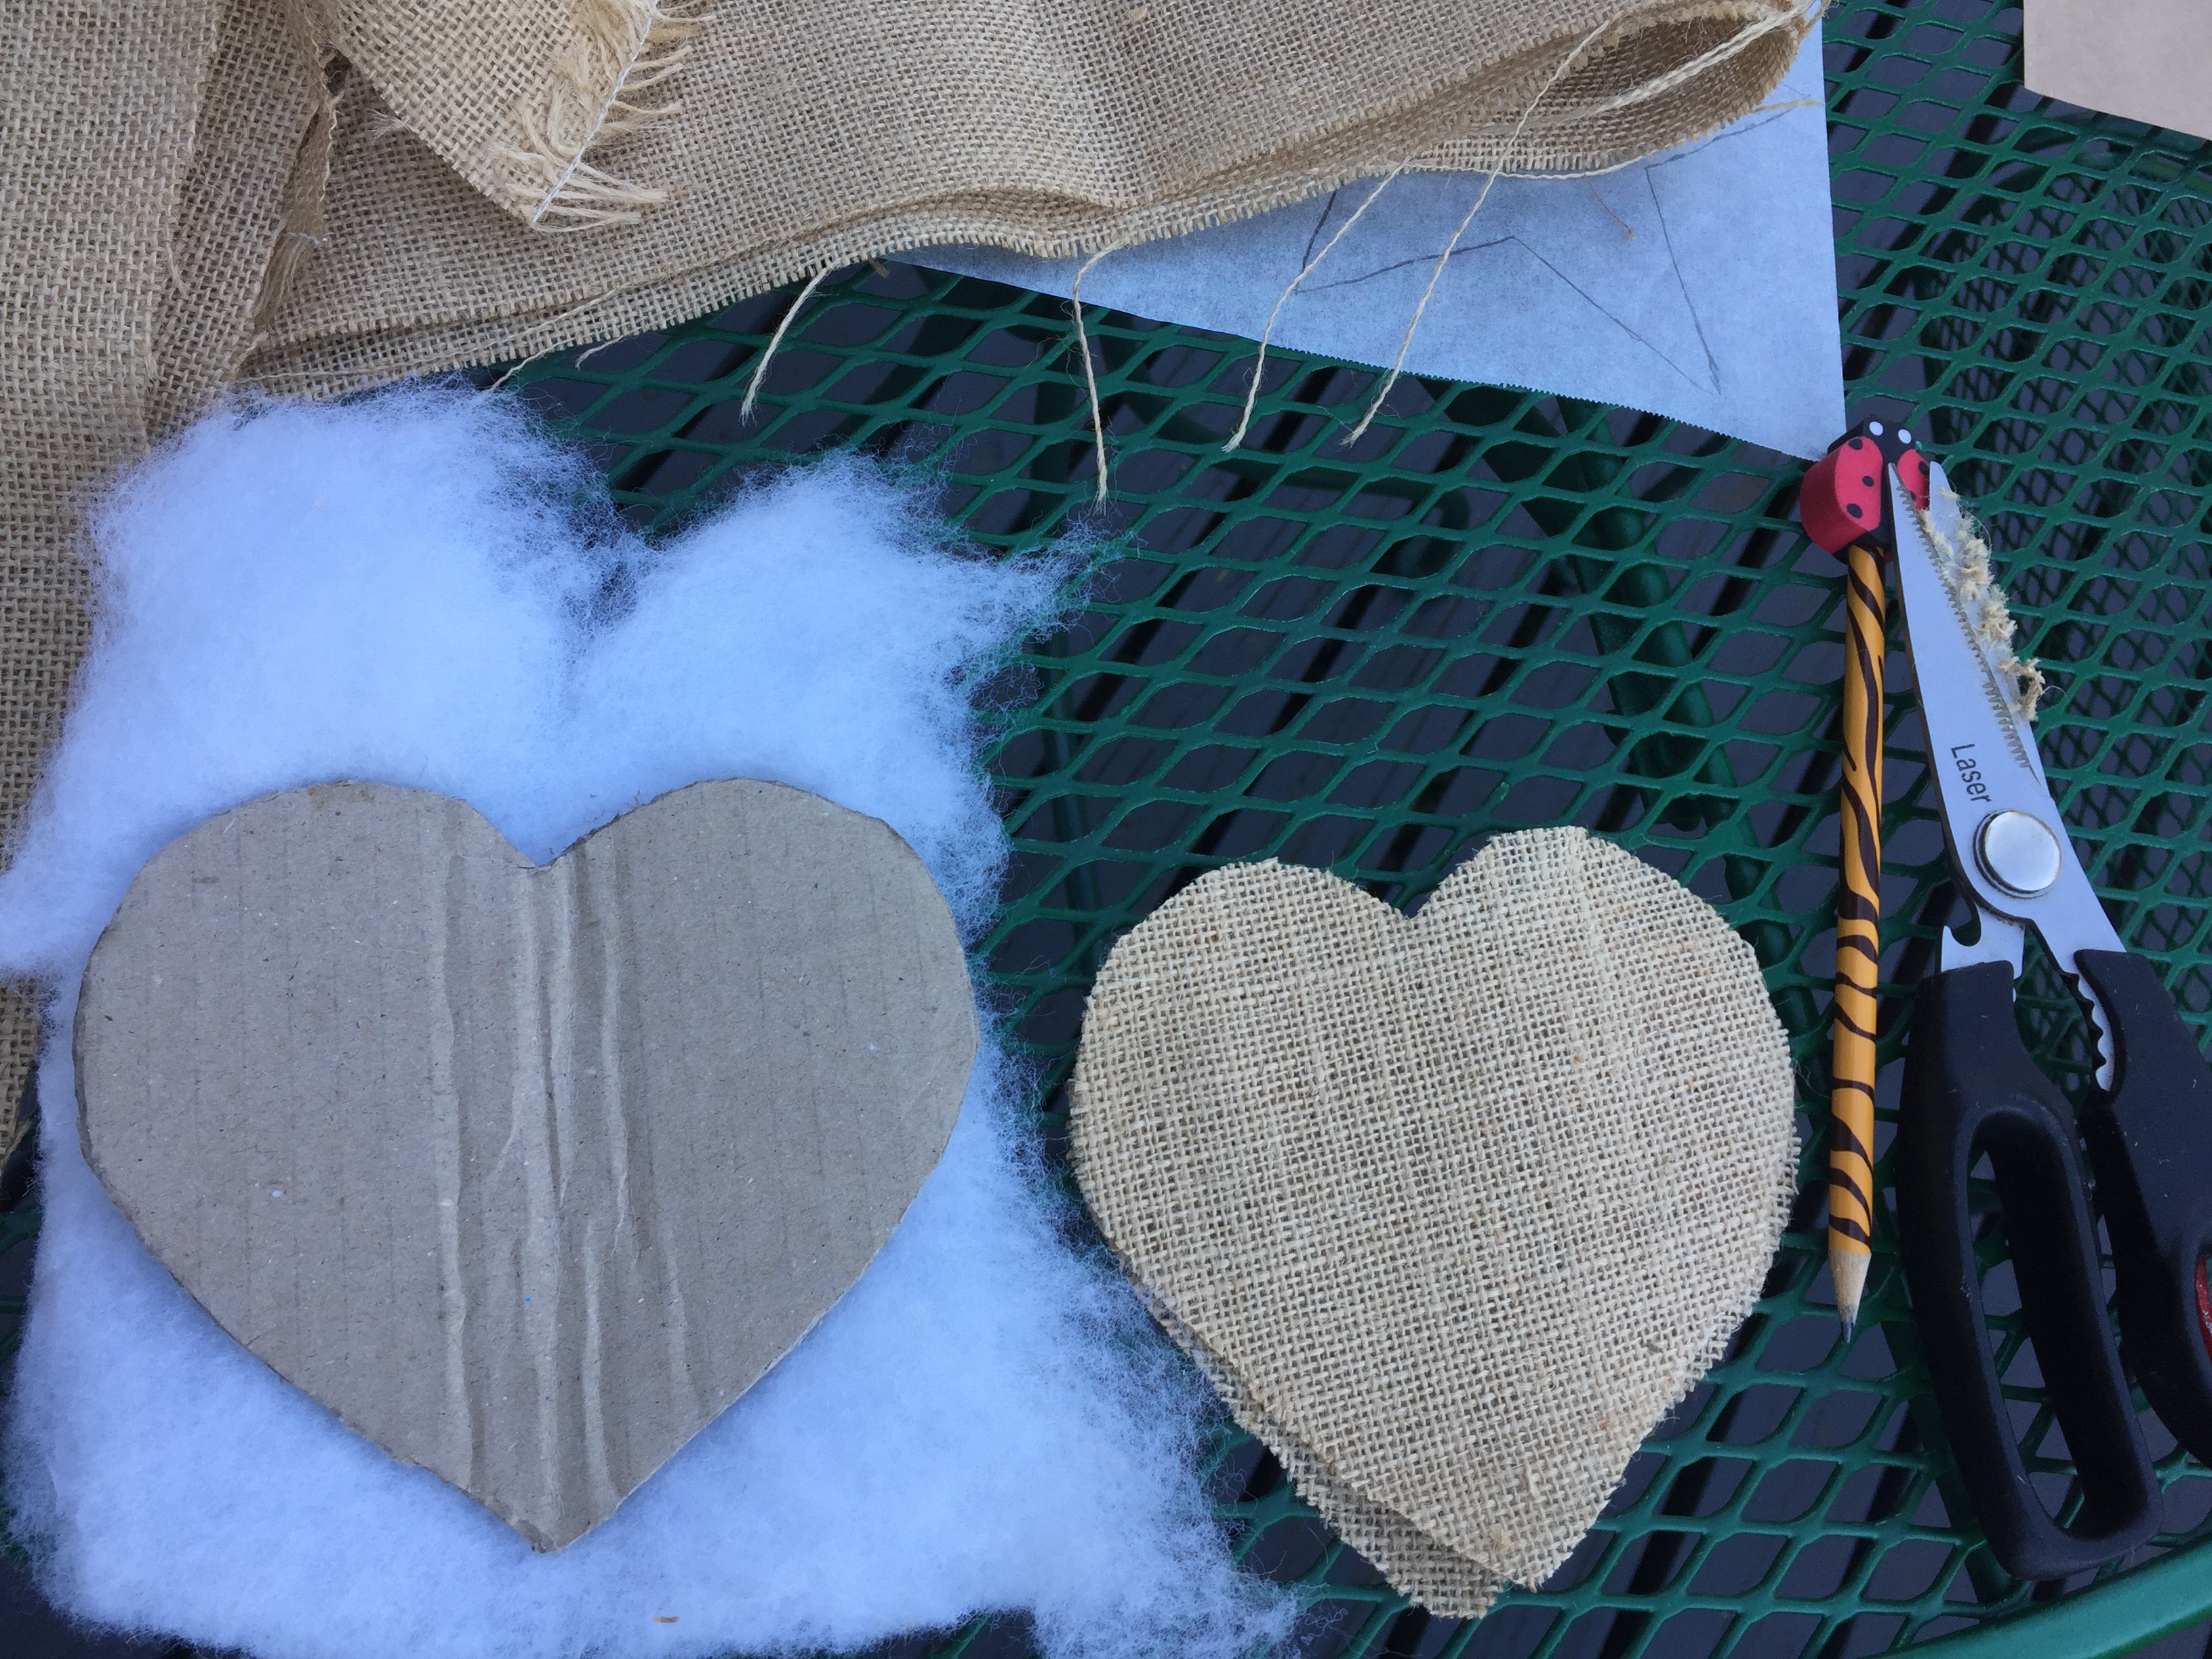
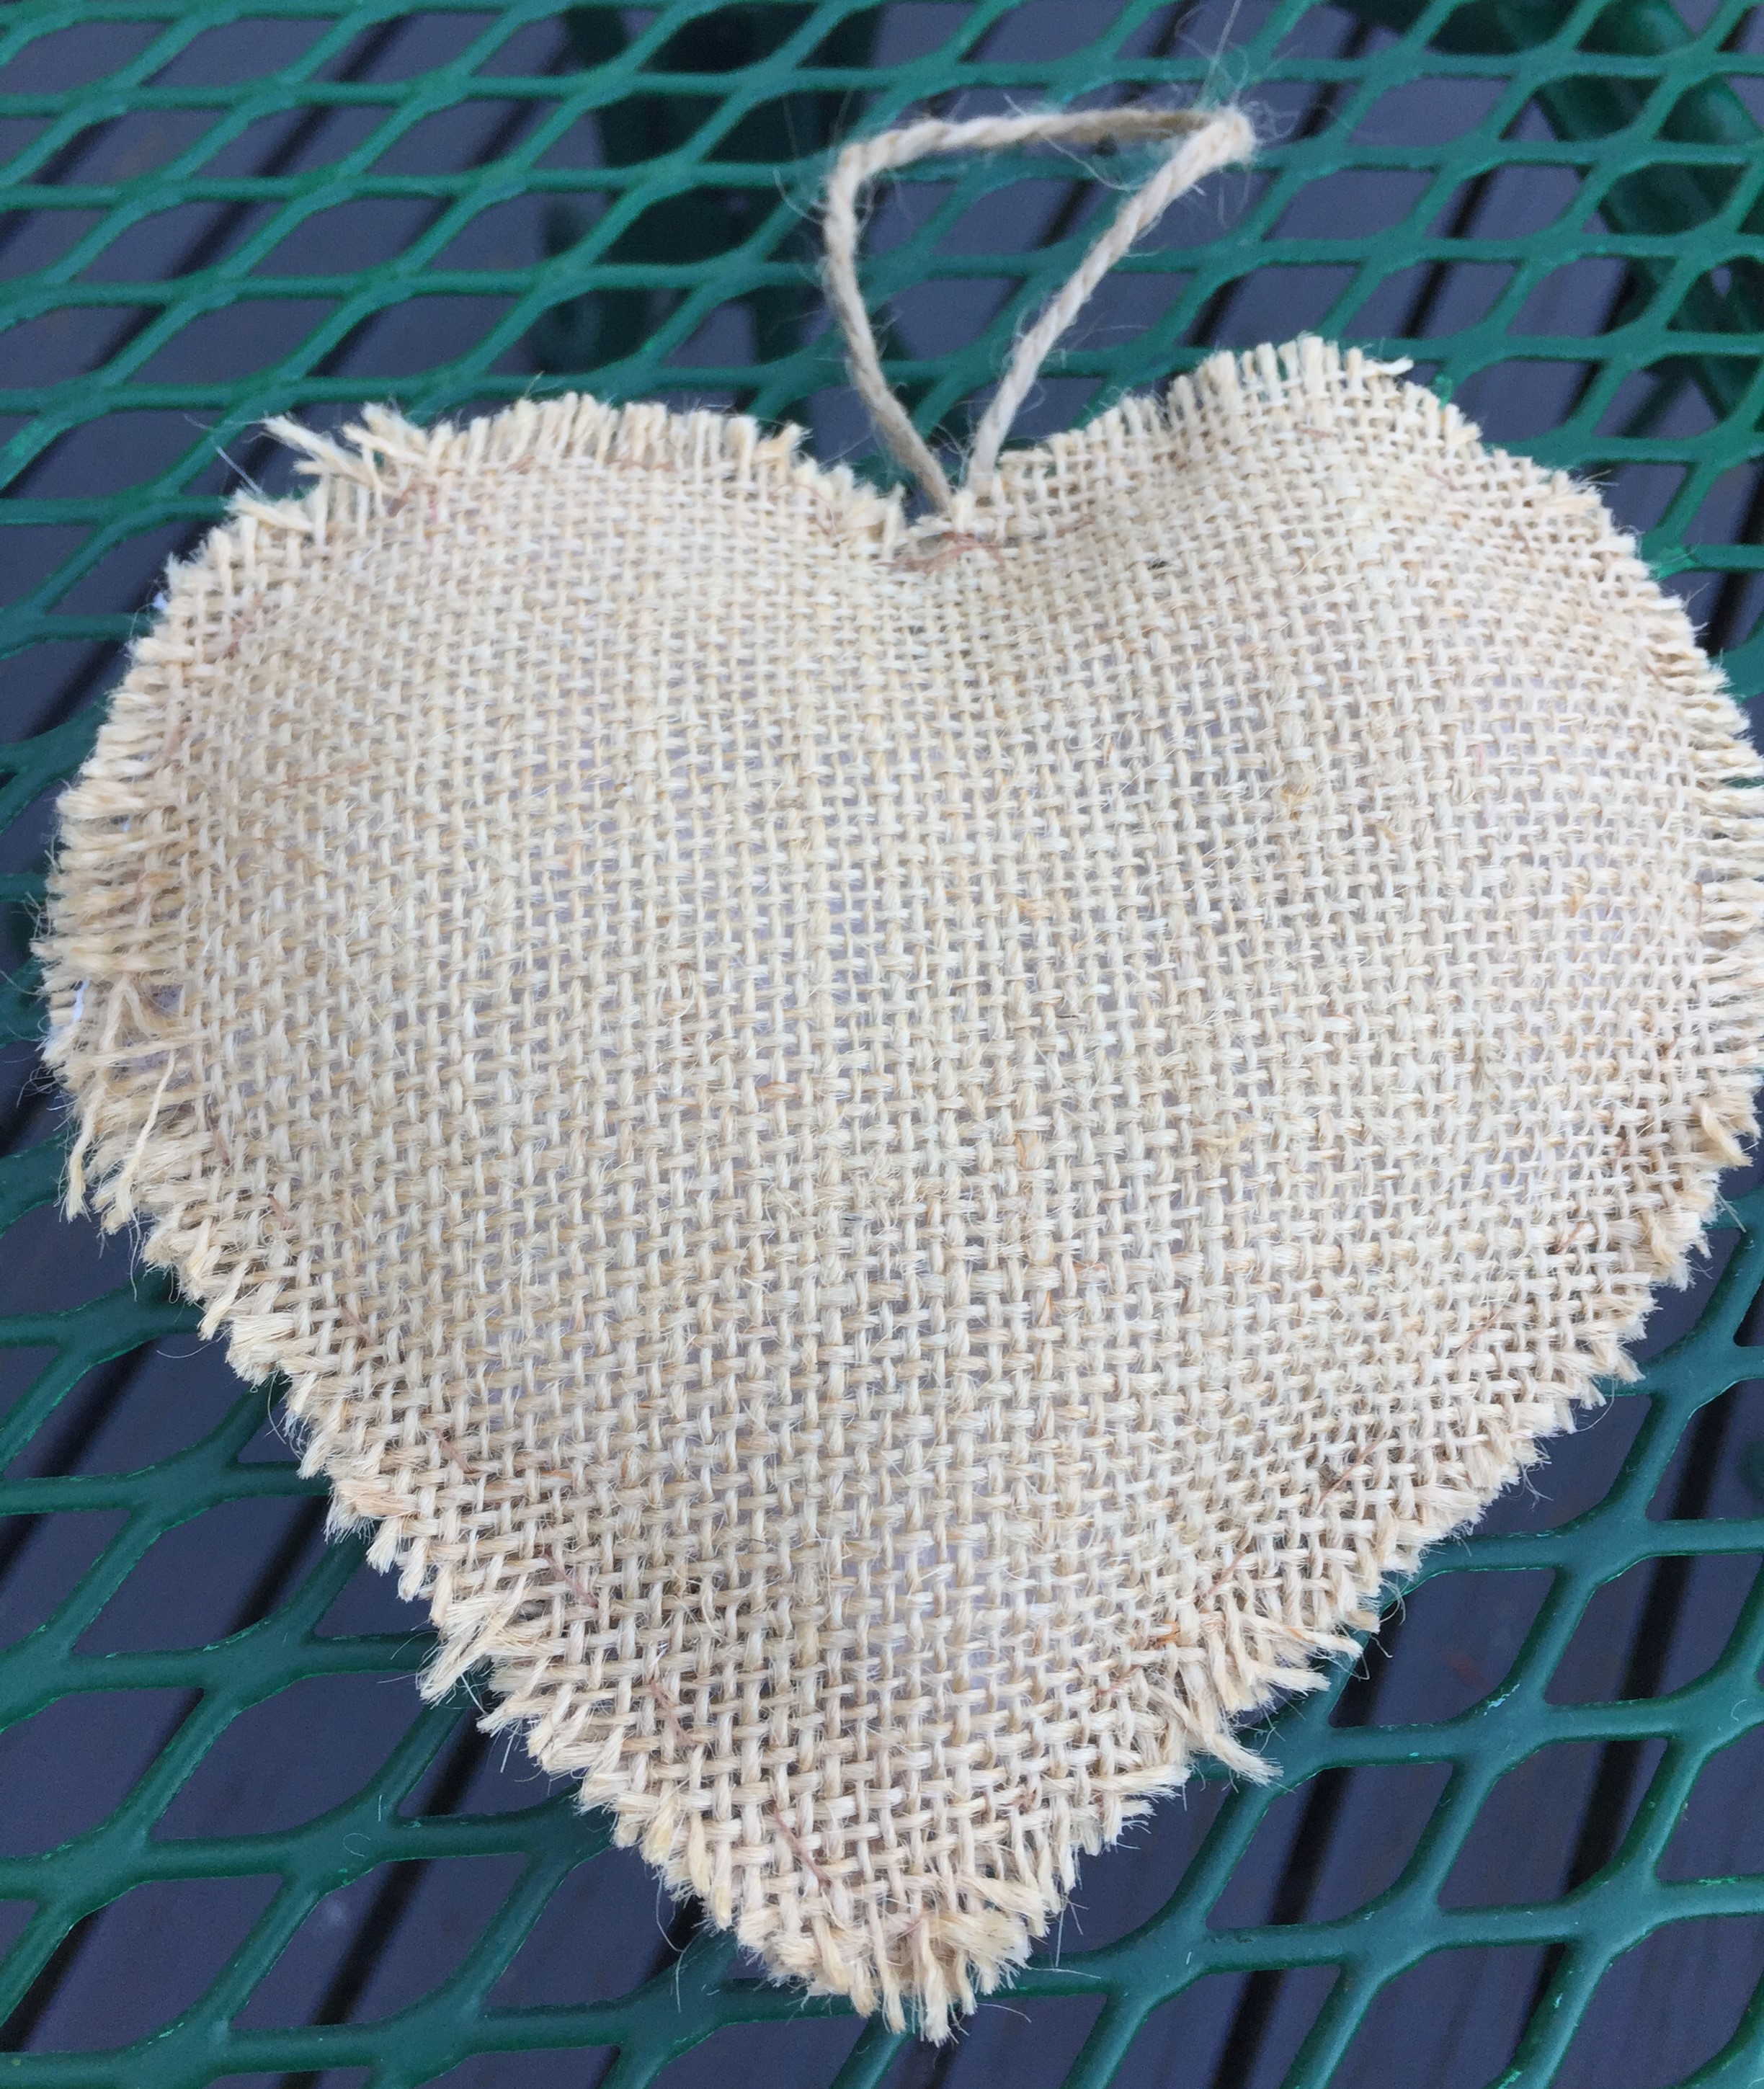
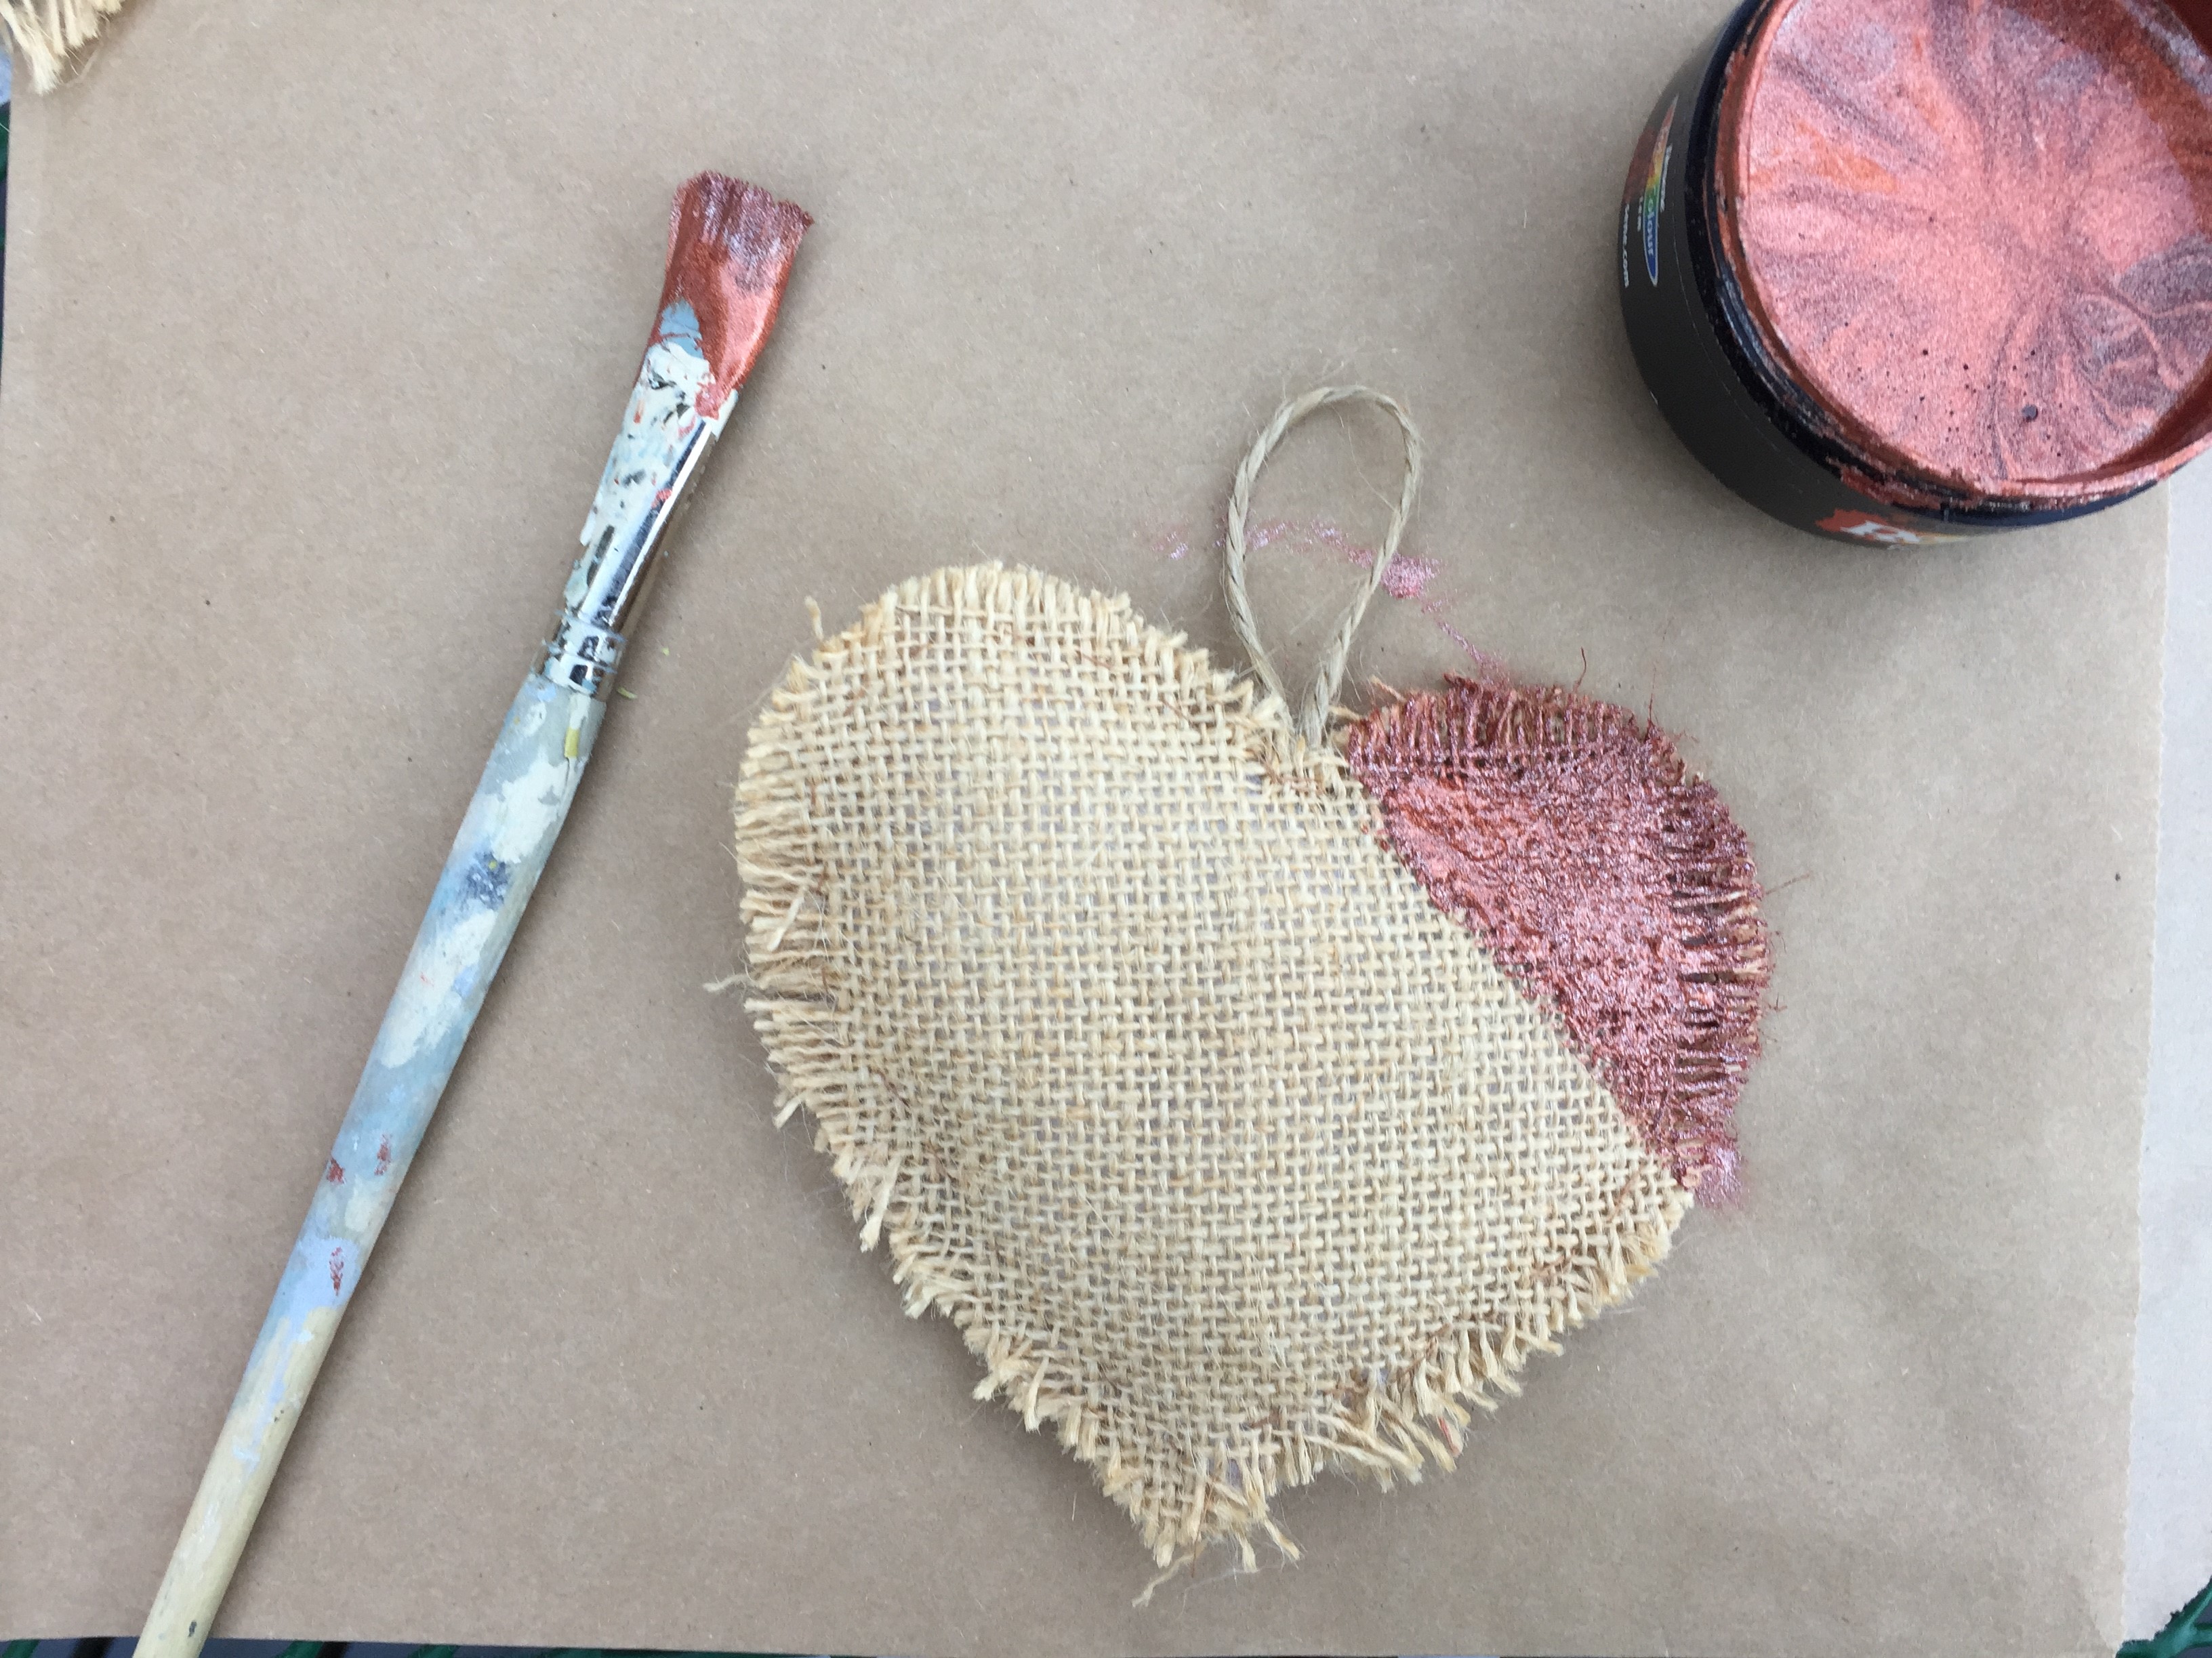
Finally, add any other decorations, I used my burlap hearts and stars, which I made in a previous post, see instructions here.

And some cute little decorations I brought from trade aid, it is always nice to buy things from companies that support third world countries.

trade aid Christmas ornament

trade aid Christmas ornaments

img_3544-2

img_3574-2

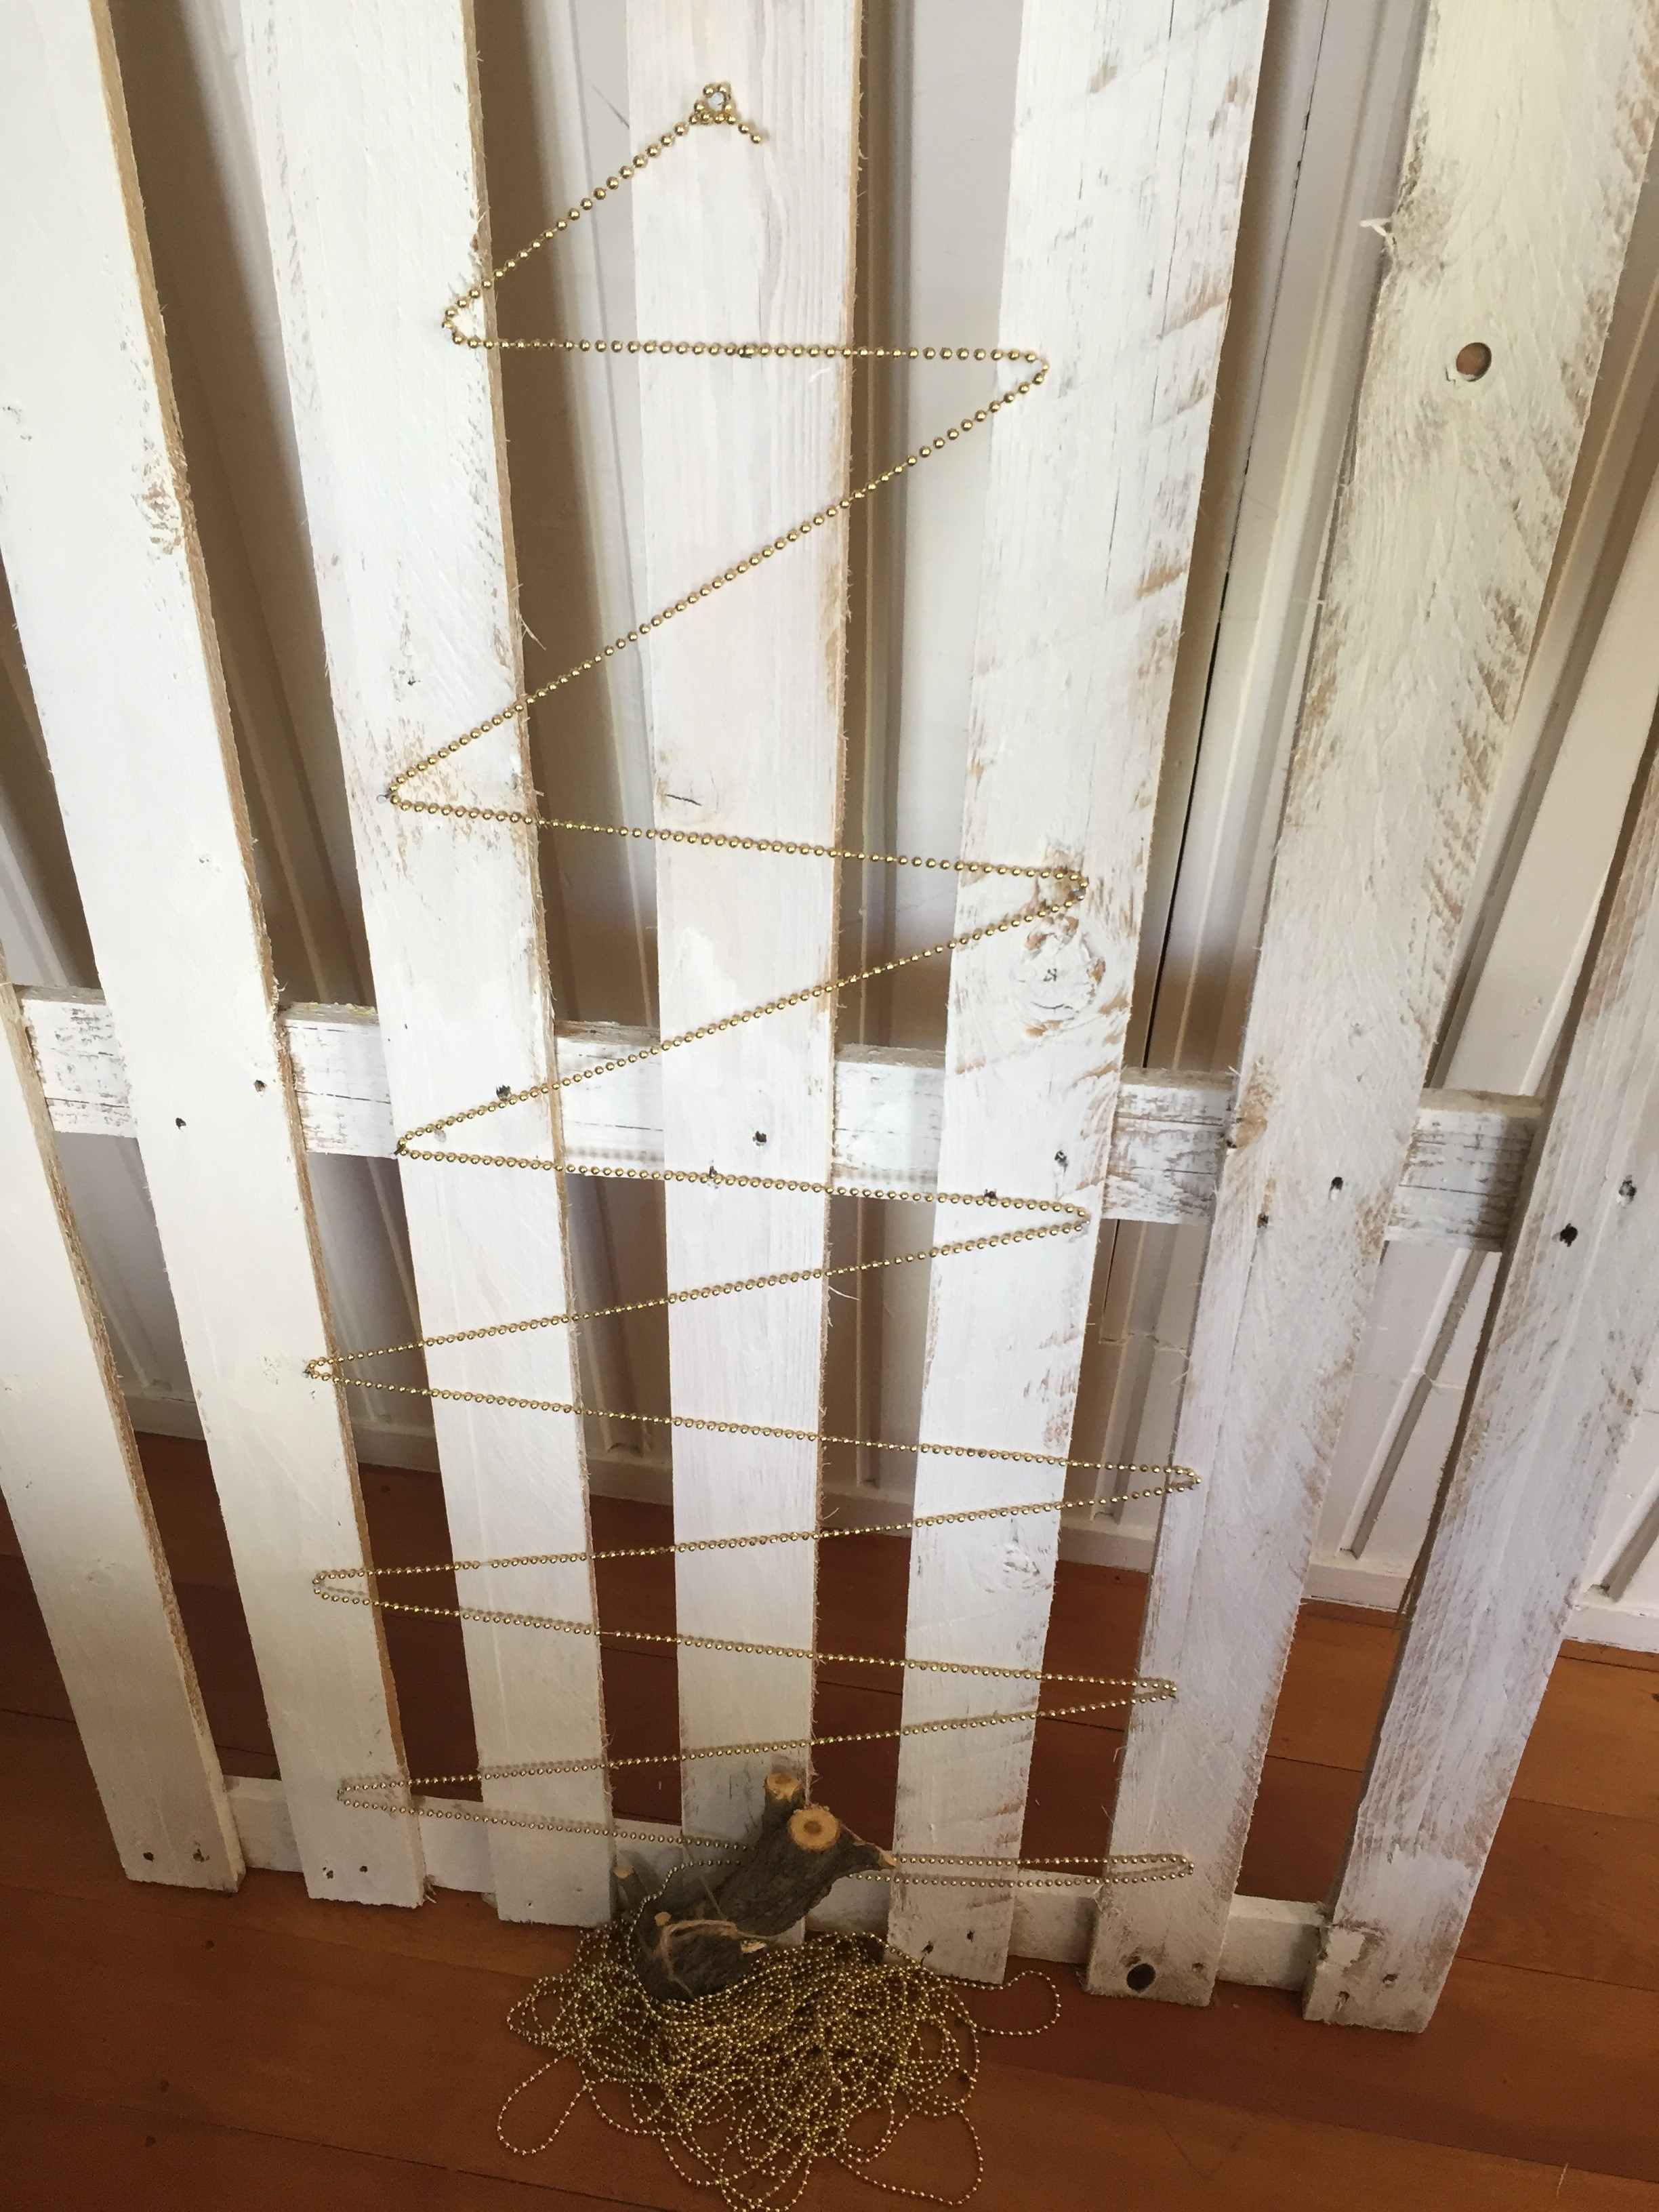
Thanks for reading my post! I have also made a pallet Christmas tree, see here. Have you made an alternative Christmas tree this year?

Andi


Pretty Christmas star cookie tree – New Zealand

I was very excited to find these pretty Christmas star cookie tree cutters to make my Christmas cookies look that much more fun.

Star cookie cutters and stand

Shortbread…

One of my favourite cookie recipe is from Chelsea Sugar Shortbread. This is a gorgeous recipe and to make it even more yummy I added 1 cup of dark chocolate chips at the end (before rolling the dough). Check out the recipe here.

Butter and icing sugar beaten together

Butter and icing sugar beaten together

1 cup of chocolate chips added

Once I rolled out the dough, I cut out the star shapes and a hole in the centre of each one.

This dough was wonderful to roll out, no need to refrigerate first

This dough was wonderful to roll out, no need to refrigerate first

Star cutters

Star cutters

img_3459

Stars cut with holes in centres

When they cooled I decorated them by sprinkling icing sugar over them. It is important to let them completely cool before stacking. Although I love eating them while they are still a little bit warm.

Cooled shortbread sprinkled with icing sugar

Cooled shortbread sprinkled with icing sugar

Then I stacked them largest to smallest, it is up to you how many of each size you want.

Finally, I added a red ribbon to make it more festive and attractive.

This is really a great way to present your Christmas cookies as I did for morning tea today.

Christmas Cookie Tree

Christmas Cookie Tree

img_3116-2

Christmas morning tea

Thanks so much for reading my post! What is your favourite cookie recipe?

Andi

LITTLE WOODEN BENCH MAKEOVER…

This little wooden bench makeover was really simple to do. I love this little rustic bench! It had previously been outside in my mum’s garden, so had seen some wear and tear over the years.

img_2350-2

I wanted to bring it inside to use, but needed to give it a little makeover to clean it up. It had rust marks on it and the paint was definitely chipping.

img_2351-3

Because, I love the patina on the bench I wanted to keep the look.

First I gave it a good clean down with the hose, especially to get rid of the spiders.

A spider

A large spider

Chalk Paint

Next, I used Annie Sloan Chalk Paint, Old White, and gave it just one coat over the areas that had rust marks on. I left the bare wood and chippy bits.

img_2366-2

img_2367-2

It was a really sunny day so dried very quickly and was ready for use.

Little wooden bench

Little wooden bench painted

img_2391

Painted wooden bench

Painted wooden bench

Wooden bench and rabbit

Doesn’t it look so much better?

Thanks for ready my post!

Andi


Easy to make pallet Christmas tree…New Zealand

This easy to make pallet Christmas tree took me around 2 hours to make. It is a simple project that you can get the children to help you with and it is fun!

I found this on Pinterest here. And immediate decided it would be perfect hanging on our wall this Christmas.

Supplies needed:

Pallet

Hack saw

Paint (60ml)

Water

Nails (tacks)

Hammer

Christmas Lights (I used battery operated 24 LED string lights)

Christmas decorations

Tree log

If you read my previous post on pallet coffee tables, here, you will know I have pallets stacked in the yard just waiting to be used.

The pallet I picked was easy to dismantle.

img_2133-2

img_2134-2

First, I used a hack saw to saw through the nails on the back of the pallet. Removing the two sections of wood. The nails that were sticking out I just sawed them off to tidy them up.

Hack saw

Hack saw

img_2146-3


Next, I washed down the pallet with a hose, and started painting the front only. I used Resene paints, test pot colour Bianca (only because I already had this colour at home). I watered it down in the paint tray. Only a light cover was needed as I wanted the wood showing through to give it a rustic look.

Painted pallet front

Painted pallet front

Once it was dry I placed the nails (tacks) in the wood. I made a zig zag pattern. Placing the nails out more each time to widen the tree.

Christmas decorations

There were some great decorations at Kmart, very cheap and cheerful! Some gold beading at a Thrift store and gold balls I already at home, which I brought at Kmart last year, but they are still available.

Kmart Christmas decorations

Kmart Christmas decorations

Attaching the gold beads I strung them around the nails. Doing this gives you a good idea how your tree design looks and whether you need to make any alterations. I attached the lights in the same pattern. The cookie cutter copper lights are so cute!

Beads put on in zig zag pattern

Beads put on in zig zag pattern

Check out the star and hearts I made of burlap, see my post on how to make these here. And, then all the decorations I wanted.

Christmas decorations on pallet

Christmas decorations on pallet

Pallet Christmas tree decorations

Finally, I attached with twine a piece of a tree log I grabbed from a wood pile.

Tree log

Tree log

We hung this on a wall for the holiday season…the family love it!

Pallet Christmas Tree

Pallet Christmas Tree

Pallet Christmas Tree

Thanks for reading my post! Hope you get to make a pallet Christmas tree!

Andi 


SIMPLE, BUT CUTE BURLAP CHRISTMAS ORNAMENT…

Simple, but cute burlap Christmas ornaments to make these holidays…

These simple, but cute burlap Christmas ornaments don’t take long to make at all. I saw them in a store for $9.00 and thought “hey I can make that for a lot less”, so here is my take on them, for a lot less!!

Supplies needed:

Burlap fabric

Stuffing

Tracing paper or baking paper

Cardboard

Twine

Paint

Brush

Scissors

Needle and thread

Instructions:

First make a star and heart pattern. To do this trace using tracing paper or as I did use baking a star and heart. If you have a stencil use this.

img_2155-2

I trace the patterns on to cardboard just to make it easier.

img_2158-3


Next, trace the pattern onto your burlap fabric, you will need 2, for front and back.

img_2162-2

Then, use the pattern to trace and cut out the stuffing. I just used polyester filling as I already had some at home. I found it easier to have a flat piece of stuffing and cut it to a little bit smaller that the pattern. It then fits in nicely inside.

img_2177-2

I then sewed with needle and thread the about 1 cm in around the star and heart, finishing at the top. You could use a sewing machine or even use fabric glue, the choice is yours. At the top at attached a small loop of twine for hanging up the ornament.

At this stage I gently fray the edges to get a frayed look.

img_2182-2

Finally, paint the top left or right side of the ornament. I used Resene paints (a test pot) colour Copper Fire, because I already had this at home. It is copper colour with glitter. You can use any colour!

img_2189-2

I made various sizes for my Christmas tree. I imagine there a lot of other shapes you could use to make these ornaments.

Hearts and Stars Ornaments

Hearts and Stars Ornaments


Burlap Christmas Ornaments


Thanks for reading my post! I hope you get to make these simple, but cute ornaments!

Andi

9 pretty herb bouquets in New Zealand

9 pretty herb bouquets in New Zealand.. can be a great alternative..

Herbs bouquets can be a wonderful way to decorate your home this Christmas! I am trying to be a little bit greener and this is a great way to do it.

First, here are some different herbs with red berries from my garden. The other great thing about using herbs in your home is they not only look good, but also smell amazing!

Rosemary and red berries

Rosemary and red berries

Bay leaves and red berries

Bay leaves and red berries

As you can see I love using my ironstone jugs and mason jars.  I am happy to have now found a great use for this vintage silver trophy cup, which had been sitting in a box for years. Do you have any silver trophy not been used at your place?

Parsley, rosemary and red berries

Parsley, rosemary and red berries

Herb bouquet with irises

A wonderful way to bless a friend is give them a bouquet of herbs and flowers when they come around to visit.

Bouquet of herbs and flowers

Bouquet of herbs and flowers

Herbs and flowers

Rosemary, chives, oregano, parsley and flowers

Herbs are really easy to grow, even inside. See my post about growing them in tin cans on your window sill here

Mint and lavender

Mint and lavender

Parsley and daisies

Parsley and daisies

Parsley, rosemary and flowers

Parsley, rosemary and flowers

Roses and bay leaves

Bay leaves and white bramble roses

Mint, roses and lavender

Mint, roses and lavender

It is really easy to buy herbs these days in the supermarkets, at the market, at a plant nursery, garden shop. When you plant them most of the time they grow without much attention. Some water in the summertime if outside, but water all year around if inside. You do have to keep picking them otherwise they grow into flowers and seed. But, the flowers and seeds can be pretty as well.

I am growing a rosemary topiary for Christmas, see my post about it here. They make really lovely Christmas decorations or a gift for a friend.

Thanks for reading my post!

Andi

Have a blessed Sunday….Havelock North, New Zealand

Have a blessed Sunday … Havelock North, New Zealand. It is another beautiful spring Sunday here in Havelock North. Thinking of everyone who are preparing for Thanksgiving this week.

Here are some shots of my post I am working on for next week…aren’t they beautiful!

Roses from my garden

Herbs and roses

Herbs and roses

Bay leaves and roses

White bramble roses

Herbs and roses


Roses, lavender and herbs

Feel so spoiled to have all these flowers growing in my garden. I am blessed!

Have a blessed day wherever you are  reading this!

Andi

EASY TO MAKE FRUITY CAKE RECIPE from New Zealand

A very easy fruity desert cake recipe made in New Zealand…

The fruity cake recipe comes from New Zealand cook Dame Alison Holst. I love her recipes, they are a great favourite for us Kiwis, so easy to follow and wonderful results.

This cake is going to be served  a lot over the holidays, as fresh fruit has come into season at the berry farms near us in Havelock North.

Fruity Dessert Cake

Fruity Dessert Cake

Serves 6-8 people (depending on your slice size!)

Ingredients

¼ chopped walnuts, toasted almonds or toasted hazelnuts (I don’t add nuts as you never know who has allergies these days)

1 TBsp white or brown sugar

150g (5 oz) butter

1 Cup sugar

2 large eggs

1 tsp vanilla essence

1 ½ cups self-raising flour

1 tsp baking powder

1-2 cups cubed or sliced ripe, raw fruit*

½ cup berries (optional)

*Suitable fruit includes peaches, nectarines, plums, apples, pears, kiwifruit, strawberries, raspberries, blueberries, blackberries, boysenberries. Drained canned fruit may also be used.

First, choose whatever nuts complement the fruit you are using. Toast them lightly under a grill or in the over as it heats to 180 degreesC(350 degreesF), then chop finely, mix with the 1TBsp sugar and put aside.

Melt the butter in a microwave bowl or pot until just liquid. Add the second measure of sugar, the eggs and vanilla and beat until blended. Sieve the flour and baking powder onto the mixture, then add half the nut and sugar mixture.

img_0119-2

Spread it evenly in a buttered or sprayed 23-25 cm (9-10 in) round (preferably loose-bottomed) cake tin.

Next, prepare the fruit, slicing it or cutting it into 2 cm ( ¾ in) chunks. Arrange the pieces, skin-side up, (I took the skin off for mine) in the batter. Sprinkle with berries then with the remaining nut topping.

img_0122-2

Visit to apple orchard

We have so many orchards here, shots from a recent visit to my brother’s orchard.

img_0907-2

img_1171-2


Wattie’s canned boysenberries

I have made this recipe with different fruit and berries, but today I didn’t want to make a trip to the supermarket, (are you ever like me can’t face yet another trip to the supermarket?)  so I used apples I already had and a can of Wattie’s boysenberries (these berries are often grown here in the area, canned by Wattie’s)

Wattie's can Boysenberries

Apples and berries on the cake

Apples and berries on the cake

Bake at 180 degreeC (350 degree F) for about 45 minutes, until the cake mixture has risen round the fruit and browned lightly, and the centre springs back when pressed.

Baked fruity cake

Fruity Cake from New Zealand

Yummy!

Finally serve it warm, cut into wedges, sprinkled with icing sugar, if you like, with a whipped cream, yogurt or ice cream. I actually do like it cold as well.

Fruity cake

 Thanks for reading my post! I hope you get a chance to try out this recipe – let me know if you do!

Andi


It’s a beautiful day to walk the dog in New Zealand!

Welcome to Thursday! It’s a beautiful day to walk the dog in Havelock North, New Zealand!

I took Rodeo our fox terrier puppy out for a walk this morning, in the neighbourhood. It is such a beautiful spring day, the sun is shining and the birds are amazing. I wish I could record all the native tui lovely melody, with their loud flapping wings. We saw some quails and native wood pigeons.

These native Pohutukawa trees are everywhere. Love their red flowers!

Native Pohutukawa tree flowers

Pohutukawa tree

Rodeo amongst the daisies

Rodeo walking amongst the daisies

img_1819-2

img_1829-2

img_1824-2

img_1832-2

Palm tree

These large palm trees are amazing. Our native wood pigeons love to live in these. The tree across the road from us must have about 20 of them living in it – it’s very noisy!

Bramble white rose

Back home checking out the garden and the weeds!

Garden

Bramble white rose

This is a beautiful bramble white rose in my garden. It is so large that it’s held up by old wooden support structures.

Beautiful rose

Look at this beautiful rose

Roses in the garden

Native flax flowers

Native flax flowers can be yellow, red or orange

Tui in the flaxs

Tui on the native flax, see my previous post about them in our garden here

Thunder, Lightening and Hail

I have to laugh we had such a lovely walk and now as I type this post up the weather has changed dramatically. There is thunder and lightening outside, we probably only get this about 5 times a year in our area. It is also hailing!

Hail on our deck

Hail on our deck

Hail on our deck

I am sure it won’t last long and the sun will come out again. It will be back to being a beautiful day. Have a wonderful Thursday!

Pin It on Pinterest