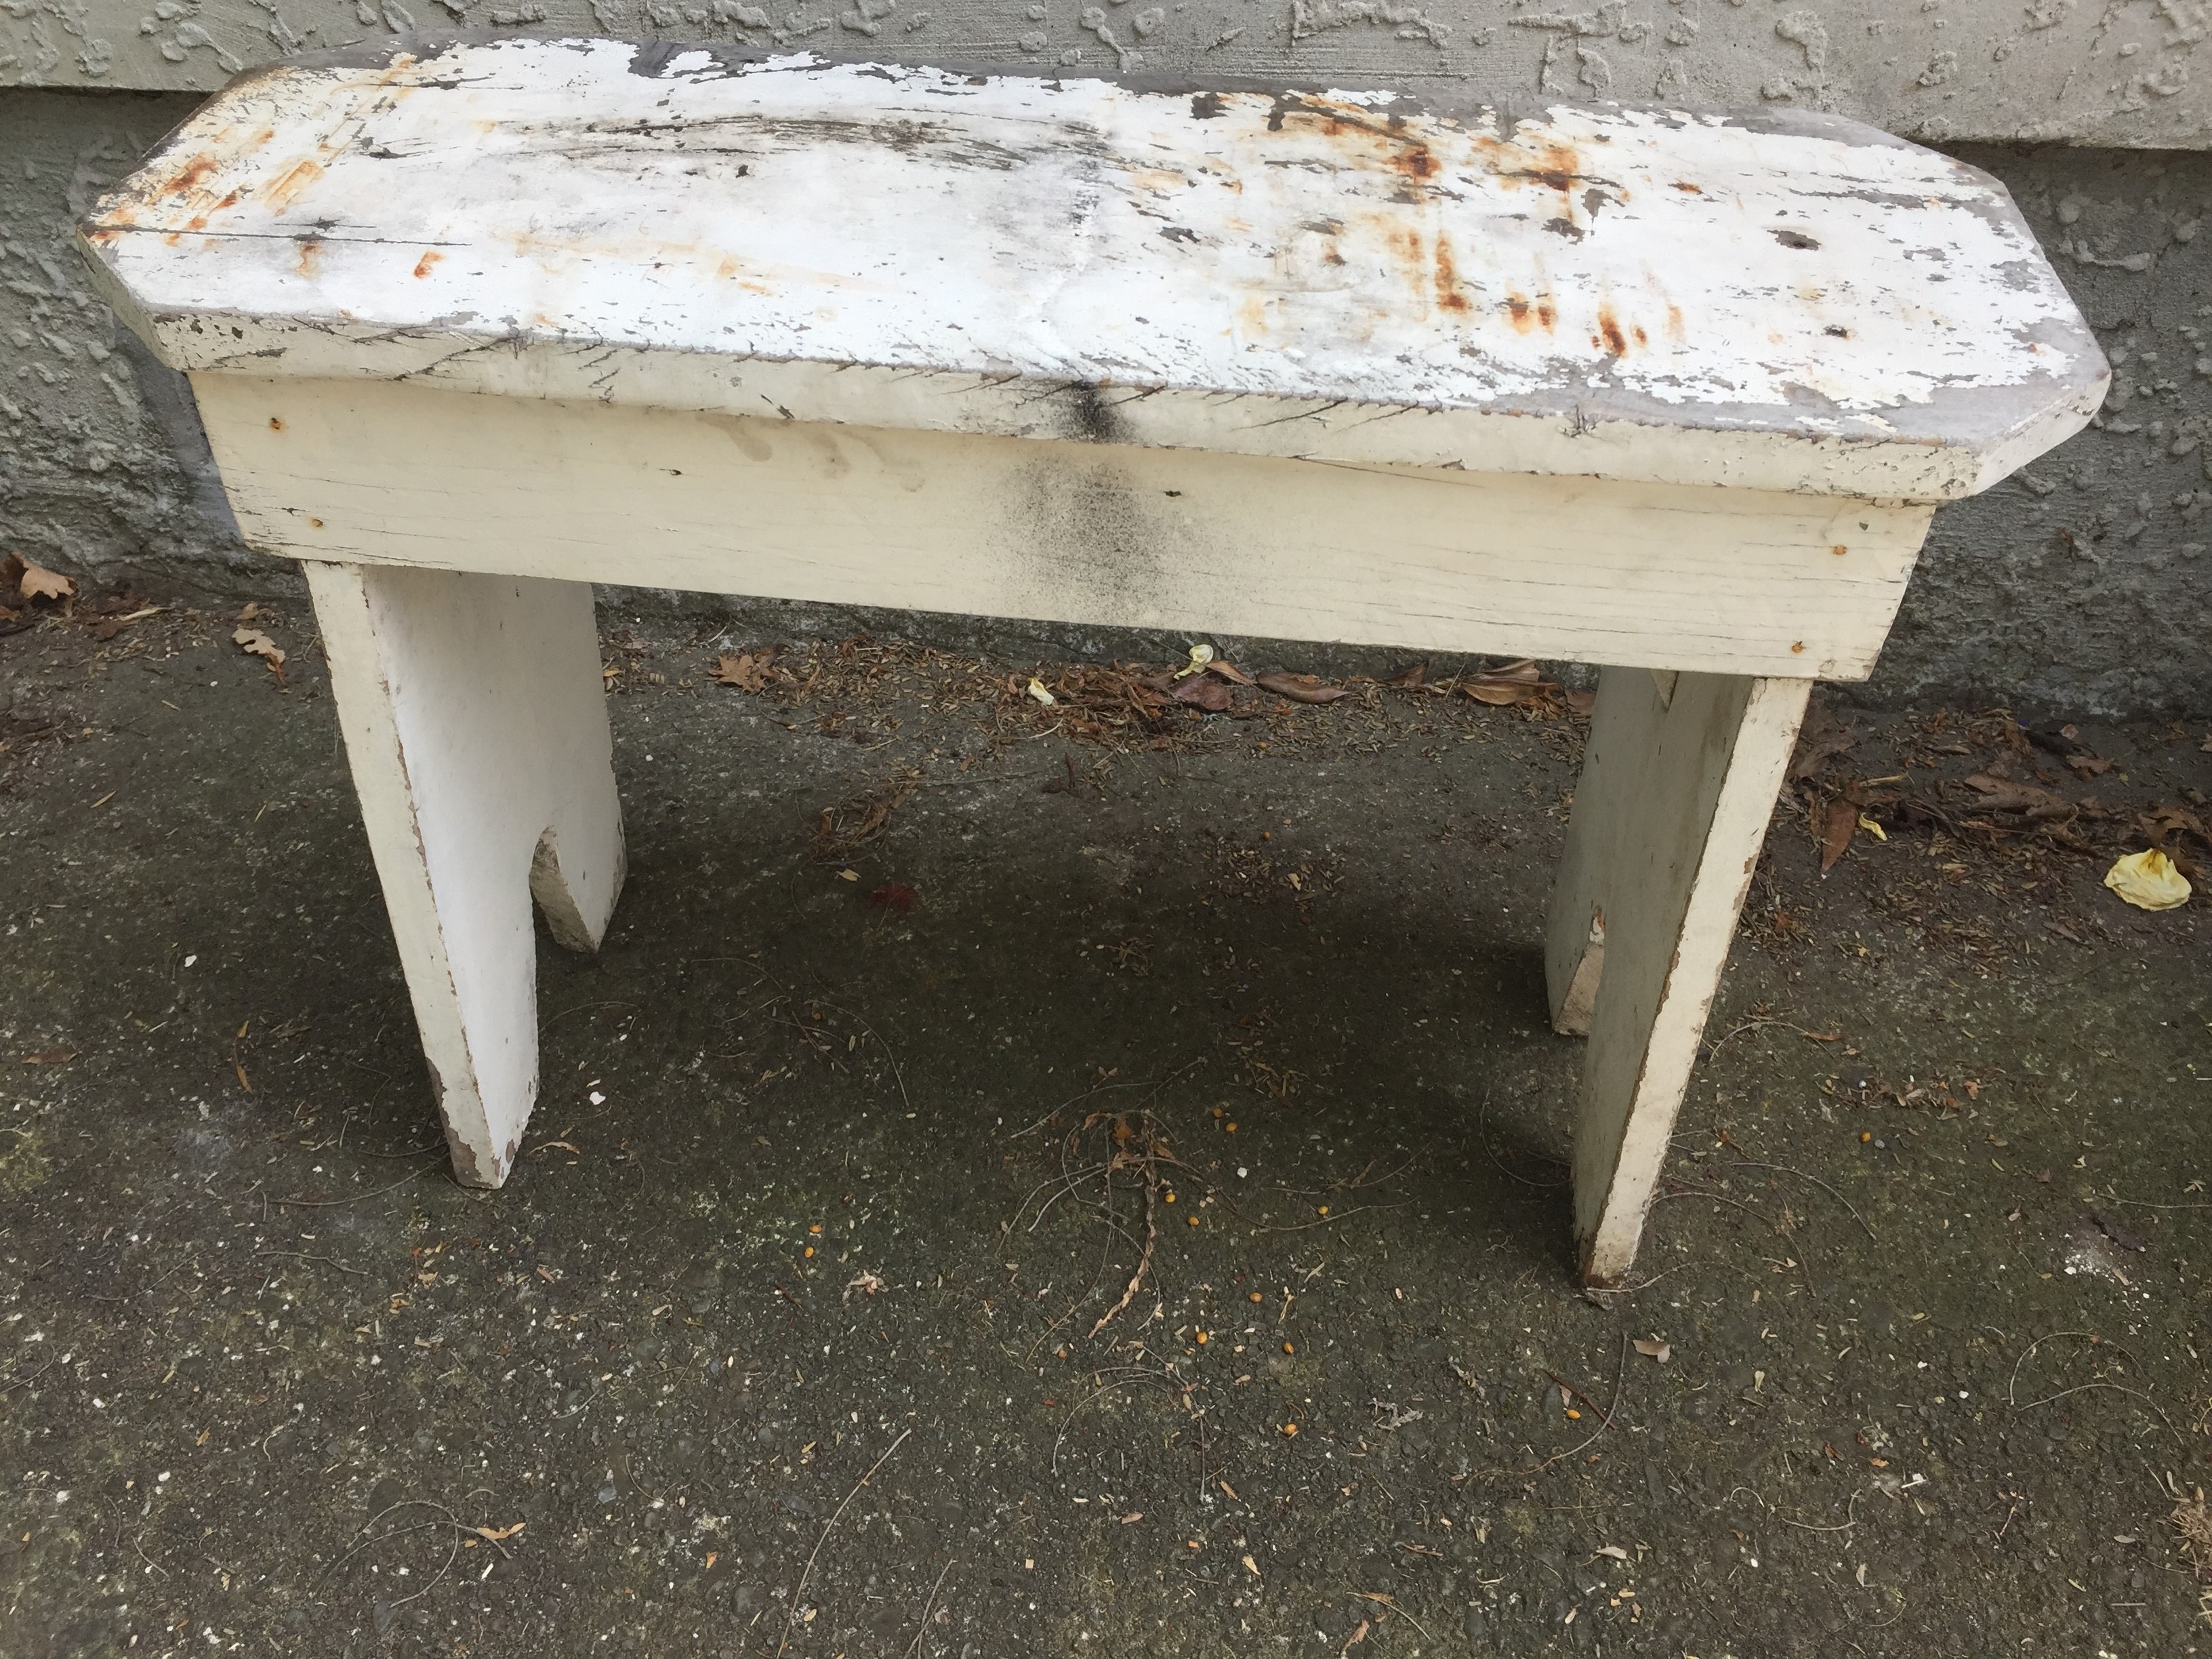
My wooden shelf makeover was a inspiration really. It was offered free on my local neighbourly, which is a wonderful site to find things in your neighbourhood in New Zealand.
Wooden Shelf Makeover
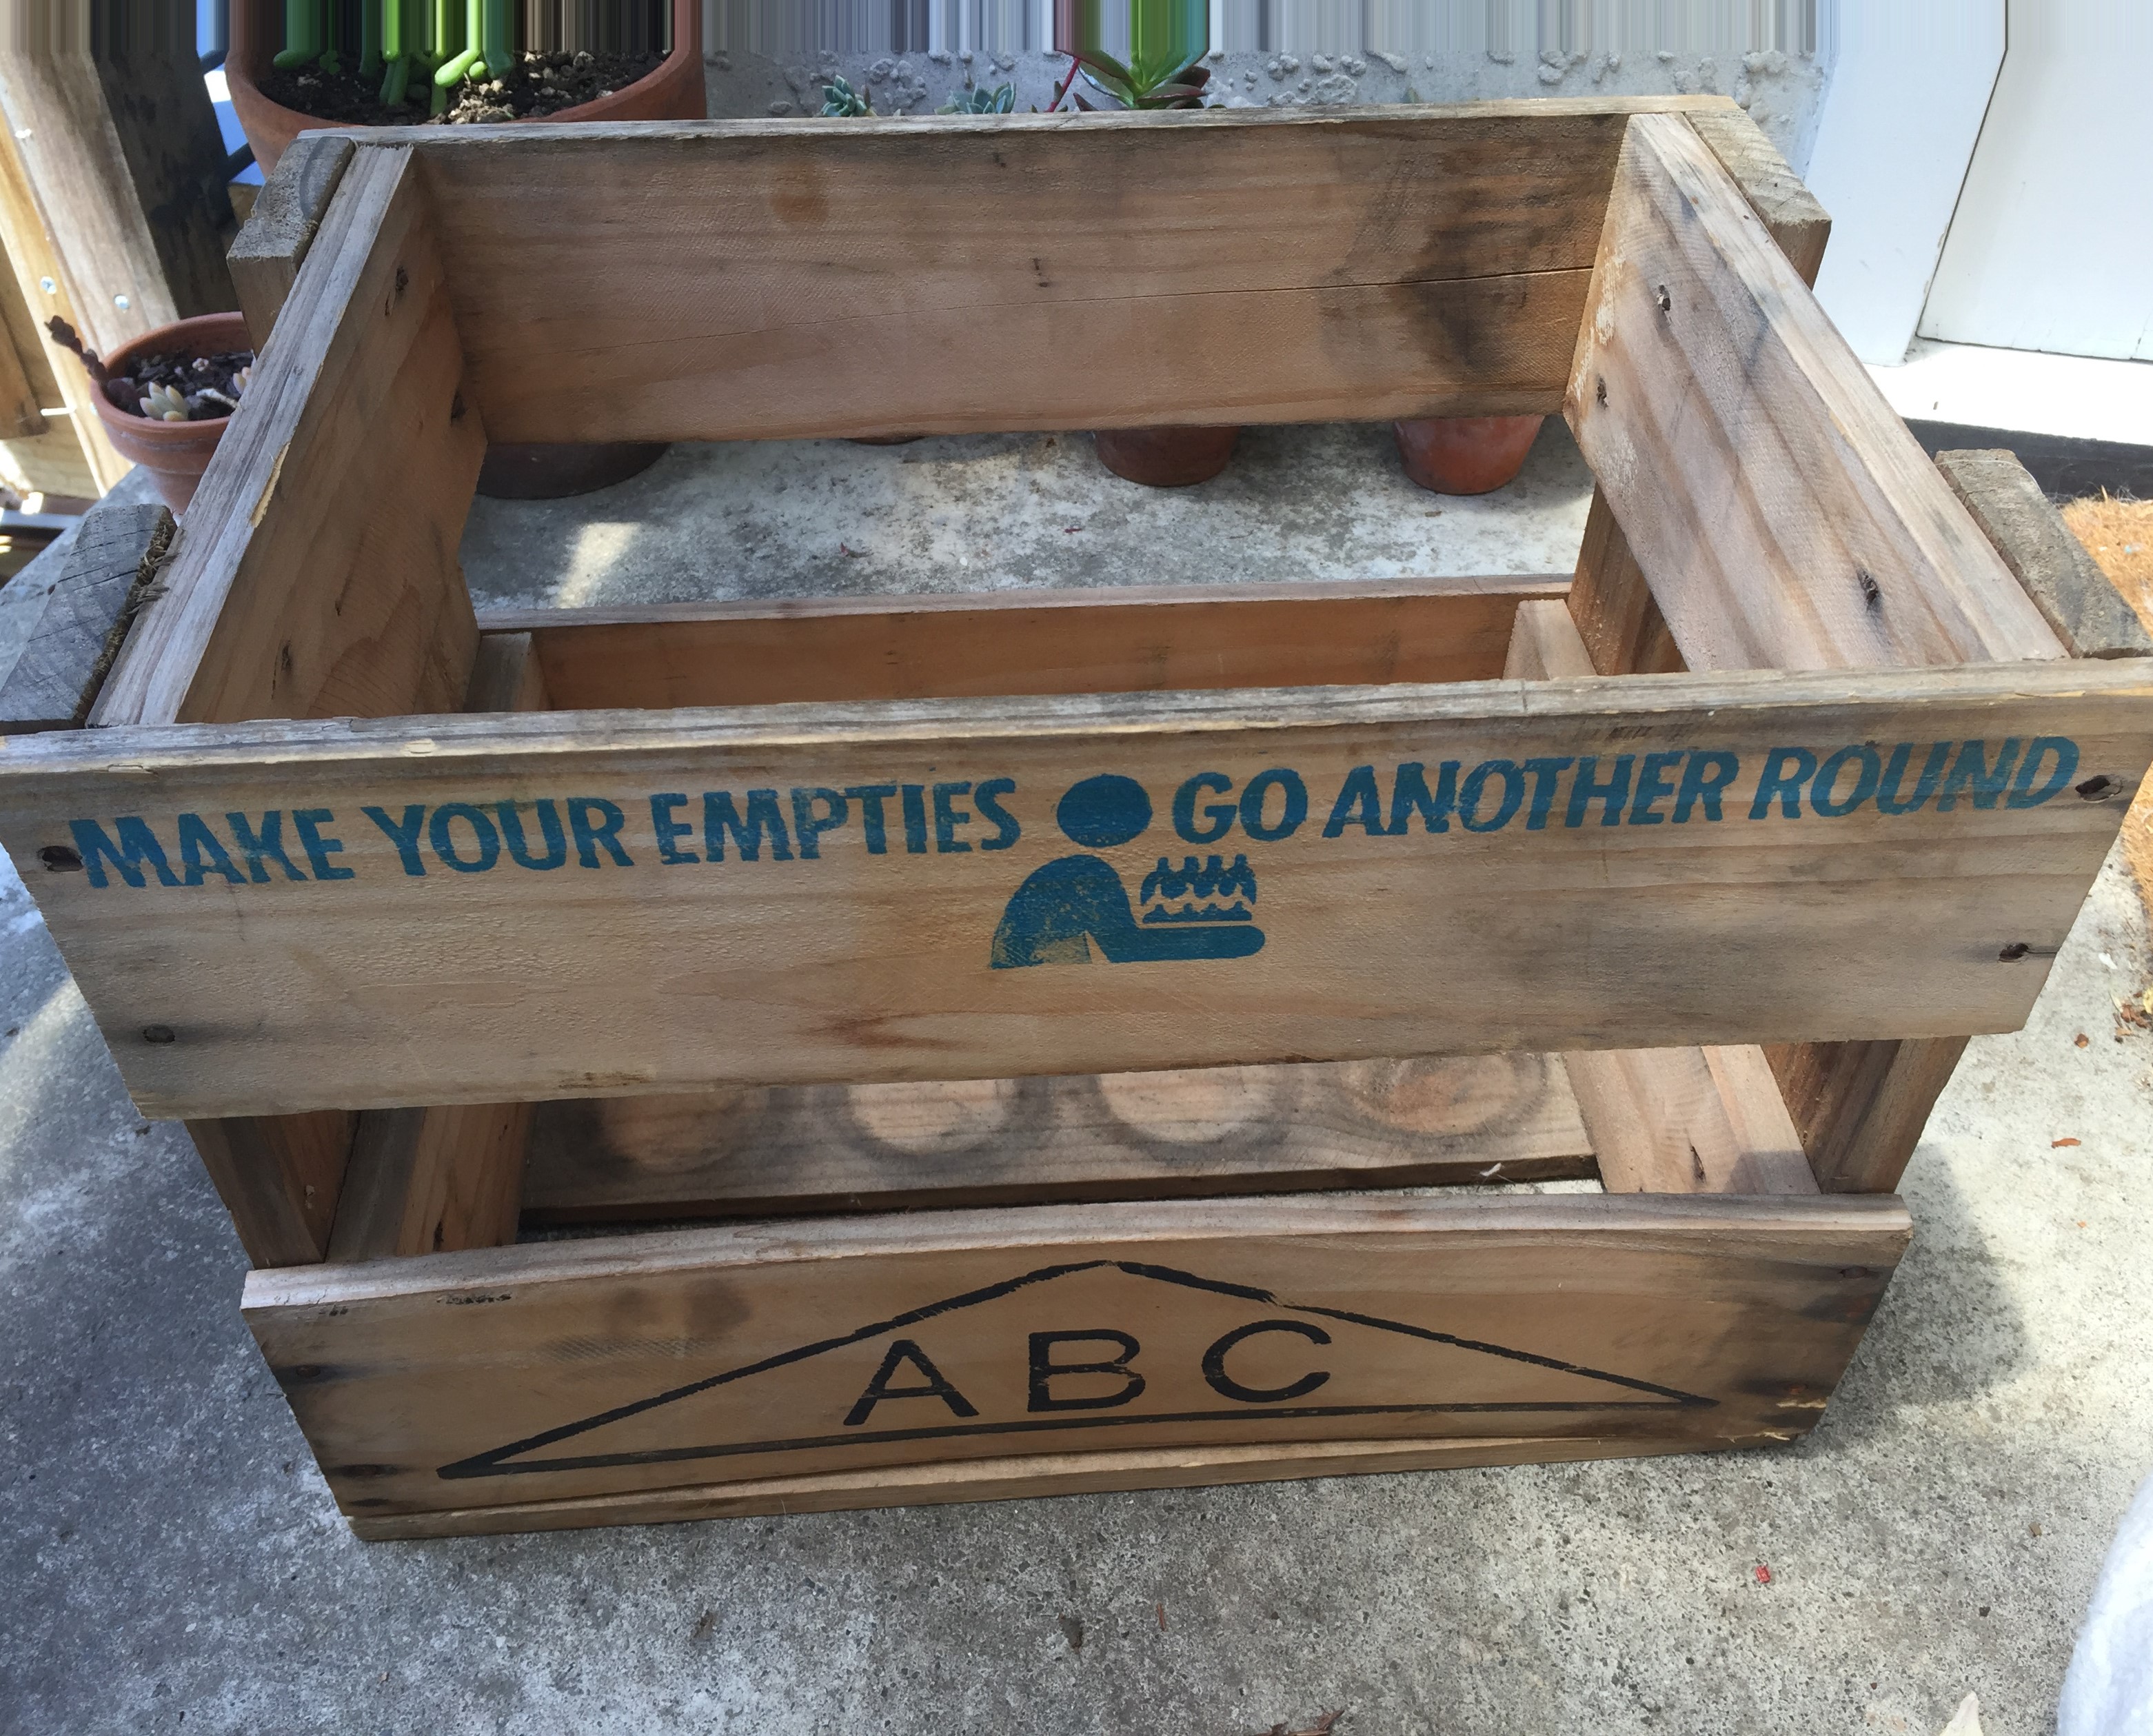
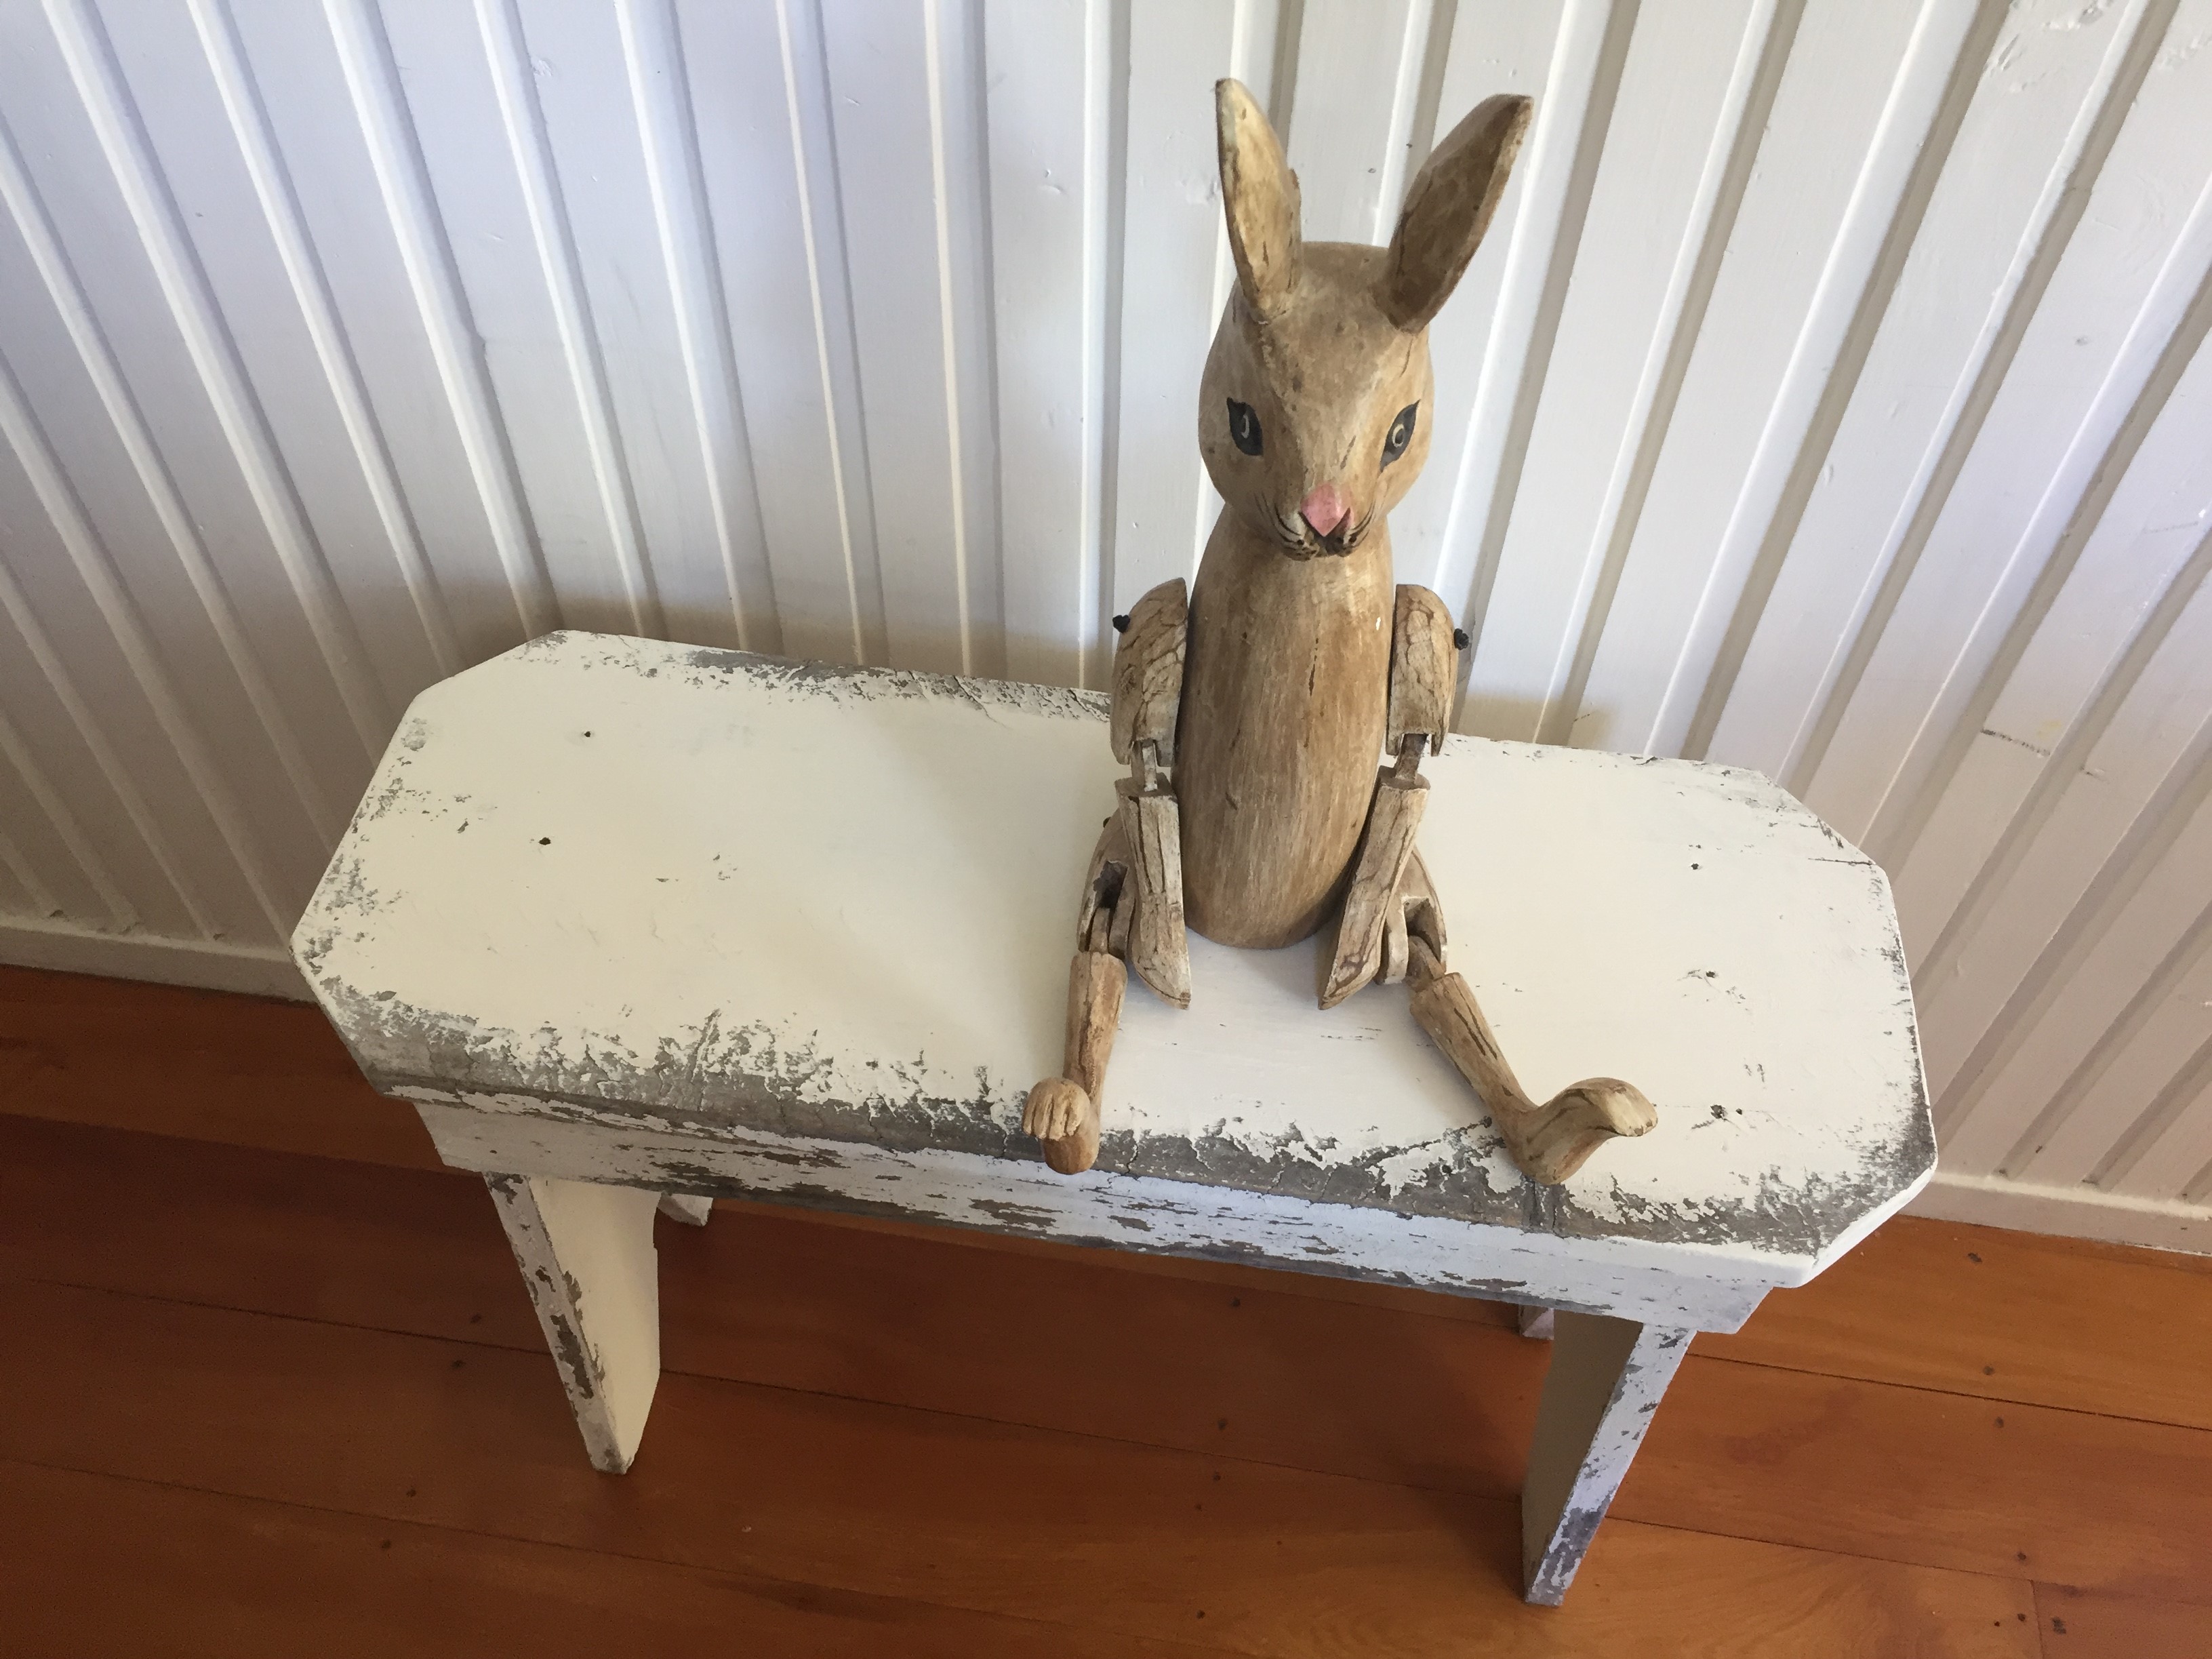
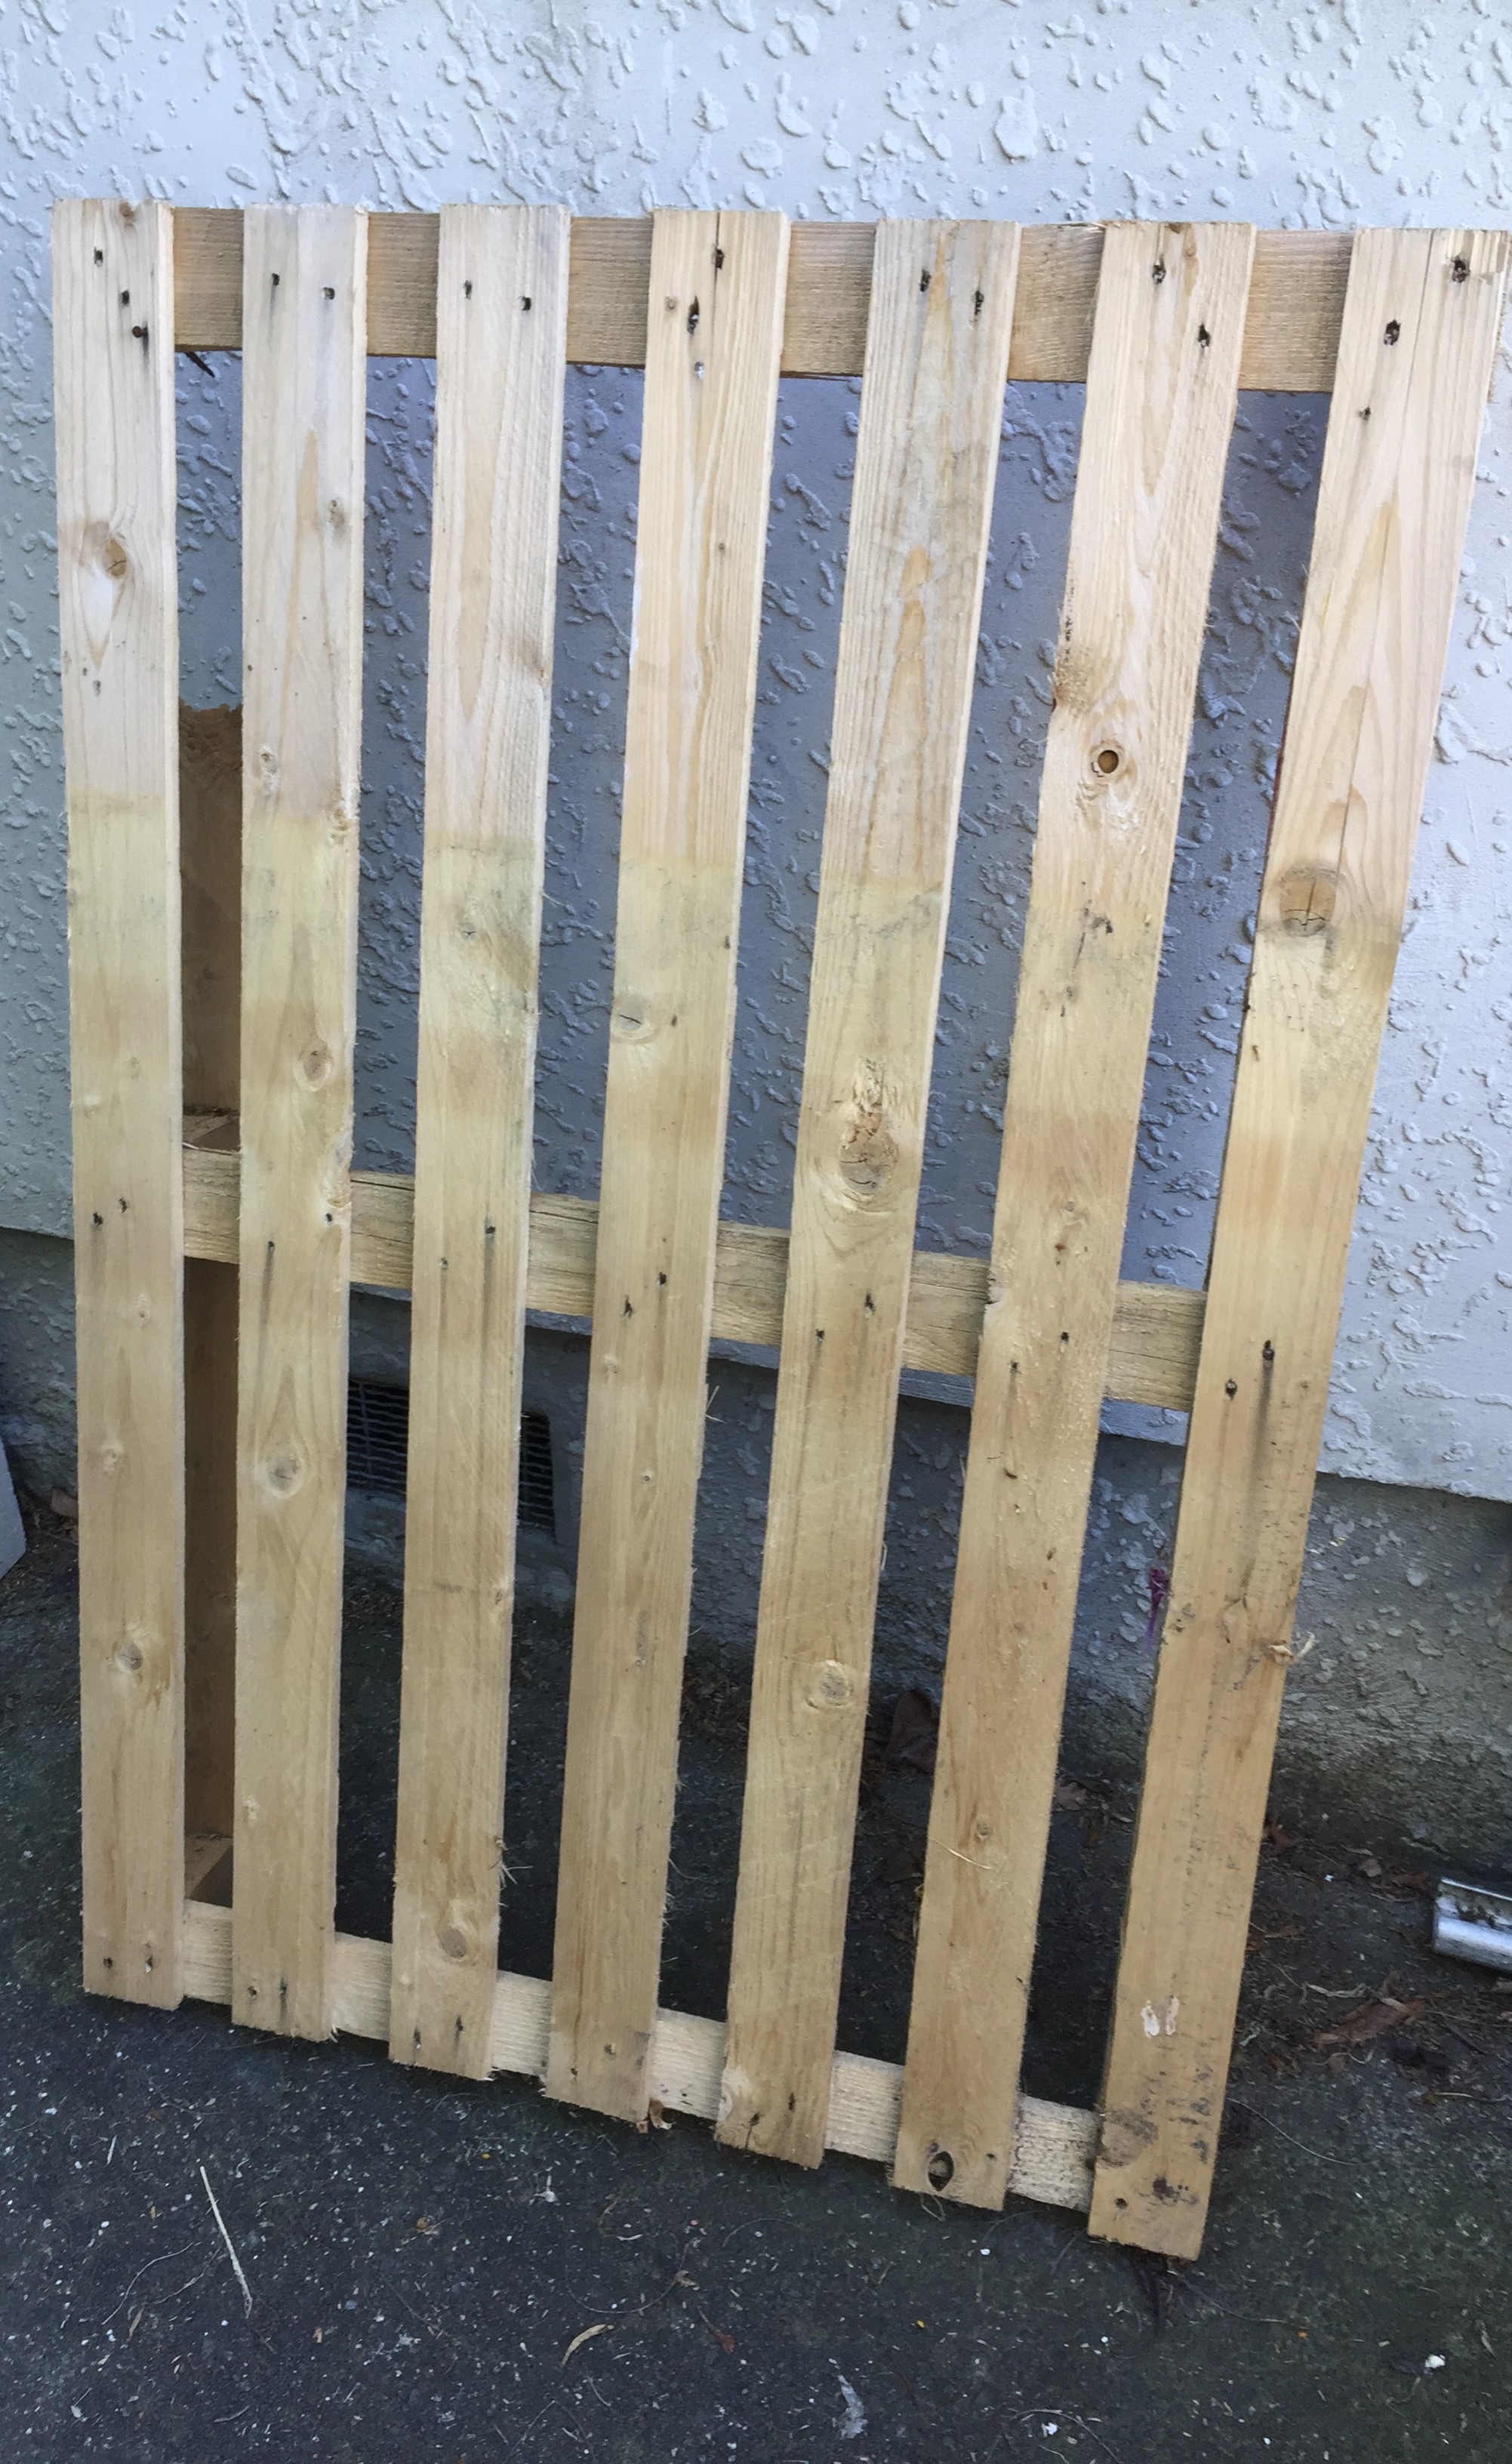
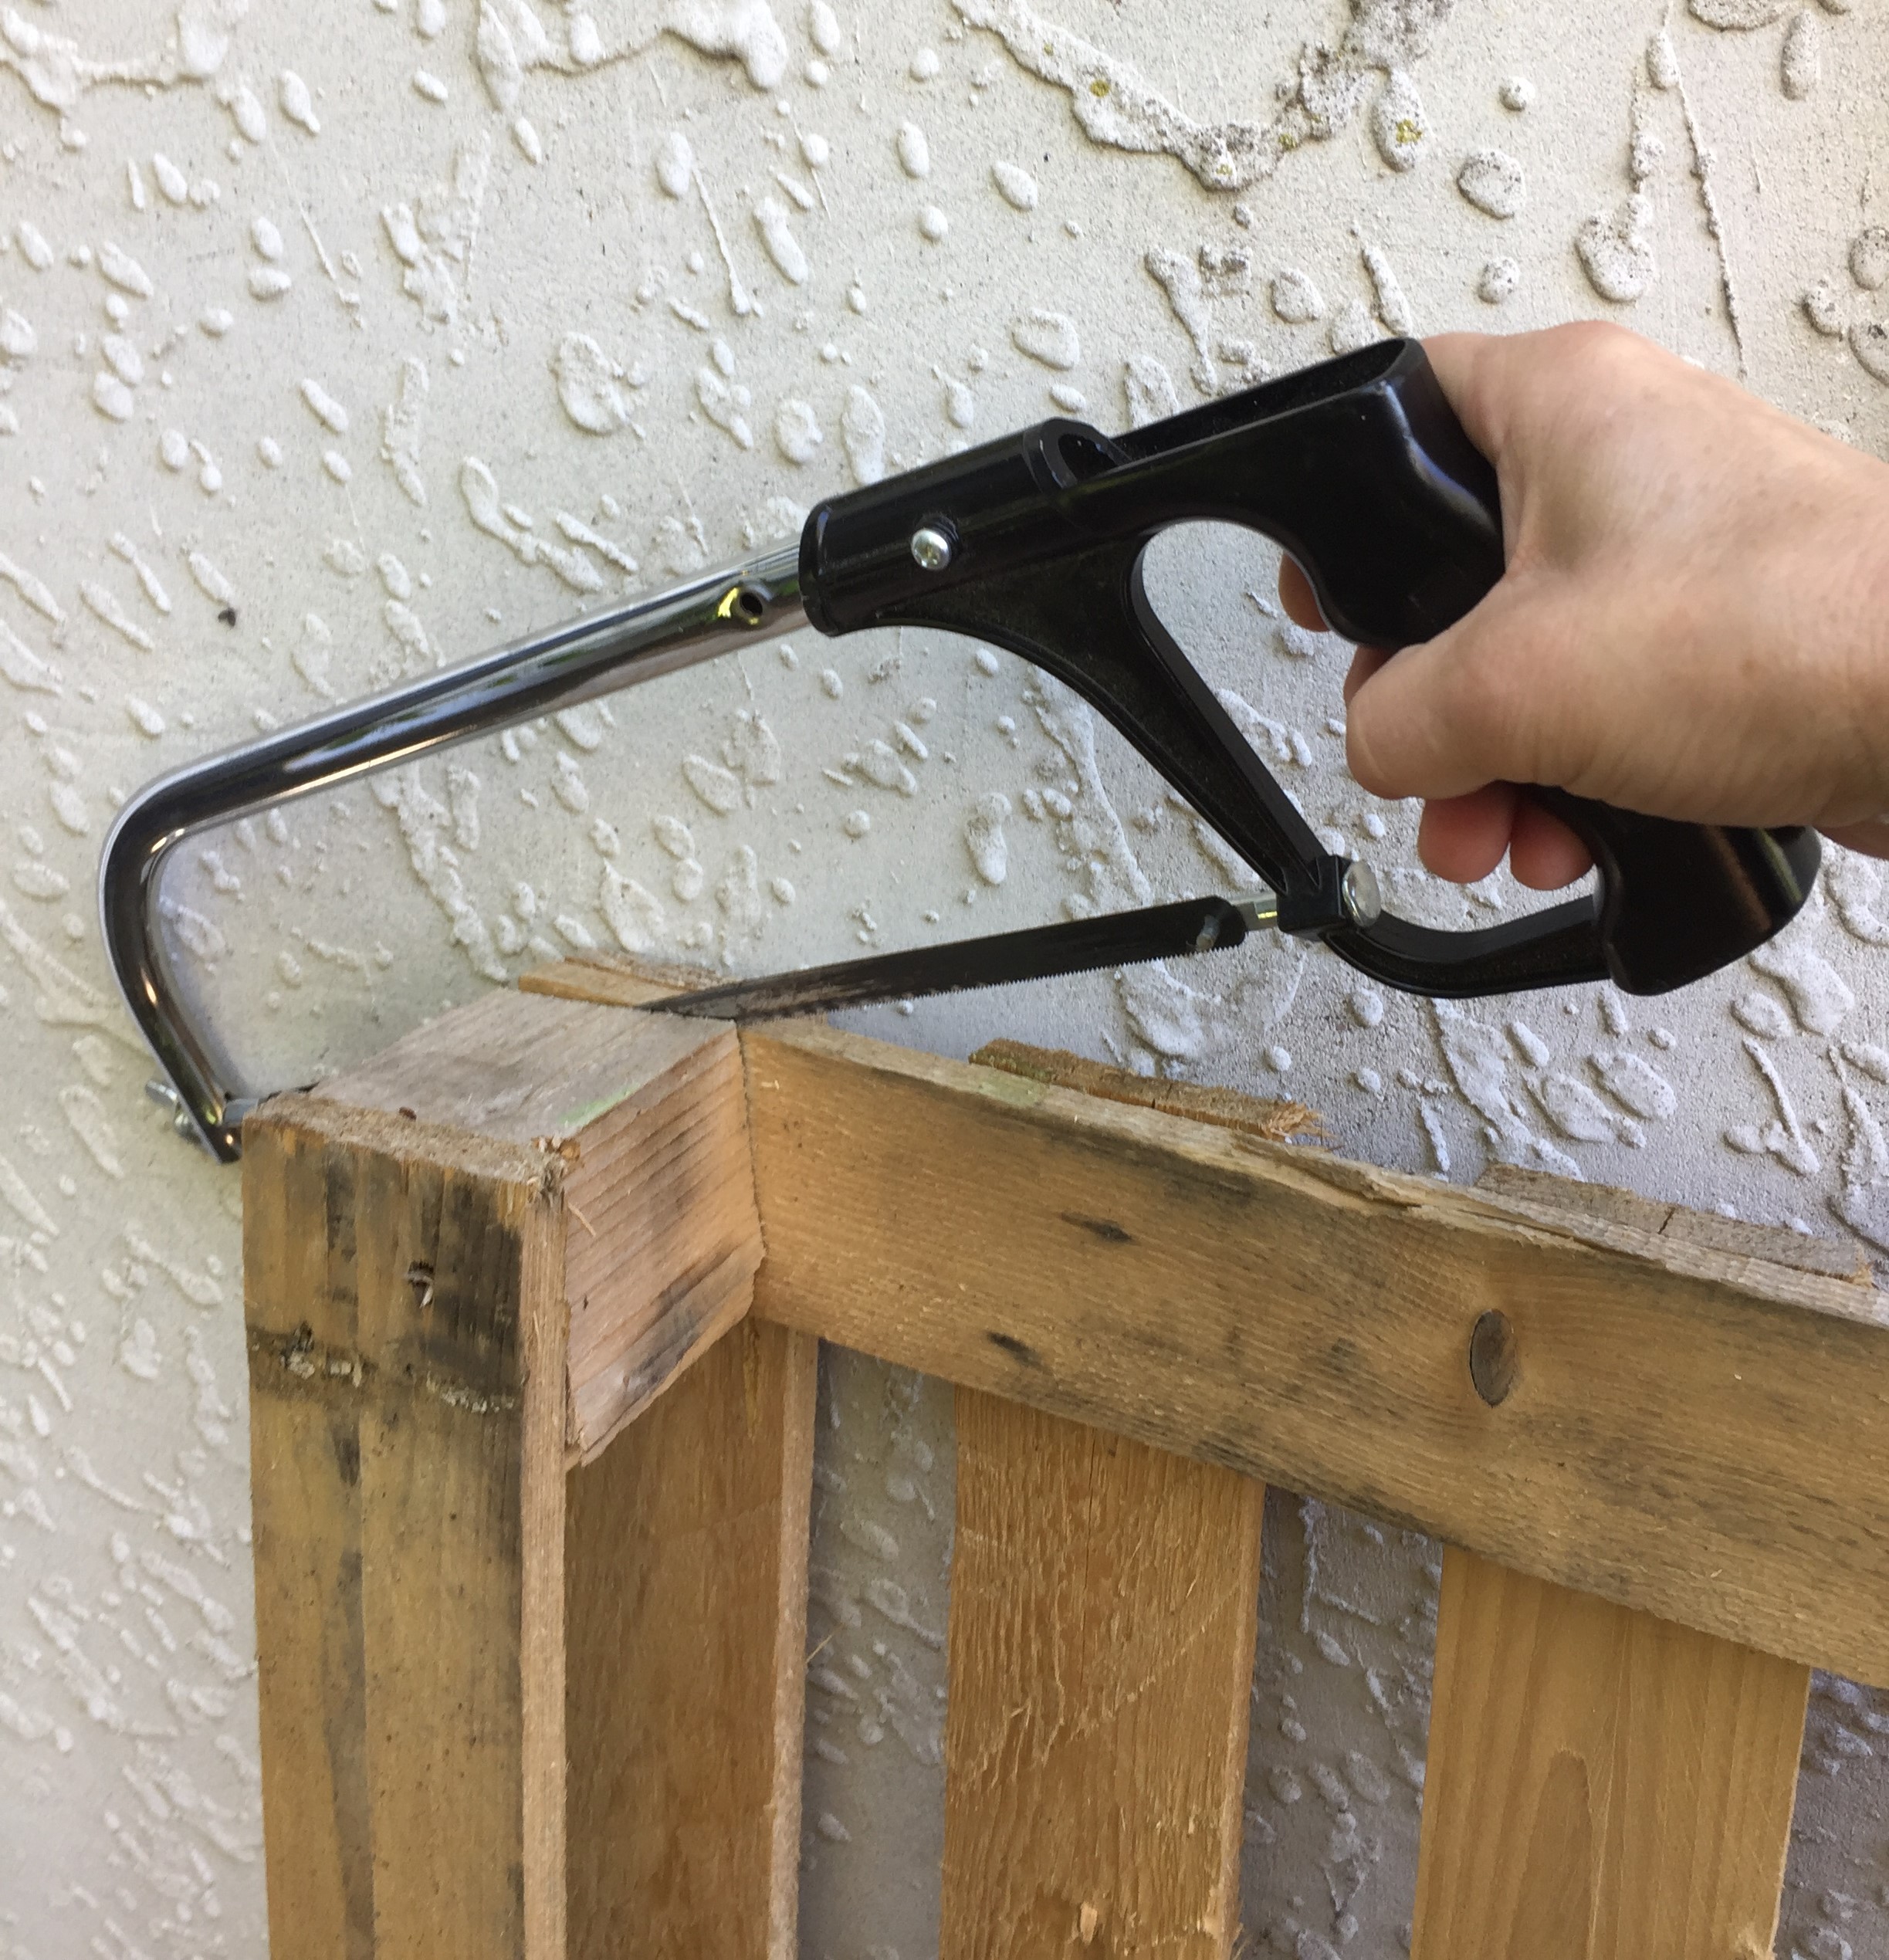
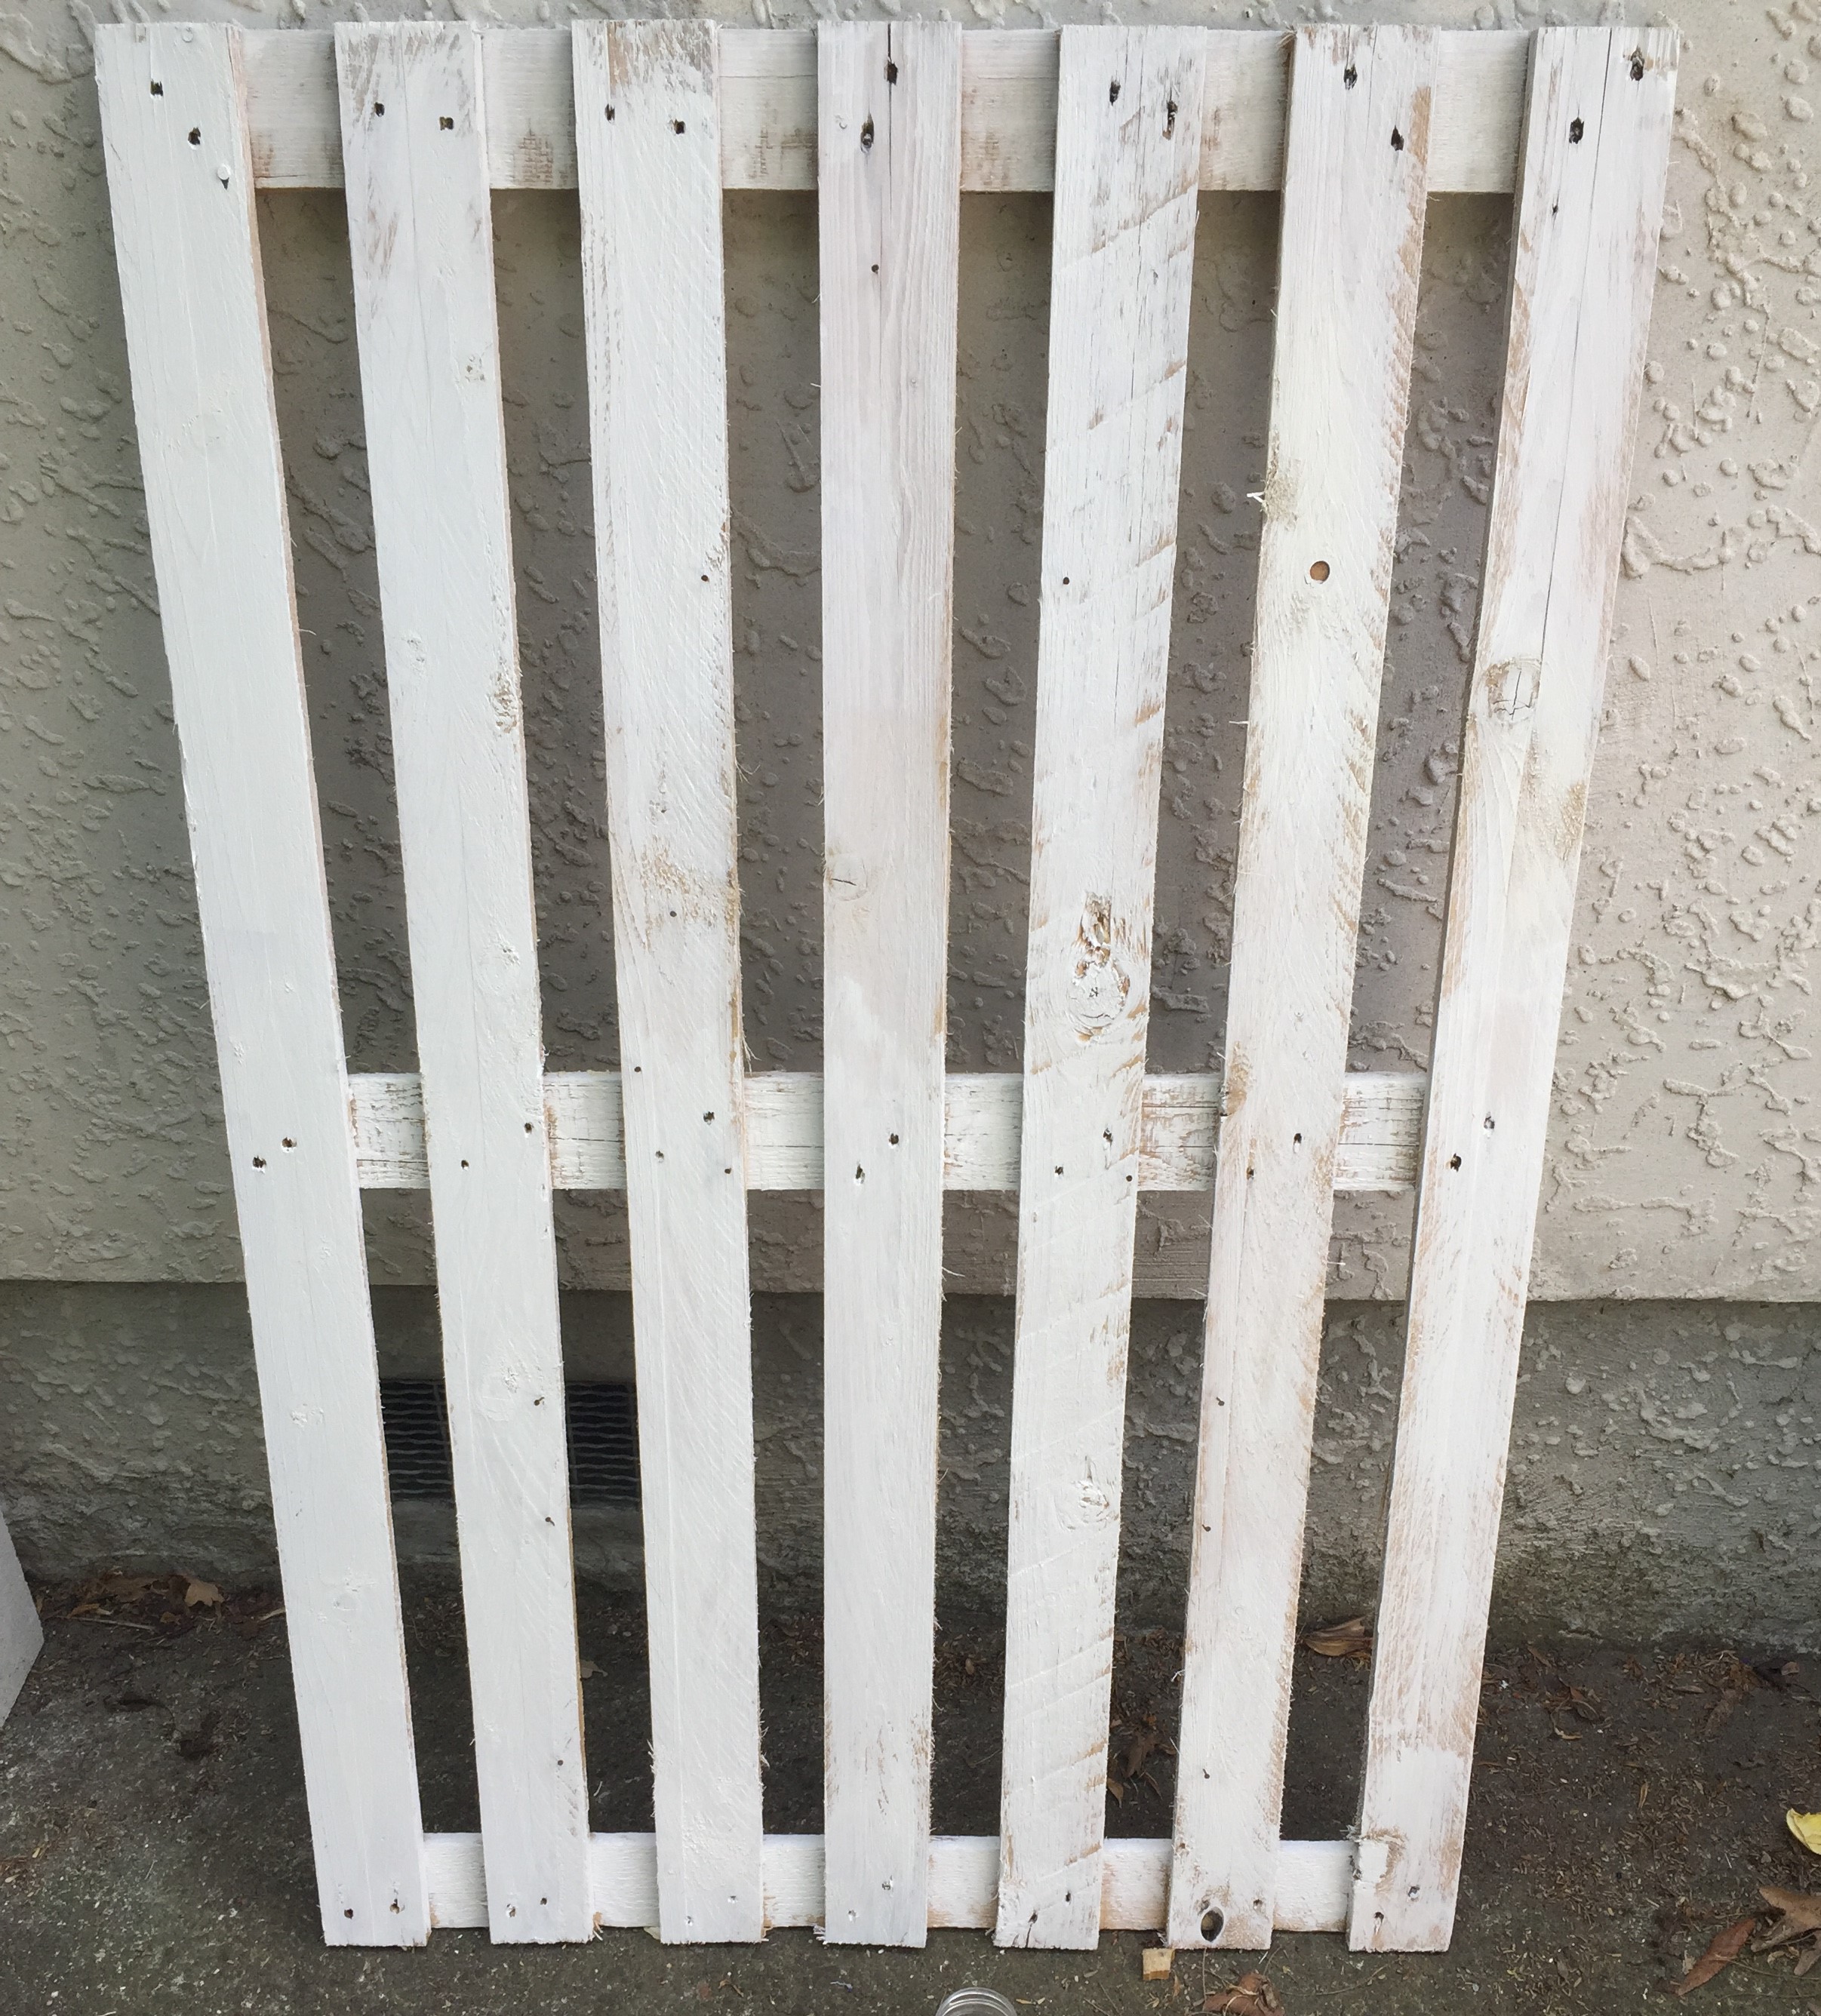
I got it to use as extra shelving in our shed, but it wasn’t that stable and a shelf was missing. It was sitting in front of our house waiting to be fixed when my husband suggested it would make a great shelf for my potted plants sitting around by the front door. I mainly have succulents in the pots because they don’t need so much watering and maintenance.

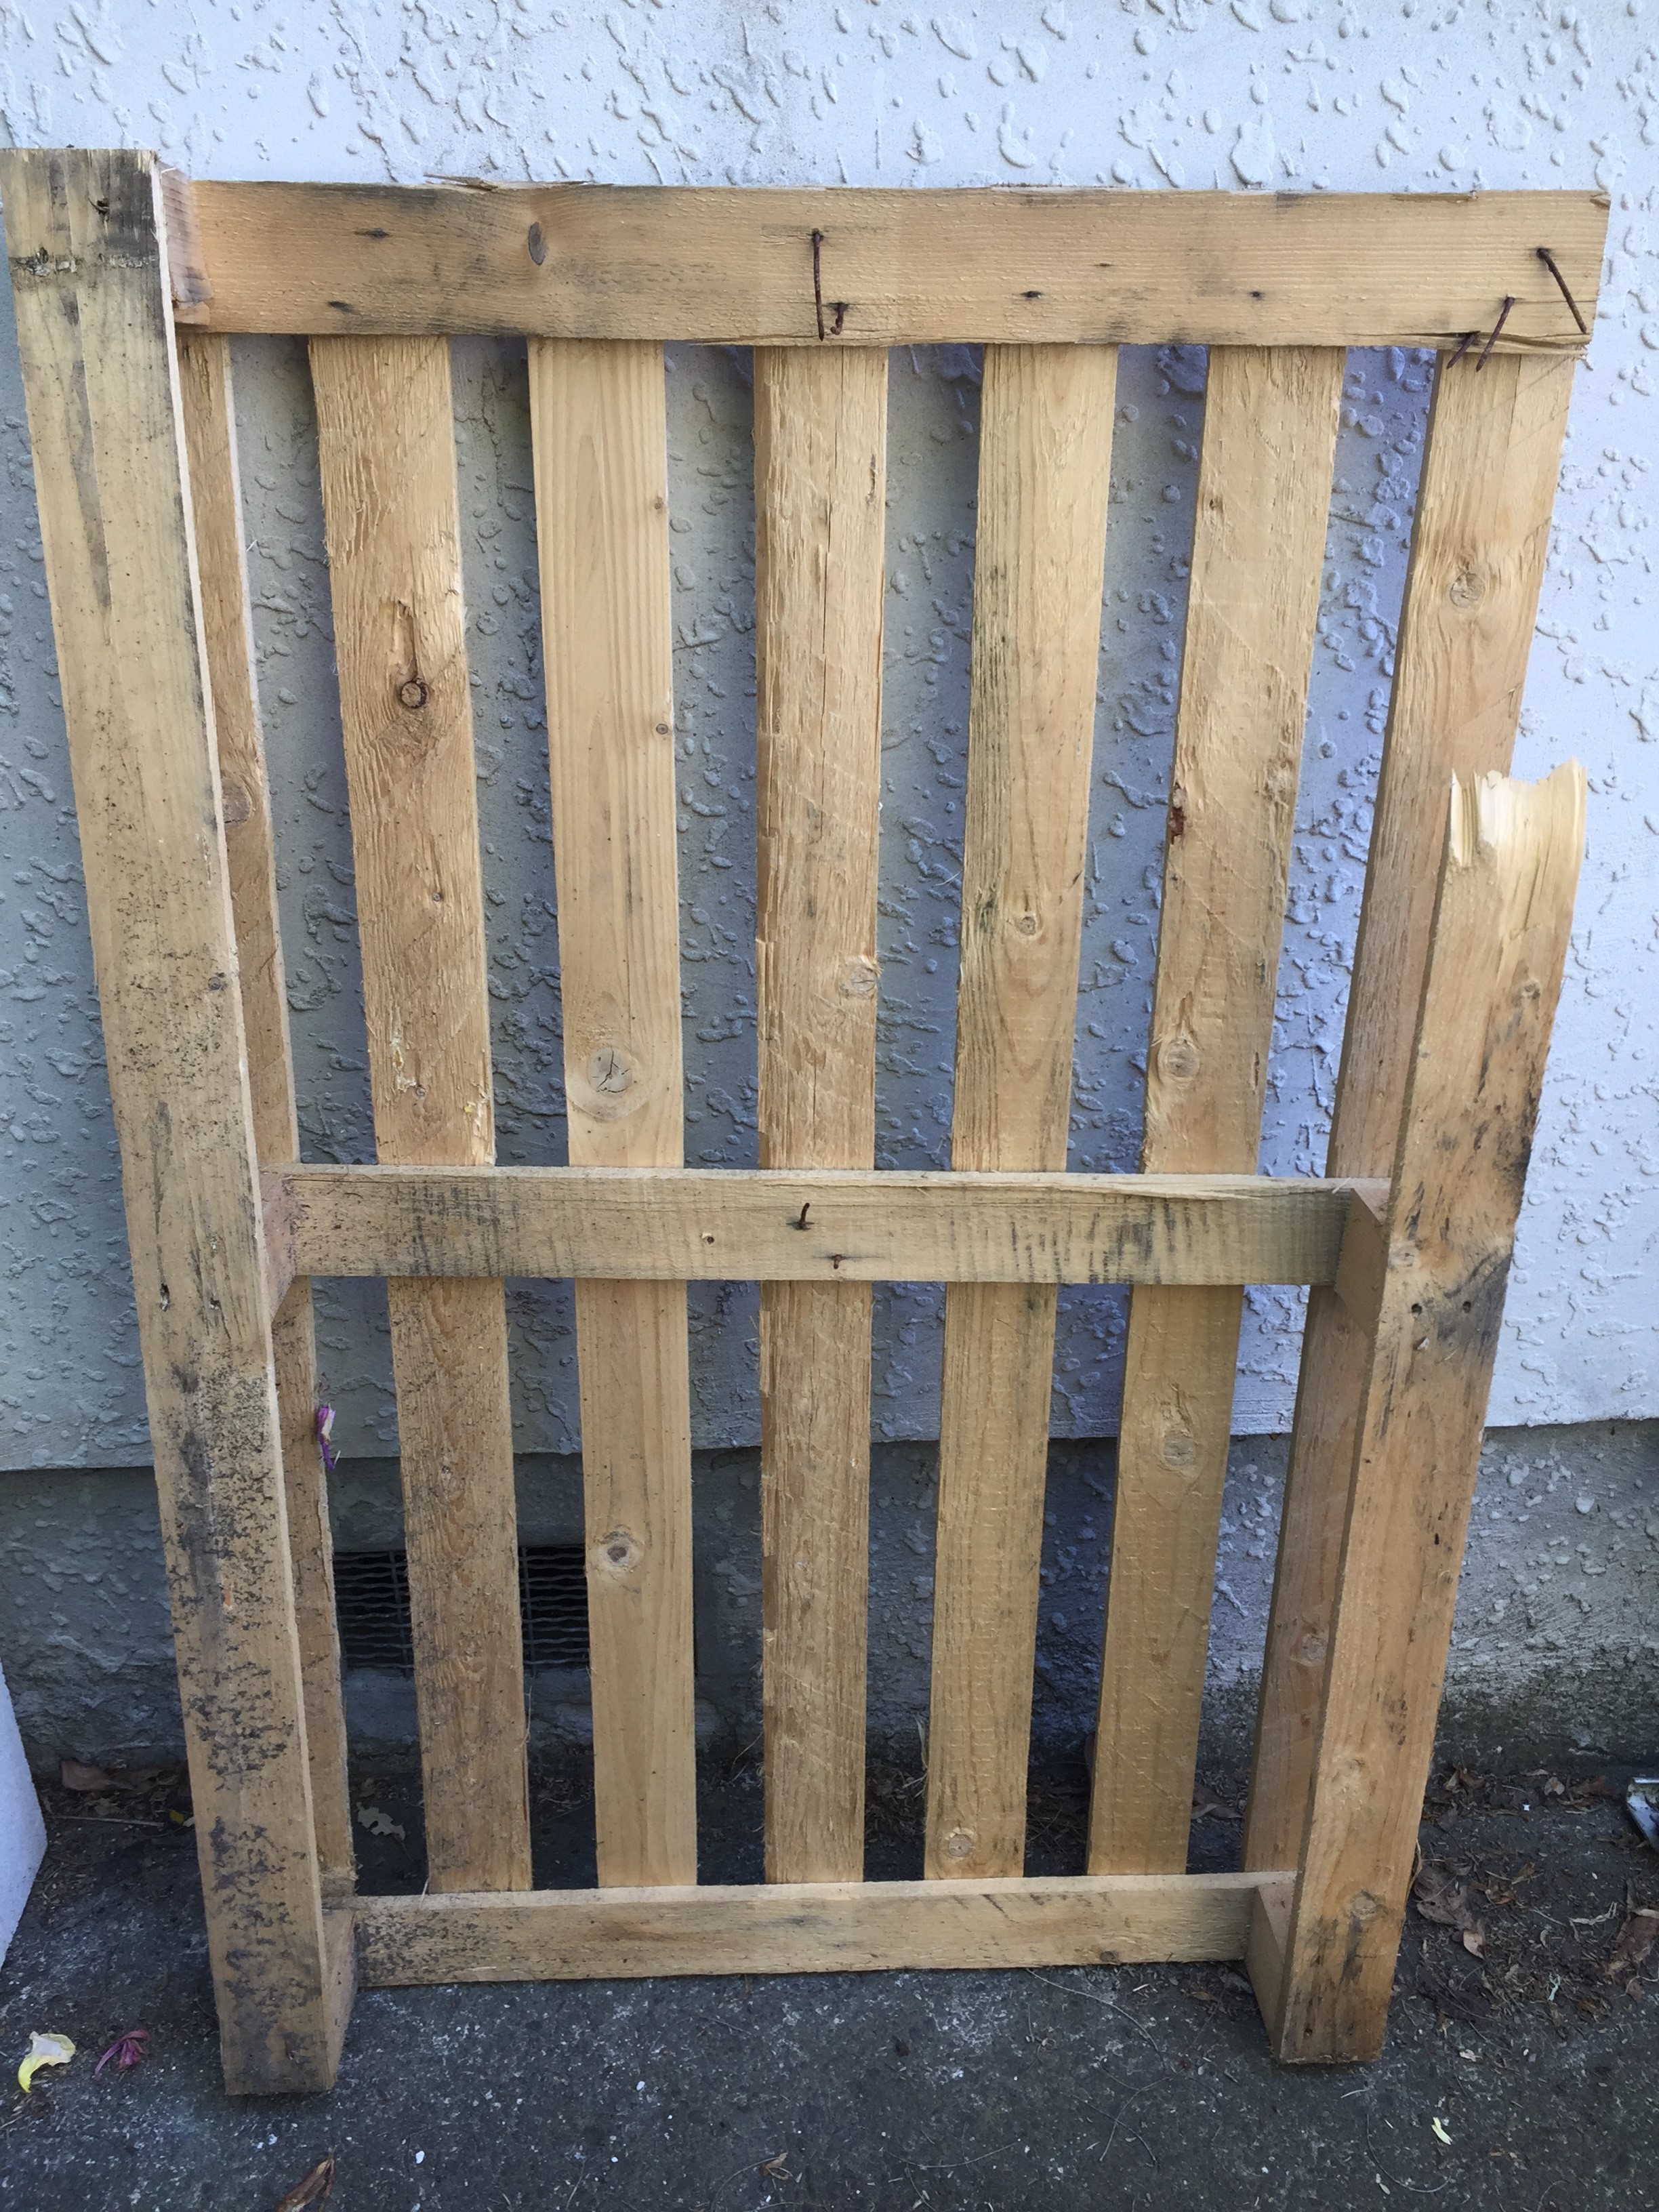
Shelf turned upside down
As you can see I turned the shelf upside down to fit in the area, but there is a electric metre box in the way so I had to move the now top shelf up. The metre reading man needs to open it to read the metre! Fortunately it only took removing some screws and sliding the shelf up. Then I tightened all the other screws to stabilise better.
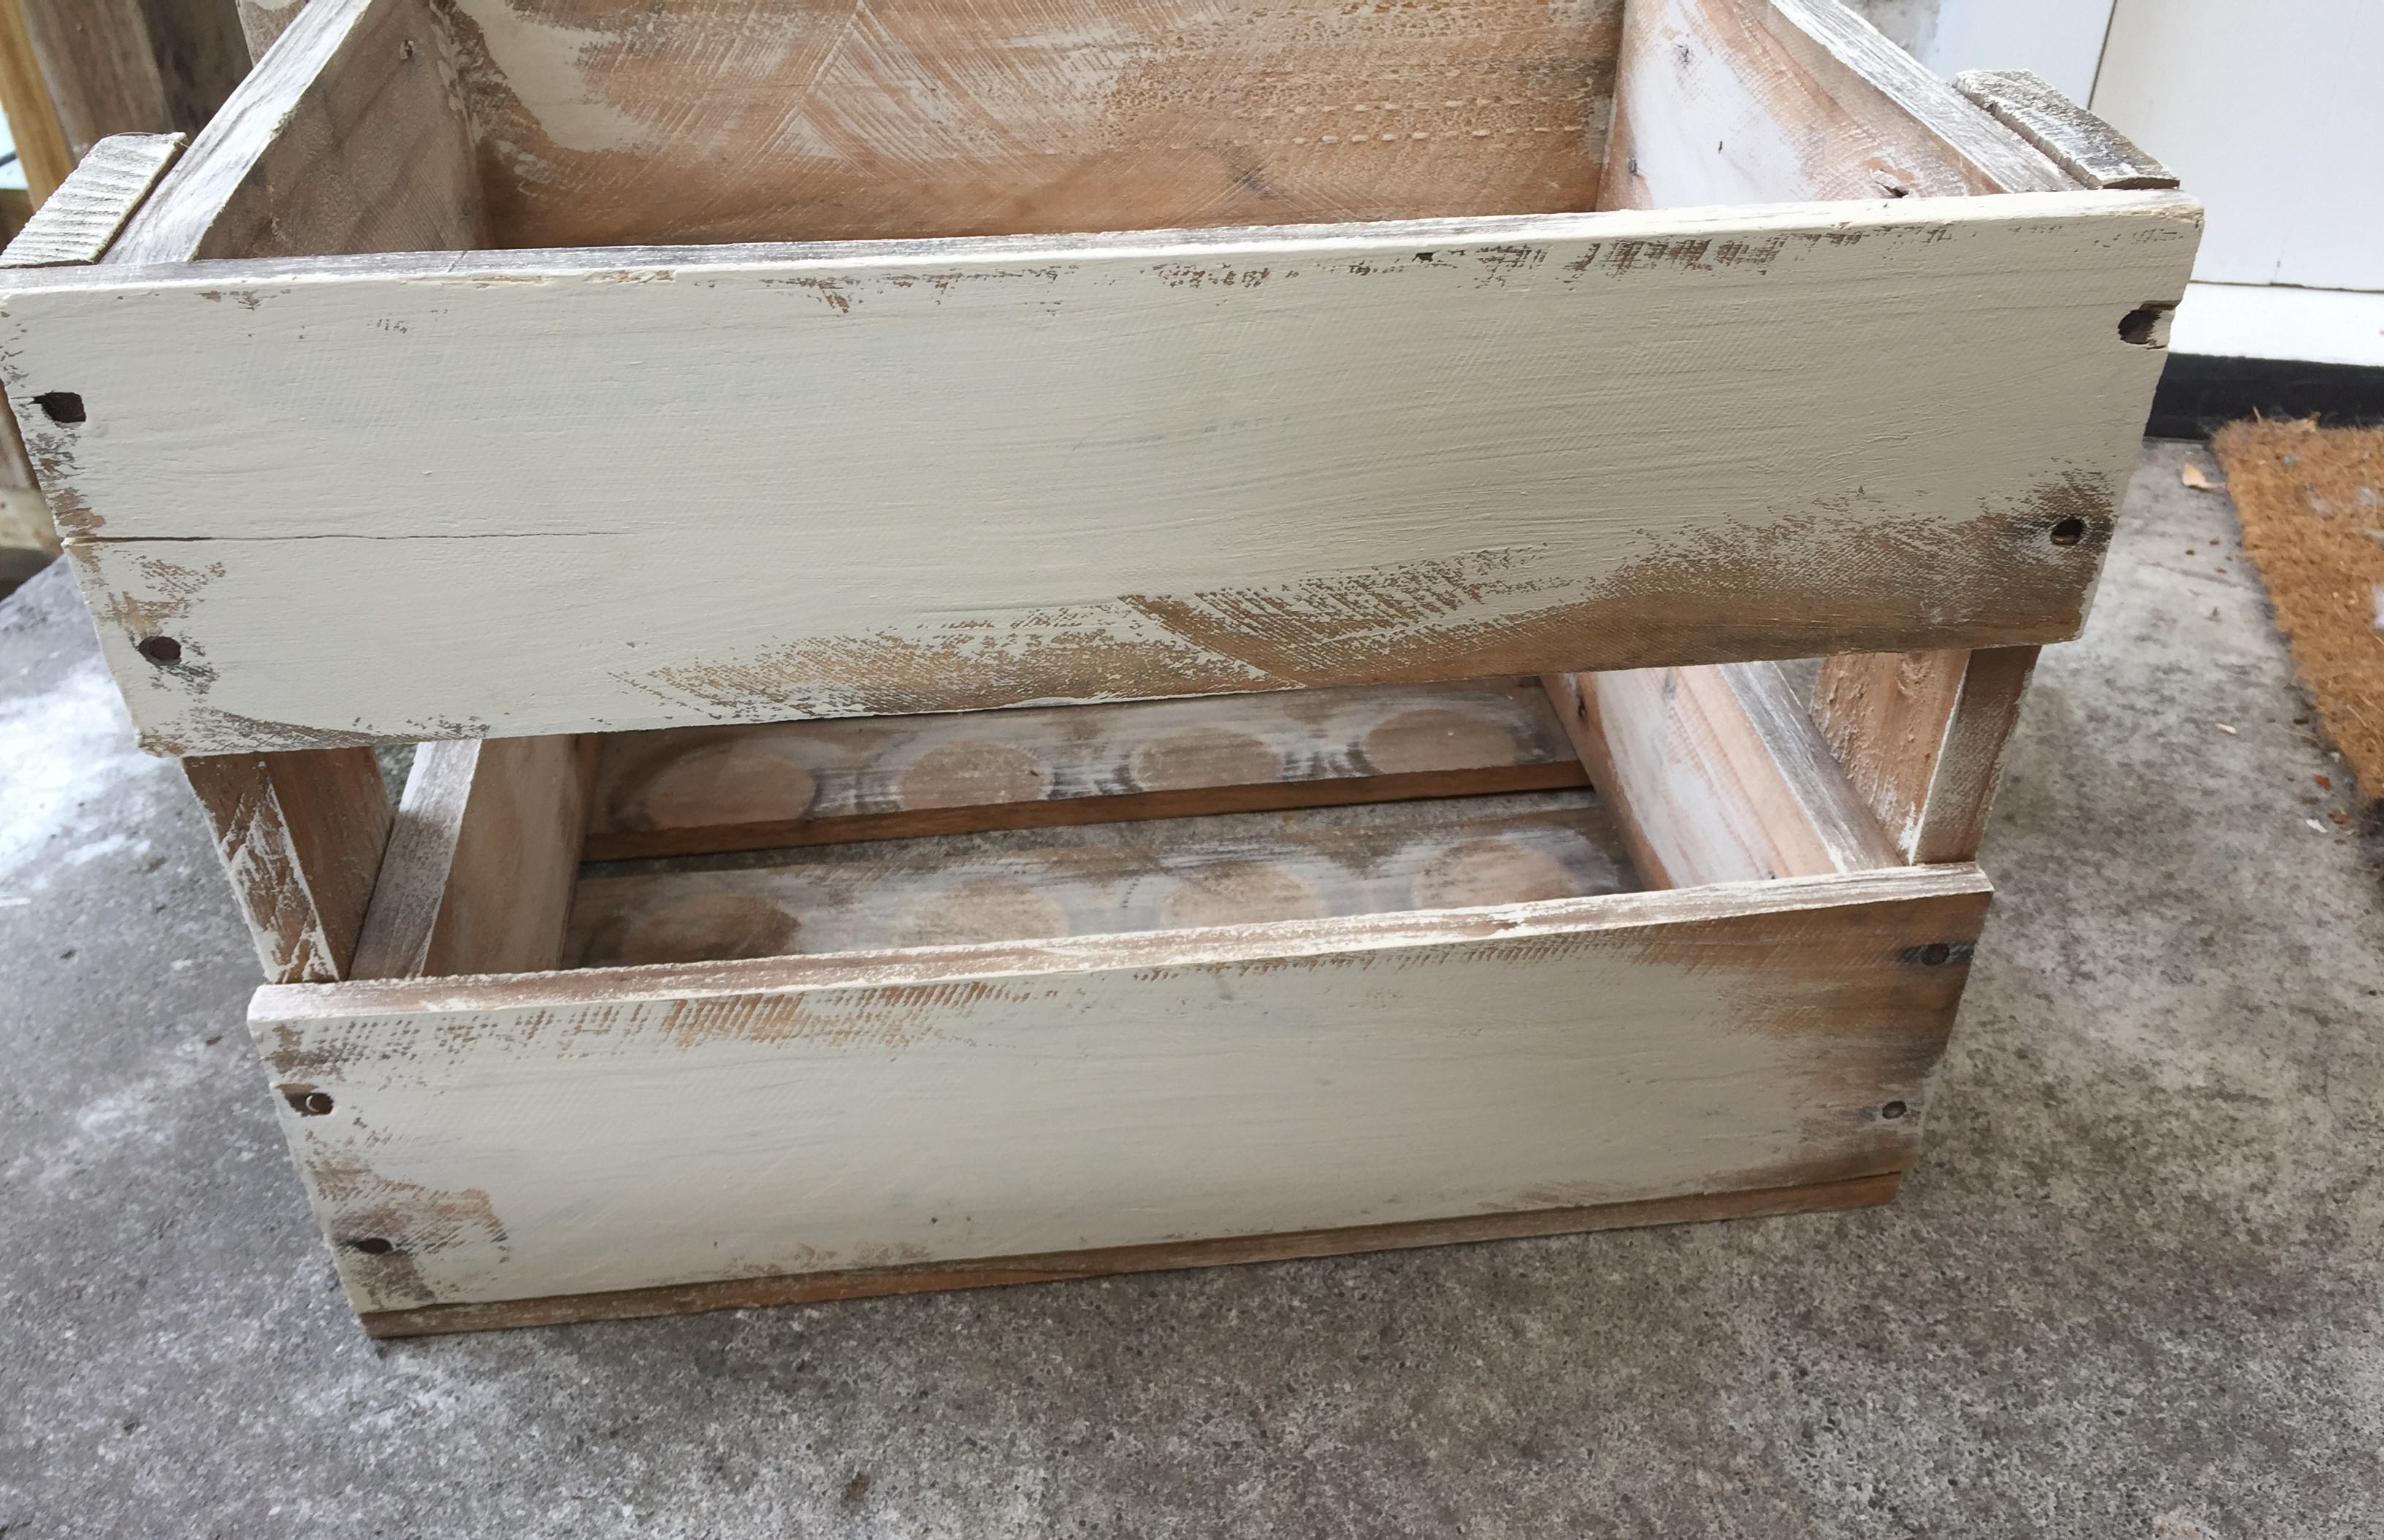
Annie Sloan Chalk Paint
Next I painted it in one of my favourite paints Annie Sloan Chalk Paint Old Ochre.
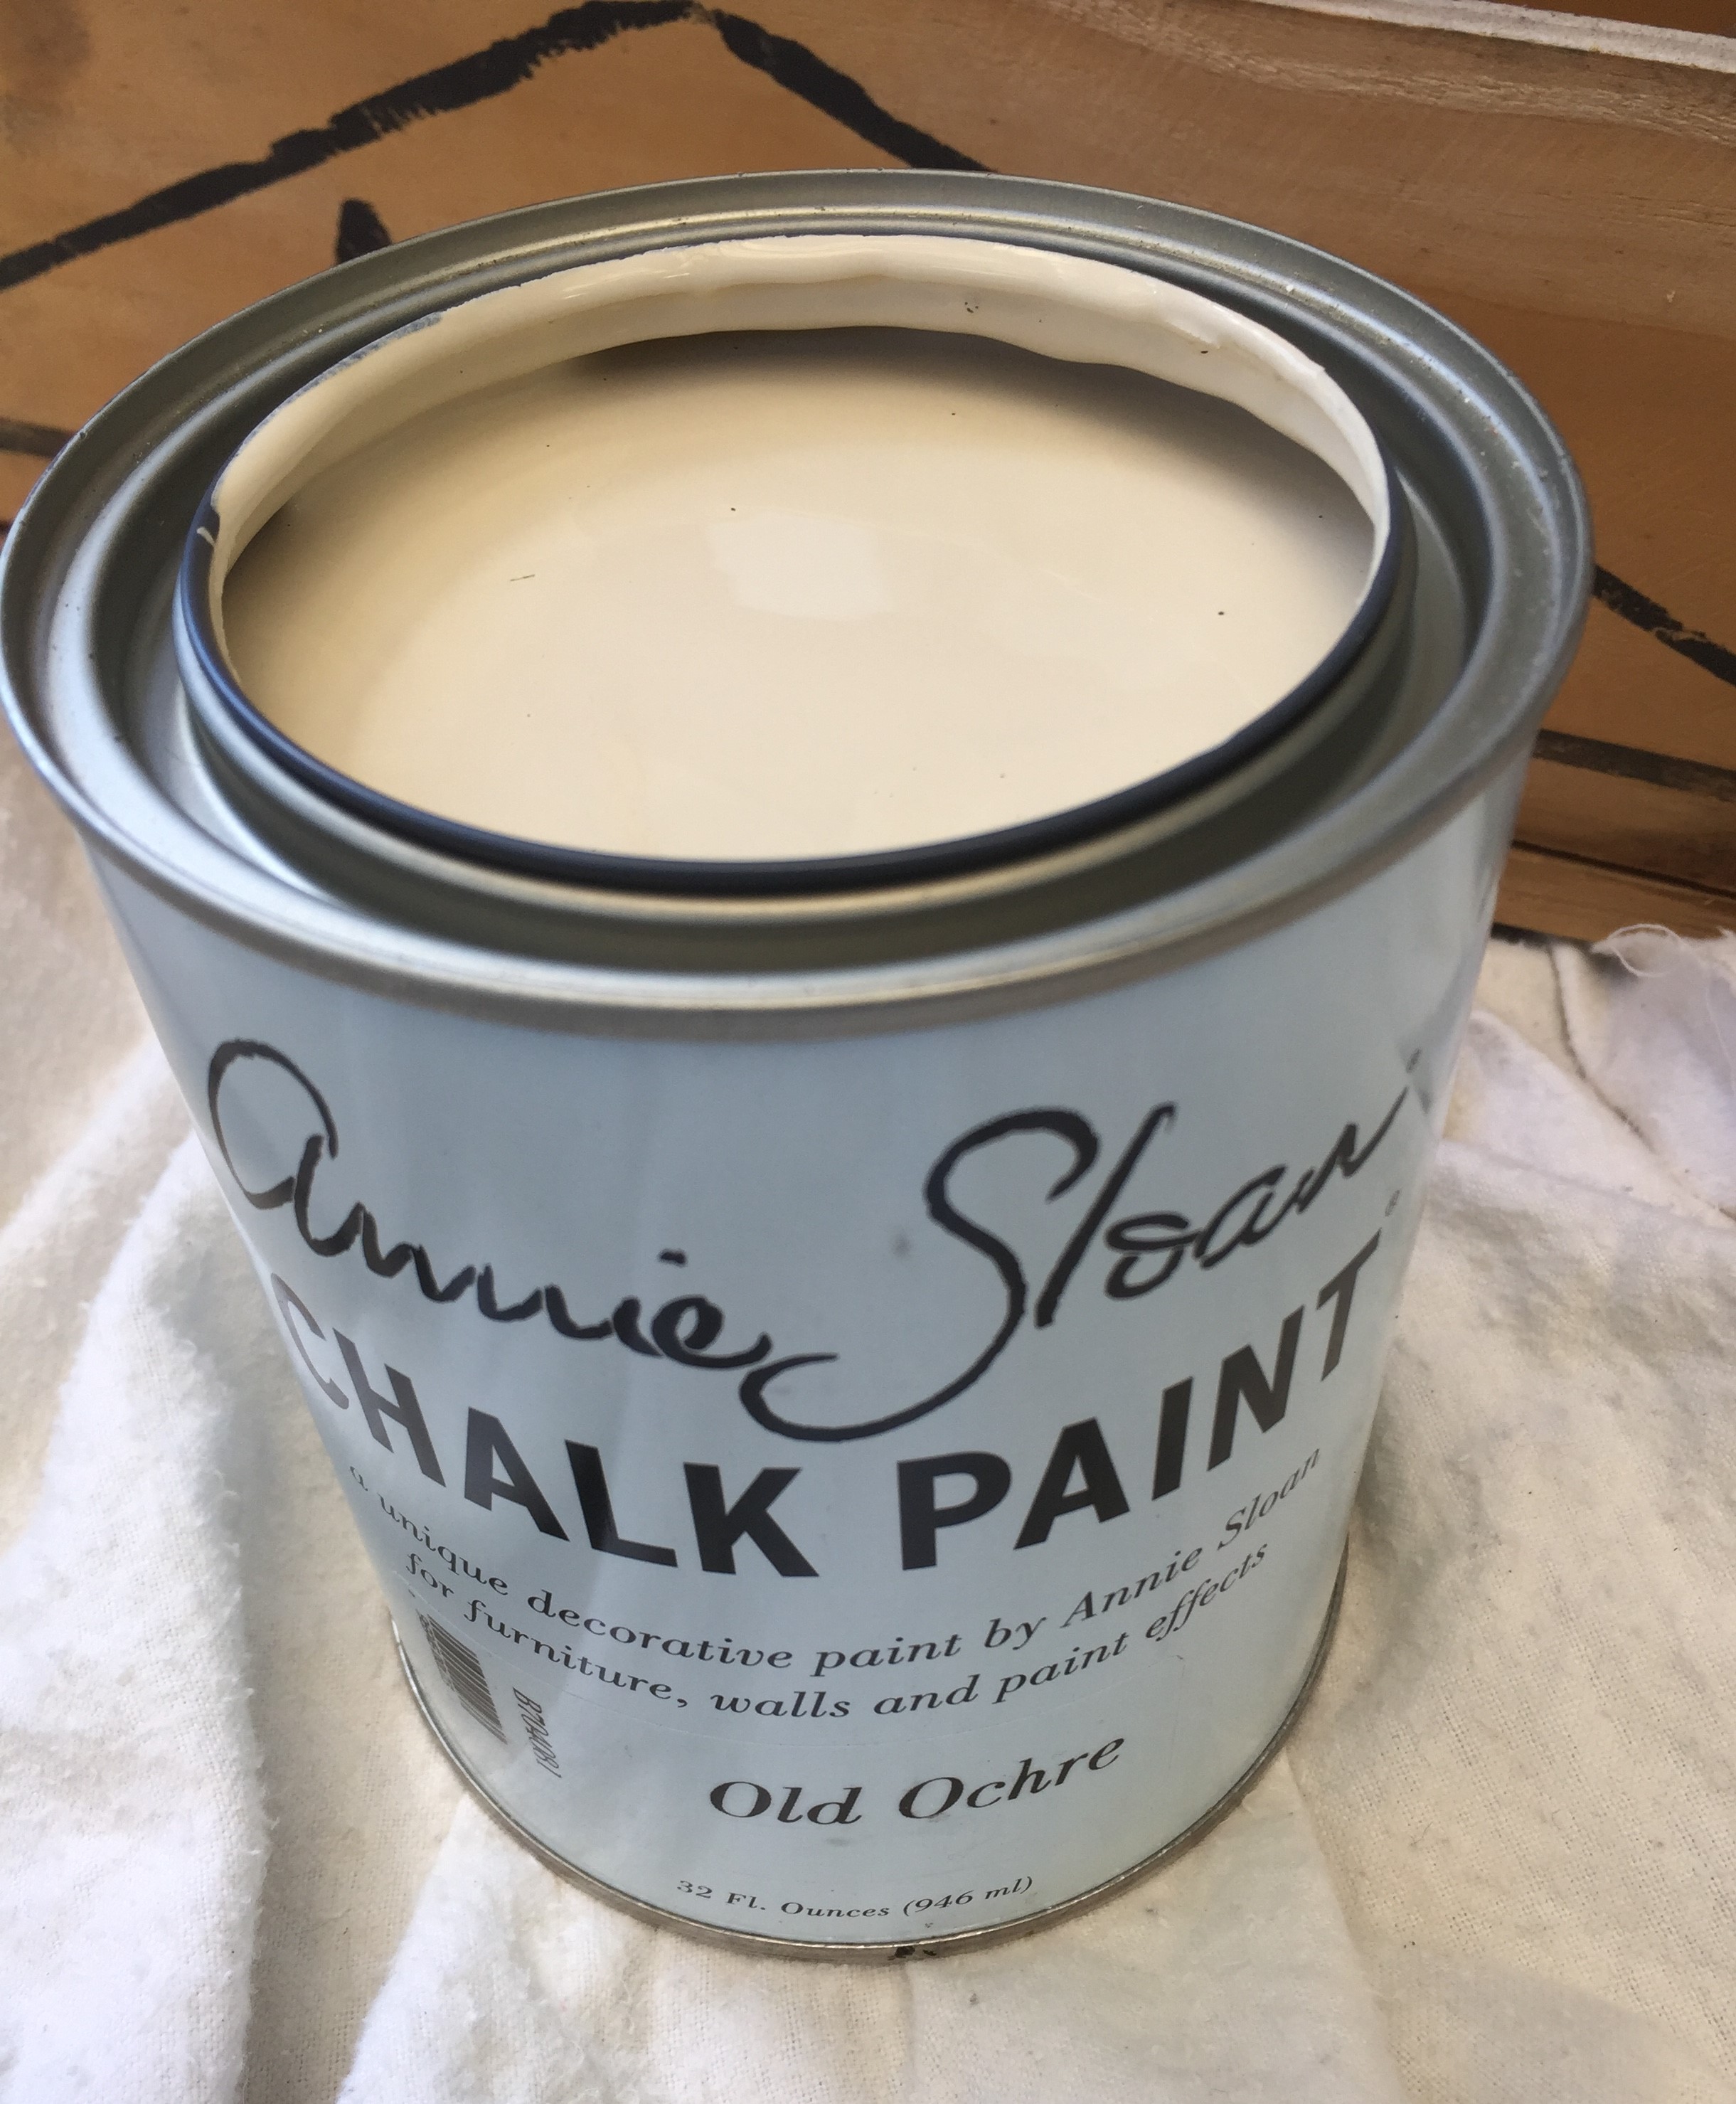
Annie Sloan Chalk Paint Old Ochre
Finally, I painted just one coat this time and there was no need to wax as I am using it for outside. Not too worried about wear and tear here.

Finished shelf
It was wonderful to get all my plants off the ground, I love how it turned out! I also used it for a time growing my lettuces, which was a great spot and super easy to pick them when needed.
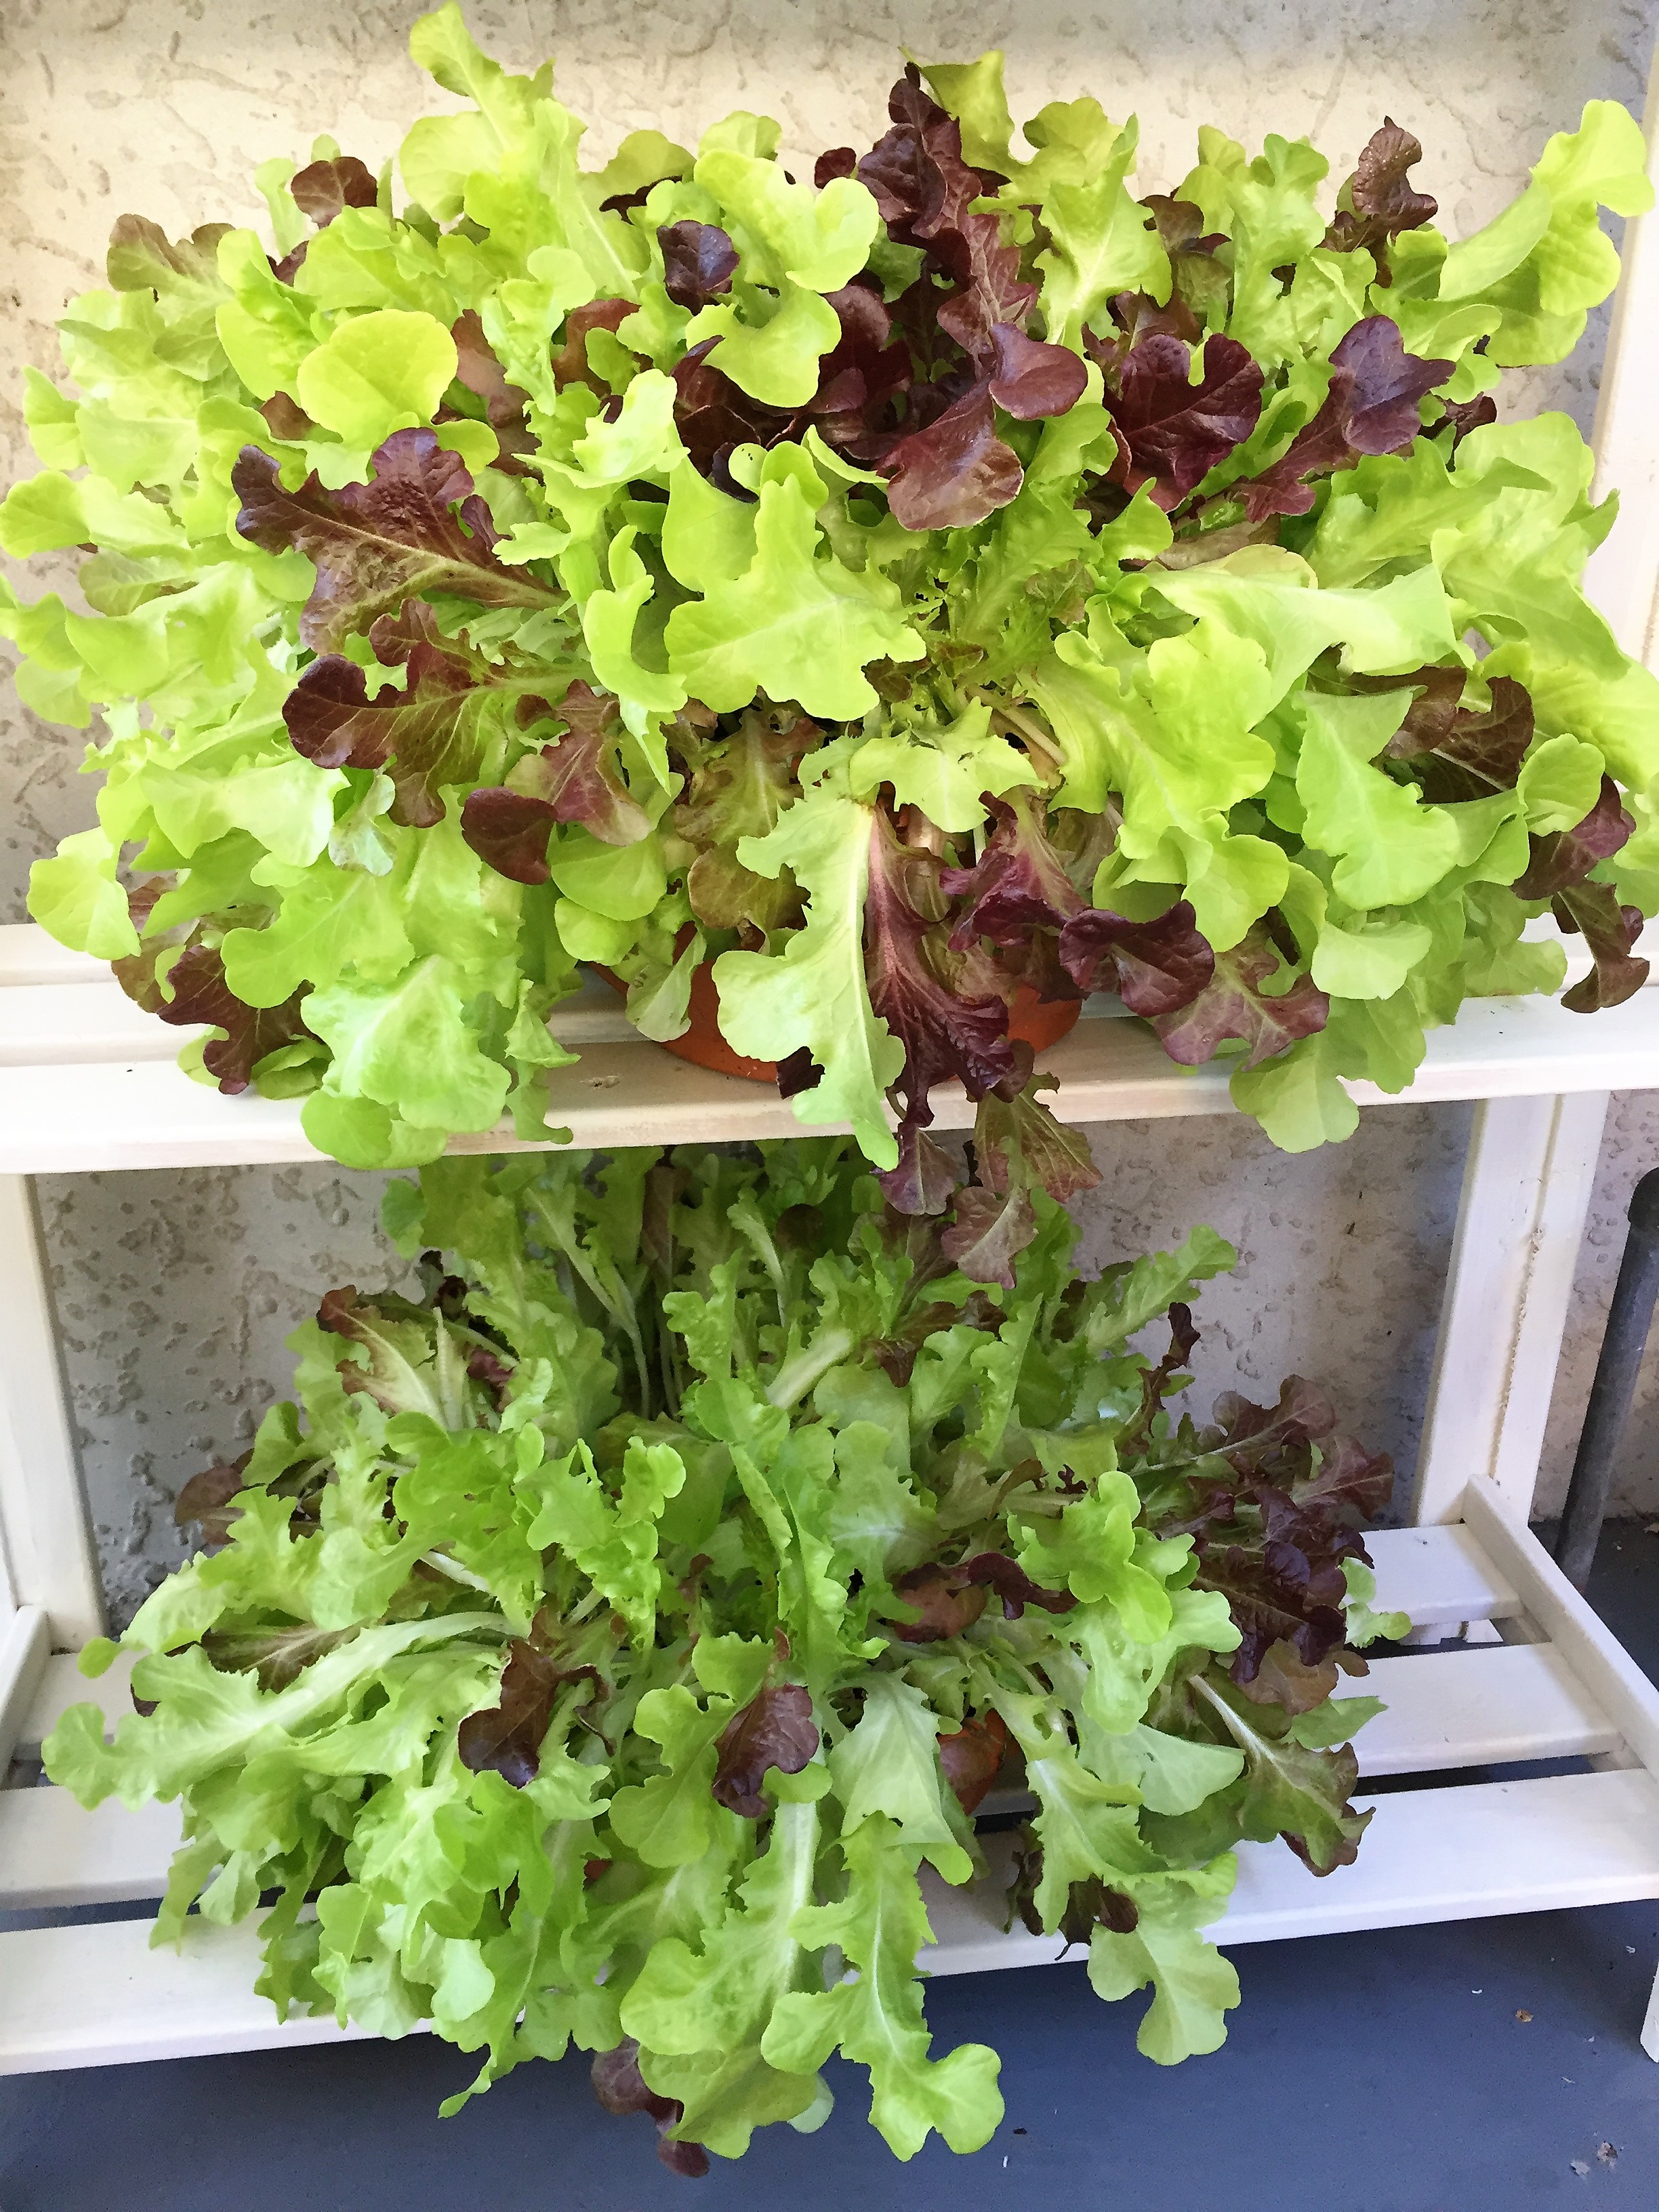
Growing lettuce
It made my front of the house look so much better, much tidier and it is easier to water the plants now.
I hope my wooden shelf makeover inspired you! Thanks for reading my post!
Andi