I wanted to show you my latest pallet coffee tables I have made here in New Zealand…
Are any of you like me, love pallets and have them stacked around the place waiting for the next project?

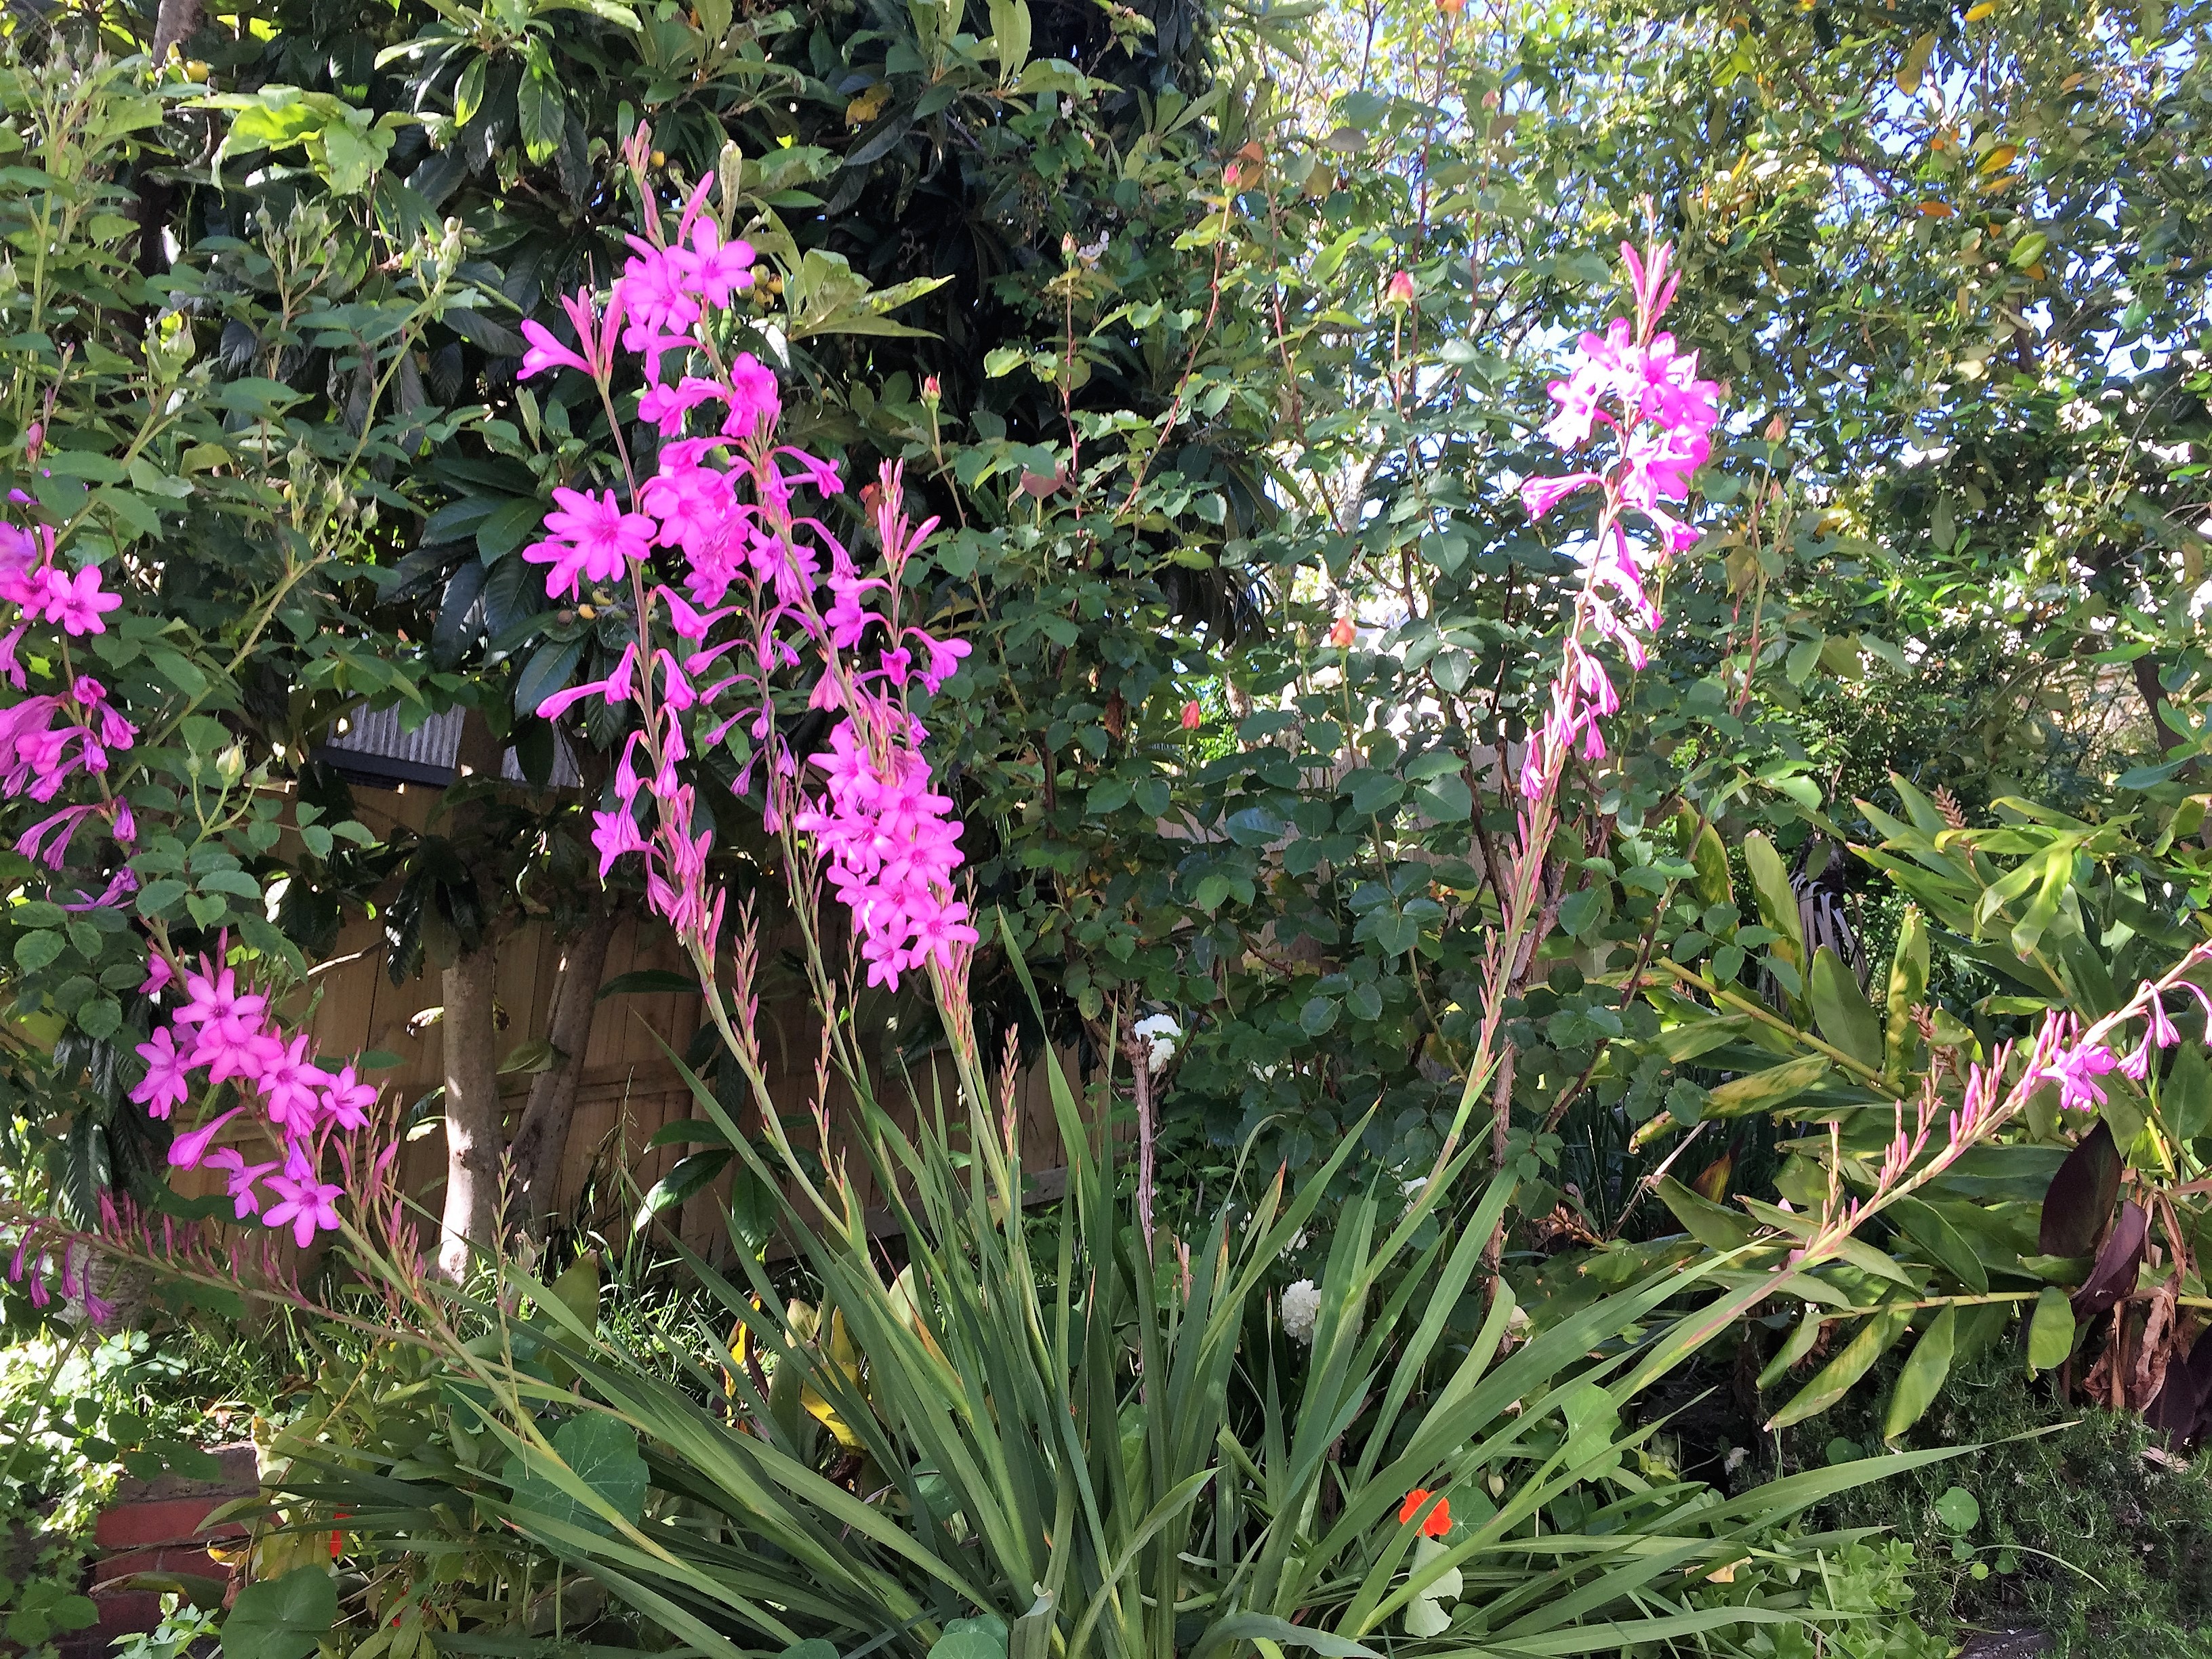
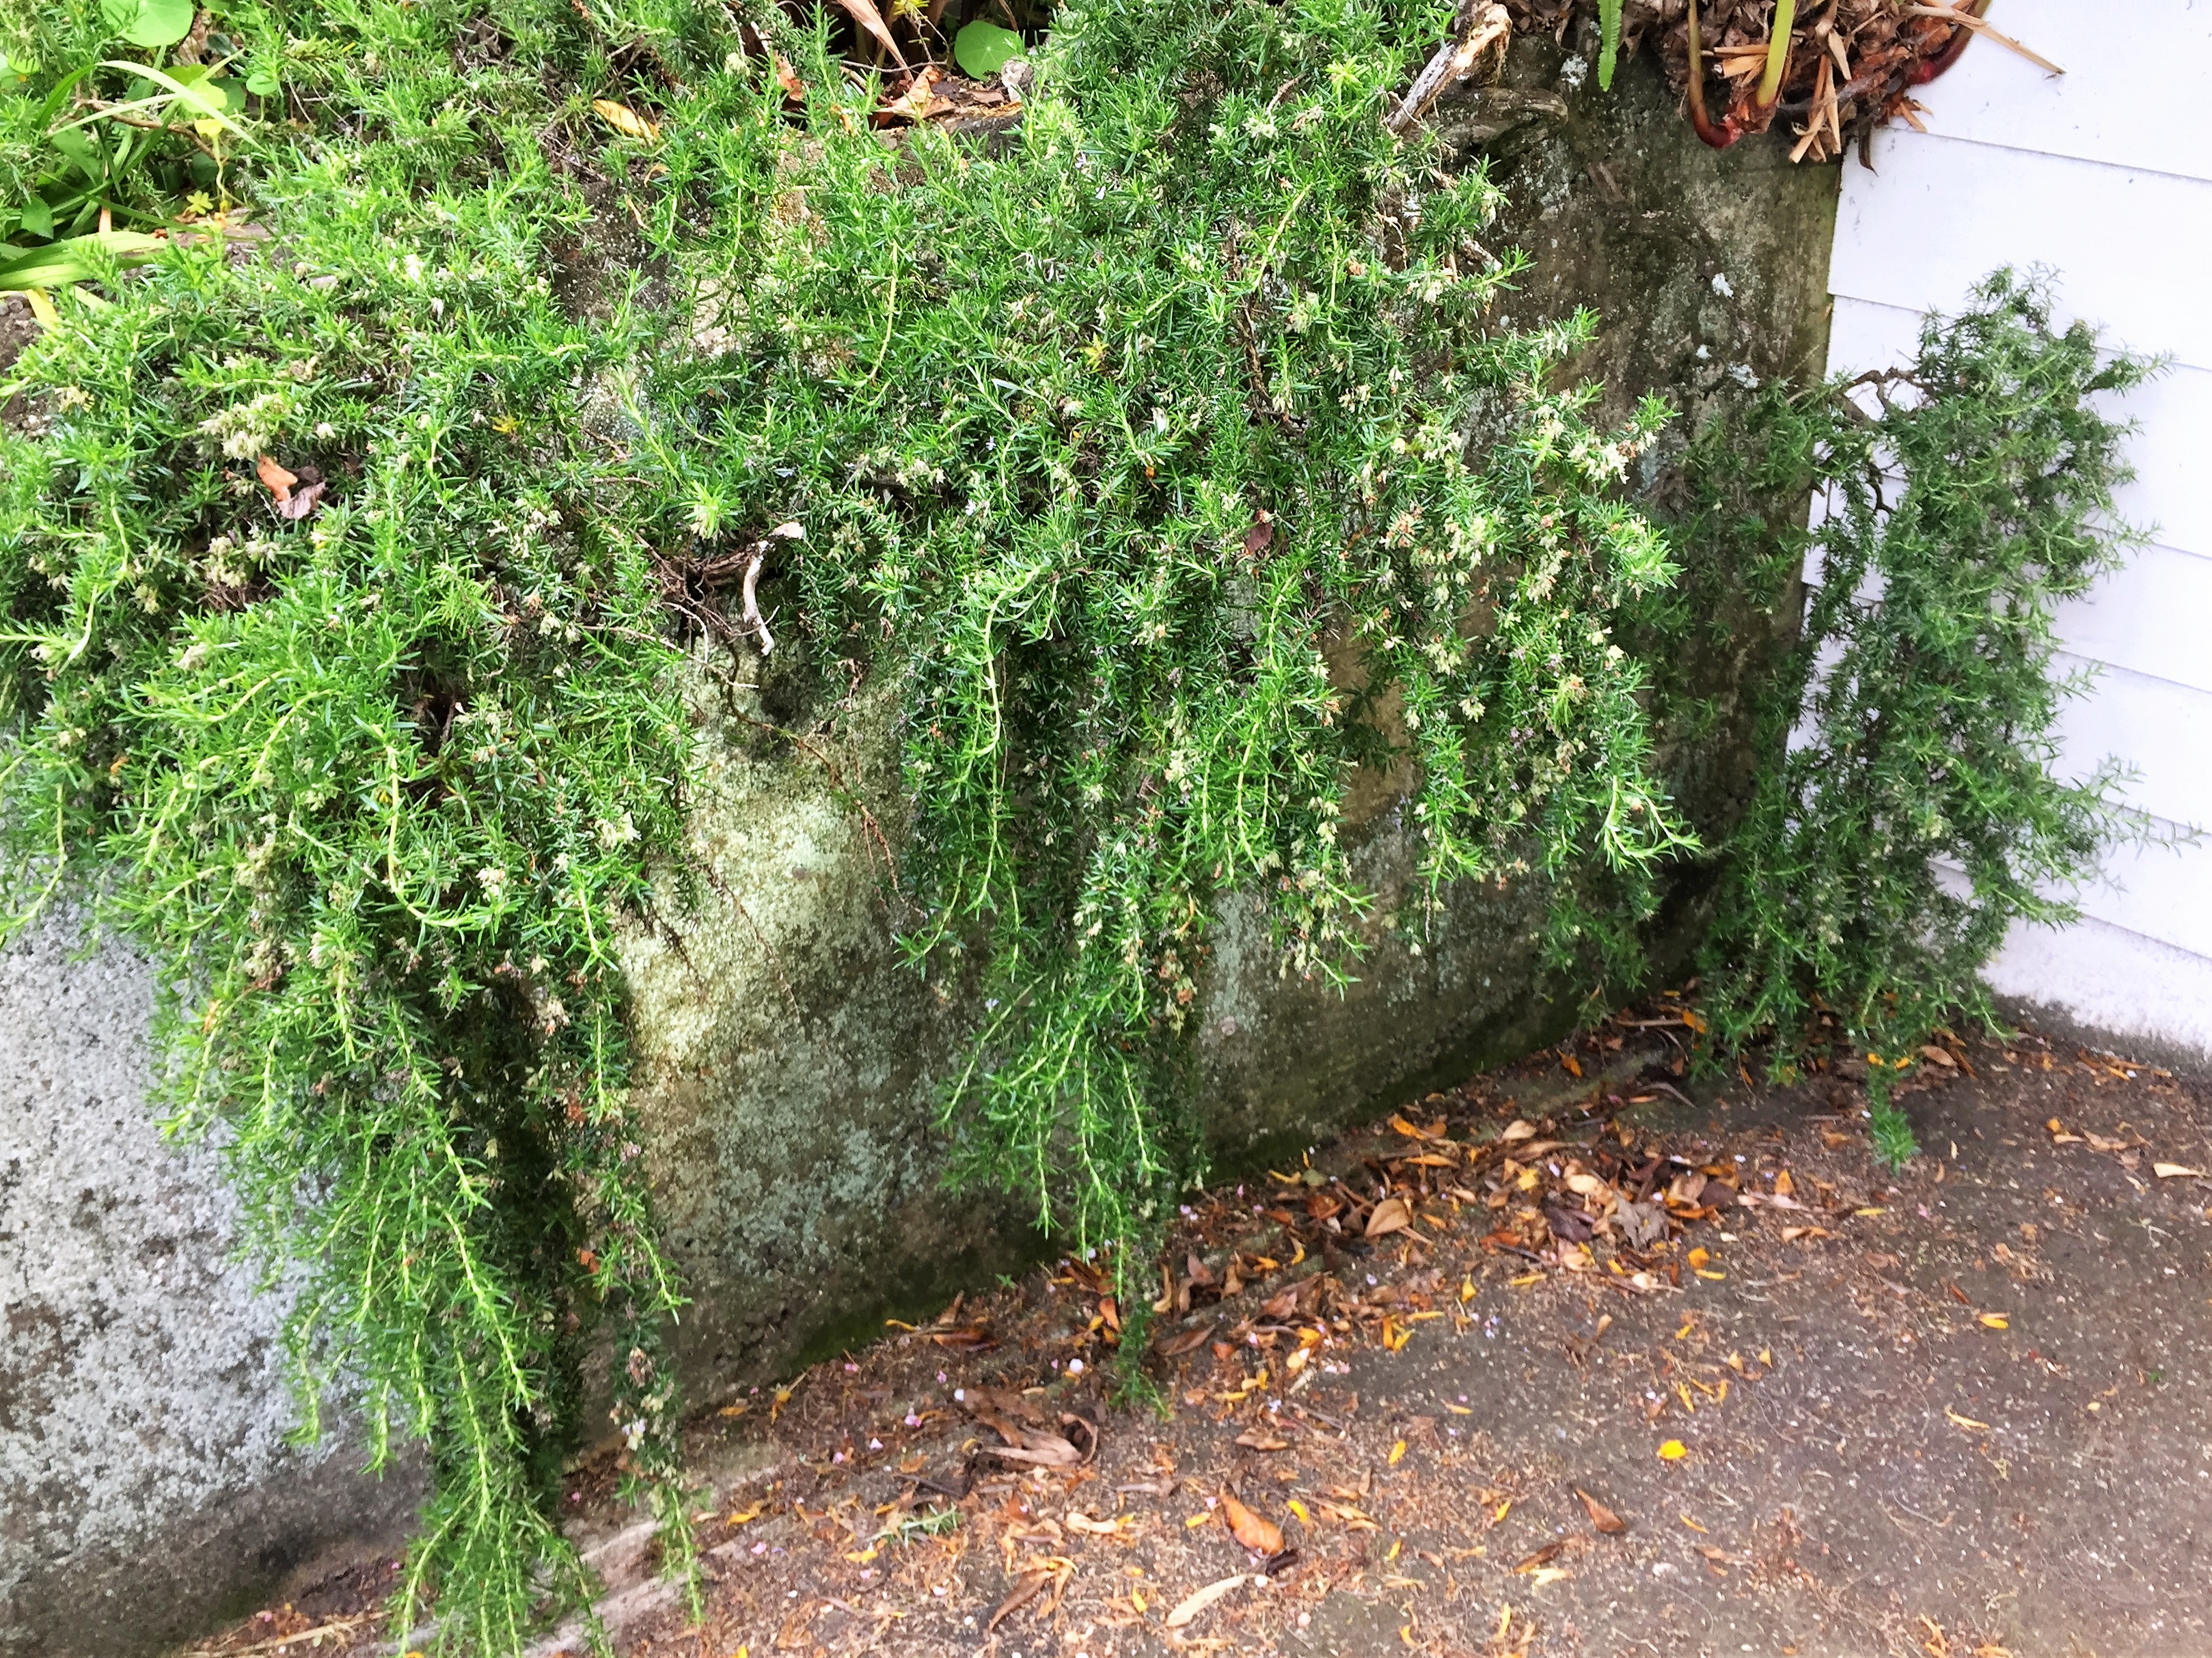
Wood pile
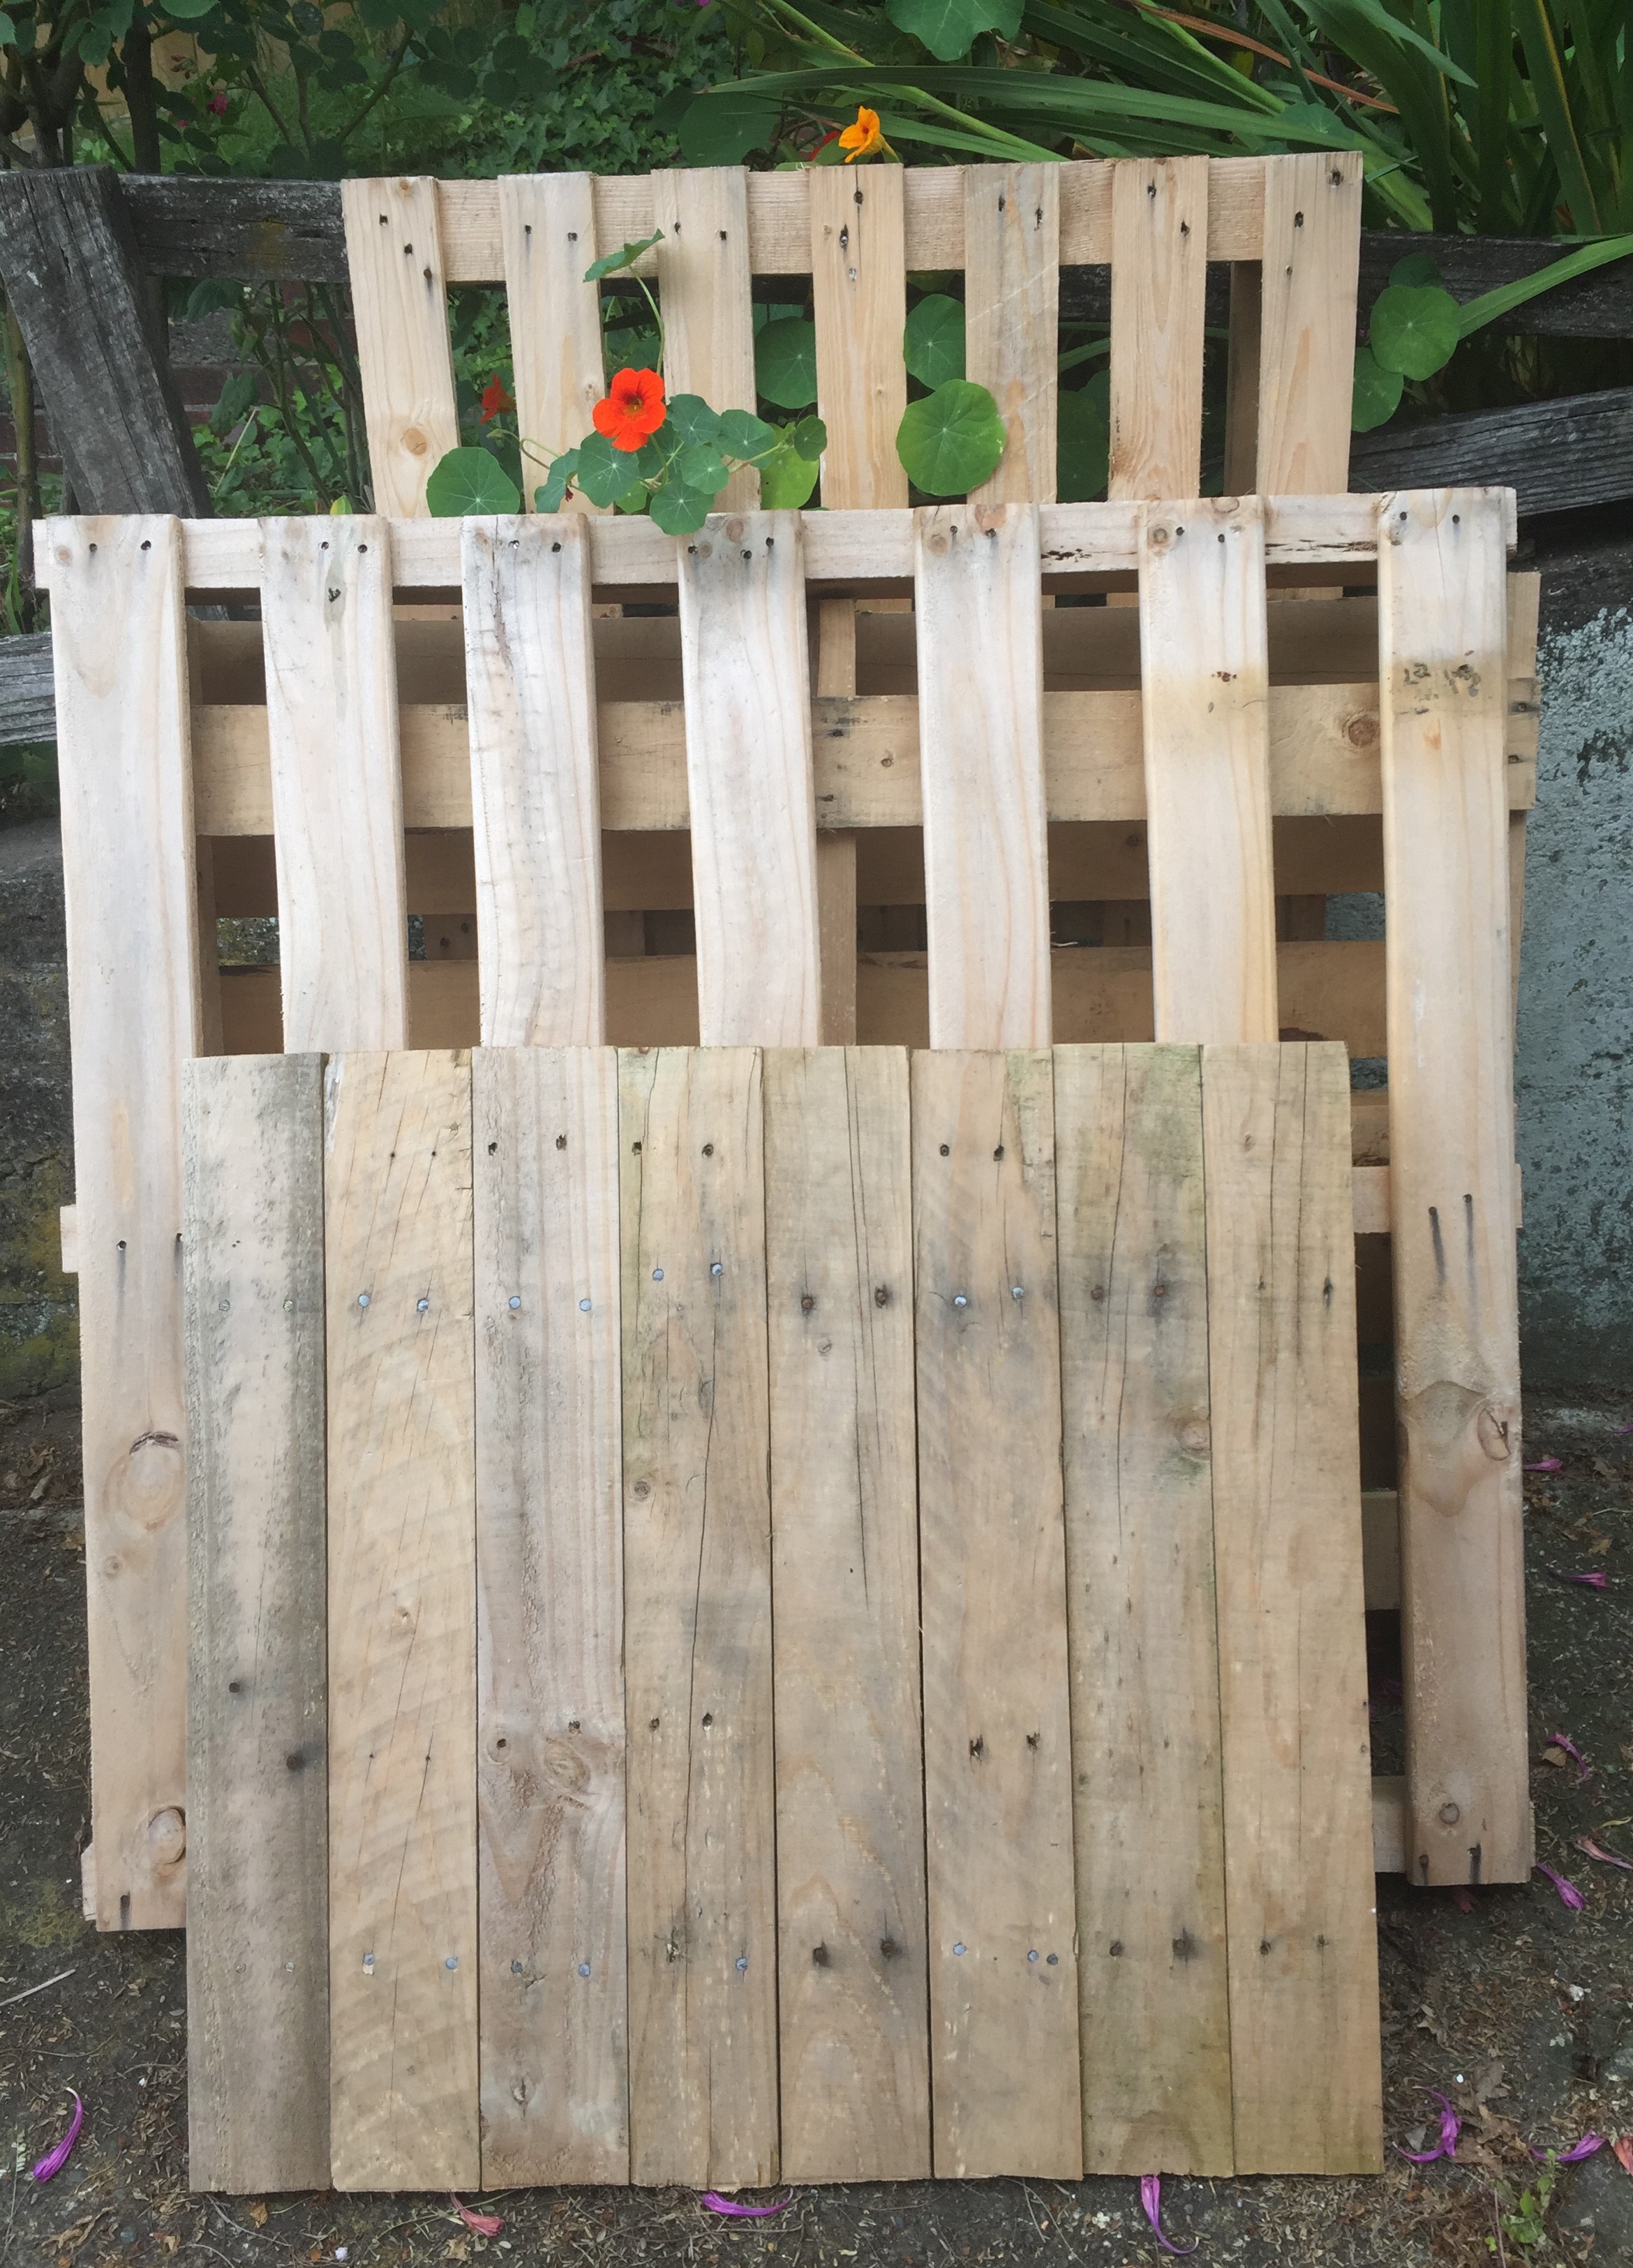
Wood pallet stack

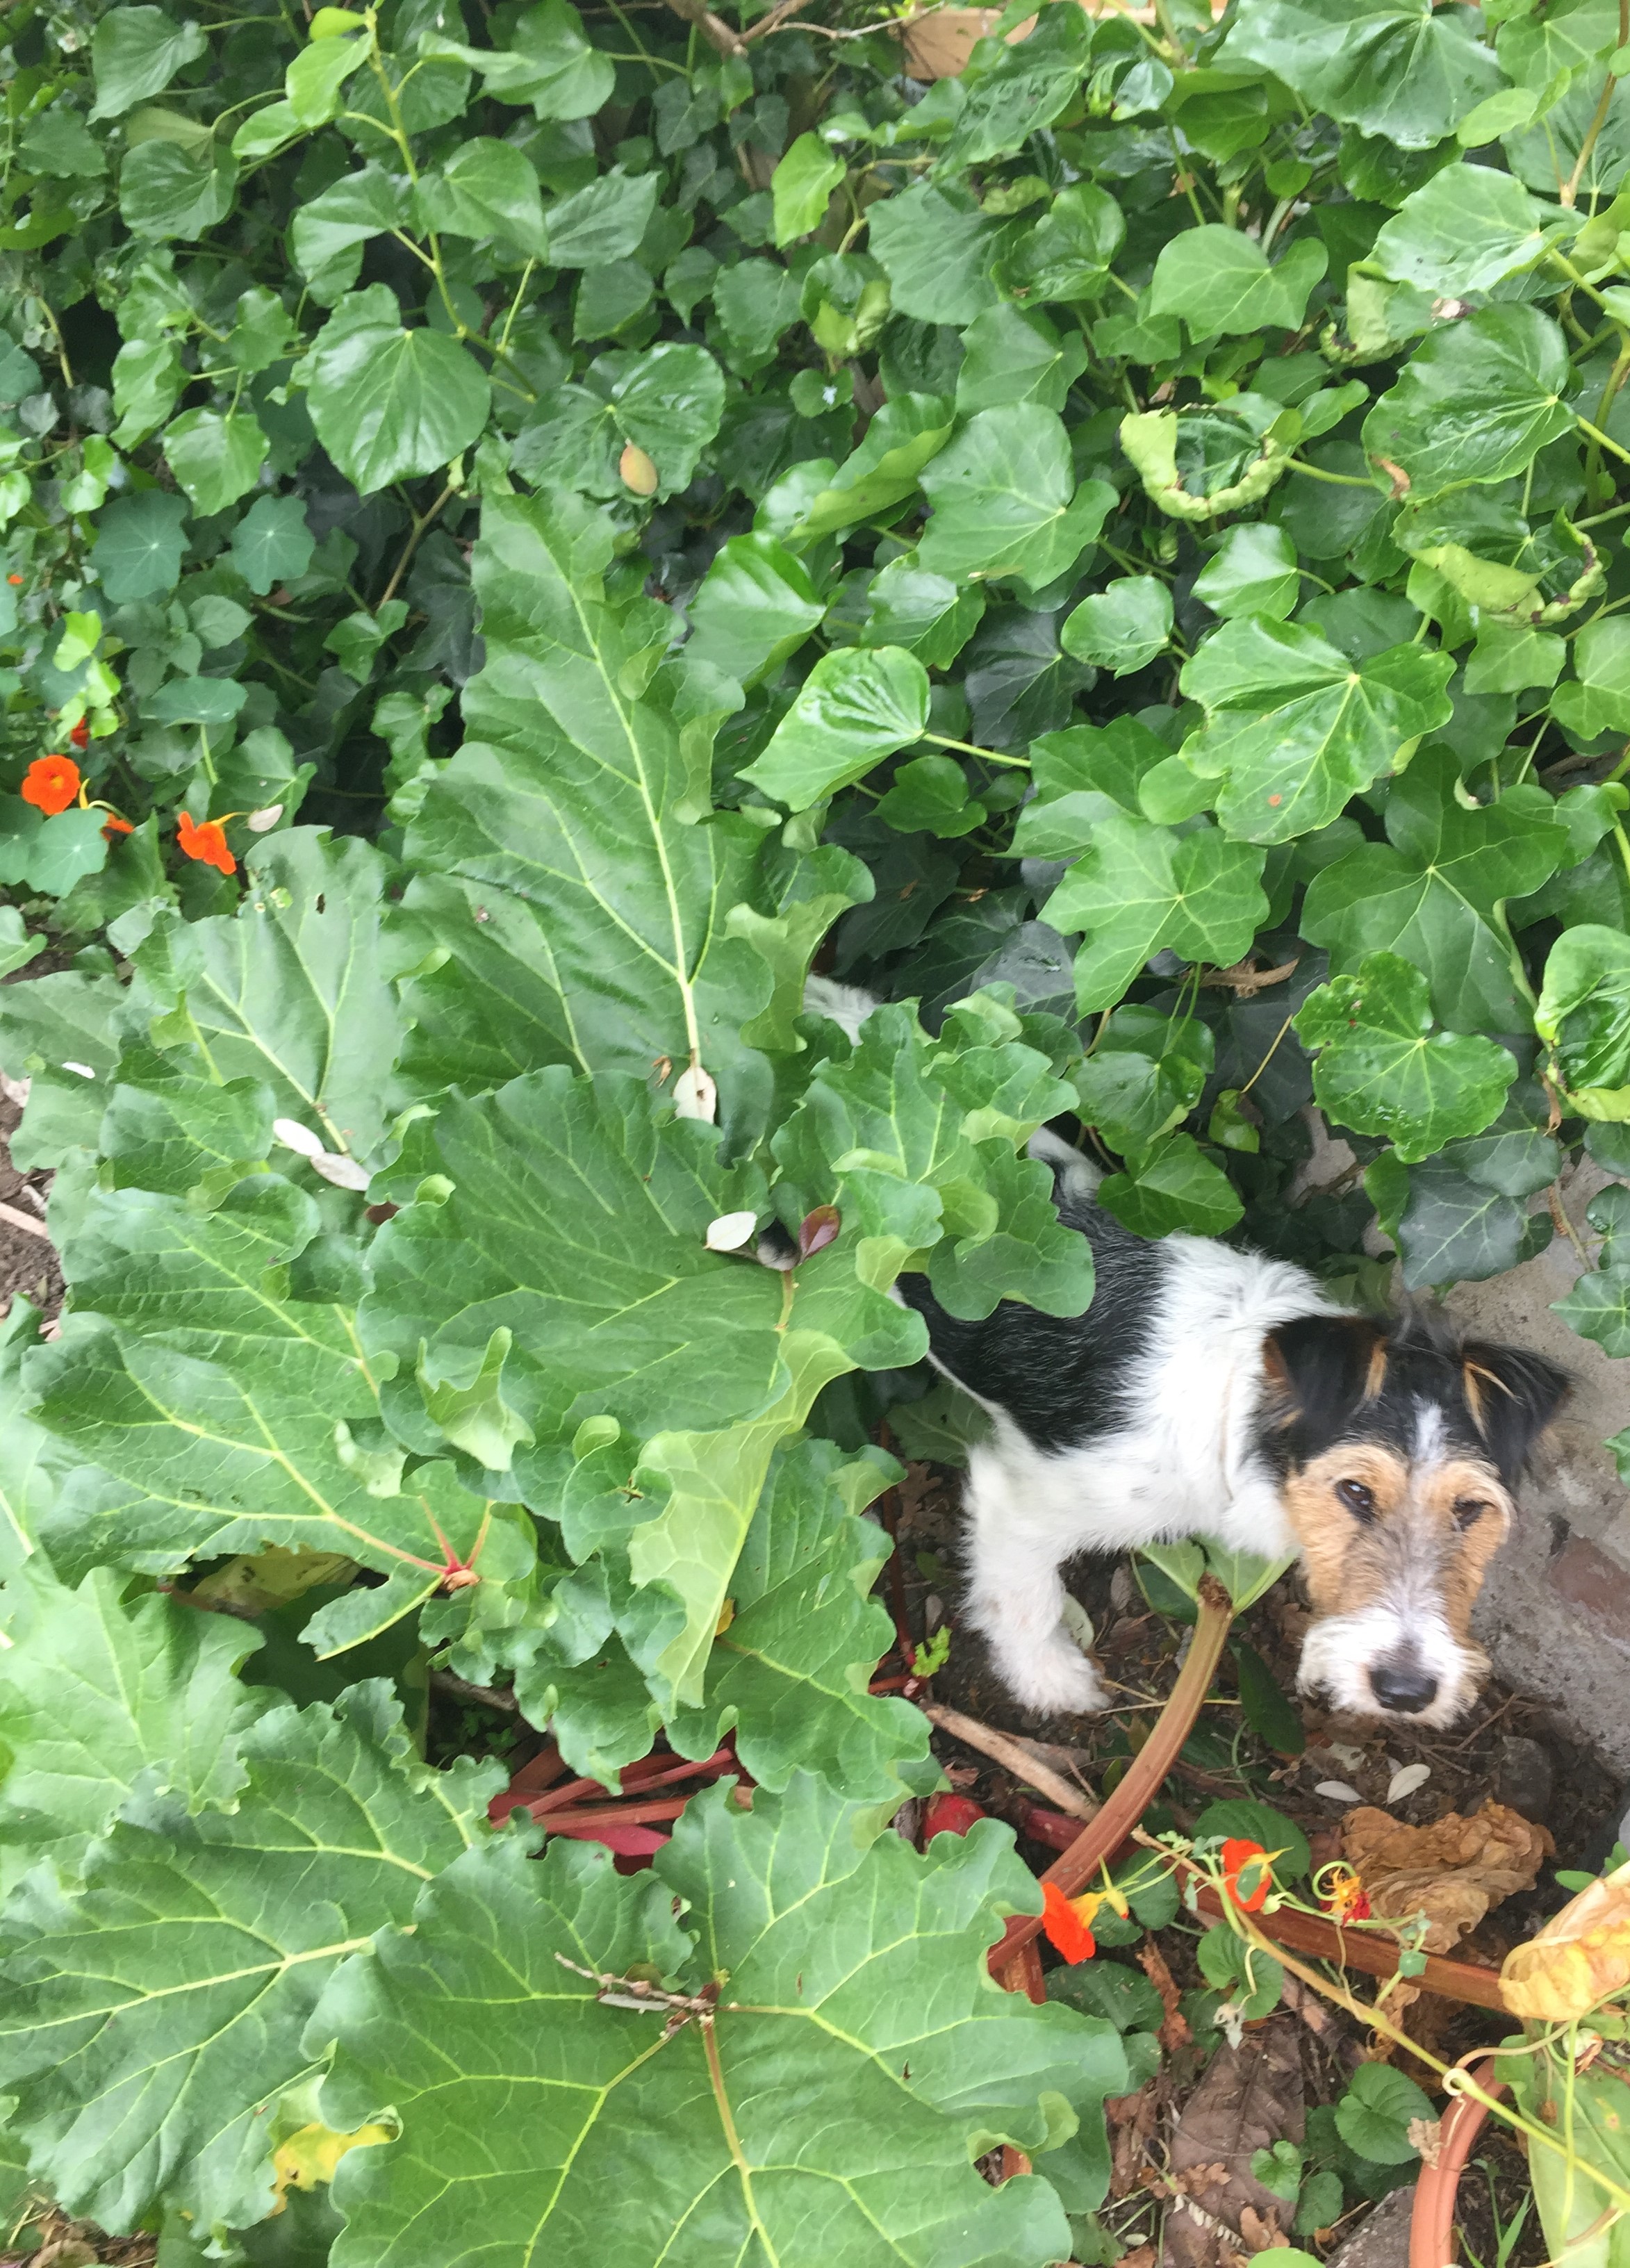
The pallets have been there so long the nasturtiums are growing through them.
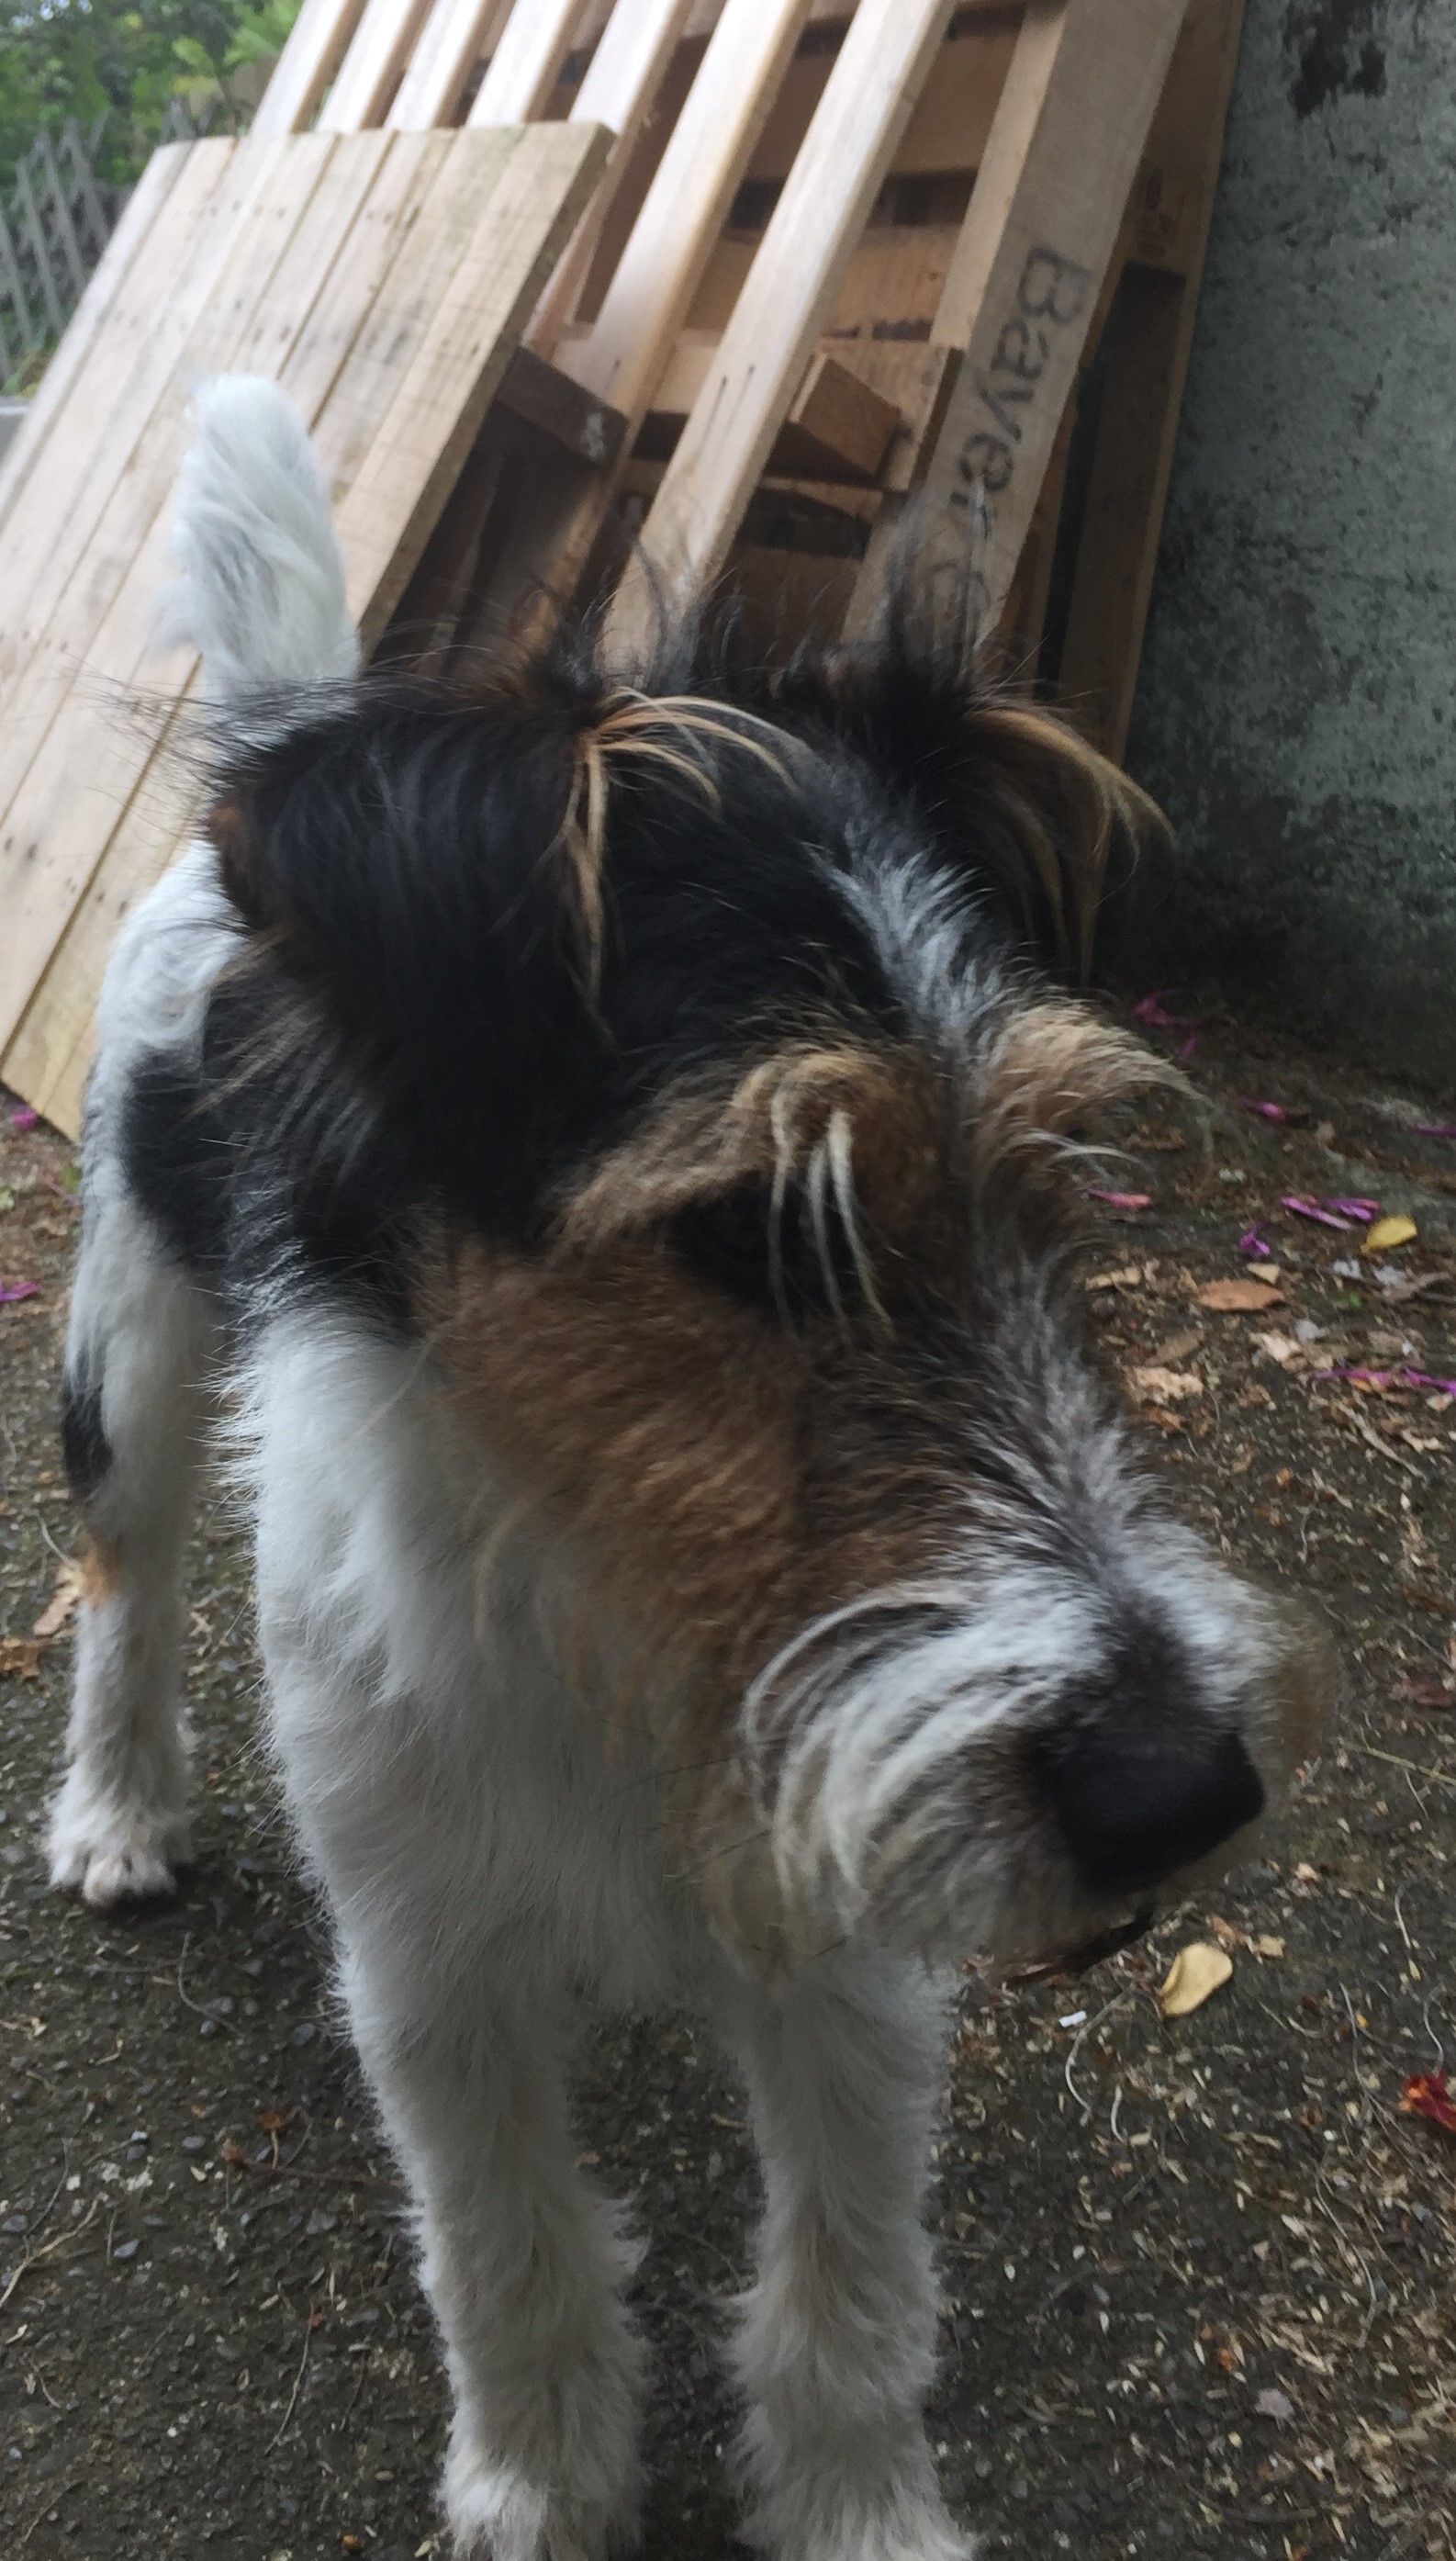
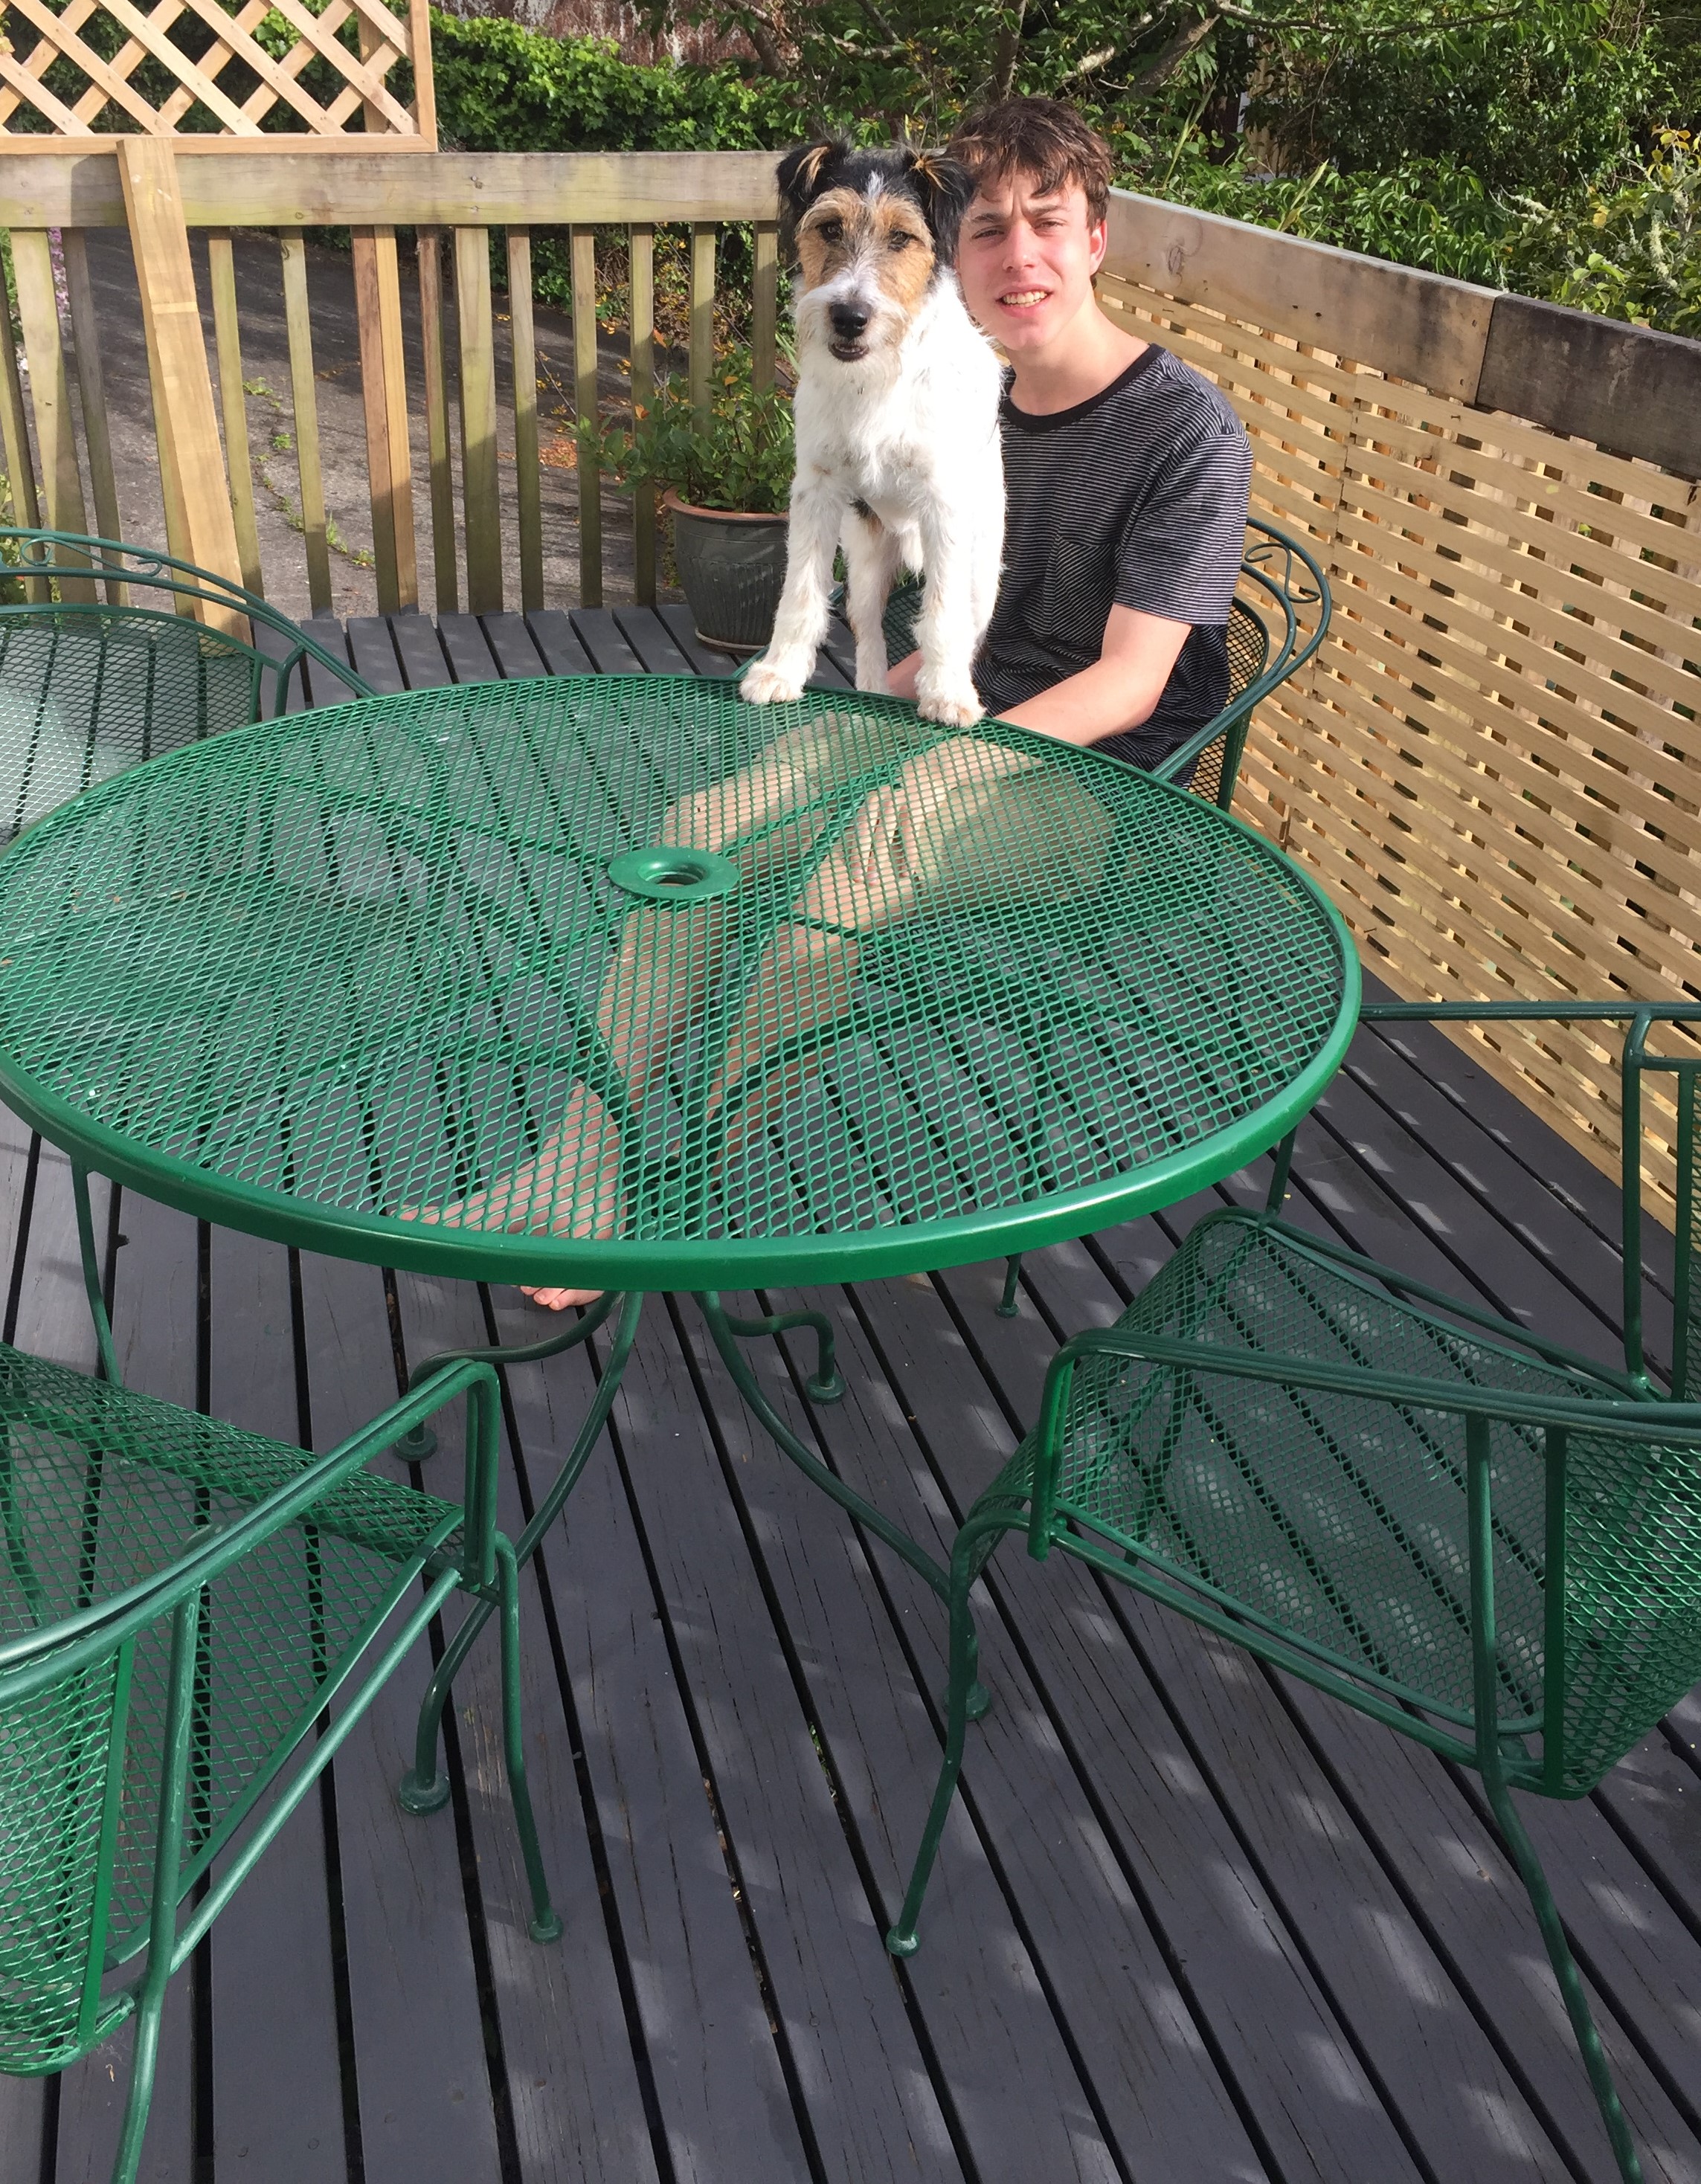
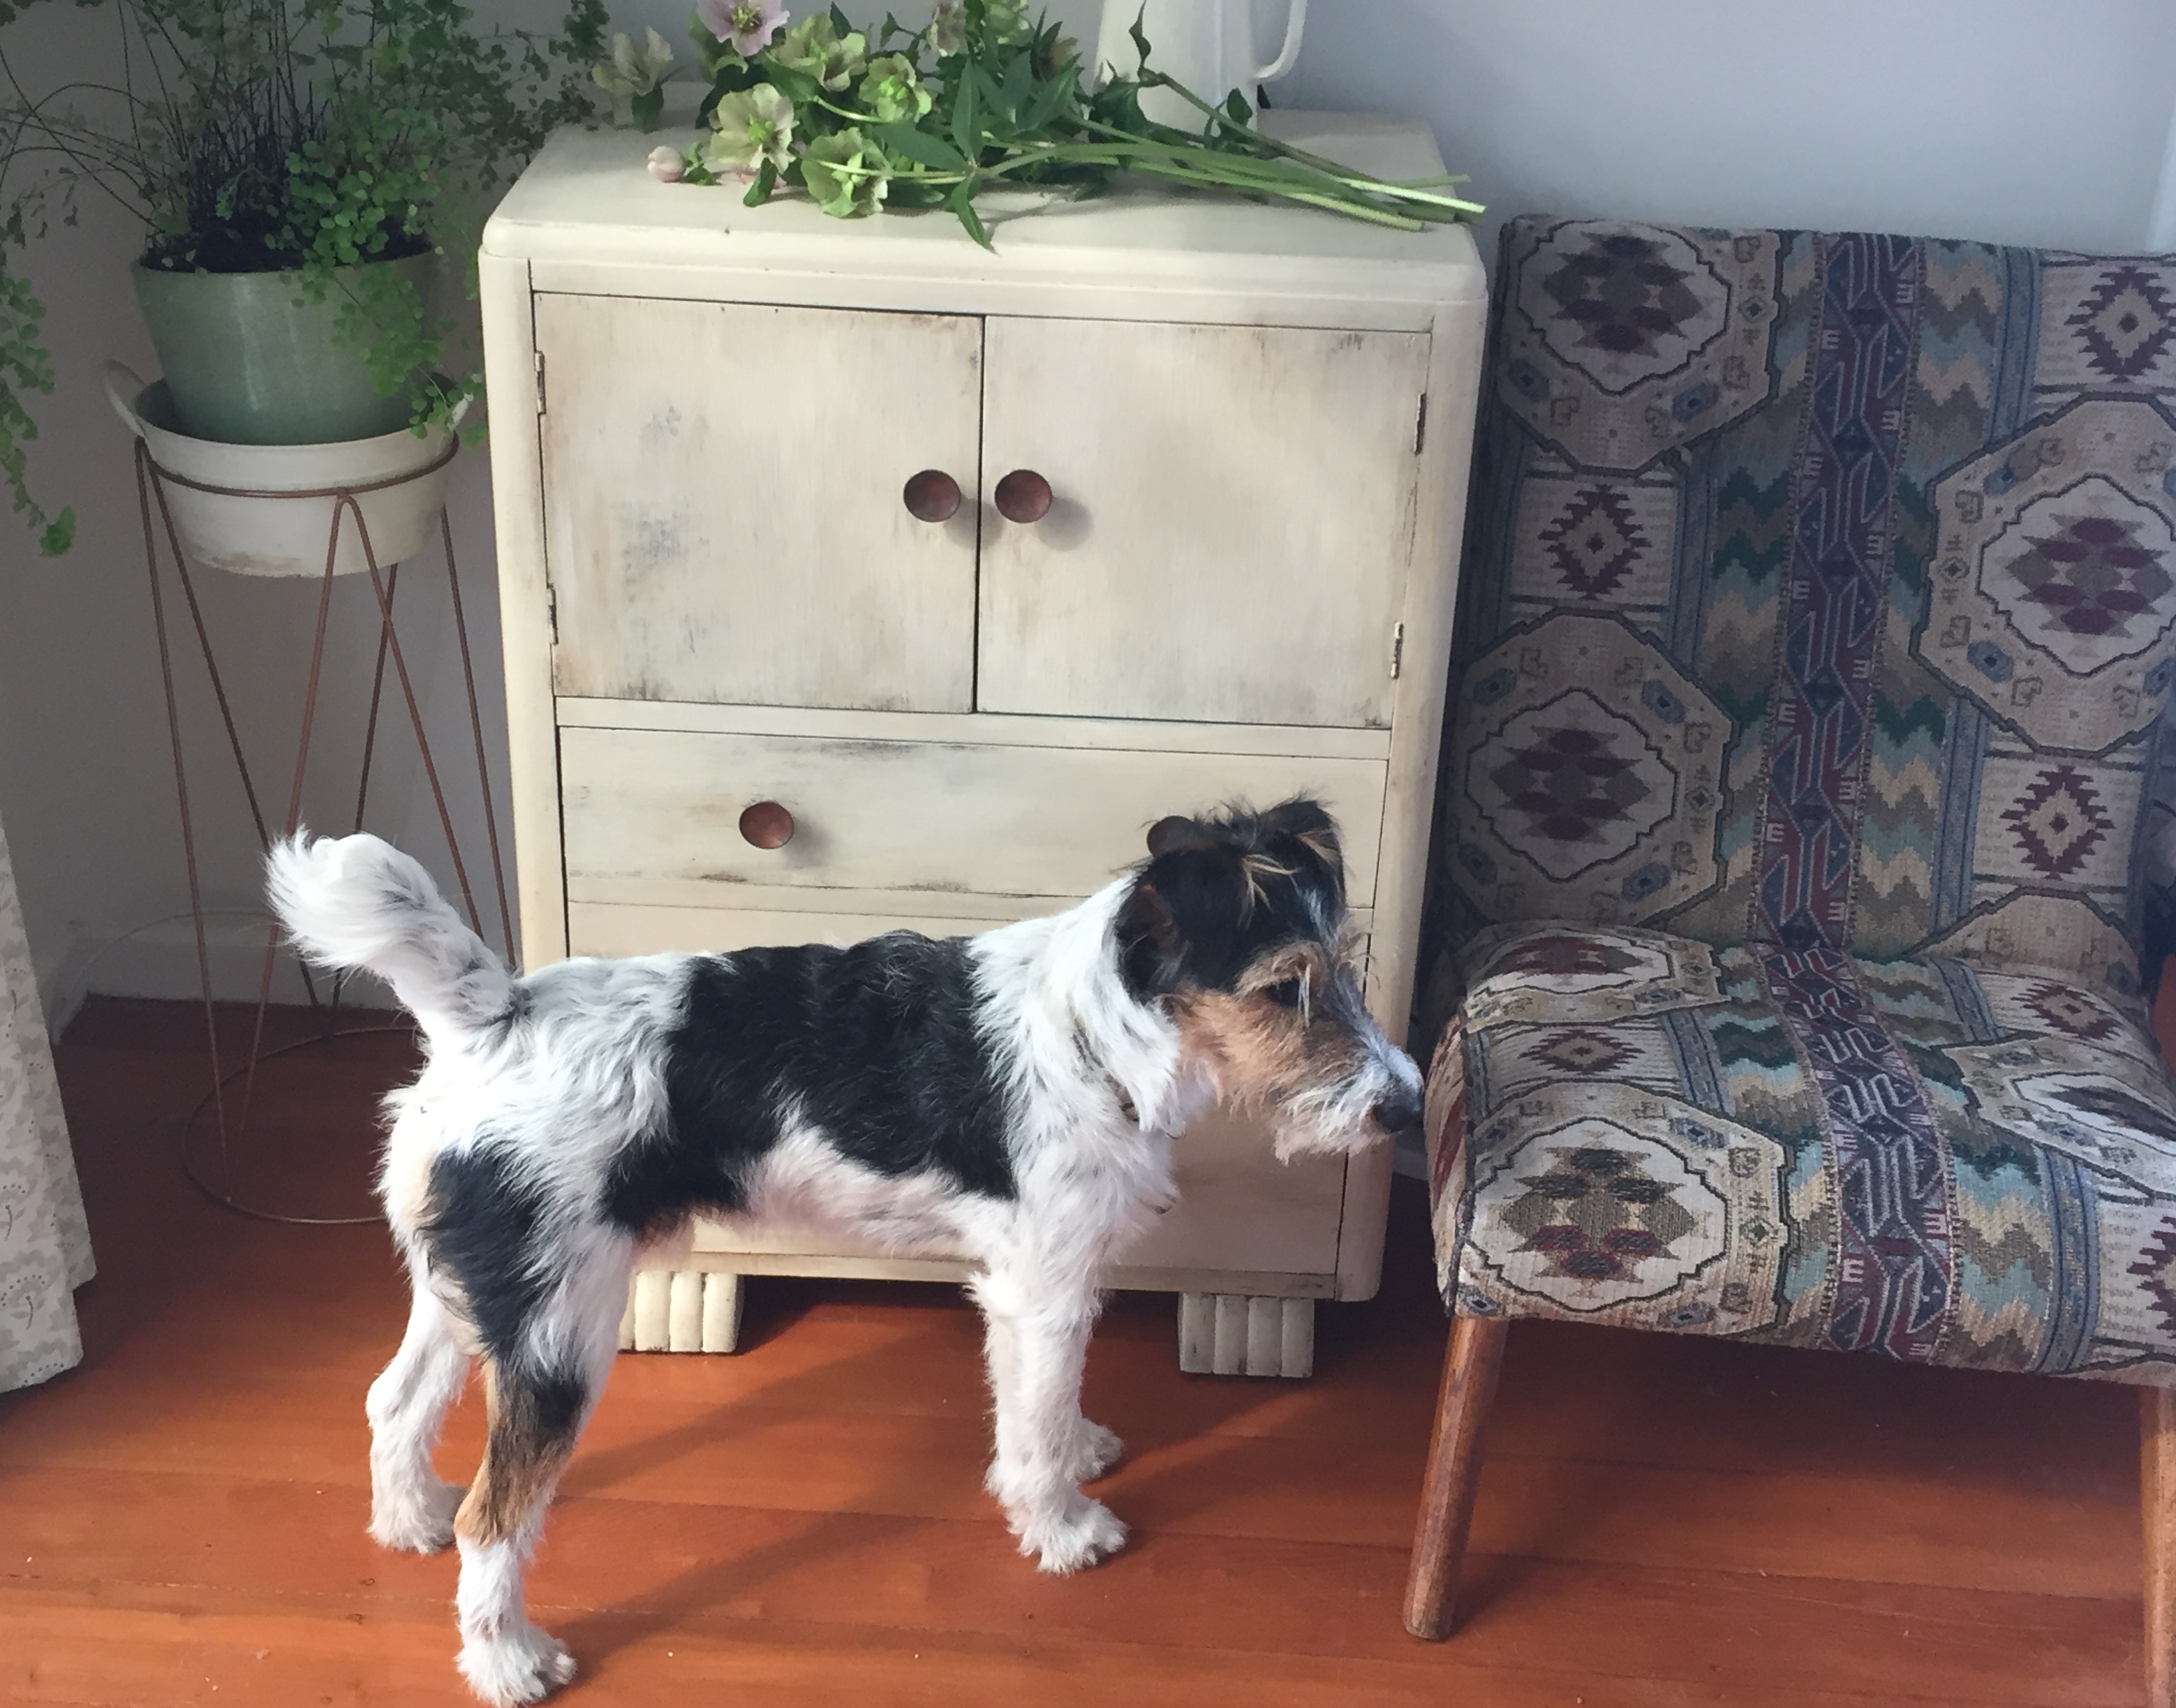
Rodeo has to get in the shots as well!
The tables were two completely different designs, mainly due to the size and designs of the pallets and what inspired me at the time.
Farmhouse Style Pallet Coffee Table

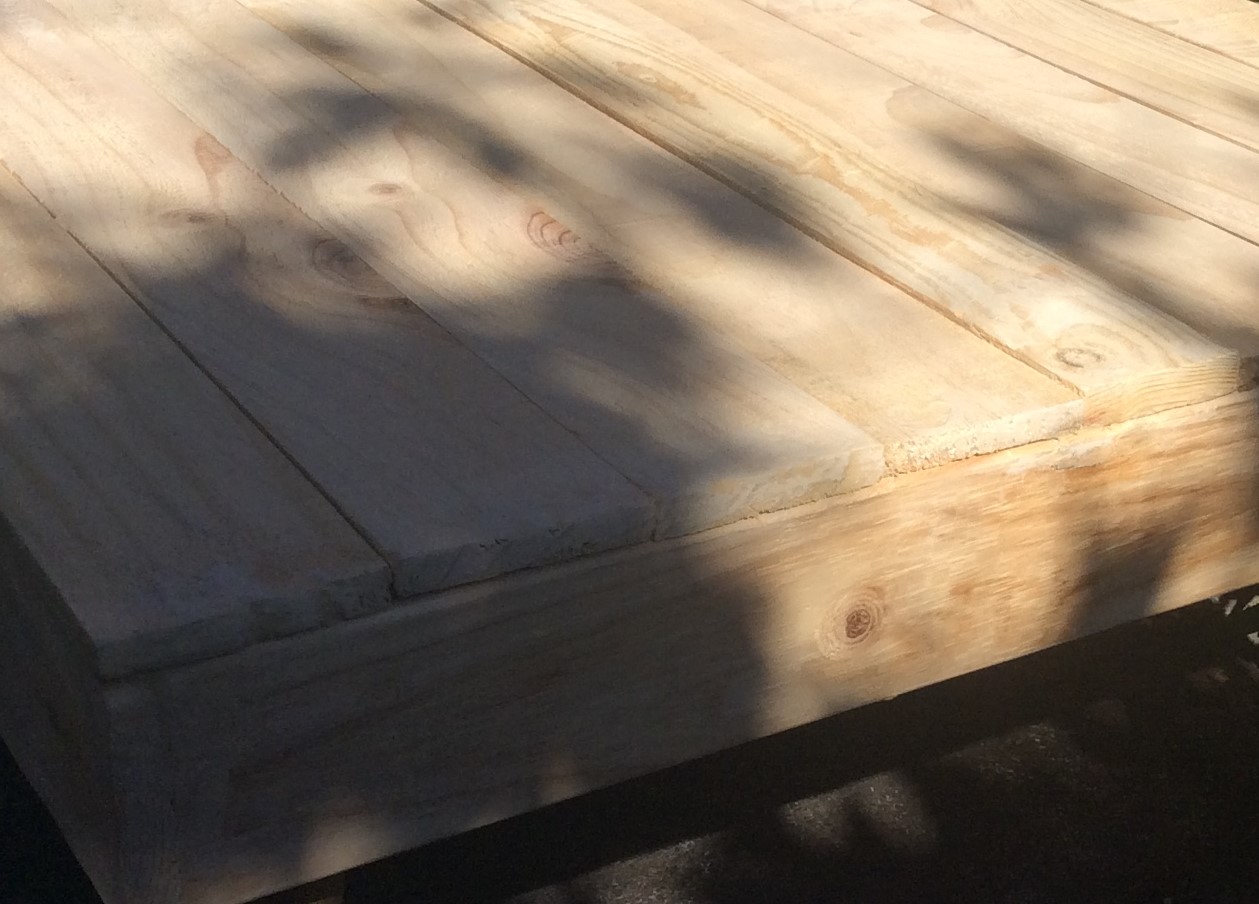
Unfortunately, I only took this photo of the finished unpainted coffee table. What was I thinking?
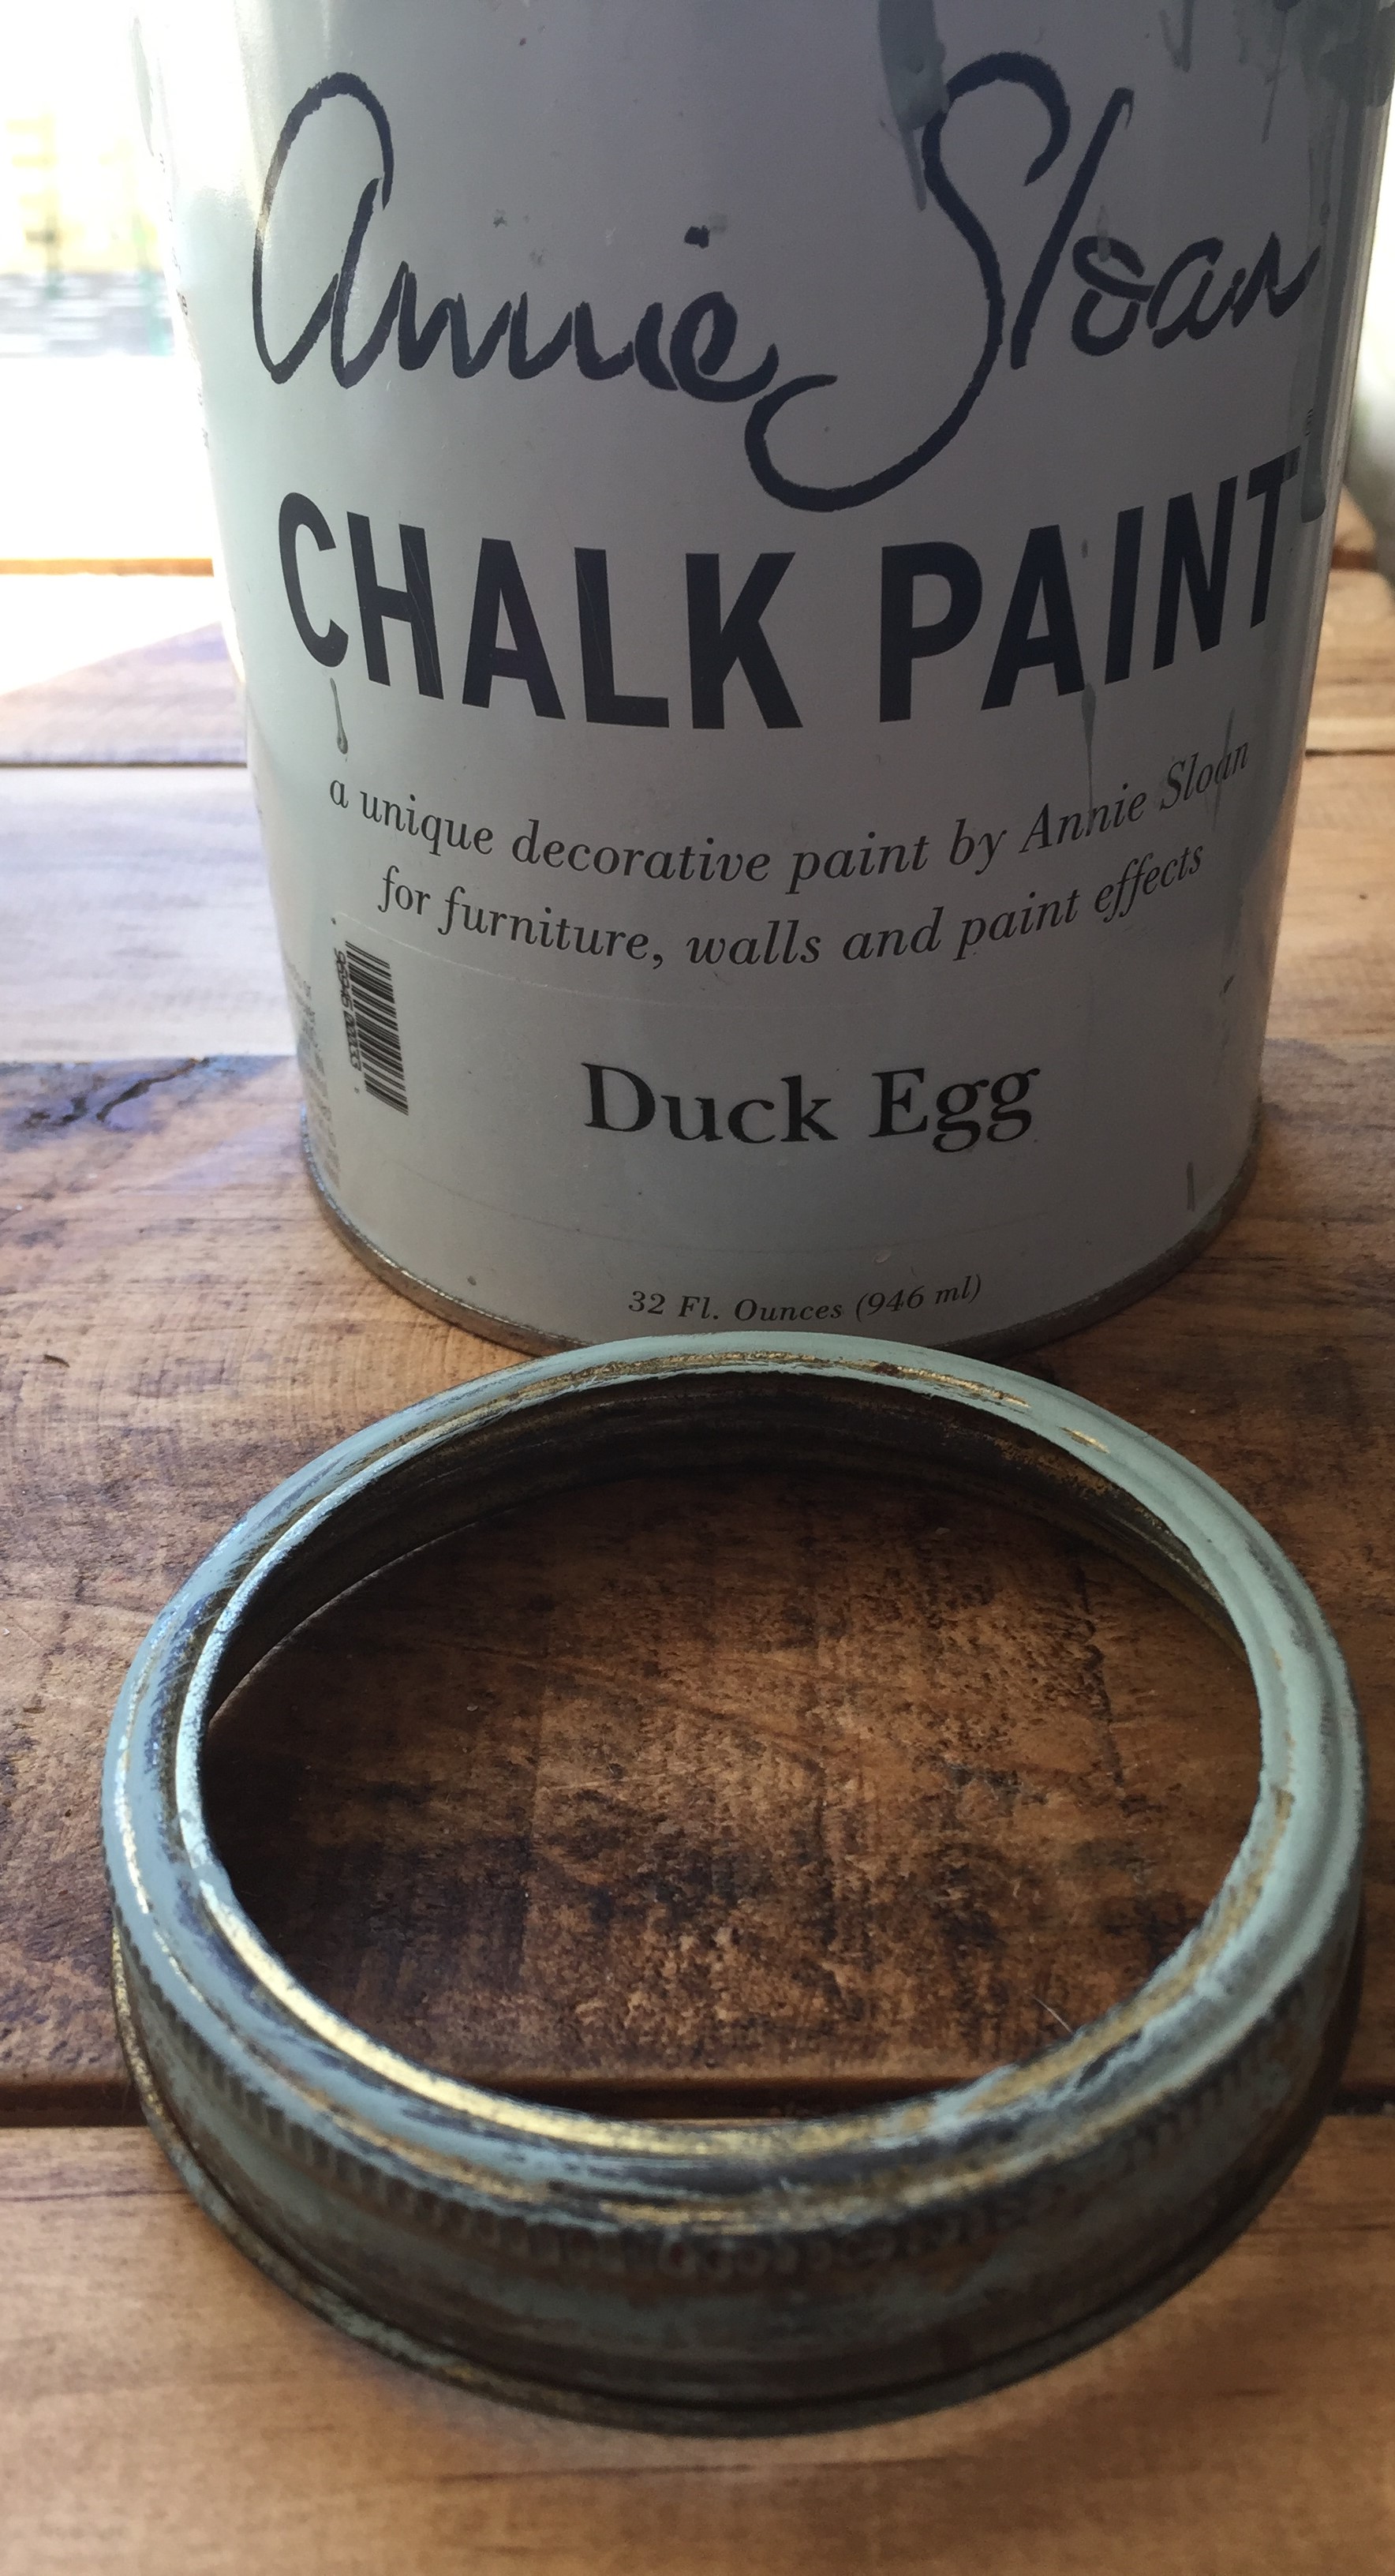
I painted the sides and legs Annie Sloan Chalk paint Old Ochre. I love this colour! It is a very neutral and goes well in any room.
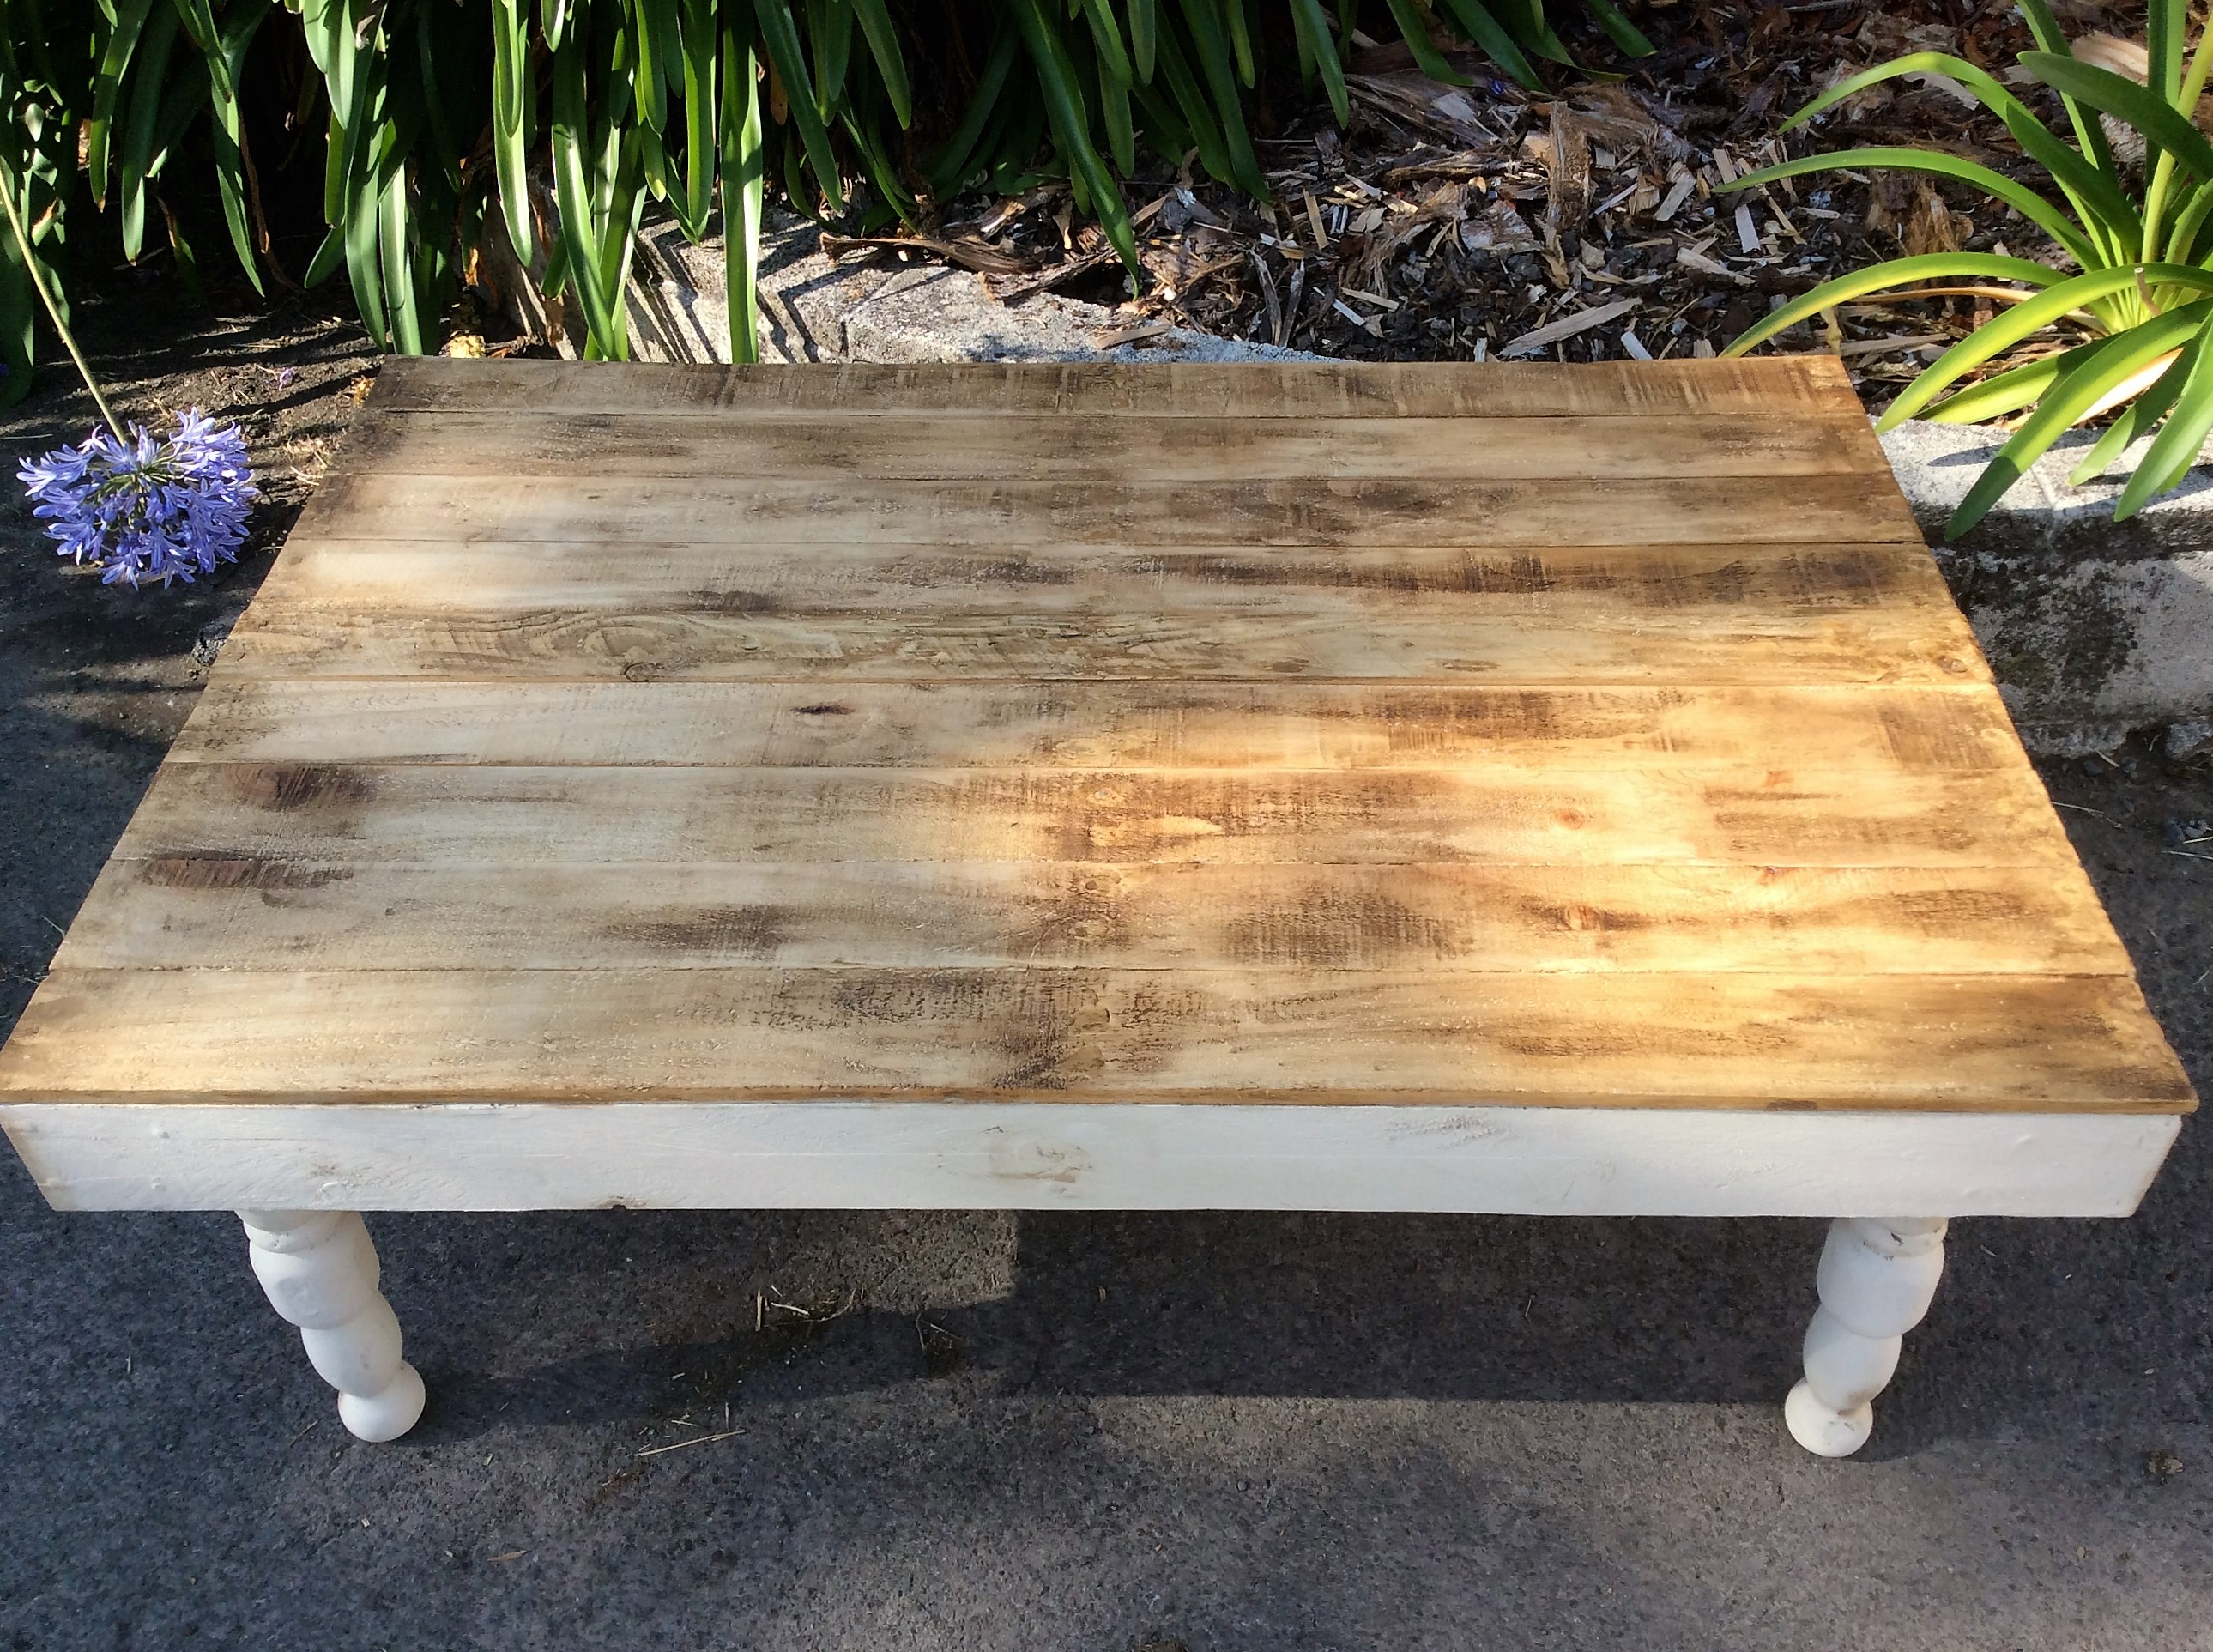
Finally, I used Annie Sloan Clear Wax and Dark Wax on the table. First I rubbed on clear wax, then dark wax. It is always a good idea to put clear wax on first, because if you put on too much dark wax on it comes off easier. Dark wax is really hard to get off if you put it on first, it is like a stain! I put on alot of wax, rubbed it in well and buffed it with a soft cloth. I tend to rip up old flannelette sheets, as they are lovely and soft.
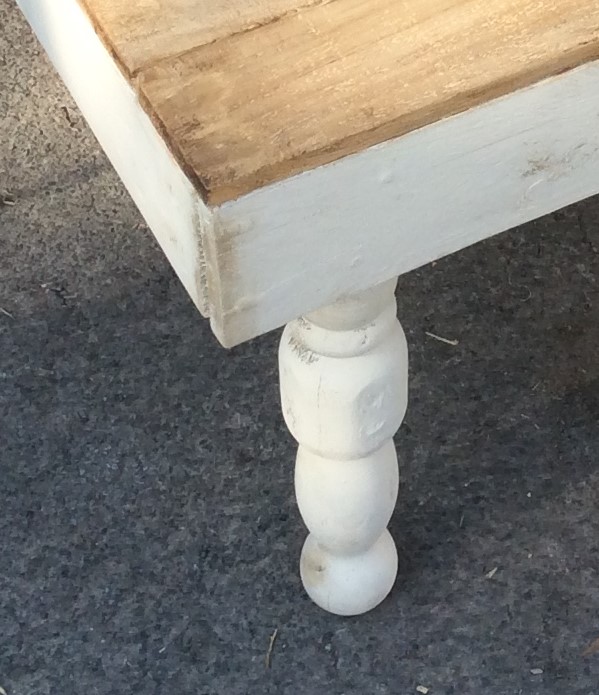
Pallet Coffee Table leg was cut off two headboards

I love how well the table top came up so well with the wax!
Pallet Coffee Table with shelf
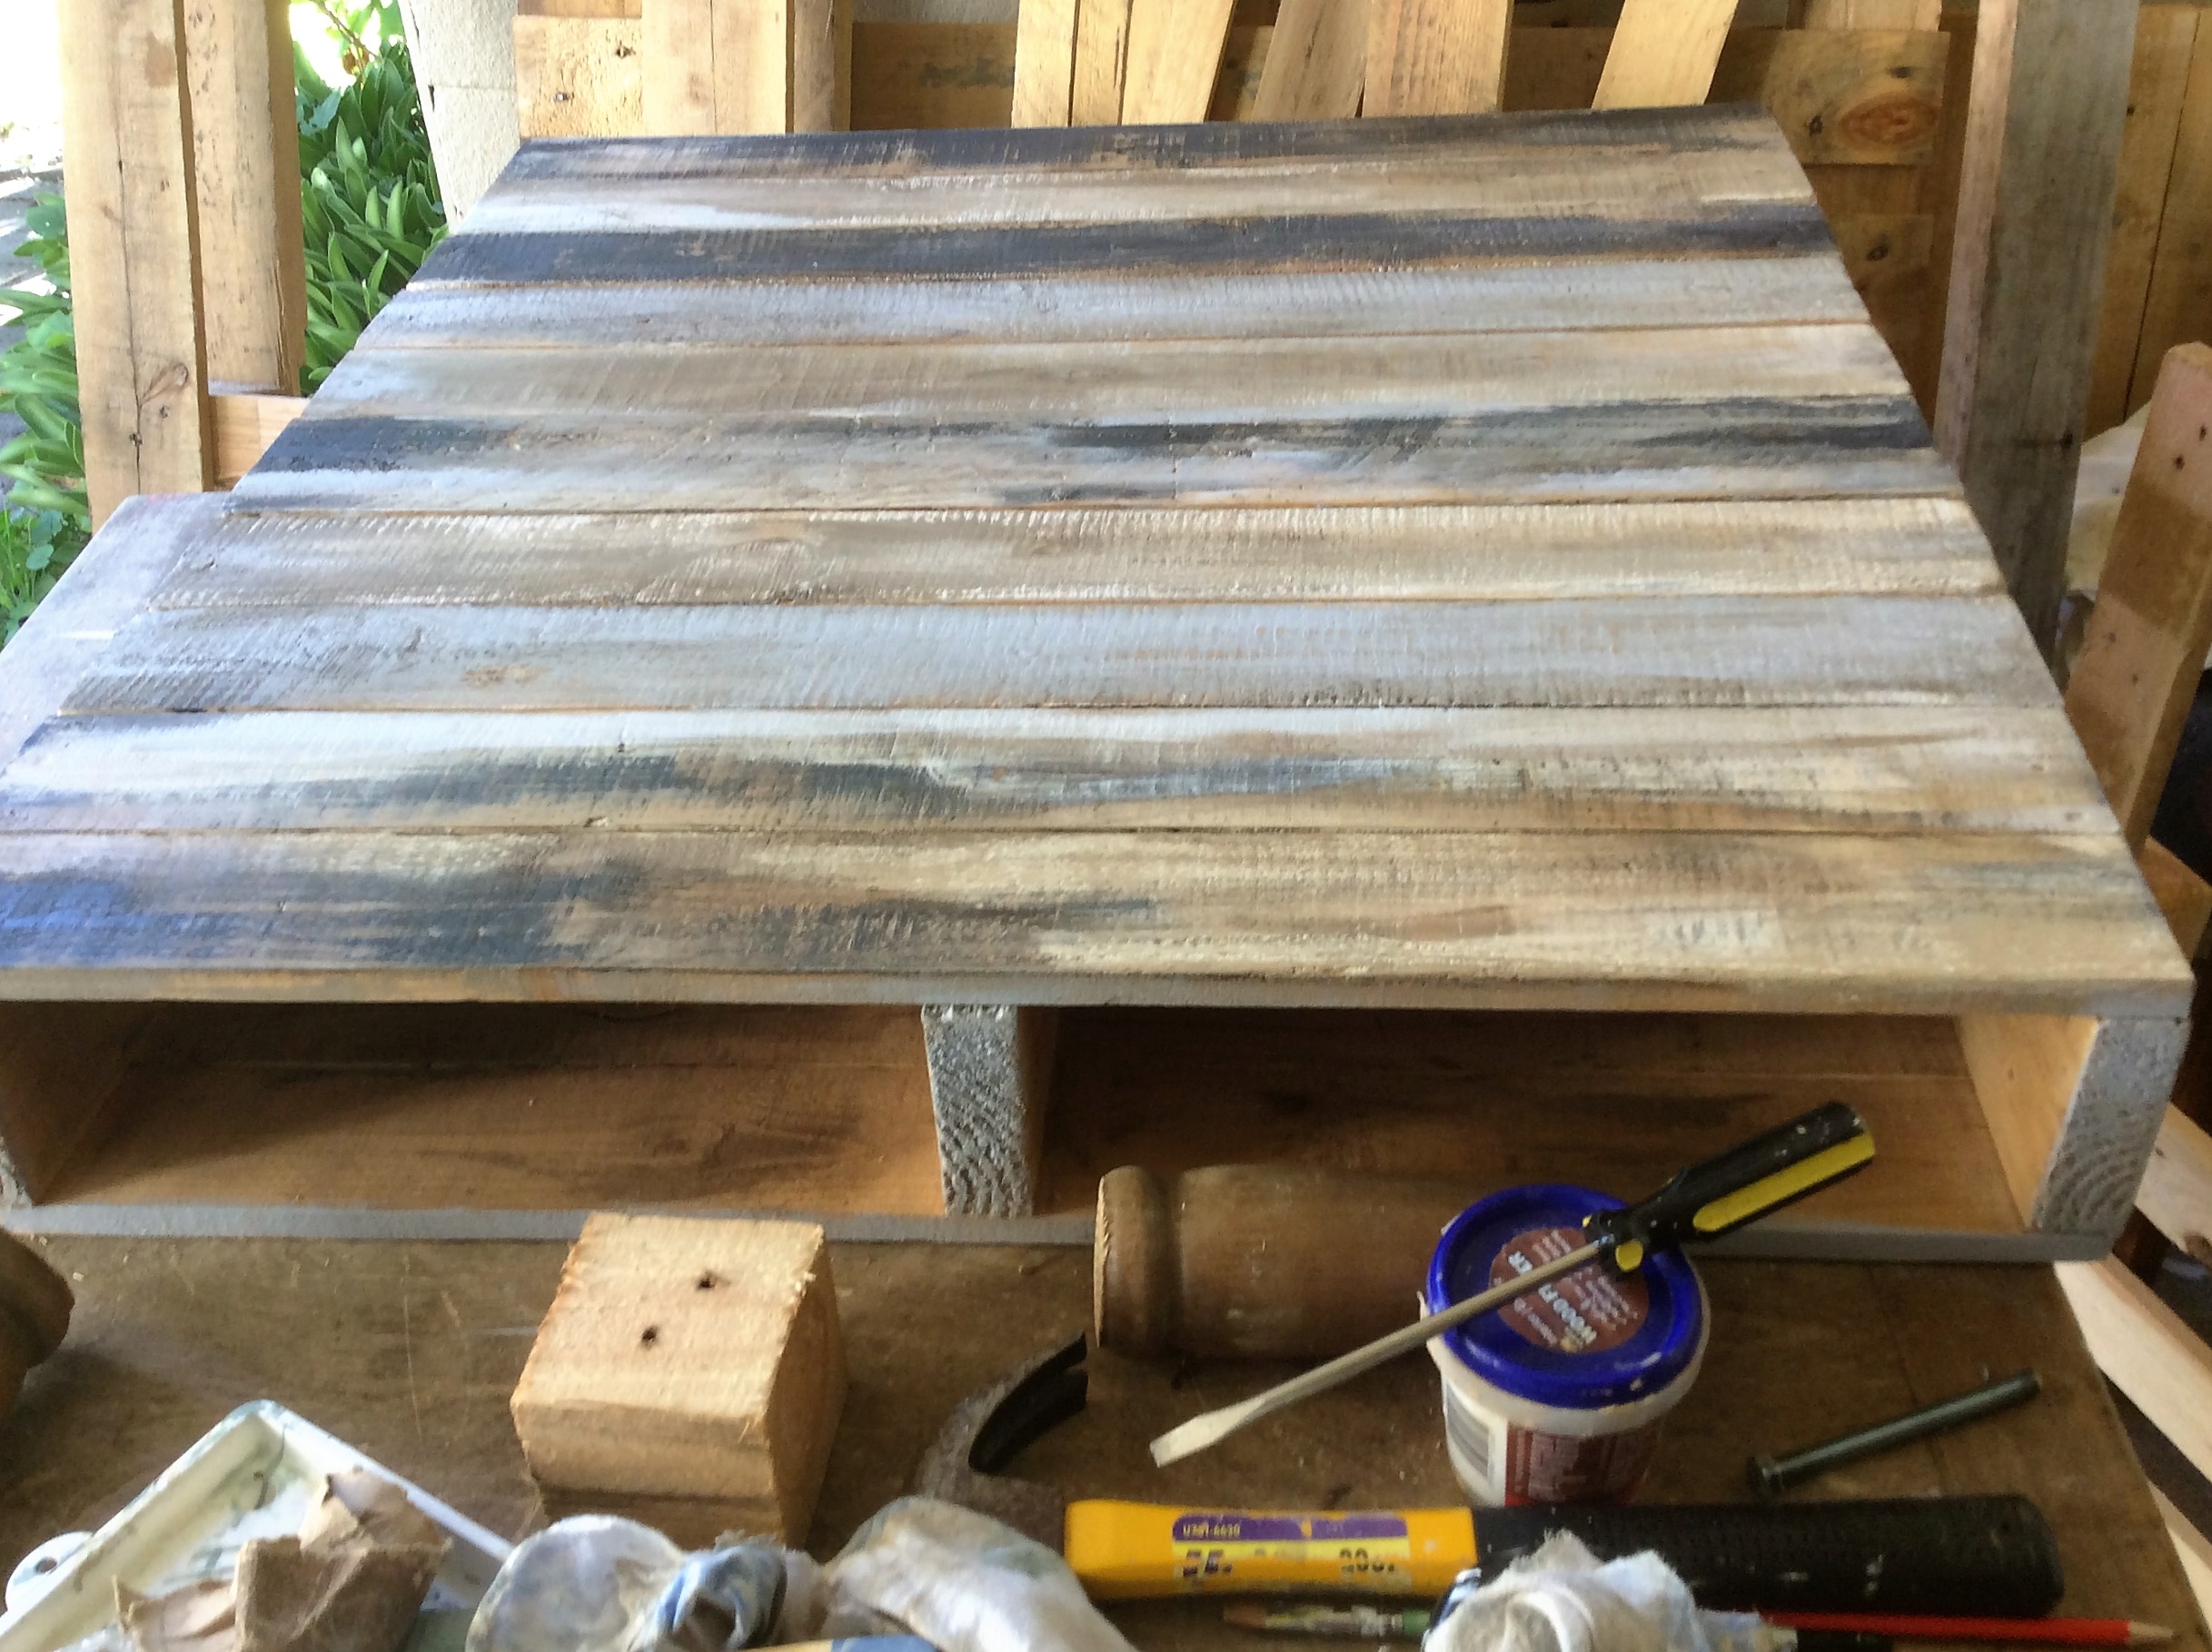
The next table was totally different with a shelf. You can see the pallet was smaller than the first and a different design.
Once I nailed all the boards on the table I covered the nails with wood filler before painting it.
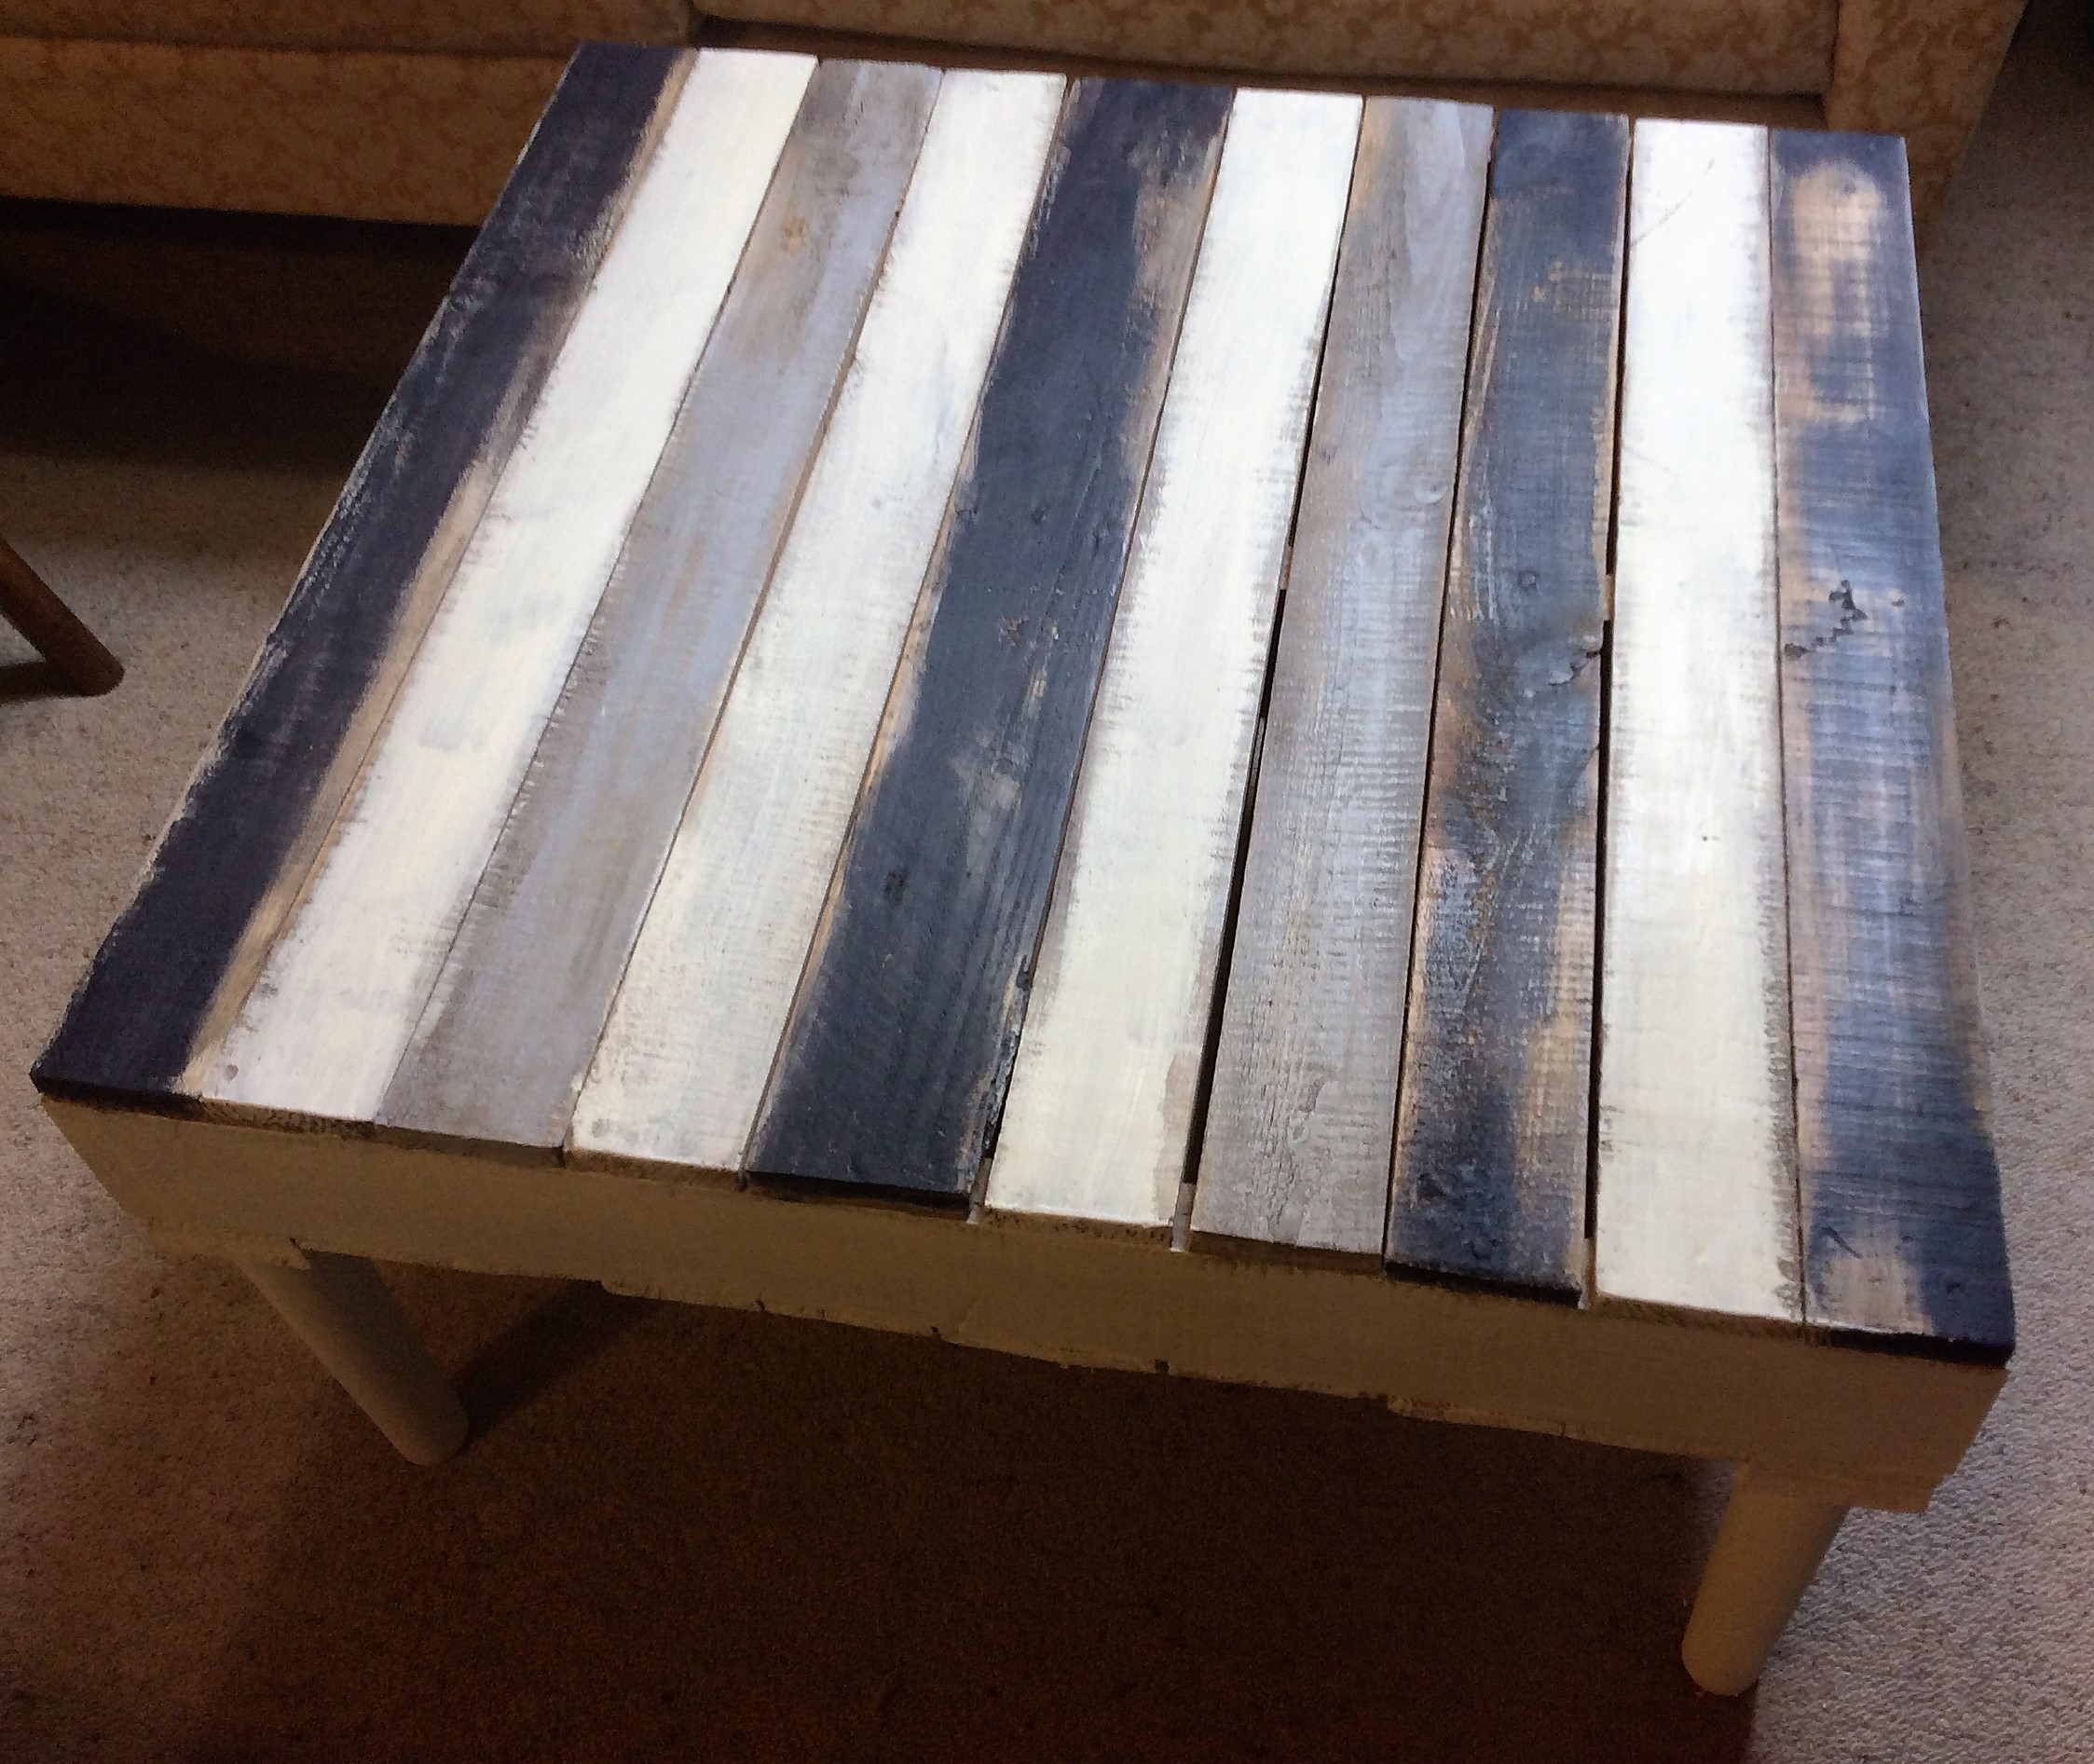
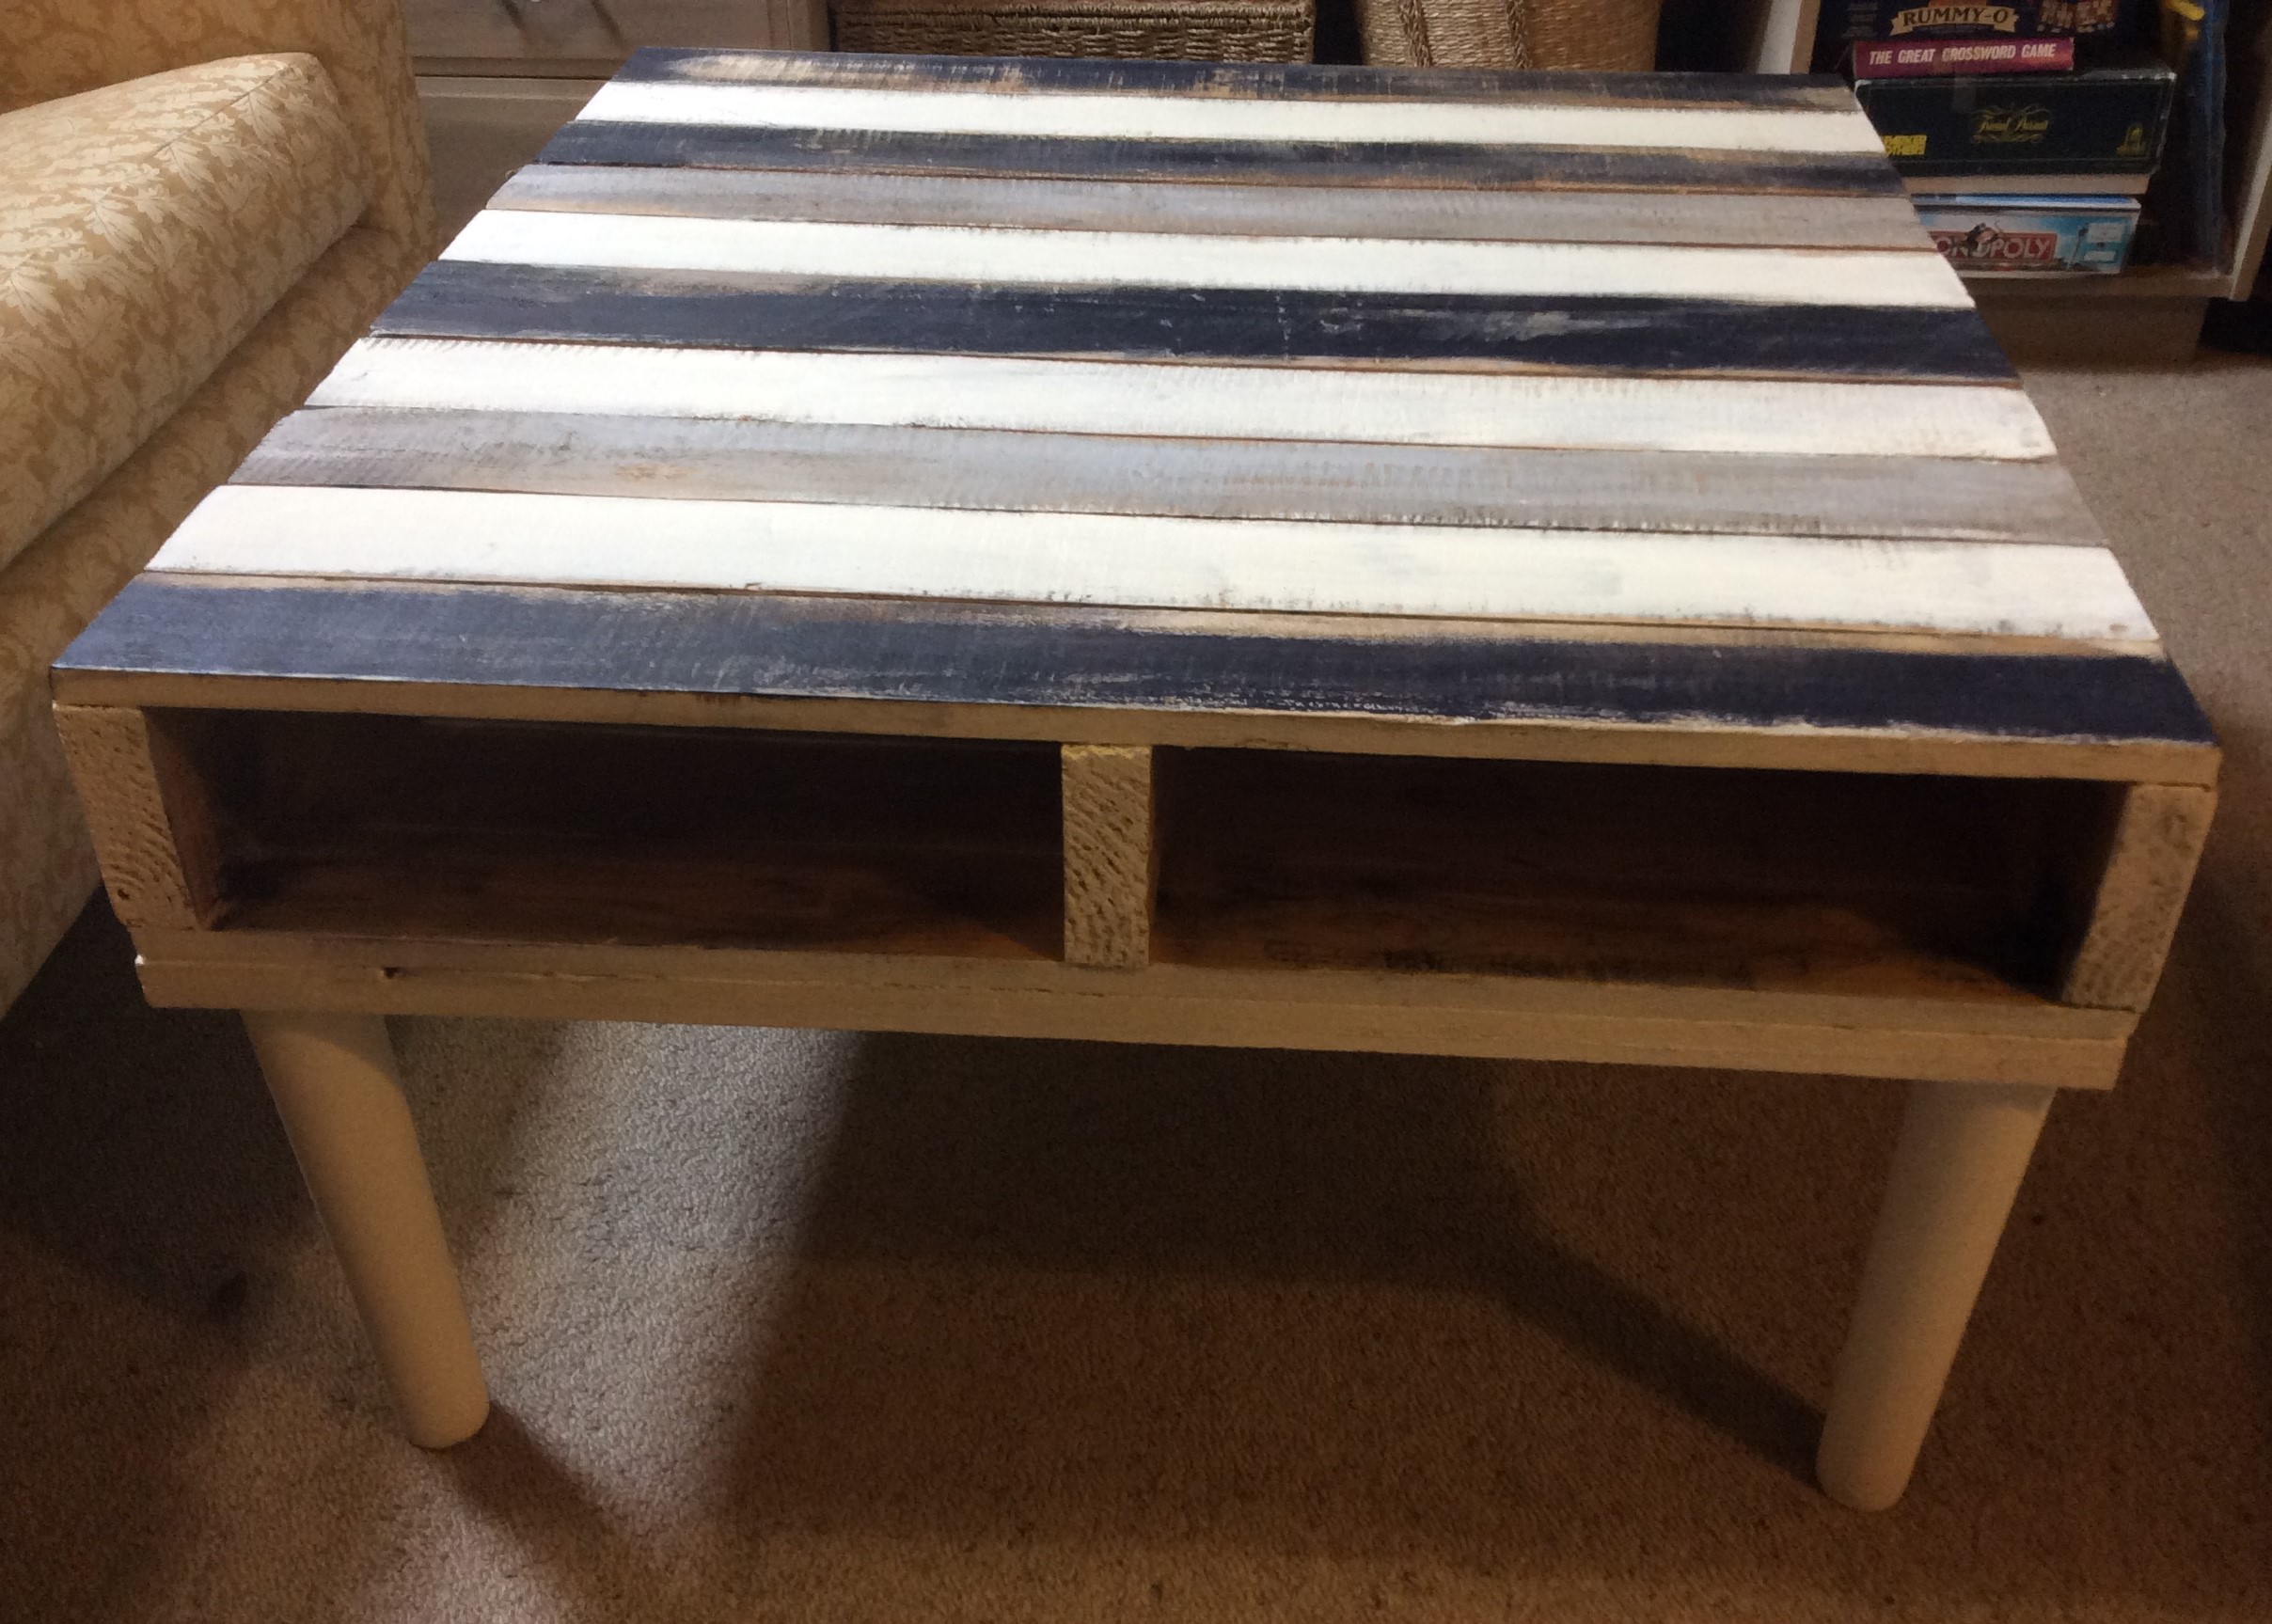
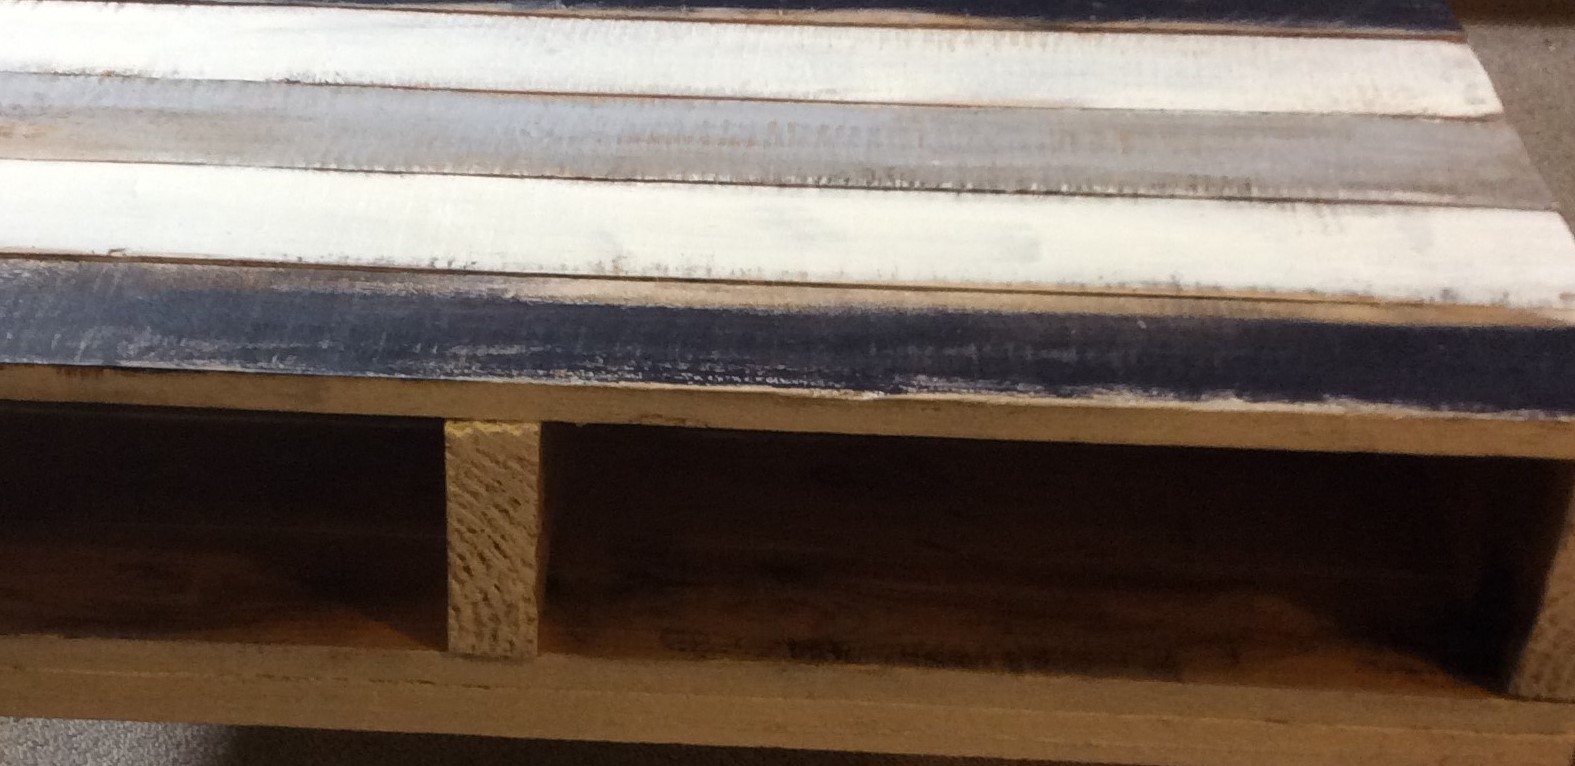
This pallet coffee table I painted with Resene Paints (acrylic paint), white grey and black. Then sanded down to give a rougher look and showing some of the natural wood underneath.
I managed to get the pile down by making these two pallet coffee tables and quickly sold them. That is another thing having the space to store the projects made!
Check out my previous post; Pallet coffee table easy to make post here
Thanks so much for reading my post!
Andi