Reclaimed wine barrel furniture and homeware in Havelock North, New Zealand….
For a month my son, Thaddeus and his friend has been busy working on reclaimed french oak wine barrel furniture and homeware products. This was a part of their business course at the High School to create a business, make and sell a product.
Fortunately, his friend’s dad had a massive wood workshop. My son was in seventh heaven, spending hours in there.
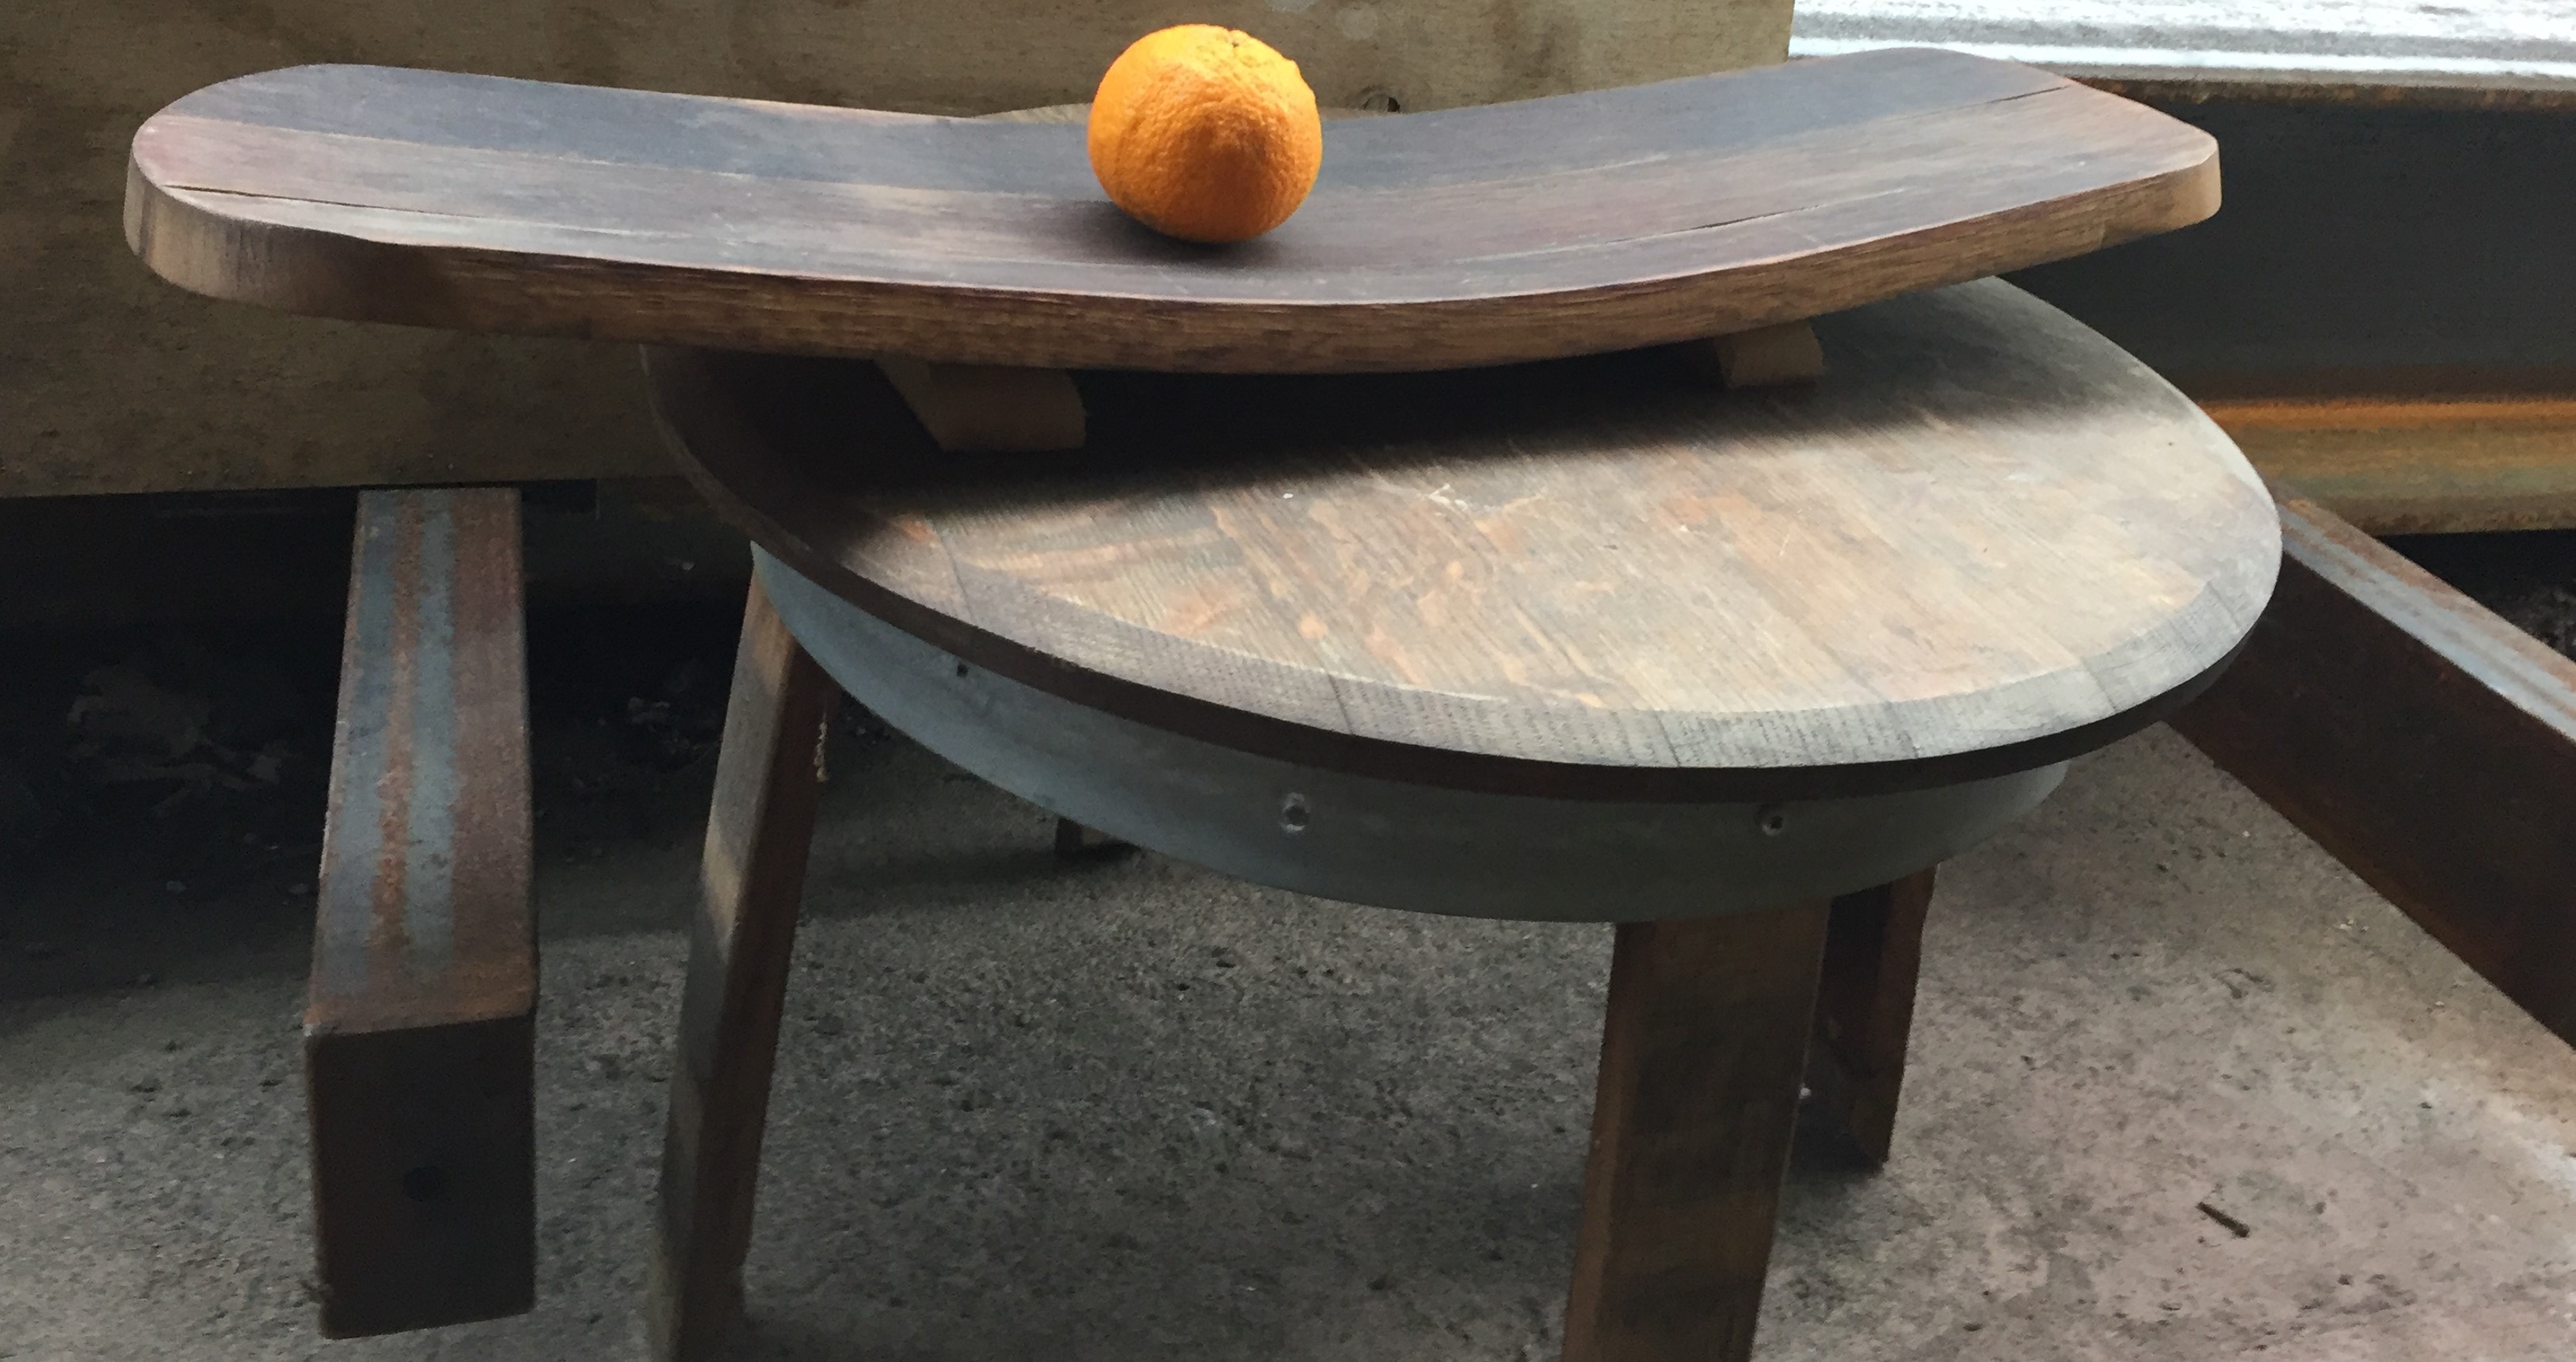
They brought beautiful old French oak wine barrels and created amazing crafted tables, platters, candle holders, fruit bowls, and lazy susans.
In the workshop
Trade Fair
Last week the boys had a Trade Fair at school to display and sell what they had made. It was amazing to see the end product of all their hard work. Beautifully crafted, we were so impressed at the standard of their work.

Beautifully red wine stained fruit bowl and candle holders

Wine barrel platters
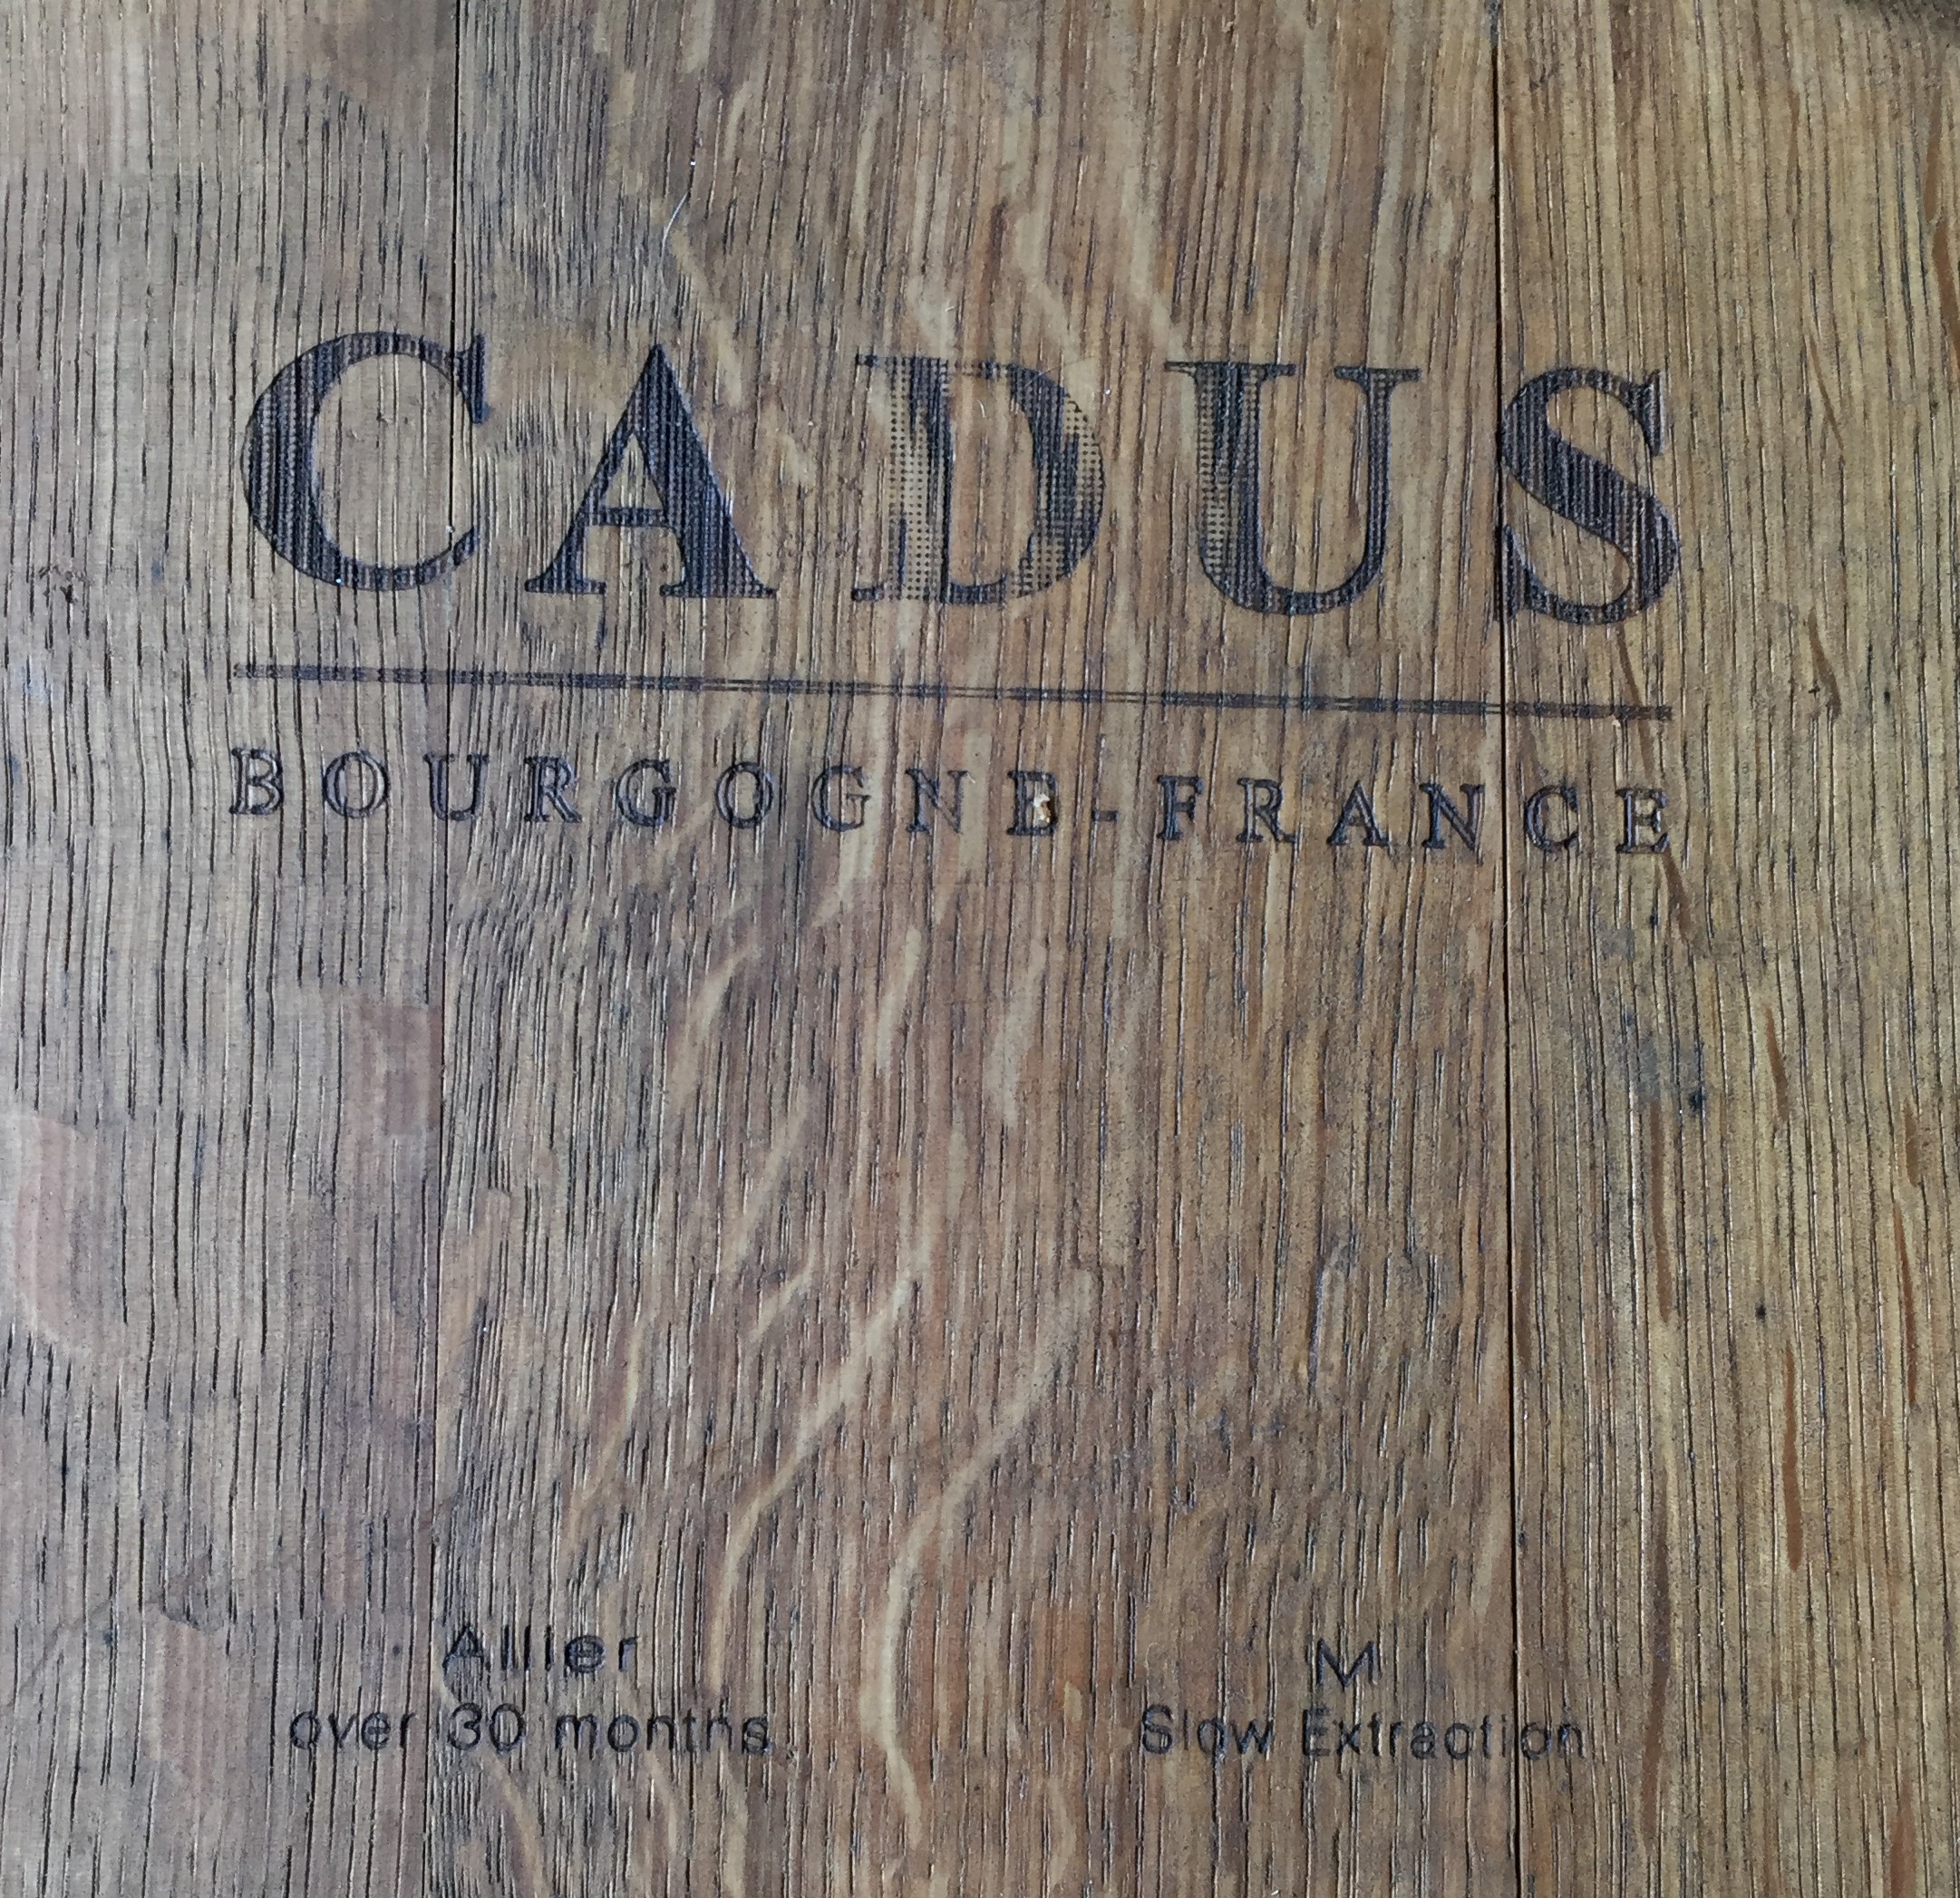
I loved how some of the wood had writing on them and also the red wine stain still remaining.

Metal from the wine barrel placed around the side of table
The beautiful reclaimed wood products were stained carefully with natural oils as preservative. The items to be used for food were stained with pure olive oil the others in linseed oil.
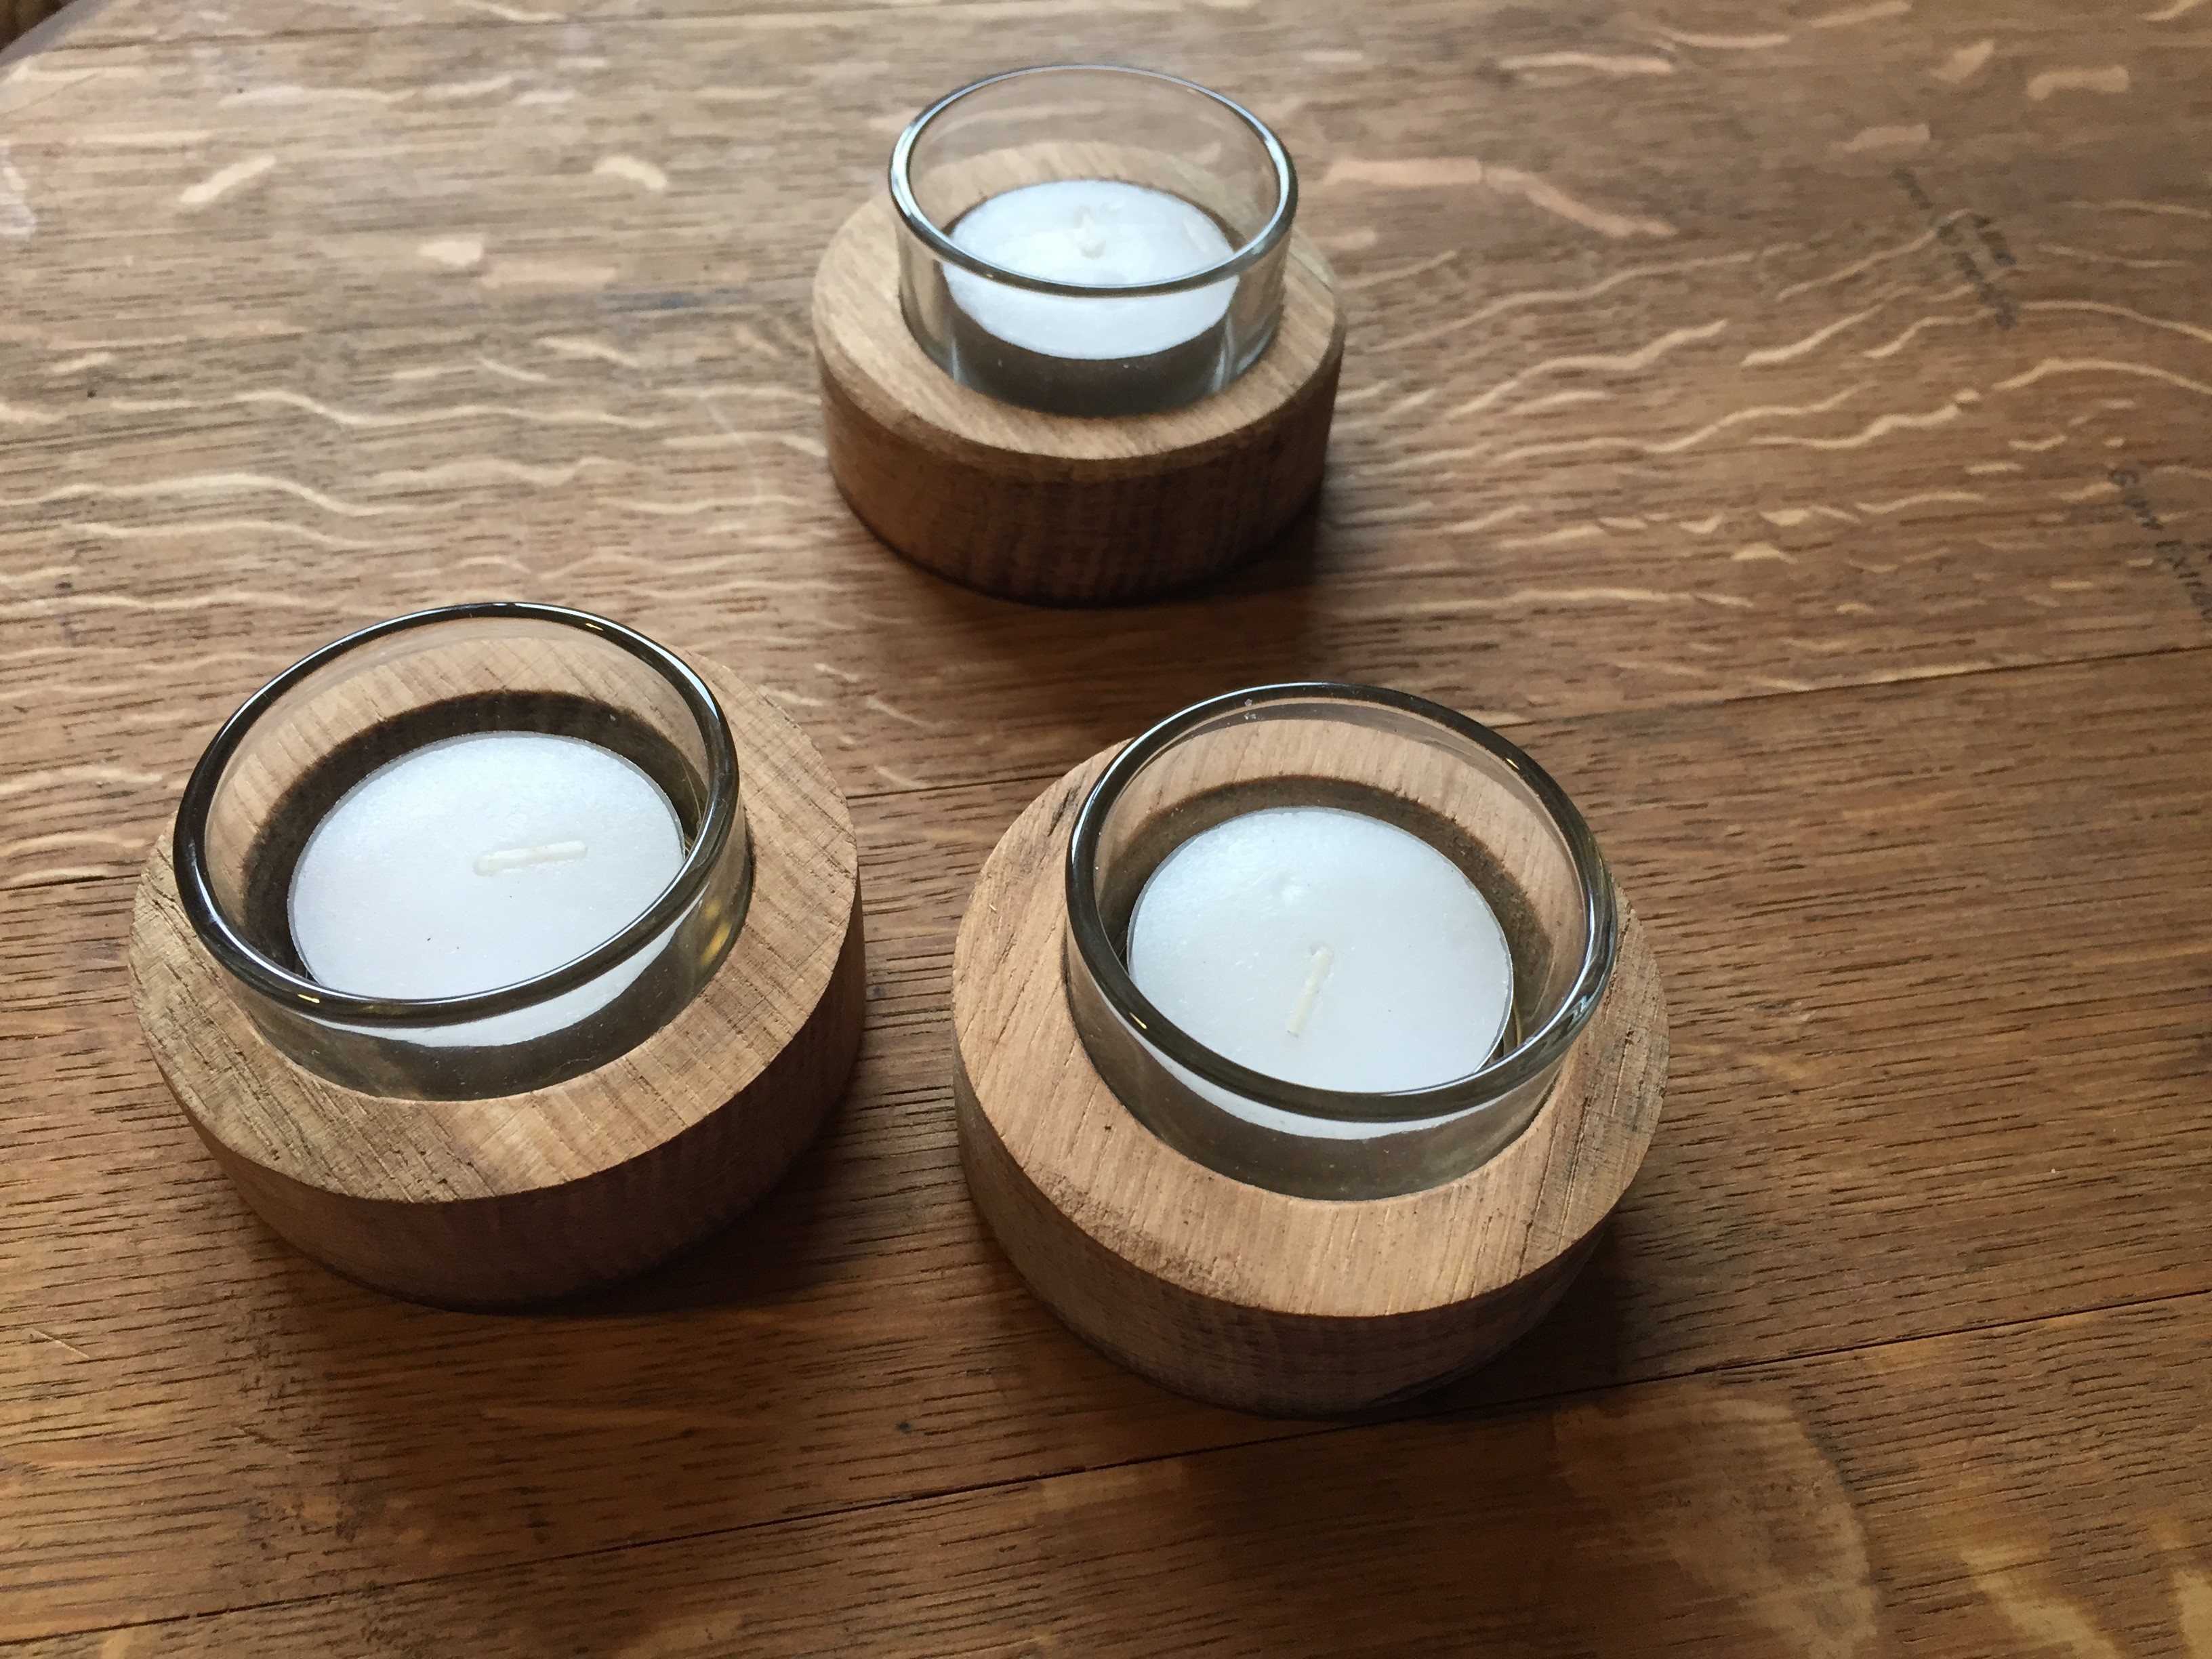
Single candle holders
The boys are now hoping to continue their business, selling their products through markets and online.

Candle holder
Thanks for reading my post!
Andi